This post brought to you by Tazo® Tea. The content and opinions expressed below are that of Delia Creates.
Fall has swooped in quite decisively around here, but I don’t mind. It’s been a good reminder to break out my hooks and pick up crochet again!
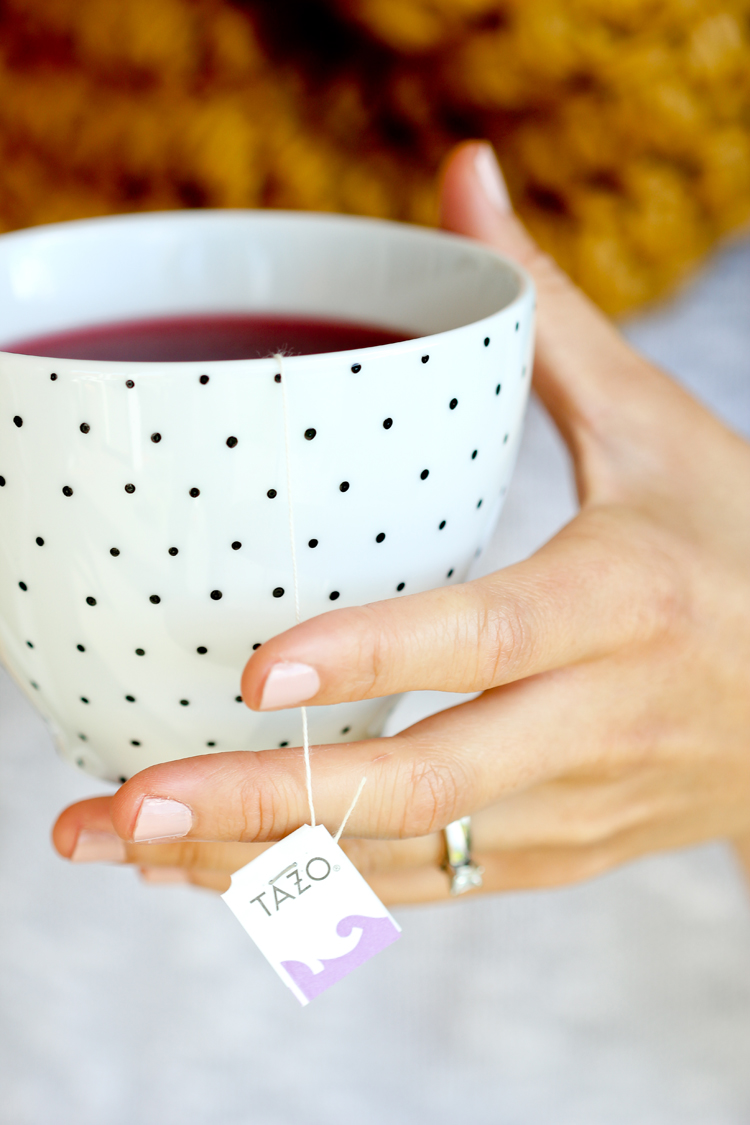
One of my favorite things to do in the afternoon, before my boys come home from school is to take a little crochet, tea, and TV break. It’s a satisfying pick up me to help sustain me through the rest of the day and keep me moving on a happy note!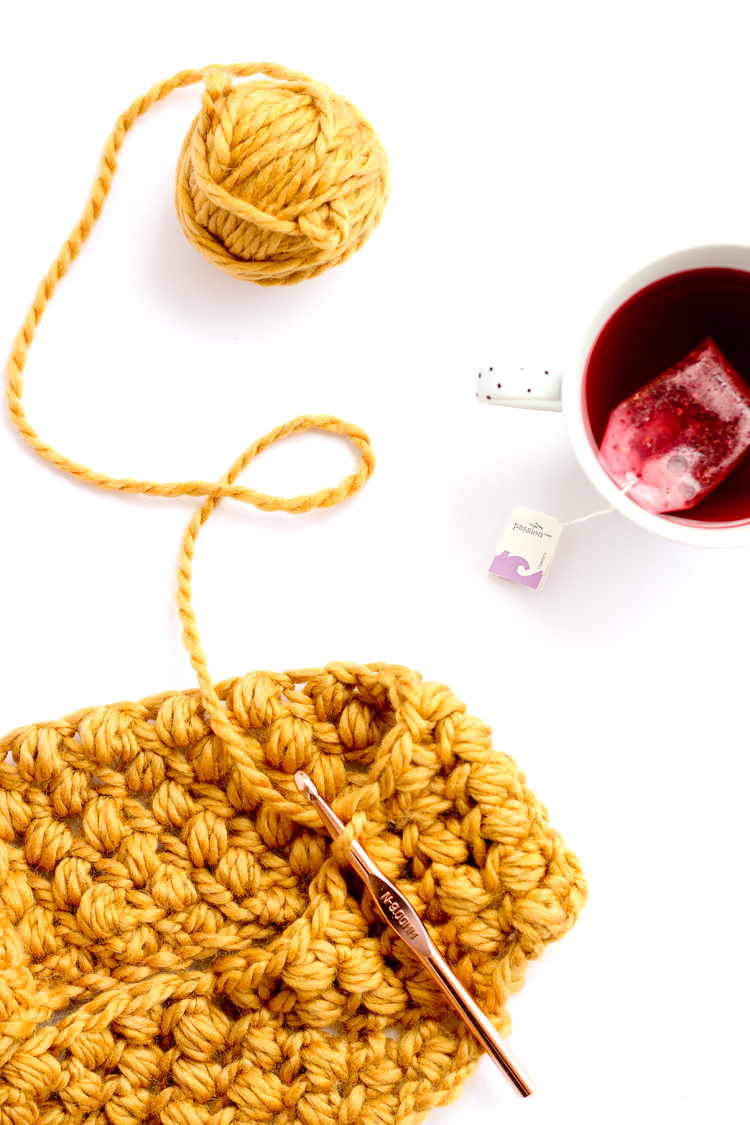 I recently found and have fallen in love with Tazo® Tea‘s Passion® herbal tea. Get this…it’s an infusion of hibiscus, orange peel, rose hips and passion fruit. Um…heck yes! It’s like a bright, happy party of delicious freshness in your cup.
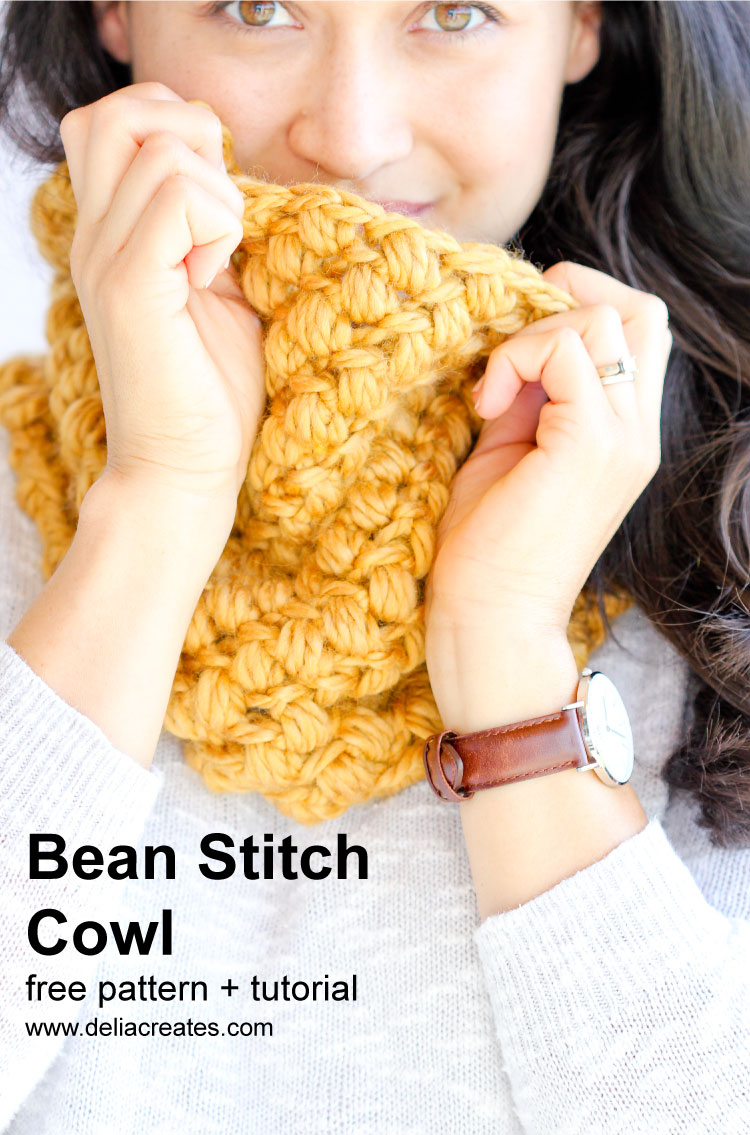
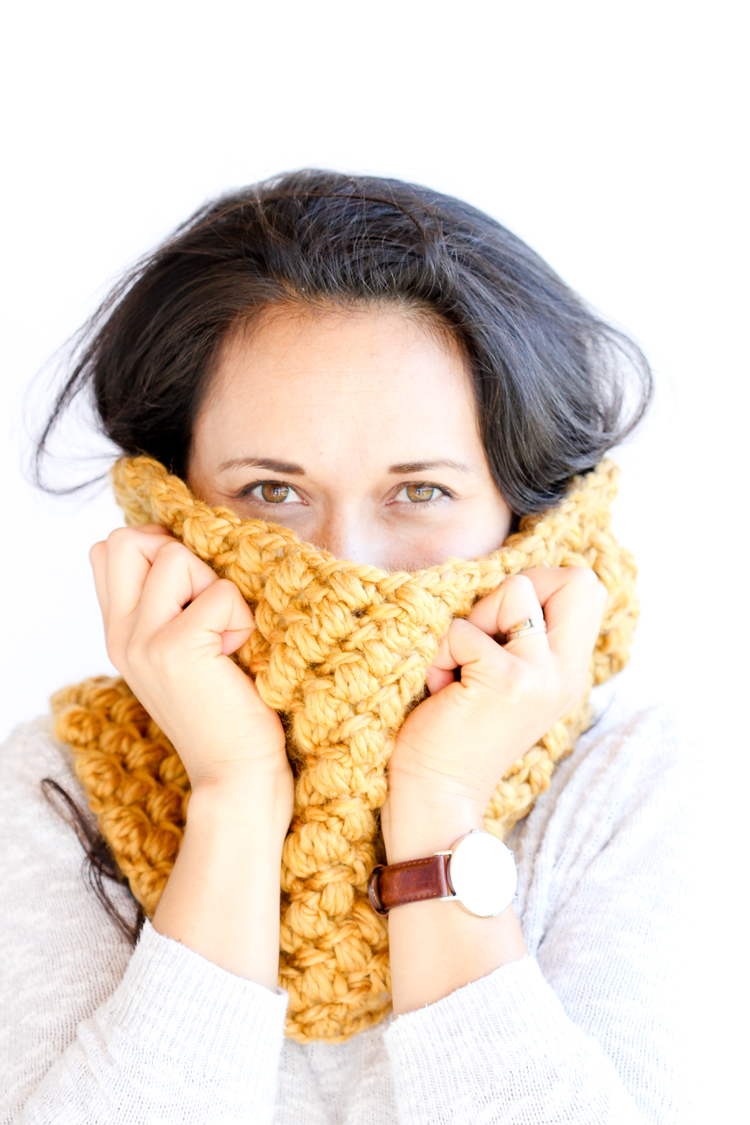
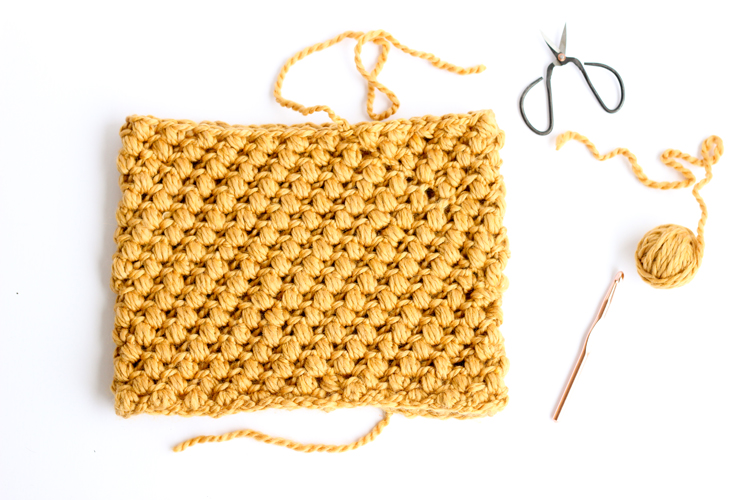
Looking for a project to occupy my hands during my afternoon “me time” sessions, I designed this simple bean stitch cowl pattern.
Truly, it is so easy. The stitch looks complicated at first, but once you have it down, this cowl couldn’t be any more straightforward and fast to work up.
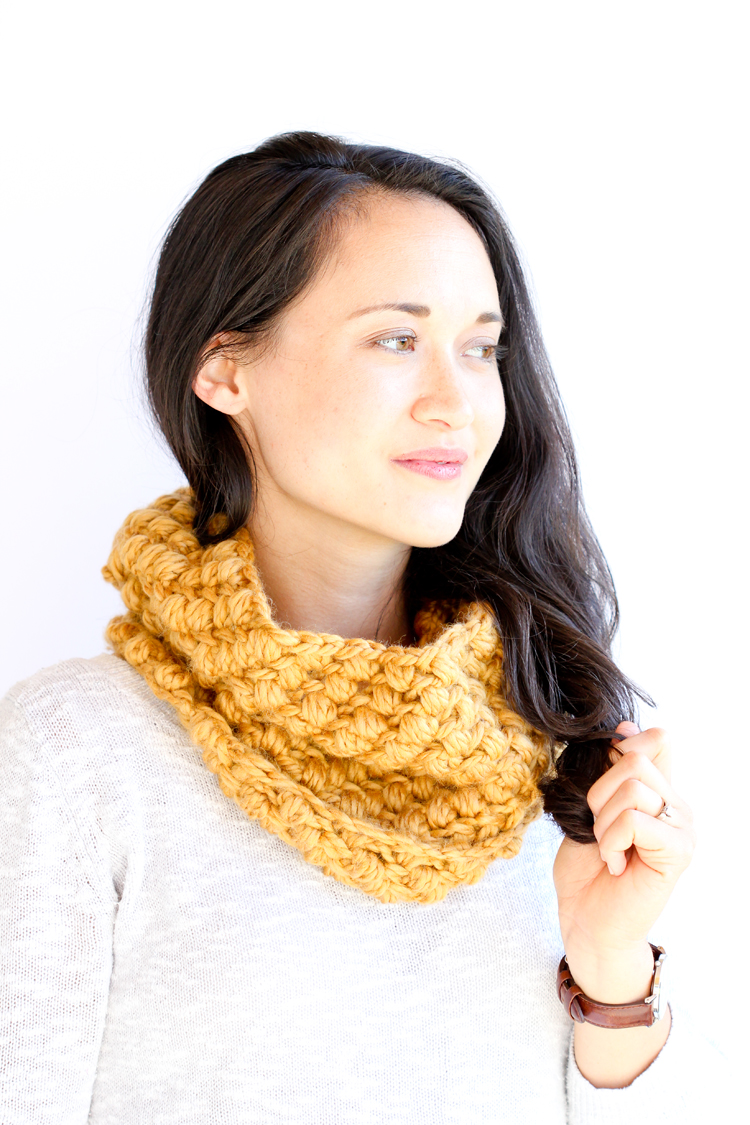
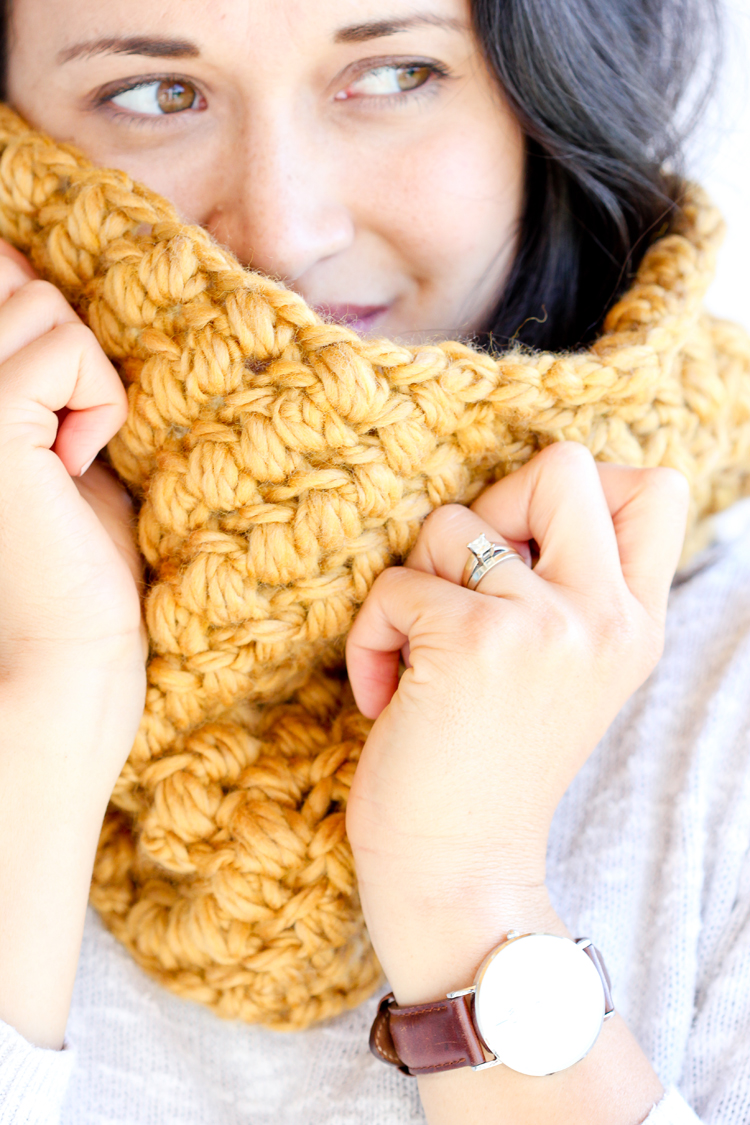
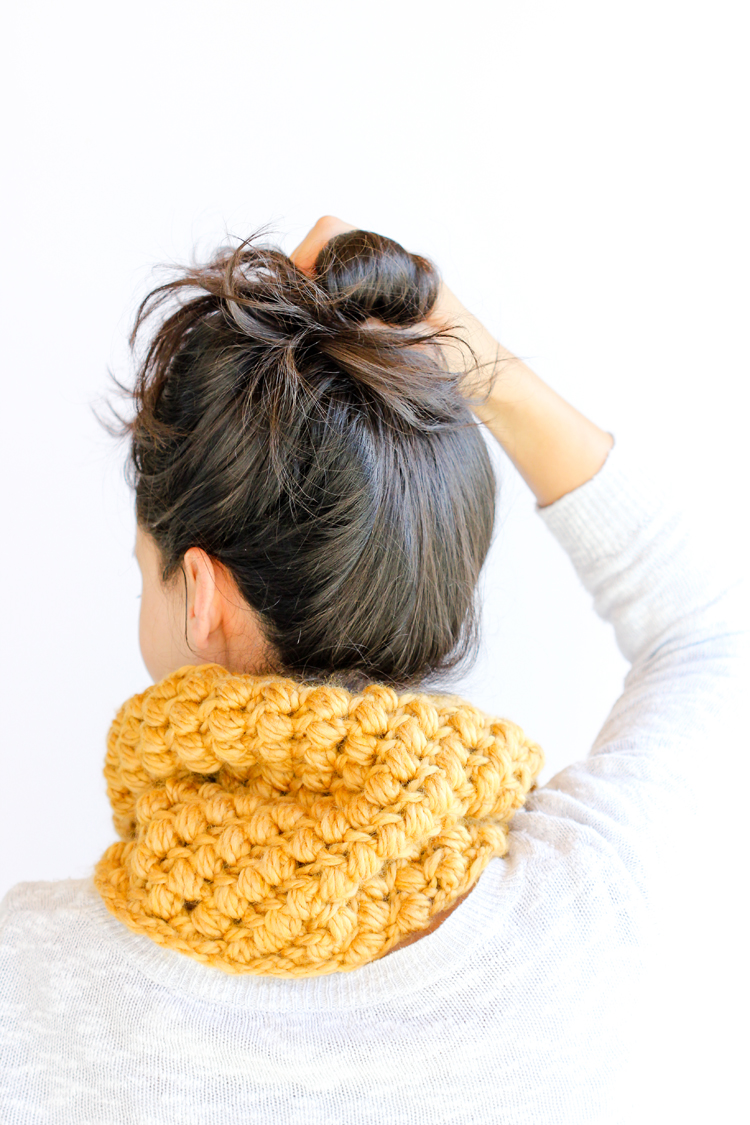
Why is it called the bean stitch? I can only guess. It basically kind of looks like a bean… that leans. It’s a cousin of the puff stitch, but it’s worked up a bit differently. It also, as I mentioned, slants to one side. When worked in rows, it creates an alternating zig zag like pattern. For this cowl, I’ve designed it to be worked in looped rows, so that it never turns or alternates. It just all leans in one direction, creating the illusion of diagonal rows. Fun, right?
MATERIALS:
- 2 skeins or about 9 ounces of super bulky #6 yarn*
- 9.00 mm hook (N hook)
- scissors
- yarn needle
*I used Loops & Threads in Golden Rod
GAUGE:
4 bean stitches x 7 rows = 4 inches x 4 inches
ABBREVIATIONS:
(I’m just going to skip these since this is a short pattern.)
PATTERN + BEAN STITCH TUTORIAL:
(simplified pattern listed at the end)
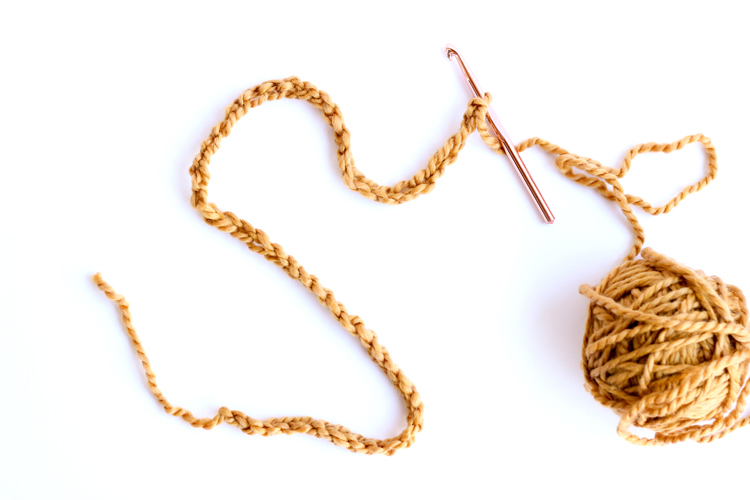
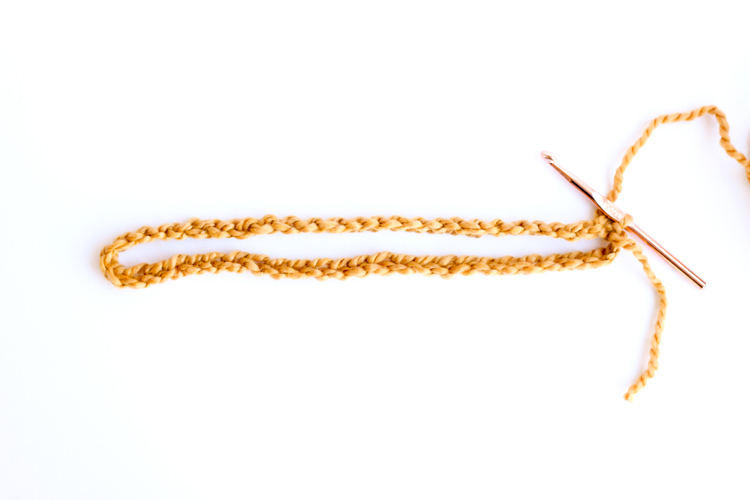
Chain 50. Slip stitch chain into a loop, taking care not to twist the chain. Chain 1.
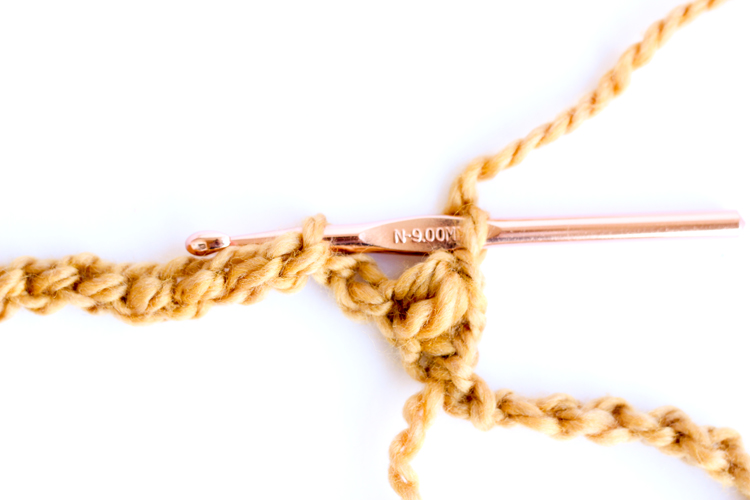
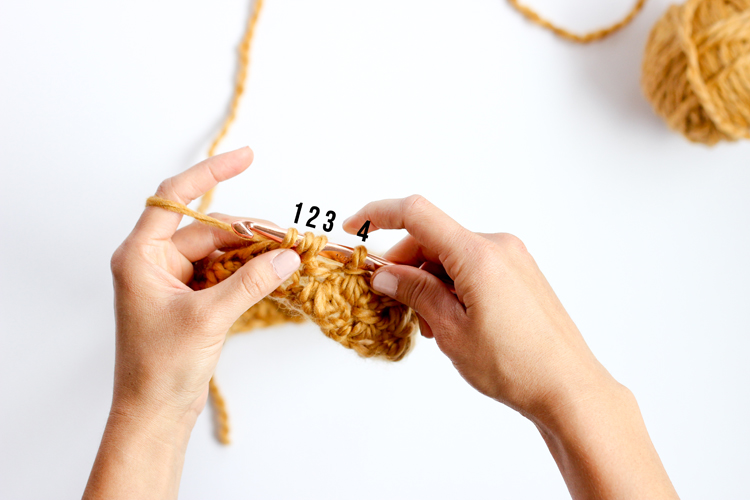
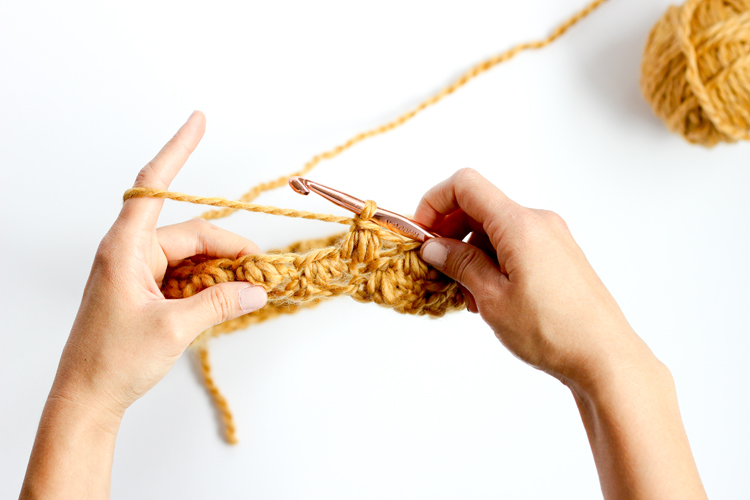
Skip the first chain, and work your bean stitch into the next chain. The bean stitch always works in this pattern of skipping the chain/stitch closest to the hook and working in the next stitch.
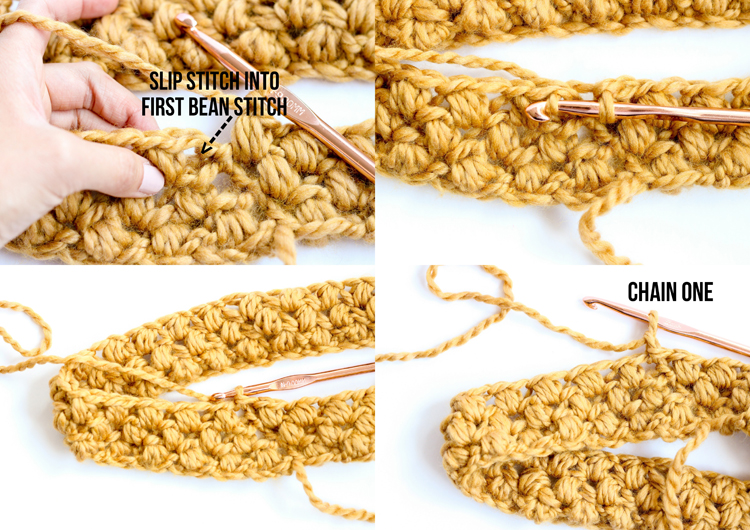
The picture ABOVE shows one completed bean stitch, with the hook skipping the first stitch closest to the hook and working in the next. The next few pictures show a bean stitch being worked into an already established row of bean stitches, but the method is the same.
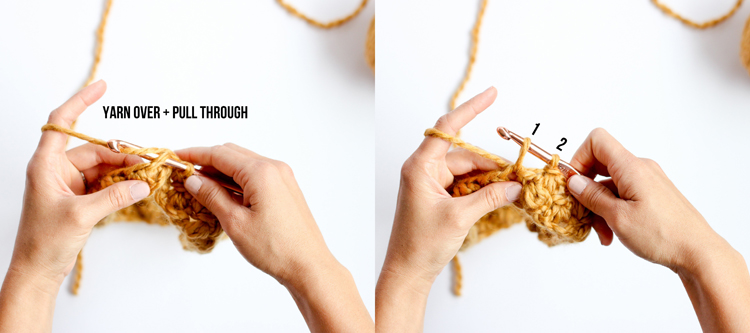
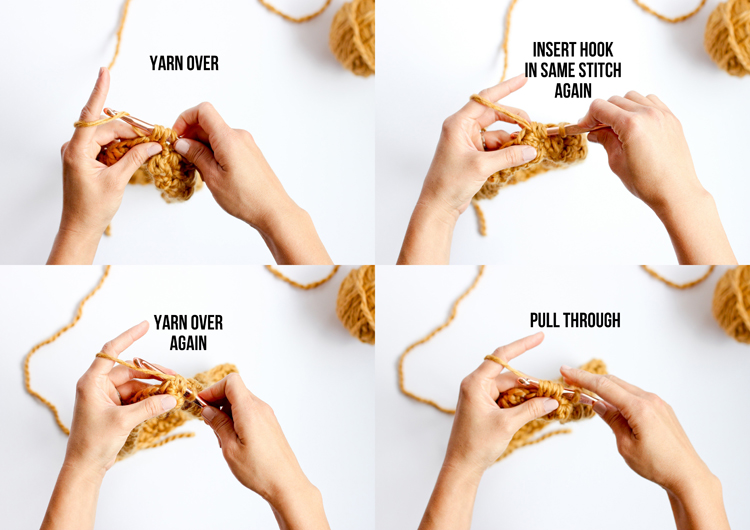
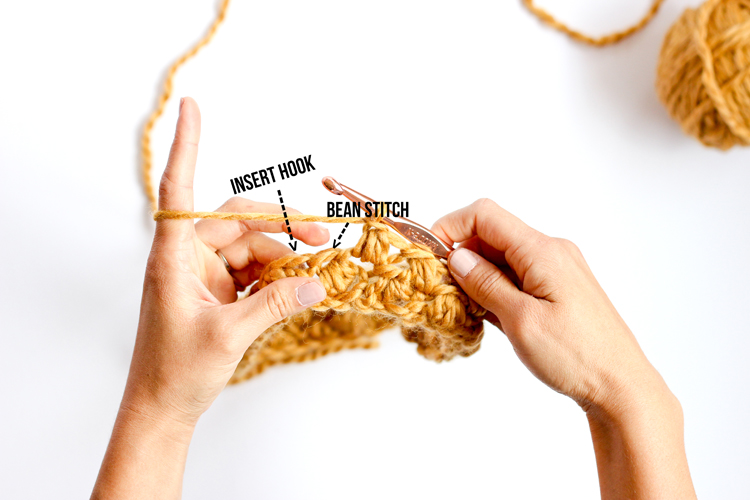
Insert your hook into that second stitch (do not yarn over first). THEN, yarn over and pull through hook through. You should now have two loops on your hook.
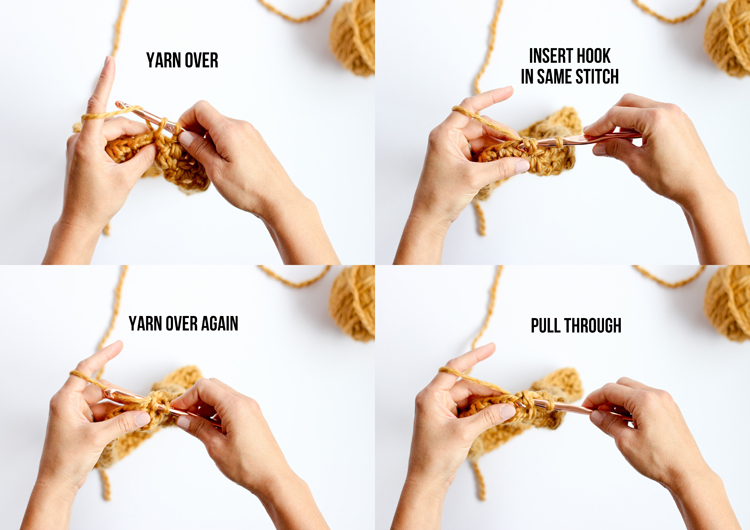
This time yarn over first, then insert your hook in to the same stitch you just worked, yarn over again, and pull through. You should now have four loops on your hook.
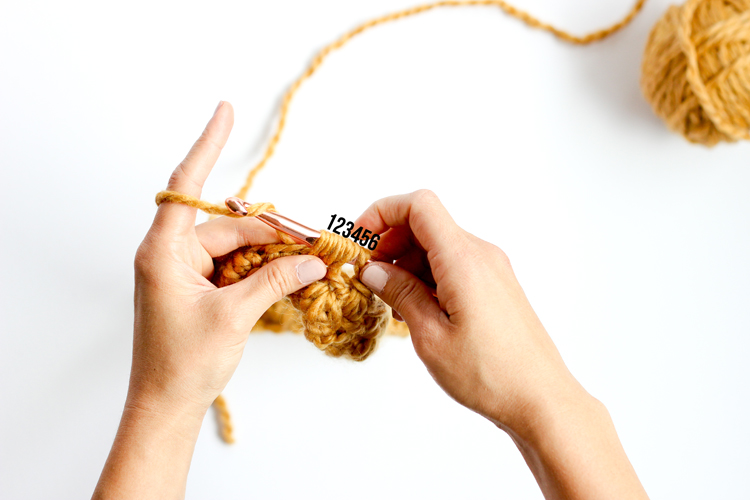
Repeat the last step one more time. So, yarn over, insert into the same stitch, yarn over, pull through. You should now have six loops on your hook.
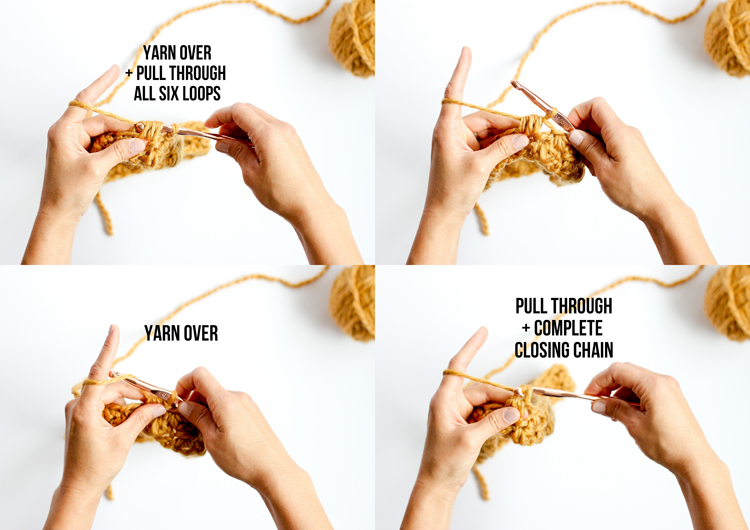
You’re almost done! Yarn over again, and pull through all six loops. This can sometimes be a fight. Just keep gently wiggling the hook through. It helps to keep your yarn slack, so the loops don’t get pulled too tight.
Yarn over one more time, and pull through. This creates a chain at the top of the stitch that secures the bean stitch.
Done!
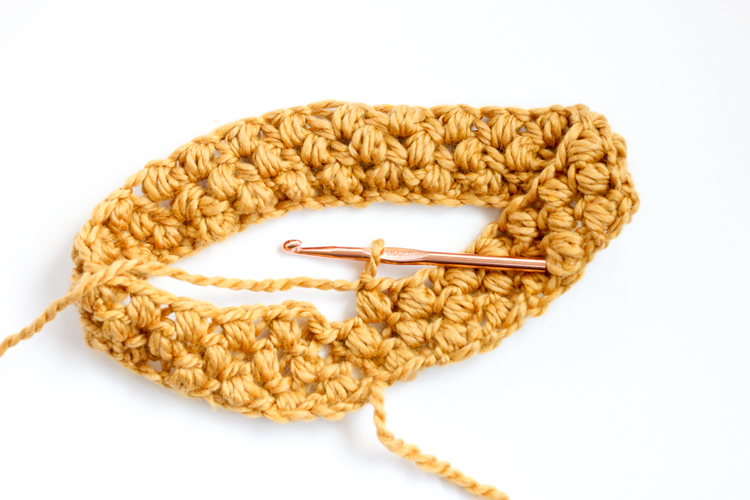
Continue, this pattern of skipping a stitch and working in the next stitch, all the way around the looped chain. You should have 25 bean stitches in all. Slip stitch the last stitch to the first stitch to complete the row. Then chain one to start the next row.
Be aware that, especially as you work more rows, the first bean stitch leans so much that it can be hard to see. Be sure to count your stitches. You may use a stitch marker as well. You’ll notice that your seam will slant at a steep incline. Usually this is a bad sign that your stitch count is off, but in the case of this cowl, it’s good!
After you have finished the first foundation row of bean stitches, instead of skipping a chain and working in the next, it can be more helpful to remember to find the bean stitch (loop above the slanted cluster of yarn) and work in the space to the left.
Complete 17 rows of bean stitches, or as many as you desire.
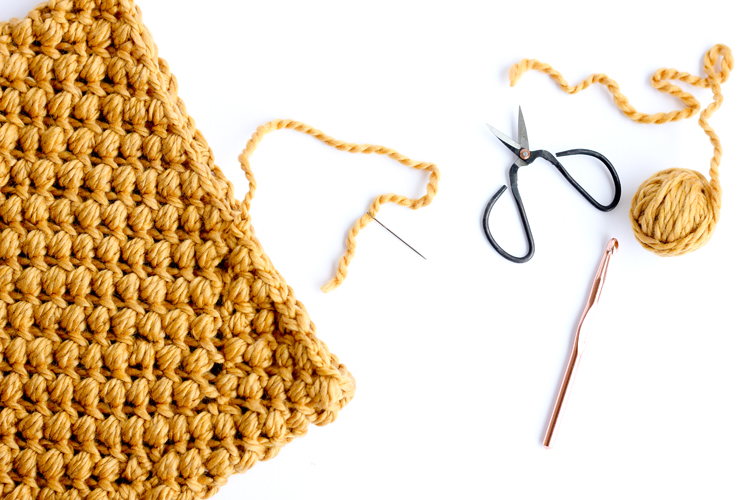
Slip stitch the final row closed, tie off the yarn, and weave in all loose ends.
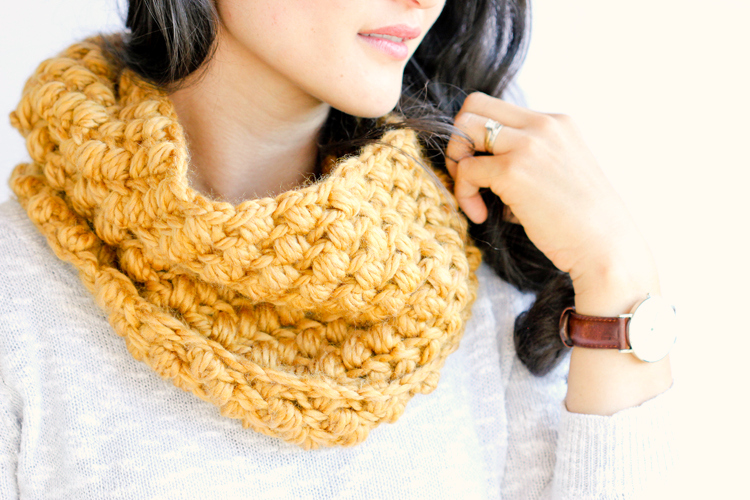
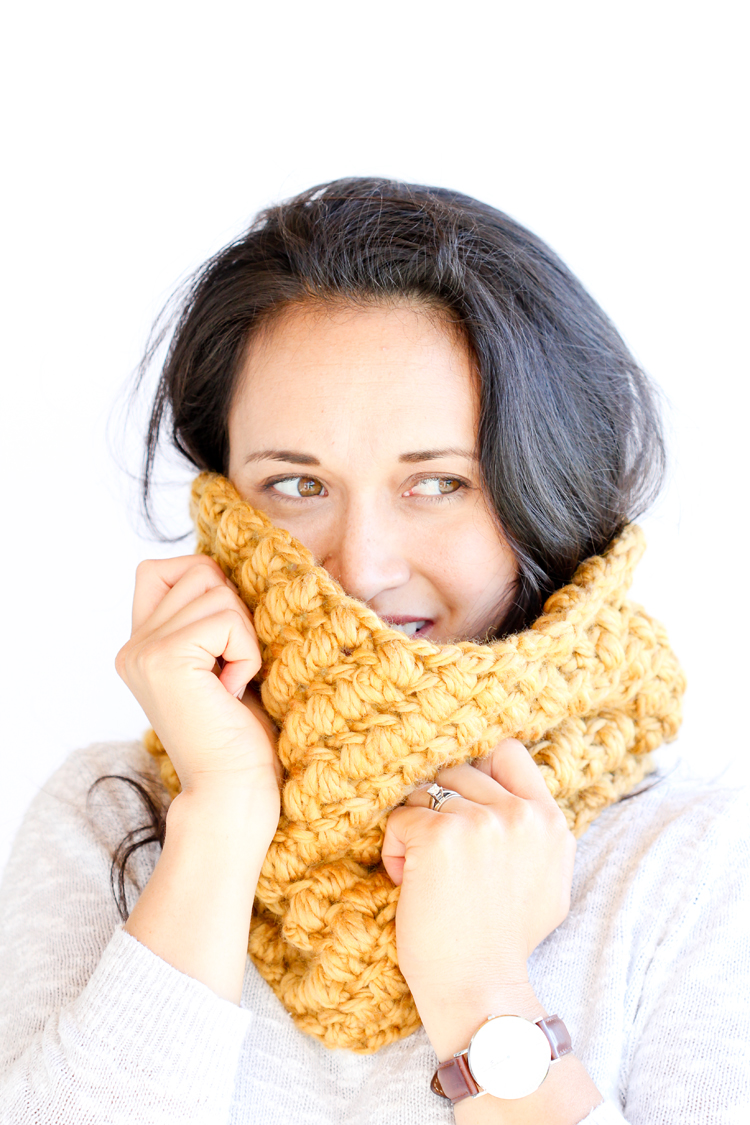
Now throw it on and get cozy in your new cowl!
Here’s the pattern straight up:
Bean Stitch Cowl Pattern
Chain 50. Slip stitch into a loop.
ROW ONE: Chain 1. Skip first chain, bean stitch in next chain (insert hook, yarn over, pull through, yarn over, insert in same stitch, yarn over, pull through, yarn over, insert in same stitch, yarn over pull through, yarn over and pull through six loops on hook, yarn over, and pull through). *Skip next chain, work a bean stitch in second chain from hook.* Repeat from *to* 23 times. Slip stitch into the top of the first bean stitch to complete looped row. (total of 25 bean stitches)
ROW TWO: Chain 1. *Skip first bean stitch from the hook, work a bean stitch in the space to the left.* Repeat *to* 24 times. Slip stitch into the first bean stitch to complete the row. (25 bean stitches)
ROW THREE -SIXTEEN: Repeat ROW TWO.
ROW SEVENTEEN: Chain 1. *Skip first bean stitch from the hook, work a bean stitch in the space to the left.* Repeat *to* 24 times. Slip stitch into the first bean stitch to complete the row and the scarf. (25 bean stitches) Tie off yarn and weave in loose ends with a yarn needle.
Enjoy!
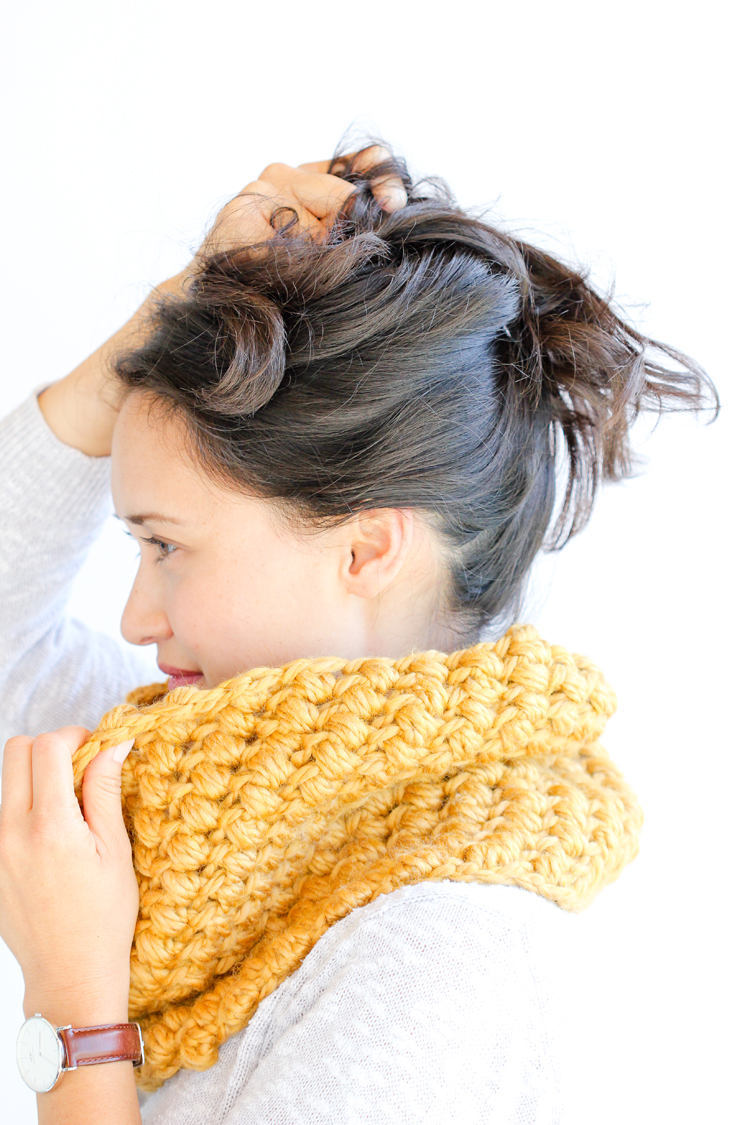
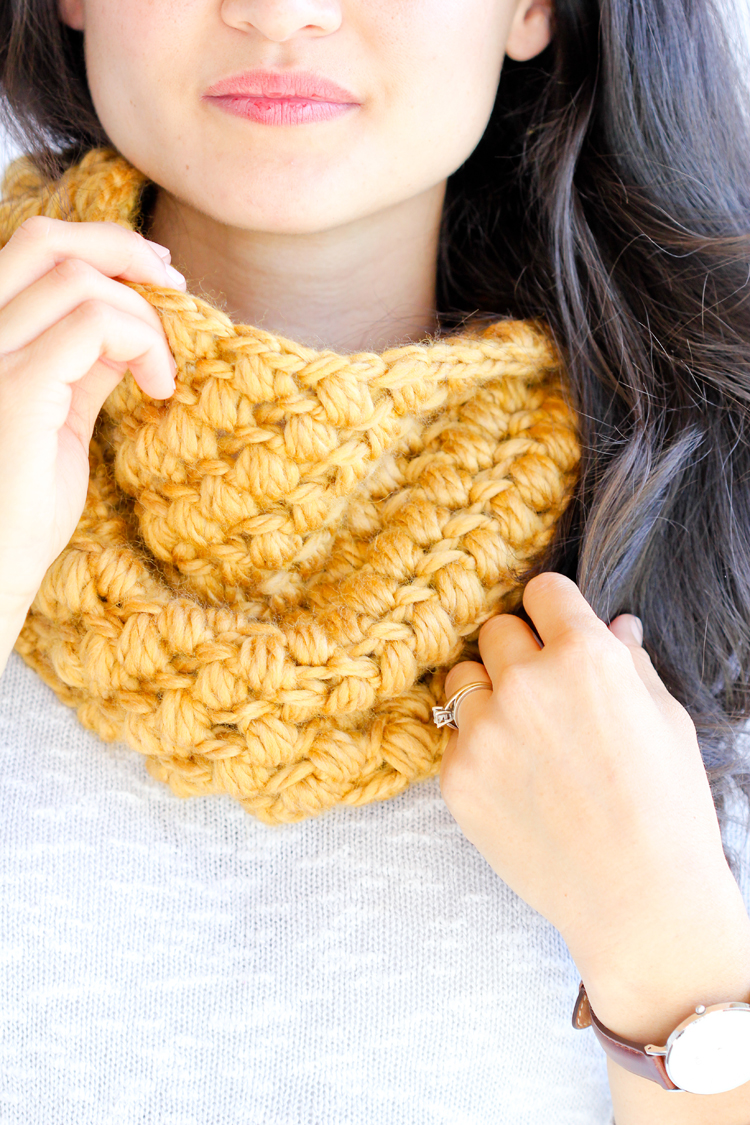 Add a cup of Passion tea and you’re gold. 😉
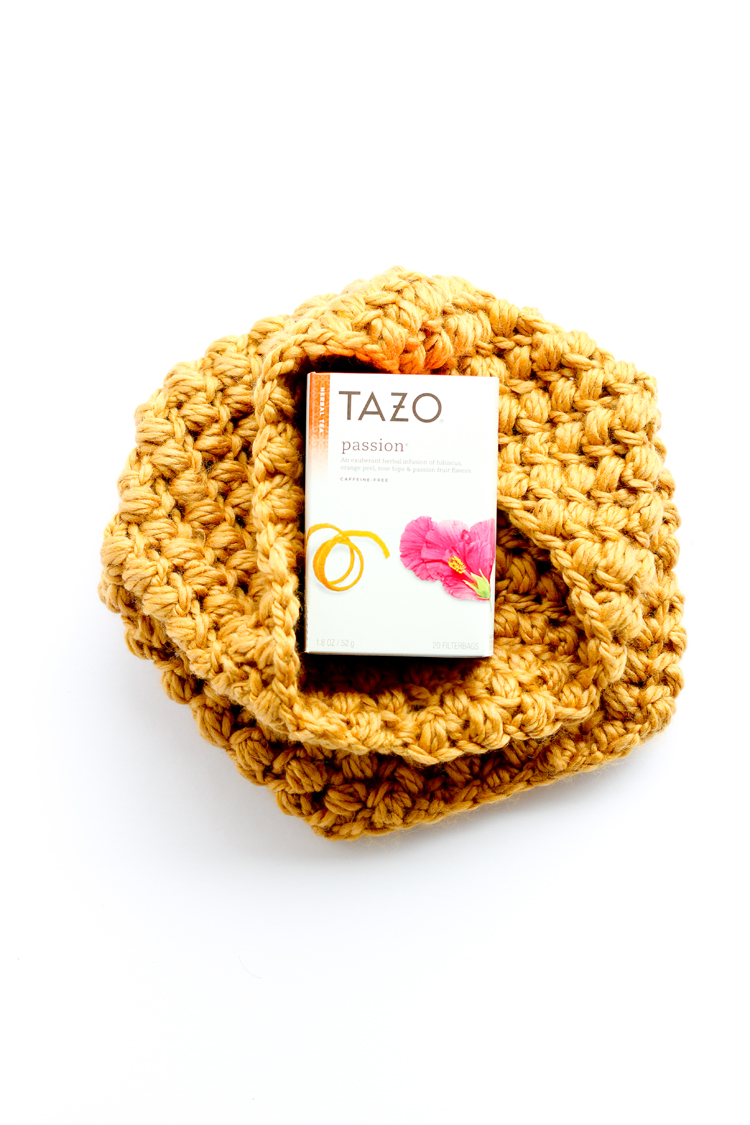 Tazo also offers fresh takes on other traditional blends, with their Awake™ English Breakfast and Zen™.
Disclaimer: This post is sponsored by Tazo® Tea, a great brand who helps keep the creative content on this site going. All opinions and content are genuinely and enthusiastically my own. 🙂


Beautiful cowl. I love the tutorial, simple and easy to follow. I love the mustard colour of the wool, I may have to steal that colour choice for mine. Thank you for this pattern, I will have to get my crochet hook out. Cheers, Michele
Very nice style and design and superb content material, practically nothing else we need :D.
Great to see you back on the blog!
Lover of Tazo tea over here too (it’s also yummy iced!) and I think this cowl pattern might be the perfect project for me while we road trip tomorrow. It’s beautiful! As was your Observer maxi. Your styling is always spot on. ??
Thanks Courtney! I was just thinking how it would taste so delicious cold too! I’ll have to give it a go now. Thank you for your kind words! I really appreciate it. <3 <3
What a cozy texture! I love how the stitch creates the diagonal look when it’s worked in rounds like this!
Thanks Charity! I know…I love the effect.
Would this work to double the beginning chains and make it a large two looped scarf, ya think?
Hi Suzie! I think an infinity scarf would work great! I might actually increase the chains by about 2.5 because you need to account for the scarf length you use to twist it when you double it up. Great idea!
Hi Delia
love your blog and love this pattern. Wanted to ask another question as well. I saw your Carrie Cardigan and was wondering how I would be able to get the pattern for it. Your post about it mentioned that it would be in your store but I can’t find it. I’d really love to make one for myself.
Ooh! LOVE that one!! I need to actually take the time to do this.
Thanks Andrea! That’s what I love about crochet. It’s so mom friendly…You can pick it up and put it down as much as you need. 😉
That is just gorgeous! Time for me to learn how to crochet
I love this pattern! What hook size would you suggest if using worsted weight yarn instead of super bulky?
Thanks Kim! Sorry for the late response on this comment. I didn’t received notification about it until now. I would recommend using a 5.5-6.0 mm hook for worsted weight yarn. This will make the beans smaller, so you will need to adjust the pattern accordingly. If you don’t want to do that you can put 2-3 strands of worsted weight together to acheive the thickness of bulky yarn. I hope that helps!
So do you not close off each “bean” with a single crochet?
Good question Gina. Each bean is closed with a chain. I hope that answers your question? Let me know if you have any more questions and I’ll do my best to answer. Happy New Year!
Thank you for this pattern (love your color choice, too). I can’t tell from the tutorial, but on subsequent rows, do you make the bean stitch in the open space to the left of the previous row’s bean stitch or in the stitch above that open space, also left of the bean stitch? Thank you!
Good question! You work in the chain stitch above the bean stitch (which sits on the left side of it). I hope that helps. Let me know if you have any further questions.
Hi Delia,
I’m currently crocheting this scarf on a worsted weight yarn, with a 5.5mm hook. I’ve followed the pattern as closely as I understand, yet for some reason the scarf is curling. Both sides are curling in towards each other. Did yours do that? How do I prevent that?
Thank you!
Hi Sharon!
Let me see if I can help you troubleshoot. By sides, do you mean the top and bottom of the scarf? If you work in a looped row, there should be no curling end to end. How many rows have you worked? It’s normal for the first few rows of a project to curl, especially when working with worsted weight yarn. I used super bulky yarn which is less prone to curling. As you work more rows, it should flatten out. If that’s not the case, you may need to wet block it to get the yarn to relax and lay flat. Another thought is that your tension might be on the tight side? This can encourage curling sometimes. I hope these help you find a solution! Let me know if you have any other questions.
Delia
Can i make this scarf in a toddler size? If so what would that be?
That’s a great question. I have a toddler scarf pattern: https://www.deliacreates.com/crocheted-toddler-cowl-scarf-free-pattern/
That might help give you a good starting point. You will probably have to play around with it and adjust it quite a bit from there, but I hope that helps.
Im sorry if im posting this again i don’t see my comment anywhere. Id like to make this in a baby/toddler size how would i do that?
So sorry about that. On older posts, comments have to be approved before they show up. It’s a measure to prevent spam comments but it doesn’t differentiate between real and spam ones. I’ll answer your question under your original comment.