

Let’s get started.
MATERIALS
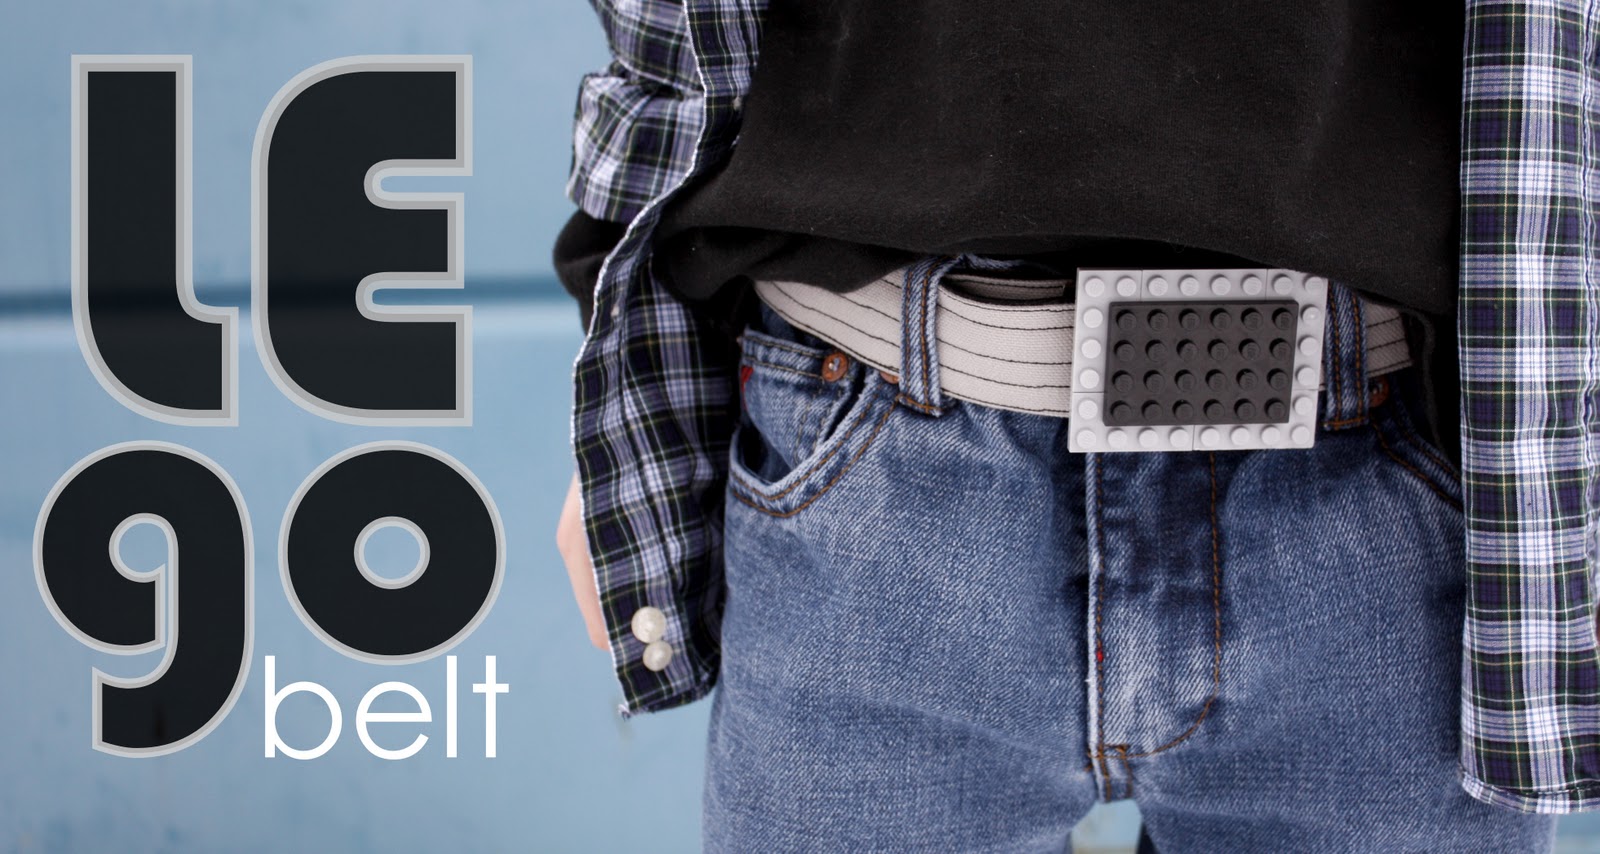
BUCKLE
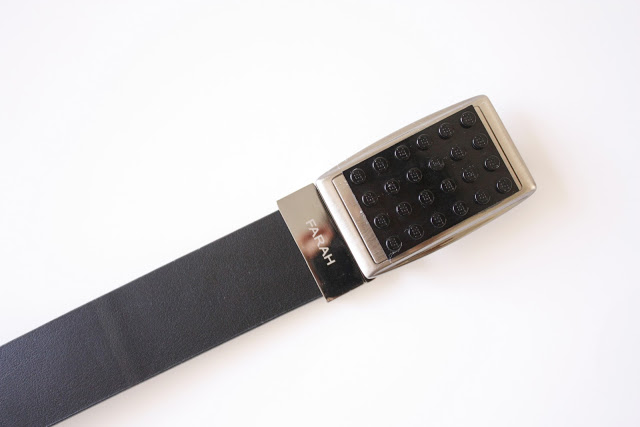
Slide buckle – either upcycled from an old belt, or new
Flat Lego pieces – one 4×6 and five 2 x 4
E-6000 glue or another strong glue that bonds to both metal and plastic (hot glue gun won’t be durable enough)
Craft foam – small piece, sized smaller than the 4×6 piece
BELT
2 -1/8 yard pieces of twill fabric in contrasting colors
Matching or contrasting thred
Jeans needle (I didn’t use one, but wish I had… which I talk about in the tutorial)
Sewing machine and basic sewing supplies
BELT TUTORIAL

1. Cut strips of fabric about 3 1/4 inches wide and to your desired length (I used 35 inches). The best way to determine length is to take the recipient’s lower waist measurement and add about 12-14 inches.

2. Fold and iron the long sides inward, overlapping them over the center.

You want a finished width of 1 1/4 in.

3. Bring the strips together, with the folded sides facing each other. Stitch along the long, outside folded edges, securing the strips together and enclosing the raw edges.

My lines are a little wonky because I didn’t use a jean needle….definitely a detail I won’t skip next time. 😉


For one side, sew a regular quick zig-zag stitch {right}. This side will go into the buckle and be hidden.
On the other side {left}, use a wide, dense zig zag stitch. Go back and forth over the end several times. . This is the “good” side that will show at the end of the finished belt.
BUCKLE TUTORIAL

1. Assemble the lego pieces into belt buckle shape, as desired. You can also just use the 4×6 piece, for a smaller belt buckle.

2. Cut a piece of foam to the size of the buckle about the size of the 4 x 6 piece.

As you can see. The actual buckle is curved, so gluing the Legos right to it can prove tricky and unstable. Adding the layer of craft foam remedies that issue nicely.

3. Using E-6000 glue, glue the Lego pieces together into the buckle face. Then glue the foam to the back of Lego buckle face and glue everything to the metal belt buckle.
E-6000, doesn’t dry very quickly. So although it only takes a minute to make, plan on a lot of drying time. I give it at least a day or more to be sure it is nice and stable.
4. Thread your belt in place.
And that’s it!


 We left the belt plain for these photos, but he also likes adding little designs and creations to the buckle face. As long as the designs don’t get too crazy and elaborate, they snap and stay in place with no problems.


For more LEGO projects, check out these posts:
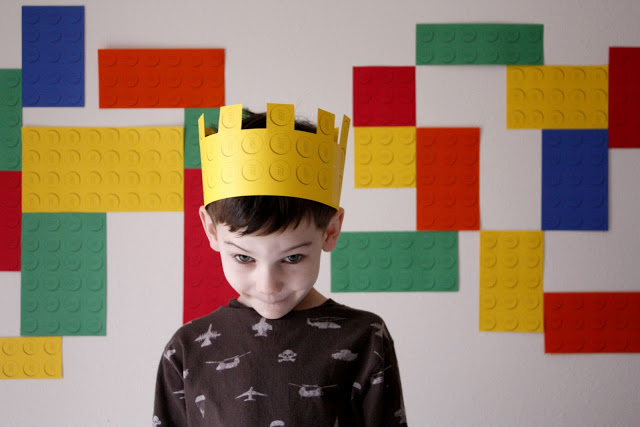 Lego birthday party number one with free printables.
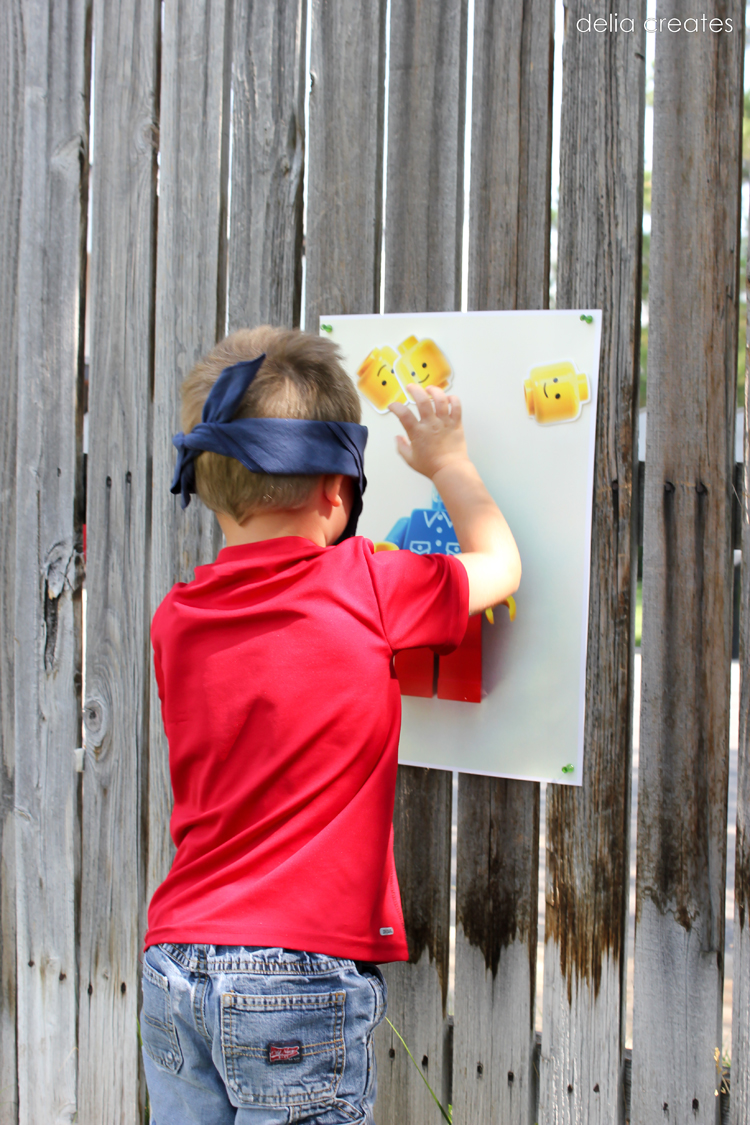 Lego party number two with more free printables.
Or check out our LEGO archive HERE.
Very cool! Don't worry; I can't sew straight lines either. Also, I would worry about the gems getting played with too. Maybe you could glue them on too? I like it how it is, though. Simple. Manly.
I can't sew in a straight line either. It is NOT as easy as it sounds!
And I LOVE LOVE LOVE the belt- what a great idea!!!
This belt is so cool, my son has so much Lego that I'm sure he wouldn't miss any….the colour combinations available are incredible! Great tutorial~ Sara ~x~
He does look like a stud. The belt is a very cool idea. I wouldn't have guessed it was a dumpster either. Very creative.
How cool! Your little guy is quite the model! All his poses are so cute!
The pics are adorable, what a little gentleman 🙂 The belt is fantastic!!!! i can't sew straight either, so that made me laugh pretty hard!!! i can't wait to make my little man a belt!!!
That belt is awesome! Great job!
i like the non-straight lines! It gives it a lot more edge.
Just Better Together
Gorgeous photos Delia! And a great tutorial. I'm so glad that you're back. Hugs!
I love the finished look! Very creative!
This is so great! My boys would love that–I'll have to make them each one. You are great! And I've seen a dumpster around a DI that I've thought about pictures by, ha ha!
adorable…I mean, cool! 😉
Ok, I have to make one of these! Would it be too clunky on a super skinny 2.5 yr old?
love the belt AND the not-so-straight lines.. sometimes not-perfect IS infact perfect! 🙂
Love the belt! And I was wondering what your cool blue background was…who would've known a dumpster! I love it! 🙂 Owen looks so grown up in these pictures!
SOOOO COOL!! I am going to be referring to your blog frequently over the next month. My son's 5th birthday is coming up and he is nuts over lego anything. Your party came out so well. It has already inspired many ideas!
this is a fun belt! I'm saving this for when my guy starts actually wearing belts 🙂
love it!! carlitos would love one of those 🙂
what a clever idea! nice job
thanks for sharing!
-lauren
that's adorable and I love that you used a dumpster as your background! An awesomely blue dumpster!
This is a great idea and I honestly think that homemade look in sewing gives it an extra flair.
Super cool. I think I will make my 22 yr old brother in laws one for Christmas. I can totally see them rocking it too!
so much to comment on…
Owen is ADORABLE!!
I totally passed a dumpster on the way to get the pictures for my last post and thought about using it for our backdrop, too! Love it.
The buckle. Oh.My.Word. I have to make these for all three of my boys. I'm so excited, they'll LOVE them.
I have two boys that would love me forever if I made one of these! Thank you for the fabulous instructions!
Hi Delia!
Just wanted to say that you are my latest domestic hero, I also have 2 boys (one is nearly 6 and one is 2), so far I have made some of your amazingly easy bread (yum) and am inspired by all your other nifty little crafty bits and pieces.
What a doll! I have four boys so this project will be a huge hit at my house. Linked to you:
http://www.momsbyheart.net/2011/02/boys-lego-belt-tutorial.html
What a wonderful idea. A 5 star model!! and 5 star tute! I love e6000 glue! It is the best! Thank you for sharing your awesomeness with us.
Love it! I don't mind the less than straight lines…I think they give it character! And, the blue background is awesome.
i love love love this idea…
i have an eleven year old
who may also love it!!
:O)
great tutorial!
I made Lego Belts for my boys, thanks to you. Just wanted you to know I linked you in my post. Thanks! winks-jen
This is brilliant!
You have spread great joy to oh so many little ones out there…..
Your little one is gorgeous!
I must have one!! Probably one for me and one for my son! 🙂
Oh man, my nephews would love these! I can't sew so i will have to buy the belts. But no worries, you can find those at pretty reasonable prices I think!!! I will definitely be sharing this on my blog… soon 🙂
Karli
http://www.dancingaroundwithkarli.blogspot.com
I just found your blog today and it is very inspiring. I have a list of things I want to do just from looking around for a few minutes. I have 5 boys and lots of lego bricks. I think I might try this first. Did you use a jeans needle (sometimes called a top stitching needle)? They really help with straight lines, if your really concerned about it. I like it just the way it is though.
I made the belt buckle, but added little knights to the top! Thanks for the idea, my nephews went CRAZY!
-Karli
http://dancingaroundwithkarli.blogspot.com/2011/03/lego-belt-buckle.html
I featured this on my blog today!
http://www.kimboscrafts.blogspot.com
That belt is super cool! I can't wait to make one or two. I think I even have a buckle at home.
I found you on A girl and a glue gun:)
Really cute! I'm featuring it on my blog:
seemesew.blogspot.com
I love so many of the things you do!! Thanks for the lego belt inspiration! I made a Bananagram belt over the holiday that was partly inspired by your lego belt!!!
http://buzzmills.typepad.com/blog/2012/01/little-things-with-letters.html
This is fabulous! What about a wide lego wristband?
I am no longer certain the place you’re getting your information, but great topic.
I needs to spend a while studying more or working out more.
Thank you for excellent information I was in search of this information for my mission.