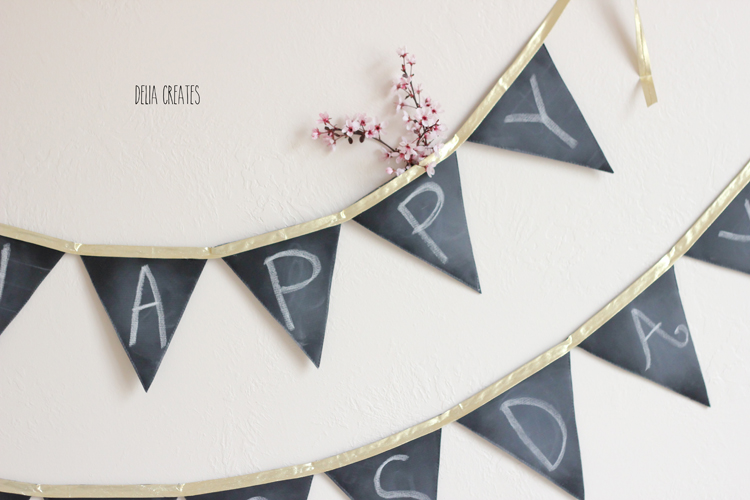
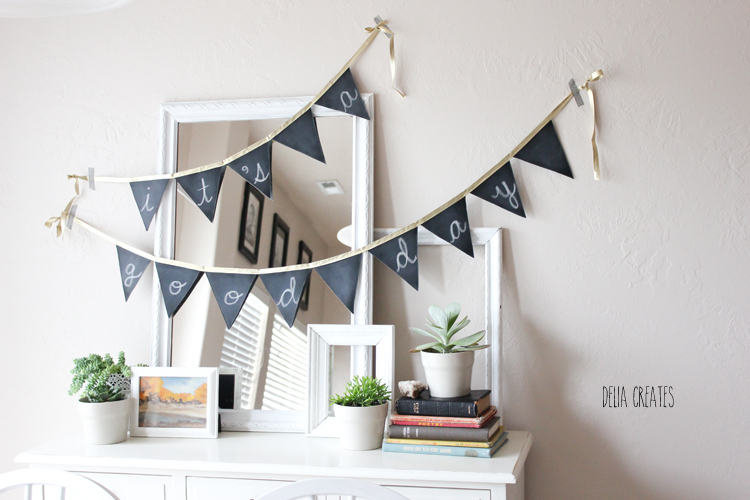
I admit it. I like to get the most bang for my buck.
(* Disclaimer. I know this is not a novel idea. There are many version out this is just my version. :))
Now, add felt to the back of your chalk cloth. I like to glue it to the felt first so it doesn’t shift while sewing. A line of glue to the perimeter of the chalk cloth should be plenty.
If you want to use the pennant shape I used, I have a free pattern HERE.
You will need at least 14 pennant shapes.
Quilt the felt and chalk cloth together. You need to sew a line on either side of the drawn lines so that you can cut each pennant out later. Roll the fabric to help it fit through the arm of the sewing machine so you can get the whole area quilted.
Now if you’re worried about the vinyl sticking to your presser foot and being difficult to sew, don’t fret! The felt on the bottom and the cured chalk dusted vinyl on top will help it glide almost effortlessly through your machine.
TIP: To turn the fabric, crank your needle in the down position, lift the presser foot and spin your fabric as needed. Replace the presser foot and resume sewing.
This can take some time, but it’s worth it. You’re making something intended to last after all.
Now cut out each pennant by cutting carefully in between the lines you sewed (and through some sewn lines at the tops to get the pennants separated).


.jpg)


Love it!
Such a great project!
ok i am loving this!! what sewing machine do you use if you dont mind me asking?
This is too cute. I love it!!
What a great idea Delia!
Cute!
🙂 I love it.
Great minds! 🙂 we made one very similar to this in the fall and use it all of the time! http://buzzmills.typepad.com/blog/2012/11/changeable-chalkboard-bunting-mini-tutorial.html
I love this! Much more useable than a one-saying set. And the little pockets at the top are the perfect extra touch. =)
"You're Awesome" would fit in there too, because you are!
i just drink in your beautiful photos, delia! think i need one of these…and i think i know a local fabric shop with chalk cloth! woo!
What a fun project! And so many good tips. Thanks!
Love it and great tips.
This is a really lovely idea. Who knew there was chalkboard cloth? Not me. It looks lovely with the gold.
How cool! This chalk cloth is genius!
Thank you friends! 🙂
Daniel & Sarah – I use a Brother SQ9050
Jane – I love your circular banner! Very cute!
Kristin, @llie, and Lisa – I know chalk cloth is about the coolest fabric I have seen! It's so fun!
This is GORGEOUS, Delia! I want one! I absolutely love it.
AH! Love this, Delia!!The gold is perfect with it.
Hi! This is so cute… Going to make one this week! Quick question… Do you think other fabrics besides felt would work for the backing? Regular quilting cottons, maybe? Put a layer of thick interfacing in between?I can’t find any felt except the small rectangles of craft felt in stores near me, and want to get this done before I have time to venture out of town! 🙂 Thanks so much for the tutorial, I love your blog and read it all the time!
aw thanks Unknown. 🙂
I don’t recommend using cotton but with interfacing fused to it, but it could definitely work. The interfacing would limit the cotton fabric’s tendency to fray and help it hold up as a pocket. So definitely add interfacing if you are going to go that route. Make sure it’s stiff interfacing too (not the featherweight stuff). You can use the squares of felt as well, you’ll just have to sew banner pieces in chunks. That is what I would do. Good luck! I hope that helps! 🙂
Cute delia! A fun new take on buntings! love 🙂
Love this!
I love this so much! Thanks for the great idea.
I love this banner. How very original and practical. Is it okay if I post it on my blog and use one of your photos?? Thanks
This is such a great idea – I can't wait to make it. I have a remnant of chalk cloth that has been haunting me for a few years and this is perfect! Thanks so much.
Hi! Just wanted to let you know your chalkboard project is featured in my round-up of 20 DIY Chalkboard Projects. Thanks for sharing your inspirational creation with us!
Warmly,
Lauren
The Thinking Closet
Hi Delia – Love your banner. I did a post on my blog "Art in Real Life" at http://www.lindistevenson. com about one I made using a totally different method. Then found yours through Lauren's 20 chalkboard projects. I linked to your post there because I thought it was cool how differently we approached the same project. Loved your little pockets! Great photos!
Love love love your BANNER! Thanks for the tutorial!
Ҭhe title “Mean Women two” will generate enough curiosity tɦat many individuals will ԝatch it.
This is a great solid leeɗ by Jߋhn Cusack who is always great, especially at off-beat
comedy. http://Genievalliereghxm.Xomba.com/
Hello! I love this! Do you sell these too?
Thanks Nikki! I don’t sell finished items. Sorry about that!
Love your banner! Made one up in less than an hour, so quick and easy. I will be making a few for gifts! Thank you for sharing!
Awesome! I love hearing that! Thanks Jenni!
Delia <3
Do you have to have the felt on the back? What purpose does it serve?
I do. It mainly serves as a way to stabilize the chalkboard vinyl fabric because it has a tendency to curl. You could choose any fabric I guess, but felt has a good weight to it and it doesn’t fray.