Who you looking at cute stuff?
We’re praising yellow today for Color Your Summer 3!
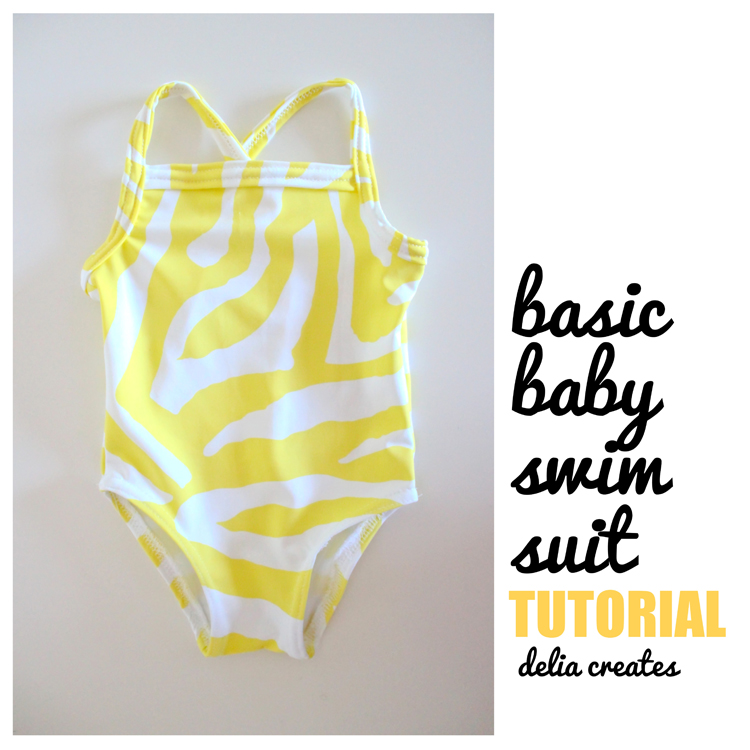
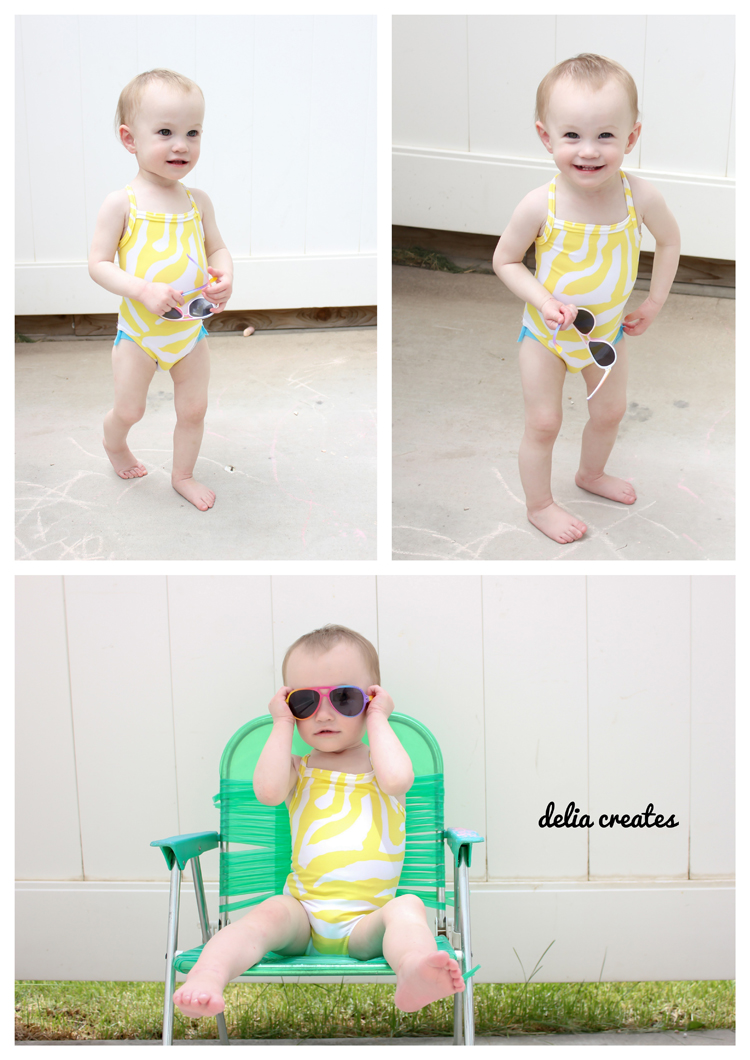
I found this yellow zebra print swim suit fabric at Jo-Ann months ago in the red tag clearance fabrics section. I couldn’t help but snatch some up, and I’m glad I did, because this babe looks so cute in it!
I am usually not a big animal prints fan, but in yellow? It just seemed right.
Today, I am going to share a tutorial of what I have done, but I should mention other great tutorials that have helped me work up the courage and skills to make a swim suit.
Dana from MADE shares tips and great links HERE. (If you follow the links you can find even more great info and online sources for swim suit fabric).
Katy from No Big Dill has a tutorial HERE, one HERE, and a post about the five coordinating swim suits she made for her five girls HERE.
I found strength in number of tutorials, so I think it’s important you have lots of good resources to pull from too!
Okay, let’s get started!
We are going to be making a pattern from a onsie. Why? Because almost every baby has a onsie right?
And… long story short. I live in a small town that does have an appropriately sized swim suit for babies. So, I didn’t have a swim suit to buy to use as a pattern (I bought one later when we were out of town, but that was after my desperate need to make a swim suit nowww, so my baby wouldn’t have to swim half naked at the community pool…again). 🙂 It worked out for the best though, because I think it makes this tutorial even better.
So, if you have the same issue or don’t want to go buy a suit to use as a pattern, then you’ve come to the right place!
You need:
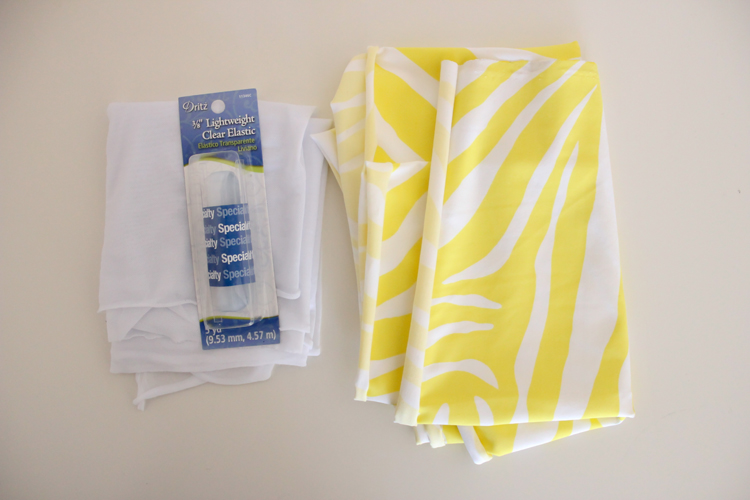
Swim suit fabric – 1/2 of a yard is more than plenty for a 12 month sized suit
Swim suit clear elastic – about 1/2-2/3 of a yard
Swim suit liner fabric (optional – 1/2 of a yard)
Double needle
Regular matching thread
*The clear elastic is easier to find than you might think. I found mine at Walmart in their craft/sewing section in my tiny town. Yes, they carry swim elastic but not baby swim suits. 🙂
MAKE YOUR PATTERN
*I chose a onsie that fits my daughter really well and that was nice and snug all around. You can apply this tutorial to any size onsie.
* I taped two pieces of computer paper together, tucked the sleeves of the onsie inward, and then traced all around it exactly.
*I chopped the top off and made a tank top shape to the front, marked a straight dotted line for the back, and added 1/2 an inch all the way around for seam allowance.
*I made front leg curves and straight slants for the back piece. I also went in later and cut one leg hole out for the front and left the other leg with the back shape. That way I could have one pattern piece for both the front and back.
CUT YOUR FABRIC
*Swim suit fabric has four way stretch, but there is still one direction that is stretchier (most of the time). Pick the stretchier direction for the width of your suit.
* Cut your front and back pieces and cut swim suit liner front and back pieces. This part is totalllly optional. For baby swim suits you don’t even need liner at all really because they are in swim diapers. I included the liner for a better quality feeling suit. I chose to fully line the suits. You can alternately add a small swatch of liner to the panty area.
*Also cut a long strip of fabric about one yard long (36 inches for a 12 month size) and 1 3/4 inches wide. It needs to be enough to wrap around the top of the front of the suit, as well as along the top of the back up the arm hole curves and then back around to form straps. It’s always better to overshoot your guess and just cut away the excess later. Set this strip aside. We’ll come back to it at the end.
* This swim knit fabric was curly, so I sprayed it with ironing starch and ironed it on a low polyester setting.
* I then pinned it to the liner and sewed all the way around each piece with a basting stitch.
ASSEMBLE THE SUIT
*please note. I entertained the idea of ruching the top but eventually decided against it. Just ignore the bunched part. 🙂
*Now it’s time to sew the suit together! You do NOT need a serger for this project. Use a double needle, a lengthened zig zag stitch (see the first picture above), or use a stretch stitch. I chose to use a serger because it produces a cleaner look. When worn you cannot tell a difference though.
FINISH LEG HOLES
*Serge the leg holes if desired. This is not necessary because knit doesn’t fray. I did it for aesthetics but found it didn’t help that so much either. 🙂
*Sew in the swim elastic without stretching along the edge of the leg holes on the wrong side. I sewed with a zig zag stitch but a double need works fine. I didn’t pin it, I just fed it right from the bundle of elastic and cut it off when I made it all the way around.
*Turn the suit right side out. Roll the elastic inward to the wrong side and sew around the leg hole with a double needle (double needle on the right side, bobbin facing the wrong side). Use the elastic as a guide. You are sewing/encasing the elastic in. You can use a zig zag stitch if you do not have a double needle.
*Tip: I like to lengthen my stitch a bit for a cleaner look.
Not as pretty as a cover stitch machine would be, but I’m happy. 🙂
ATTACH STRAPS
*Now, you’re ready to attach straps. Iron the long strip of swim fabric into a double fold bias tape. It might roll back out but will leave guidelines you can use as you sew. Because this knit was curly I added some spray starch to the straps as I ironed them.
*Cut a piece of the long stsrip to go across the top. About 6 inches is good for the 12 month size.
*Pin to the wrong side of the fabric and sew down the first ironed line. I used a double needle so I wouldn’t have to change it out again. Just be sure to catch the left needle down the line. (see above)
*Now roll it over to the front and pin again.
*Using a double needle, sew the top into place.
*Pin the remaining strip along the back and up the armholes.
*Sew with your double needle all the to the end of each strap.
*Have your baby try it on and determine placement of the straps.
* Or…use the onsie you made a pattern from to help you determine placement.
* Sew straps in place and cut off the excess.
High five! You’re done!
Not so bad right?
I also made a blue one, because a girl has to have choices…
 I made it slightly bigger than the yellow one (I made the yellow one a bit short). I also added a ruffle (which came out funny this time, but it was fun to try :)), and I tied the straps at the neck instead of sewing them in.
I attached the liner differently as well. I sewed the liner front and back together and the suit front and back together first. I then turned wrong sides in and proceeded with the rest of the tutorial. This removed the possibly irritating bump right in the middle of the panty area. If your older baby is potty trained (jealous) then you’ll want to do this. 🙂
I just love the blue and white polka dots. The always sweet Dana gifted it to me when I was expecting Natalie. I have been waiting since then to use it to make Natalie a suit, so I felt sentimental finally sewing with it.
It’s also a really high quality swim fabric that doesn’t curl at all – bliss!
Natalie loves her new suits. Really, she throws a tantrum when I take them off. 🙂 Good thing she’s a little fish, because she’ll be wearing these suits plenty this summer.
Be sure to say hi to Kojodesigns HERE for a really cool white project from Simple Simon & Co!
And click HERE to read about all the great giveaways going on throughout this series!


.jpg)


.jpg)


Ahh, she just looks SO CUTE in those little suits! And that yellow stripe is just perfect, you were so right. Awesome job! You're a braver woman than I, I have some swim suit fabrics but haven't taken the plunge yet!
I love it! I still haven't been brave enough to try a bathing suit.
Ah! These little swimsuits are *adorable*! Natalie is darling in them 🙂
so darling!!! seriously, how cute is she! what great suits! I'm almost temped to make one for my kids. Swimming suit selections are pretty darn crappy.
Too cute. I love both of them! Yet another thing to add to my sew right away list. I have been wanting to do a swimsuit for a while (no fabric, yet) or a leotard for gymnastics, or both. Great job!
Adorable! Love both the prints!
Cute, cute, cute! Love it! I'll have to try this some day.
Very nice! This was my second year with swimsuits, only I did tankinis that meet in the middle so that they *look* like one pieces, but the girls can use the bathroom. Grace has a long torso, so me making them ensures that they actually fit.
Oh man, I'm usually not committed enough to make my girls their swimming suits. BUT, in my defense, I do add snaps to their suits, so that might count for a little bit of handmade something, right?!
I love both of these, by the way, that yellow fabric is so fun!
http://www.yellowspool.com/diy-snap-suit/
Delia! Those are incredible! What an adorable model too!
Adorable!
So stinking cute! Makes me wish I had a girlie. Great job.
I loved this baby swim suit. You makes sewing easier than we think. I made some pieces you taught, and loved them. You're so creative! I am grateful for you sharing your knowledge with us. Sorry about my english, I am Brazilian e learning that yet… Bianca
Cool post! I love learning how to DIY something that can be really hard to find in the store. Your daughter is darling in the pictures! Now if I could only work up the courage to make a swimsuit for myself…
Does nothing frighten you?!
They are too darn cute. I love the yellow fabric.
Delia these are so awesome! Seriously, really really great. Love the colors, the fabric, the fit, the etc etc. And Natalie couldn't be any cuter in them. I'm so happy you were able to use the fabric! that made me so excited to see it on your IG today. I knew you'd make it into something really cool 🙂
AWESOME swimsuits!!!! Can't believe you found that yellow zebra print in clearance – score!!! And Natalie is a darling swimsuit model.
How great!!! Love these, and how fabulous to use a onesie!
The blue swim suit is too cute! I love the ruffles you added to the top.
Aw look at that little cutie pie!!! Great looking swimsuits, Delia!
What a clever idea! That baby of yours is just the cutest!
They are absolutely darling!
I love your baby's name, my Natalie will be turning six on the 6th! I just made my very first swimsuit for her to wear to her beach party.
I needs to spend some time learning more or understanding more. Thanks for excellent information I was looking for this information for my mission… by OPS 571 Final Exam material provider
Lol the spam comment ^
This is the CUTEST post I've seen in ages! NATALIE HAS HAIR NOW! And look at her little legs! Awwwww. I love this post. Love it love it Love it!
Thankyou so much for this tutorial, I used it (and the links) to make my first ever pair of bathers for my baby girl 🙂 I have a photo but can’t upload in comments – I added a ruffly skirt and made it a halter neck (um, mainly as I did it in nap time and she woke up before I got a chance to sew the straps on lol!!)
Yay! So excited for you! The ruffly skirt sounds adorable.
I just finished my baby’s suit, so stinking cute!!!!! Thanks for the tutorial!!
Awesome! You are most welcome. 🙂