I’ve been on the hunt for a good basic dollhouse for my four year old for some time now.
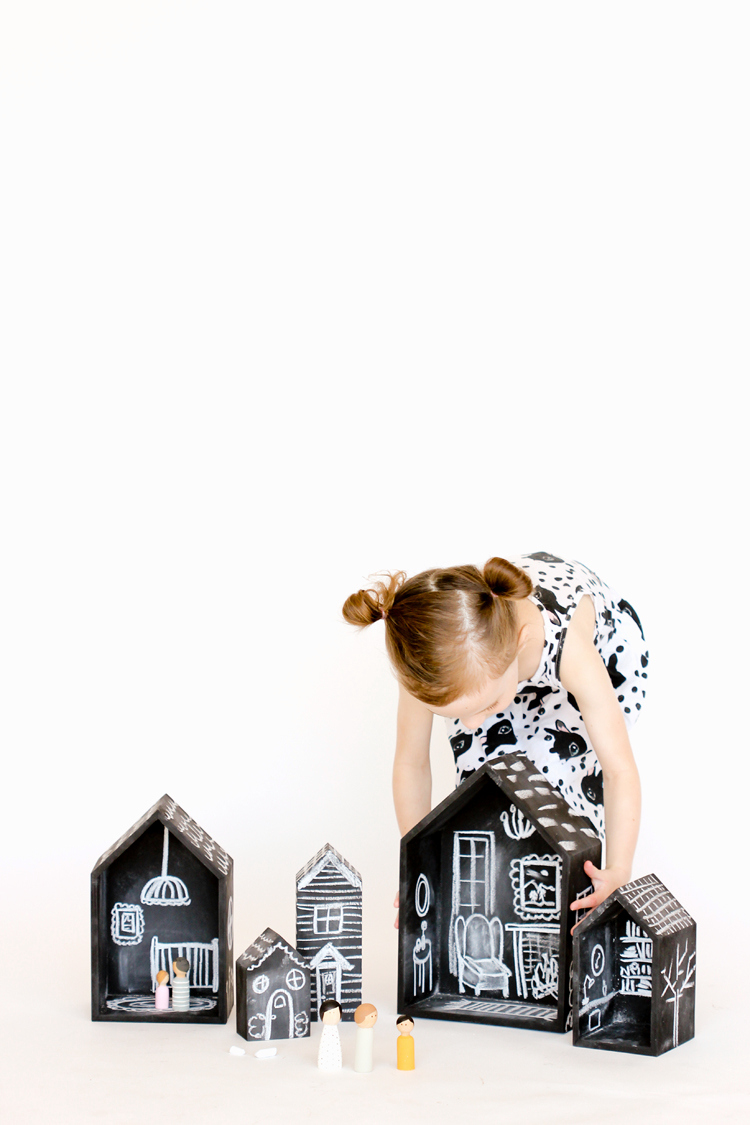
During my search, I found these adorable little house shaped wood shelves at Michaels and decided to DIY some!
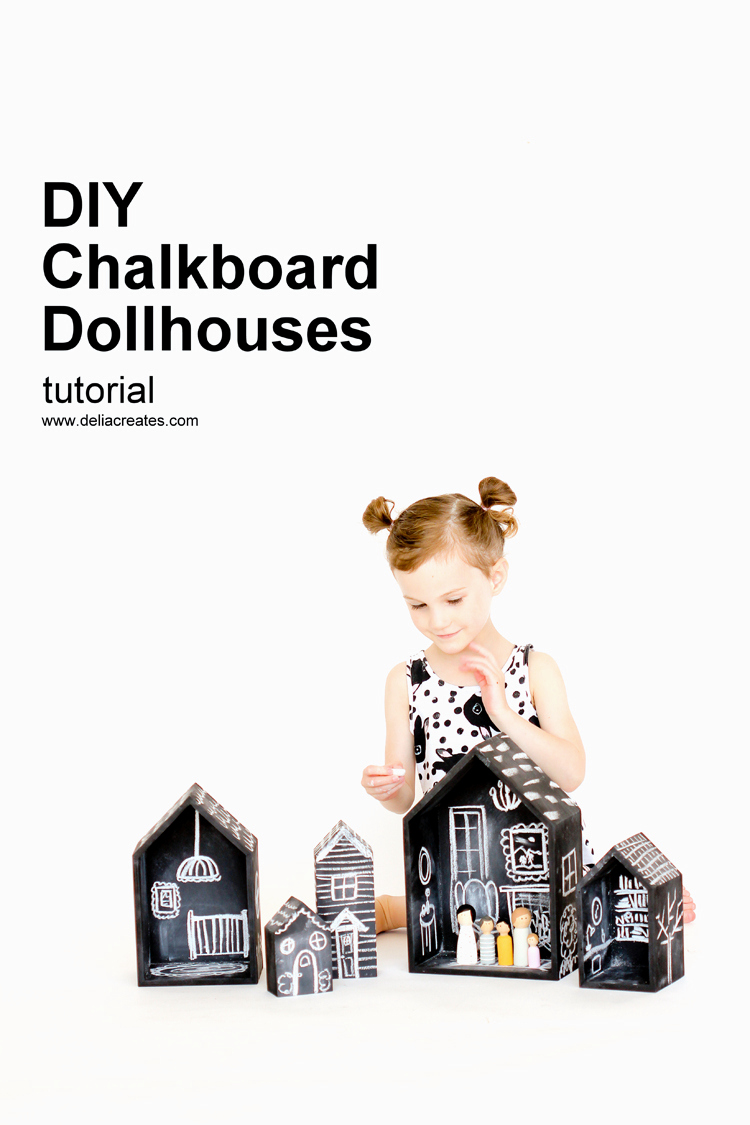
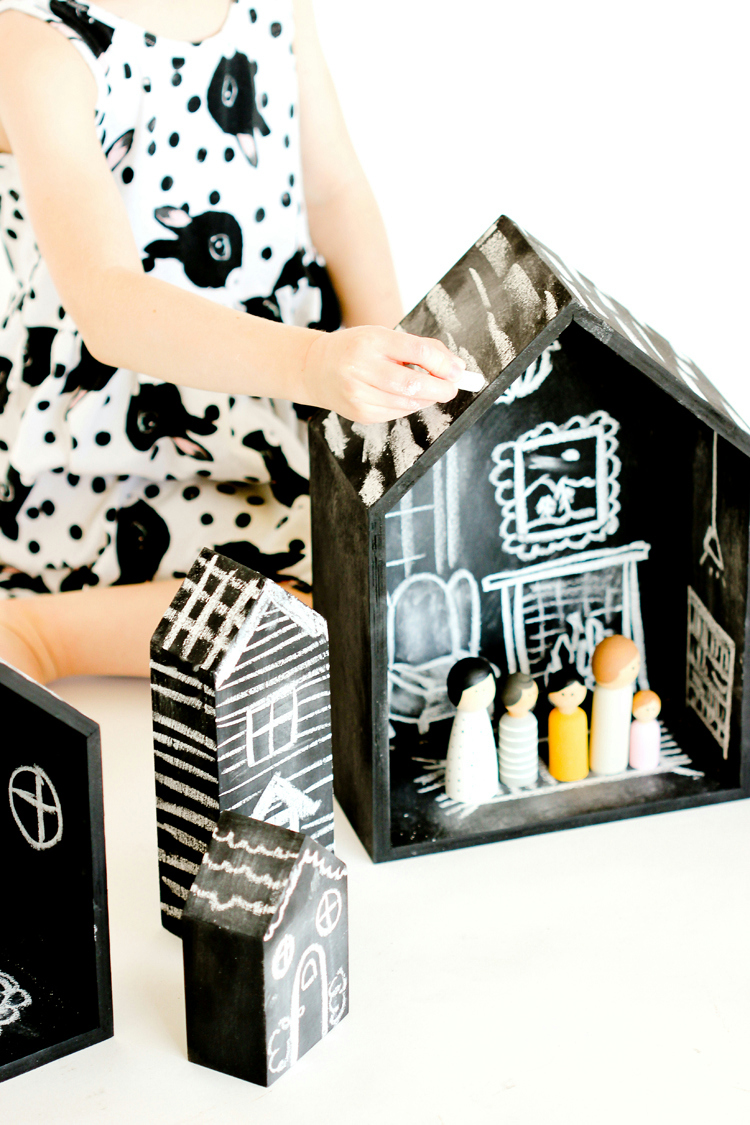
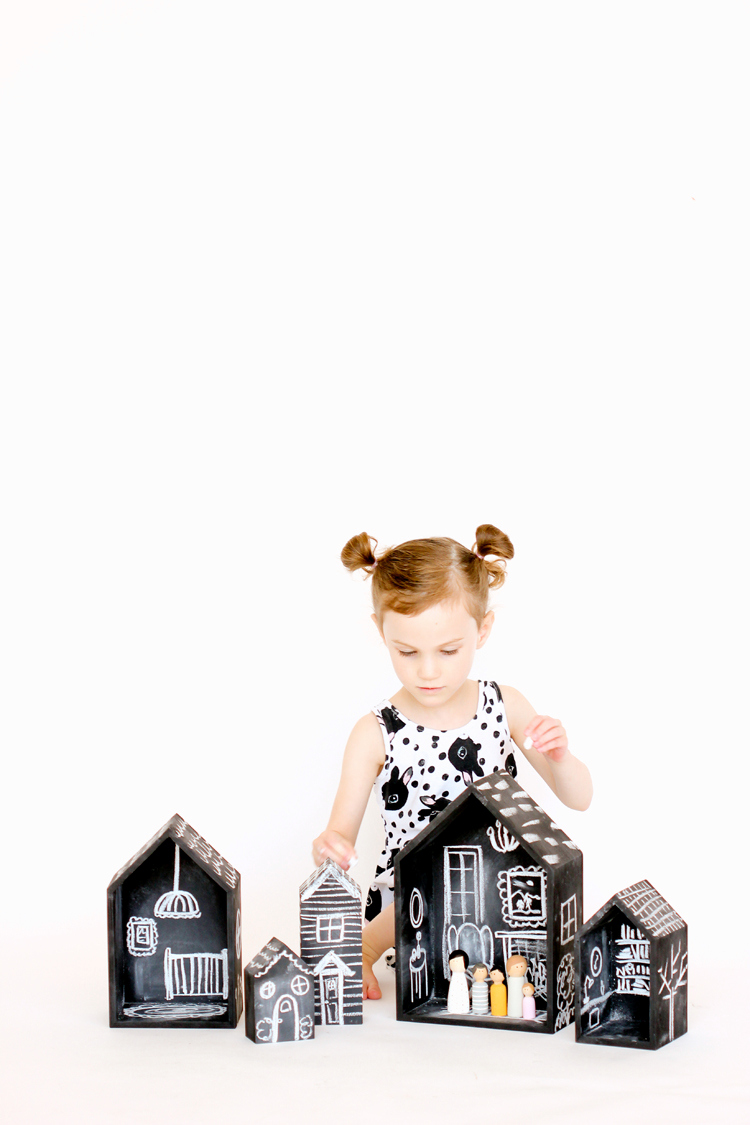
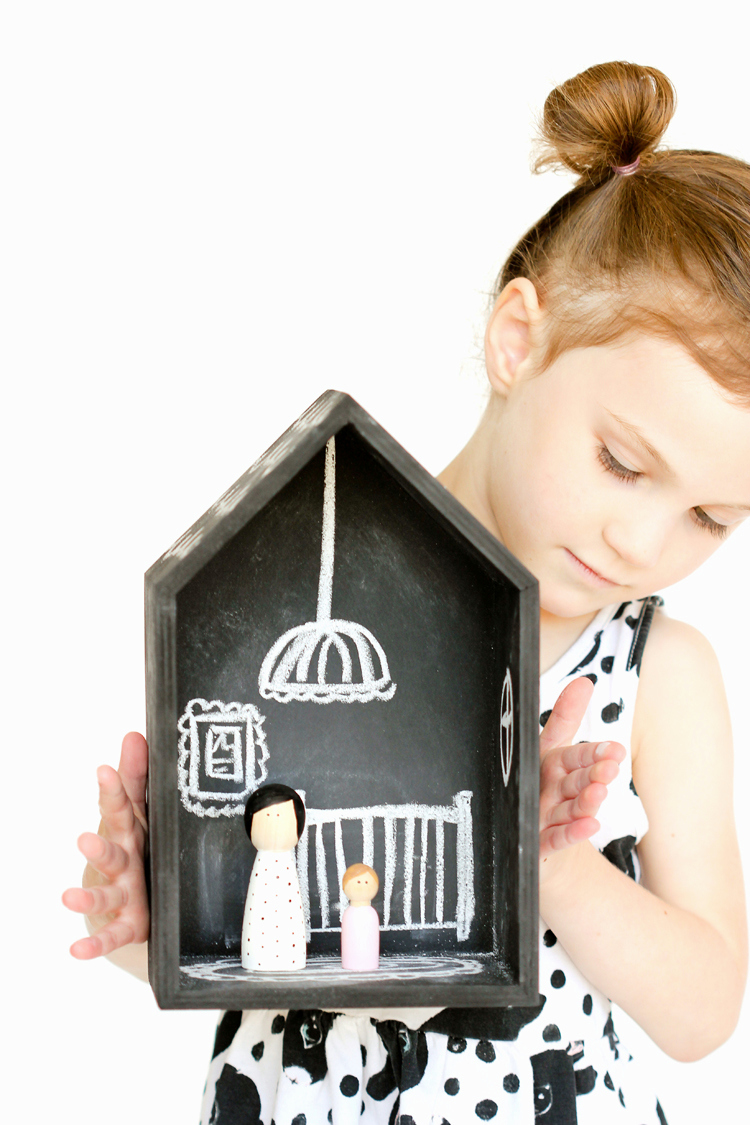
Then I thought…why not throw in some chalkboard paint as well? Because what could be more fun than a doll house…Well a doll house you can draw on of course!
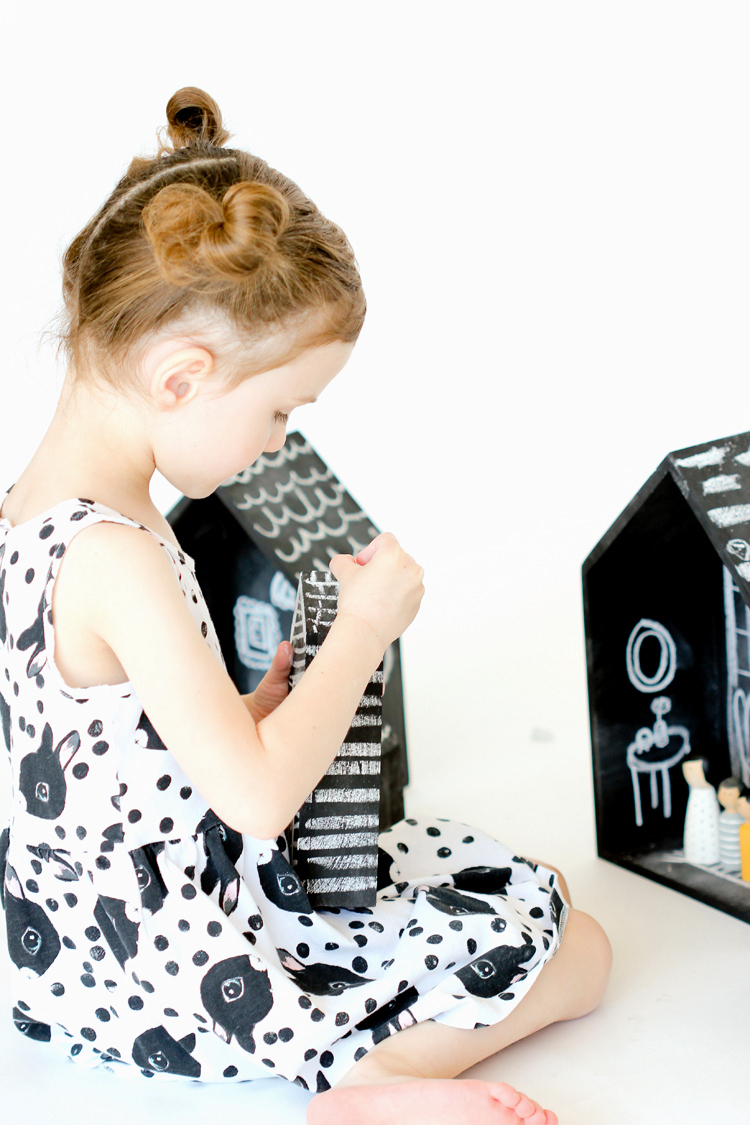
She can change the theme of the houses as much as she wants and however she wants.
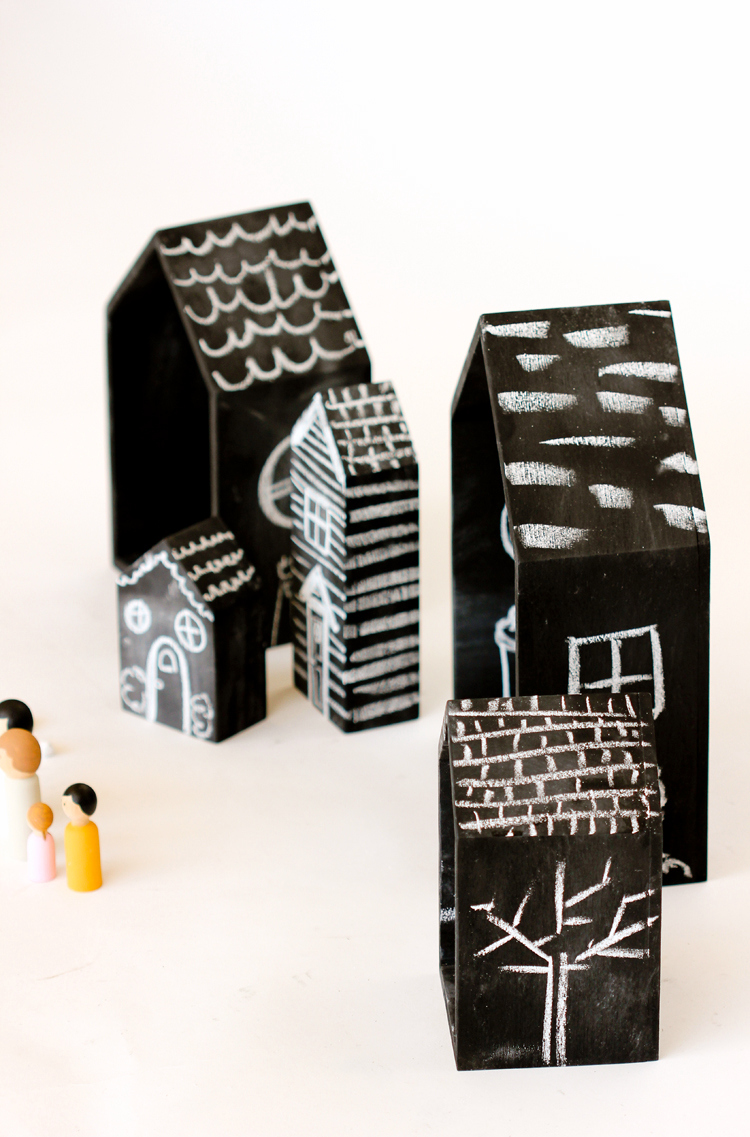
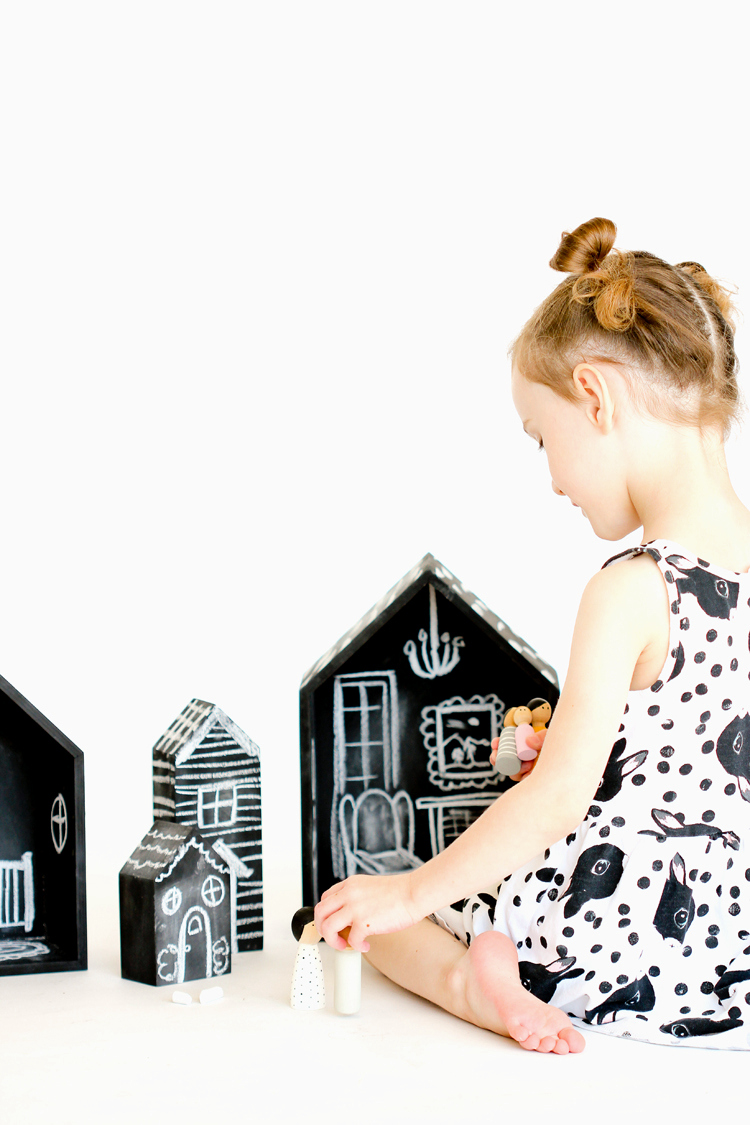
Having several little houses also gives her the option of making each house a room, as apart of a bigger “house” or making a whole neighborhood for more of her toys.
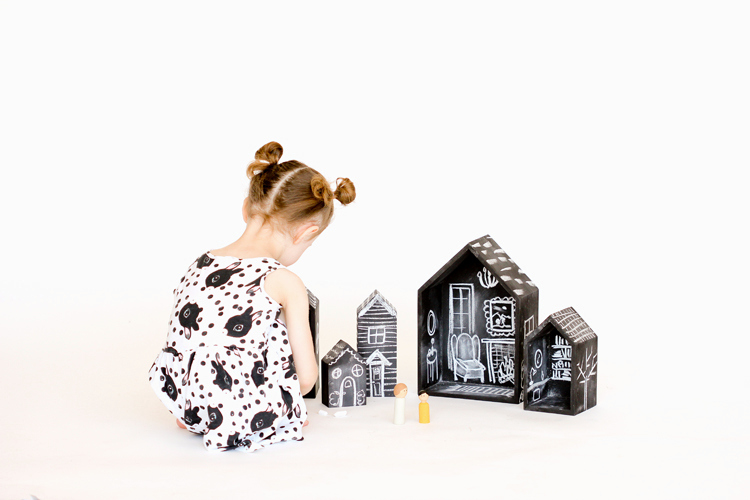
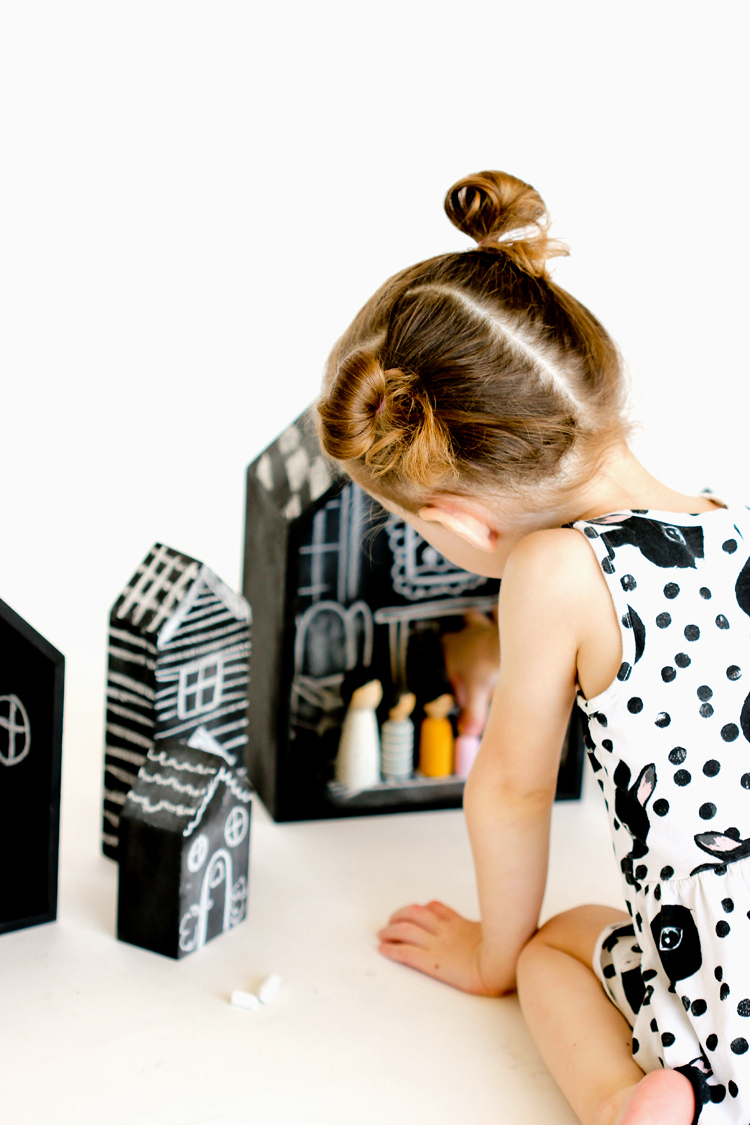
I started things out with some of my own doodles because I actually kept these a secret from her until picture time. Then I surprised her with a little play session. She was pleased as pie!
Ready to make some yourself? Let’s do it!
MATERIALS
House-shaped plywood shelves (from Michaels – check raw wood aisle)
House-shaped blocks (same aisle in Michaels)
Small sheet of MDF ($3 sheet from Home Depot)
Small 1 inch nails with wide nail head
Wood glue
Hammer
Jig-saw
Pencil
Sandpaper – 80 grit (but really any is fine if you aren’t picky)
Chalk board paint (I used Rustoleum spray paint)
STEP ONE: Cut out doll house backings.
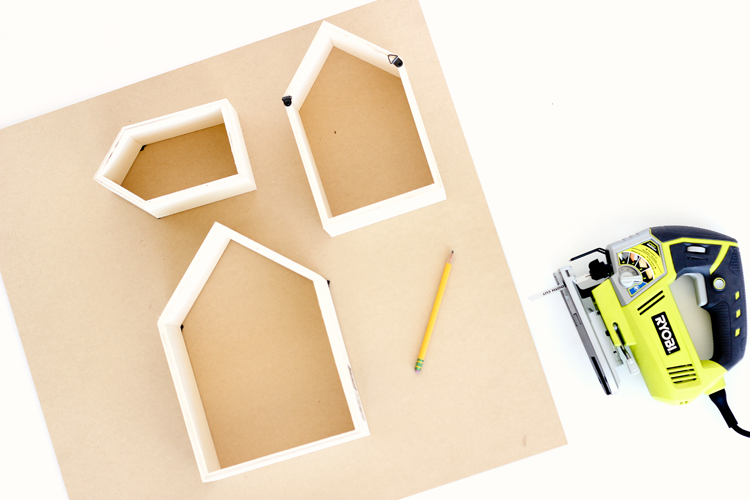
Trace your houses on the sheet of MDF. You can use another type of wood if you have it. MDF is the cheapest and and smoothest, so I used that.
Cut out the houses with a jigsaw…or in my case, have your husband do it because you can’t cut a straight line with a jigsaw very well. Ha! I almost used that whole sheet of MDF trying to get it right before I finally asked begged for help. 🙂
That said, if it’s not precisely straight, don’t worry. We’ll be sanding things down in a minute.
STEP TWO: Attach backings to doll house shelves.
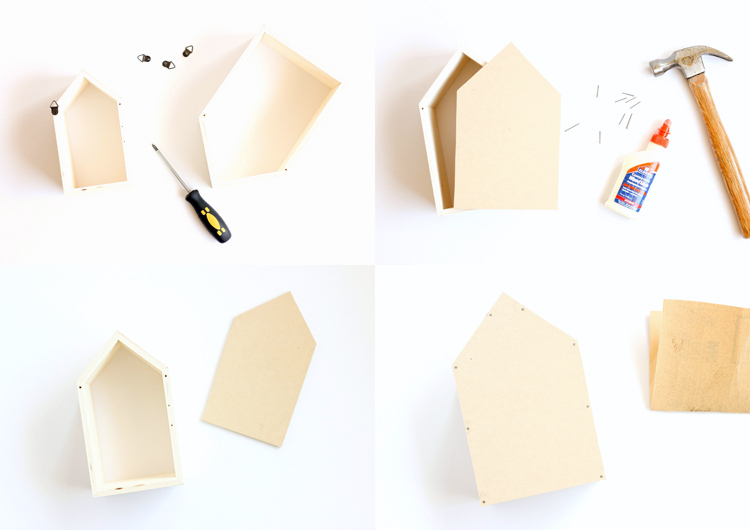
Remove the shelf hardware. Then apply wood glue to the back edges of each house. Place the backing on the doll houses, and hammer in place using nails about every 2 inches. Let them dry.
Sand down any uneven or rough edges. You can easily do this by hand, but I used my mouse sander to be more efficient.
STEP THREE: Paint the dollhouses.
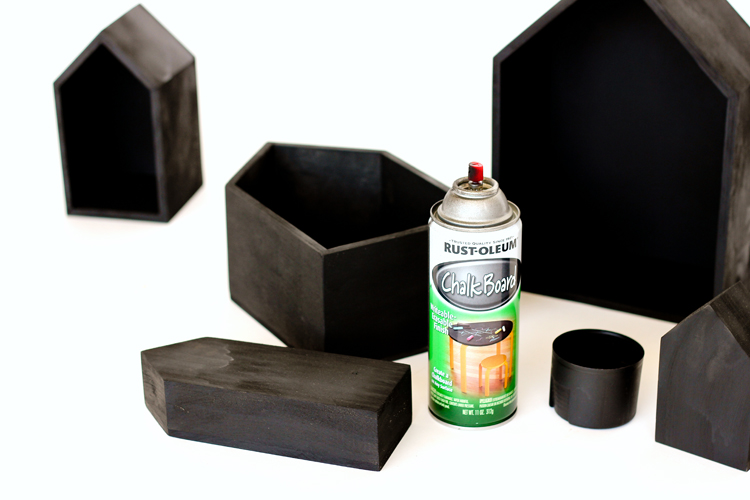
Paint your houses using your preferred kind of chalkboard paint. Let dry according to paint instructions.
STEP FOUR: “Cure” the houses.
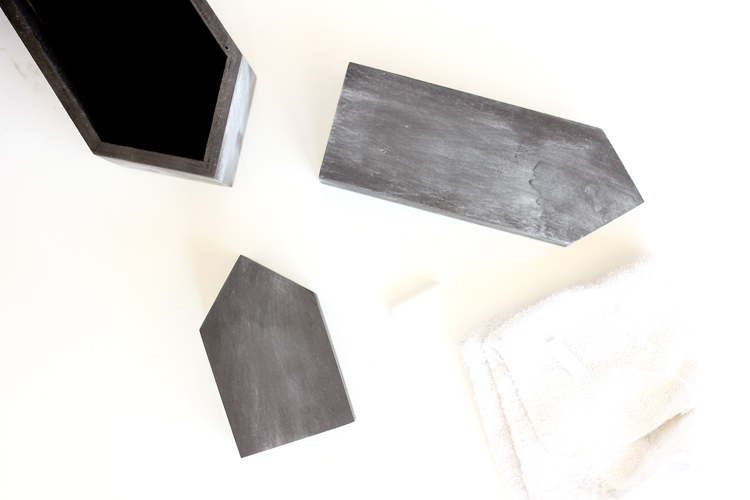
Before using your chalkboard houses, or any chalkboard item, it’s a good idea to “cure” the chalkboard surface with some chalk dust. This ensures that your first doodles don’t stain the surface and make it difficult to completely wipe away.
To build up some chalk dust, I like to scribble on a piece of paper with some chalk, and then use a soft cloth to wipe up the dust and apply it to my chalkboard surface.
That’s it!
You’re ready to doodle and play.
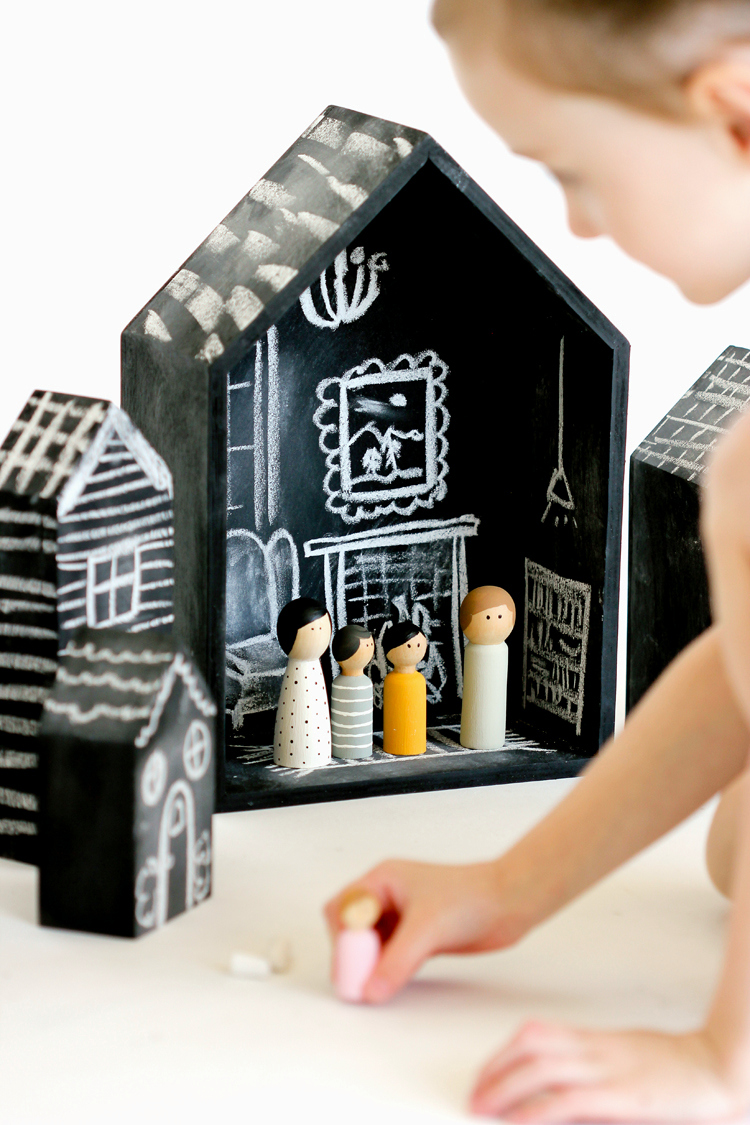
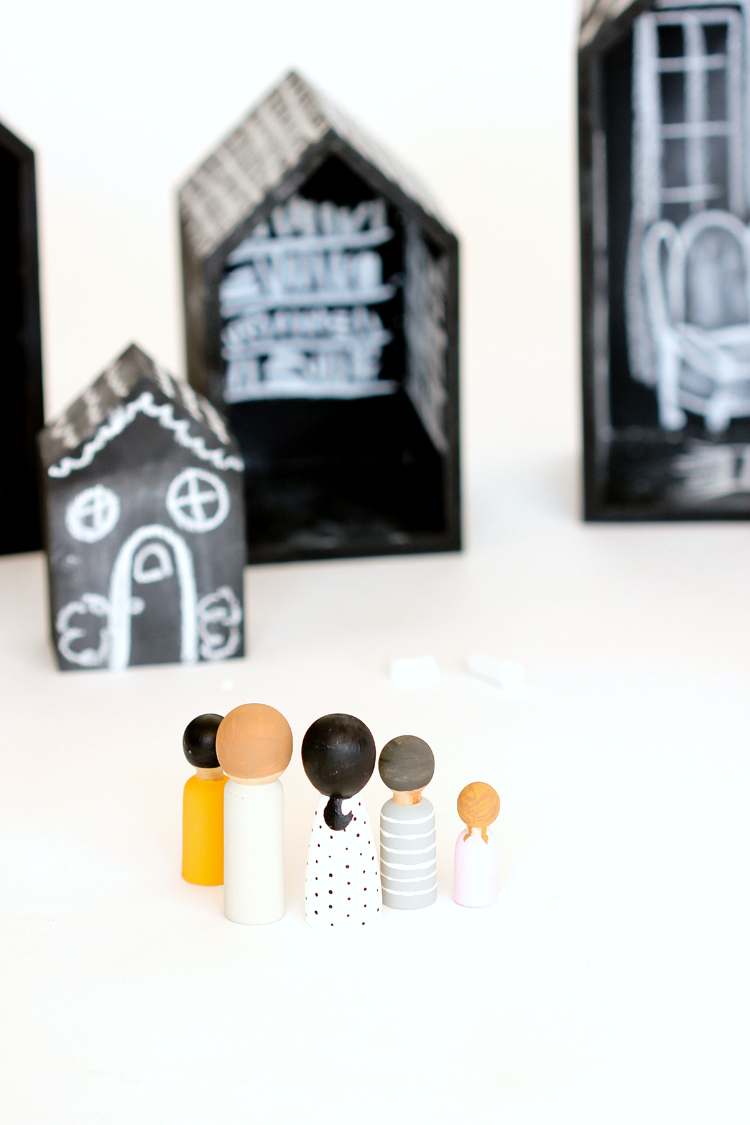
Add some of your favorite dolls or action figures…
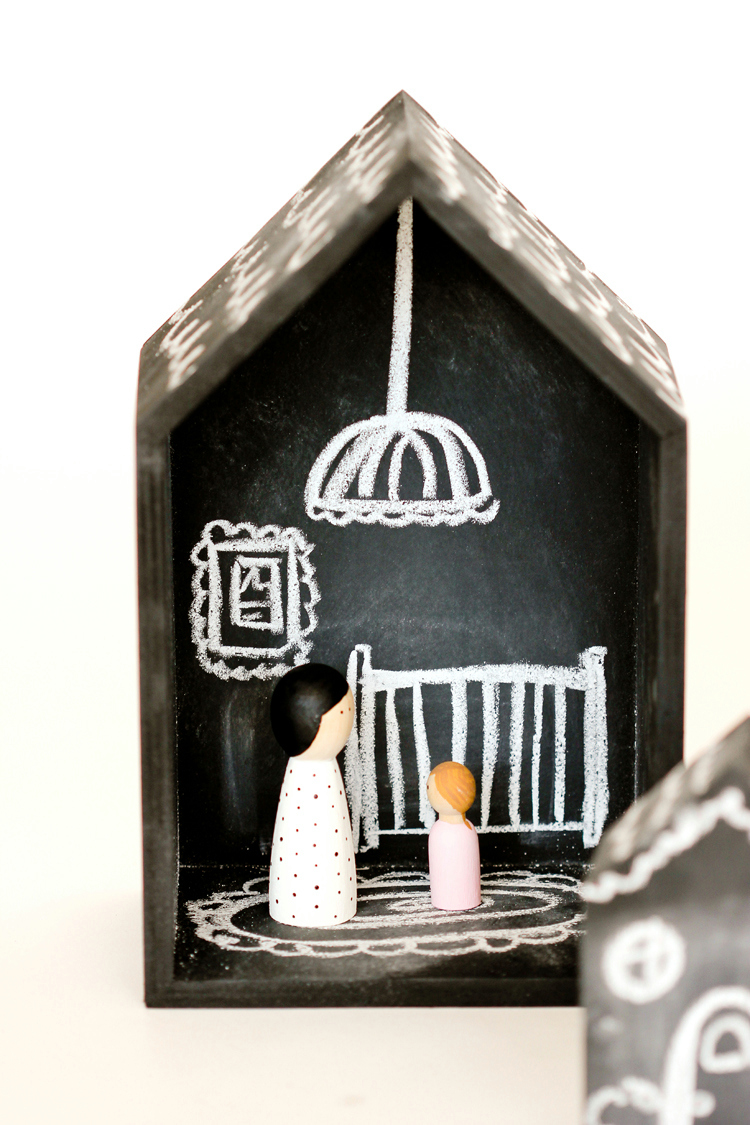
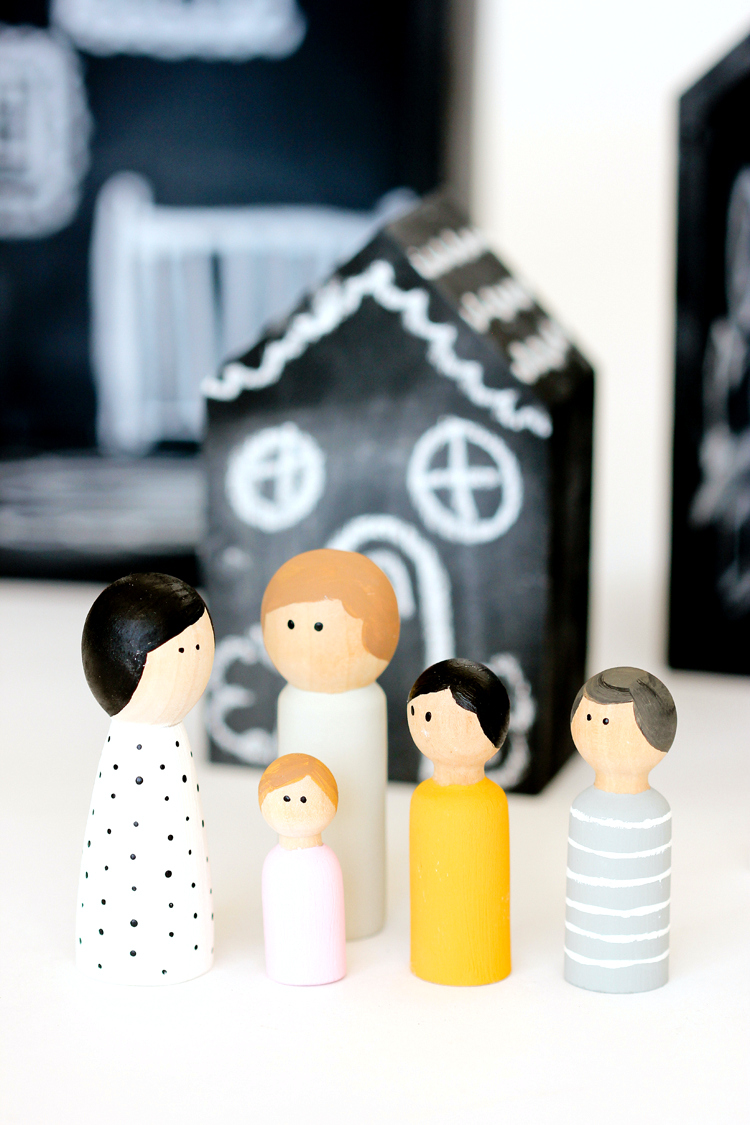
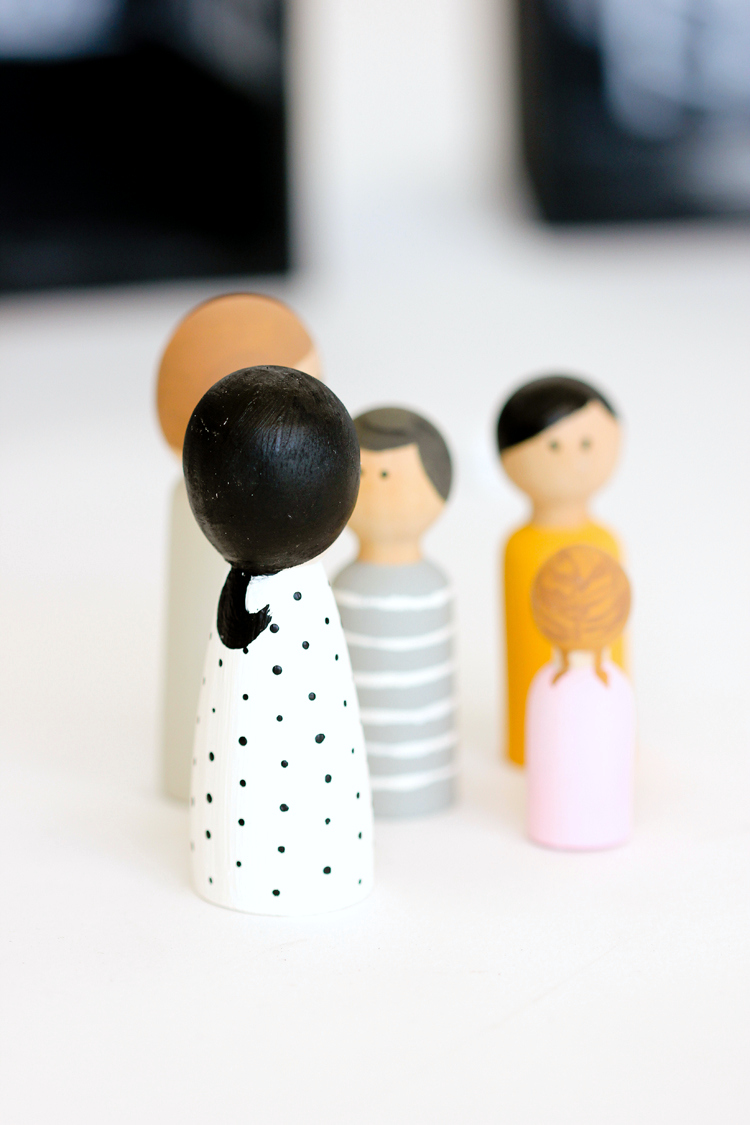
I made these peg dolls of our family. <3
I found blank peg dolls, again at Michaels, and just painted them with simple designs.
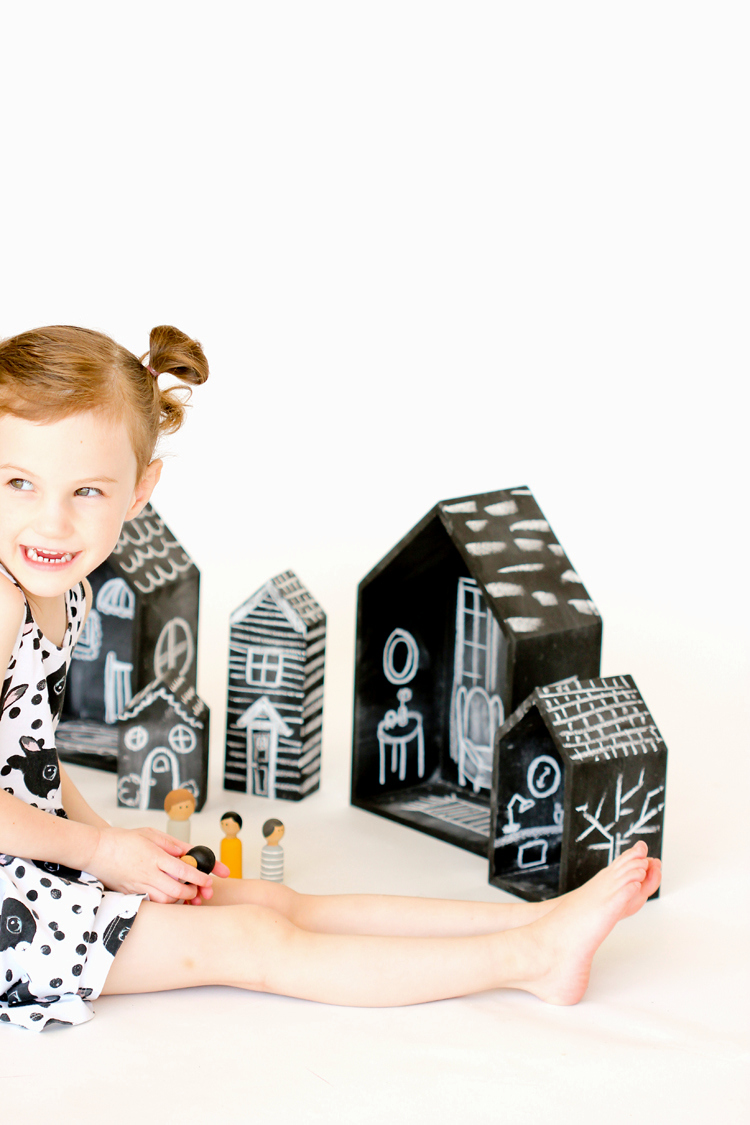
I probably had just as much making this as she has playing with it. Oh who am I kidding…I play with it too. 😉
I admit, affter a decade of Legos, cars, and trains…it’s really fun to get to play dolls with my girl.

Chalk for a dollhouse? Genius. I never thought of marrying those two ideas. Love it….and I totally hear you about a decade of playing with Legos and then getting to play girl stuff. I love watching the Disney princess classics after LOTS of superhero shows. 🙂
Thanks Cheri! I know right? I mean, I love Legos. But I’m enjoying getting my turn reliving my childhood with her, like my husband has with the boys. And yes…bring on the princess movies! 🙂
What a great idea – and the black chalkboard paint goes so well with your aesthetic!
Thanks Rachel!
Awesome!
I love this idea! I totally can’t do this with my daughters because all I would hear is “She erased my drawing!” but I still love it… maybe I should make a set for me. 😉 Your doodles on it are super-cute! I love Nat’s pigtails too- she’s darling!
A very great idea. Thanks for sharing. Planning to make the same for my daughter who is so fond of doll houses.
Delia,
Did you make the doll houses or were they purchased at Michael’s already put together? I’m having a hard time finding them.
Hi Jodie!
Good question. I bought them pre-made as house shaped shelves and then added the backs afterward. I saw them at Michaels in the unfinished wood aisle recently, but availability may unfortunately vary from location to location. I apologize that I can’t give you a better answer. If it helps, I just found a great more traditional wooden doll house from IKEA. You could always paint that with chalkboard paint?
I hope that helps?
Delia
You are so crafty! I love this and I will definitely be trying it soon. I’ve never used chalkboard spray paint. Do you think it works better than the brush on or is it just a quicker alternative? I recently shared a similar craft on my new blog. I hope it’s okay with you that I also included a link there for this awesome project… if not, please say so and I’ll remove it. Your images are great by the way!
Thanks Lisa!
Honestly, I think both work great. Spray chalkboard paint dries faster and it goes on very smoothly, but I personally like the brush on kind just fine too. Of course I don’t mind! The addition of your peg dolls are very cute! Thank you for the link. 🙂