For today’s DIY we are digging into some leather crafting! 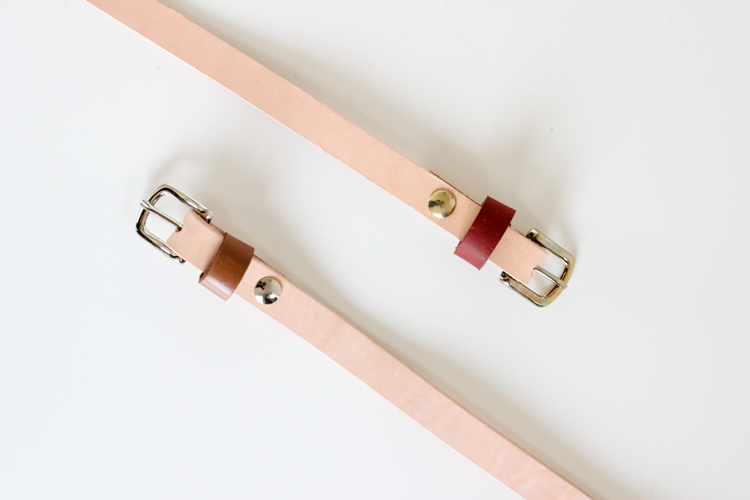 Leather is my jam. I love making things with it! And I love that there are still so many more facets to leather that I have yet to explore.
One kind of leather I had yet to try was vegetable tan leather. Tandy Leather, contacted me to see if I wanted to play around with some and share a project with you guys (and do a giveaway…see the end of this post). Of course I said yes!!
Vegetable tan leather is very stiff and thick. It’s great for things like this belt project…
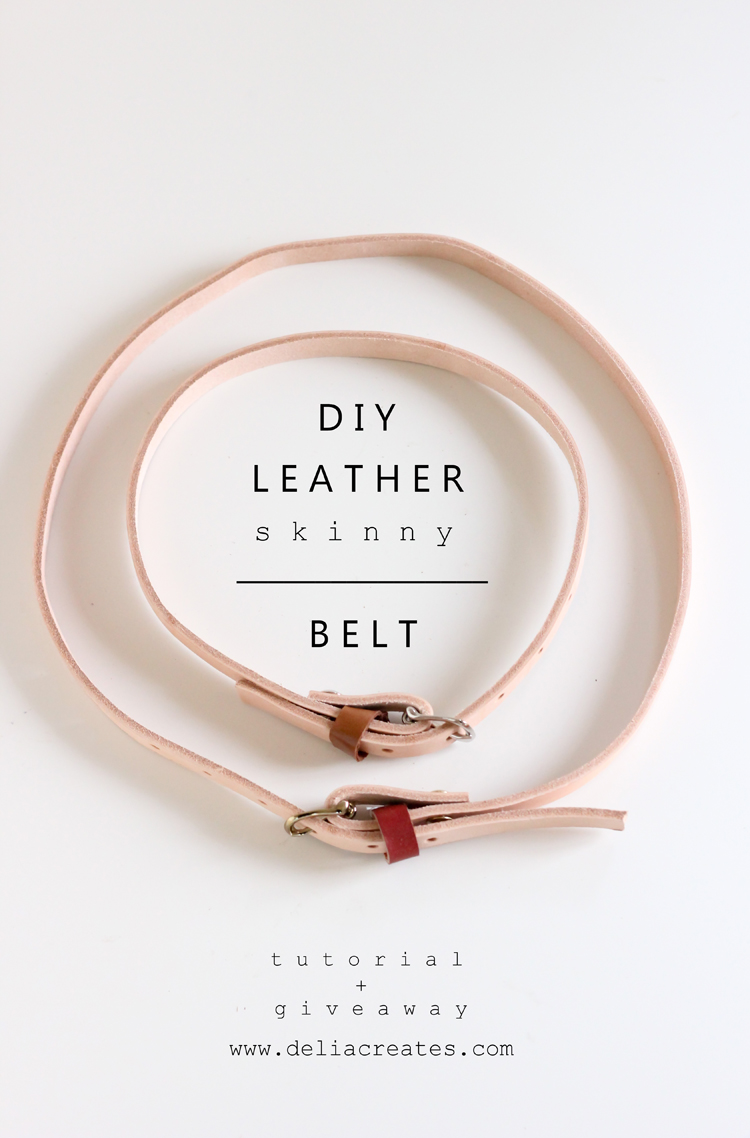 This project is cinch to do (sorry, couldn’t help myself ;)) and it yields beautiful results.
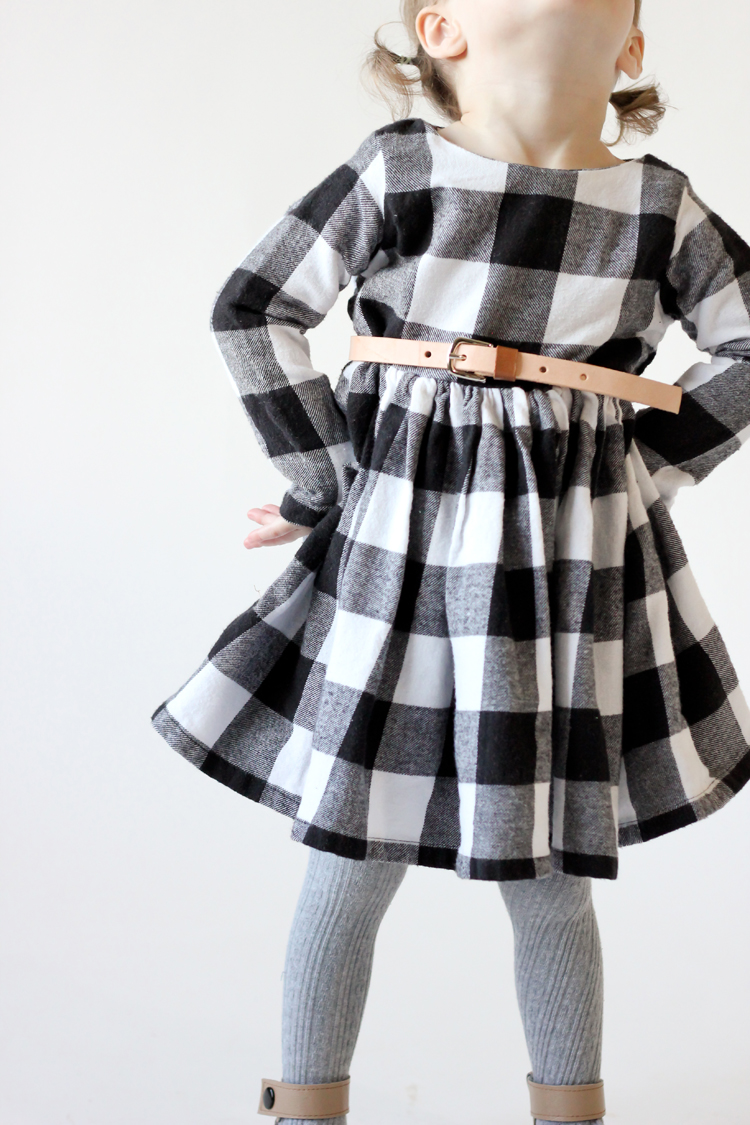
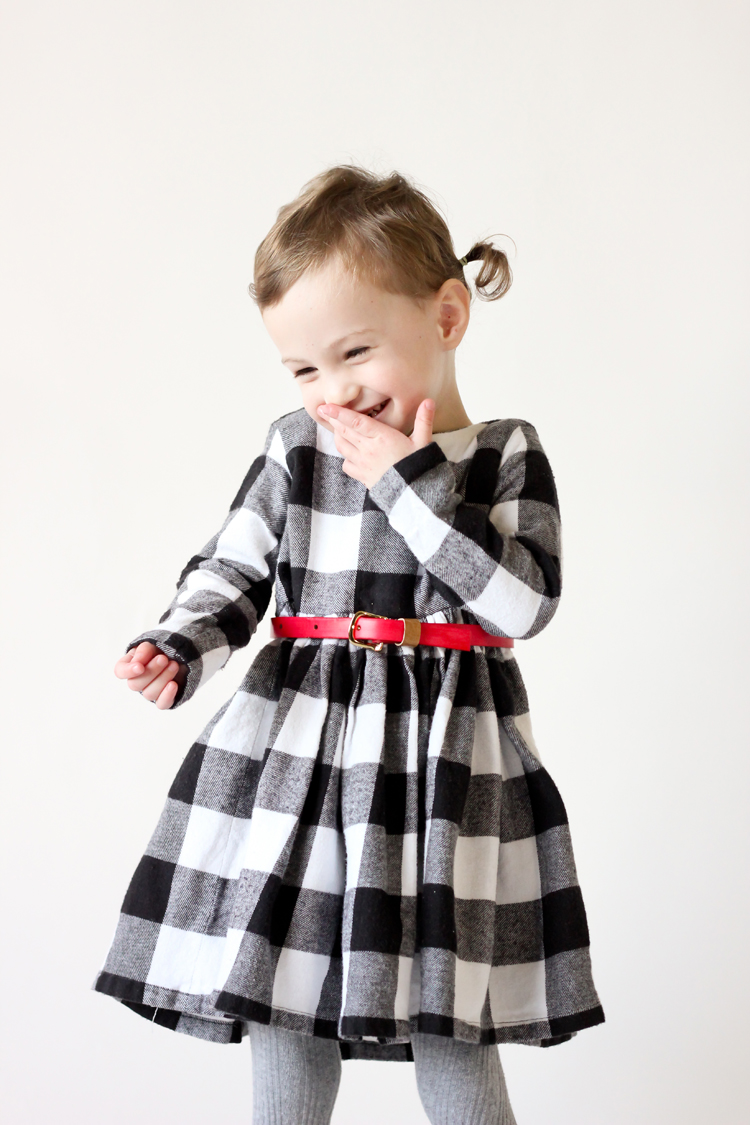
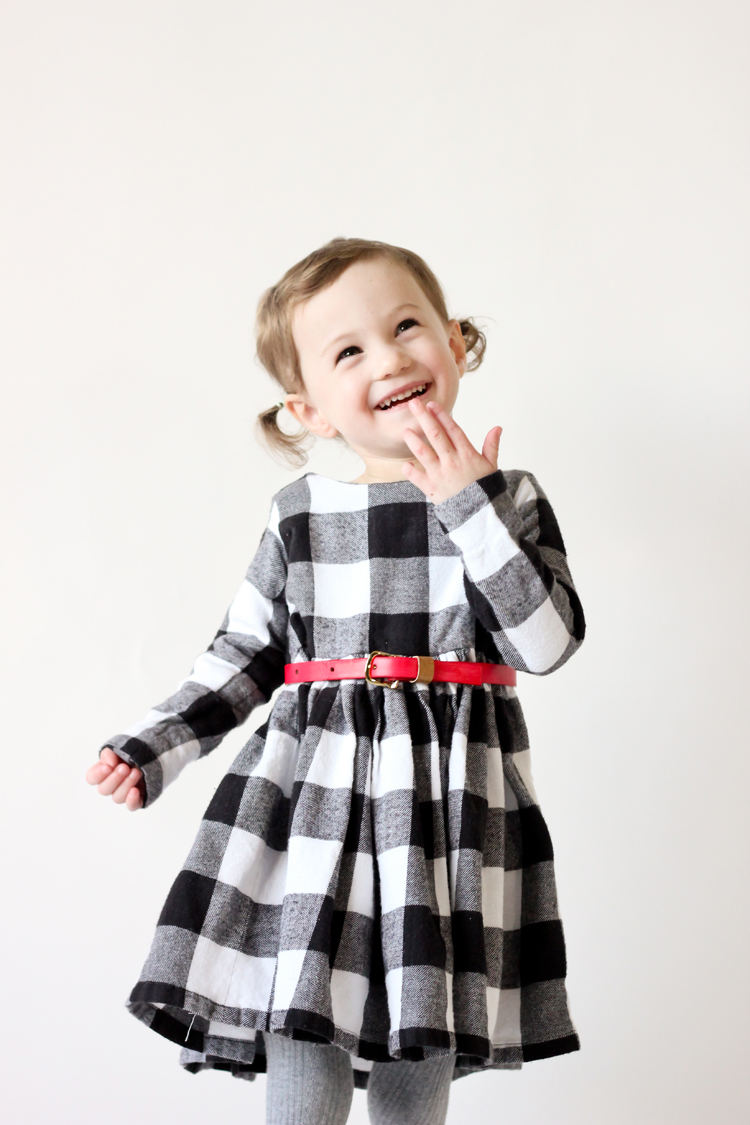
and for little two year old Natalie.
I made both belts with the same width of leather. So it’s a skinny belt on me, and a cute toddler belt on her.
Ready to make a belt? Let’s do it!
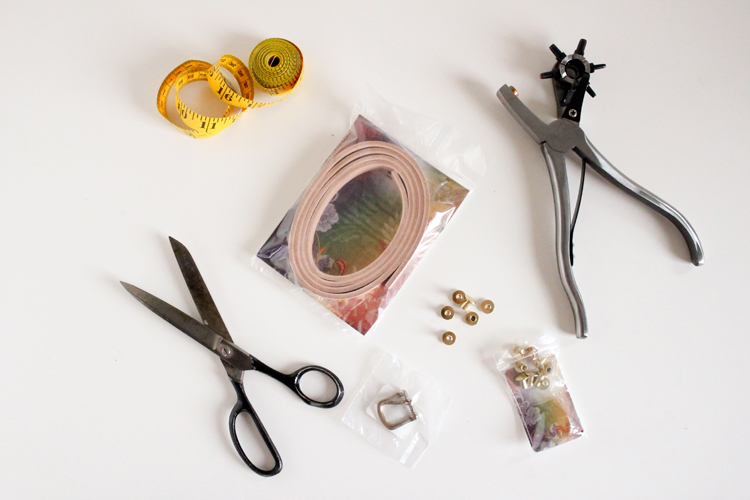
MATERIALS……………………………………………………………………………………
5/8″ wide vegetable tan leather strips (50″ length) Leather punch tool Chicago screws Bridle buckle Sewing measuring tape Scrap of upholstery/ light to medium weight leather Not pictured: sewing machine or hand sewing needle, flat head screwdriver *These materials can all be found at Tandy Leather Factory. They pretty much have everything leather related that you could want and more! If you sign up for their newsletter you can get a lot of their stuff on discount. AND if you sign up for their catalog even more sales come your way (sign up HERE). I am totally only telling you that as just plain good advice. I was already on the Tandy mailing list long before they contacted me about sponsoring a project, and I love that they always have some good deals running. I just want to pass that onto to you, so you can make this project for even less!TUTORIAL………………………………………………………………………………………
STEP ONE: Measure your waist and cut your belt to size.
– Using the measuring tape to measure the smallest part of your waist. Add about 10 inches to that measurement and you have the length you need to cut your belt.
– This should allow the belt to be worn at the hips or the true waist. If your waist to hip difference is more significant than about 8-10 inches, consider making the belt longer, or only wearing the belt one way…high on your waist or around your lower waist/hips.
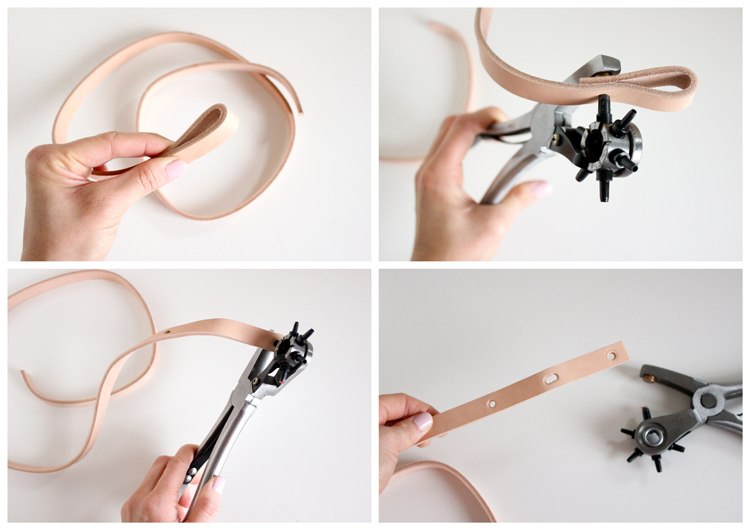
– Fold one end of your belt over about 2 inches. Punch a large hole through the folded over end and the longer side that lines up with it. It can be pretty difficult, if not impossible to get your punch through both layers at a time. The initial punch should mark the spot where you need to punch again. Don’t let these pictures fool you. I had to take the pictures with my other hand, but when I was actually punching, it took both hands and some real effort. Vegetable tan leather is thick!
– Make sure the hardware can fit through the hole. I used the largest punch on my tool for this step.
– Mark the fold of the belt, then punch three consecutively, overlapping holes into that fold. There is actually a special tool for creating this oblong hole, but I am keeping it simple and making this belt with just a punch tool.
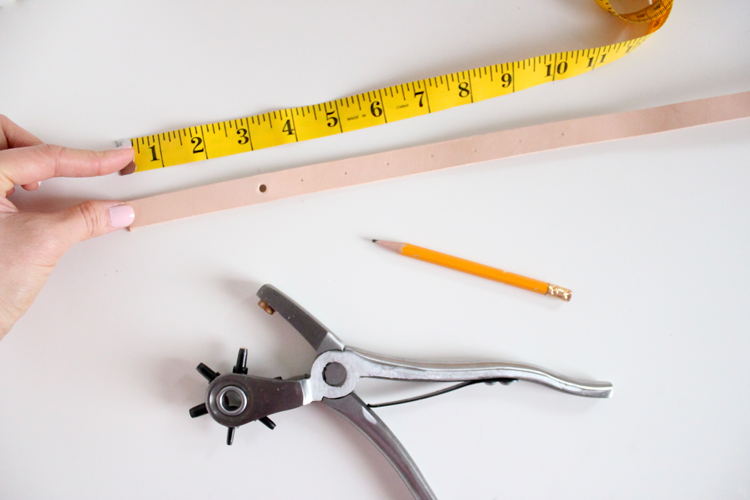 STEP THREE: Mark belt holes on the opposite side.
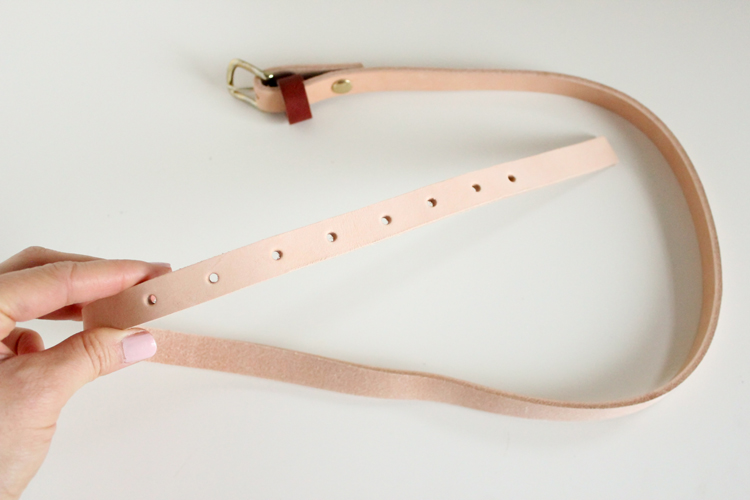
– Pick up the other side of the belt. Starting about three inches away from the end, mark 7-8 holes, one inch apart centered in the width of the belt.
– Punch holes at marked locations. I used a medium/small sized punch for this step.
STEP FOUR: Sew belt loop.
Cut a piece of scrap leather 3/8″ x 2.5″ . If it’s not too thick, sew it together with right sides facing with 1/4″ seam allowance, on your sewing machine. It helps to have a leather needle for this. Sew back and forth several times to ensure it is nice and secure. 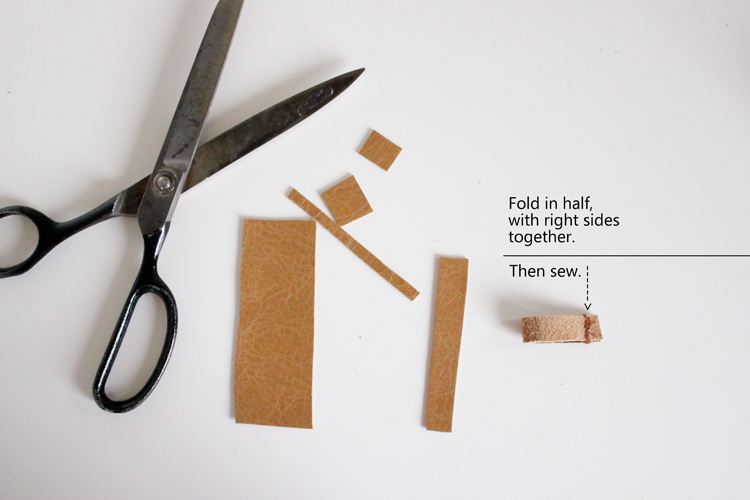 Turn it right side out, and you have a belt loop.
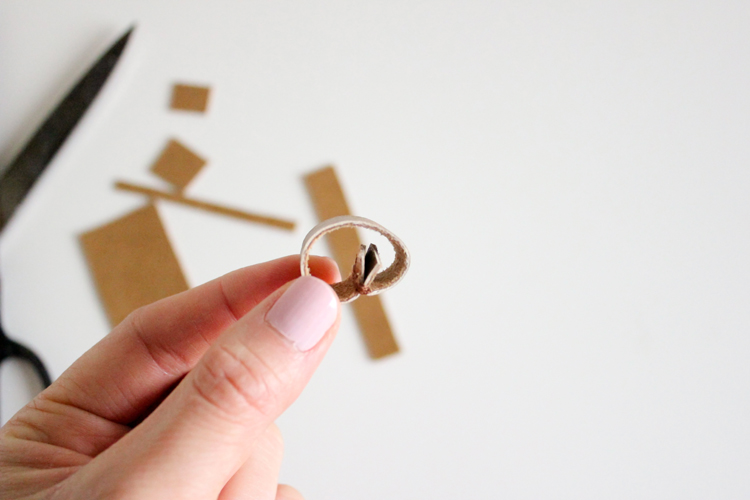 If the leather is too thick for your machine, consider punching small holes into the ends, and hand sewing the loop together with wax thread.
OR…you can buy pre-made belt keepers HERE.
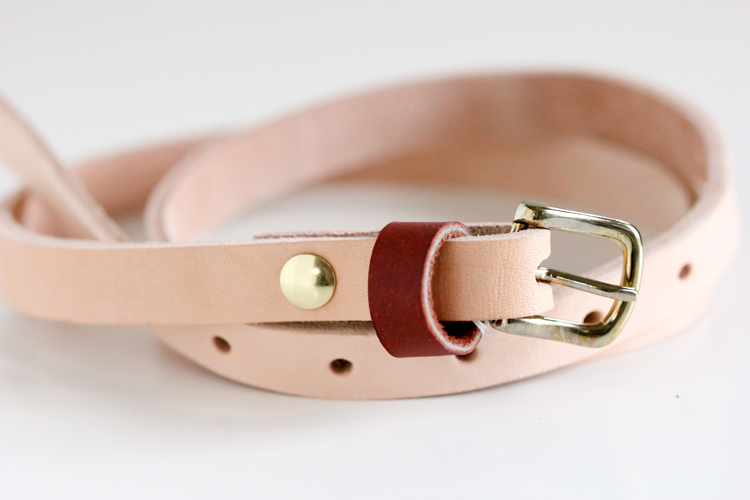
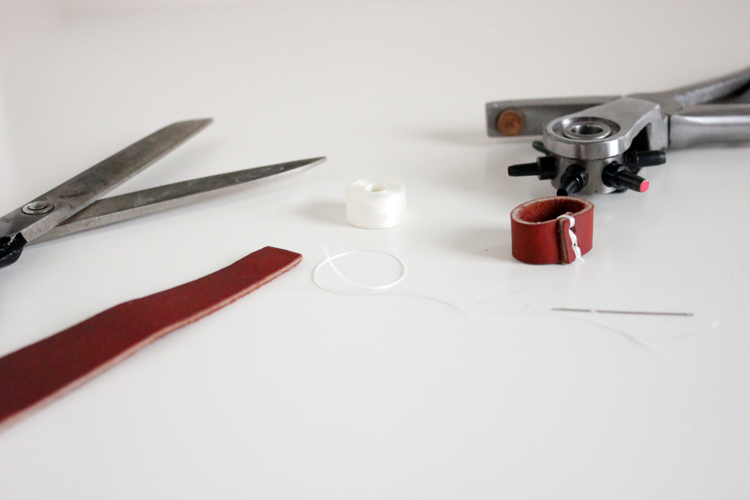 You can choose a matching or coordinating color for your belt loops. I really like how the contrasting belt loop looks, so I chose colors that would pop. It’s up to you of course!
STEP FIVE: Assemble the belt.
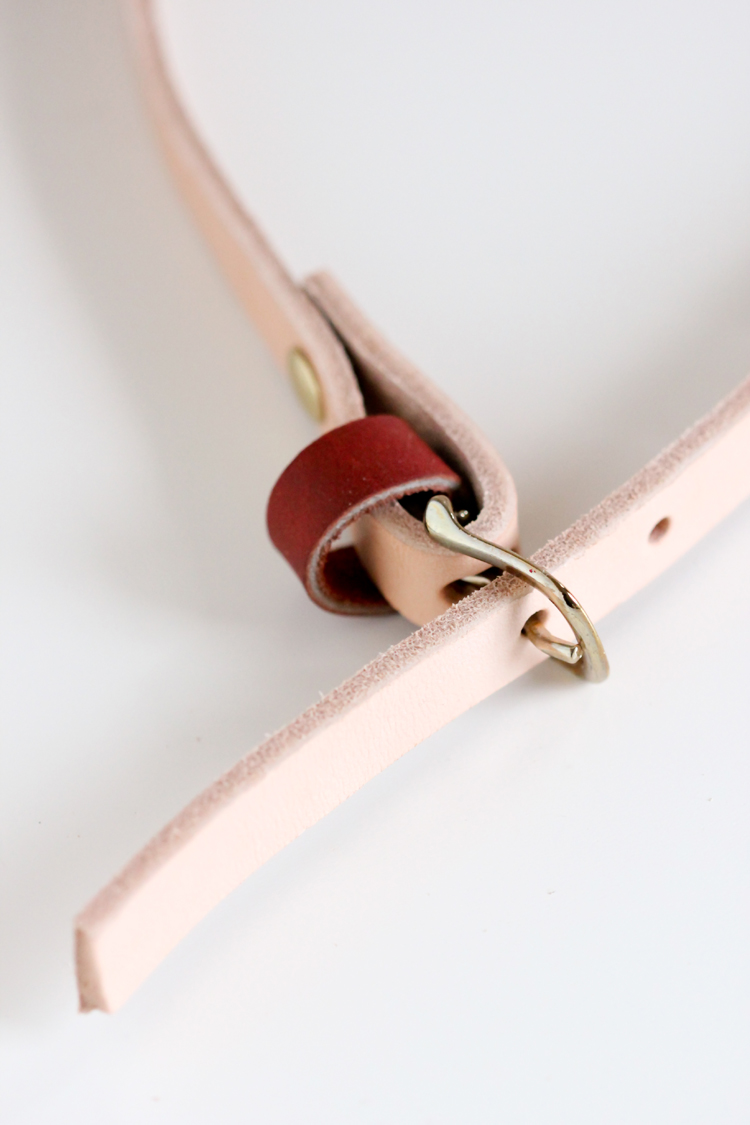
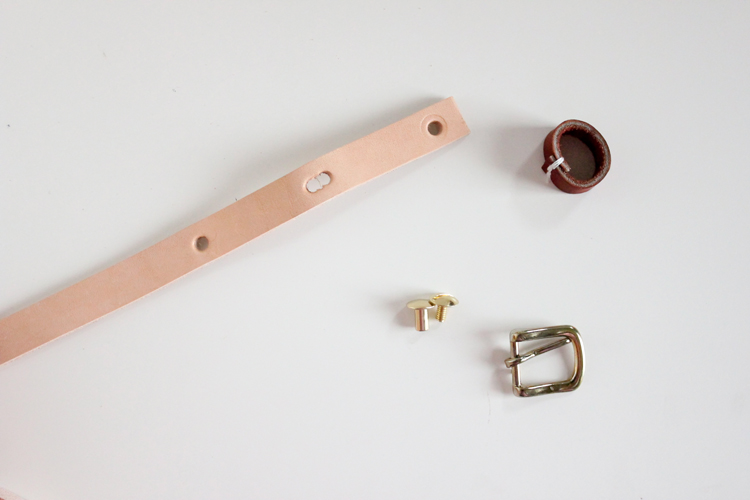 – Slide your belt loop over the end with the three punches. Slide on the bridle belt buckle, while inserting the buckle prong into the longer hole.
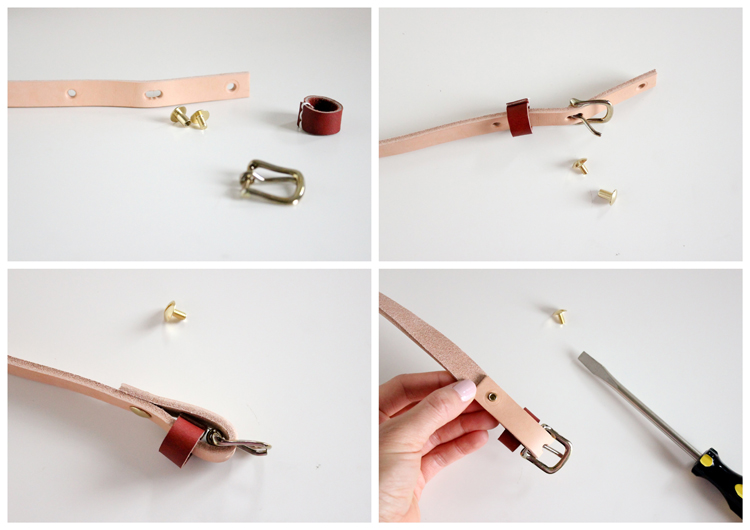 – Fold over the end of the belt, and secure with a Chicago screw. (Simply put the pieces together and screw together with a flat head screw driver.)
That’s it! Super simple.
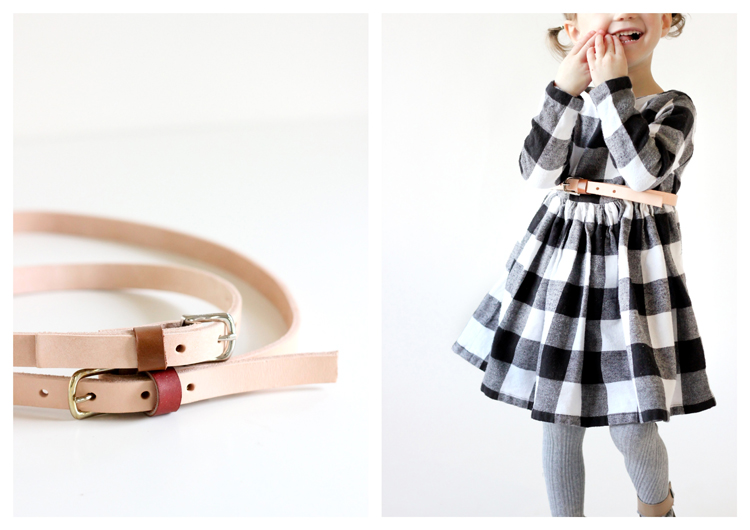
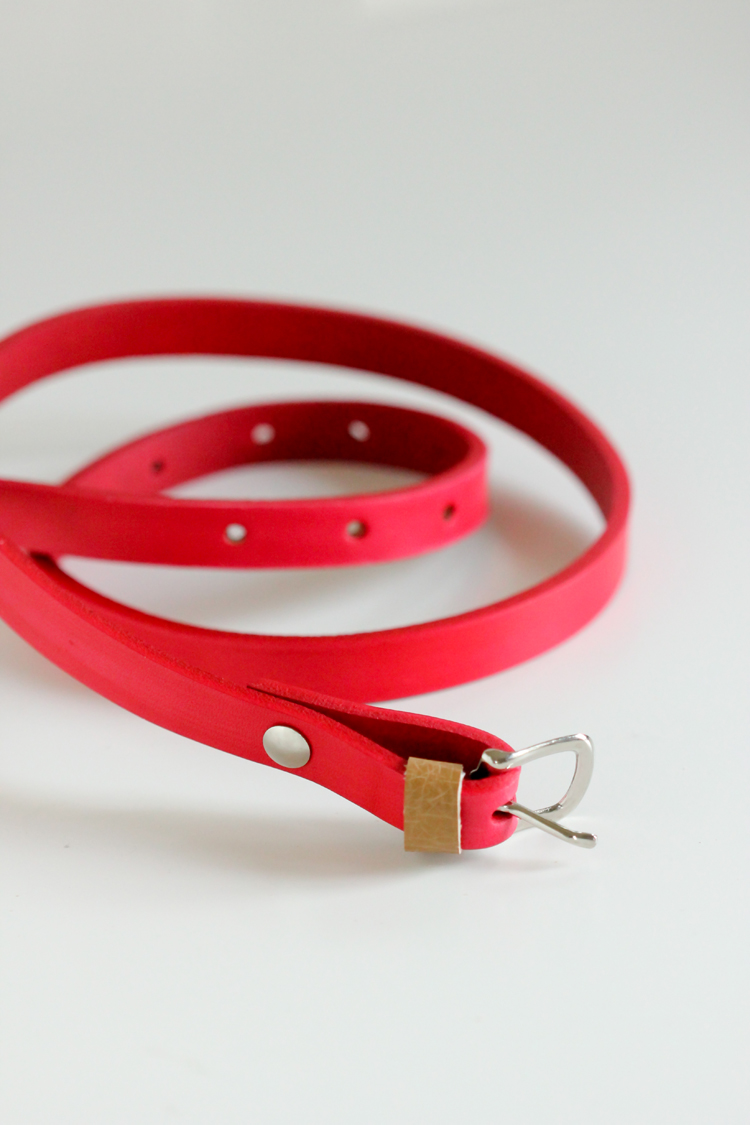
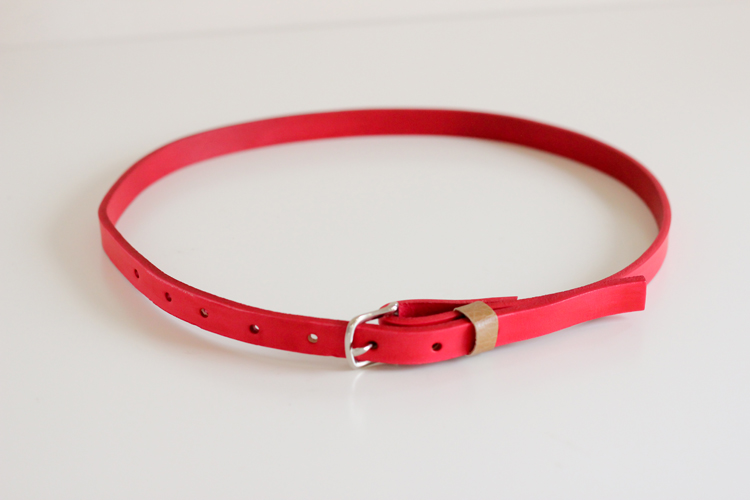
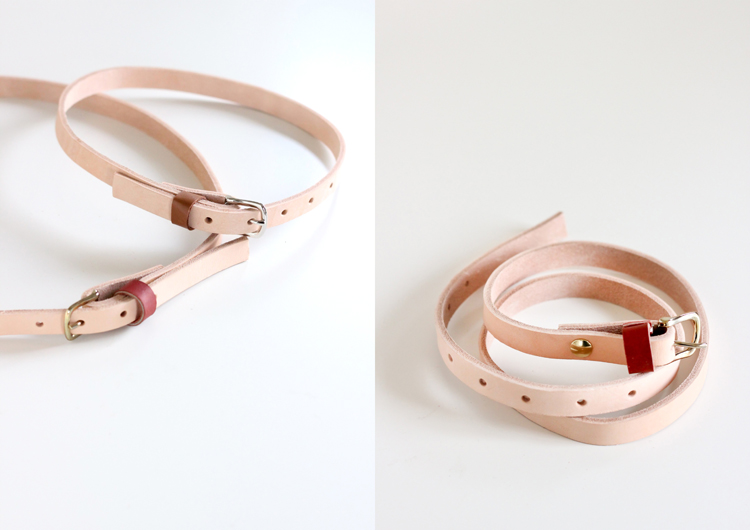 If you are looking to add a splash of color to your belt, Tandy also has a line of really cool leather stains. They sent me a festive red to try out.
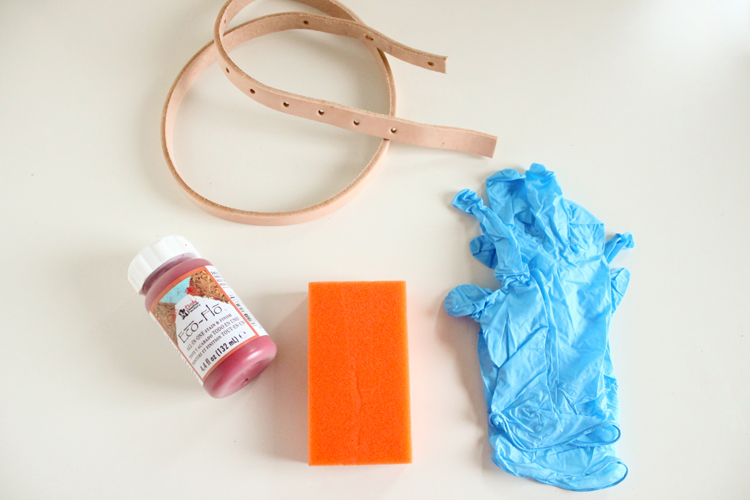 Basically…follow the basic belt steps up to step three. Then, stain the cut and punched leather strip. It’s super simple to do but it’s messy, so protect your surfaces and your clothes. Otherwise, it’s actually pretty fun to use. It spreads on nice and easy and dries pretty fast.
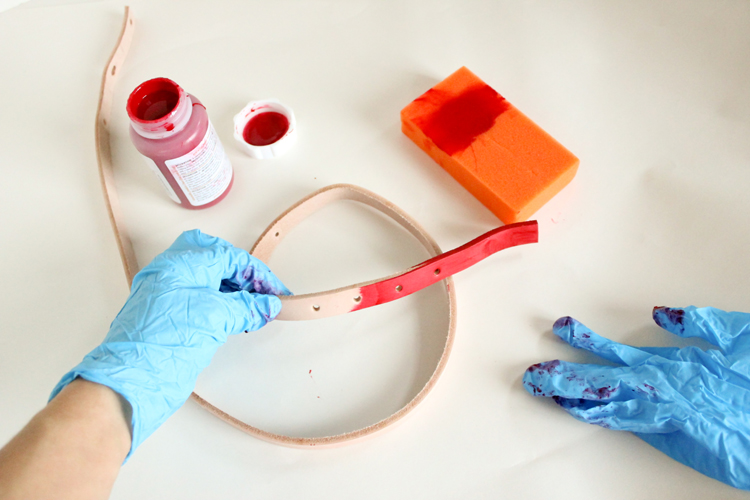 After the stained belt is completely dry, proceed with steps four and five.
Note: Keep in mind this stain is a water based dye. It will not rub off onto clothing with normal wear. If the belt gets wet though, some color may rub off. You can try adding a clear coat like this Eco-Flo Satin Shene to help prevent that.
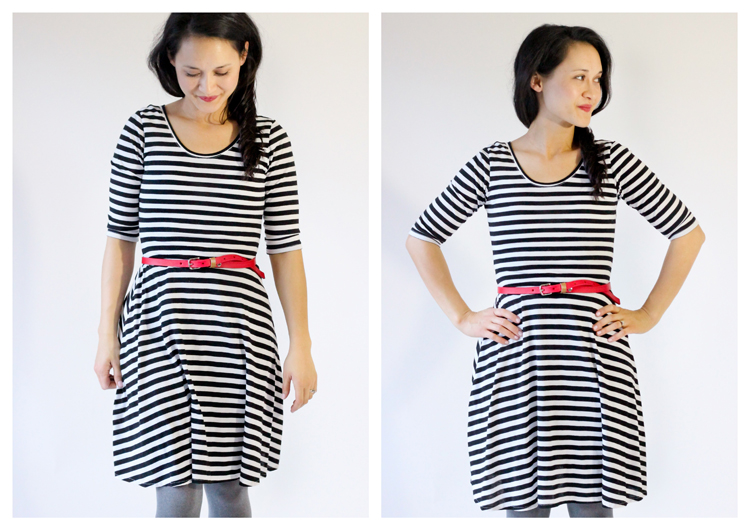 Or you can just leave the belt nude.
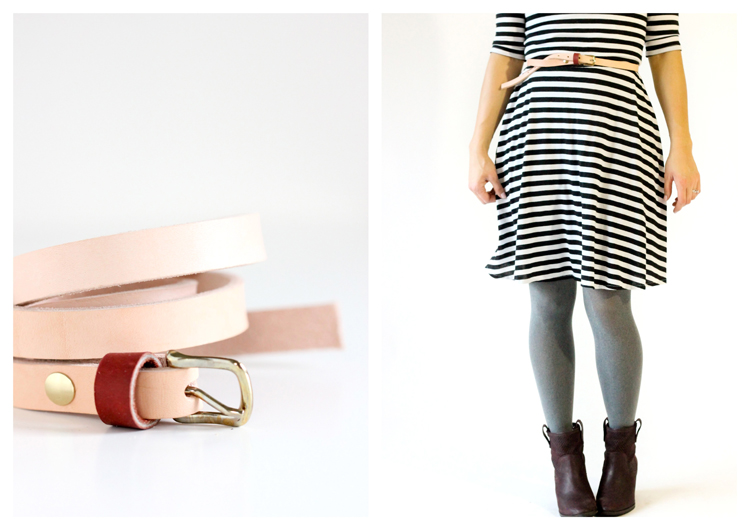
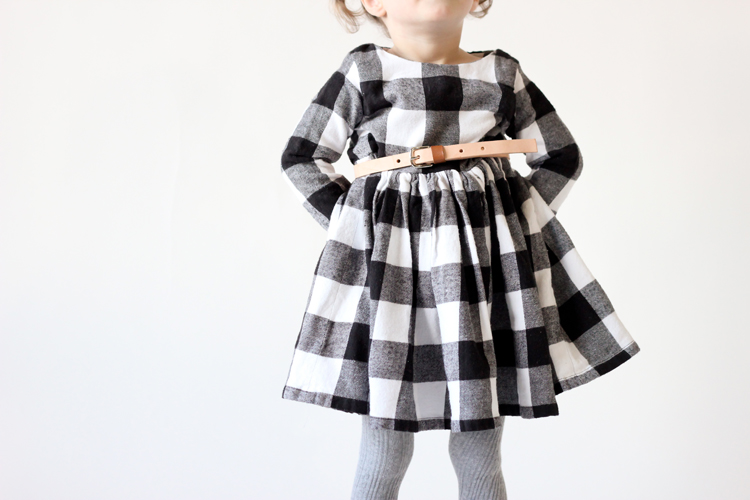
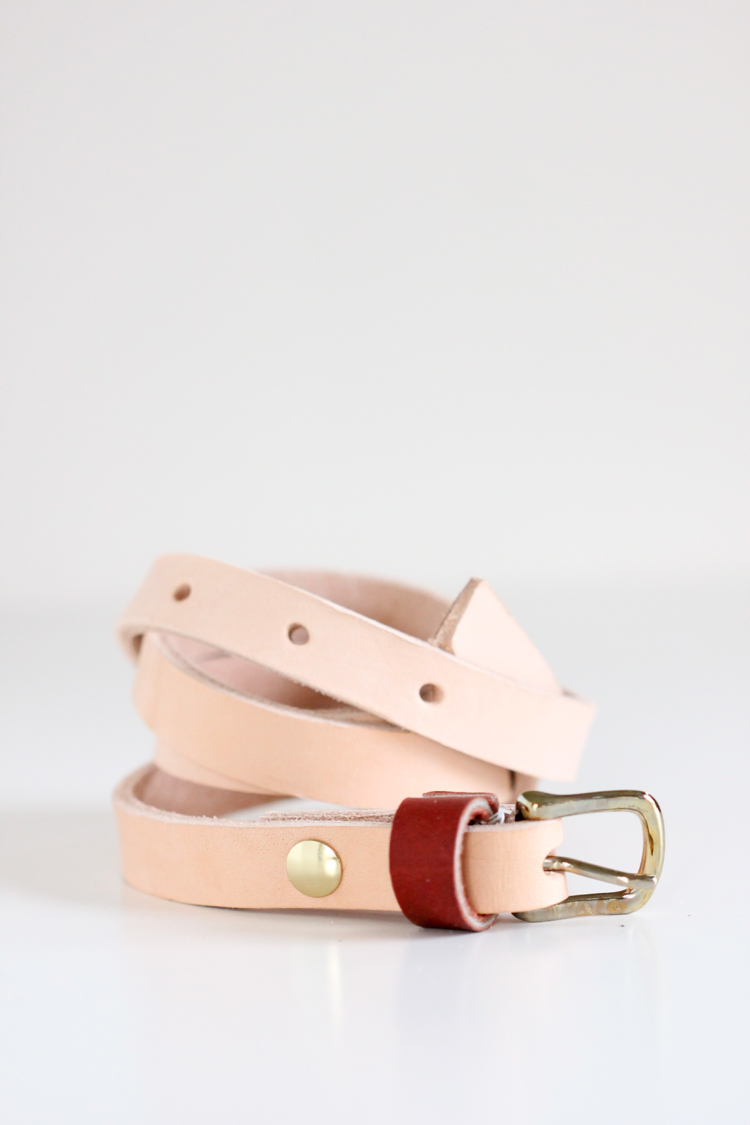 Which I think is my favorite version.
If a long belt tail bothers you, you can sew up another belt loop. Slide it on before the belt buckle and screw. I didn’t include one, because I like to tuck my belt tail into the belt.
Okay…now that we’ve made some belts….are you ready for a giveaway!?!!
Tandy Leather is generously giving away a set of tools and leather supplies. You will get everything I used to make these belts, including a punch tool, hardware, leather, stain…everything! (minus the small scraps of leather). That’s a $70+ value!
To enter, simply enter in the rafflecopter widget below.
Open to U.S. residents only . (My apologies to international folks.)
Good luck!
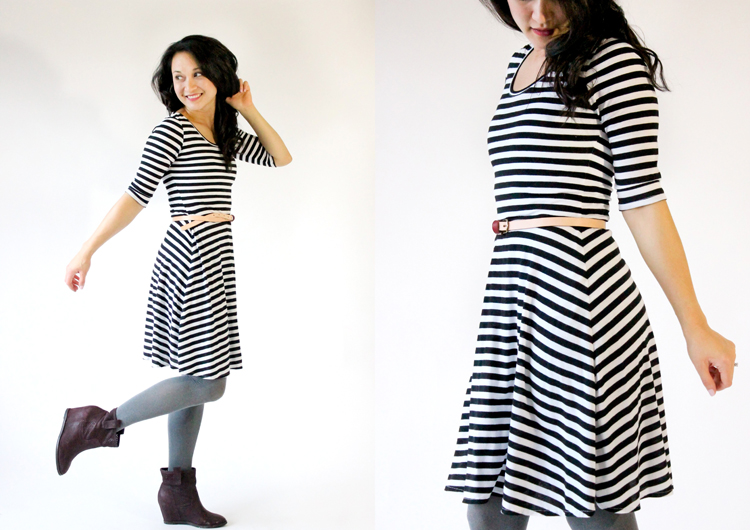
Sources: All leather belt making supplies from Tandy Leather || women’s black and white striped dress – Lady Skater sewing pattern || women’s boots – sole society || girl’s black and white gingham flannel dress
Disclaimer: This post was sponsored by Tandy Leather. All opinions expressed are genuine and enthusiastically my own!
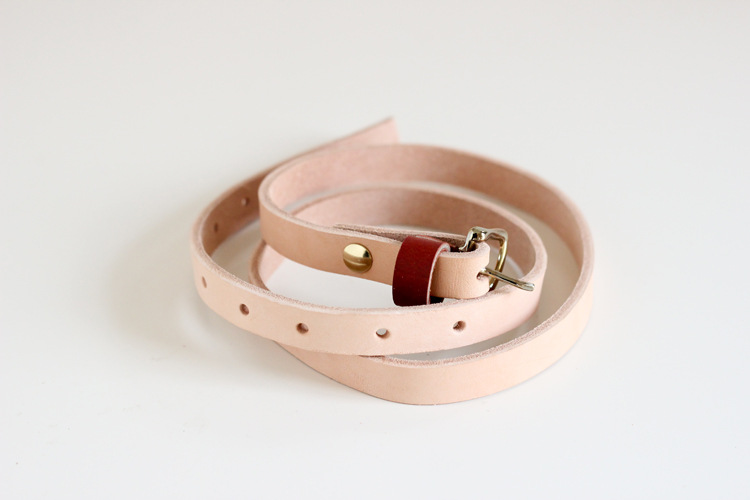

I would’ve had no idea that you painted that belt red!! I love it!!!
Thanks Jess!
I just realized there is a Tandy near where I work. I have got to go!!
Score! I just moved away from a Tandy outlet and I am sad! Thank goodness I can still order online. I miss the scrap bins though. ha.
oh, US only.,
Still, like it very much though! (I hope I wrote that last word correctly, I’m Flemish, so..)
Especially the nude one with the golden and brown accent!!
Thank you!…and so sorry! I have a few more giveaways coming up this week that are open to international readers too, if that helps?
that’s all right! Your wonderful posts satisfy me enough allready 🙂
aw. thanks. 🙂
I LOVE this tutorial Thank you!!!
Thank you Jessica! 🙂
Those are really cute! I love making leather belts, especially with the
Chicago screws! I couldn’t get my rotary leather punch like yours to punch through leather at all- I ended up bringing it back to the store and getting the individual hole punches to use with a hammer, which worked much better for me. You must have strong hands!
Ooh…those hammer type punches are a good idea! My hands got really fatigued after each belt and I had to take a break. My husband punched the last belt for me. 🙂 ha. If I make a bunch more belts I’ll have to look into those individual hole punches.
These are so great!
Thank you Emily!
seriously so cute.
Thanks Miranda. 😉
So cute. Love the nude belts and that stain works really great for more options
Thanks Courtney!
SO cute, and that red color is amazing!! Well done, Delia!
Sooo cool Delia!! This looks totally store bought (in a good way) and that leather punching tool is very hard core!
Also, I cannot believe that leather stain. It turned out fantastic!! The red + nude is perfect together!
Thanks girl! That leather stain is something huh? It makes me want to get every color!
Super cute project!
Thank you Marisol!
My husband and I enjoy leather working and stamping. Recently I tried metal stamping. You should try it. You would love it!
This is so cute and cool delia!
LOVE the rain stained one too! Very cute 🙂
Does the stain come off onto your clothes? Maybe you’ve already answered this in other comments…
And where are you taking all your white photos?? Did you get a white backdrop! Cool!
Thanks Dana! Actually…you are the first to ask! So, it is a water based dye. It doesn’t rub off on my clothes with normal wear. If it gets wet though, some color can rub off. I looked up finishes here: http://www.tandyleatherfactory.com/en-usd/home/department/leather-dye/leather-finish/leather-finish.aspx. I imagine the Eco-Flo Satin Sheen helps seal the color in, in case it gets wet. It says it is water repellent. I hope that helps. 🙂
I did get a white back ground! It’s pretty fun. 🙂
This is awesome I’m going to use this for my craft blog http://www.simplylc.com 🙂