Today I’m teaming up with The Leather Hide Store for a fun tutorial and giveaway!
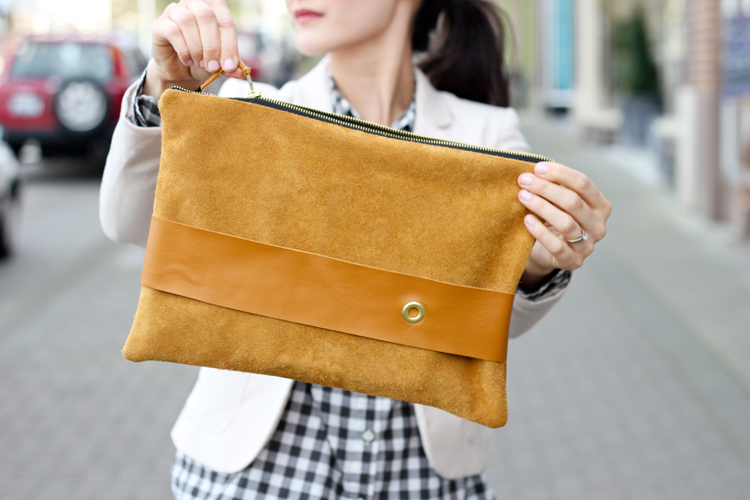 First, I’m going to show you how to sew a DIY Leather Strap Clutch…
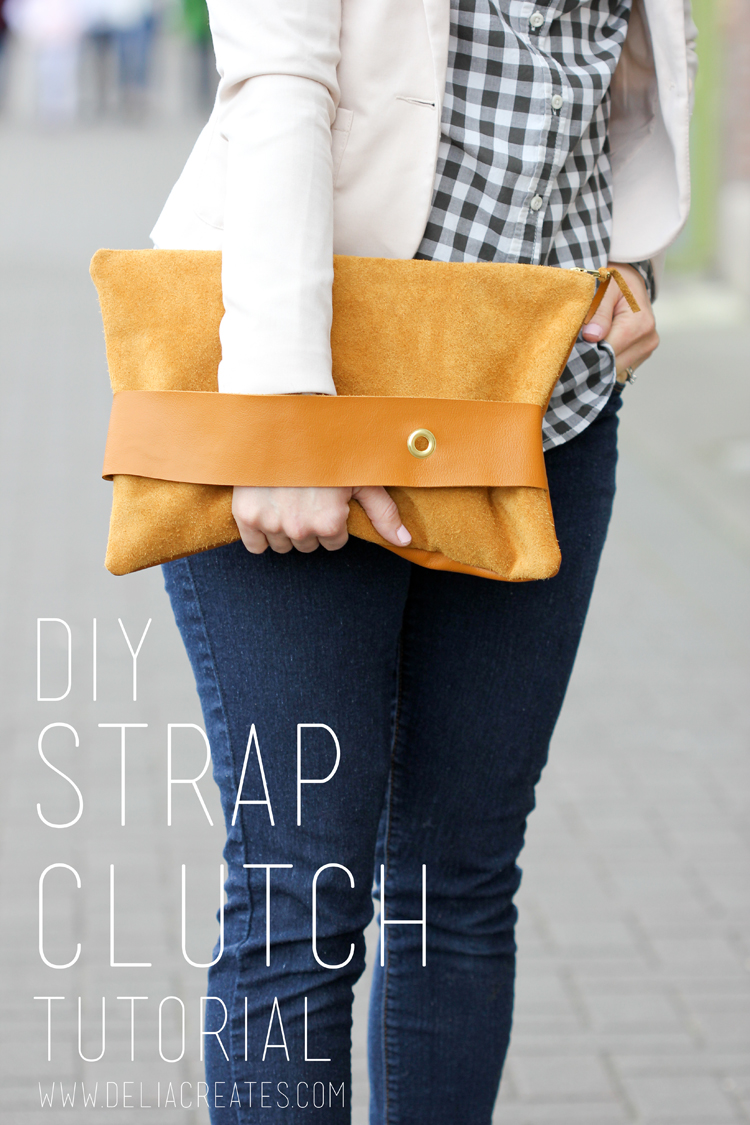
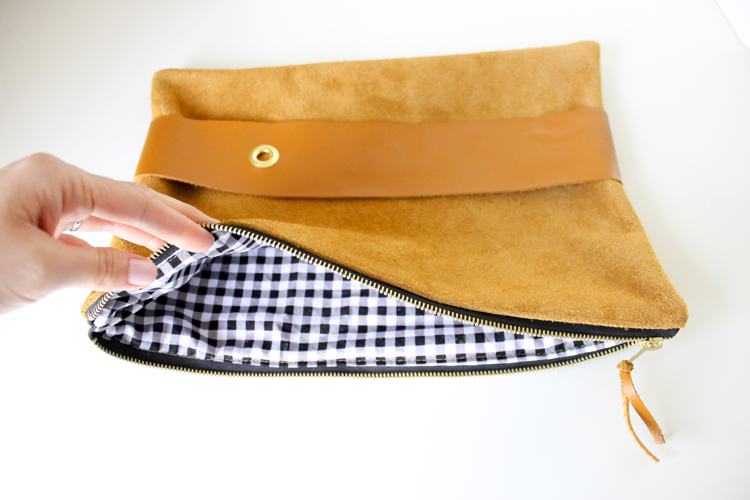
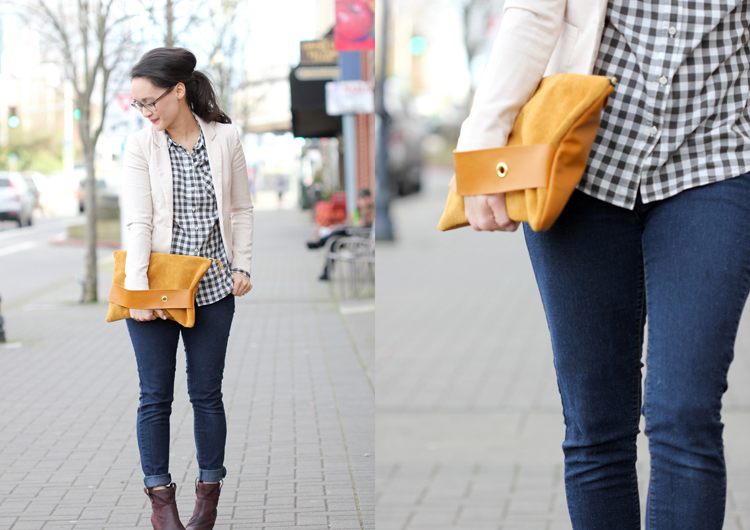 and then I’m going to give one away!
Cause sharing, is caring.
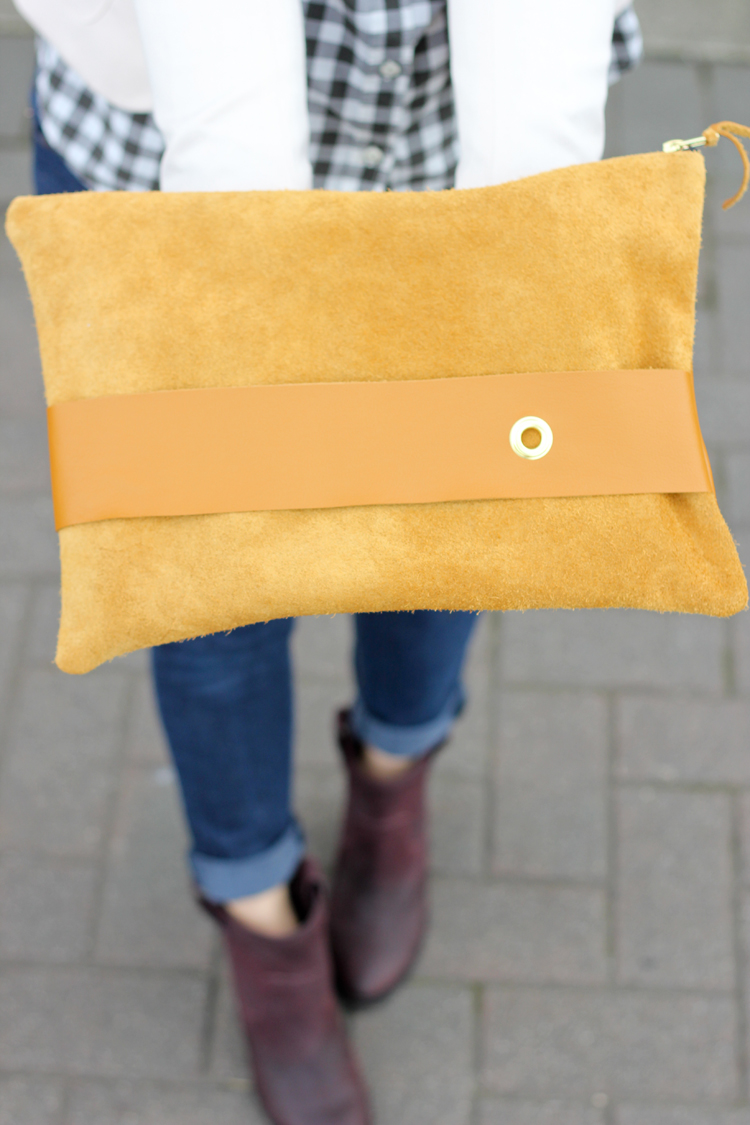 Let’s get the tutorial first and then I’ll post the giveaway at the end.
Capisce?
You got it dude.
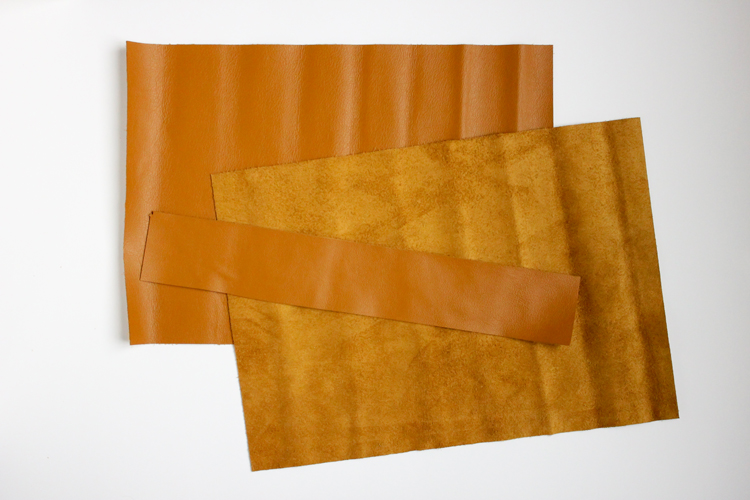
2 pieces of leather 15″ x 10.5″ 2 pieces of liner fabric (cotton, felt…almost any kind) 15″ x 10.5″ 1 piece of leather 14.25″x 2.5″ 1 metal zipper – 14″ Leather needle Matching or contrasting thread Rotary cutter and/or sharp sewing scissors Basic sewing supplies Clover clips or small binder clips Optional: Zipper foot, Eyelet/grommet tool, and one large metal eyelet set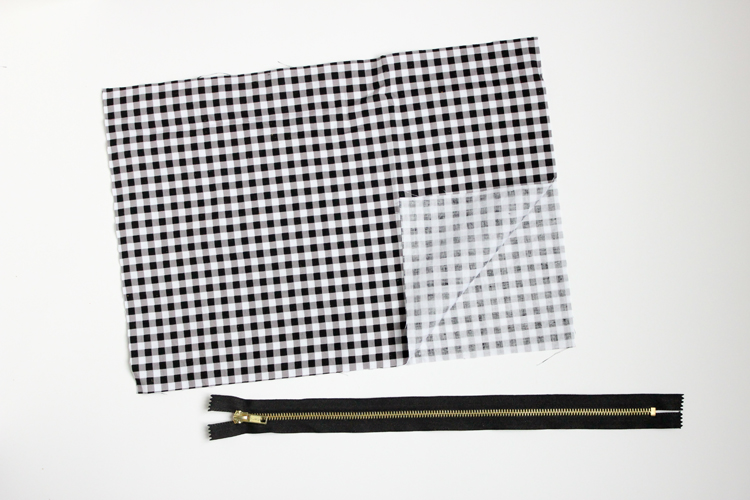 NOTES
NOTES
TUTORIAL
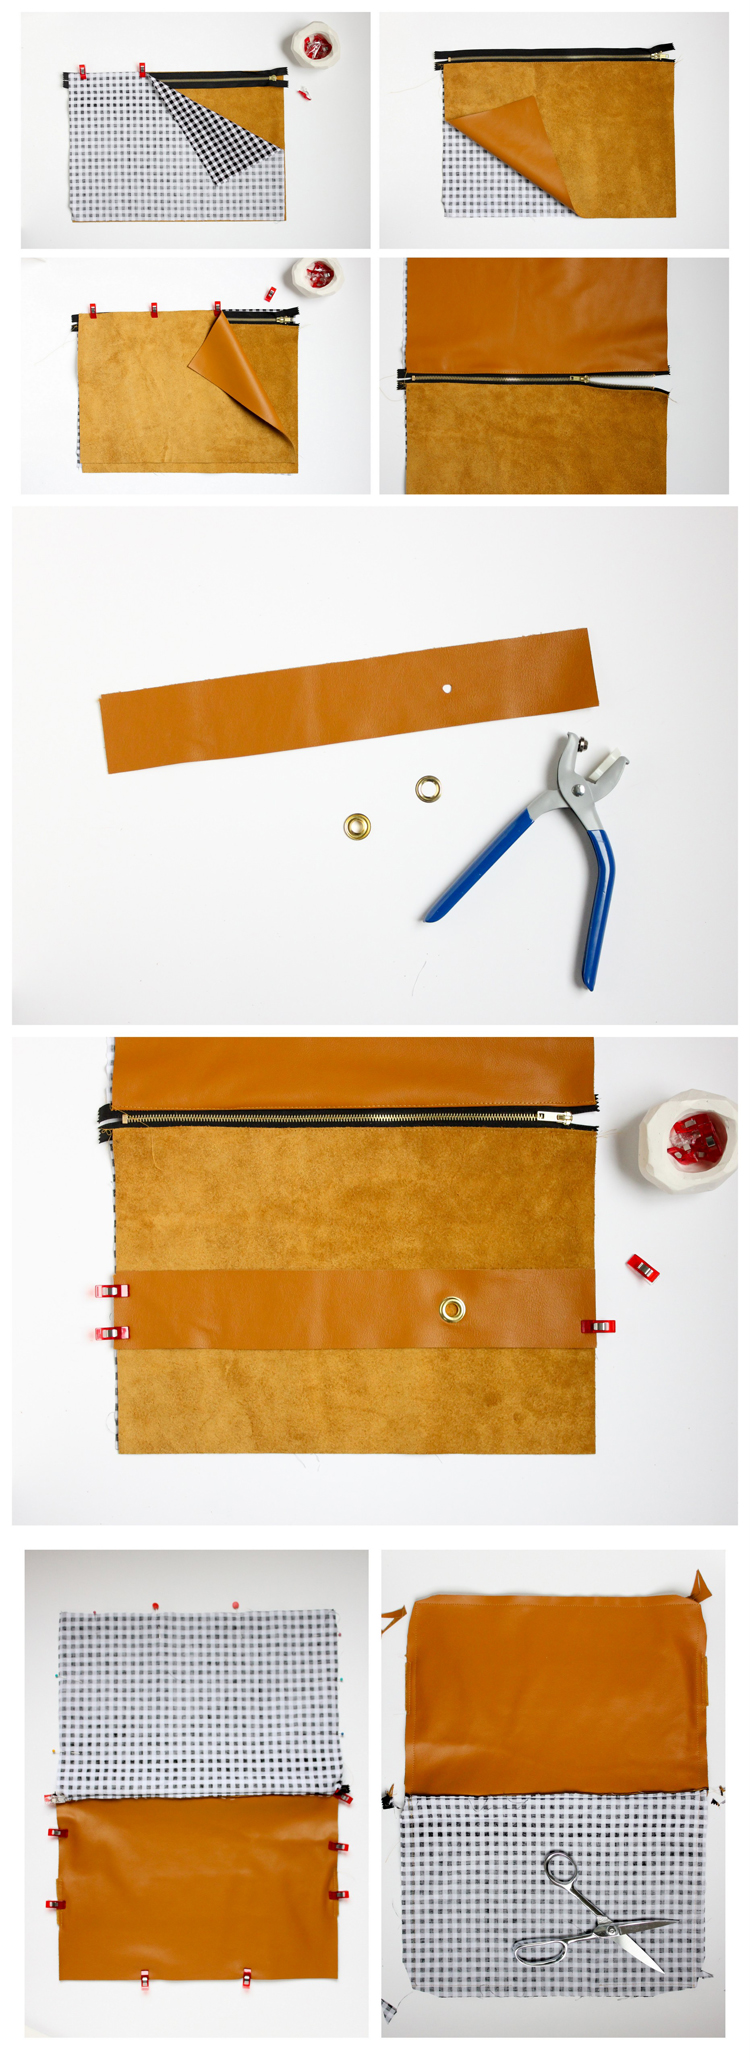
1|| Sew your zip pouch like any standard zip pouch. Sandwich the zipper in between a layer of leather and lining, right sides facing, along one of the longest sides. Make sure the right side of the zipper teeth (or zipper pull side) are facing the right side of the leather. Secure with clover clips or small binder clips. I do not recommend using pins as they leave permanent holes in the leather and are hard to manage with leather. Sew with a 3/8″ seam allowance. 2|| Flip the lining and outer leather pieces right sides out. Press the seam in place with your fingers and top stitch along the folded leather edge. It helps to lengthen your stitch to 4 mm or even 4.5 mm to get a nice pretty top stitch. 3|| Repeat with the other side of the zipper, with the remaining leather and lining pieces. If your leather looks good from both sides, you may consider flipping the leather to the wrong or fuzzy side for some contrast, as I did. 4|| Clip the strap in place on top of one of the leather pieces. Optional: Embellish the strap with an eyelet or a tag if desired. 5|| Bring together leather outer pieces and lining pieces together, right sides together. Unzip the zipper about half way. Pin and clip all the way around, leaving a 3 inch opening on the lining side. Double check to make sure the strap is evenly and securely clipped in place. 6|| Sew around with a 1/2″ seam allowance. Take care to make sure the zipper matches up evenly on both sides. If you get stuck at the zipper portions, sew slowly and hand crank the needle through if need be. 7|| Clip corners and trim some of the leather at the zipper ends to reduce bulk. Be careful not to clip through any stitches or to get too close to seams. 8|| Turn your bag right side out through the 3 inch opening. Take care to push corners out and smooth out the zipper. Inspect the seams to make sure they match up. Turn it wrong side out again and fix any inconsistencies, if needed, before proceeding to the next step.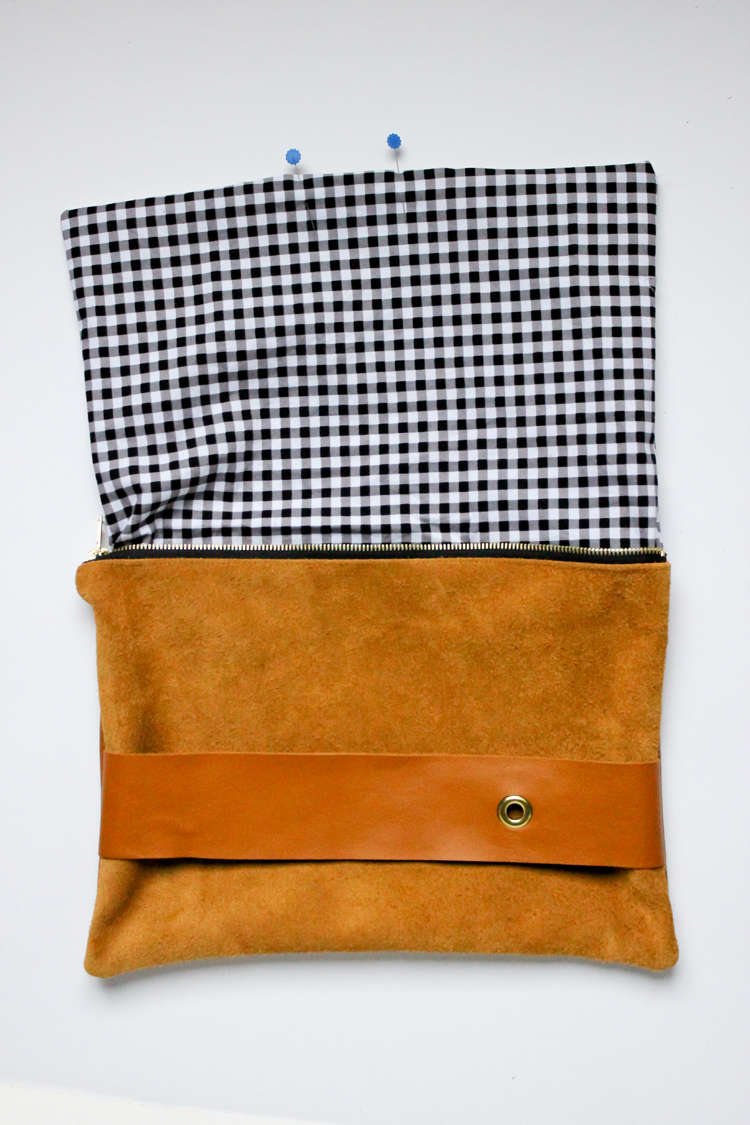 9|| Fold the 3″ opening inward so that the folded edges match with sewn seams at the sides. Pin and sew along the entire bottom edge. Optionally, you may prefer to hand stitch the opening closed with a blind ladder stitch.
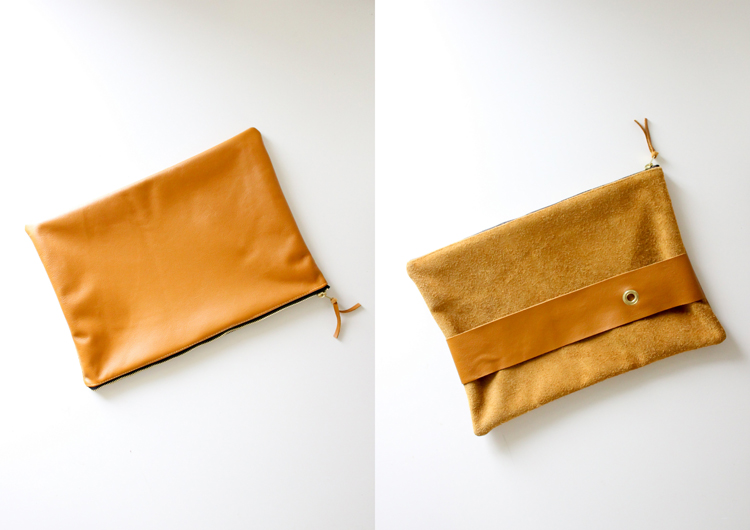 All done!
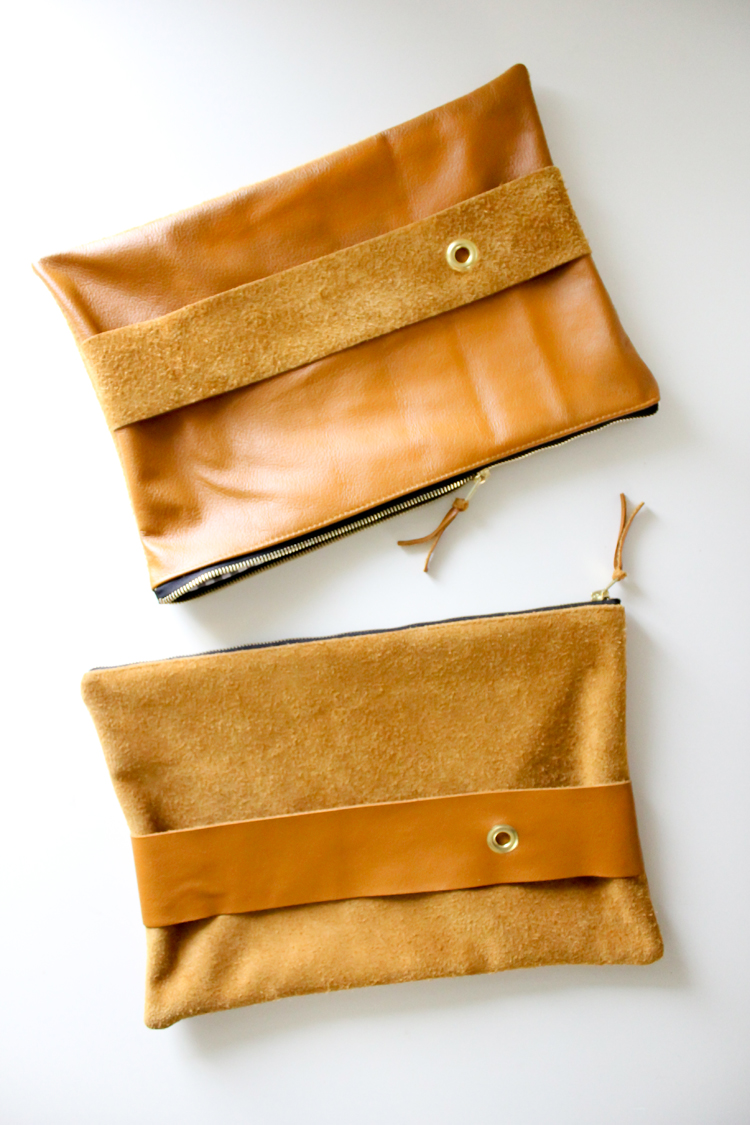
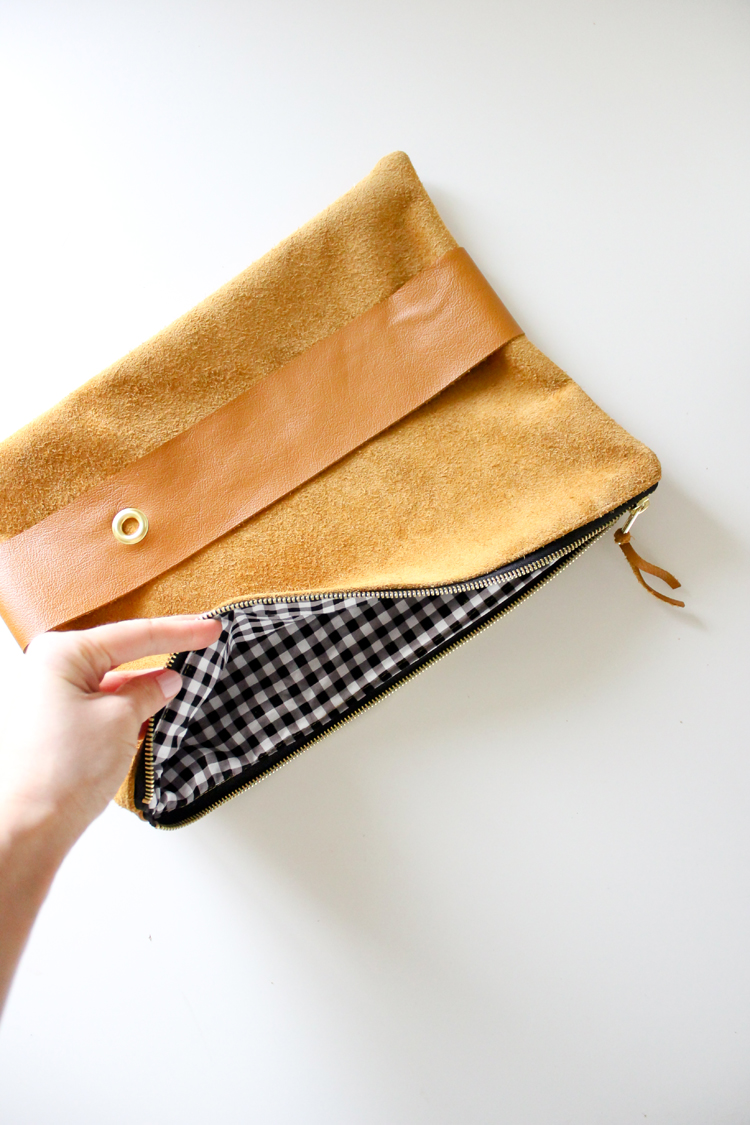 If your strap piece turned out on the wrong side, simply flip it to the next side by tucking the bag through the strap like you would when you are balling a pair of socks. That’s the only way I can think of explaining it. ha. Just remember that the strap can flip to either side since it’s sandwiched between the two leather layers.
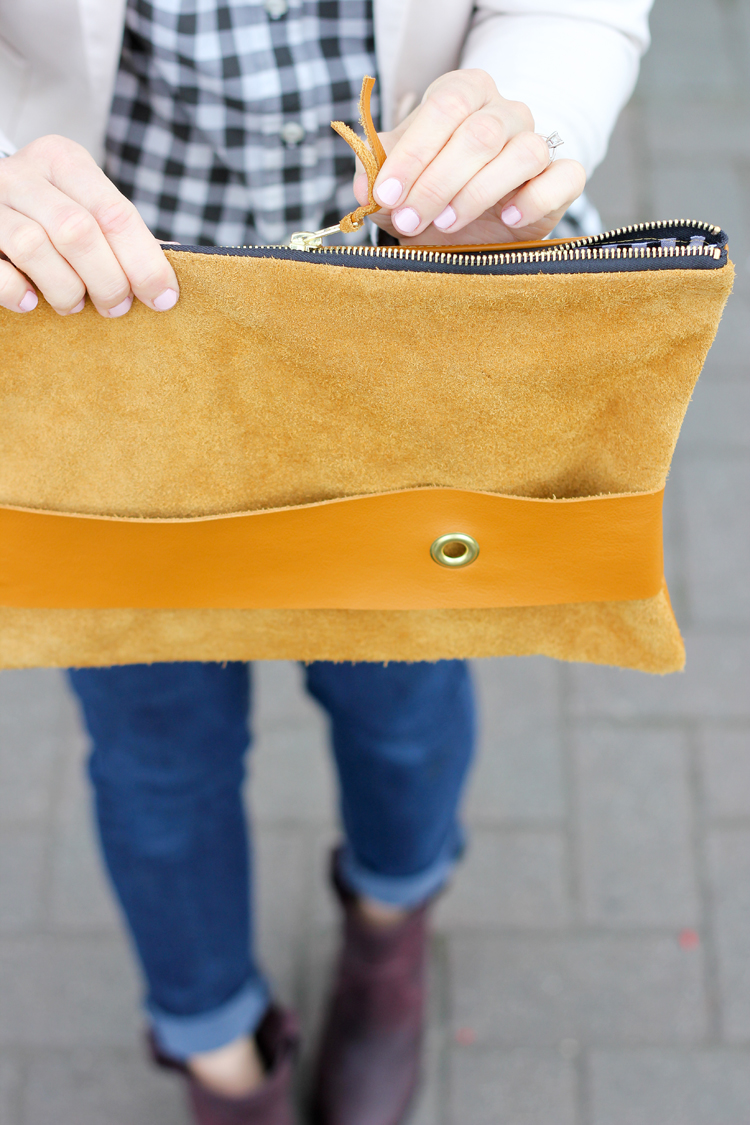 If you have a small scrap of leather, you can knot it to the zipper pull, as an extra design element.
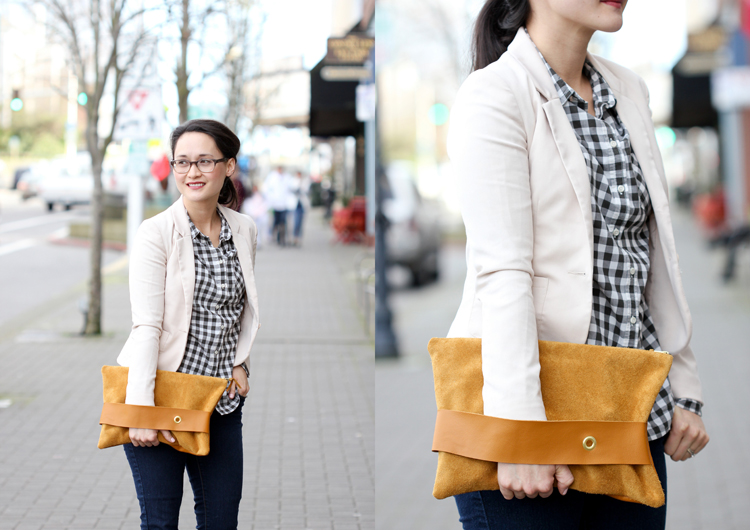
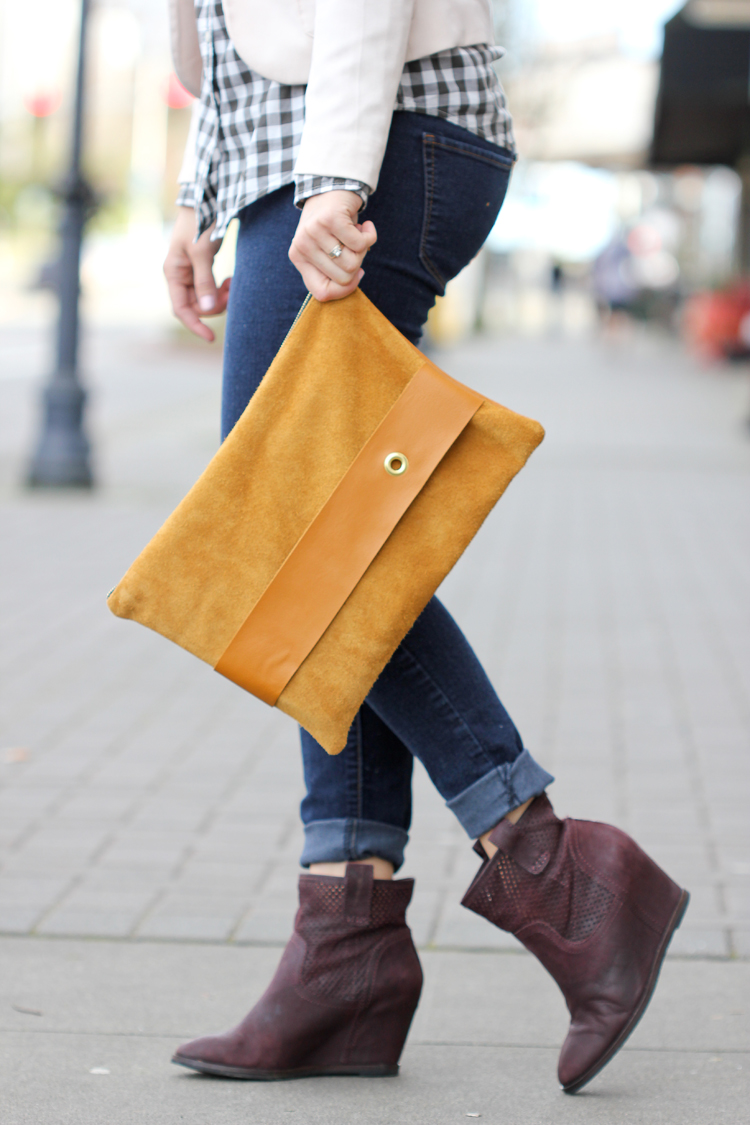 Now….Ready to win a clutch for YOU!?
It’s open to U.S. residents only (my apologies to the international folks).
Psst…I’ll be tossing a few extra goodies inside as well. 😉
Simply enter in the Rafflecopter widget below. Goooood luck!
Oh, oh! And if you want to purchase a hide of leather, The Leather Hide Store is having a sale which ends TODAY (Tuesday)! Enter “heart15” at checkout and get 15% OFF! That is huge! The hides can get expensive…like $100 plus, so that 15% knocks off a good chunk. I know, I know that price tag sounds well….pricey, but it is a really great investment. I have a hide from more than a year ago that I am still not finished with and I have made aaaaa lot of projects with it already. I hoard the scraps because even they are super useful…for tags, for small elbow patches, for handles, for scarves, for accessories, for jewelry…I’ve never regretted having a hide of leather on hand! If you are seeing this post late, and you missed the sale, follow their facebook page for more sales and such.
Disclaimer: This post is sponsored by The Leather Hide Store, but all opinions are genuinely and enthusiastically my own!


LOVE! IT!
Thank you Jen!
Gorgeous! I have to get a leather needle. I’ve tried sewing a few things with out one and it is NOT easy.
Yes! You will love using a leather needle then Ginger! It makes a huge difference.
Ooh, I love this Delia! The gingham and leather are so great together.
Thanks Abby!
Beautiful bag!! I’ve got a Craft Gossip post that links to your tutorial here:
http://sewing.craftgossip.com/tutorial-leather-strap-clutch/2015/02/18/
—Anne
Thank you so much Anne!
I think i have to go to the shop to buy some l’edat her neddles
They are totally worth it! Happy sewing! 🙂
I love this! So trendy!
Thank you Lucy!
OMG!!!! I absolutely LOVE this bag and thanks for the tutorial and awesome giveaway!!!!!
xoxo
Thank you Angelina! You are the nicest ever. <3
Love it! I can just imagine the different combinations that could be made
Thank you Denise! Adding a contrasting color would be so fun!
I love this clutch and the tutorial on how to make it! I’ve added it to my roundup at http://www.babybugjournals.com/roundups
Thank you!
Love this idea! I linked to your post as a Christmas gift idea 🙂
G
Cool. Thanks Genevieve!
Hi. Thanks for the master class. The photo does not show which sewing machine you are sewing on. Tell me, do you have an industrial leather machine? The fact is that I once tried to sew leather on my household sewing machine, but she could not cope with this material. I want to buy a sewing machine for leather to work effectively with this material. I have such an assortment of leather machines in the country https://sewstar.com.ua/category/promyshlennoe-shveynoe-oborudovanie/dlya-tyazhelykh-materialov/. Can you tell me which one is better to choose?
I used a home sewing machine and have not used an industrial machine before. I would love to though! My BabyLock Katherine has handled leather pretty well and my less expensive Brother machine did okay as well. I think *most* home sewing machines can handle some leather sewing if you are diligent. I had to be really mindful of sewing slowly to prevent skipped stitches and I couldn’t sew over too many layers of leather together. I also had to use a leather sewing needle and lengthen my stitch to at least 4.0 mm. Those two things make a huge difference. I wish I could offer better advice on which machine to buy. I wish you luck in choosing one!