One of my very first sewing projects, when I was learning how to sew, was a drawstring backpack. It was just a basic cotton bag sewn with all straight lines that cinched at the top. 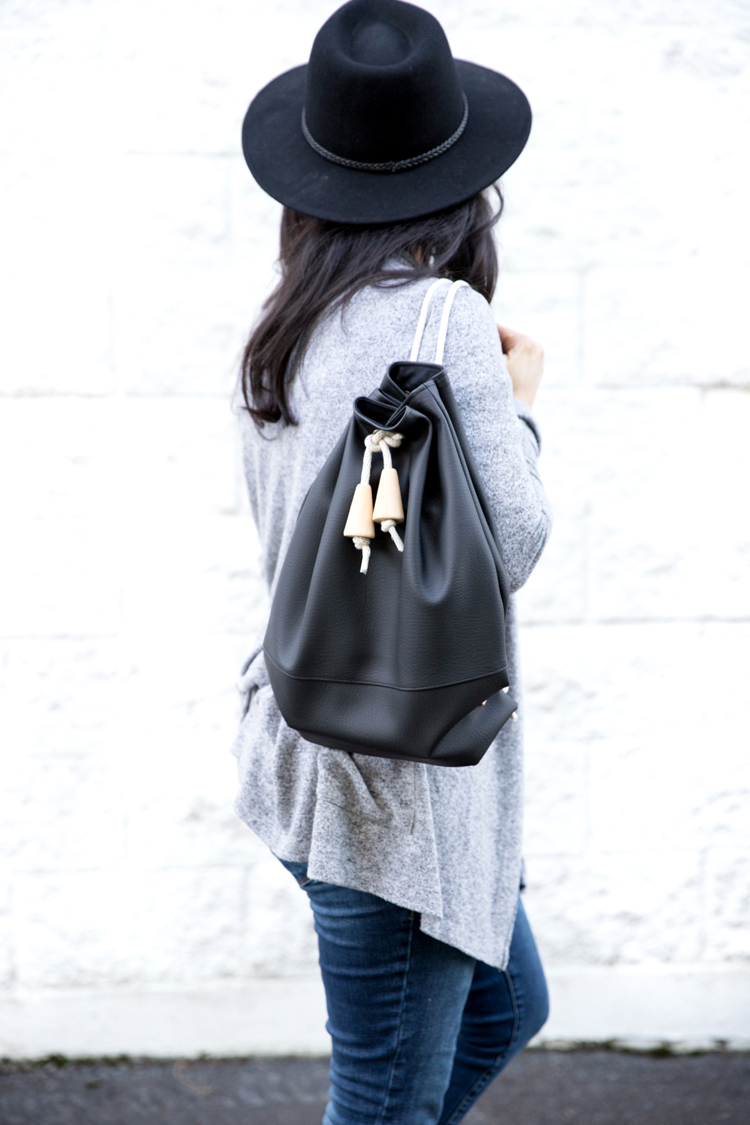
This project is much like that, but with some more exciting materials and some cool hardware thrown in the mix!
It’s like a drawstring bag, all grown up.
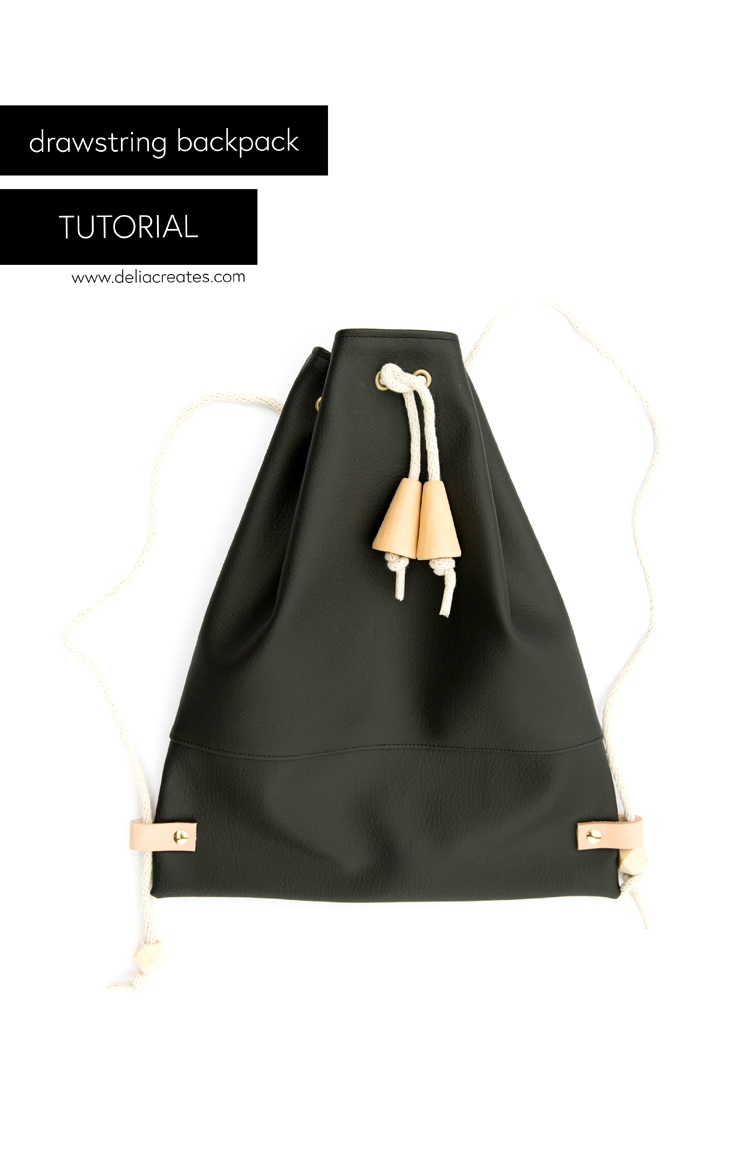 It’s still great a project for a beginner because it only requires straight line sewing. You just need a few extra tools to get the job done and an extra pinch of bravery to try sewing with vinyl.
MATERIALS
- Black matte upholstery vinyl* – 1/3 yard
- Lining fabric – 1/2 yard
- 2 Leather straps, 4 x .75 inches each**
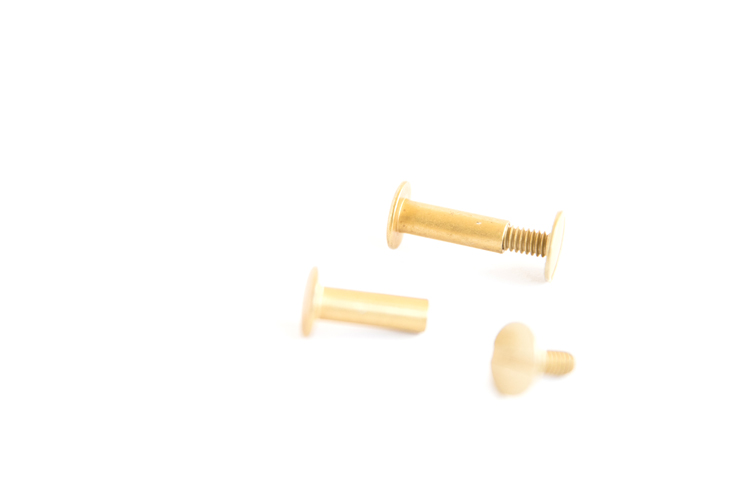
- 2 Chicago screws, 1/2 inch size***
- Cotton rope – about 2 1/4 yards cut into two 40 inch pieces
- Large wooden beads – 4****
- Large eyelets – 12
- Scotch tape
TOOLS
- Sewing machine
- All-purpose needle and matching thread
- Leather punch tool *****
- Small, sharp, pointed scissors
- Large eyelet setting tools******
- Flathead screwdriver
- Hammer
- Pins and clips (quilter’s clips or small binder clips borrowed from your office supplies)
Material and Tool Notes:
* Vinyl – I sourced my faux leather from Jo-ann. It’s actually called “upholstery vinyl.” It has a great texture and weight but is something like $25 a yard. To save money, I only got 1/3 a yard or 12 inches (and used a coupon! ;)) and then pieced it together to get the size I need. You may even want to get 13-14 inches, if the end of the bolt doesn’t look like it’s been cut straight. That way you’ll have some wiggle room, just in case.
** Leather straps – I used vegetable tan leather straps cut from a belt kit I found at Michaels. I’ve used lots of projects that use these leather straps if you need ideas for how to use the leftovers (click here). You can also use pieces cut from a thrifted belt or make your own straps cut from thick leather or vinyl.
*** Chicago screws or book post screws are probably the trickiest to find. You can find them in some hardware stores (not Home Depot or Lowes) and places that sell leather and/or horse tack supplies. I also have an affiliate link for silver posts here.
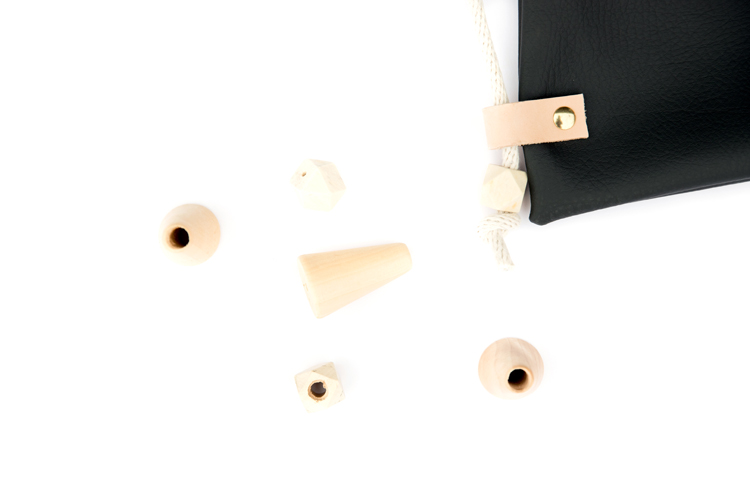
**** Wooden beads – I get most of my wooden beads at Michaels, including these cone shaped ones (psst…they are actually labeled as doll bodies). They also have round ones. Their holes are too small, so I used a 5/16″ drill bit to widen them. The geometric beads are from Etsy. I also used them for wooden baby teethers. Click through for the source HERE. You can also use small wooden cubes and drill a hole in them.
***** Leather punch – You can get the kind that opens and closes like a pair of scissors like the one I use in this tutorial, or you can get the kind that requires a die cutter and a hammer. If you use the kind I use, I recommend springing for the heavy duty one. It costs a bit more, but is much easier to use. If you’re not ready to make that investment, then I would get the kind that uses a hammer. You’ll get better results than if you buy the cheap punch. Also, I should note that you only really need the punch for the leather straps. The other holes can easily be made with a sharp pair of embroidery scissors.
****** Eyelet Tool – This tool set is about $1-2 and is sold right next to the eyelets. I used Dritz brand eyelets from Walmart. They also sell them at Jo-Ann, but I could only find this specific color at Walmart (of all places – ha!).
TUTORIAL
STEP ONE: Cut out material.
Main vinyl pieces – 12.5 x 14.25 inches (cut two) and 5.5 x 14.25 inches (cut two)
Lining pieces – 17.25 x 14.25 inches (cut two)
STEP TWO: Prepare vinyl pieces.
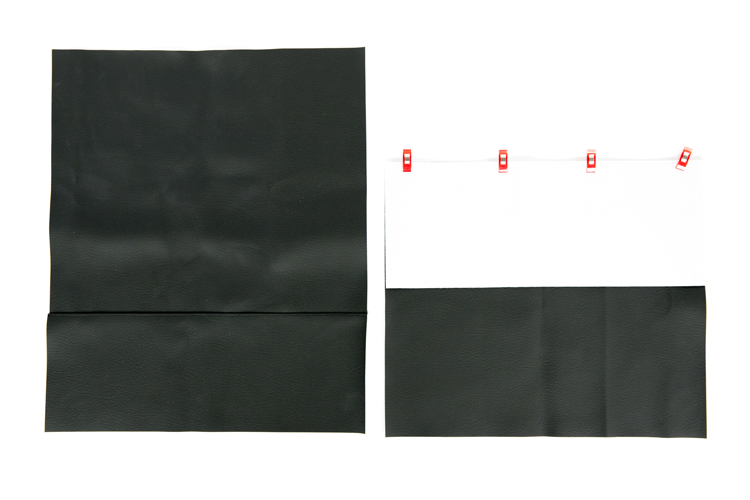
With right sides facing, align the smaller rectangles with larger rectangles along the 14.25 inch side. Sew together with a 3/8 inch seam allowance. Fold and smooth seam allowance toward the smaller rectangle. Top stitch along seam with a lengthened 3.5 mm stitch (typical length is 2.5 mm).
TIP: When sewing with vinyl, sew SLOWLY. If you have never sewn with vinyl before, try a few lines of stitching on a piece of scrap vinyl first. This matte vinyl is much easier to sew because it’s not sticky like traditional vinyl and it’s not stiff like genuine leather. If you are still having trouble, using a walking foot, teflon foot, or adding a piece of scotch tape to the bottom of your presser foot may help sewing go more smoothly.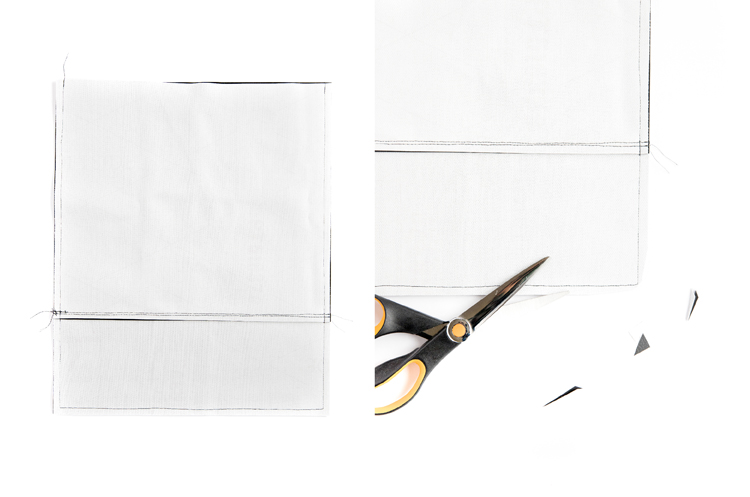
STEP THREE: Sew bag pieces.
Main vinyl pieces: With right sides together, sew sides and bottom of the bag with a 3/8 inch seam allowance. Trim away the bulk at the corners, being careful to not breach the seam line. Turn it right side out. Push the corners out with a chopstick or blunt pencil tip. Since you can’t use an iron on vinyl without melting it, roll the seams and corners between your fingers to get them to flatten and smooth out.
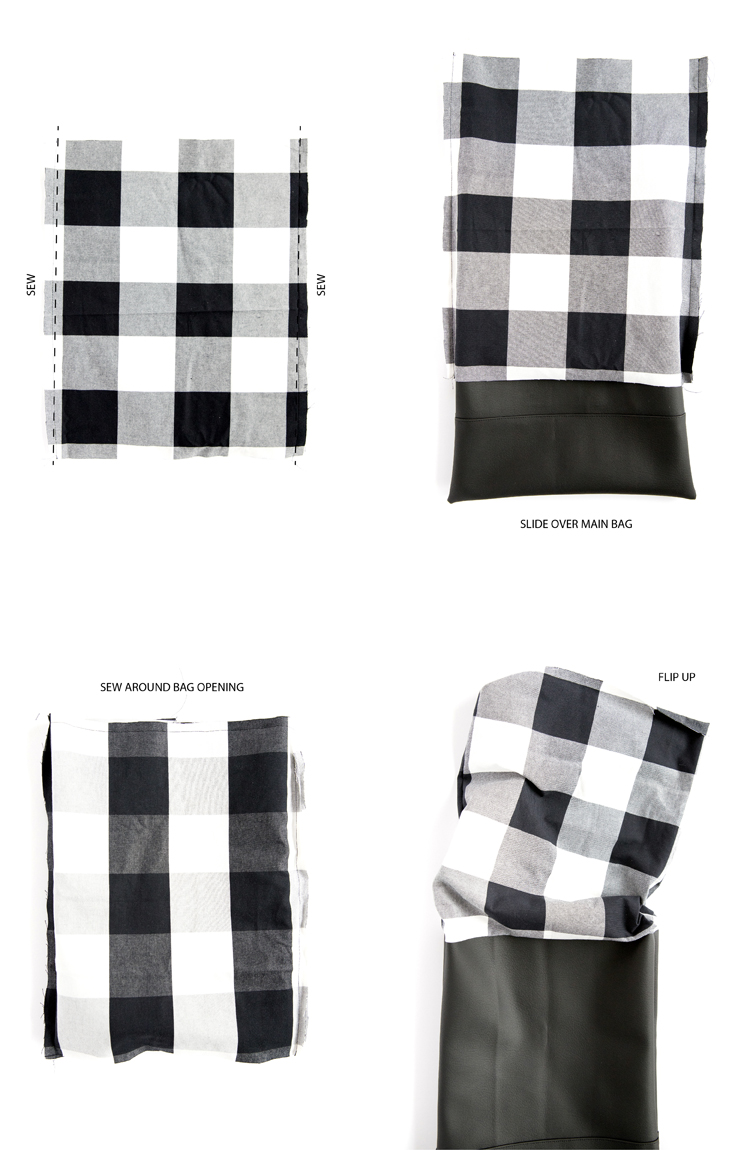
Lining pieces: With right sides facing, sew ONLY sides with a 1/2 inch seam allowance. You want the lining bag to be slightly smaller than the main bag so that it will fit inside the main bag without bunching.
STEP FOUR: Sew lining to main bag.
Slide the lining (still turned wrong side out) over the top of the main bag (turned right side out) until the top of the lining lines up with the top edge of the bag. Sew around bag opening with a 3/8 inch seam allowance.
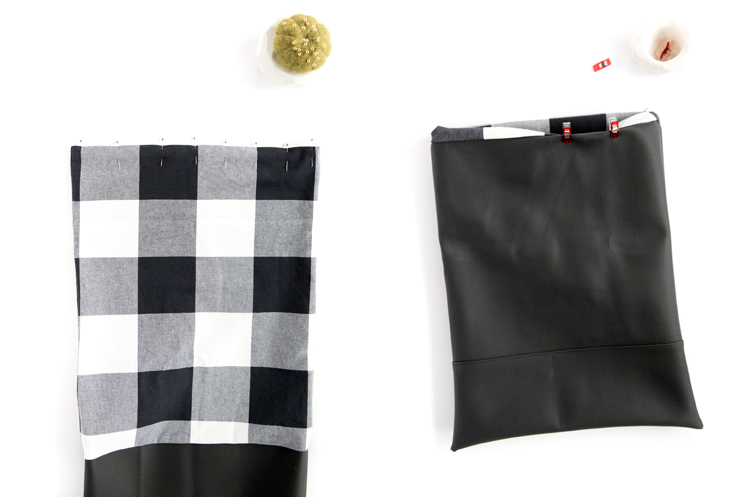
Flip lining up (right side out). Fold the raw edge of the bottom of the lining inward about 5/8 of an inch, creating clean folded edges. Pin and sew along folded edges to close the bottom of the lining bag.
Push lining into the main bag. Rub the top edge of the bag between your fingers to smooth it out and to turn out the seam all the way. Push the lining slightly lower than the main bag edge and clip it in place. Top stitch the top of the bag in place with a 3.5 mm or 4.0 mm stitch length.
STEP FIVE: Install eyelets.
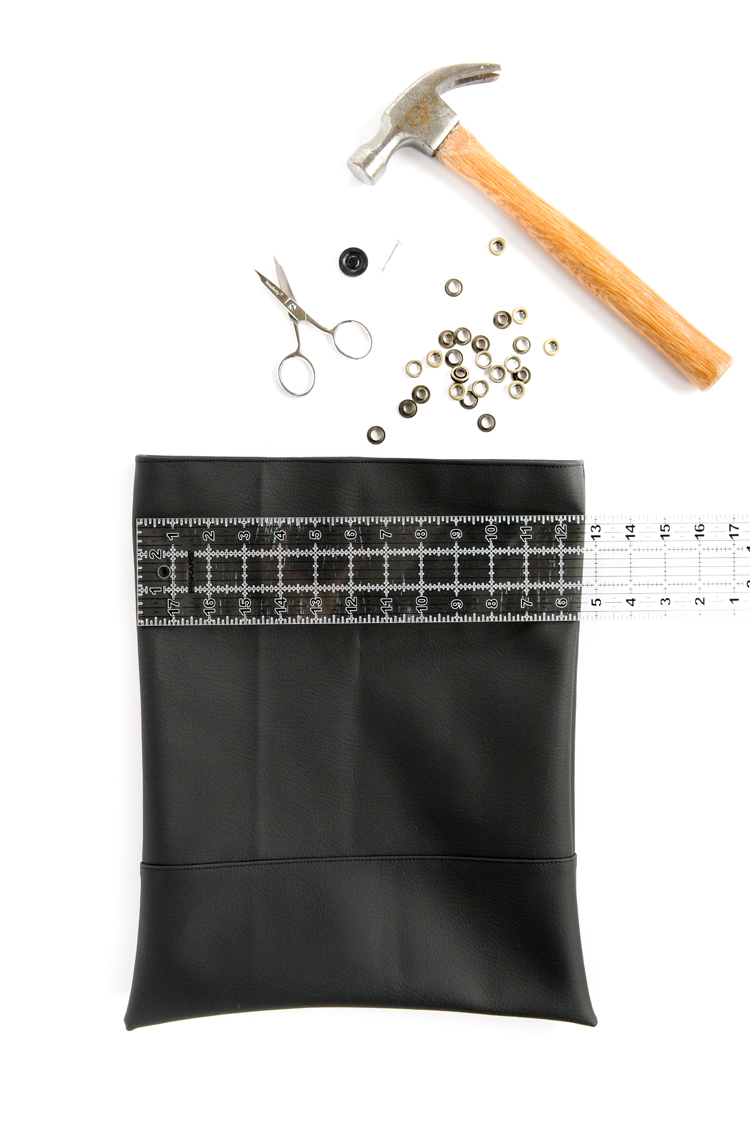
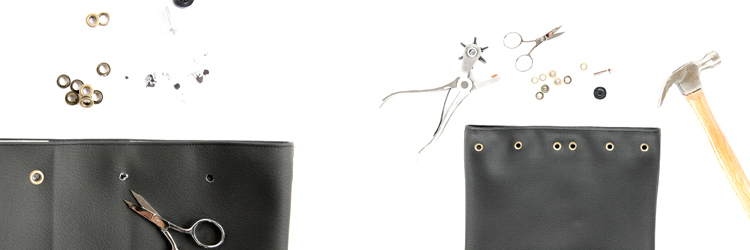
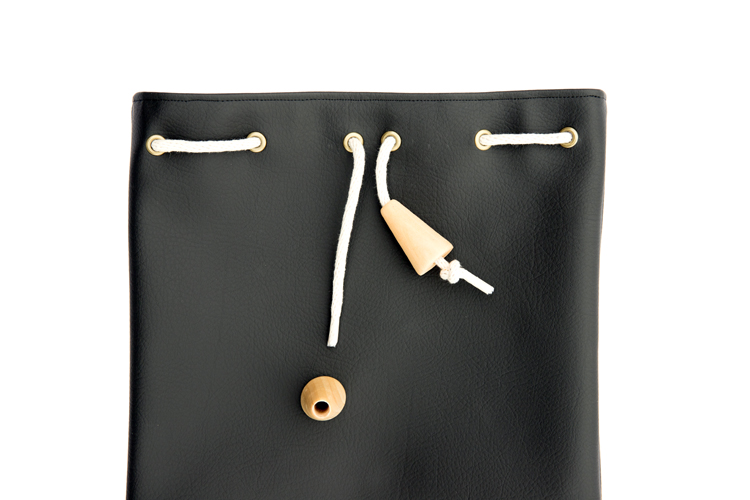
Measure out eyelet placement. I marked mine about 1.25 inches (to the center of the eyelet) below the top of the bag. I marked the center of one side of the bag and then placed two eyelets, one inch apart, or 1/2 inch from each side of the center line. The remaining four eyelets were placed about 2.5 inches apart from the center eyelets and from each other. I repeated the same pattern on both sides of the bag, for a total of 12 eyelets.
I cut/punched holes large enough to just barely fit over the shank side of the eyelets. Then I hammered the eyelets in place according the tool and eyelet package instructions.
STEP SIX: Add leather strap loops.
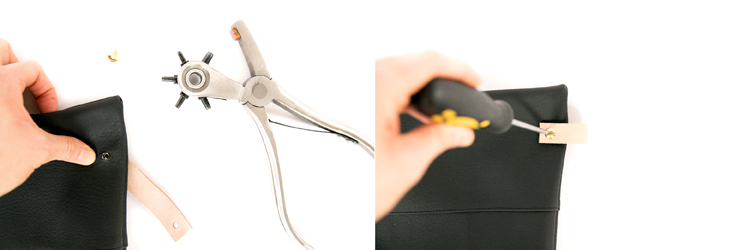
Punch holes at each end of the leather straps.
About 1 inch inward and 1.5 inches up from the bottom of the bag, punch or cut a hole through all layers of the bag.
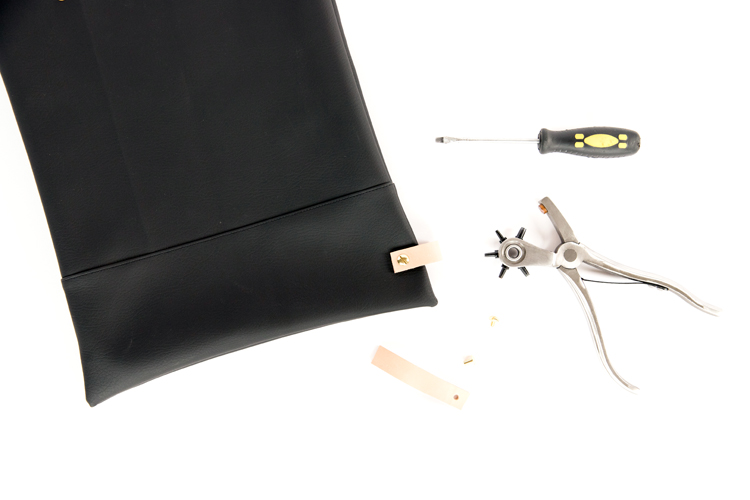
Place the Chicago screw or book post screw through one end of the leather strap, then through all the bag layers, and then through the other end of the strap that has been folded over. Screw in the other end of the post to hold it all in place. Tighten it with a flathead screwdriver.
STEP SEVEN: Add rope and beads.
Tape the ends of the rope so that it doesn’t fray. This will also make it easier to string through the eyelets.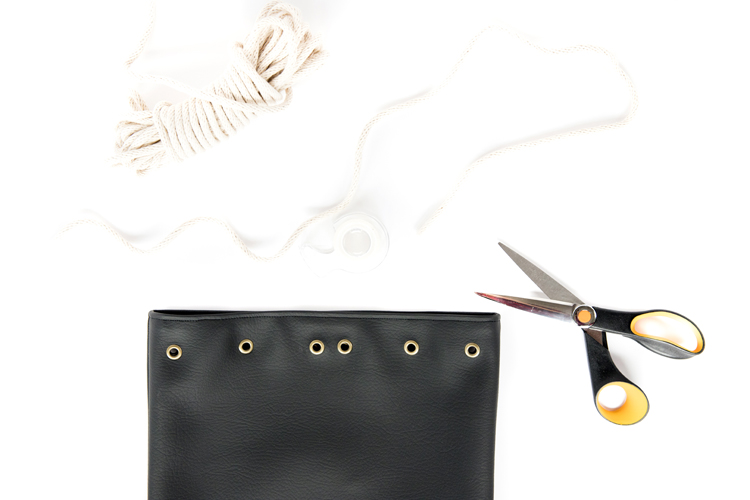
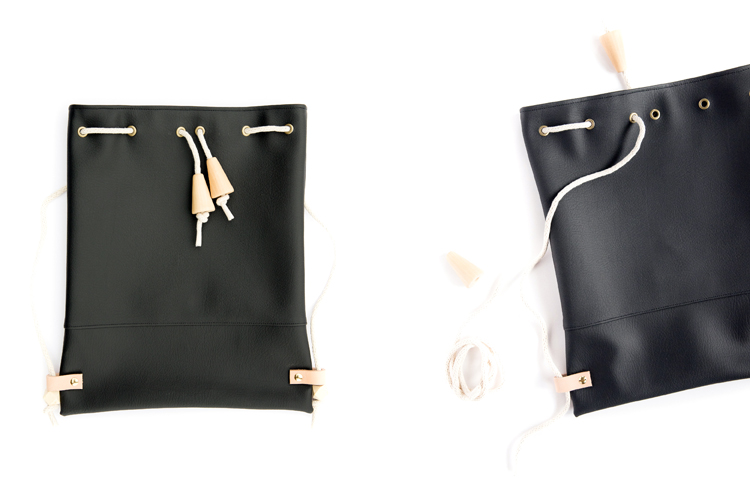
Starting at the center eyelets at the back of the bag, weave each piece of rope in and out from the back to the front. Place the back end of each rope through the leather loops at the bottom.
Add wooden beads to each end and knot them in place. This will keep the rope from slide out each end.
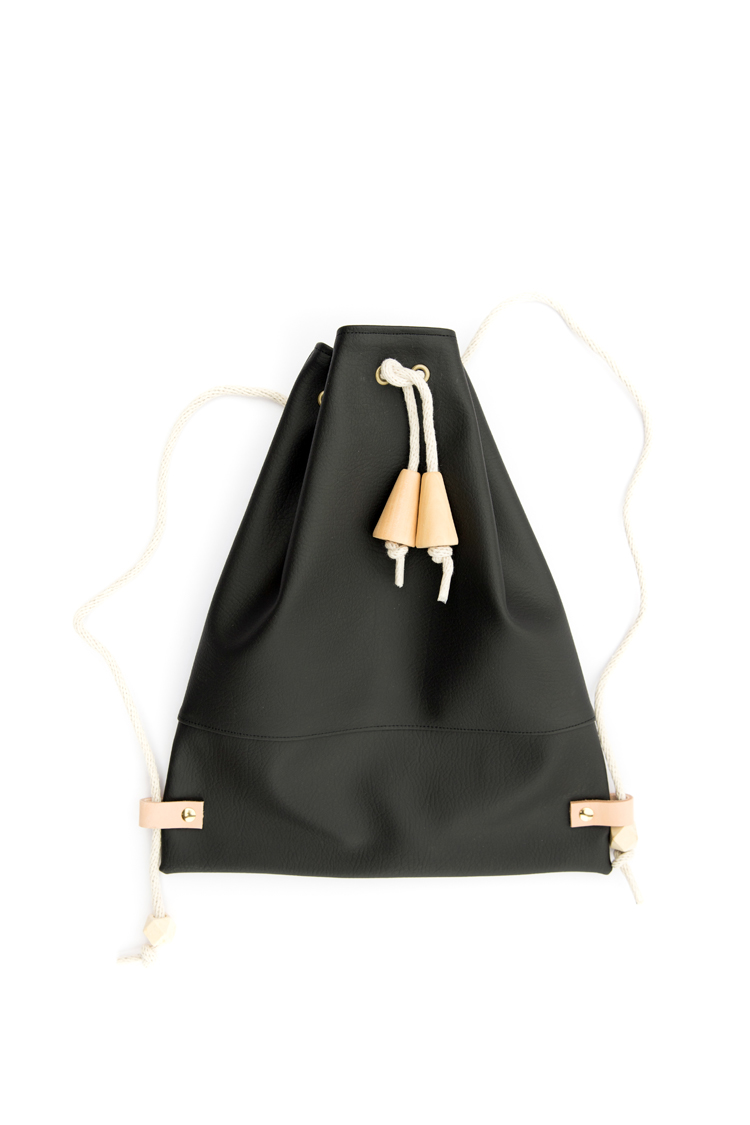
All done!
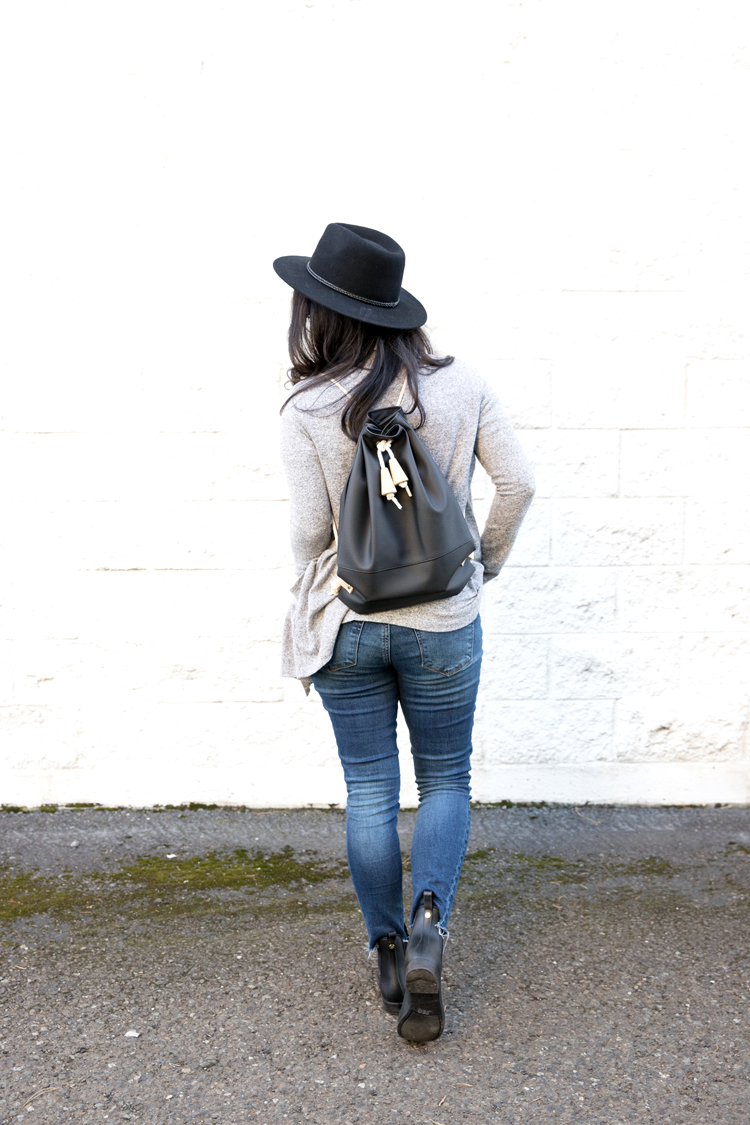
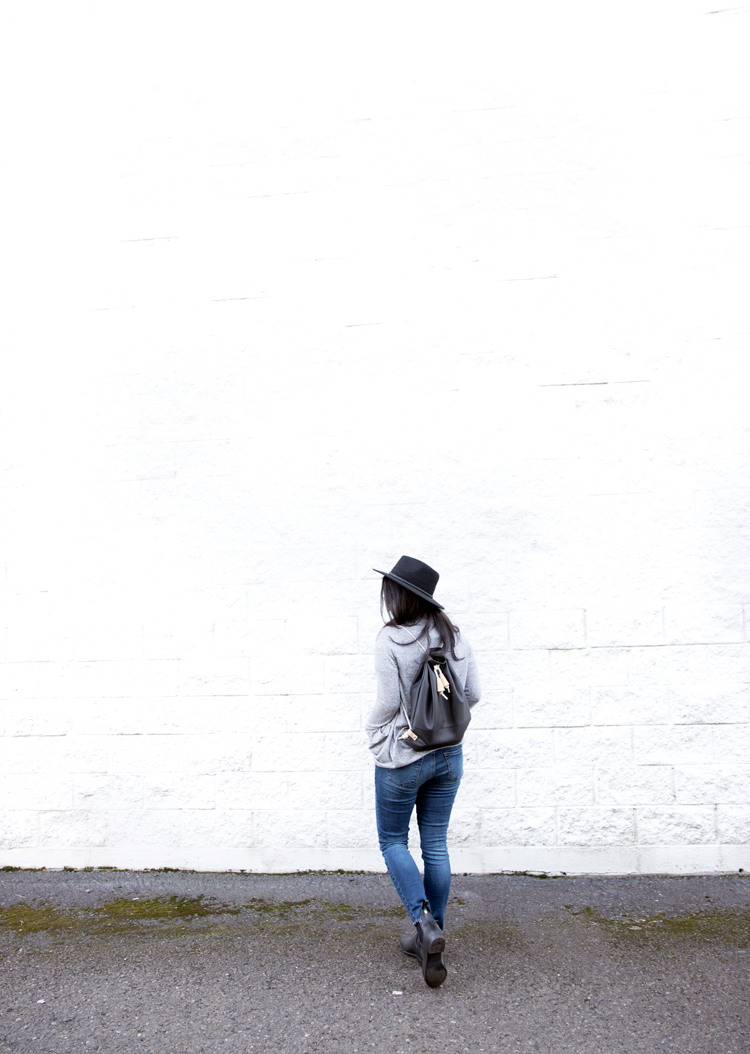
You end up with a nice, sturdy, super cute backpack! 🙂
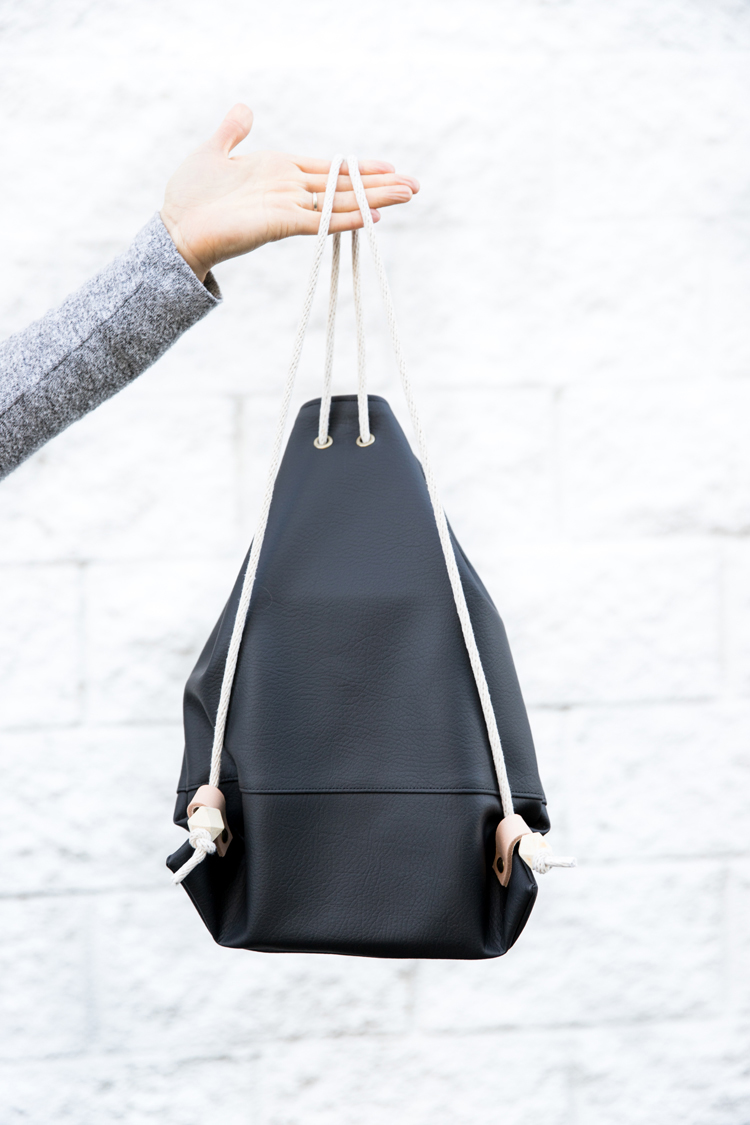
I plopped two thick, hardcover books inside for these pictures, and it handled them like a champ and with room to spare.
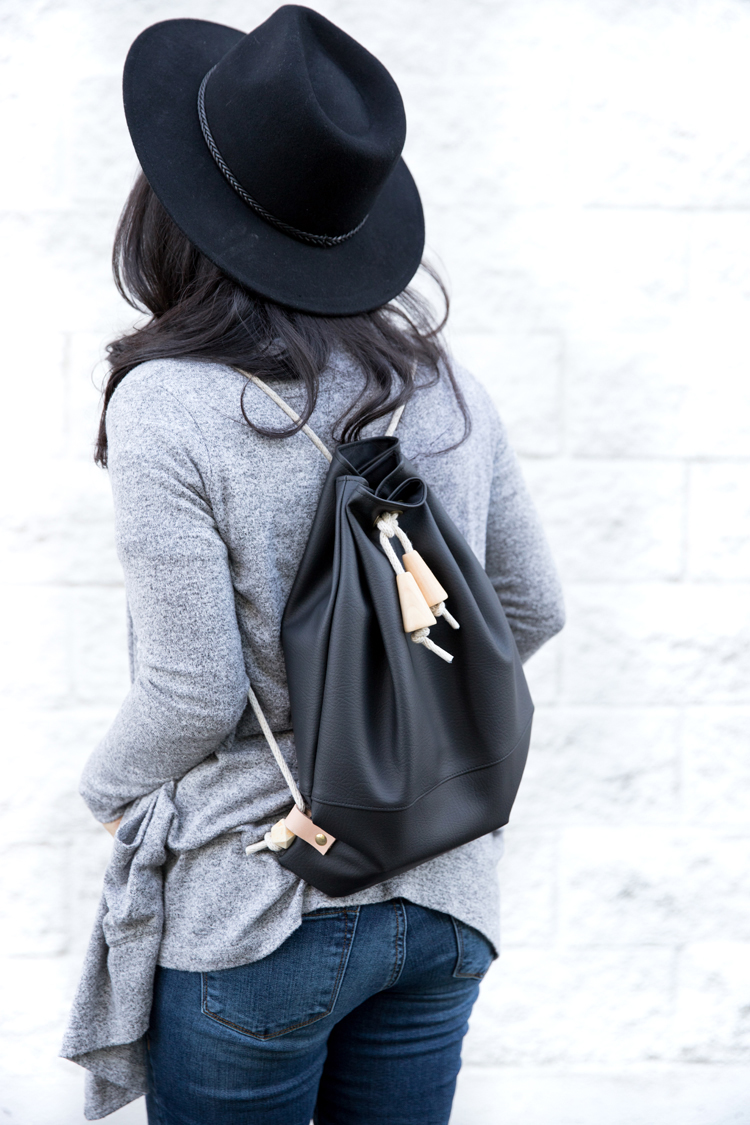 I knotted the rope together in the front to keep it closed. Instead of unknotting it each time, I simply let the back loops go and it opens up easily. Then I pull up the back loops to close it again.


Leave a Reply