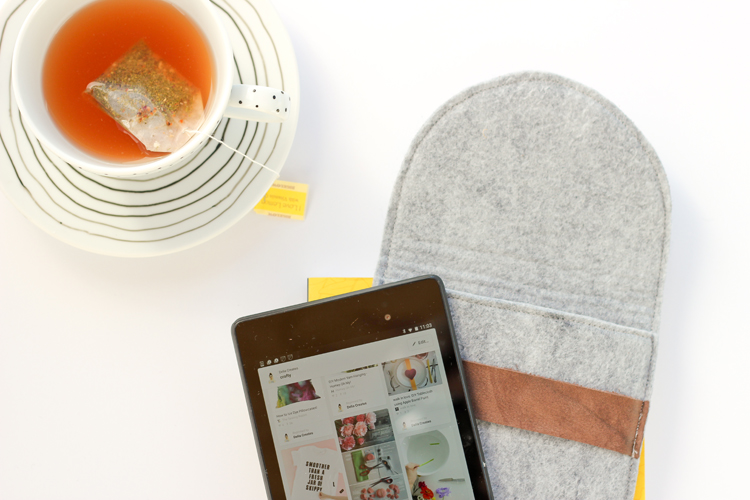
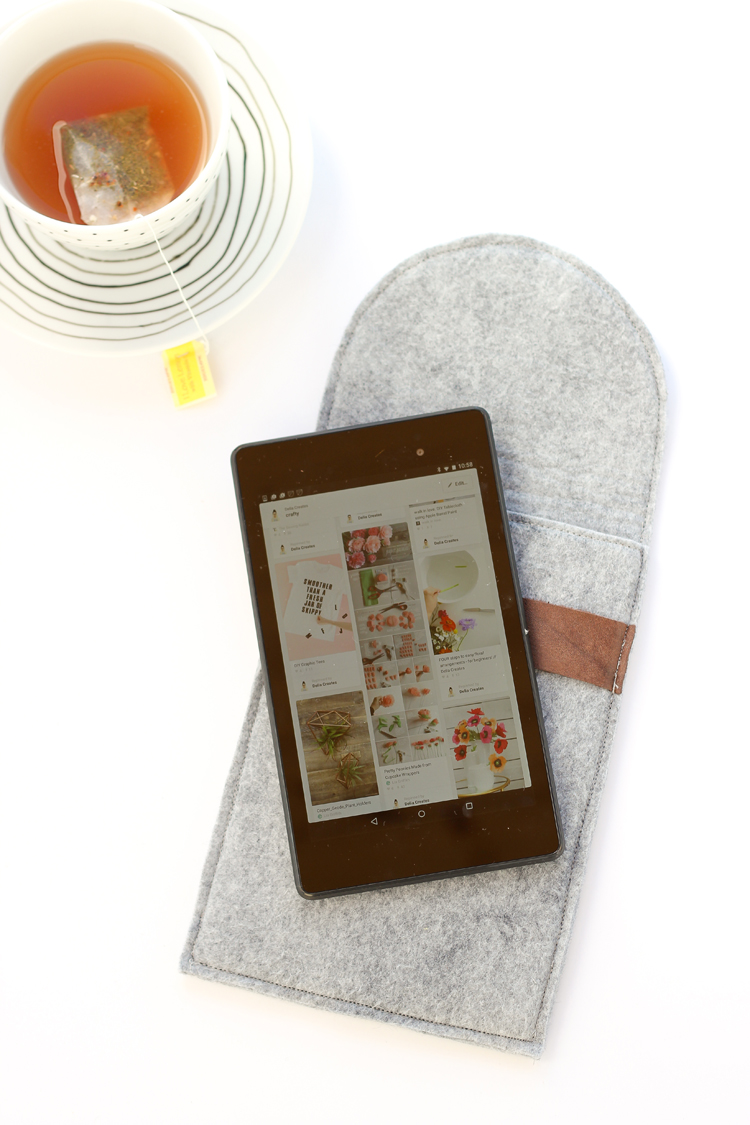
I’ve always loved the look of industrial felt.
I just haven’t always loved the price tag. So, what’s a DIY-er to do, but make some myself!
It’s not a exact replica of industrial felt, but it’s sturdy and thicker than standard felt off the bolt.
The secret ingredient to my psuedo copy cat industrial felt is…..interfacing! Really thick interfacing. Pellon brand Peltex 71F to be exact. You can of course use other interfacing and double it up, but I prefer this specific kind of interfacing and have found it to be super sturdy.
But enough shop talk. Let’s get to the tutorial, shall we?
MATERIALS:
1/4 yard felt by the bolt (wool blends look best, but 100% polyester felts work as well)
1/4 yard Peltex 71 F interfacing
Spray adhesive
Matching thread (match the felt)
Small cereal bowl
Quilter’s clips or small binder clips
Sharp fabric scissors
Strip of leather – 1.5 x 6.5 inches
Leather sewing macine needle
TUTORIAL:
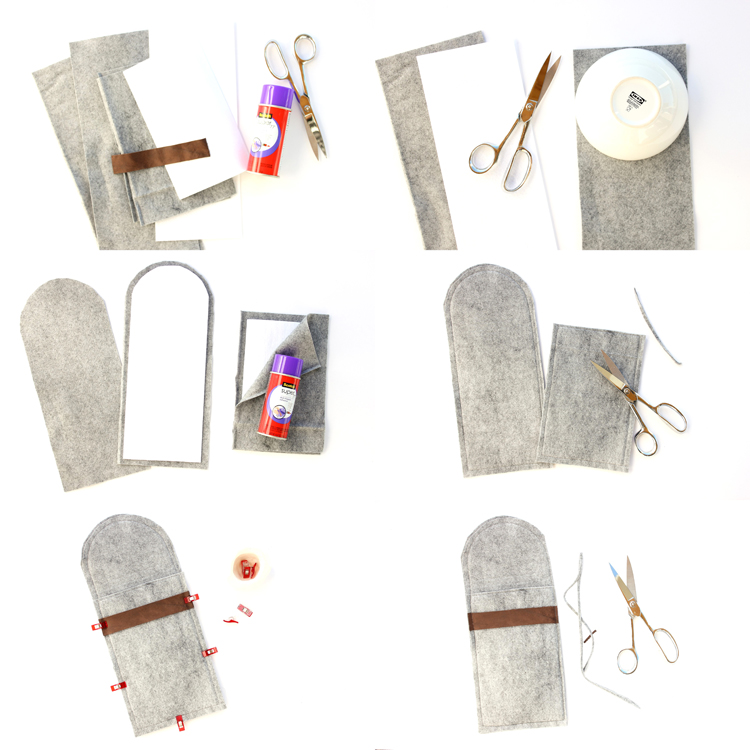
1|| Cut felt, interfacing, and leather strip to size. I cut mine accordingly:
2 felt rectangles: 9 x 6.5 inches
2felt rectangles: 14 x 6.5 inches
2 interfacing rectangles, each 5/8″ smaller than the felt rectangles all the way around
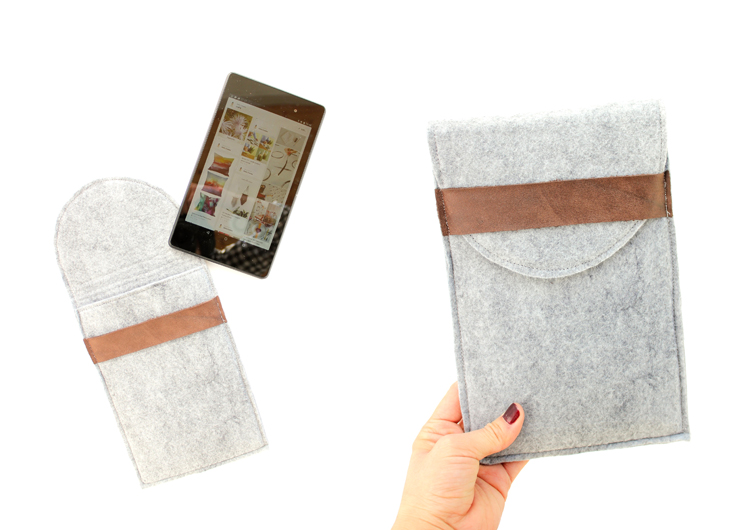
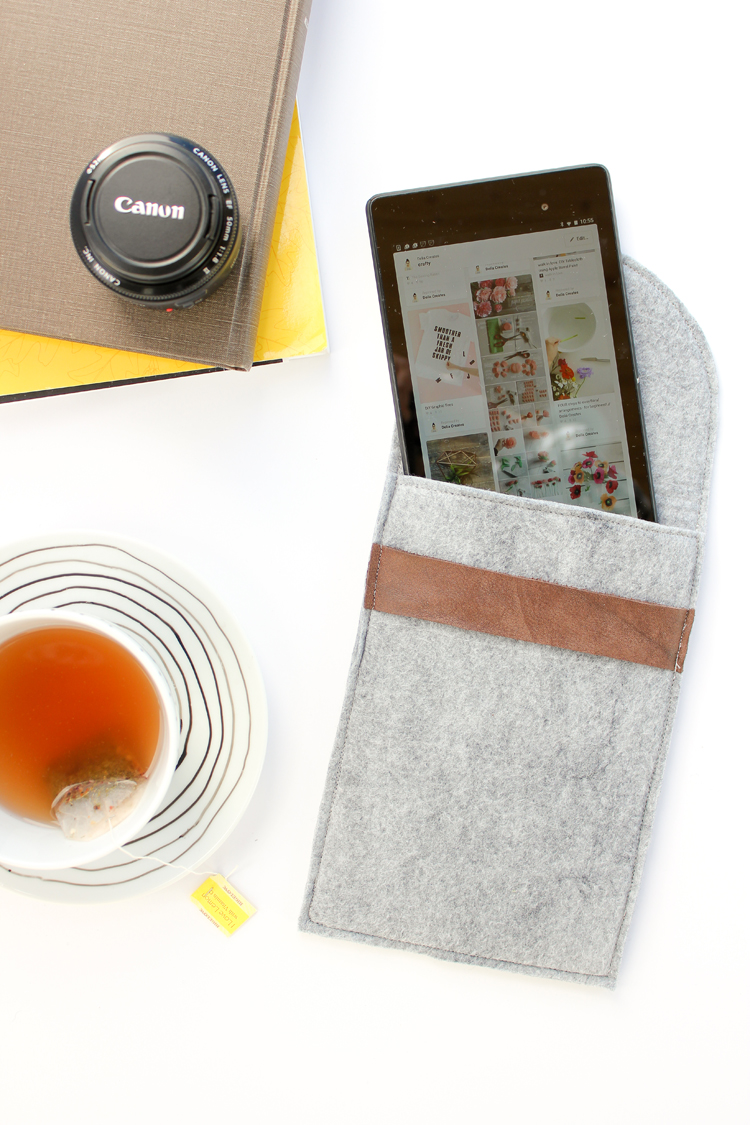
These measurements account for seam allowance, the length, width and thickness of the tablet.
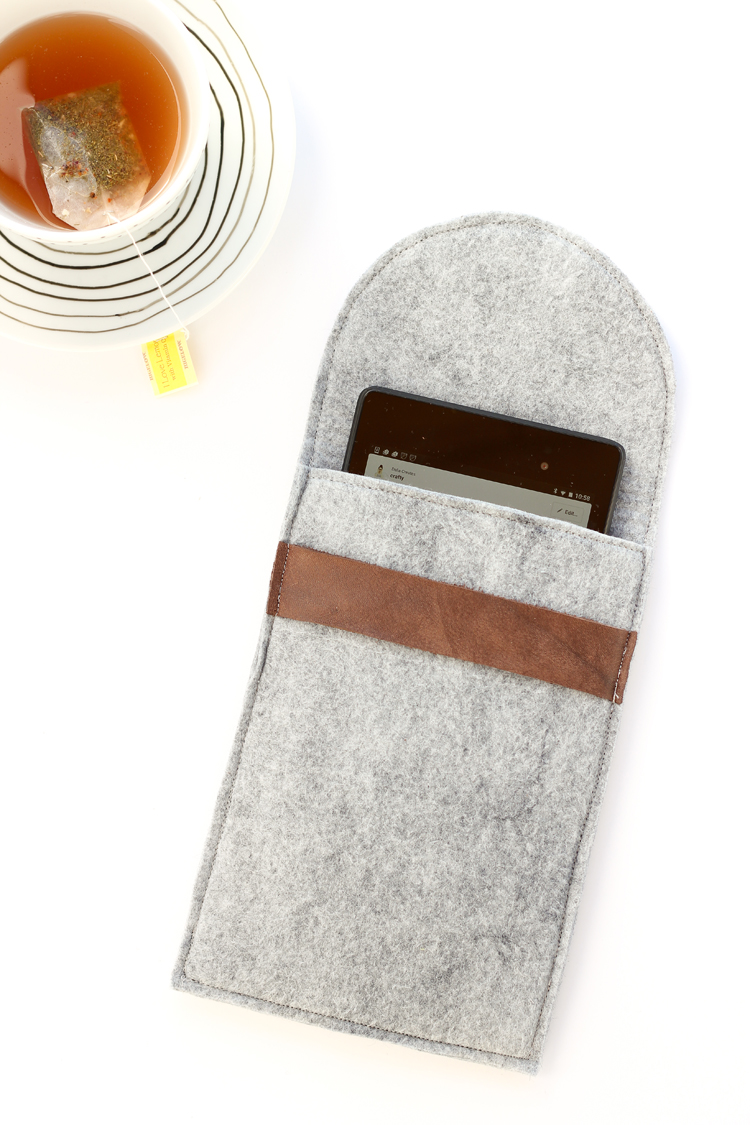
2|| Round out one of the short ends of each longer felt piece, using a cereal bowl as a guide. Repeat with the longer interfacing piece.
3|| Using spray adhesive, adhere the felt and interfacing together. Center each piece of interfacing between its two coordinating felt pieces. Spray both sides of the interfacing, sandwich the felt around it, and smooth it in place.The interfacing is technically fusible, but it does not fuse well to felt.
4|| Sew around the perimeter of of each felt/interfacing piece with a 1/2 inch seam allowance.
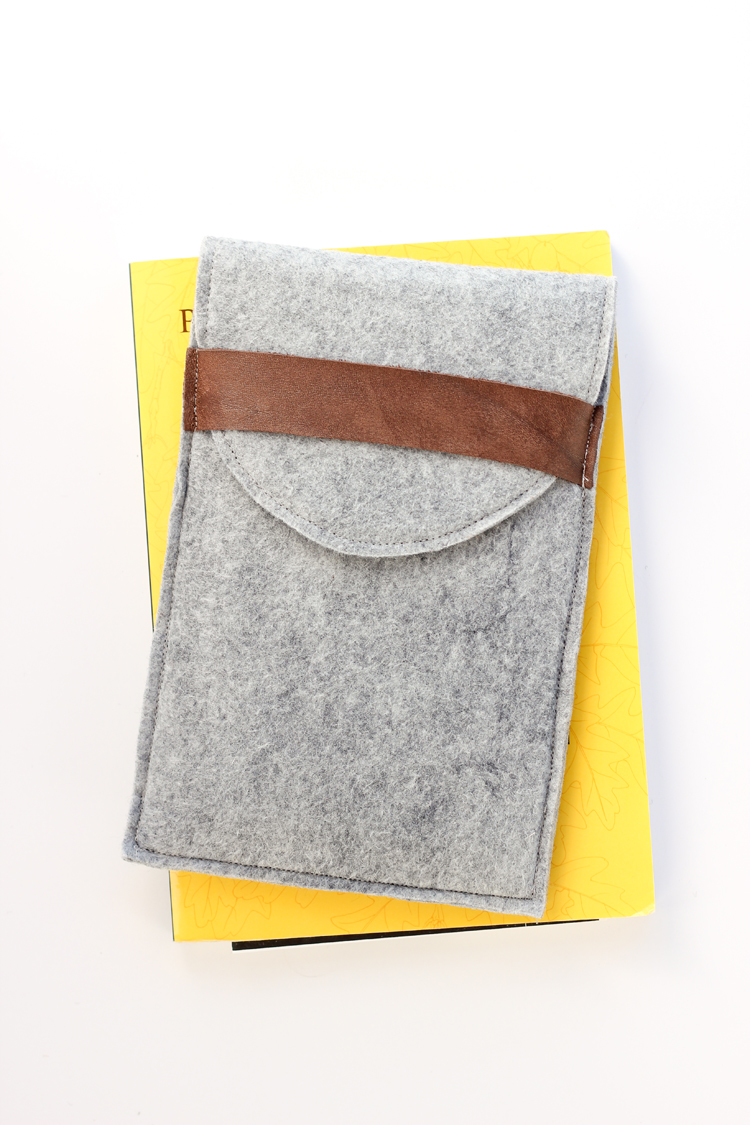
5|| Clip felt pieces and the leather strap together as pictured. Place the leather strip about one inch below the top of the smaller felt rectangle. Sew together from one side of the top of the case opening to the other, taking care to back stitch several times at the start and stop, to help ensure durability.
6|| Trim away excess seam allowance as desired.
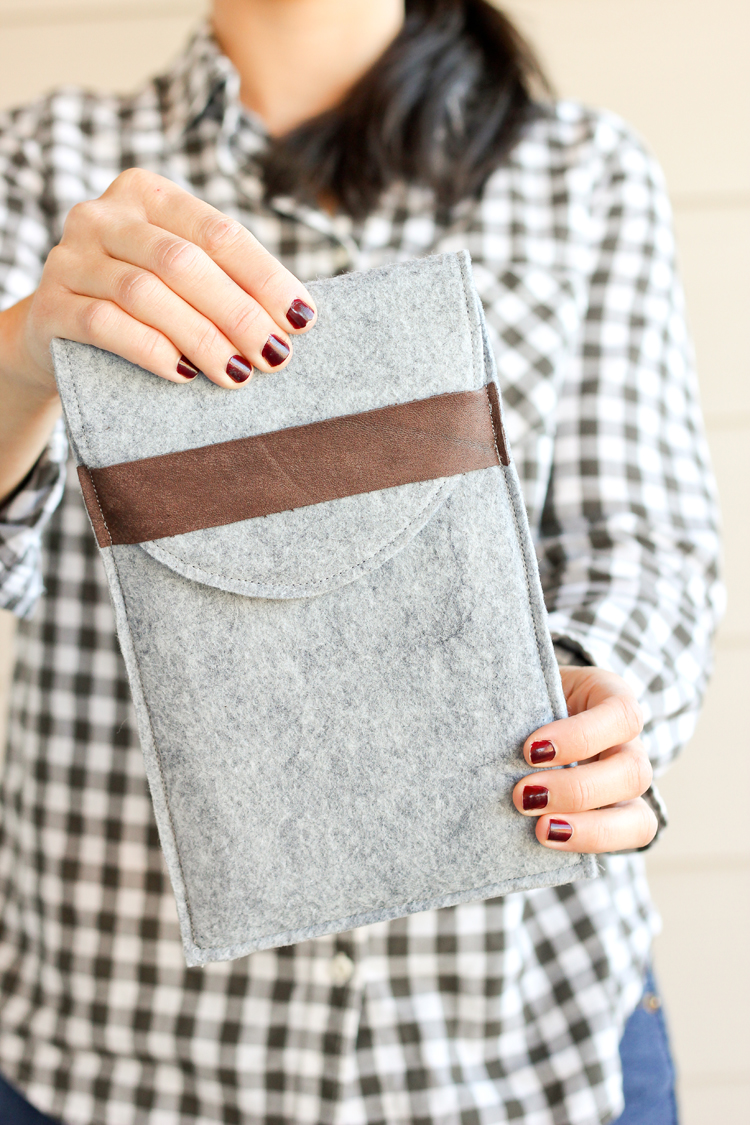
All done!
Sources: Wool blend felt – Jo-Ann || Interfacing – Jo-Ann || Leather scrap – Tandy Leather


Sharp! I’ve got a Craft Gossip post scheduled for tomorrow afternoon that links to your tutorial: http://sewing.craftgossip.com/?p=85066 –Anne
Thank you so much Anne!
This is so beautiful and simple. Lovely!
Very nice and smple! Thanks
Thank you!
So cute, and seemingly so simple! I can’t wait to try this one day!
rayandablog.blogspot.com
Thanks!