Today’s Pleated Pencil Skirt Pattern Re-Mix is not a pencil skirt at all.
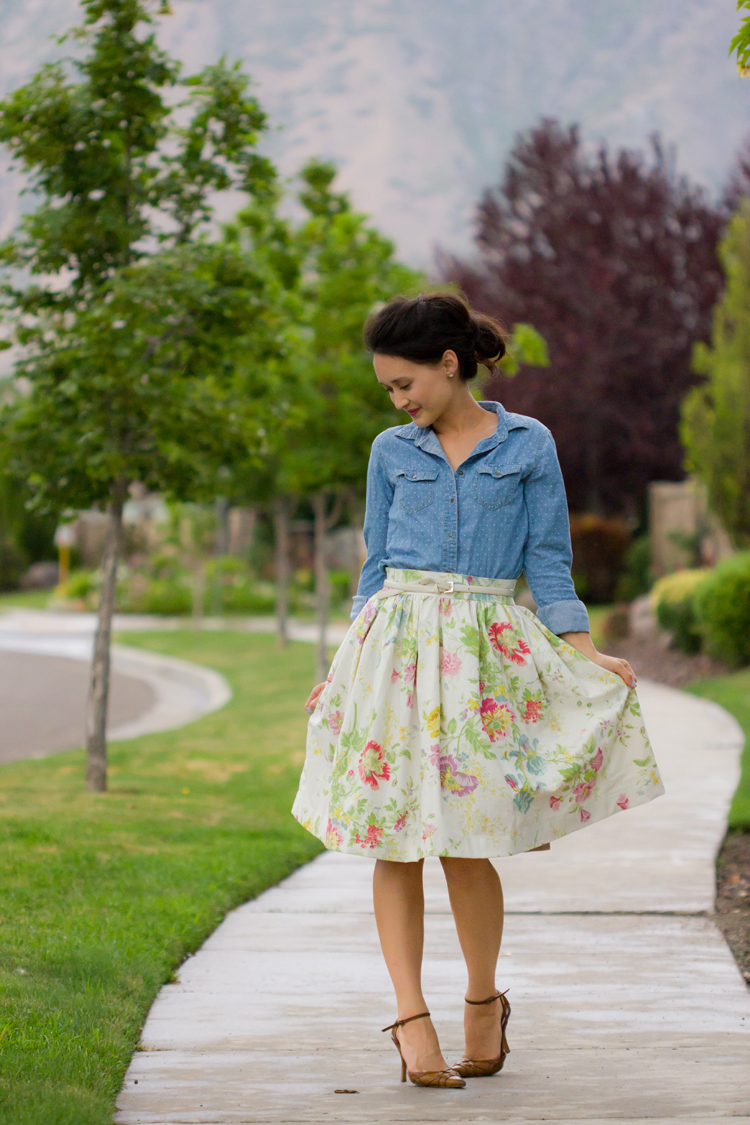
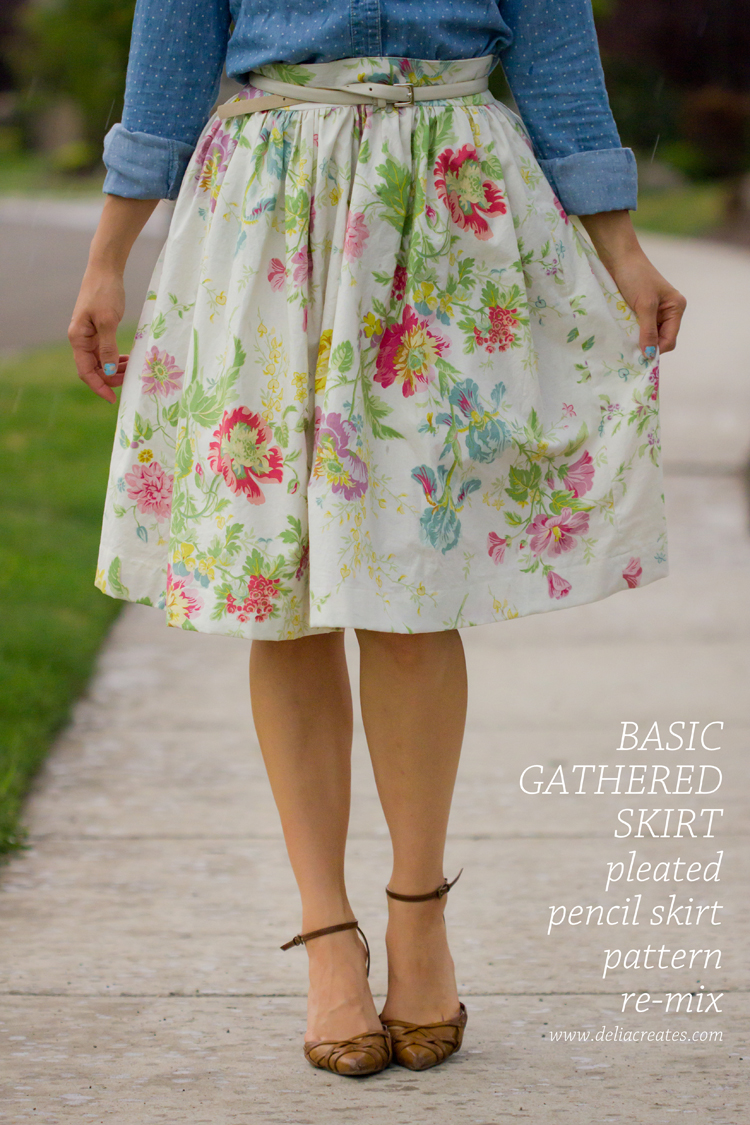 In a nutshell, I have kept the waistband pattern piece, the length measurements of the original skirt, and the invisible zipper/lining method and discarded the rest.
In some ways it’s a simpler skirt to sew. It takes more fabric, of course, but there are no darts to sew, and the cutting is simpler.
Let’s get going!
You’ll Need:
Basic sewing supplies: machine, matching thread, universal needle, iron, zipper foot, invisible zipper foot (optional but very helpful), etc…see the pattern for full details.
Fabric:
Interfacing: 1/4 yard for all sizes
Lining – 5/8 to 1 1/3 yd. Polyester or silk lining
Main – 1 5/8 yd. Any woven fabric (it is best if it isn’t too heavy so that it will gather well).
To determine how much fabric you’ll need, multiply your waist measurement by 2.
For sizes 8 and under, you will only need 5/8 yard of lining if your lining fabric is 55-60″ wide. Sizes 10 and up will need 1 1/3 yards of lining. For the main fabric, any width of fabric will work. For size 10+, if you want a very full skirt, you have to use fabric that is at least 52″+.
This is all flexible, however. If you want a fuller skirt (more gathered), increase the fabric width to waist ratio. If you want a less full skirt (less gathered), reduce the fabric width to waist ratio. For your reference, the skirt in these pictures is about three times my waist measurement.
FIRST, cut your fabric.
Waistband: Cut four from main fabric and two from interfacing. Assemble according to original pattern. Fuse the interfacing waistband to the wrong side of one of the two waistband pieces.
Skirt: As mentioned previously, take your waist measurement and double it.
Cut your lining skirt piece(s) according to that width by 24 inches in skirt length. If you are size 8 or less, your lining skirt will be one piece. If you are a size 10+ you will need to cut your lining into two equal sized pieces and sew them together with 3/8″ seam allowance, into one long piece that equals double your waist measurement by 24 inches.
I borrowed this illustration from this free girls skirt pattern I shared HERE, but the idea is the same if you need help visualizing what I’m talking about.
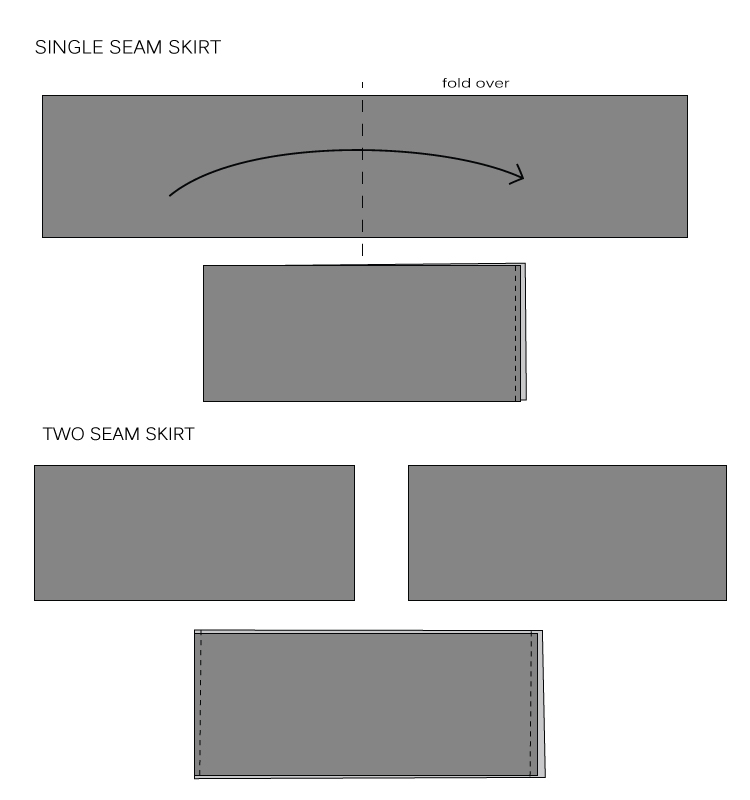 Repeat this for the main fabric, but the skirt length should be 26 inches long.
For simplicity sake, no matter the size, I simply keep the fabric width. The skirt I’m wearing here is about triple my waist measurement, because I just cut the 45 inch wide fabric into two 45″x 26″ pieces and sewed them together into one long 89.25″x26″ piece (You lose .75″ to seam allowance).
*Finish raw side edges before doing any sewing. *
SECOND, sew your main skirt and lining skirt as follows…
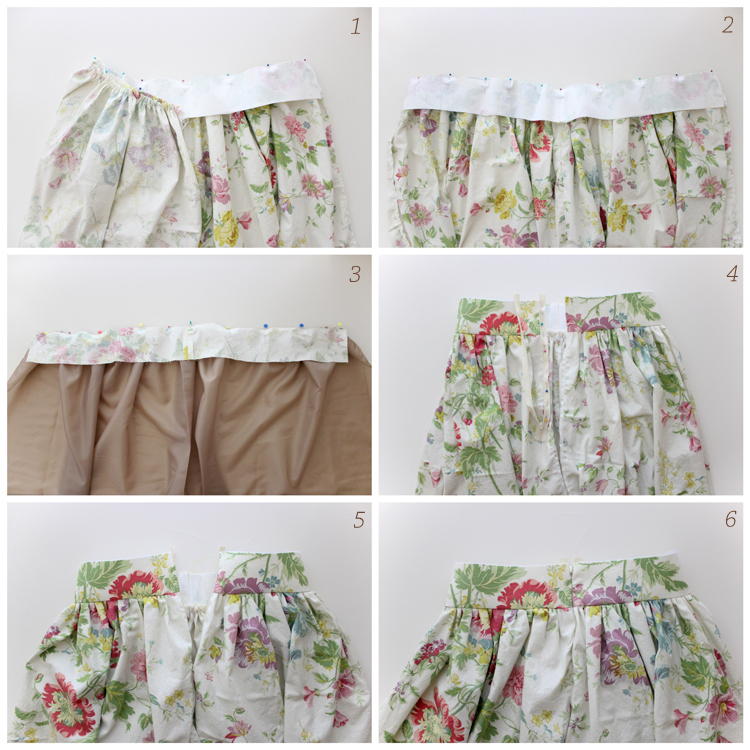 1. Gather your main skirt piece with two lines of basting stitches 1/4″ and 3/8″ away from the top edge. Pull on the bobbin thread until the skirt is the same width as the waistband. Pin the waistband with interfacing to the gathered main skirt, right sides facing.
2. Sew together with 1/2 inch seam allowance.
3. Repeat steps 1 and 2 with the lining and un-interfaced waistband piece.
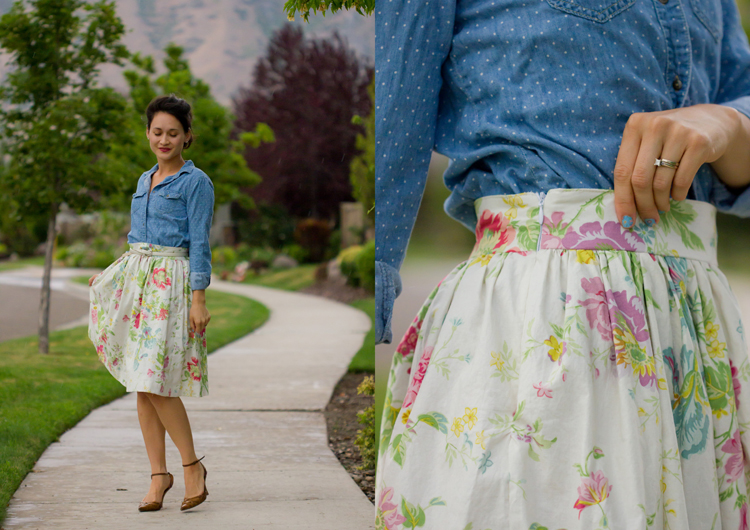
4. Attach the invisible zipper the same way as described in the pattern (remember this is a side zip). Start with the left side.
5. Attach to the right side. Then test the zipper to ensure it isn’t twisted.
6. Also, double check to make sure the zipper slides up smoothly and that the waistband seams match up. Fix any issues before continuing on.
If installing an invisible zipper scares you, I promise that it is not as tricky as it seems at first. The pattern goes over zipper installation in detail with full color pictures. There are a slew of tutorials online and even the zipper comes with instructions in the package.
THIRD, attach lining skirt to main skirt.
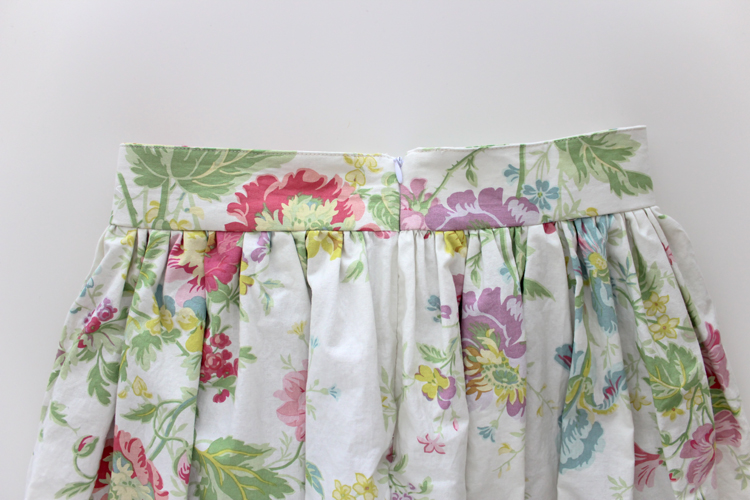 Attach the lining skirt in the same way as the original skirt in the pattern.
The pattern suggests top stitching the top of the waistband pieces together. For the gathered skirt, this is imperative. You may also decide to top stitch at the bottom of the waistband for added strength, especially if your fabric is particularly heavy. Just be sure that the skirt seam allowances are pressed upward toward the waistband before doing that.
FOURTH, hem skirts.
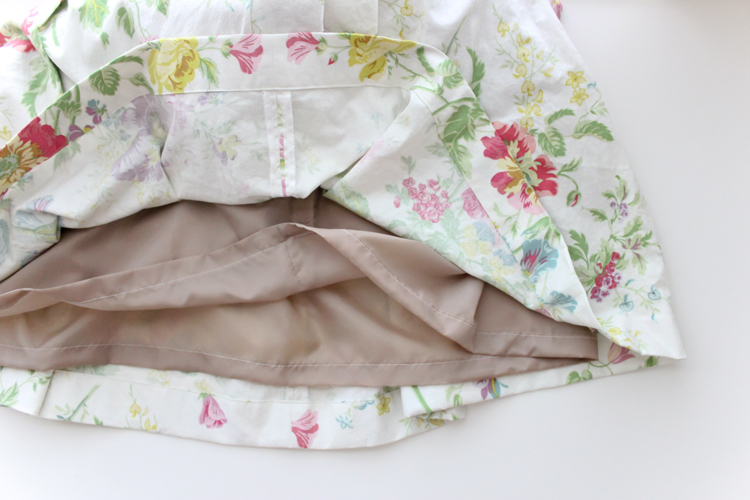 Double fold the raw edges of both the lining and main skirt under. Top- stitch in place.
How much you fold the edges is up to you. Try it on, and decide the length you want. In this picture, I double folded the lining 1 inch (2 inches total) and the main skirt about 2 inches (4 total).
Done and done.
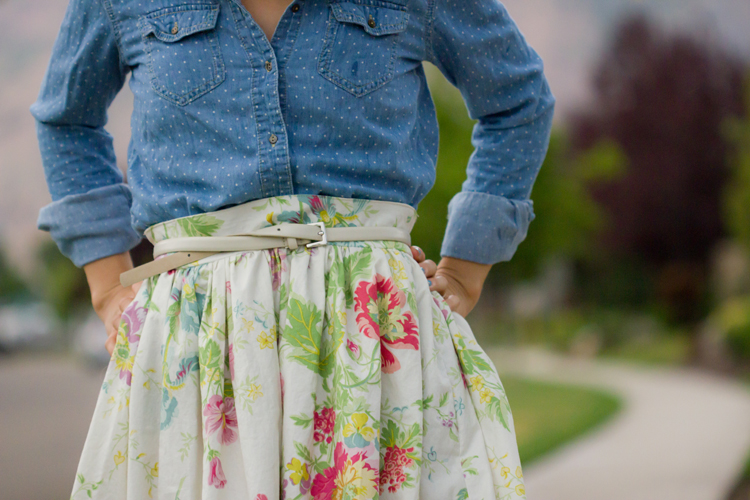
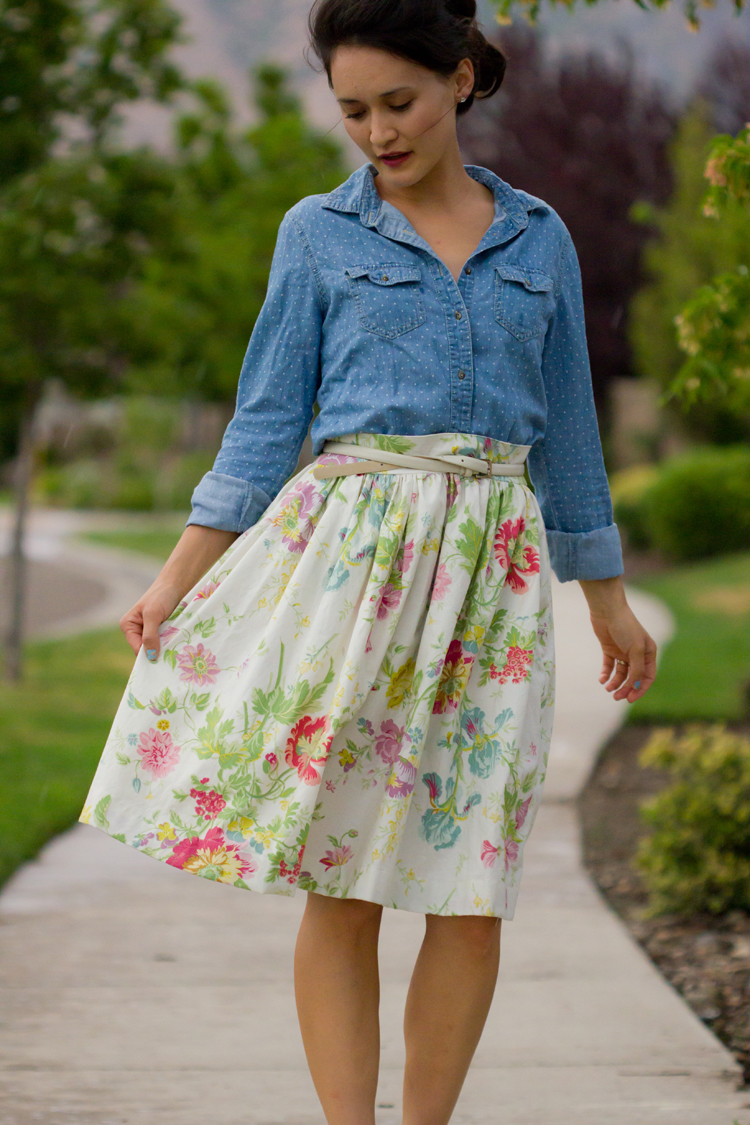 I’ve added a belt, but it is purely for styling purposes.
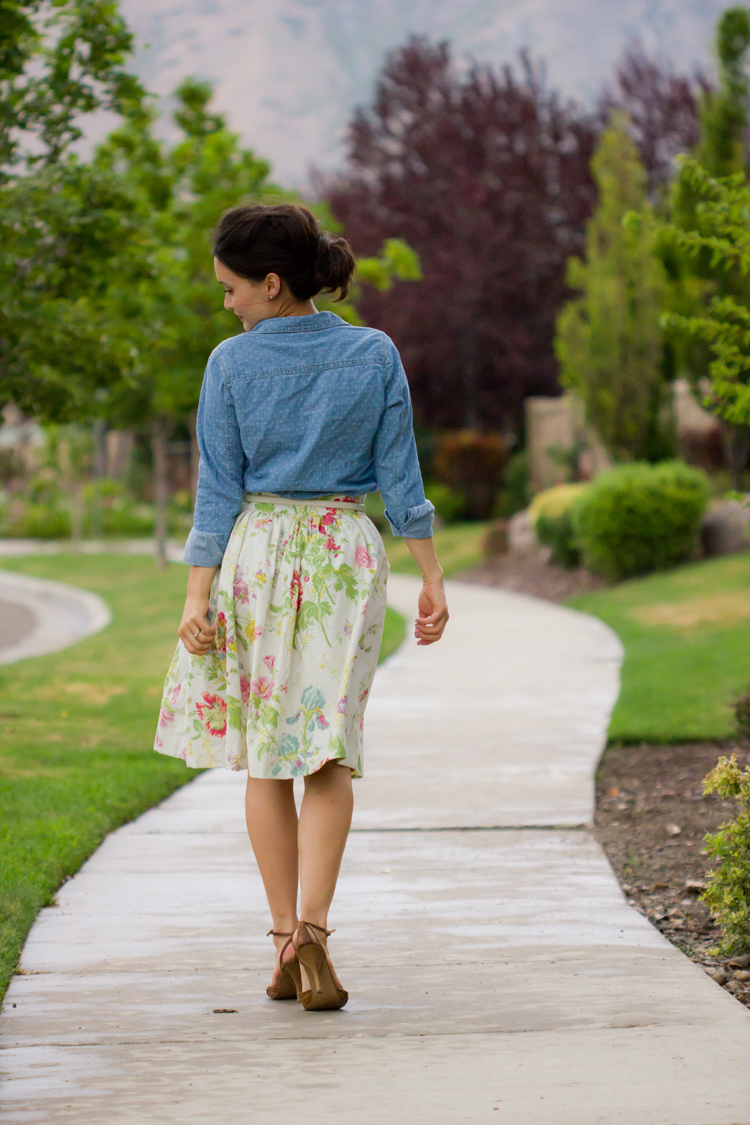
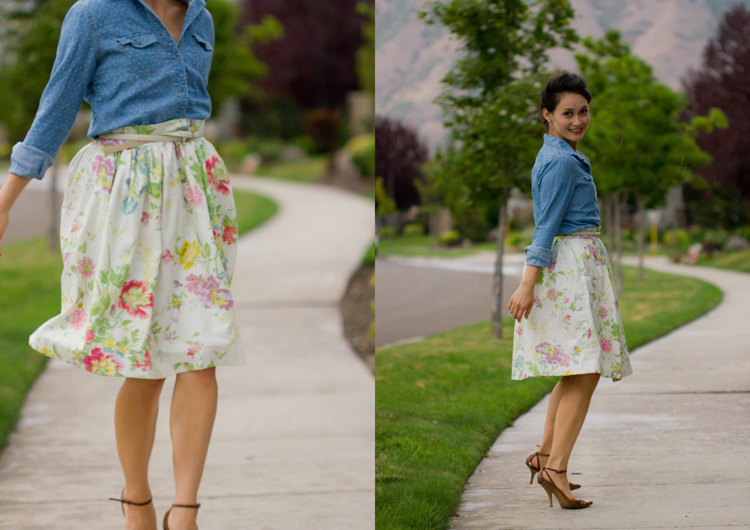 I love full skirts almost as much as I love pencil skirts. I can’t wait to make a pleated version as well.
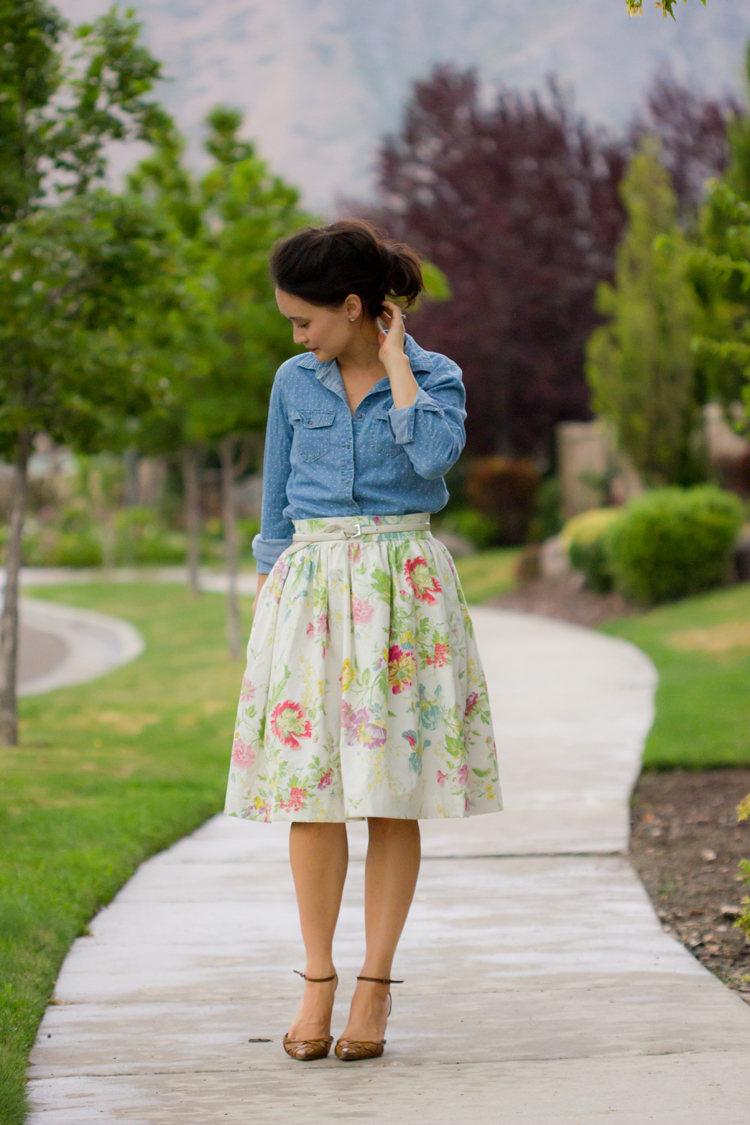 SOURCES: Fabric from The Ribbon Retreat. (They are out of the cream – my apologies but the brown is almost 50% off right now) || Belt from Kohl’s || Shoes from Head Over Heels || Denim shirt from Walmart.com


Beautiful
Thank you!
This fabric is beautiful ! I am in love with your skirt !!
Thank you so much Sophie!
I love that you have a “longer” skirt than most.A skirt falling to just below the knee is SO flattering!
Thanks Angela!
This is just lovely! The floral fabric is beautiful.
Love it! I am going to try it next week. Can I put it on my blog and reference this tutorial?
Thanks Katie! Of course. My standard for features is one image and a link back for the full tutorial. Thank you!
Love this!
You are so cute! I love the simplicity of this skirt. I have some ideas for altering the pencil skirt pattern too…. hopefully I can test them out soon! =)
So cute! You look fabulous in this. And I LOOOVE that fabric. Really into floral (again).
Its looks really nice on you
Thank you!