I’m joining the ladies from Simple Simon and Co. today for their Skirting the Issue Series, with this free basic flexible waist skirt pattern.
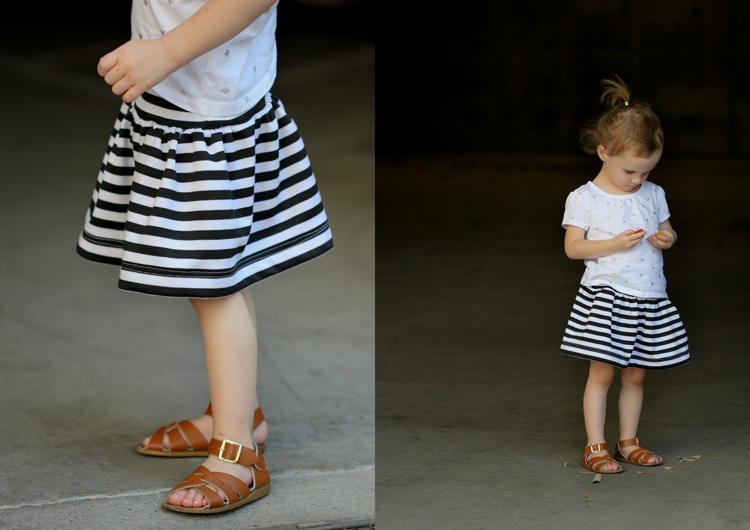 Since, the skirts are for a good cause and are to be given to foster care girls to get them ready for school, I decided to go ahead and make this skirt pattern sizes newborn through size 17 Juniors. That way, we can make skirts for every girl!
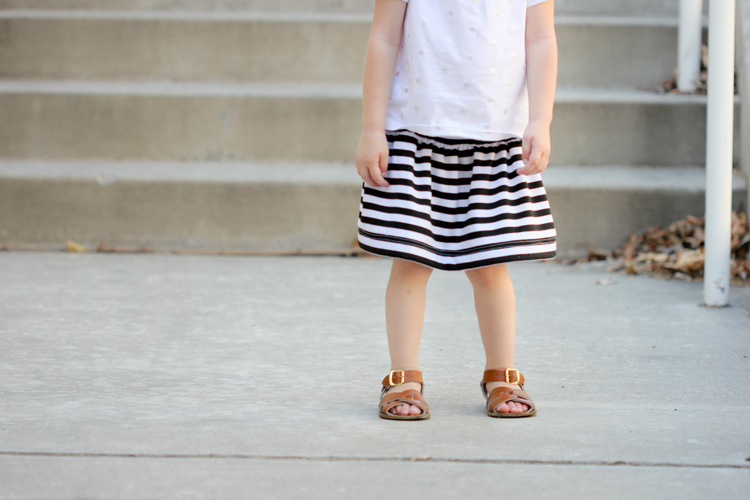
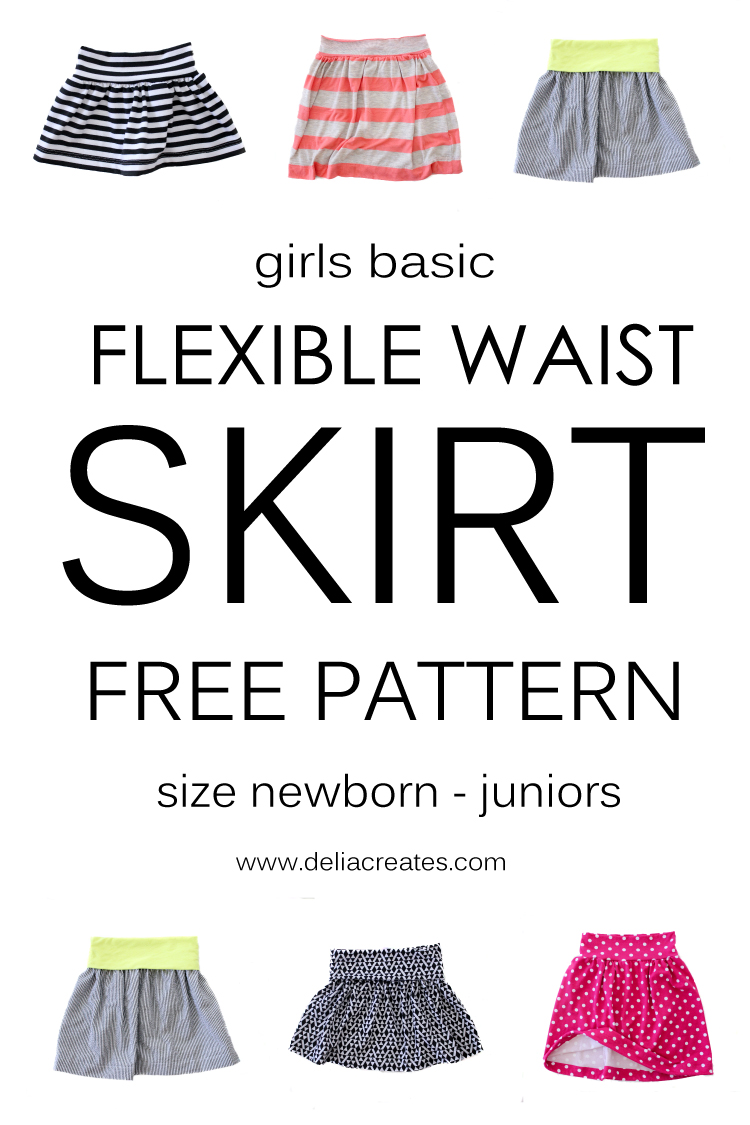 I also wanted a skirt that would be a good wardrobe staple for any age. This skirt is a great basic you can dress up or down and wear almost anywhere. It sports a yoga knit waistband, which not only makes it comfortable, but also allows it last longer as the child grows.
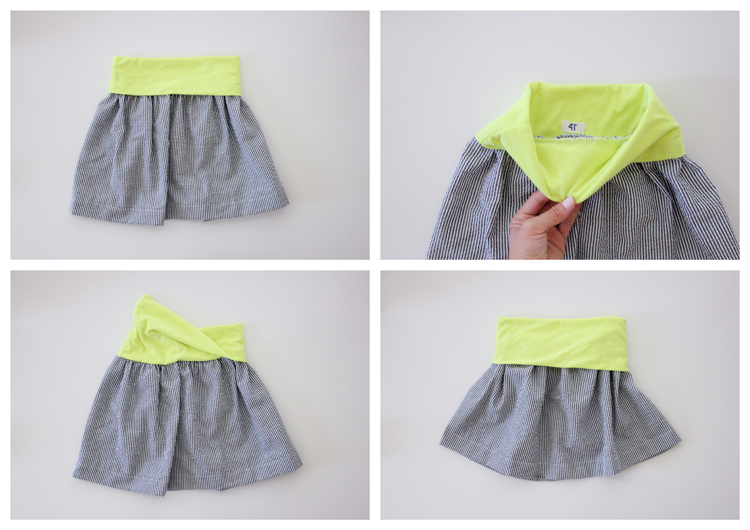
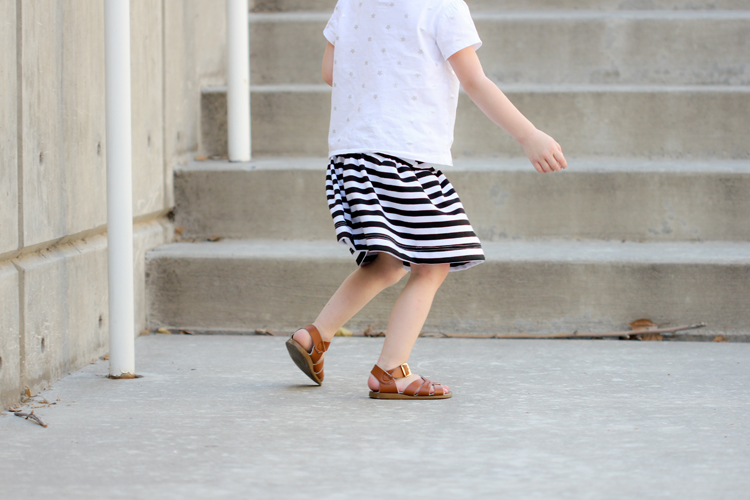 There are two waistband options. A basic waistband and a fold over waistband. The fold over waistband gives even more flexibility. You can shorten a skirt by folding the waistband farther down toward the hem. You can wear it as intended, and just fold it in half. Or combat a growth spurt, by unfolding the waistband a bit to lengthen the skirt. Super helpful right?
 This pattern, is different in that there are no pieces to print. All the pieces are just rectangles, so I thought would save us all some paper and just provide the needed measurements.
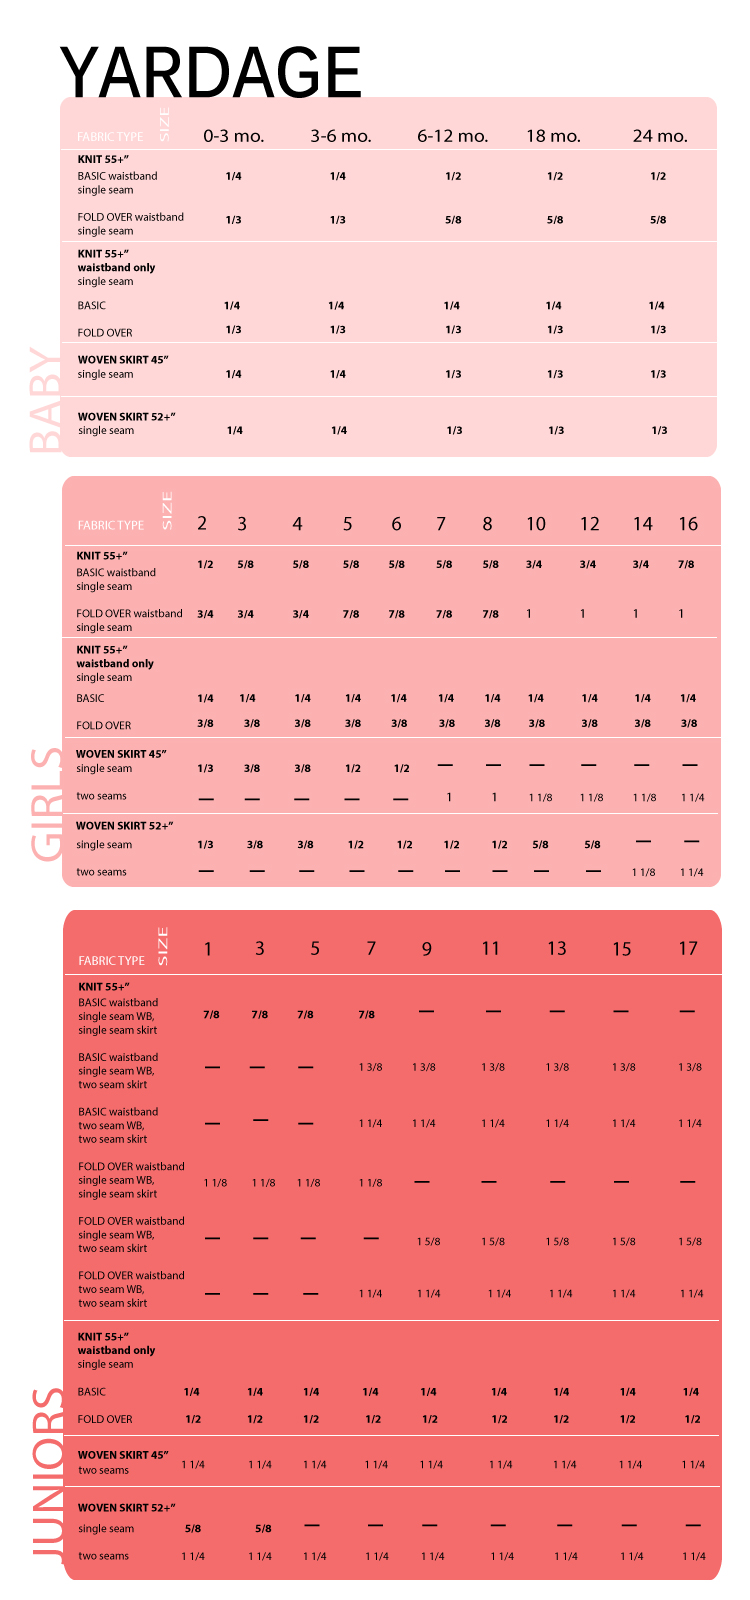
There is a yardage chart, so that you don’t have to do any guess work when fabric shopping. There is also a sizing and cutting guide, of course, so you know what and how much to cut.
PLEASE READ before continuing… (It’s a lot to read, but important)
SIZING
*All sizing charts in this pattern were heavily based on THIS sizing chart provided by the Simple Simon and Co. ladies over at Project Run and Play. The tutorial and skirt design are based off THIS baby skirt tutorial, I shared a couple of years ago. You can refer to that tutorial for more clarification and for a pleated version, which is not included in this post.
*The measurements provided, create a skirt that is knee length from true waist to knee. You can shorten or lengthen the skirt as you wish. If you know that the wearer wants to wear it on her hips, then you may consider shortening the skirt a few inches. You may also want to widen the waistband to her hip measurement. All Junior sizes are 21″ in length. This creates a skirt that hits just above the knees for a 5’5″ girl.
*If your child is in between sizes, no problem! This skirt is REALLY flexible. Use her waist measurement for the waistband and then her waist to knee measurement to determine how long you should cut it. If the discrepancy between her waist measurement and her waist to knee measurement is more than 1-2 sizes, you may want to widen the skirt so that she has enough room in the skirt to run and twirl. How much should you widen it? See how much her waist to knee measurement size recommends and use that as a guide. Keep in mind that her skirt look more gathered at the waist when sewn.
*FYI: Because knit fabric stretches, there is no ease added to the waistband measurements. As a general rule, whatever the waist measurement is, that is exactly how wide your waistband needs to be cut. After sewing, it will be even smaller, but this is intended and necessary for a good fit.
FABRIC
*I have included a little bit more information in the cutting guide, so that you can use scraps in your stash if you want to. For example, in the yardage chart, I don’t provide yardage for a size 2 girls waistband that has two seams (cut into two pieces); because if you are buying fabric for the project, all fabrics come wide enough for you to make a single seam waistband. BUT…if you are using scraps from your stash you may need to cut two pieces for your waistband, for a toddler skirt. I tried to design these charts to anticipate most of the cutting variations and possibilities.
*This skirt requires knit fabric for the waistband, but the skirt can be almost any fabric you like. As long as it has some body and drape, you can use it. Wovens such as quilter’s cotton, shirting, seer sucker, linen, silk, satin, etc. Stay away from bottom weights, and thicker fabrics. You can, of course, sew the whole skirt in knit fabric, which I have done here.
* Recommended knit fabric…You can use almost any weight of knit for this skirt. It is however, preferred that you use a mid to heavy weight knit for the waistband that has at least 30% stretch. If you need help determining how stretchy your knit fabric is, THIS post from Go To Sew has a helpful guide. For your reference, I used a light weight knit for the entire coral and tan stripe skirt. The waistband will likely slink to the hips because it doesn’t have as good recovery as heavier weight knits. I am sure it will wear fine, but keep in mind that it does affect fit.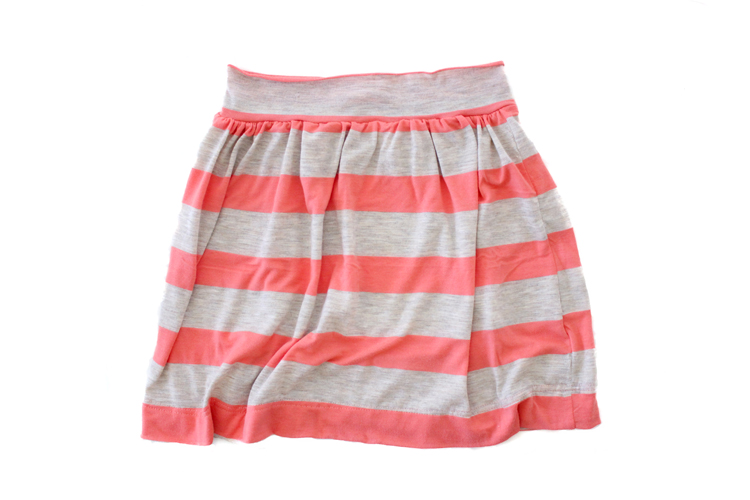
Ready to get started?
First, gather your supplies:
ball point or jersey needle (for sewing with knit fabric) universal needle (if sewing with wovens) matching or contrasting all-purpose thread iron seam ripper basic sewing supplies and machine serger**You can work around this skirt without a serger by using a zig zag stitch instead, but I highly recommend using a serger. Photos in the tutorial will only show how to make this with a serger.
Gather your fabric:
– Always cut one piece for the specifications provided unless otherwise noted.
– Make sure to cut your fabric so that the direction of greatest stretch follows the width measurement. For example, the longer measurement should run from selvage to selvage. 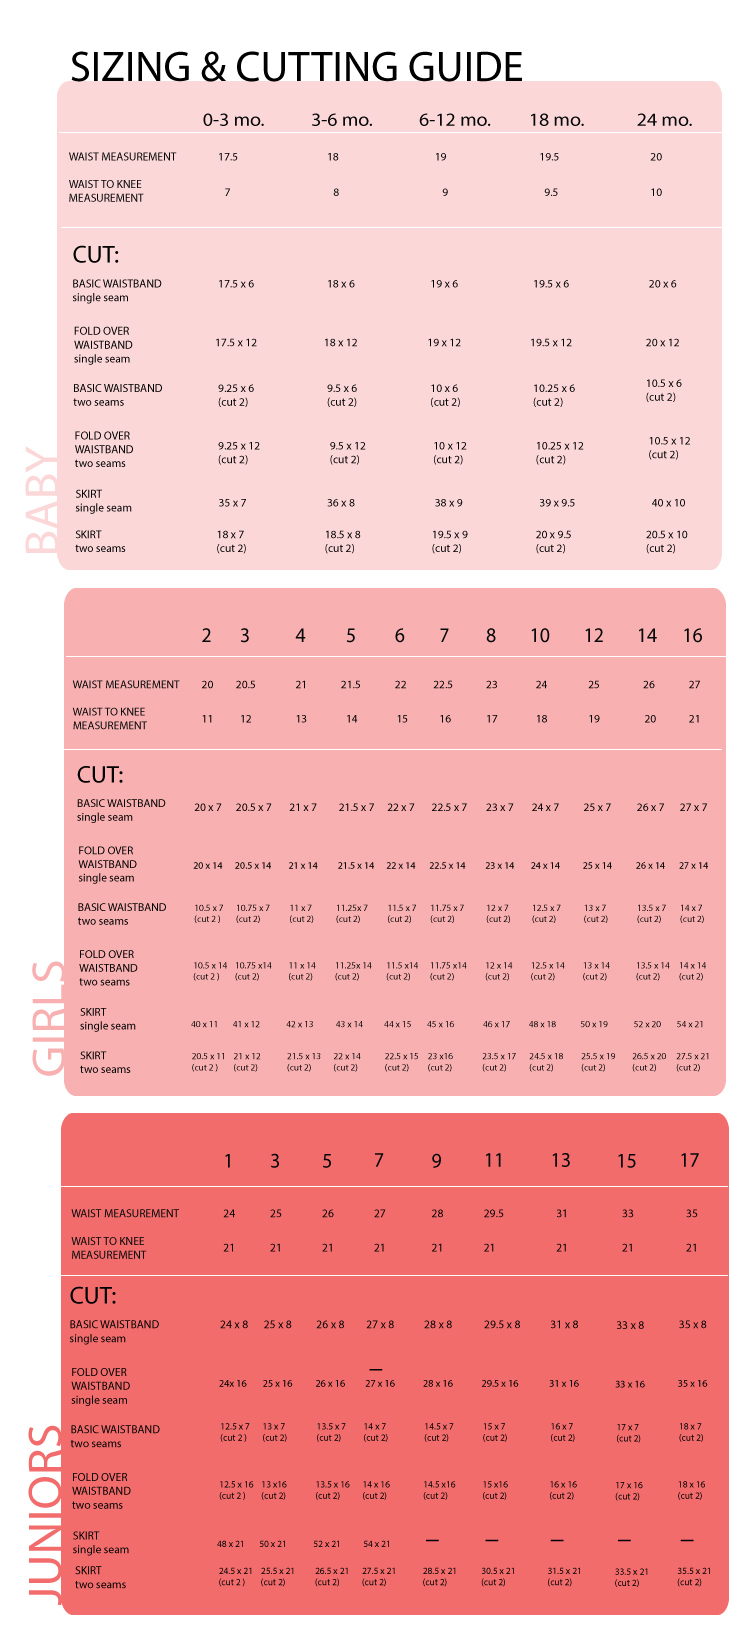
ALL SEAM ALLOWANCES ARE 1/2 inch.
STEP ONE: Sew waistband.
KEY: Dark grey = wrong side of fabric || Light grey = right side of fabric
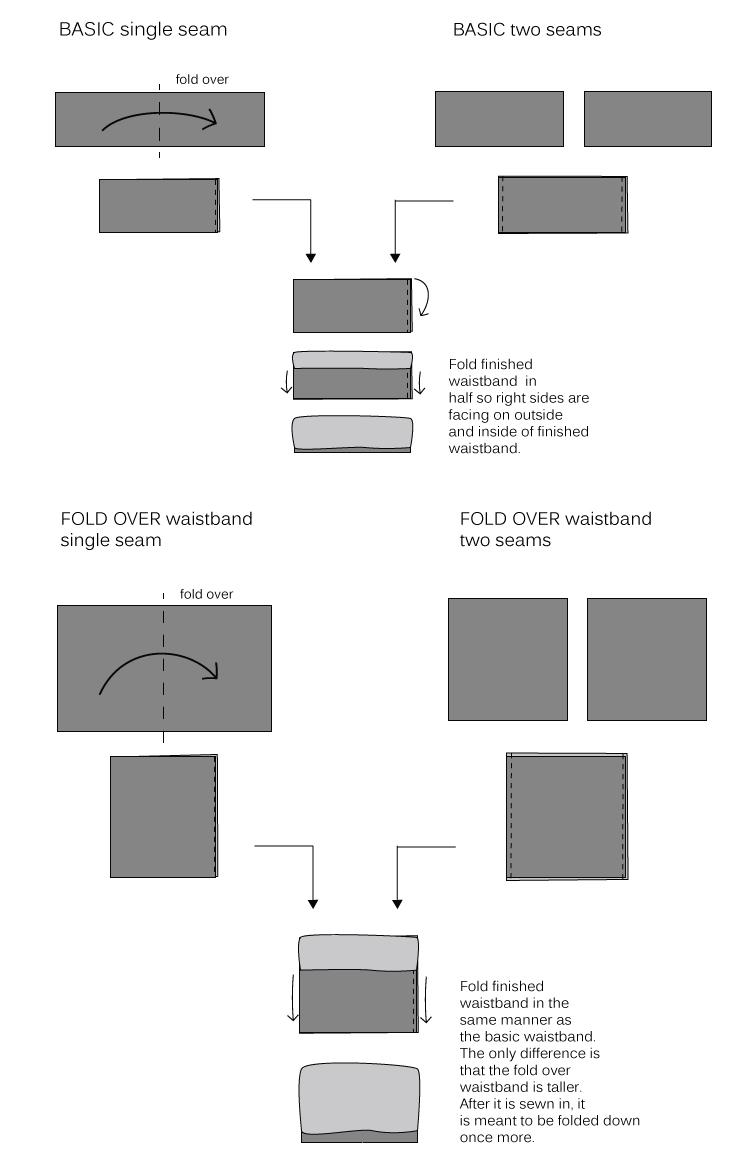
Single seam means that you cut one piece, fold it in half width wise, right sides facing, and sew one seam.
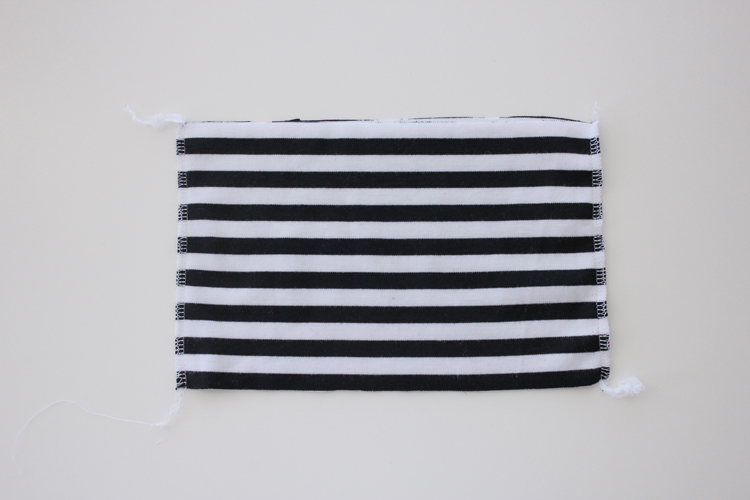
Two seams means that you have two pieces, that you pin together, right sides facing and sew two side seams.
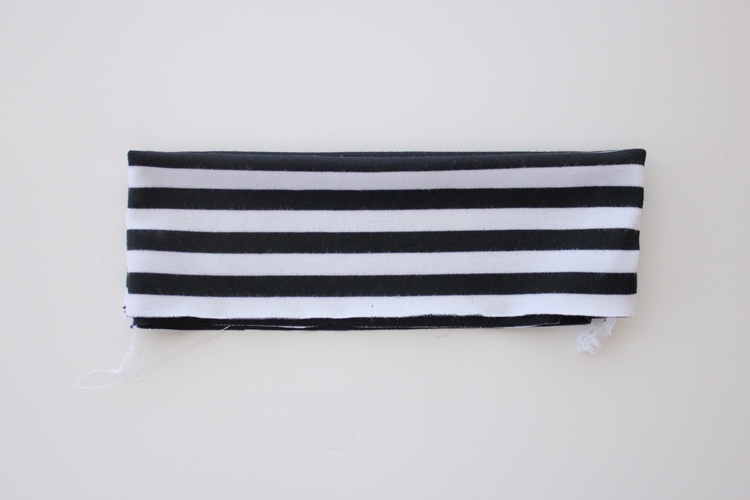
BASIC waistband refers to the first, simple waistband. FOLD OVER waistband refers to the tall waistband that folds over itself when being worn.
For your reference, below is a photo of a basic waistband with two seams. This photo shows it inside out with two side seams sewn.
Above: This is how it looks after it is folded down and in half.
STEP TWO: Sew skirt piece(s).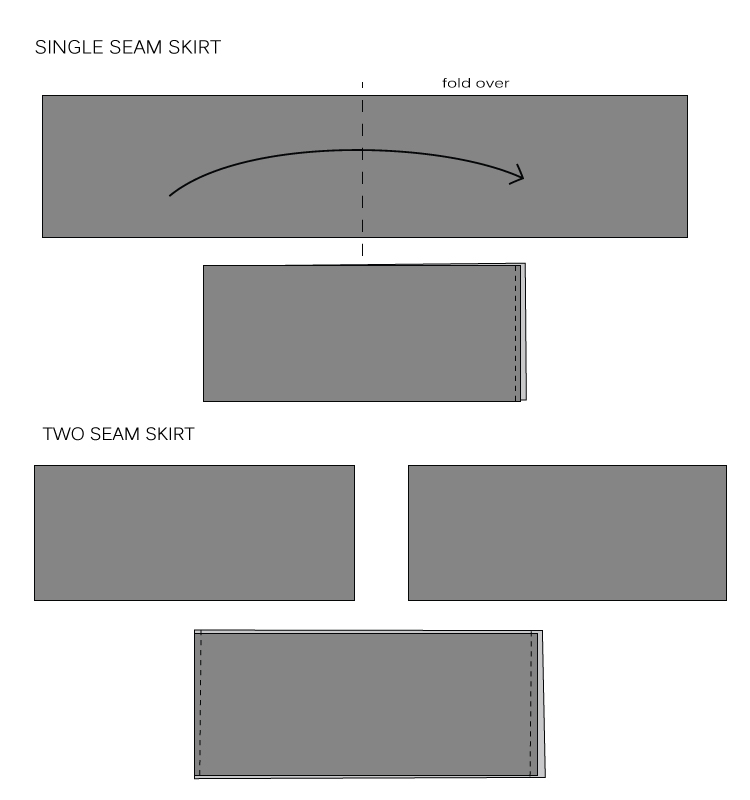 As with the waistband, single seam means that you cut one piece, fold it in half width wise, right sides facing, and sew one seam.
Two seams means that you have two pieces, that you pin together, right sides facing and sew two side seams.
STEP THREE: Gather skirt.
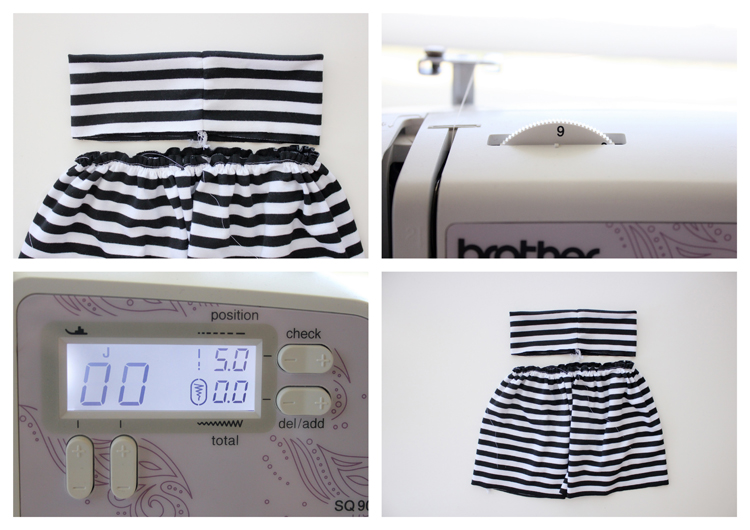 Change the settings on your machine, so that the stitch length is as long as it can go, and the tension is at it’s highest setting. Without back stitching, sew two lines of stitching around the top edge of your skirt piece, with 1/4″ and 3/8″ seam allowances, respectively. Leave long tails.
Now, pulling on the bobbin threads, gather the skirt as evenly as possible, until the top of the skirt matches the width of the waistband.
STEP FOUR: Attach waistband to skirt.
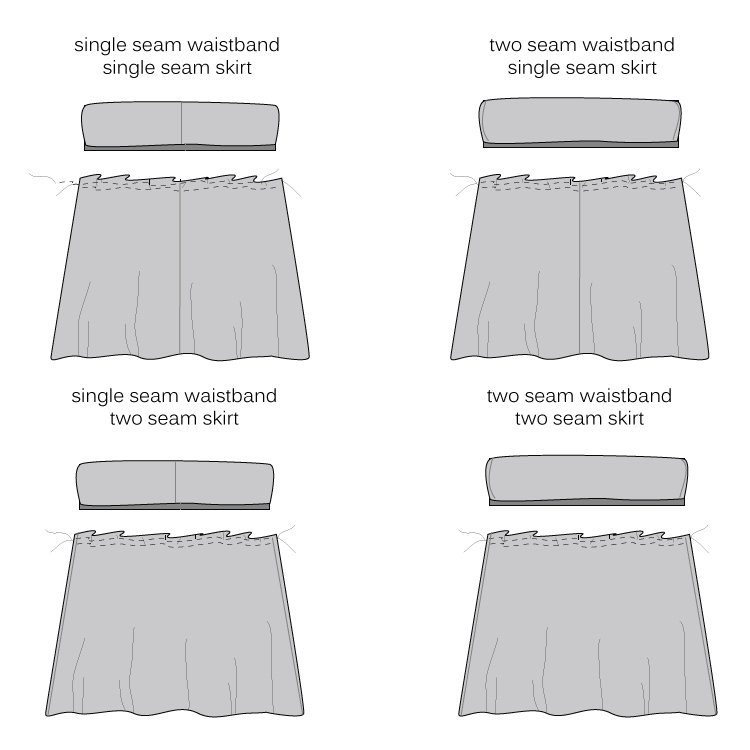 Determine where your seams are on your waistband and skirt pieces. Use the guide above to line the seams up correctly. Single seams should be centered at the back.
Now, with the skirt right sides out, flip the waistband down and slide it over the skirt, so that the raw edges of the waistband and the raw edge of the skirt match up.
Pin pieces together evenly. This helps prevent the skirt from stretching out of shape as you sew.
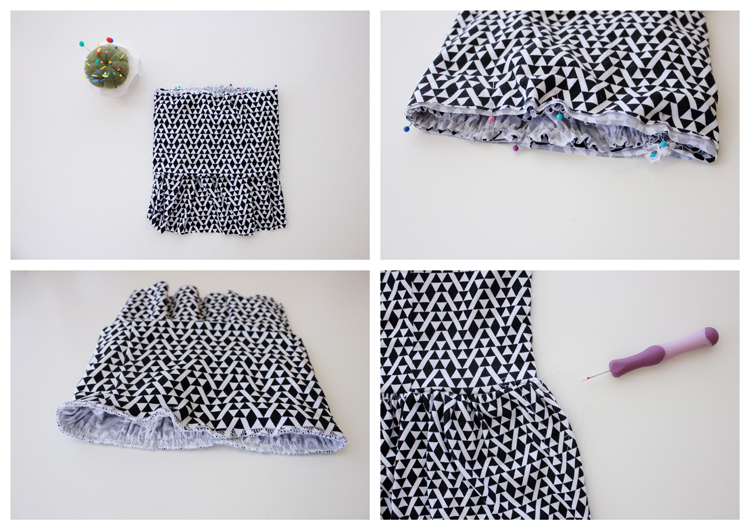 Serge waistband and skirt together, being careful to not stretch the fabric too much as you sew.
Note: This will limit the stretch of the waistband a bit, but the serged edge + the knit waistband + the gathered skirt will still allow enough stretch for the skirt to fit over the hips (even with a woven skirt fabric).
Flip the waistband up. Using your seam ripper, remove any hanging basting stitches from when you gathered your skirt.
STEP FIVE: Hem skirt.
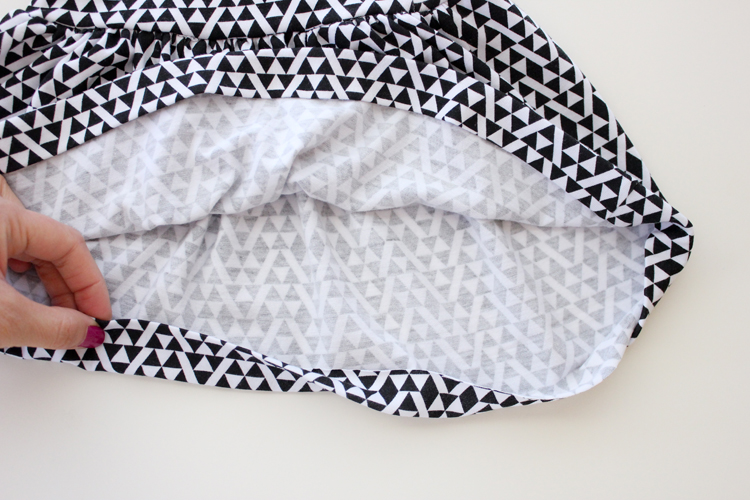 Iron under the raw edge of the skirt 1 inch and then iron it under again 1 inch, encasing the raw edge.
Top stitch around, close to the inside folded edge. Sew one line, or sew two parallel lines of stitching if desired.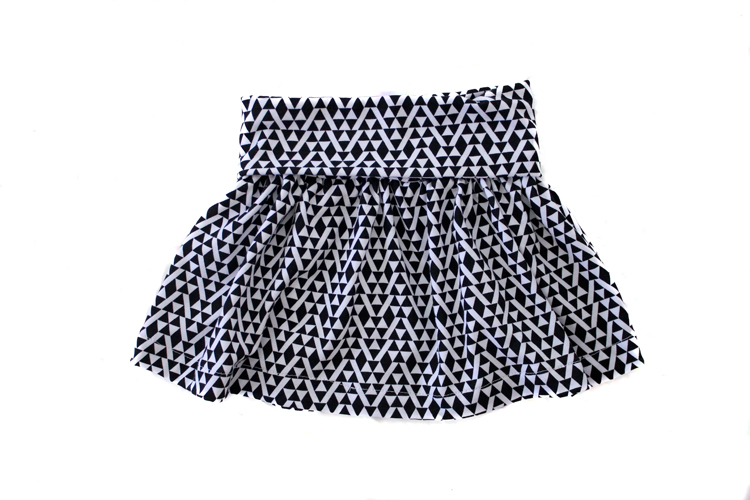
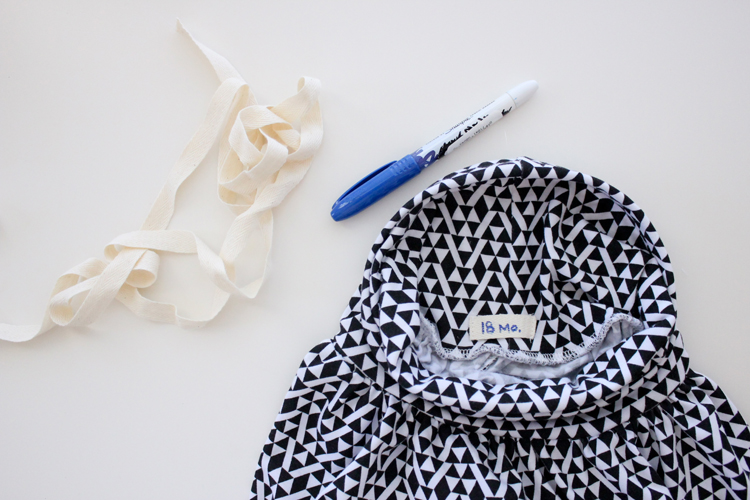
Optional: Add a tag.
That’s it! Five easy steps, and you’re done!
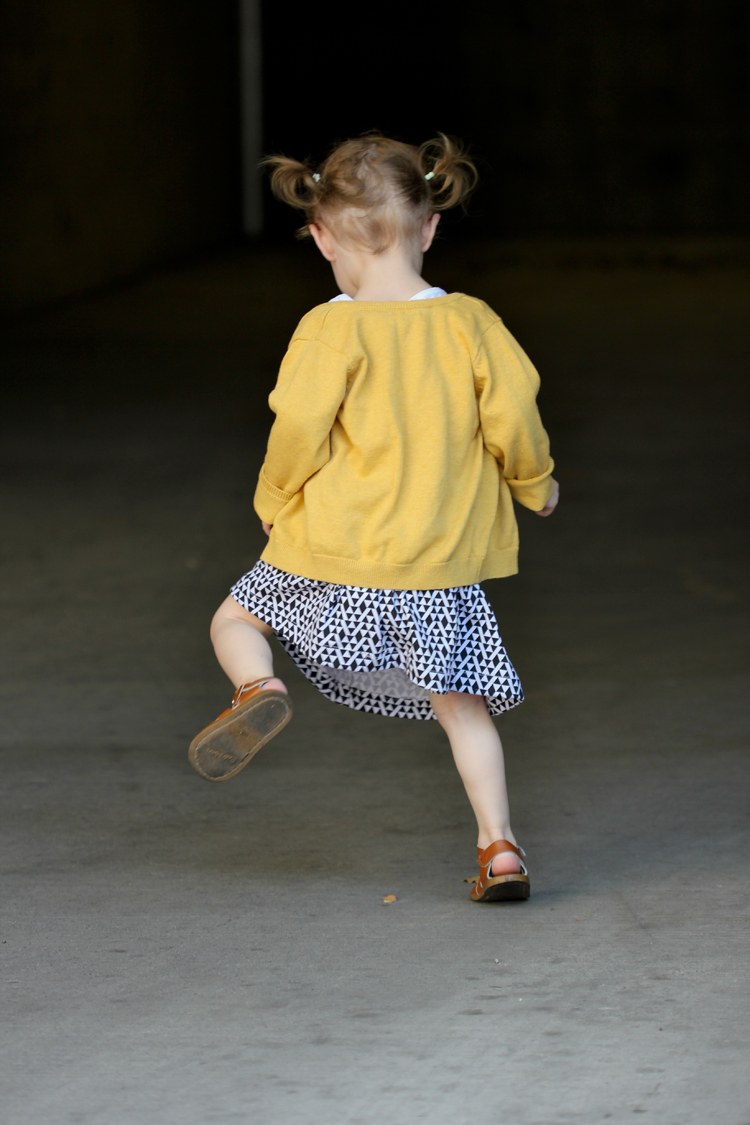
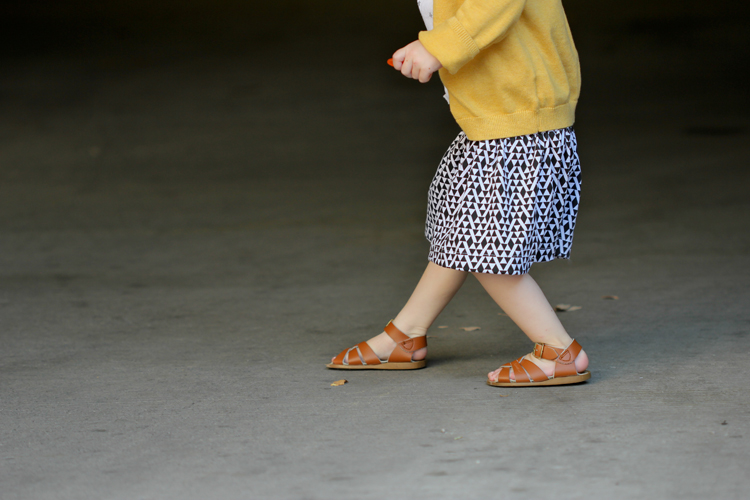 Here’s a quick look at how the fold over waistband works:
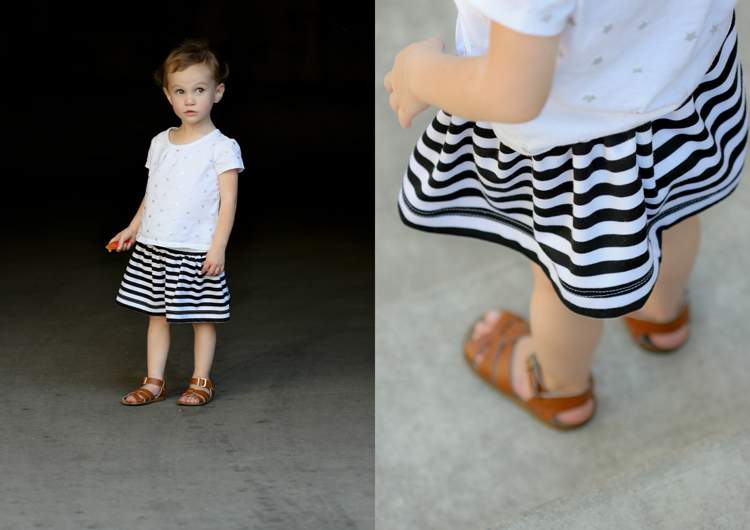
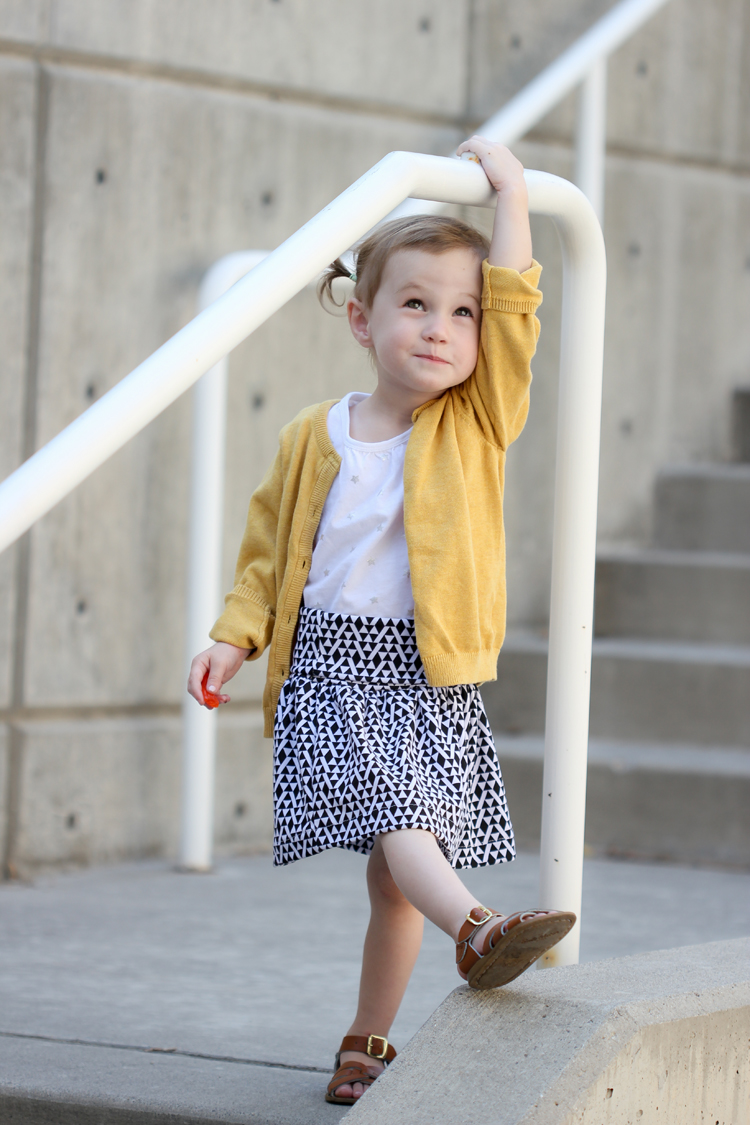
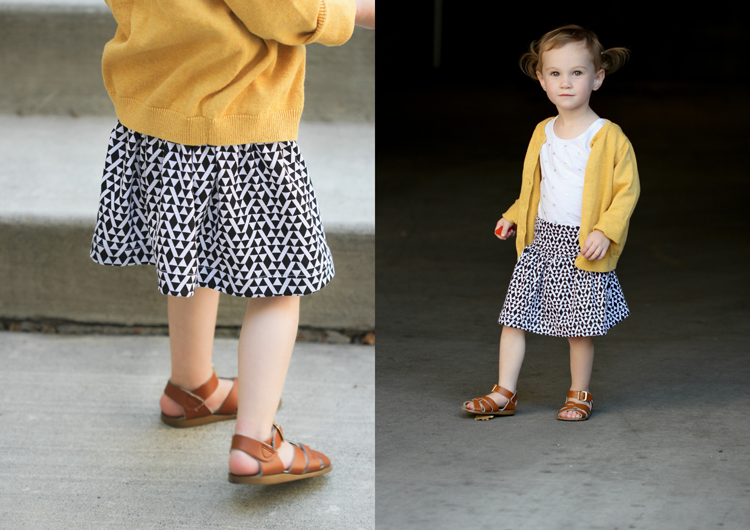 I made a couple of skirts for Nat because she has been going through a growth spurt. She tends to grows tall more than out. I have a feeling the fold over waistband is going to be a need this year! 😉
The rest of the skirts, plus some I didn’t photograph, are headed to the local Foster Care program. I grabbed a bunch of fabrics from my stash, and I made skirts that were closest to the size the scraps already were. It’s the perfect stash busting project and it’s for a great cause! Total win-win.
 Check out more skirt sewing inspiration over at Simple Simon and Co.
Happy Sewing!
Fabric sources: All knits except for the fluorescent yellow knit are from Girl Charlee || seer sucker woven is from a friend || fluorescent yellow knit is a seasonal fabric from Hobby Lobby a couple of years ago.
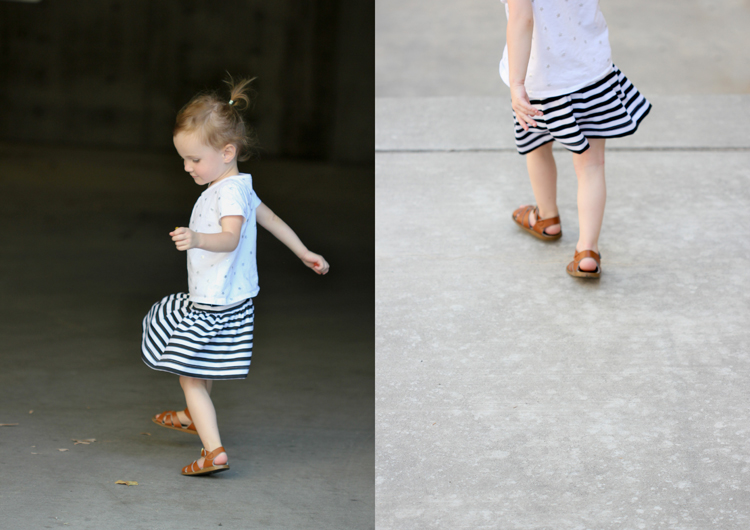
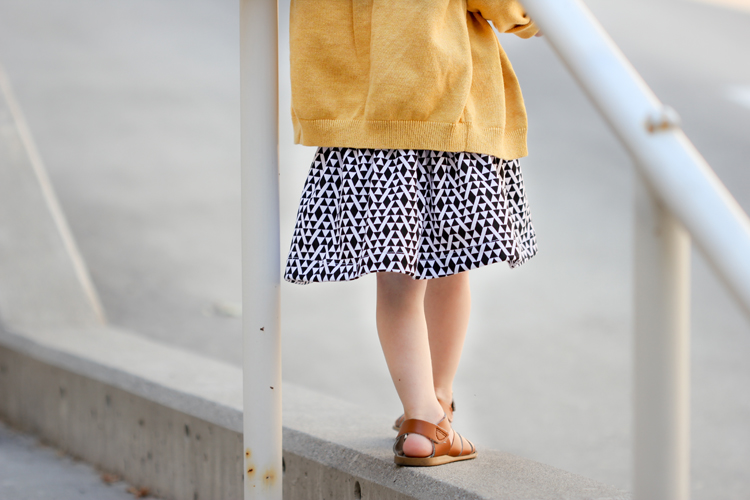
Style sources: White star shirt – Old Navy || Yellow cardigan – H&M || Salt Water Sandals from Amazon, affiliate listing found here: Salt Water Sandals by Hoy Shoe The Original Sandal

This is a great skirt that I can see so many different girls being so appreciative of! I love the idea of the fold over waist band to keep your little ones in the same clothes for longer. I don’t have an little ones yet, but when I do I will have to remember that tip!
Also, your daughter’s salt water sandals made me smile. I used to wear those all the time when I was her age.
Thank you Stacia! They are the best sandals for kids. I love them too! I buy her a pair every Spring.
Looks like a great pattern, though I yet again was reminded that my child is tiny. She’s almost a year old and her measurements are what you have for the 0-3 months size. Oh well, it means I use less fabric making clothes for her.
I love the Saltwater sandals in the picture–my favourite kind of sandals. I have the grown-up version.
I am so with you Anna! Natalie technically has a 18 inch waist too and she is 2 1/2! So crazy skinny. I just blend sizes. Thanks for the reminder to include notes about that in the post!
Thank-you for a great idea! If you use woven fabric, gather the skirt to attach it to the waistband, and sew without stretching the waistband – how do you get the skirt over the hips?
Good question. Maybe I should flesh out that section of the instructions. It will give a little bit because the edge is serged. Because the skirt is gathered it also stretches just enough with the knit waistband and the serged edge…if that makes sense?
Yes – I see what you are saying. Hmmm – I’ll have to give it a try! Thanks!
Such a cute pattern…I will try this tomorrow! Just a quick question. Rather than gathering the skirt, could I separate it and the waistband into 1/4s and attach it this way…stretching as I go. In the same way you would attach a neck binding or a arm cuff! Thanks.. Amy
Hi Amy! Great question. I actually wouldn’t recommend sewing it on that way. The skirt has too much volume causing the knit waistband to have to stretch too much. This would most likely affect the sizing and fit. You want to sew over the gathers, rather then letting the waistband create all the gathers. When you gather it first and then serge it together, you still have enough leeway to be able to stretch it over the hips, but not too much that it doesn’t fit the waist. That said, if you are using a nice firm elastic for the waistband, it wouldn’t matter. You could definitely attach the waistband like a neck binding. I hope that helps!
Thanks so much for these wonderfully laid out measurement charts! So nice to have when out shopping or when a friend needs a skirt for her daughter in 10 minutes..,lol, it has happened!
You are most welcome Amy! It has happened to me too. I have annoyed the ladies at the cut counter many a times…ha.
fantastic post, Delia! You’ve done a TON of work figuring this out for all those different sizes – this post will be an amazing reference for us – thanks! pinning!
Thanks Autumn! …and thank you for noticing. 😉 Totally a ton of work, but also worth it!
I love the little attitude she’s got going here! And the skirts are great! =)
haha. Thanks Charity. 😉
Awesome 🙂 thank you so much for your time and effort. I got into this sewing gig late and my daughter is 10 so I’m thrilled to find a pattern for her size too 🙂
I’m excited to try this out and thrilled with your helpful size chart for all the various sizes. I haven’t sewn much with knits… I think I’ve read here and there about using clear elastic where the woven is attached to the skirt?!? Do you recommend that method?
This is a very good tutorial, I love how carefully and thoroughly you have explained how to make this skirt. I also love the size charts. I am anxious to make skirts for my granddaughters!
Thankyou!
You are most welcome Judy!
Thank you for this fabulous pattern! I’ve just made two, one for each of my girls!! Both of mine are tiny too – my 8yo has a 20″ waist which makes her a 2yo size!!! In the end I just doubled up the skirt width to the width of her waist. So for 20″ waist, I used 40″ width of fabric at the length she needed. It’s perfect. Thank you again.
That works perfect! Great tip. You know how they have petite clothes for women? Sometimes I feel like they should make petite clothes for girls! ha. Thanks Jo!
I was wondering what to do with all those t-shirts I trifted (with the intention to make baby/toddler) clothes. Now I know ! Thanks for the great pattern !! I can’t wait to try to make one, or ten !!
I’m making a few of these for my daughter for Christmas! She is 8 yrs old, but she has a 21.5″ waist and 17″ to her knee! She’s such a string bean and it is terrible trying to find clothes that fit her. I don’t have a serger so I used a over-cast stretch stitch with my overcasting foot up the sides and a narrowed zig-zag at the hem and to attach the top. Works like a charm and still has plenty of stretch! I just hope she likes them!
Great tips for sewing it without a serger! Thank you for sharing! I hope she likes the skirts too. I have string bean kids. It’s such a blessing to be able to sew their clothes to make them fit!
Thank you, I made a skirt in a pinch for a Funeral…and I did it in one evening..I made it in a modest length, and the only complaint my daughter had was, its too long…lol…so that was good because she hardly wears skirts and she wore this. Now i have to make a few variations and colors so she will wear with her boots and leggings. Great pattern size is true, and the tutorial was clear, and concise….thank you again for the time you put into putting this together and sharing. I cant wait to make one for my 4mo niece…
Thank you Selma! I am so glad you both like it. Doesn’t every teenage girl complain that it’s too long? ha ha. I know I did at that age.
Ty for such a great, well thought out pattern.
After reading through the whole pattern, then sleeping on it.
I’m thinking I could use the instruction for how to come up with a size not on the chart and make an adult version.
I have never drafted a pattern before, is there any reason why this wouldn’t work for an adult?
No problem. You can totally adapt this to adult sizes! I created it for young girls and junior’s sizes because I was posting the skirts for Skirting the Issue (a charitable skirt drive for foster girls), but it is really easy to adapt to the standard 2,4, etc. women’s sizes. The waist is flexible, so really, you could just choose a junior’s size closest to your women’s size and just sew that up. I hope that helps!
Hello,
Thanks for the tuto and the size charts, but there’s something I don’t understand: what’s the difference between “girl” and “junior” please?
My daughter wears 3y size clothes ; there’s a 3 in girls and a 3 in junior?
The question may seem stupid… maybe just a different size system (I’m from France)…
Thanks,
No problem. Girl sizes are for young girls and mostly align with their ages. Juniors are similar to women’s sizes but run a little slimmer and shorter.
I hope that helps? Let me know if you have anymore questions.
Delia
Very cute! I’ve never sewn with knits either, but I’ll have to give this a try (probably for the cute little girls I know, but if I’m really brave, for myself!)
Thanks so much for this great tutorial! I have major sewing fear but had promised to make my 6yo “something” by Christmas. Now she has TWO skirts that she loves – one knee-length, one ankle-length, by special request! – and I have the confidence to try making a maxi skirt for myself.
This makes me so happy to read! I am so glad you were inspired to overcome your fear and make something awesome for your daughter. Sewing is definitely something to be loved and not feared. So happy you went for it!
Hi, I really want to make my two daughters this skirt. I live in the UK and am confused with what measurements are shown in the Yardage table.
So for a 6-12month girl:
Knit 55″ wide fabric for the fold over waistband is 5/8
5/8 of what?
Can anyone clarify please?
Hi Nic! Sorry that I just saw this comment. My comment alert emails have not been coming through like they should. So, the answer is that it’s 5/8 of a yard. I apologize, the I made the word “yardage” apart of the graphic which could have made it easier to miss. I hope that helps and I hope it’s not too late!
Thank you for this pattern!! I whipped up a skirt in a size 6 for my daughter, she loves it and it took about 20 minutes to make 🙂
Awesome! I am so glad to hear that! Aren’t quick sew skirts the best?
Best directions I’ve ever seen! Thank you!
Thank you Abbie! That is so kind of you to say!
Thank you for the chart, it will come in handy. i have a thin 8 yr old granddaughter so I can use the chart that pertains to her waist. My sister’s granddaughter is the opposite, so again, the chart is handy. The yoga waistband is great because it stays up well on little ones and does not bulge like regular elastic on the heavier ones. I also sew for my granddaughters cousins on the other side, so a fast, easy pattern like this one is great. Thanks again
You described why I love these skirts, perfectly! They work for any girl! I’m so glad you have found the chart useful. <3 Thank you for taking the time to leave me such a sweet, kind comment Lynn!
Thank you for sharing your pattern and chart. I am trying to teach myself how to make a few things for some grandchildren.
This is a great tutorial! Thank you! Question: if I don’t own a serger, can I sew the band and skirt together with a regular stitch on my machine? Will the stretch of the band still work that way? If so what stitch do you recommend?
Thanks Katie! That’s a great question. You can use a stretch stitch, which looks kind of like a bunch of lightning bolts strung together end to end. So… zig zaggish but slanted. A zig zag stitch is great too of course and it can give you more stretch than the stretch stitch…funny enough. 🙂 It will get you a less crisp fold though, since the stitch is not as straight. I hope that helps! Let me know if you have any other questions and I’ll do my best to answer here.