There is something about a fancy label.
It adds a touch of class and finishing that make handmade goods go from great to wow!
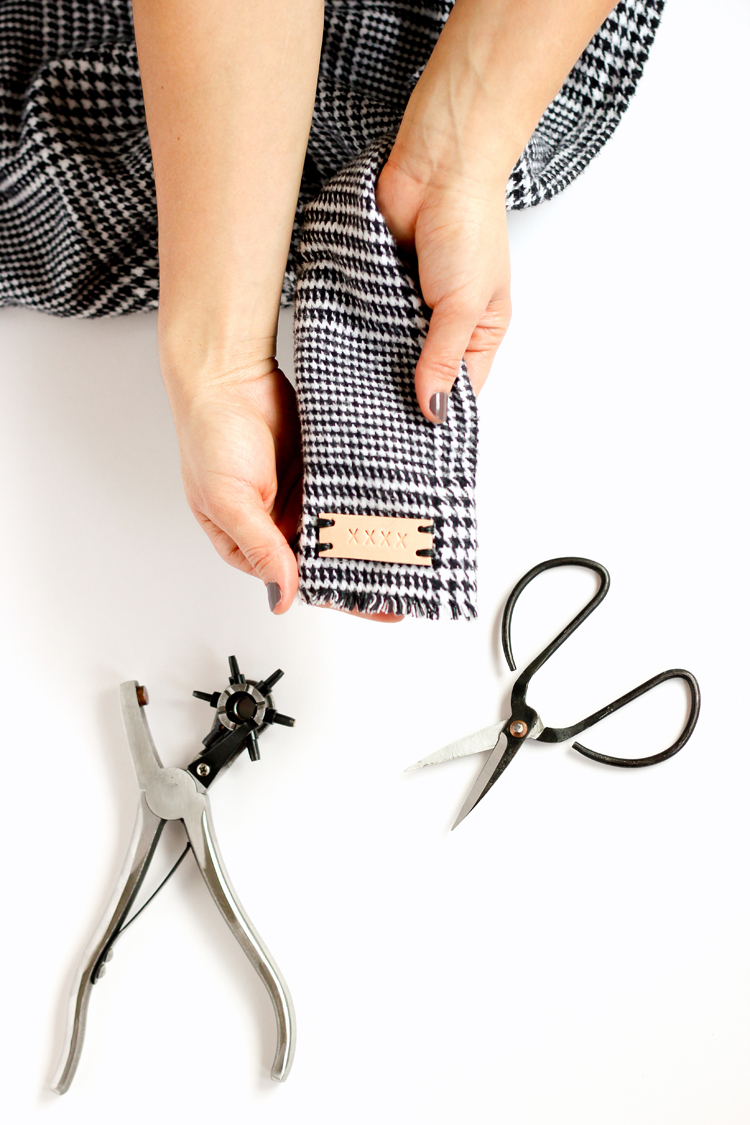
Add one to a cozy blanket or a scarf, and it suddenly feels like a luxury item.
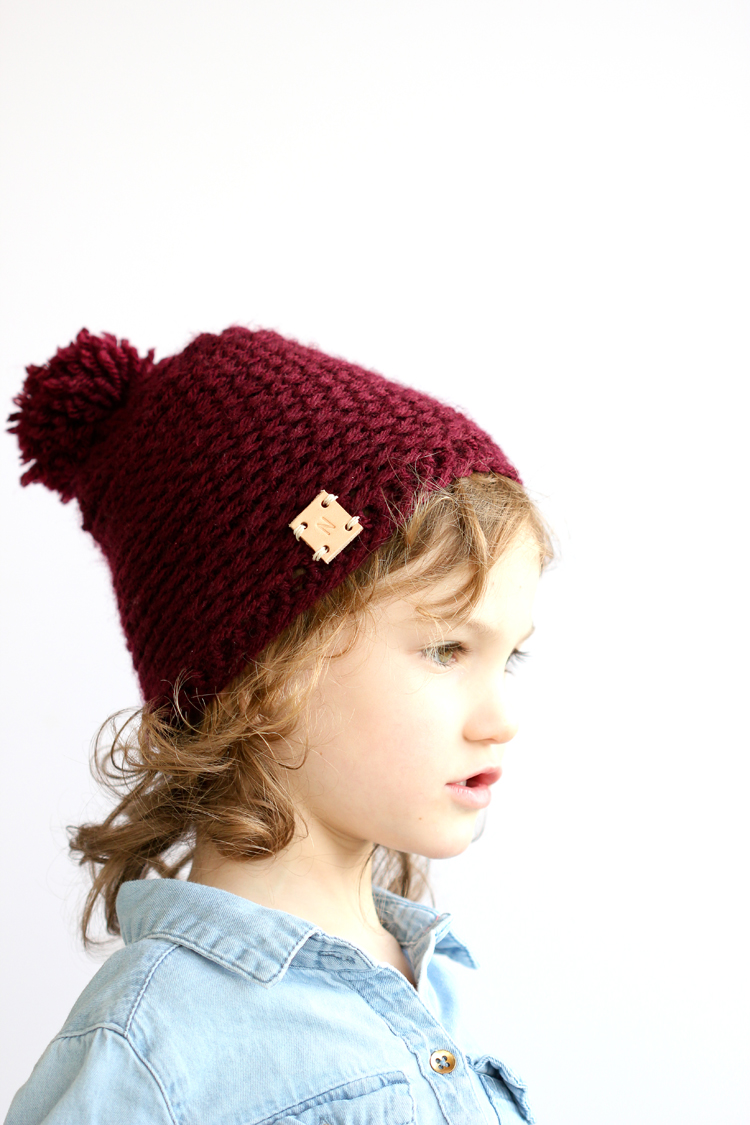
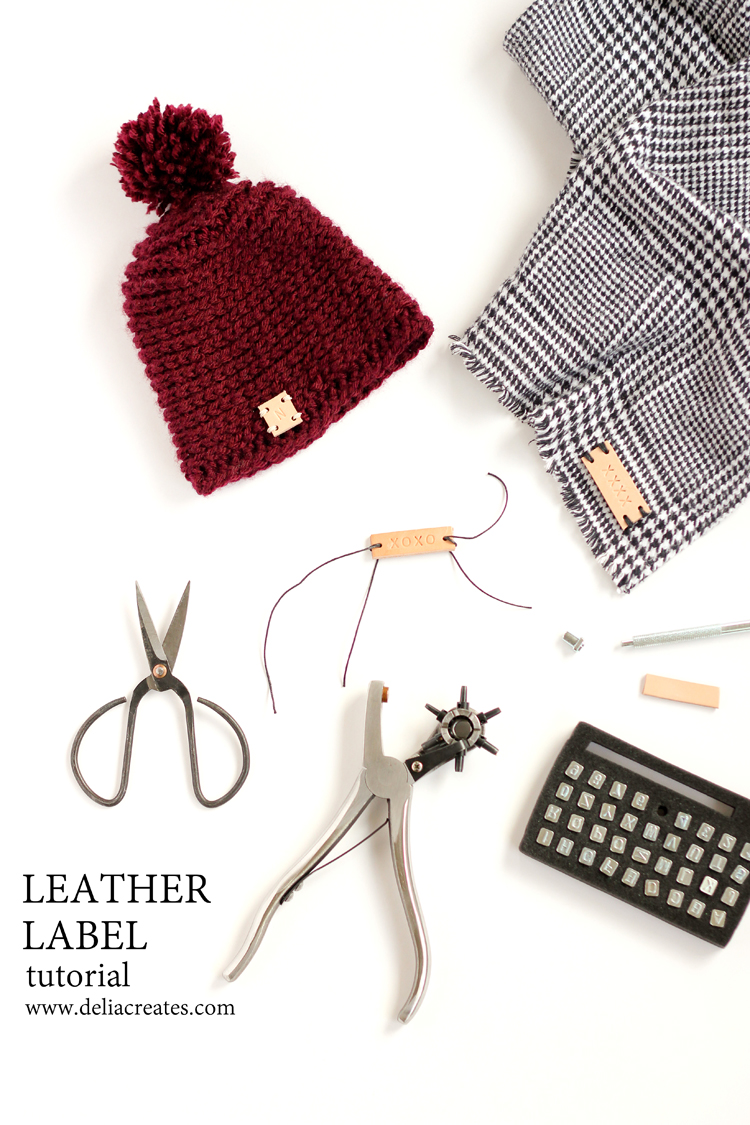
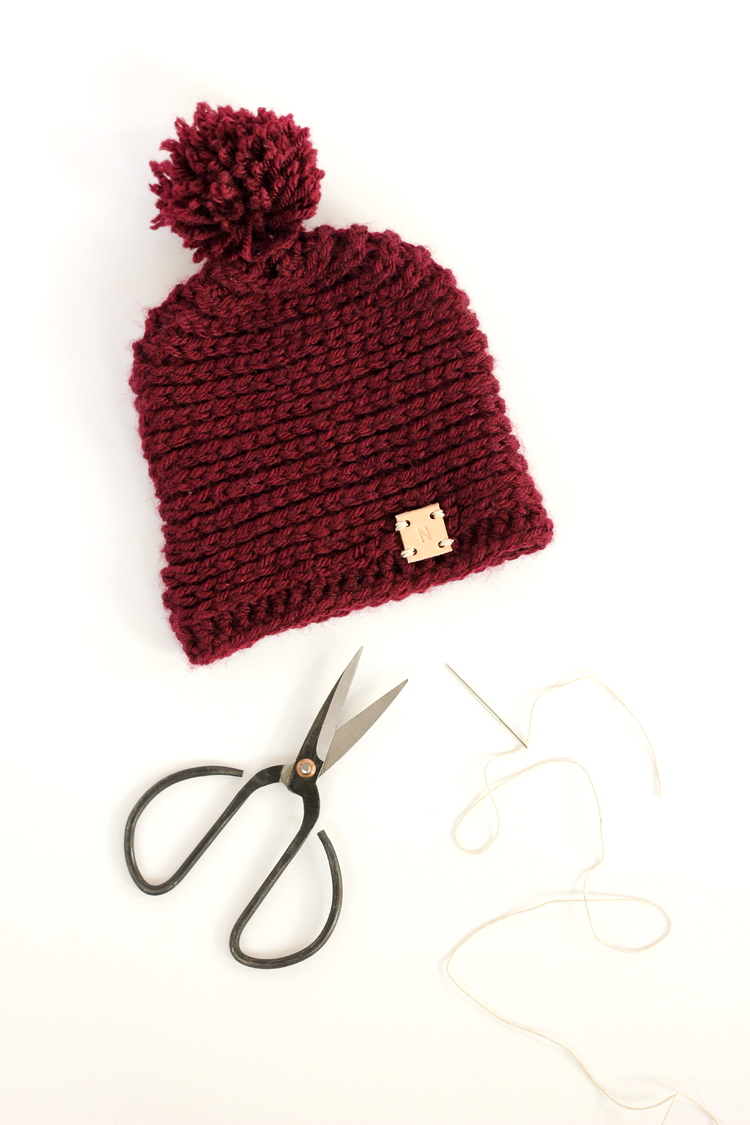
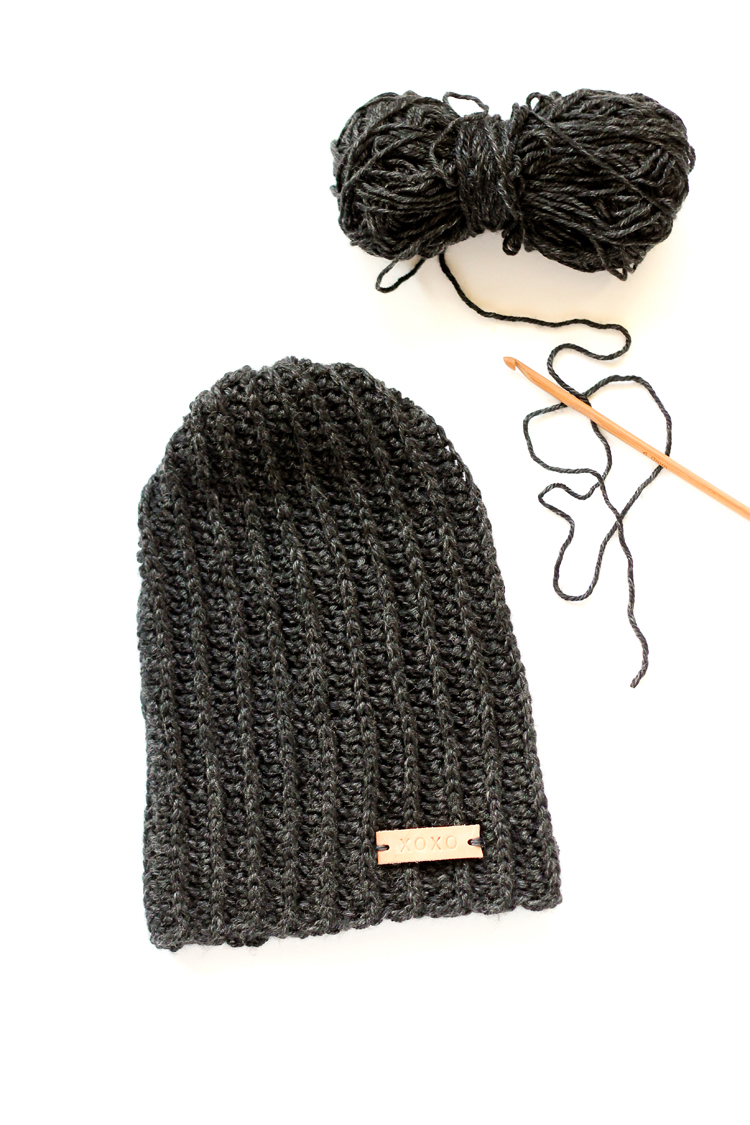
I played around with some scraps of vegetable tan leather I had left over from other projects, and added a label to this free triangle beanie pattern. I liked it so much, I thought I would add more labels to some older projects and make a tutorial.
MATERIALS:
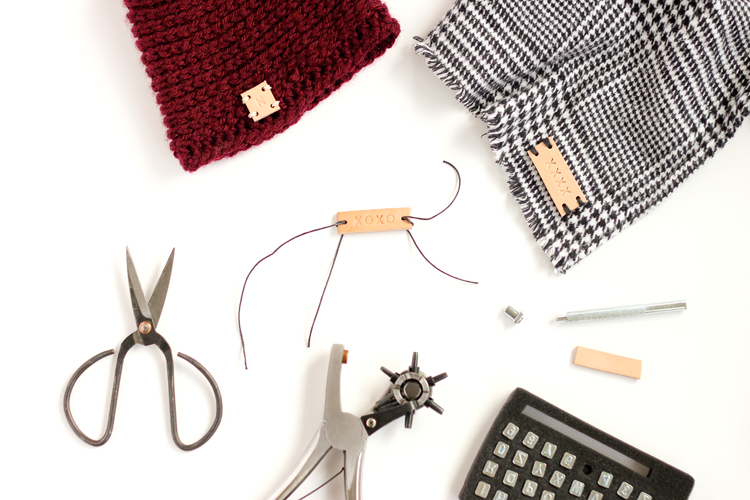
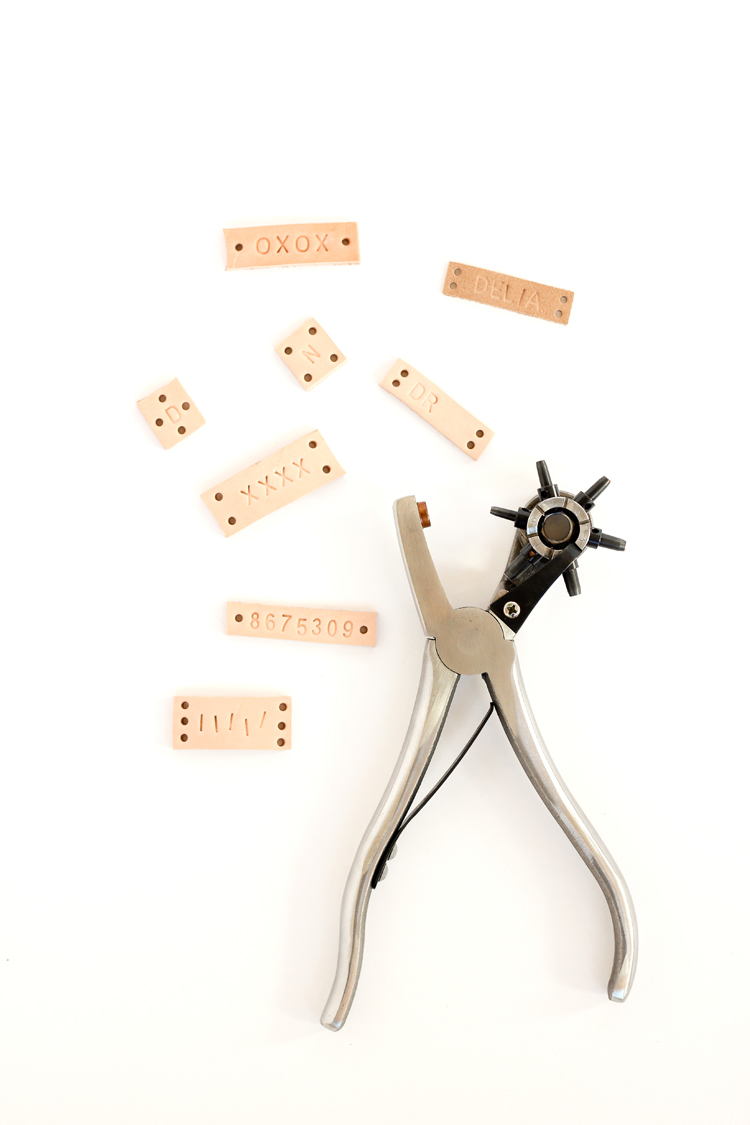
- Leather scraps*
- Leather stamping kit
- Leather punch tool
- Wax thread, thin jewelry cording, or embroidery thread
- Heavy duty scissors
- Yarn sewing needle (dull tip and larger eye)
*I prefer the thick vegetable tan leather straps you can find at most leather suppliers like Tandy or even Michaels if you cut up their belting kit. You can also use suede leather strips from Michaels, or leftover scraps from other projects. The thicker the leather, the better it looks and holds up as an accent label, and the easier it is to stamp.
NOTE: My leather punch tool is from Tandy Leather, my leather cording, stamping kit, scissors, and yarn needle is from Michaels.
TUTORIAL:
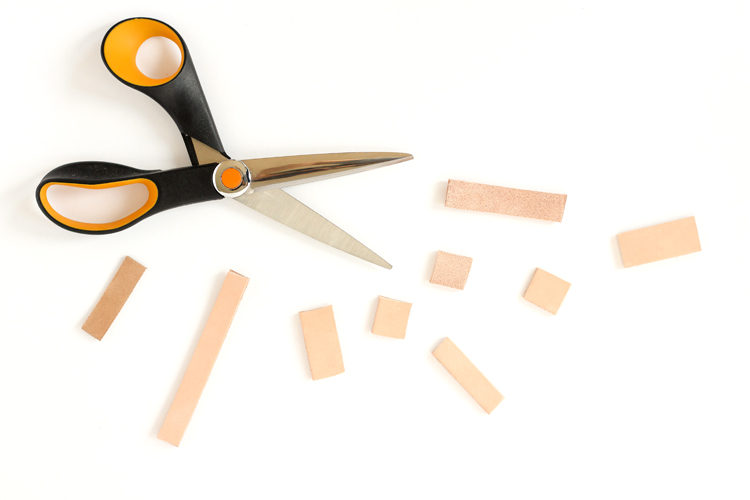
STEP ONE: Cut labels.
Using heavy duty scissors, cut your labels to size. It can be hard to control the precision of the cuts, so the stronger the scissors, the better. You may also use a rotary cutter, ruler, and self healing mat if desired, but you’ll have to make several passes over the leather per cut.
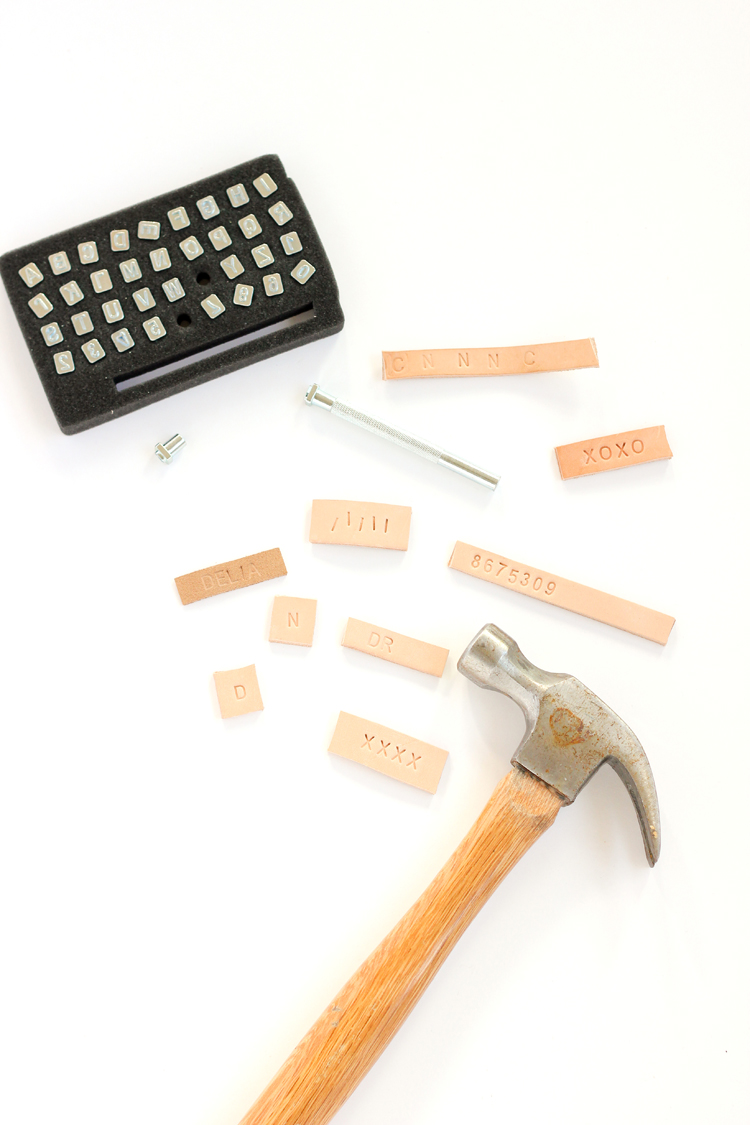
STEP TWO: Stamp labels.
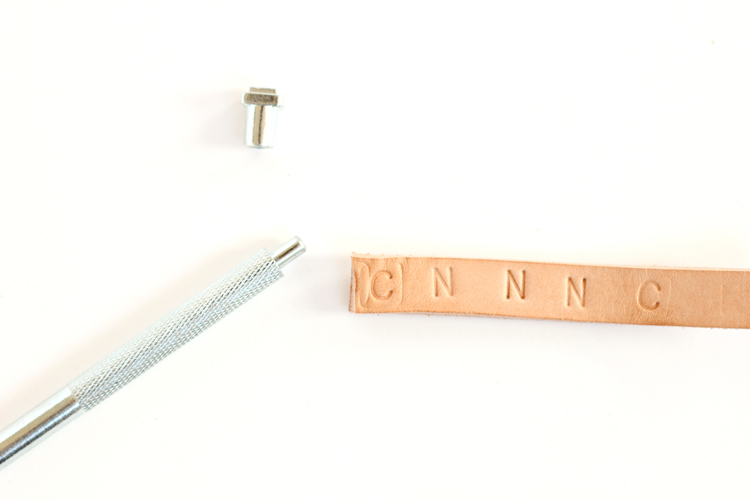
Stamp the labels with words or designs as desired. I recommend practicing on a test piece. If you hammer too gently, it will not make a deep enough impression. If you hammer too hard, it will add an unwanted border around each letter. Practice until you find the right amount of pressure to get the look you want.
STEP THREE: Punch holes.
Using the smallest hole punch size, use your punch tool to create holes in your label so it can be sewn in. You can create one at each end, or punch more. The placement of the holes is just as important to the look of the label as it is to the function of attaching it.
STEP FOUR: Sew on label.
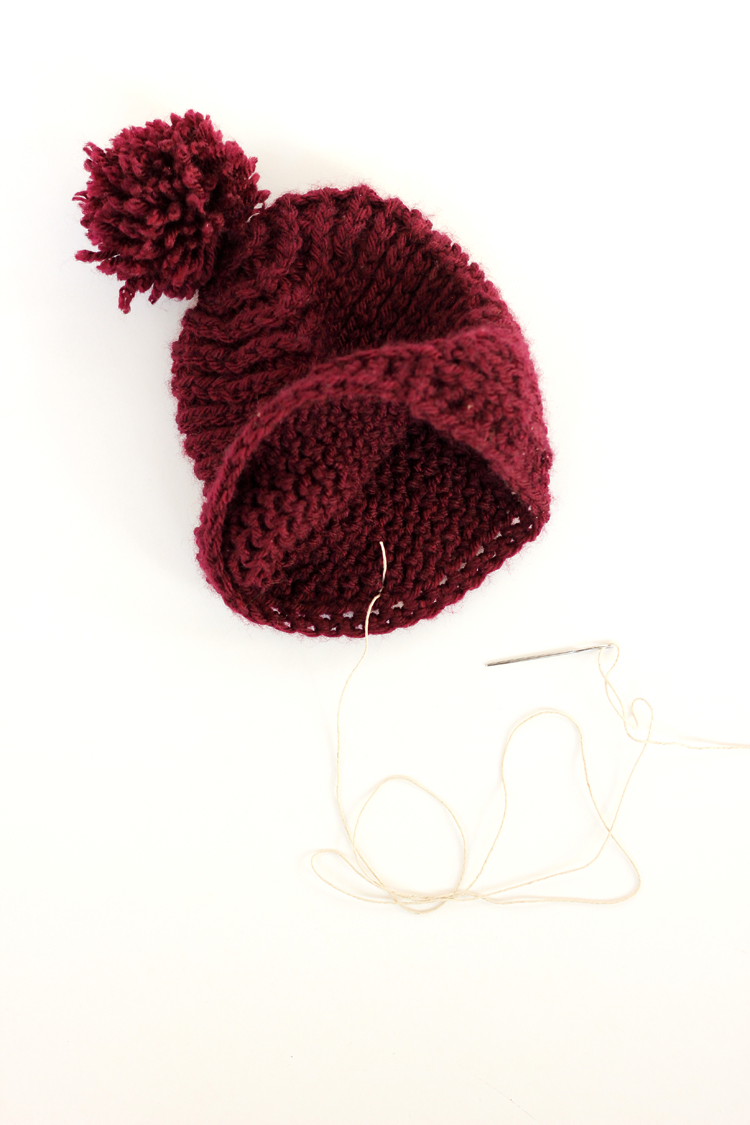
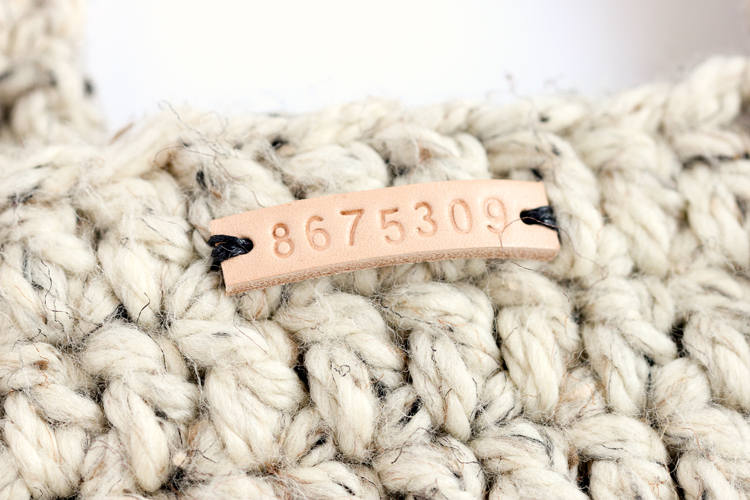
Using your yarn needle and thread of choice, sew on the label. Start from the underside/wrong side of the item, to keep the side that shows nice and neat. Leave a tail when you first insert the needle, so that you can knot the other end to it when you’re done. To make sure it stays secure, I like to tie a square knot.
Trim excess thread ends and you’re done!
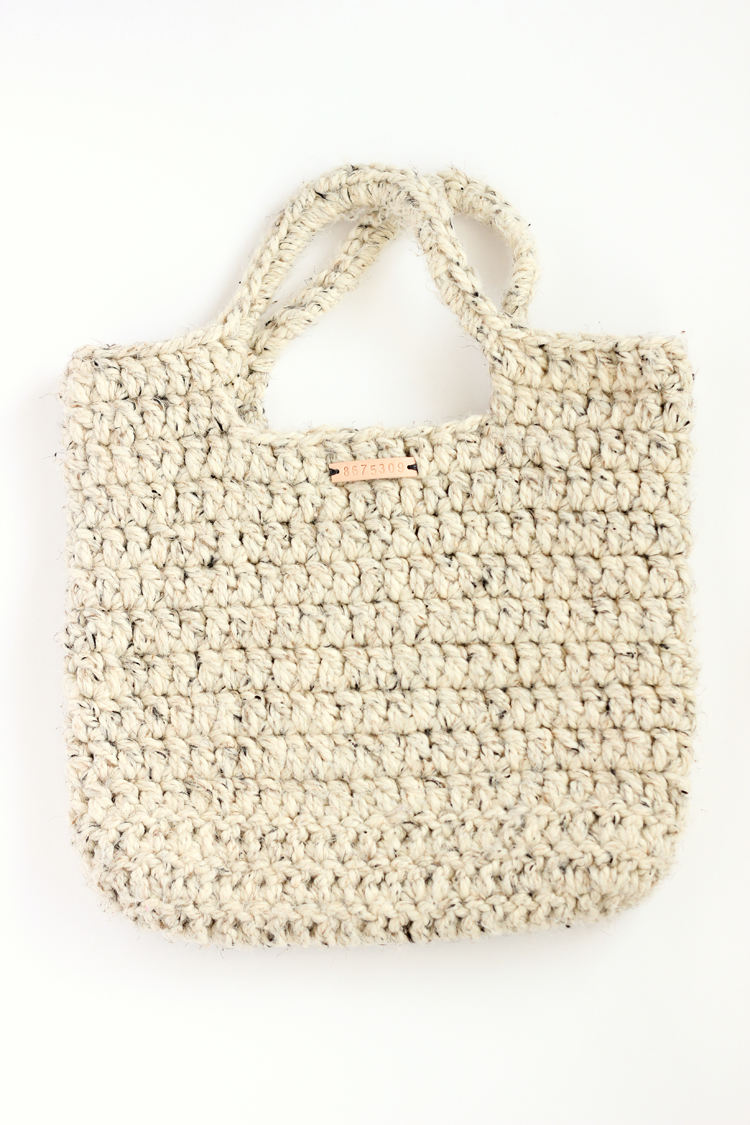
I knew I wanted a label for this bag, but had NO idea what to put. You don’t want to put something too long, and have the label be a nuisance. I also didn’t want to put my name or initials since I had already done that for some other items. Then this Tommy Tutone 80’s song popped on my Pandora feed and so I stamped in this number, for no reason other than I couldn’t get the song out of my head. ha!
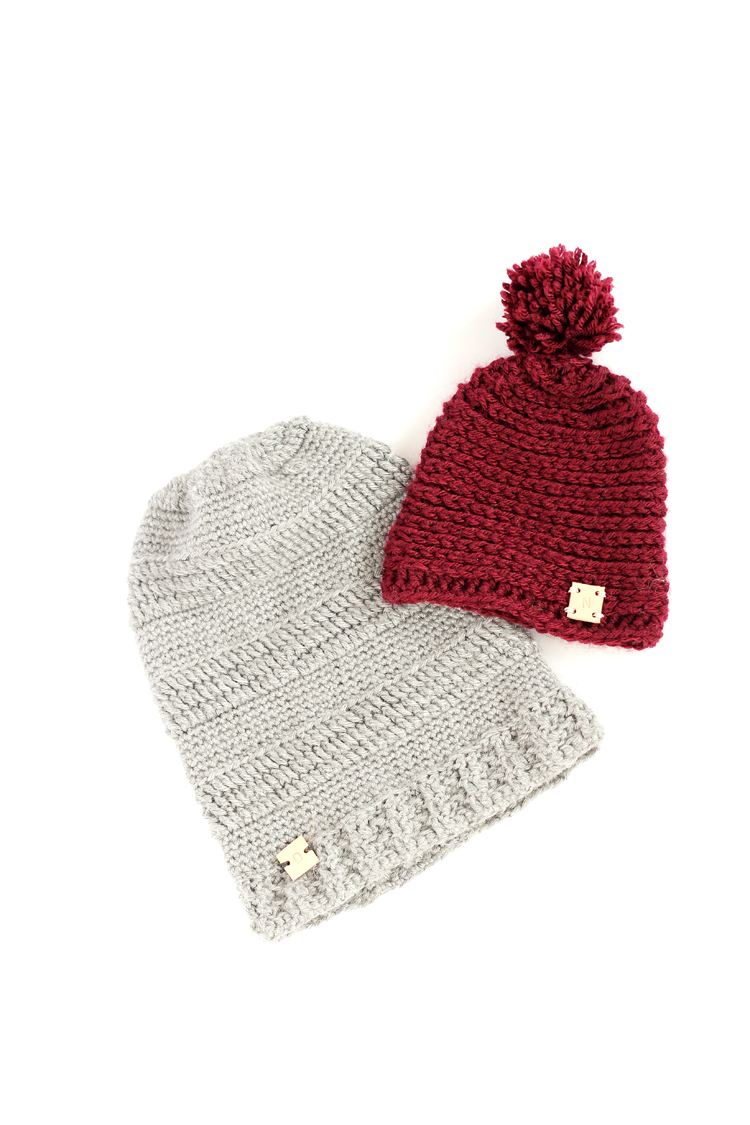
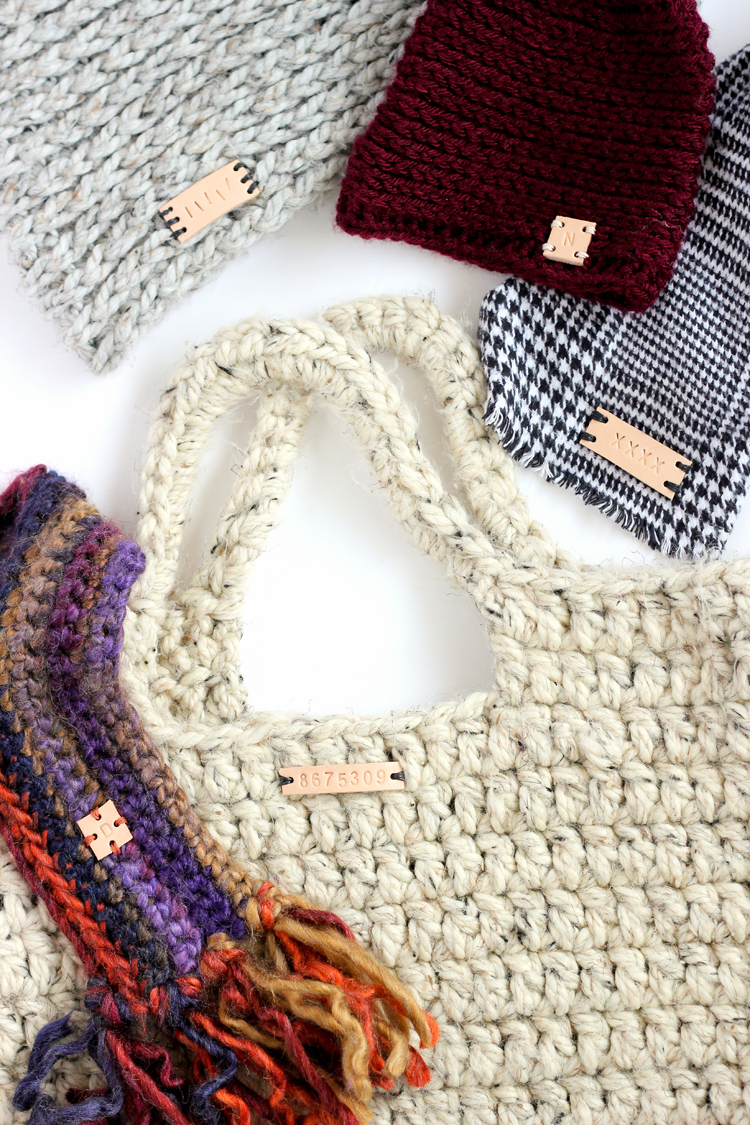
I refreshed other old projects with labels as well…
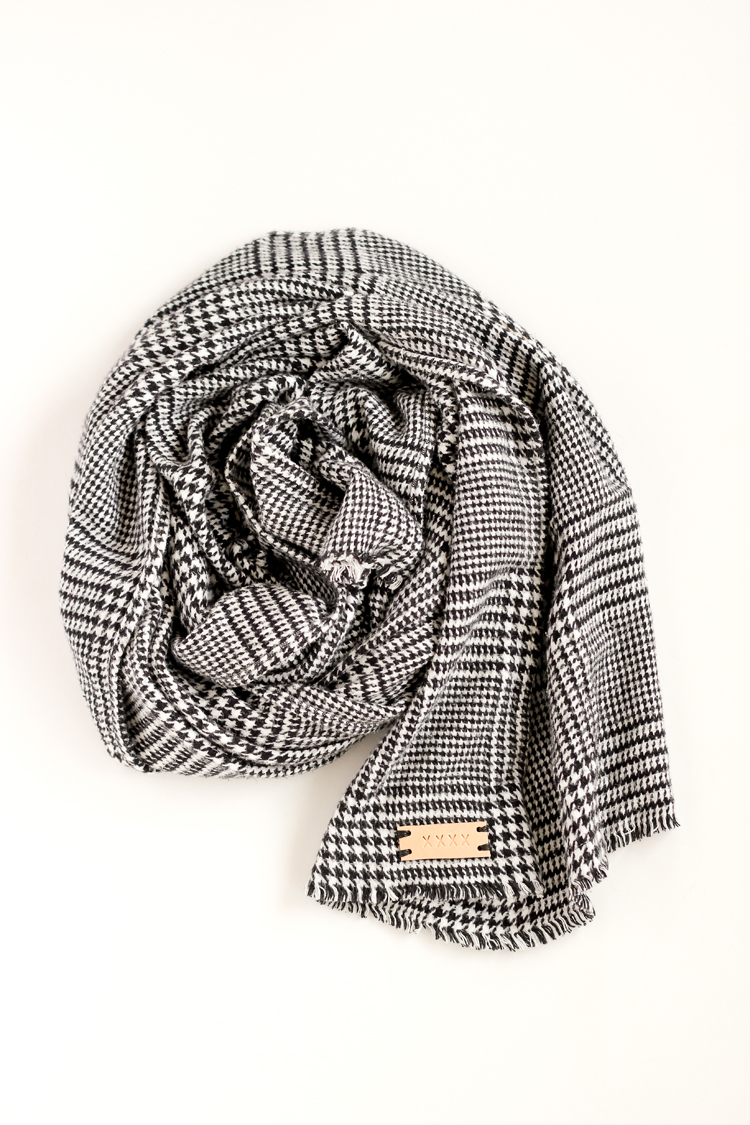
Like this hat, this cowl, this sewn scarf, this scarf, and of course the tote bag.
I think you if you ever want to make a store bought item look fancier, you could totally just add a leather label too…so it’s soooort of handmade. 😉 😉
I made another Rowan hat for the Lion Brand #yarnheroes project and added a label to it before I donate it.
By the way….the Yarn Heroes campaign ends tomorrow! You can still get a free copy of my Rowan hat and a discount to Lion Brand until the end of the 15th. Go HERE for more information.
If you need more ideas of where to donate, Make and Do Crew, a fellow Yarn Hero, has compiled a great list of places accepting donations plus more free patterns from other Yarn Heroes!
Happy making!



I love these! Such a great finishing touch!
Thanks Charity! It’s a small detail but I think it really makes a difference.
Derivations of that Tommy Tutone song are what I sometimes use for temporary passwords I need to issue. HAHAHAHA!
This is darling–definitely on my to-do list.
This is an awesome idea! I loose my beanies – a l l t h e t i m e !
It would it make so much easier to find if I put my name on them – and not in the childish write-my-name-on-the-label version. This is so stylish!
Thanks for sharing!
That’s a great idea to use it as a label! Thanks Sarah!