One of my favorite recent trends are letter boards. They’re like chalkboards for Type A personalities.
And…they just look really cool. 🙂
Years ago, I made a chocolate heart box from a cereal box. I’ve been wanting to do an updated version for a while now, so I could add food allergy friendly treats for my daughter.
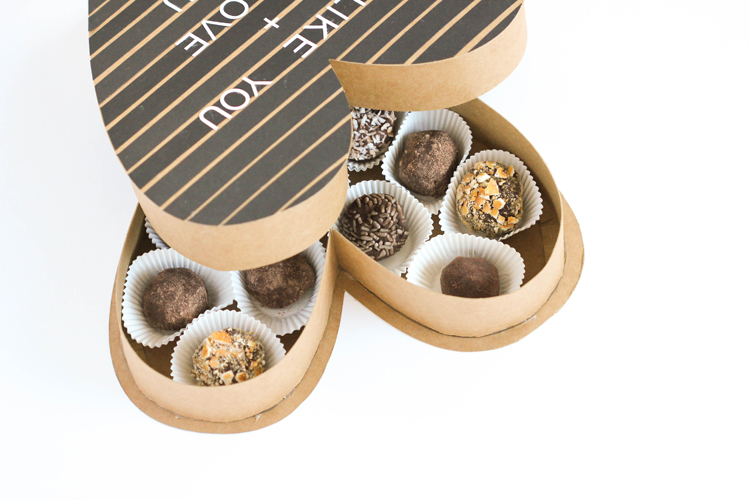
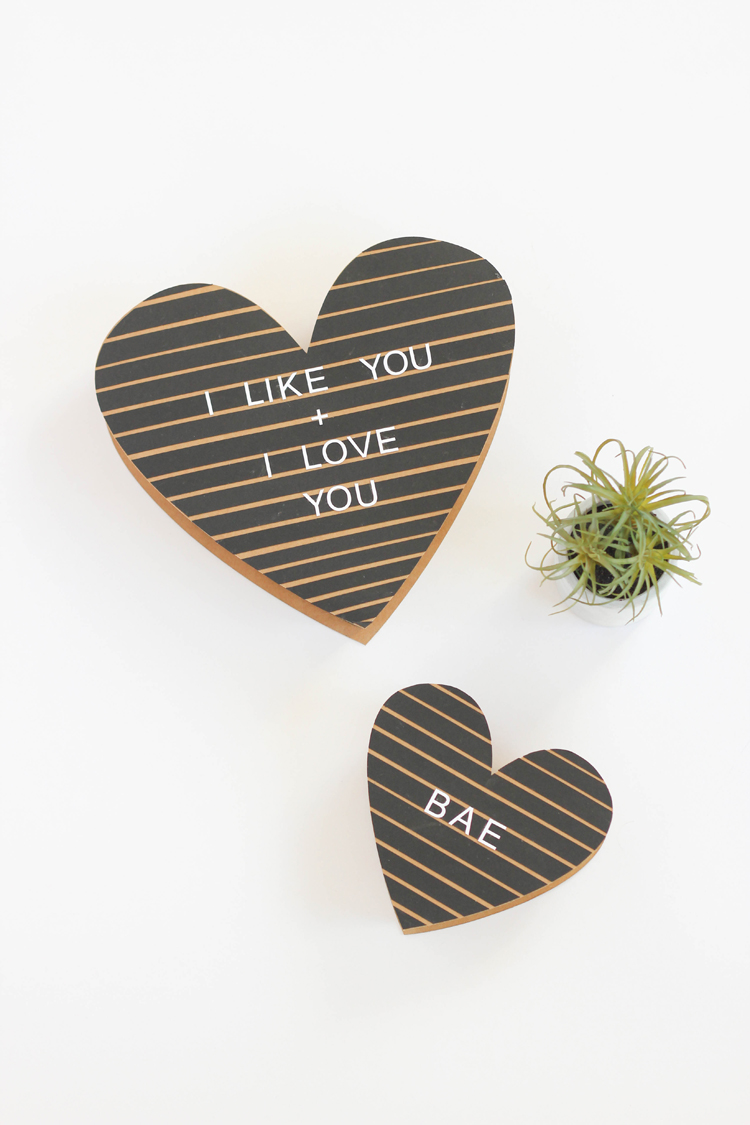
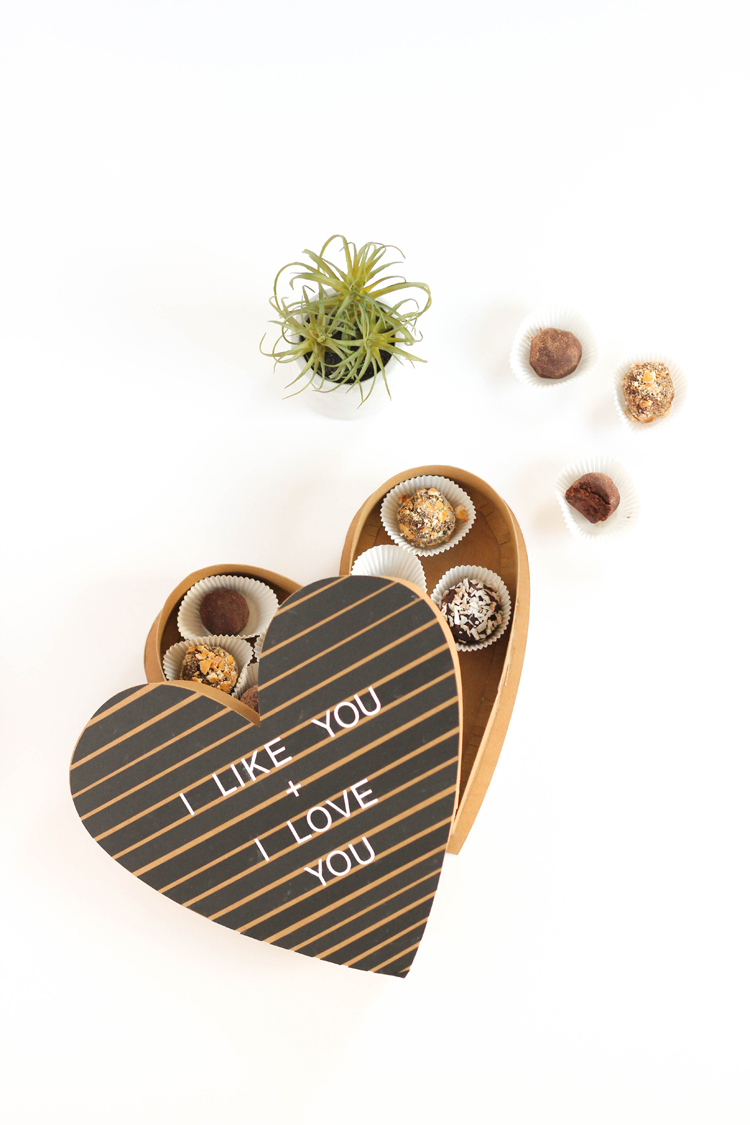
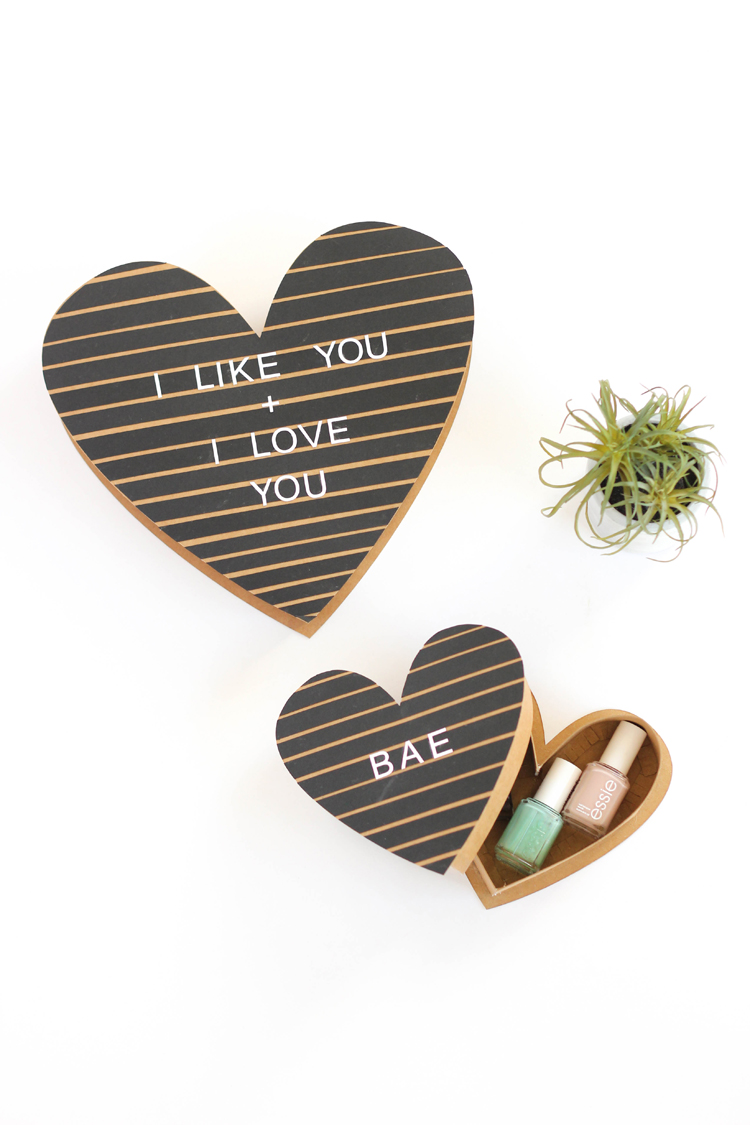
So, I came up with this letter board chocolate box.
I mean, really you could decorate the box however you want, but the letter board look lends itself easily to messages, proclamations of love, or quotes from my girl, Leslie Knope.
If you’re a letter board afficiando, or if you have simply seen one before (ha!), then you know this doesn’t look exactly like a letter board, it just looks inspired by one. Like those movies based off books. Still good, but it may make you want to shout “you left so many things out!” at the screen. I designed it this way, to make the letter board “grooves” more obvious. We’re working with paper here folks…and my limited imagination. 😉
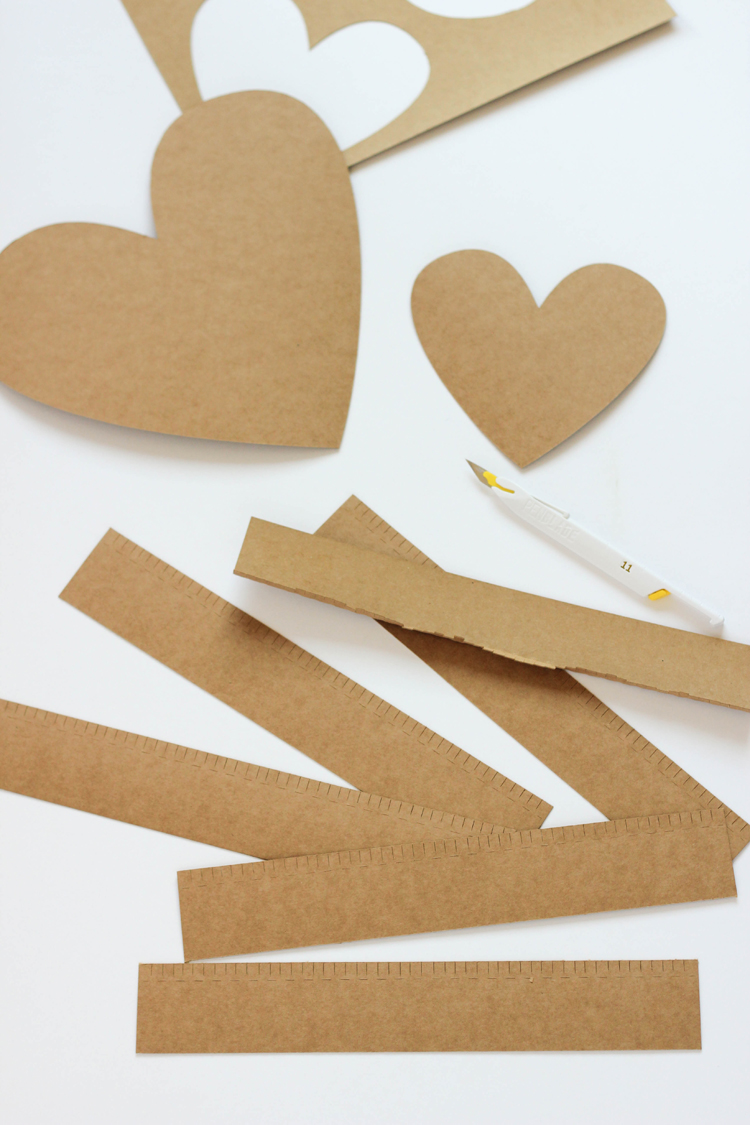
You could easily make this without a cutting machine. Simply cut the shape you want and follow the instructions below. I chose to use a cutting machine for uniformity sake and because it’s a lot easier.
MATERIALS
- cut files (see below)
- 4 sheets 12 x 12 inch thin chipboard*
- 12 x 12 inch black card stock
- 8.5 x 11 inch white card stock
- exacto knife
- cutting mat
- hot glue
- glue stick
- clear tape
- two pencils
- popsicle stick
- rubber band
*I found the chipboard in the paper aisle at Michaels. There is super thick chipboard, which doesn’t really bend and then there is this thin, flexible chipboard. It feels like two or three pieces of cardstock pressed together. I didn’t find it by the chunky chipboard either. I strangely found it in the loose leaf scrapbook paper (not card stock) section.
NOTE: Four sheets of chipboard makes one large and one small box. To make just one large box, you need three sheets, to make a small box, you need two. Be sure to adjust the heart (lid and base) cut files accordingly.
CUT FILES
I am still learning the ways of .svg files. I got them to open for Cricut (you may have to resize them though) but for Silhouette it was no bueno. So, I have included .svg files, .dxf files, and Silhouette Studio files for your convenience.
CLICK HERE to access the google drive file that contains all the file types.
TUTORIAL
Step One: Cut your files.
You will need to crank up all your settings to cut the chip board. Change your blade depth to 10 with a 33 thickness (this is Silhouette speak, so if you’re using Cricut, crank your dial up to Poster Board probably), select double cut, and cut SLOW. Even after you do this, you may have to run your exacto knife over the cuts one more time to get them to come out. I absolutely did.
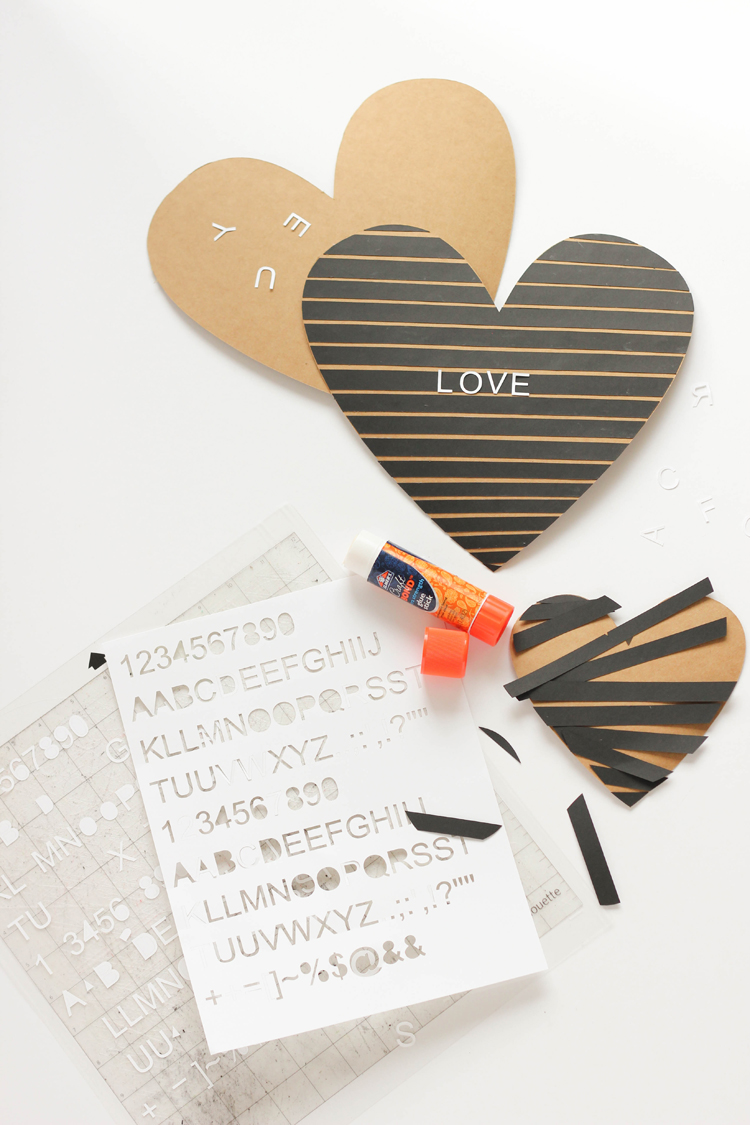
Cut your other card stock files as well. You can adjust the letter file to whatever you need. If you already know what you want to say, you can just type out your letters in your font of choice. Make sure the letters are between 5/8 – 3/4″ tall.
For the black card stock, I improved the lines a bit for you, so they will look much more even than mine.
Step Two: Add letter board details.
Glue the black letter board lines onto one of the chipboard hearts with glue stick. This will be your lid. Add letters as desired.
Step Three: Create box side guidelines.
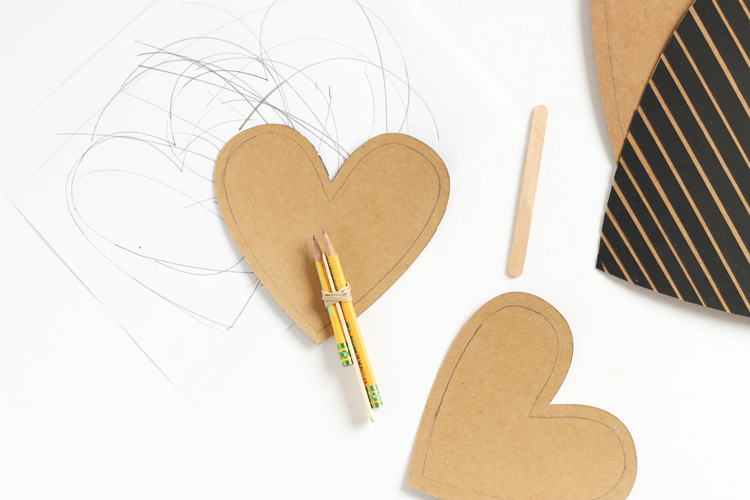
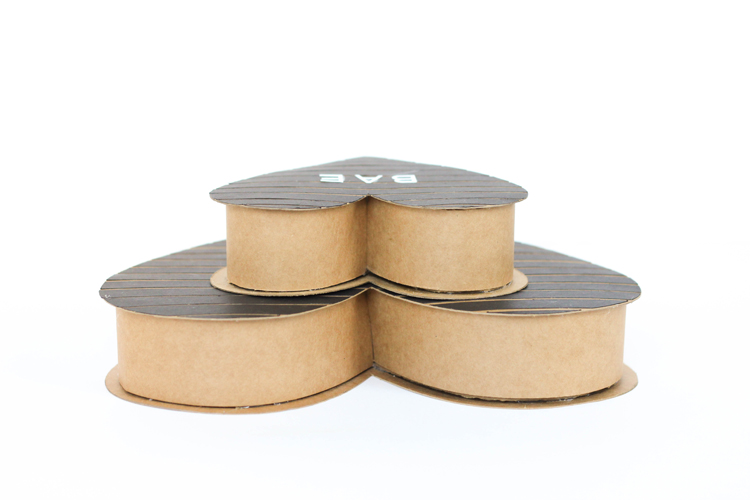
So that the box halves nest together, the lid sides need to be slightly larger than the base sides.
Rubber band your two pencils together. Place your chipboard lid over some scrap paper, face down. Line one pencil up with the outside of the chipboard and draw around the perimeter of the heart. Take your other chipboard lid (the base), and this time insert a popsicle stick in between the two pencils. Trace it the same way you traced the lid. This allows the two halves to off set each other and fit together nicely.
Step Four: Add box sides.
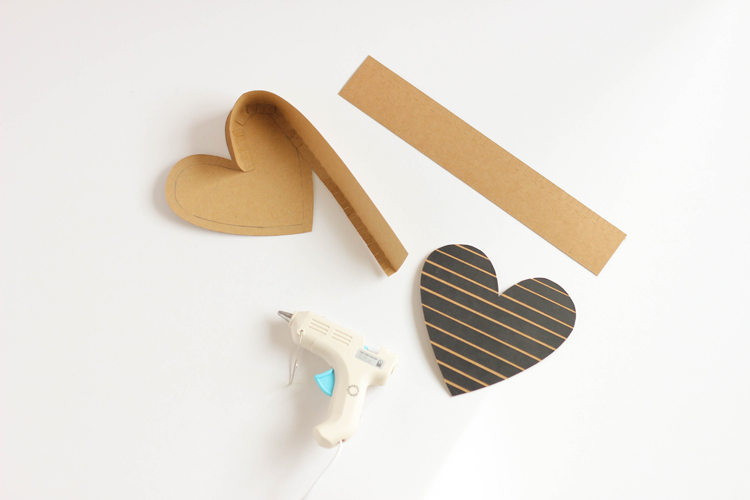
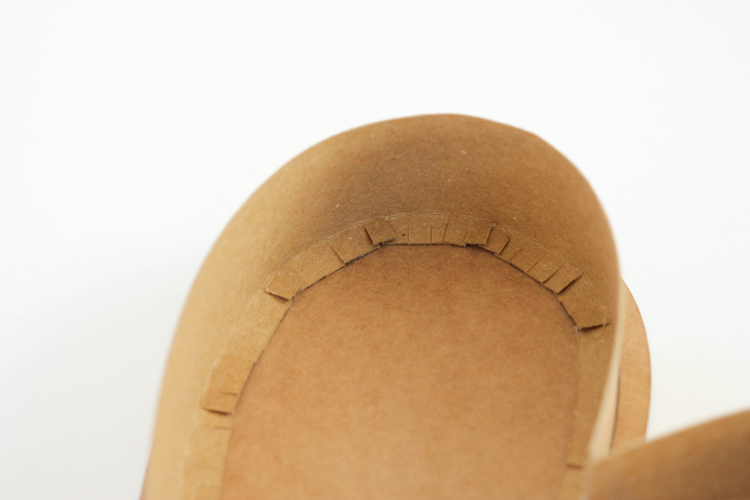
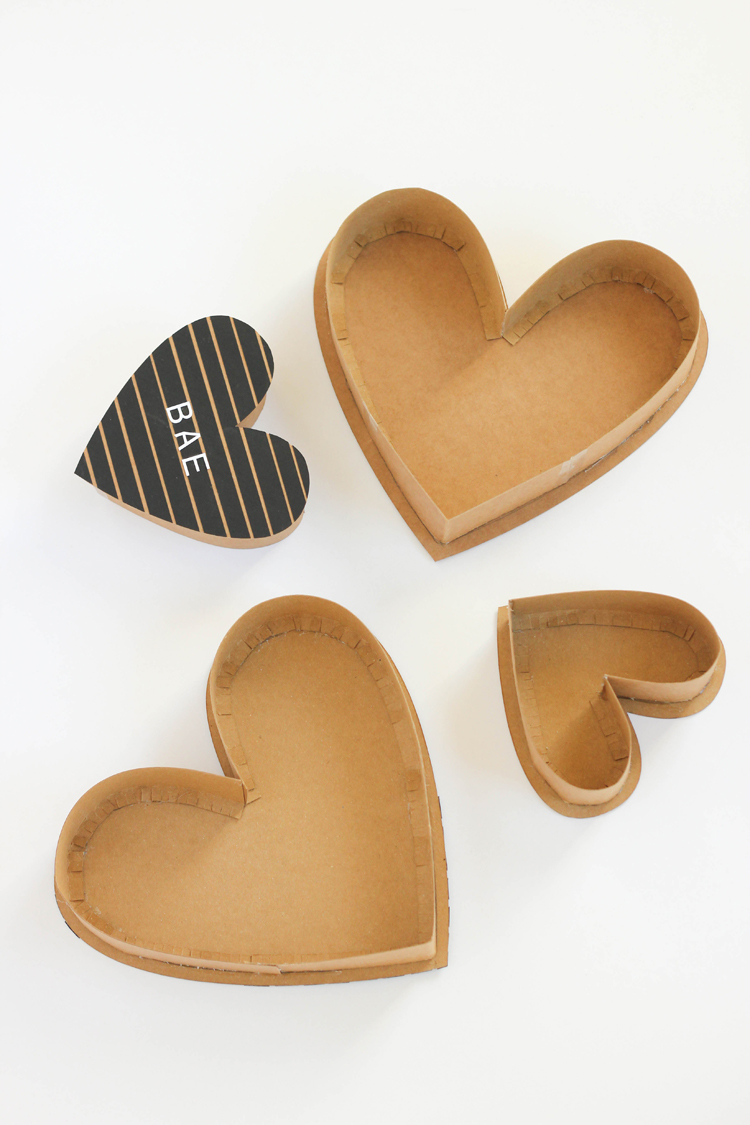
Fold the box side strips at the perforated line. Gently smooth the strips into a curve. Hot glue the strips to the chipboard hearts, overlapping the fringed ends together as you go. Make sure the outside of the strips line up with the guidelines you made in step three.
Either tape or overlap and hot glue strips together to complete the sides. For the larger box you will need three strips. Start at the inverted point at the top of the heart and follow the curves down until you run out of strip. Leave about 1 inch or so of the ends unglued. Do this for both sides first, then take a third strip and fold it half. Align the fold with the bottom point of the heart and glue it to meet where the first two strips ended. Trim down the strips so they only overlap about an inch. Finish gluing.
The smaller heart box takes less than two strips for each side. Start it the same way you start the larger box, but this time simply trim down the strips so they meet at the bottom point and glue or tape them together to complete the box.
Put the two box halves together to ensure they fit.
You’re done!
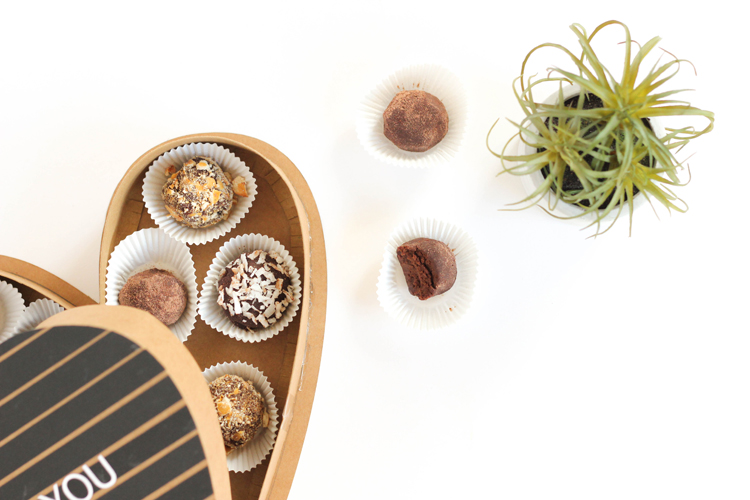
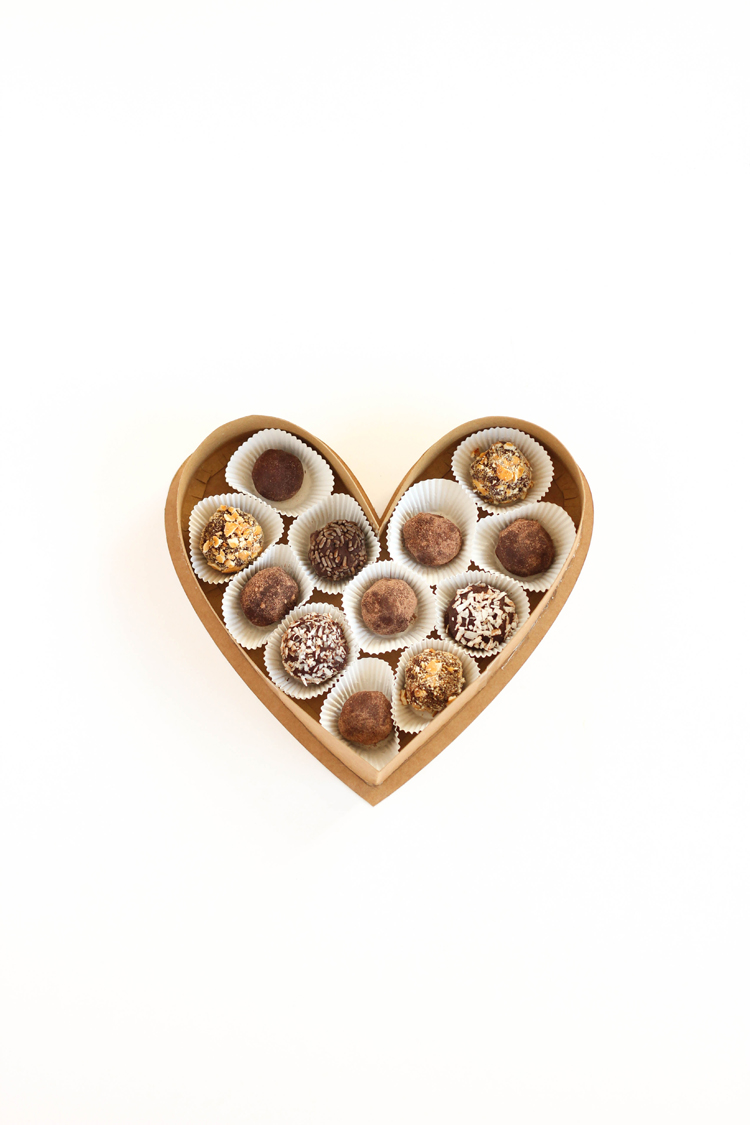
Fill it with treats…I made these delicious vegan truffles from the Minimalist Baker. They are fluffy, silky… Seriously so good!
Or you can fill it with goodies, like nail polish, washi tape, movie tickets, or anything else you think your valentine will love.
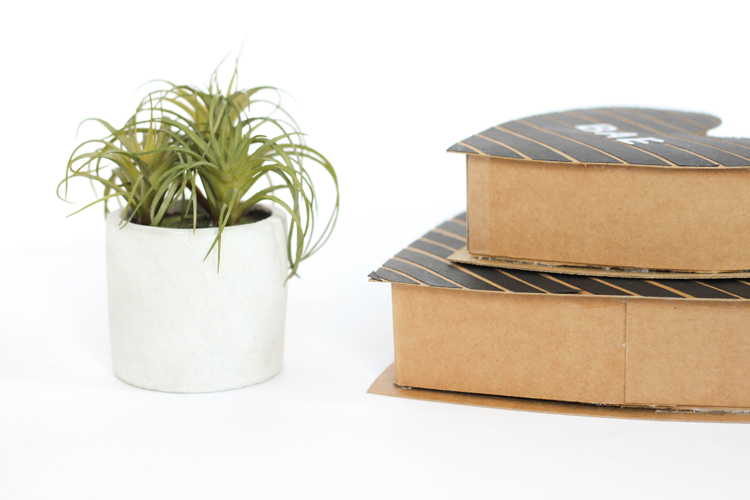
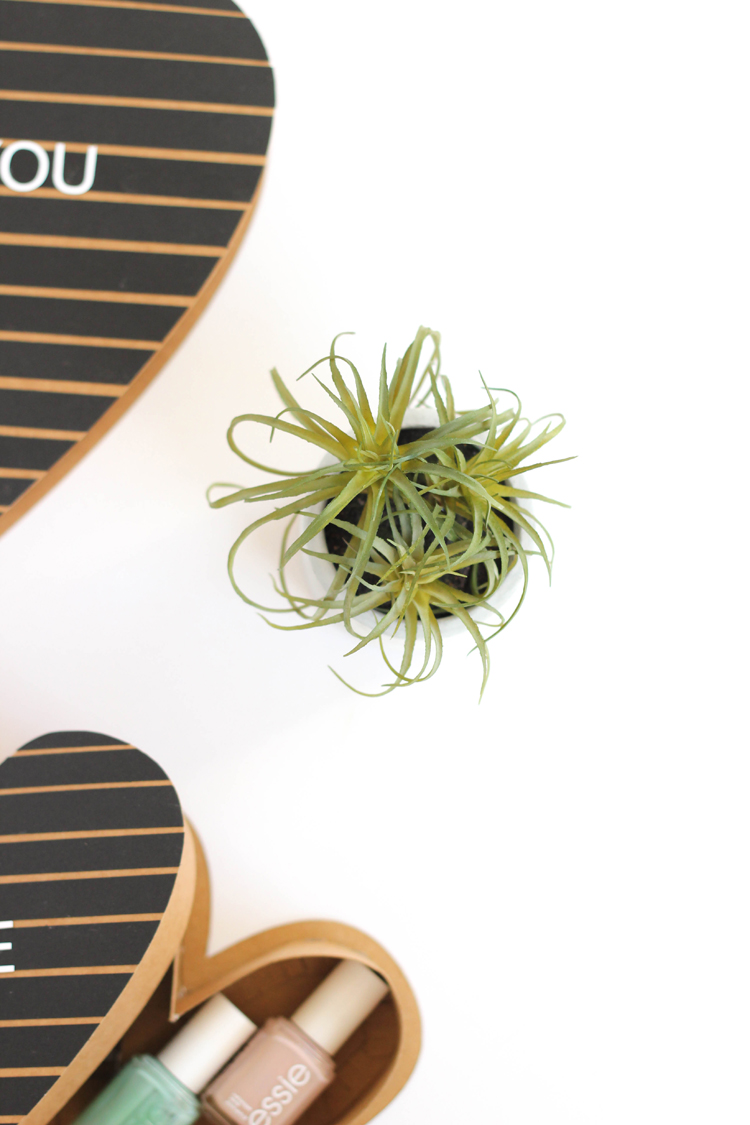
Pair it with a plant instead of flowers, and it completes the hipster vibe…ha! I kid…Sort of.
If your bae’s thumb is black, Michaels has some really nice fake plants right now that come “pre-planted” in a cement pot. I am really picky about my fake plants (i.e. I prefer real ones, so I almost never buy fake) and I declare these little guys winners!
If you’re looking for more crafty inspiration, check out what other Michaels Makers are making today!
Disclaimer: This post is sponsored by Michaels.


Oh, how fun! I enjoy making boxes occasionally, but my results are usually less than stellar. I really like the technique you used for this though… it seems like it would work much better than the other ways I’ve tried! (And those truffles look amazing!)