One holiday activity we both love and dread in our family is gingerbread houses or candy houses.
We love them because they are so fun to do, but we (okay, I) dread them because they are a ton of work and make a huge mess.
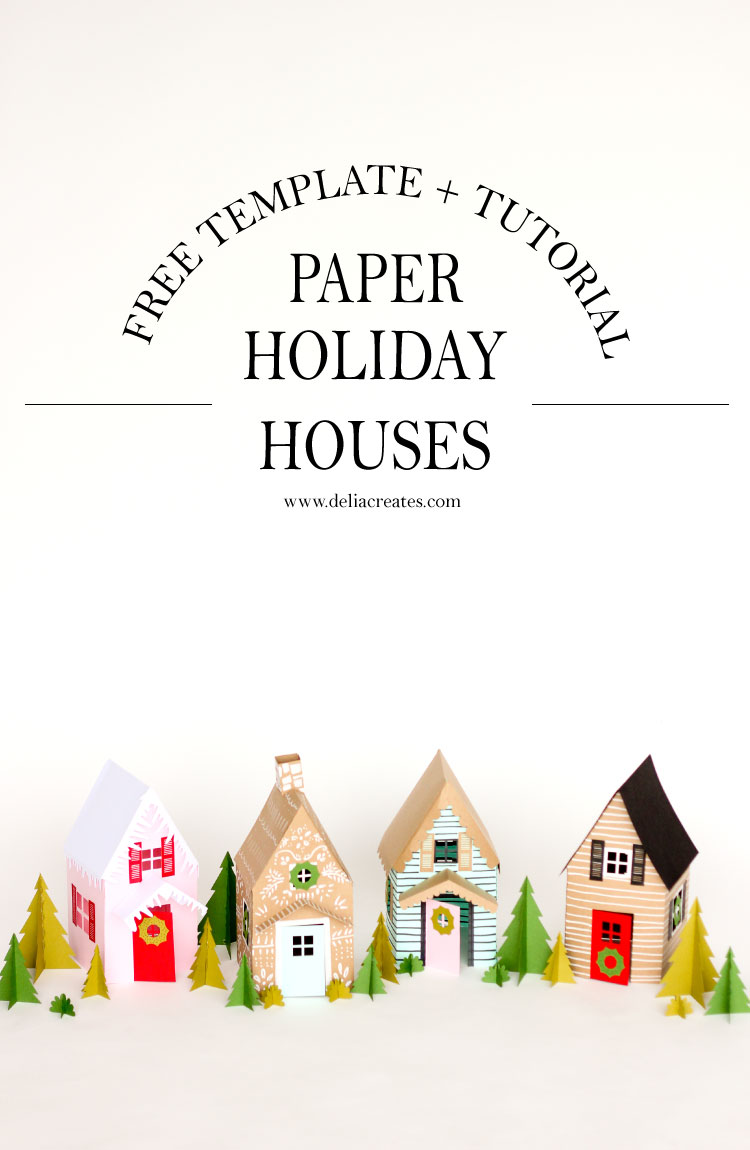
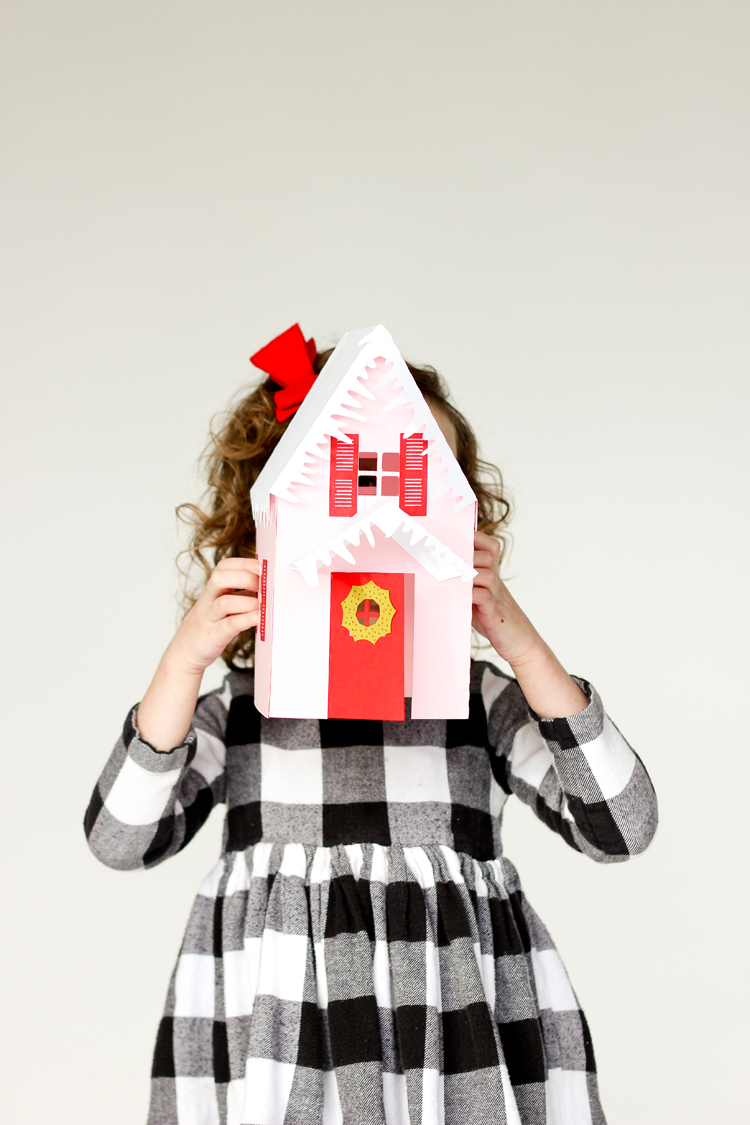
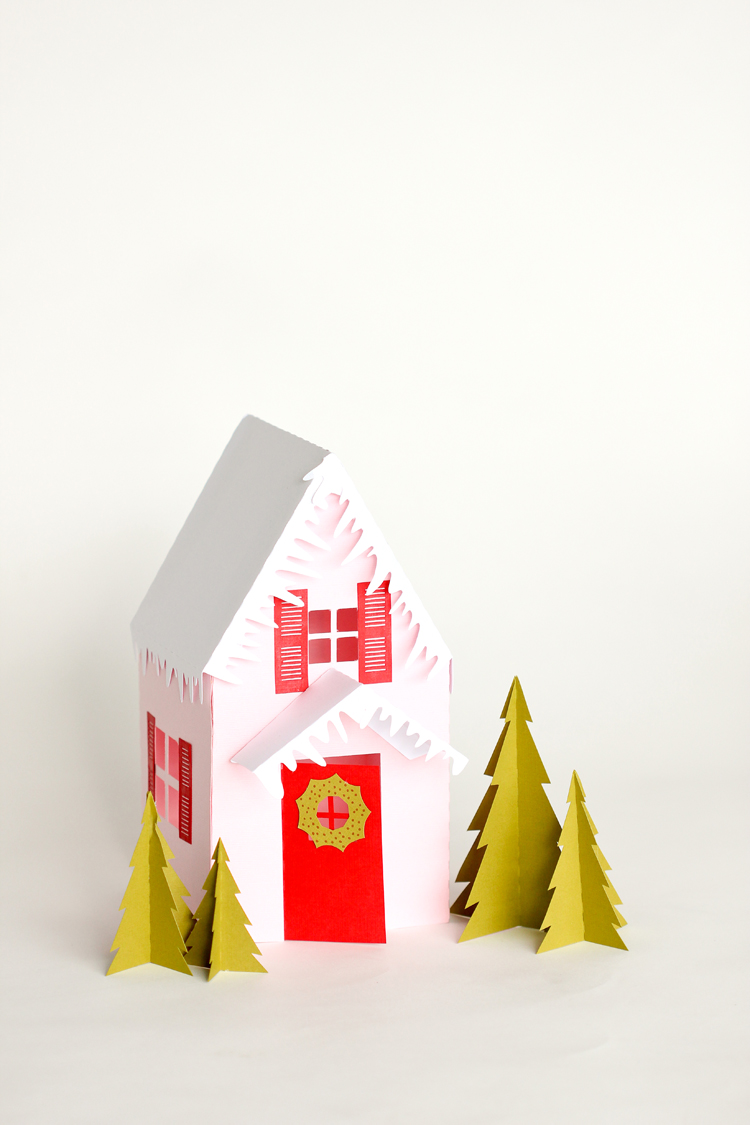
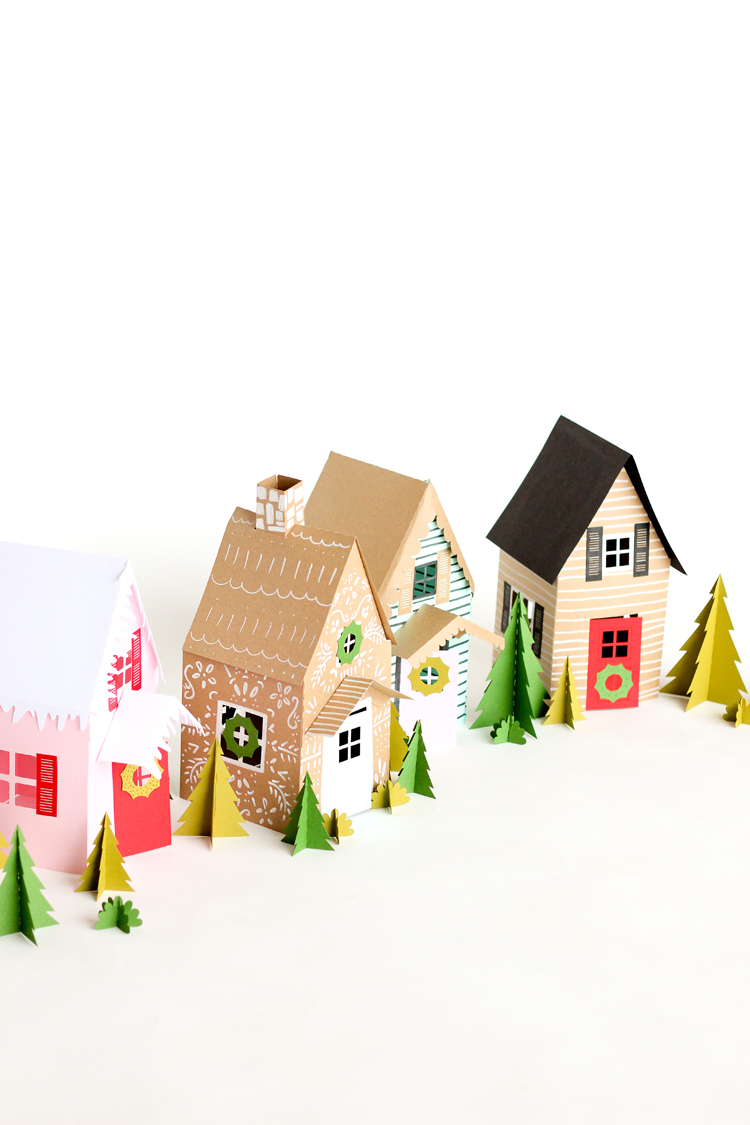
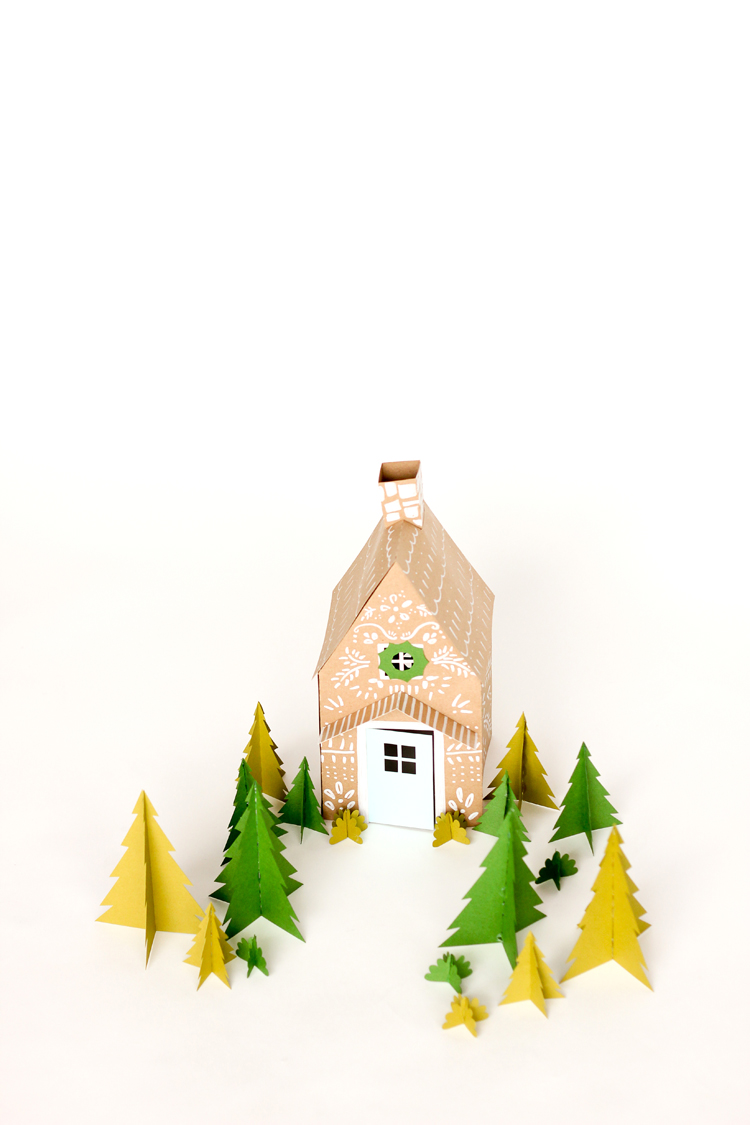
So, for this month’s Michaels Makers post, I came up with a food-free, stress-free way to get our mini house building fix…
…by using paper of course!
All you need is some scrapbook paper, glue, markers and things to cut the paper with. Easy.
You can cut the paper by hand with an exacto knife and scissors, or use a cutting machine. I’ve included template files for all those options.
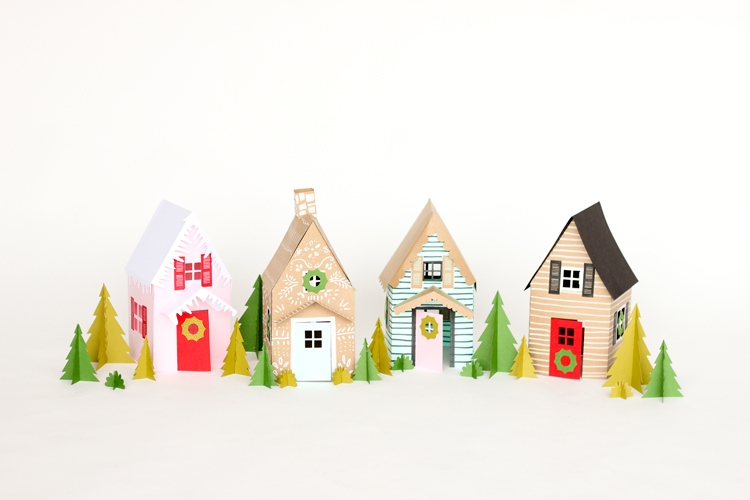
If these houses look familiar, I based them off one of the houses I created for my Advent Christmas Houses (and Halloween Houses).
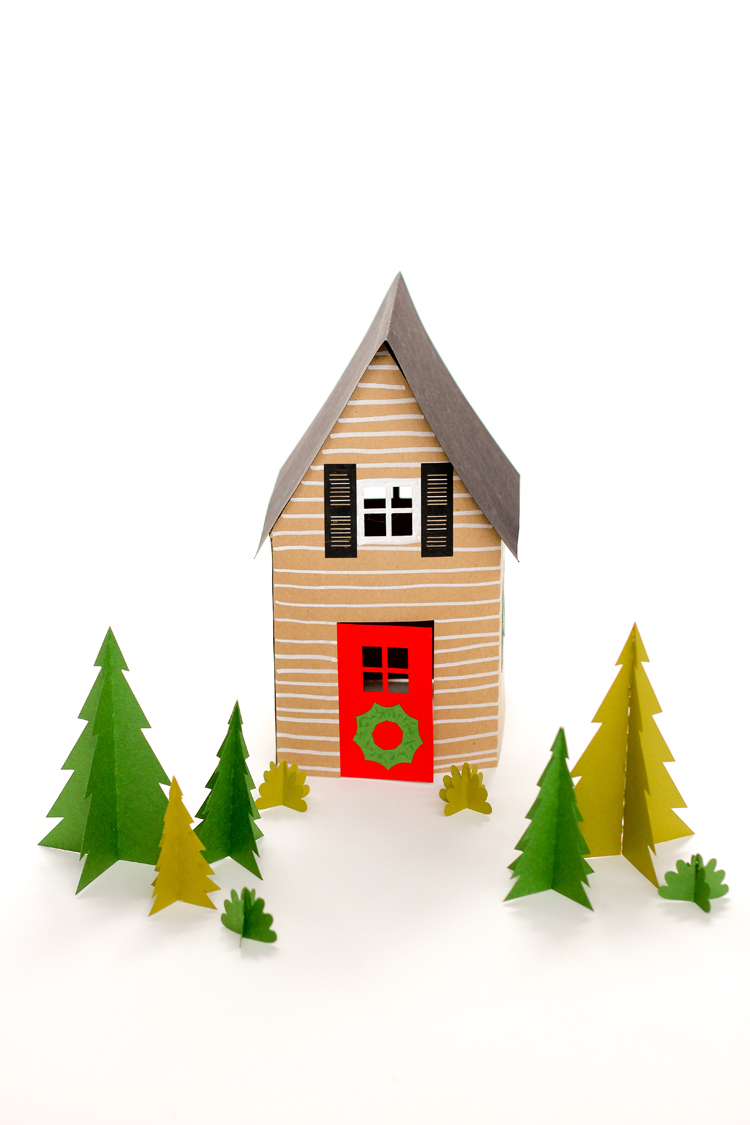
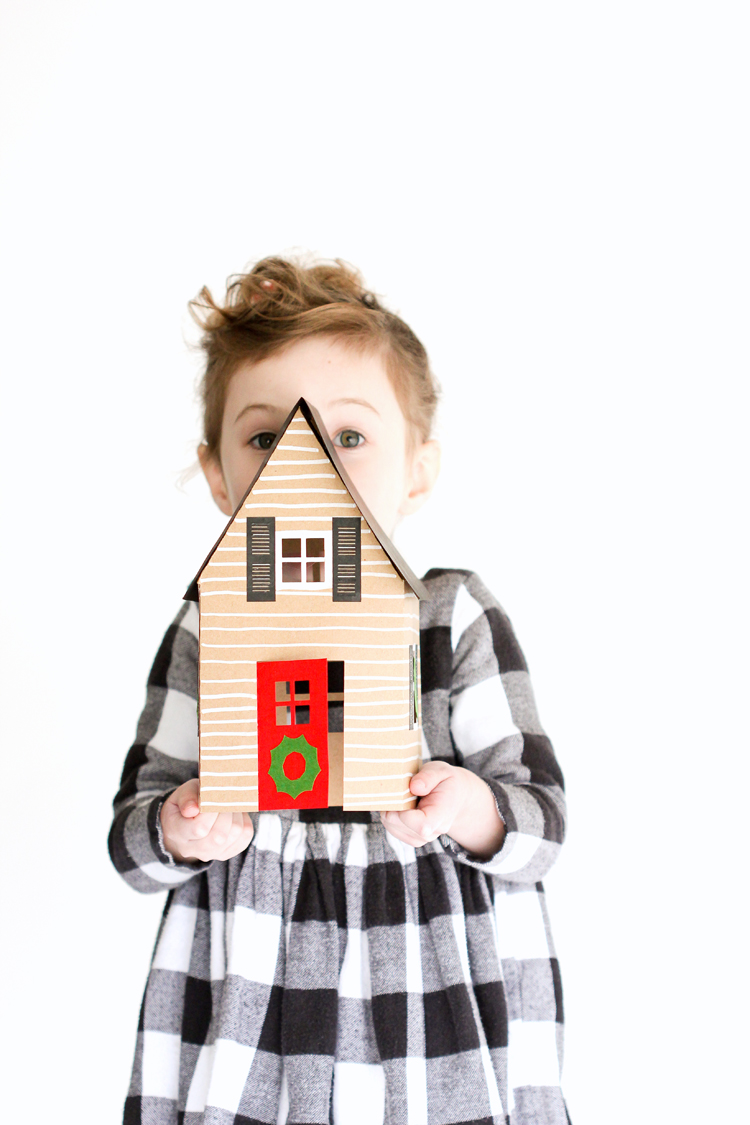
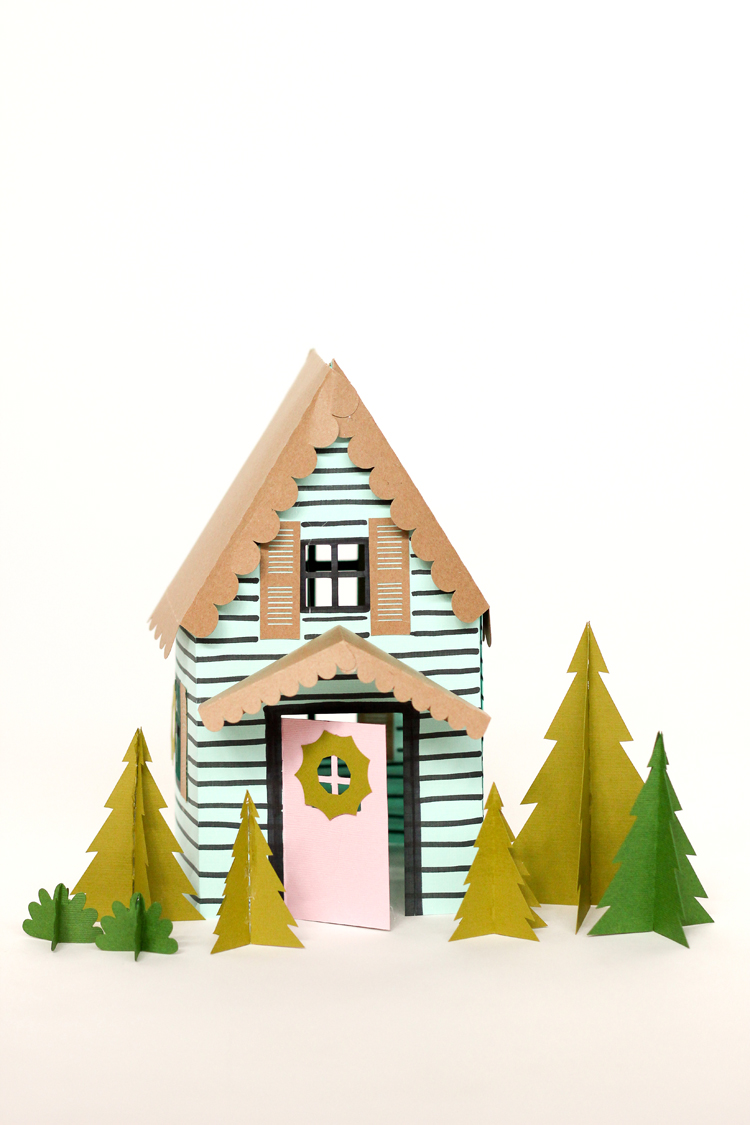
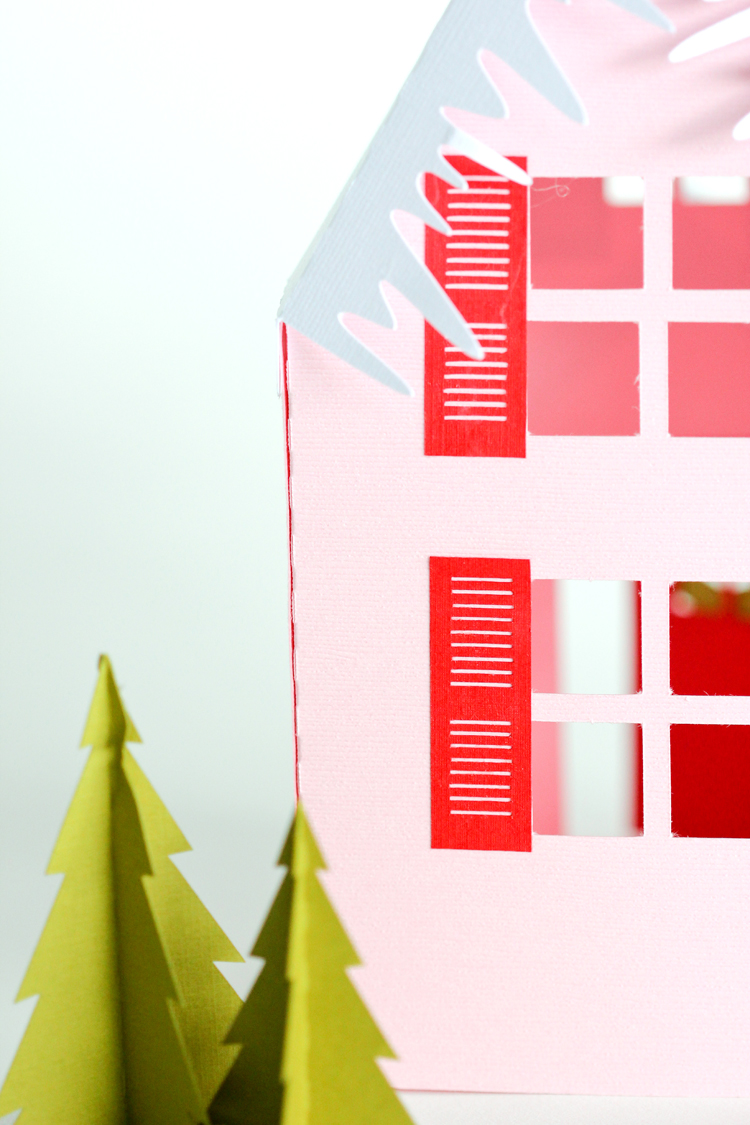
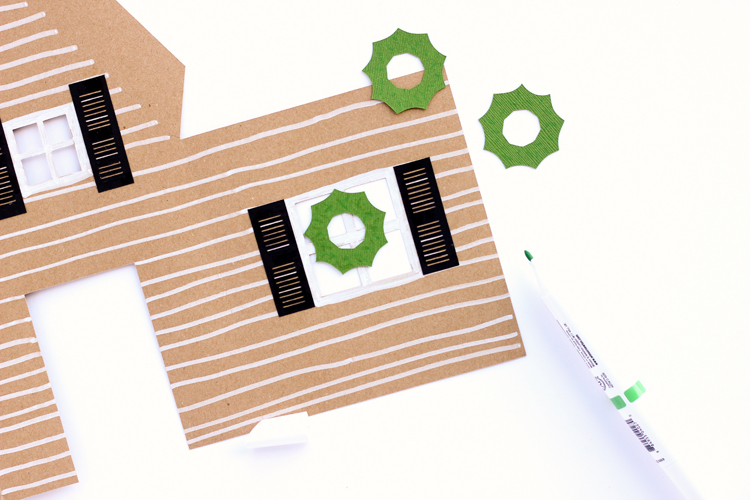
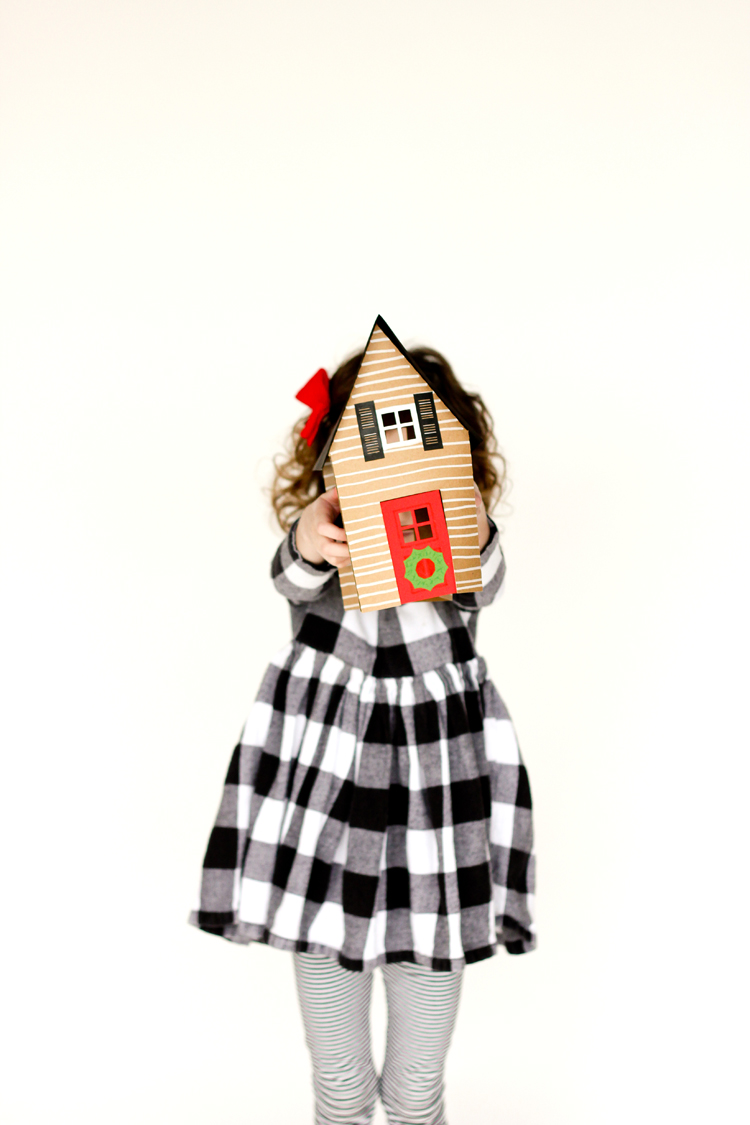
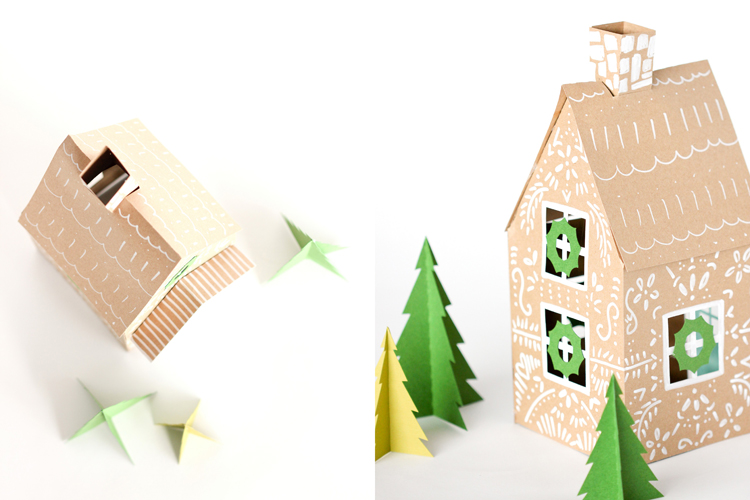
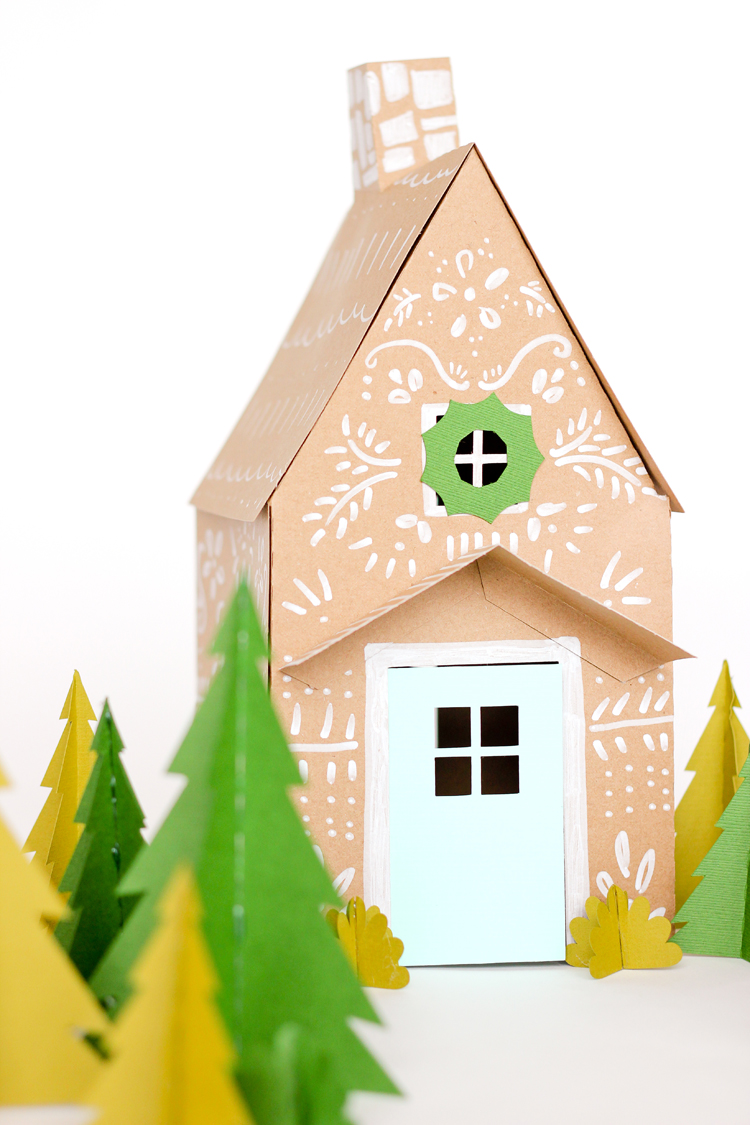
Because the houses are much bigger, I was able to add more detail, like shutters, windowed doors, and wreaths. The rest of the details I drew on with marker. It was super fun!
When I do this with my kids, I think it will be fun to take them to the craft store so they can pick out their own paper colors. It takes about 4-5 pieces of 12×12 paper to make a house (if you want variety), which would make these around a $1 (!) if we get them when there’s a paper sale.
The rest of the supplies you can find by raiding their craft bin.
MATERIALS
- 12 x 12 scrapbooking cardstock
- hot glue or school glue
- glue stick
- exacto knife and cutting mat or cutting machine
- scissors
- optional: markers (I really like the white scrapbooking markers from Recollections)
STEP ONE: Templates.
Grab your choice of template.
If you’re cutting by hand, download this PDF file: paper-holiday-houses
The files are sized to 12 x 12, so you’ll have to print them at a print shop.
If you’re using a cutting machine here are .svg files (this is a zip file with multiple files):
Holiday House SVG Files DELIA CREATES
*NOTE: If you are using a Cricut, follow these steps (edited to update 11/15/2023): Once you upload each file and add them to a new project, you’ll need to select the entire canvas, right click, and select “ungroup”. Then select the inner lines and change them from cut lines to score lines. The original file has them as score lines but Cricut software changes them when uploaded. Then select the whole canvas again and group them together again. While it is all selected select “attach” on the bottom right hand of the software before selecting “make” to cut it out. If you don’t group and attach them, Cricut software will rearrange all the lines and dismantle the houses when you select “make.”
I have saved them as PNG files as well if that works better for whichever cutting machine you are using:
STEP TWO: Cut and glue.
Cut out your paper. All the fold lines are perforated for cut files, to make folding easier.
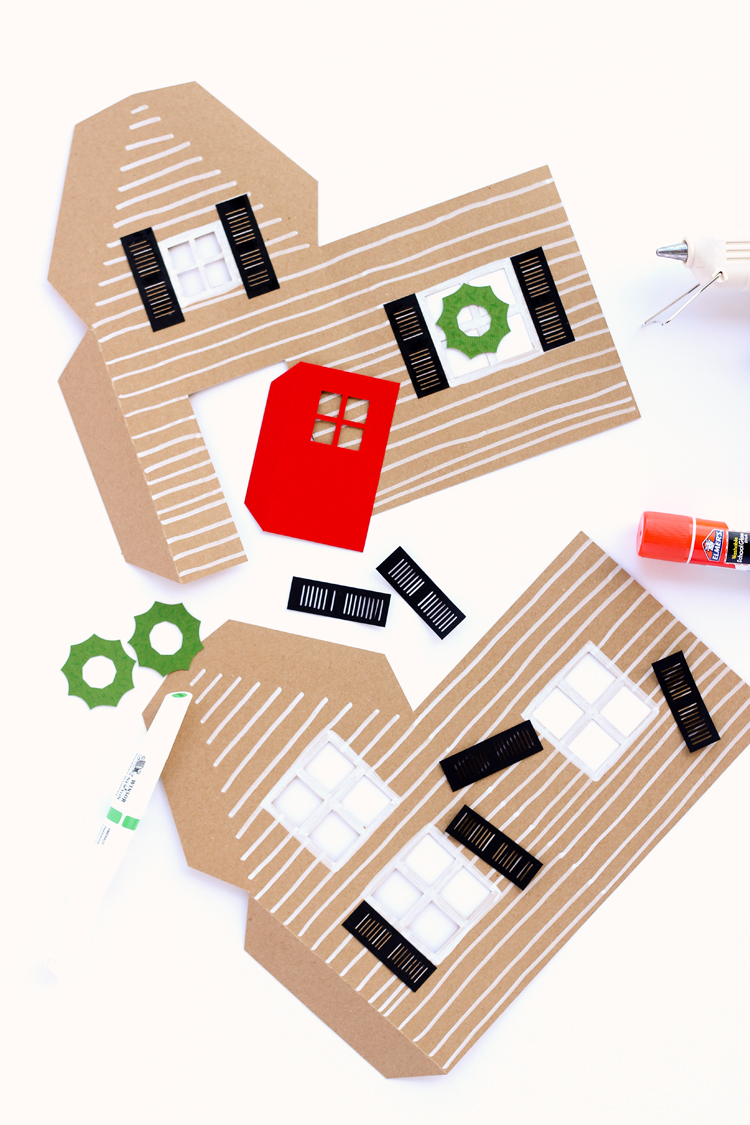
You can assemble the house first and then decorate it, but I find it much easier to draw and glue on the house pieces when they are still flat.
I highly recommend using a glue stick for the shutters. The hot glue is too messy for those fragile slats.
STEP THREE: Assemble house.
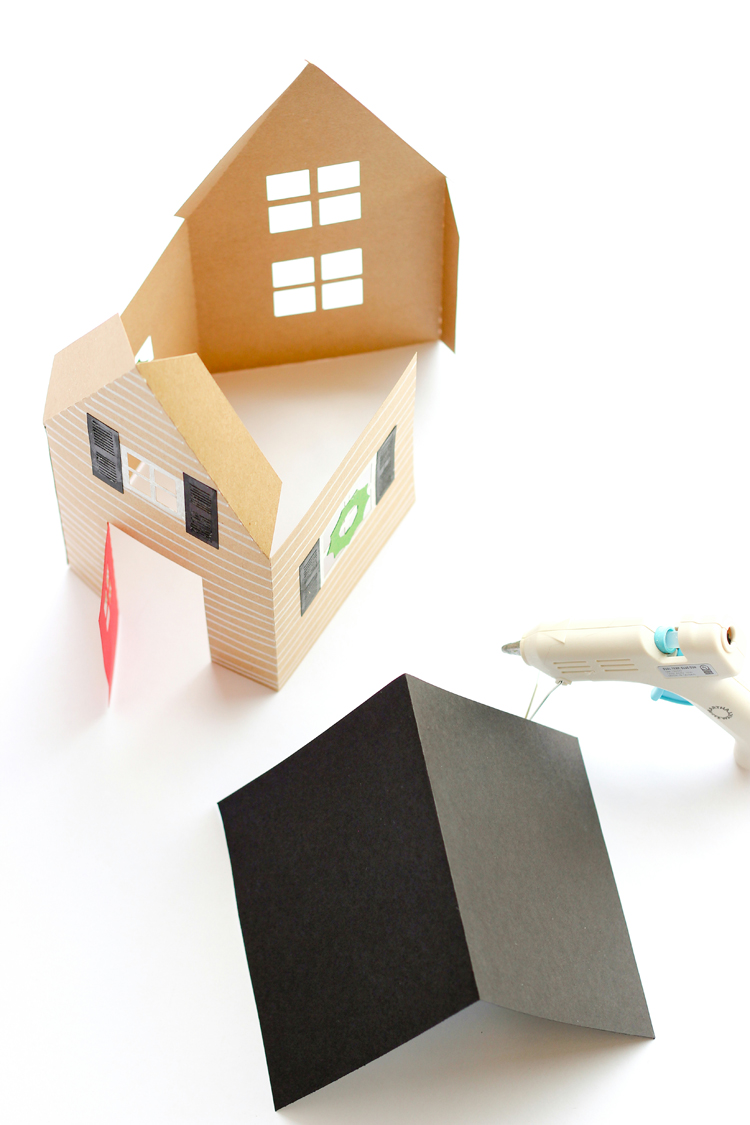
Glue the house together at the flaps.
When adding the roof, I find it helps to glue one side at a time.
You can cut the roof from the templates I share, or you can cut your own. My roof templates are more of an exact fit because I needed to fit them on a 12 x 12 cut file. You can easily cut your roof larger and add eaves.
Hot glue is faster, but you can certainly use school glue (or double sided tape) if you don’t want your kids using hot glue guns.
STEP FOUR: Make trees and bushes.
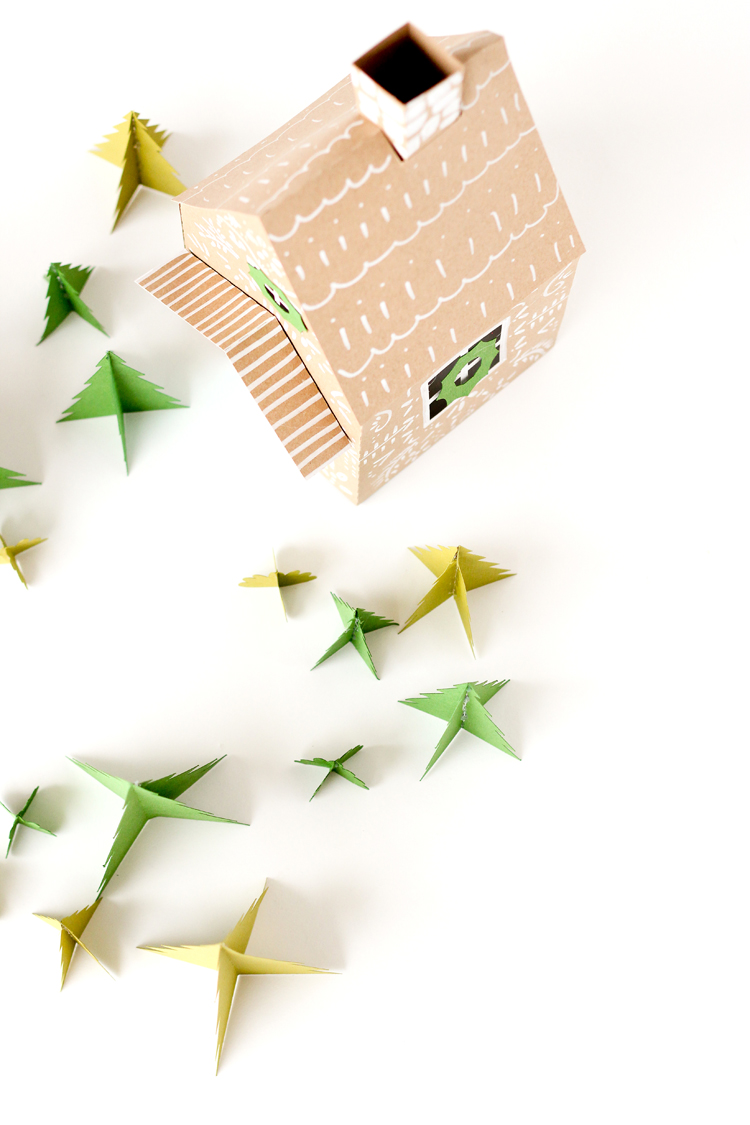
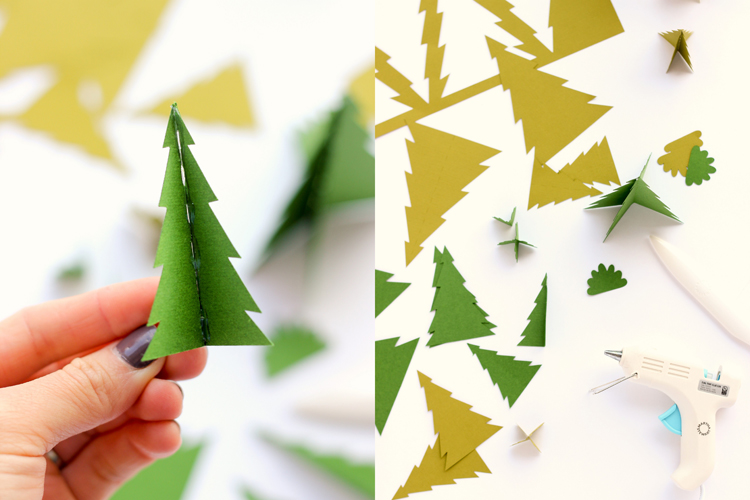
Simply fold the trees and bushes in half at the perforated fold lines. Add a line of school glue or hot glue to the crease and add another tree piece at the crease. Let dry or cool.
Enjoy!
I loved these cardboard gift box houses that The House That Lars Built shared last year, so I mimicked a similar design with my white Recollections marker.
One perk to these paper houses is that they are pretty much mess free and play friendly. My daughter has already snuck them into her room so she can put her peg dolls and animal figurines in them. 🙂
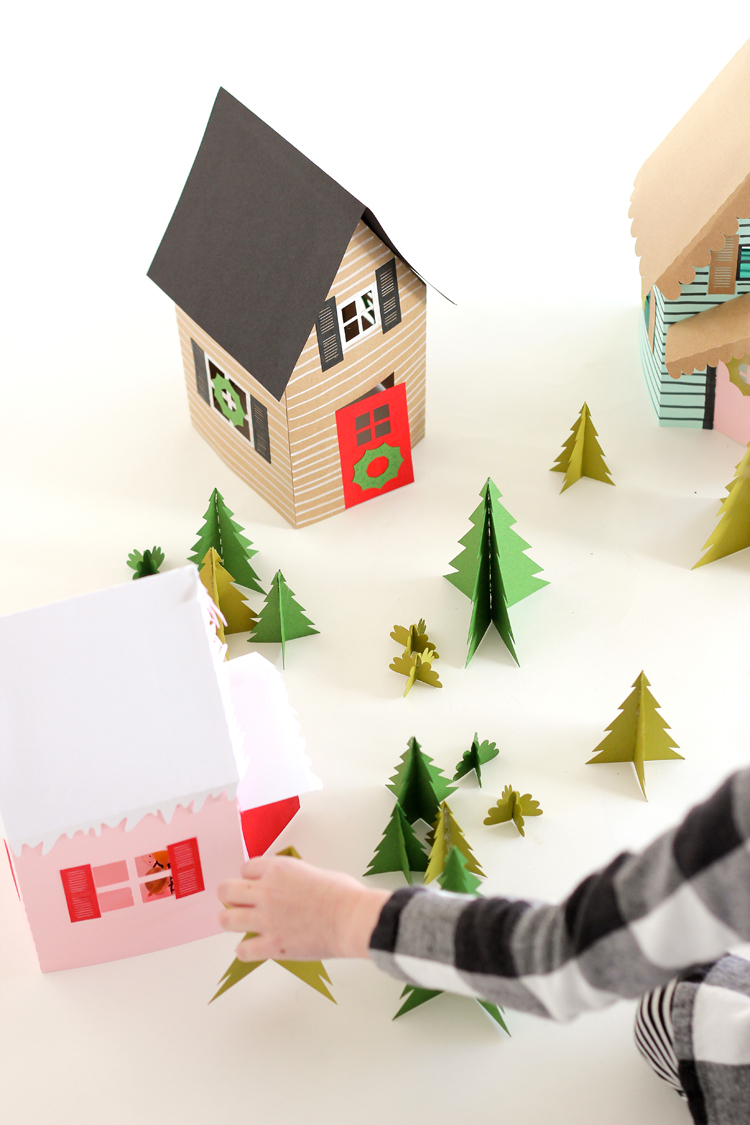
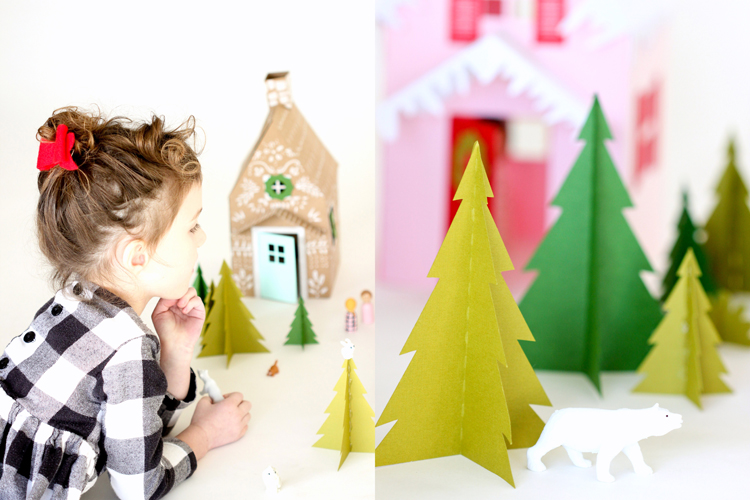
 I don’t know if my kids will let me get away with not doing candy houses this year, but I think making paper houses will be a fun new tradition to start, that can last a little longer and that requires a less neurotic mom presence. ha!
Disclaimer: This post is sponsored by Michaels. All content and opinions are my own.


What?? These are amazing!
Thanks Andrea! 🙂
Oh, those are really cute! I love the one you decorated with the white marker… and the trees are darling!
Thanks Charity! That one is my favorite too. It was the most time consuming but definitely the most fun!
These are so lovely, each one is so cute and personal
– Natalie
http://www.workovereasy.com
These are completely amazing!!
Thanks Amy! <3
Thank you for the PNG files! We braved the 2* temperatures long enough to run to Hobby Lobby for cardstock, and now my 4 year old has been happily coloring hers for 20 minutes. My previous boredom busters lasted 5 minutes at best, so this has been a huge hit!
That makes me SO happy to hear! Seriously, you made my day. And brrrrrr, you are brave! Stay warm!
Love your houses! Your style is amazing.
To make svg files for Cricut, go to Illustrator (Are you using Illustrator?) and place each file/house on its own artboard (Use the artboard tool to make more artboards). While you are doing this make a mental note of the number your artboards have. They are usually just numbered consecutively as you set them up. Then when you are ready to save, go to file, export, export as. This opens up the familiar save file dialog, but notice how it under the files section says Use Artboards. Click that and enter the numbers for the artboards you want to save and select svg as the file type. Hit save. It will now save each artboard’s file as it’s own svg file. Let me know if you have any questions 🙂
Thank you! Don’t I also have to isolate pathways or something like that too? I just haven’t been able to give it more attention to really figure out yet.
these are so cute delia! great work!
super generous of you to share. Good for a girl like me on a budget. Cannot wait to use next Christmas. so adorable.
EEK, I’m so excited! I just bought a Cricut Maker and I’m so excited to finally use some of your paper designs! Thank you for thinking about Cricut users – I just tried one file and it looks like it will work.
Yay! I’m so happy to hear that it works. Have fun with your new Maker. That thing looks amazing!
I’m old school & technologically challenged. I’d like to try these by hand but I can’t even get the files to download! Could I possibly have it emailed to me?!
Sarah,
Sure! Email me: [email protected] and I’ll email you the pdf version. It’s just one sheet that you use as a template.
Delia
Hi! I’m having a hard time getting my Cricut to read the files. Was wondering if you could give some advice as to how i should do it.
That’s a good question. Did you download the .svg files? Will it just not open it or does it just open at a different size? Full disclosure…I am much more familiar with my Silhouette. I am still trying to get the hang of my Cricut.
When it is ready and I go to send it to the crucit it completely falls apart. Everything separates. I’ve tried it with both files and the same thing happens.
I am having the same issue. Everything separates and won’t “group” together. Were you able to make it work? Any advice would be great. I am hoping to do this as a class project.
Thanks so much! Really nice!
I am having the best time making these! I’m only using the roof that has the chimney. I finally figured out the roof, chimney, and the eave above the front door. But there are extra pieces on that page? What am I missing? Thanks for posting these!
So glad you’re having fun with it! Threy should just be extra door options. I’m not aware of extra pieces other than that. Could you describe them to me? I’d be happy to help you figure it out! 🙂
You’re right. They are extra door options. Thanks again for posting!
Oh good! I’m so glad we sorted it out.