A few weeks ago, I got a surprise package full of crafting goodies and a recipe book from my ad network, Martha’s Circle.
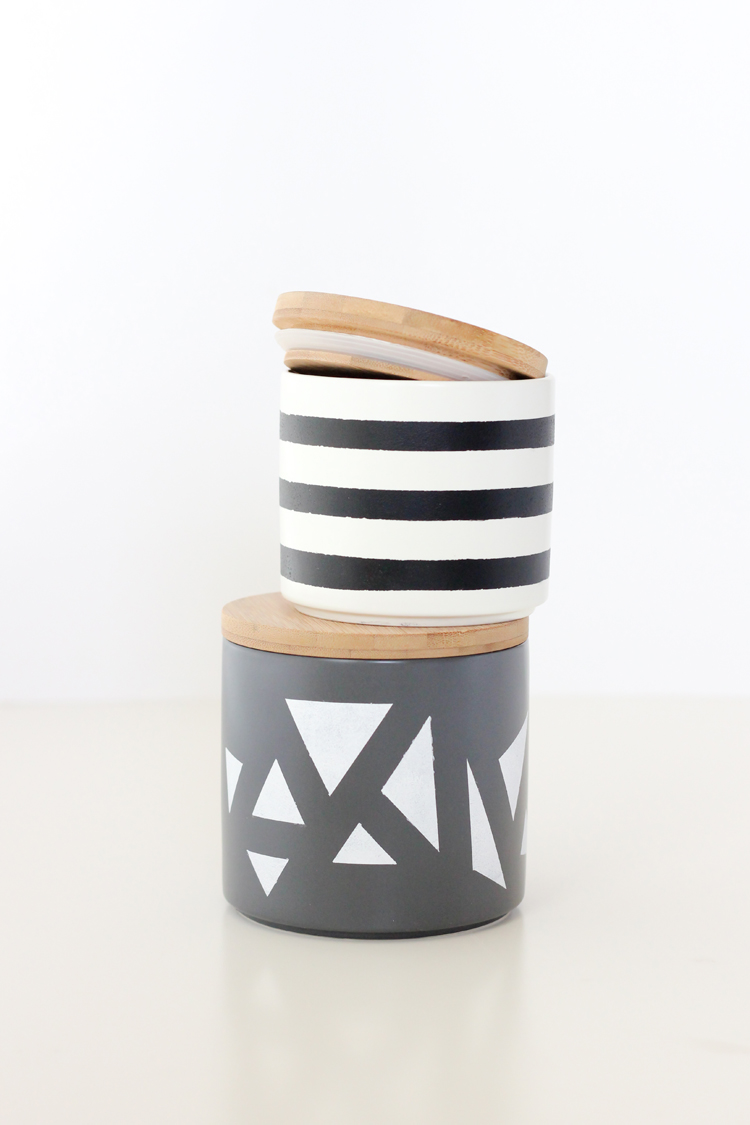
The craft supplies were just too beautiful not to use, so I had myself a little 30 minute crafting session.
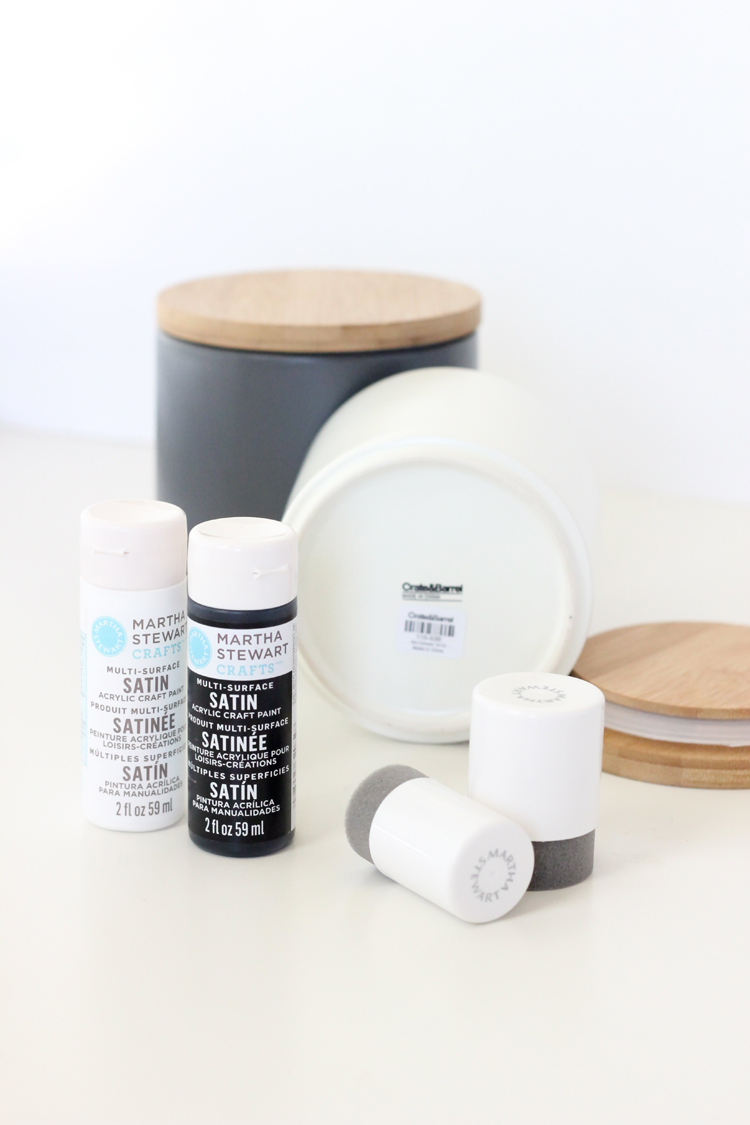
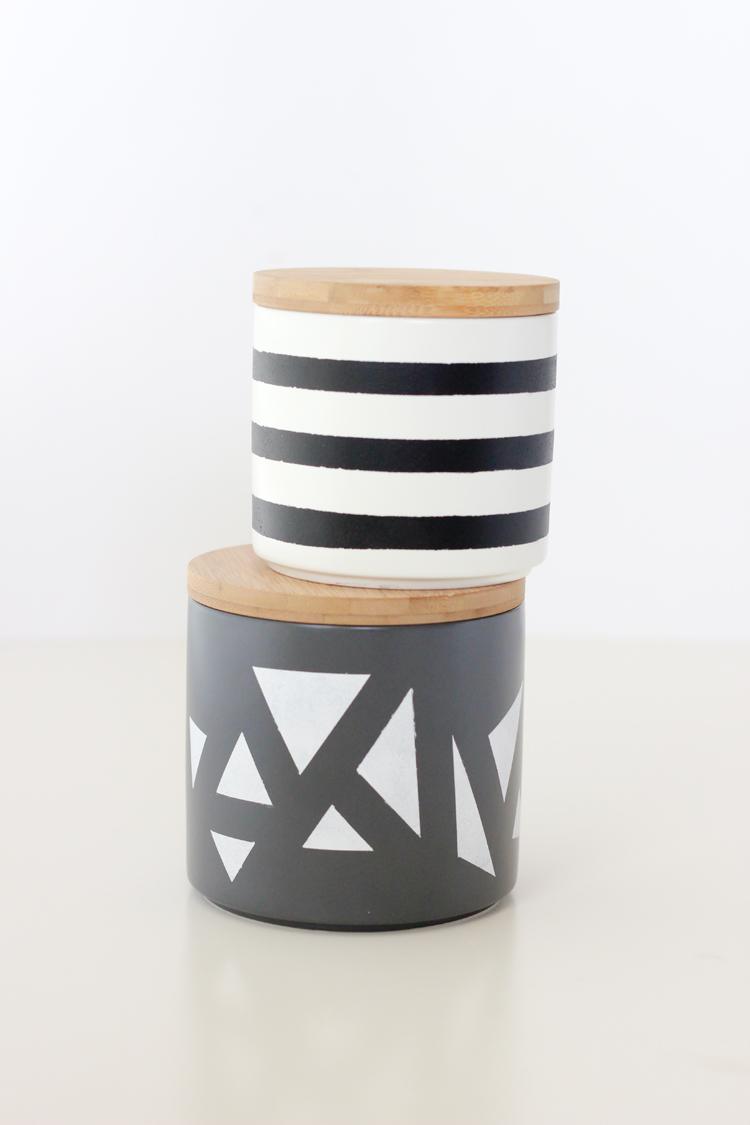
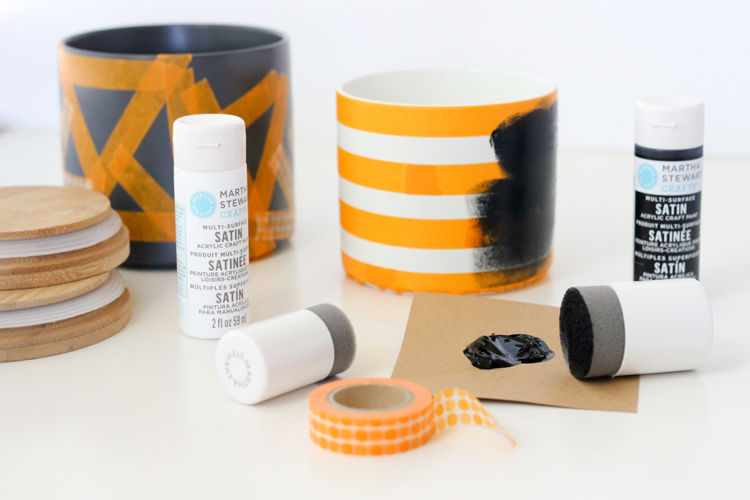 The pictures really speak for themselves, but here is a quick description of what I did.
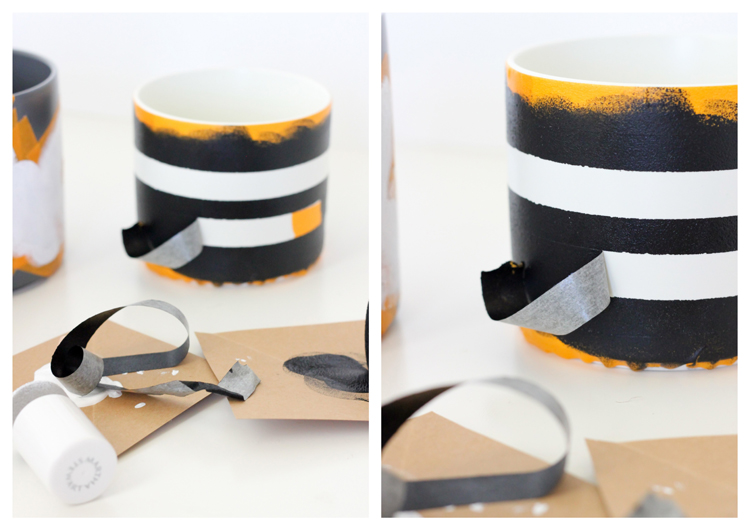
1. I marked off lines and shapes on the treat jars with some washi tape.
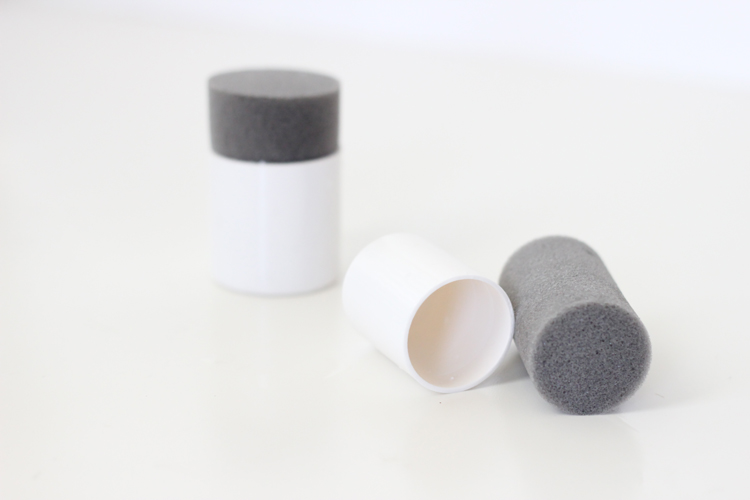
2. I applied paint with the “pouncers” or circular paint brushes. The best way to apply the paint is to load up the brush, and dab or pounce it onto the surface, rather than sweep it on with brush strokes. There will be a little bit of a bumpy texture which mostly subsides as it dries. When I loaded up my brush with too much paint the bumpy texture would be really noticeable. To fix that, I would wait a minute or so for it to start to dry and then dab over the paint with a less saturated brush.
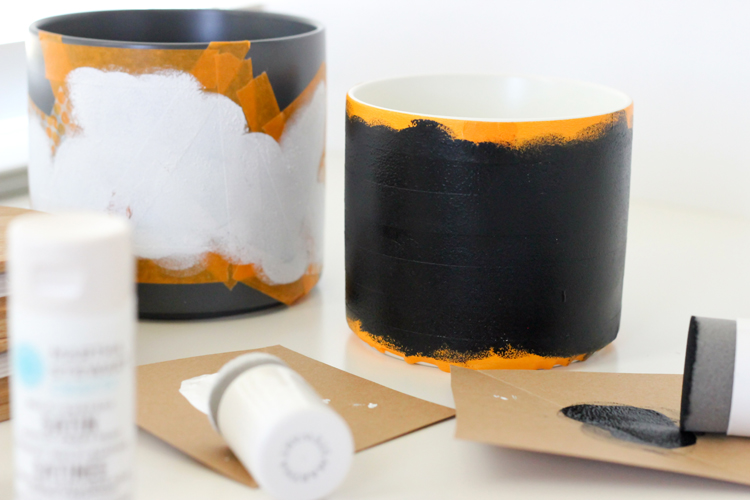
3. When the paint started to dry but was still a bit wet, I pulled the tape away. Then, I scratched away or added more paint to any areas that needed it.
This process is fairly similar to THESE pots I spray painted.
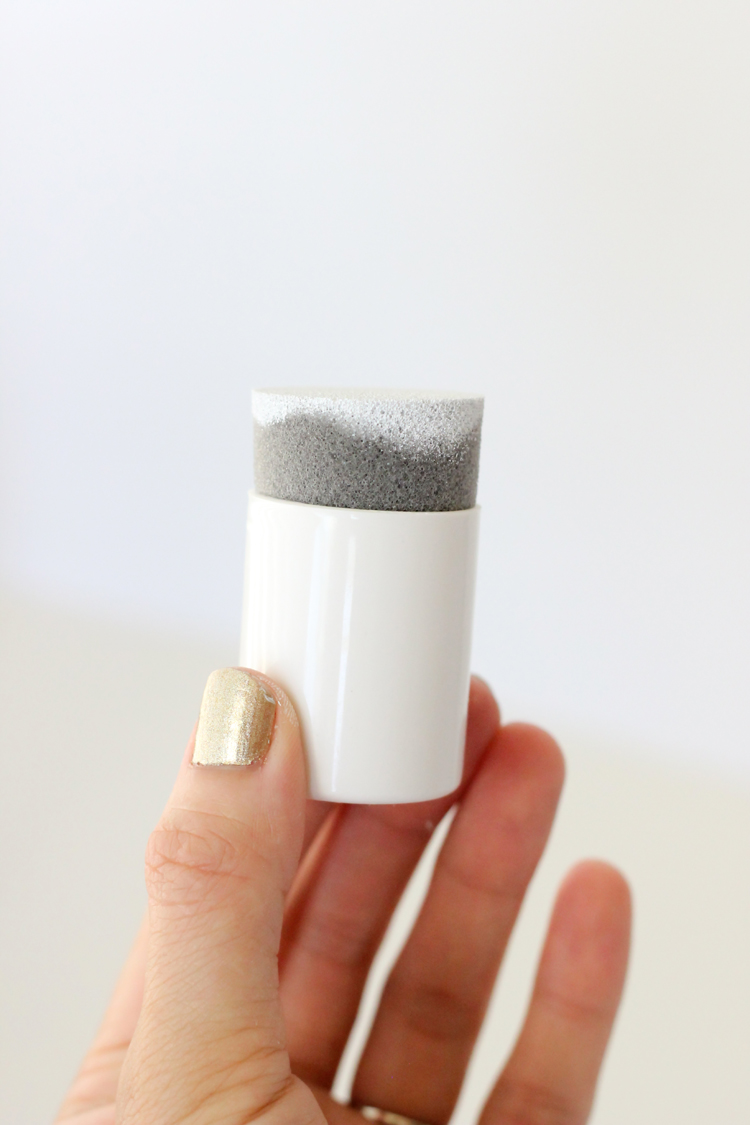 The Martha Stewart pouncer brushes are really nice to use. I like that you can set them down on the handles and not get paint on your work surface. The clean up is a breeze as well, since you can remove the sponge from the handle.
This was my first time using Martha Stewart craft paint. I learned that if you let the paint cure for 21 days, you can wash your treat jars on the top rack of your dishwasher. That is a crazy long time to let it cure, but it’s also kind of awesome that your craft paint can become that permanent.
You get the ease of using a flexible, easy to remove paint, with no fumes, or harsh chemicals… Add a little patience and you have a lasting design.
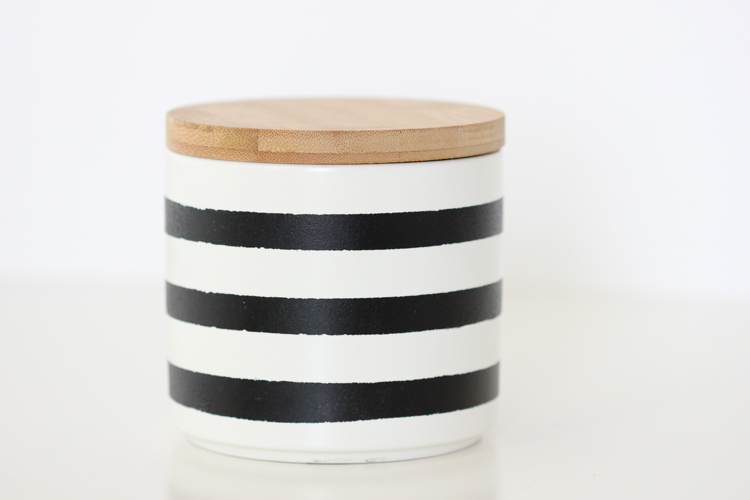
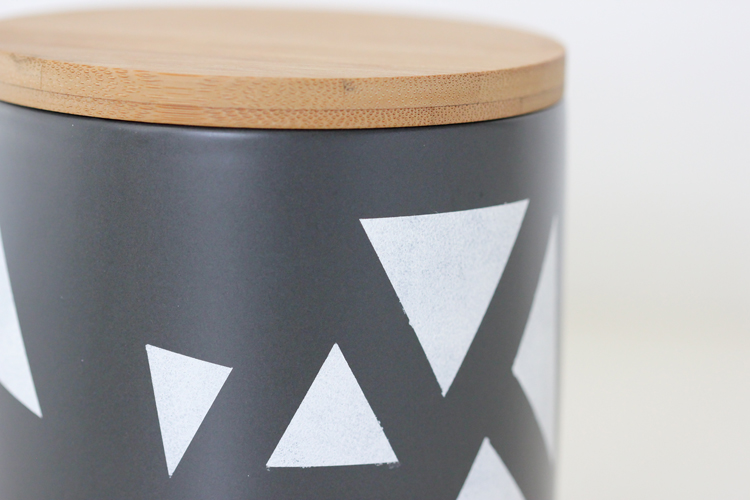 You can see some lines that didn’t come out quite as clean. I just scratched away excess paint.
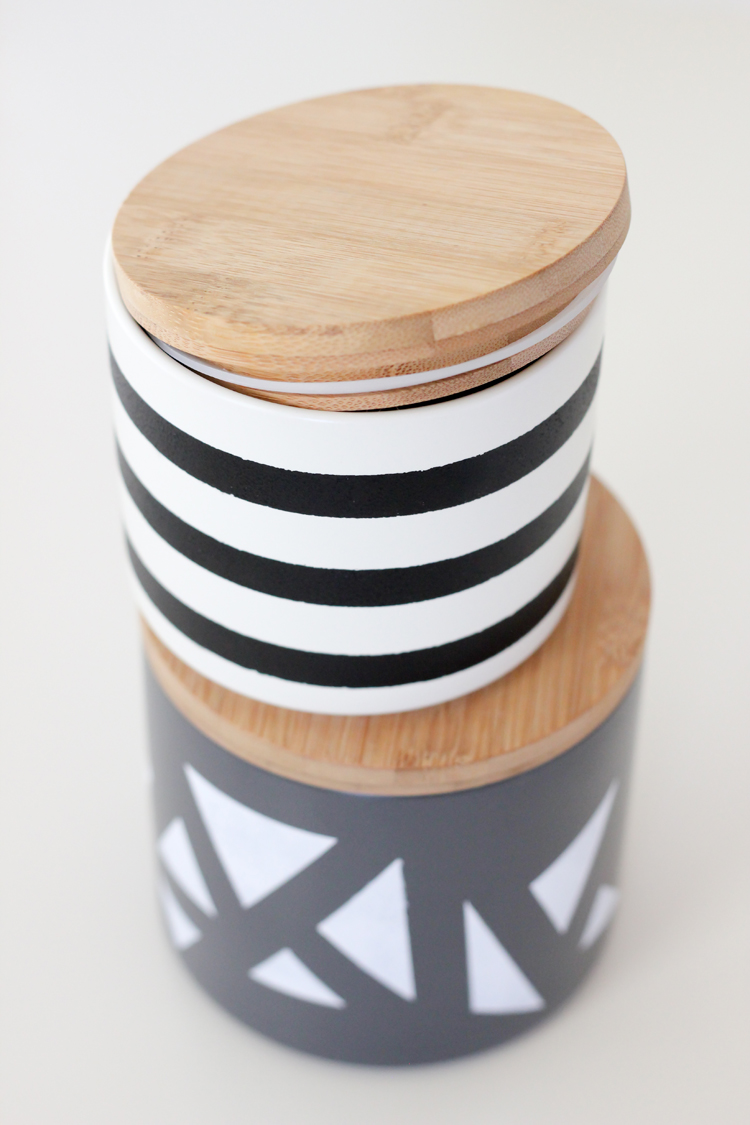 I suppose I should use these in my kitchen, but for now they claim residence on my craft desk.
I often keep a stash of Sour Patch Kids in my crafting area. When I’m stressed it helps me to keep me sewing to meet a deadline, or I use it as incentive to get through my email inbox! 😉 I’m not really much of a sugar head (am I in denial?..probably), but oddly enough it helps me stay motivated.
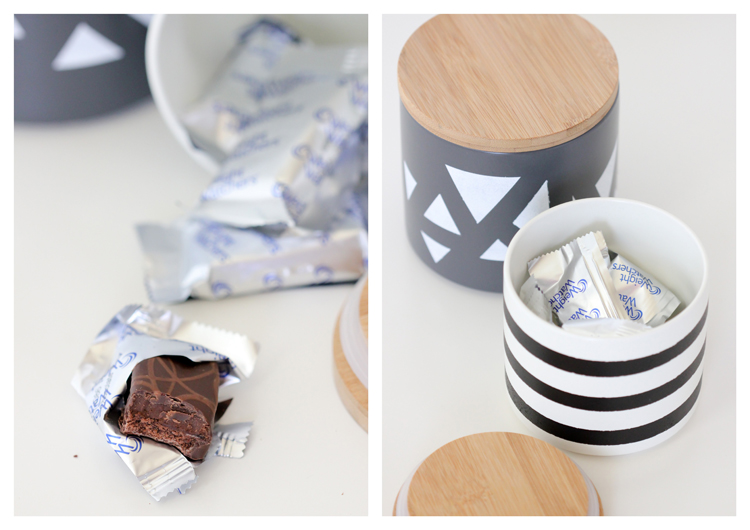 I haven’t loaded them up with Sour Patch Kids yet, but I filled one of the jars up with some Weight Watcher Brownie Bliss Bars that Martha’s Circle included in their craft package. I am not a diet food kind of person, but these were not bad. Yummy enough that I ate half the box in one sitting, which I am confident defeated the purpose for which they were created. ha. 😉 But I got through my email inbox!
THAT is cause for a small celebration…or a treat (or three) from the treat jar…
Sources:
Paint and brushes || Martha Stewart Crafts
Treat Jars/Flour Canisters || Crate & Barrel c/o of Martha’s Circle
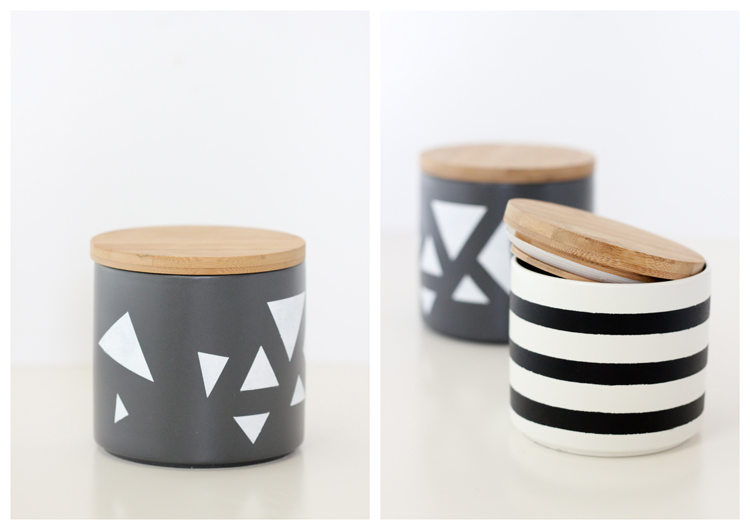
Those are some fun containers! I have the pouncers… but I didn’t realize the sponge is supposed to be removeable. I thought my kids broke them. =D For these paints you can bake the canisters for 30 minutes at 350F (probably best to stick the canister in a cold oven and heat them up together) instead of waiting the 21 days. It depends on the canisters though. =)
Thanks for the great tip Charity! I’ll have to pop mine in the oven. I’m pretty sure mine are oven safe.
These are so fun! I would absolutely love having these in my house!
Thanks Stacia!
Thank you for sharing such an amazing and creative idea, I will make one soon 🙂
Thank you so much for the kind comment!
These are grreat, and sound pretty simple to do, I can see me going charity shop searching for little pots soon…
http://www.calascrafts.blogspot.com
Are these food safe, being painted an all? 🙂