Need a quick, easy, Fourth of July craft for this weekend?
I’ve got you covered…er should I say crowned?
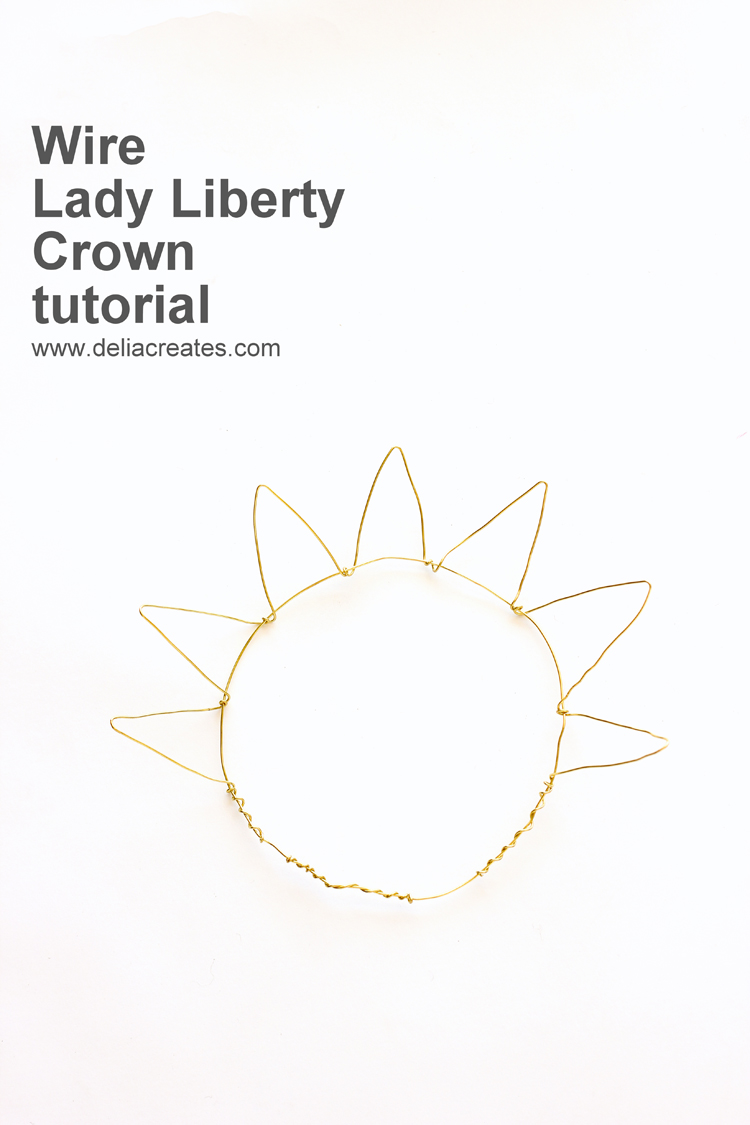
It’s a Lady Liberty crown craft with an elegant twist.

The instructions are super simple too.
You need:
Wire – 16 gauge or thicker*
Pliers – needle nose, round nose, and wire cutters
*The smaller the number listed for wire, the thicker it is. I have found 16 gauge to actually be stiffer and harder to work with than 12 gauge wire, so consider that when choosing your wire. Both gauges work just fine though.
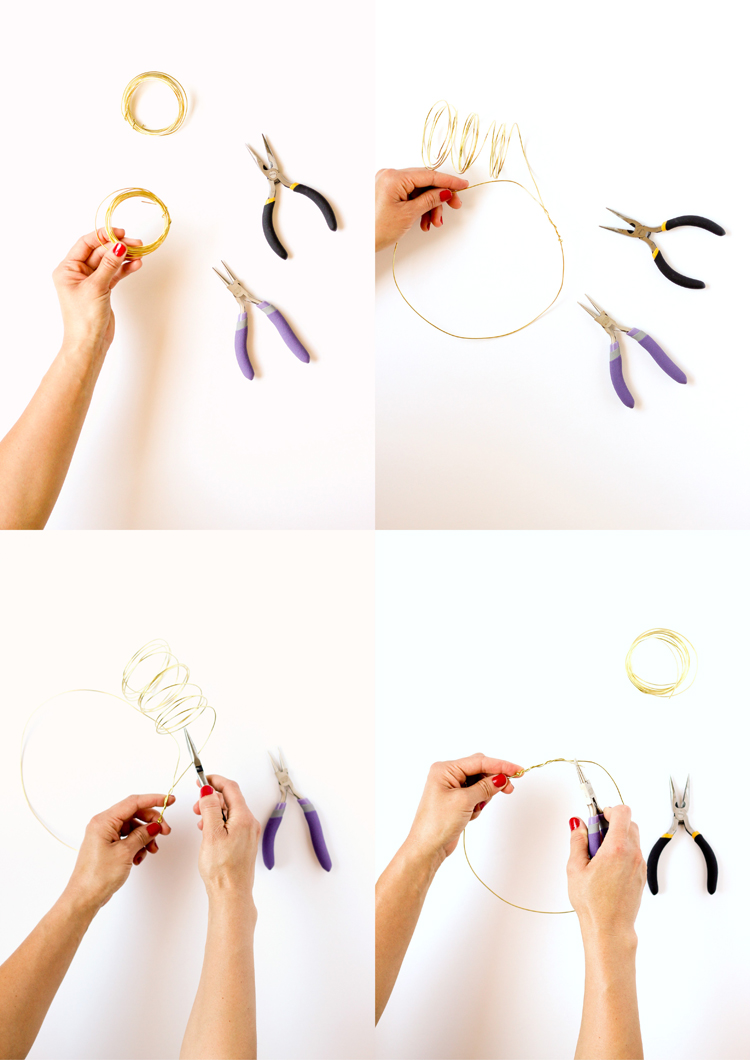
STEP ONE: Make the crown base.
- Create a hoop to sized to fit comfortably on your head.
- Wrap the ends of the wires around the crown base and curl the sharp ends inward and under, so they won’t snag your head later.
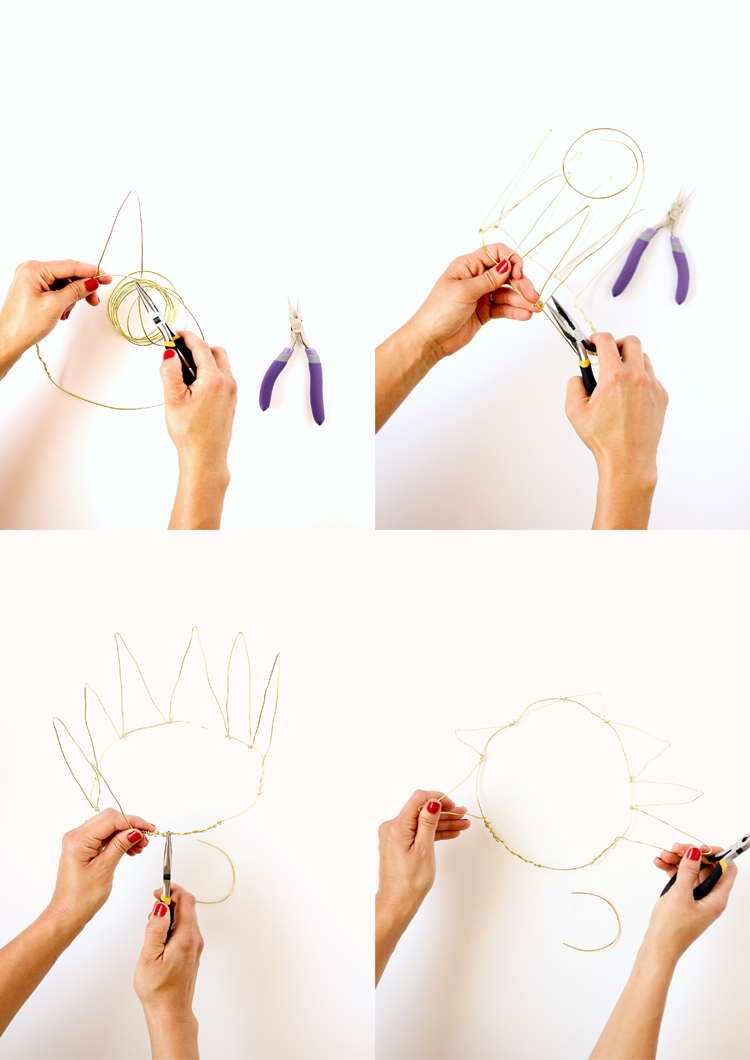
STEP TWO: Create the spikes. 
- Wrap the beginning of your wire around the crown base to secure it, then bend your spikes into place.
- You will need 7 spikes, if you want to be like the true Lady Liberty.
- To create a sharper point at the tip of your spikes, turn them with your needle nose or round nose pliers.
- Wrap the end around the crown, cut away the excess, and curl under the ends again to prevent snagging.
TIP: To get a true Lady Liberty look, you want to bend the spikes outward, rather than straight up.
I made a crown for my four year old, and she’s pretty smitten with it as well.
Happy Fourth to all my readers who share this “land that I love!”


Your photos are gorgeous! And this is a fun idea. It’s good to know that a thinner wire may sometimes be less flexible!
My kind of holiday craft… so classy and fun!
Thank you Jessica! <3