

When we moved into our new place, I was excited about all the windows and natural light.
I was not so thrilled about the sea of beige walls.
Since we are still renting, painting is out. Instead, I have tried balancing the beige with lots of black. In this case, black vinyl.
I was inspired by Disney from Ruffles and Stuff who put paper dots all over her wall. I loved (still love) how cute and easy it was.
I decided to do something really similar but with black vinyl.
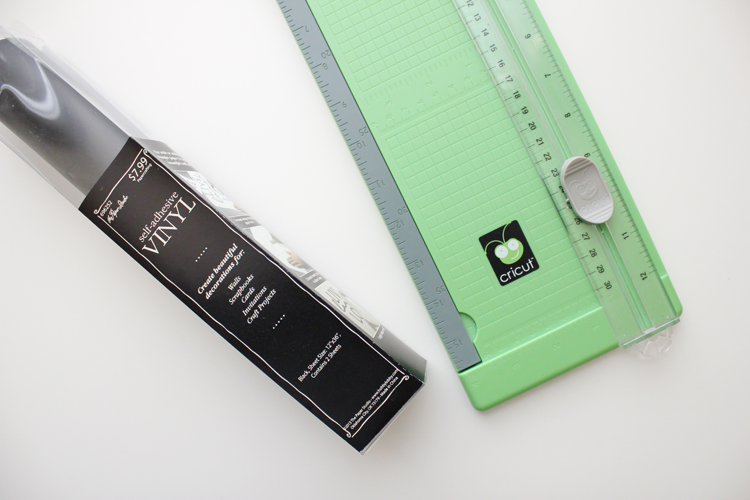
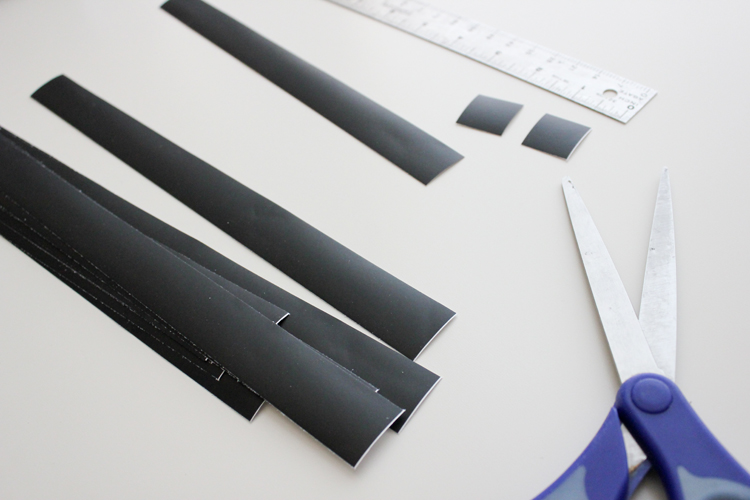
I grabbed a roll of vinyl from Hobby Lobby. I used a coupon which brought the vinyl to under $5 (hence the title of the post). Sign up to get their emails, or download their app and you will always have a 40% off coupon! 🙂
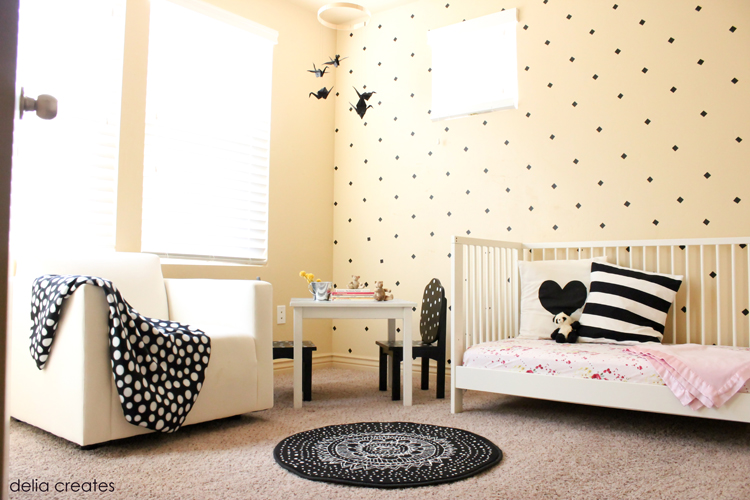
Each pack comes with 2 large pieces of vinyl sized 12 inches by 36 inches. One sheet of vinyl was plenty for covering two walls in my daughter’s small bedroom.
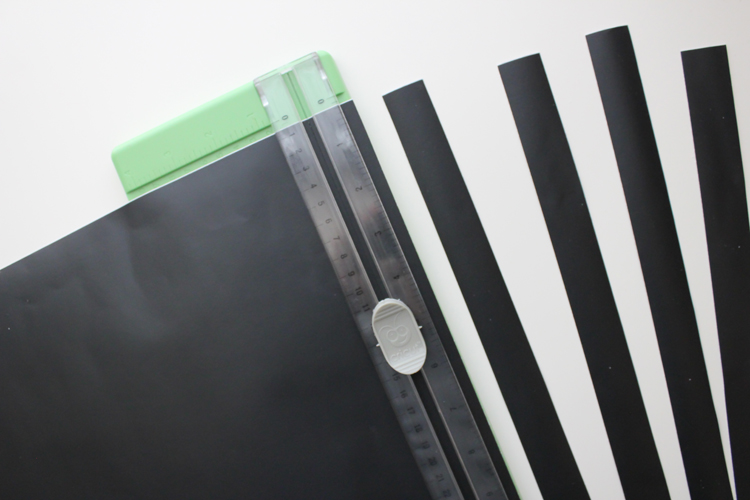
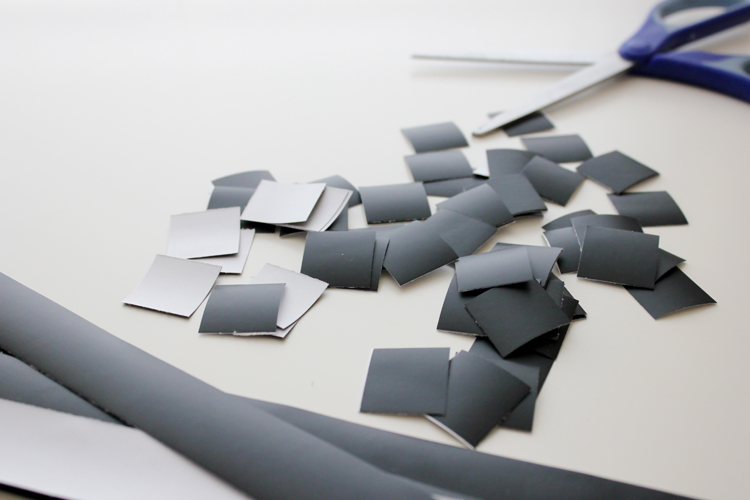
I simply cut the vinyl sheet up into one inch strips with my paper cutter, and then cut those strips into 1 inch square pieces. I didn’t worry about exactness, as you can see in the pictures. 😉
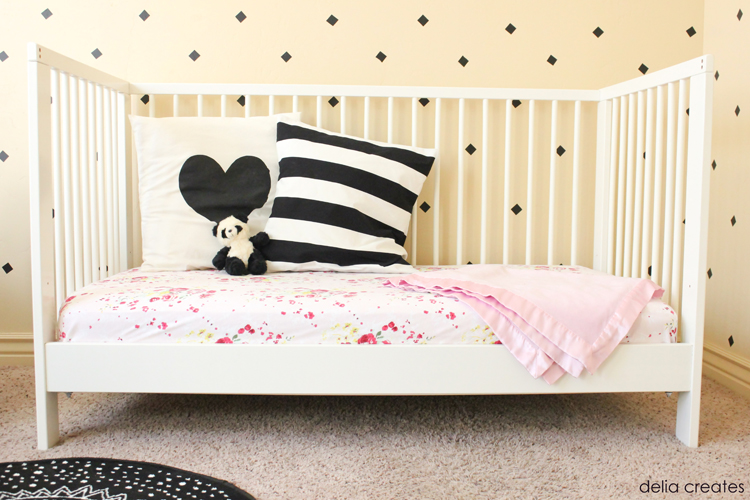
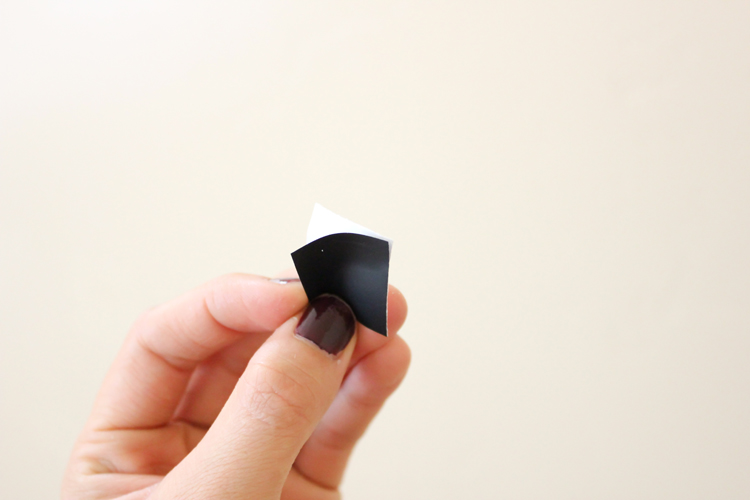
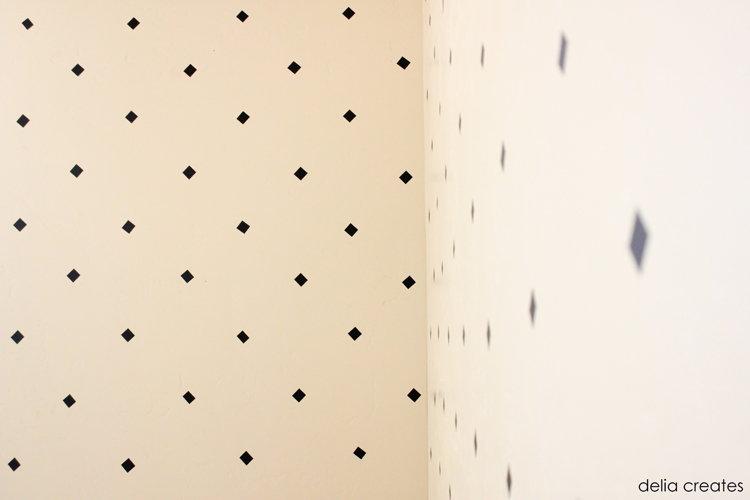
Then I eyeballed the spacing on the wall and staggered them from top to bottom. I turned the squares on their sides to look like diamonds, just for fun.
This took the better part of a morning. I won’t lie. But, it was one of those projects that was fun to do with and around the kids. They had a dance party, made forts, and stashed vinyl wrappers in play purses while I peeled away. Good times. 🙂
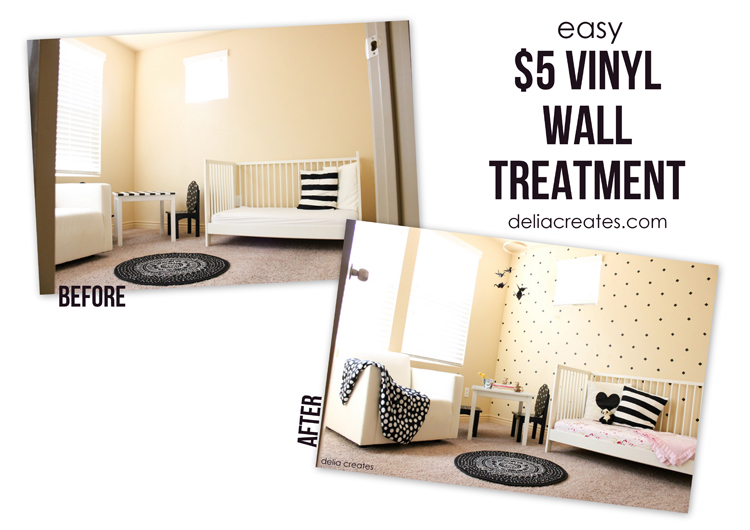
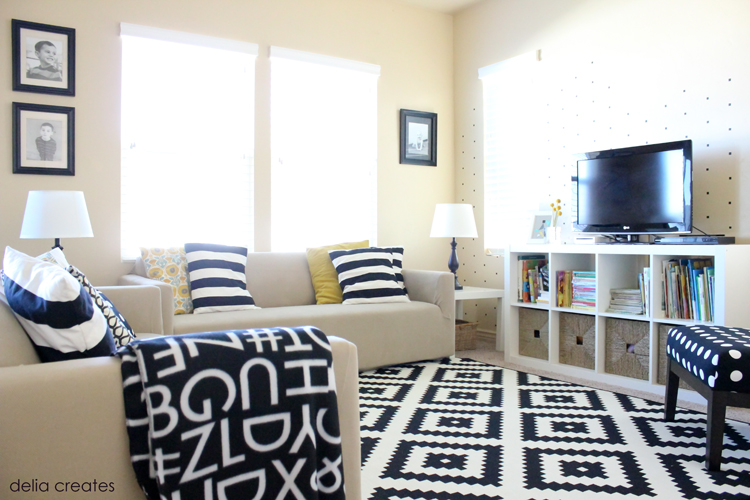
Here is what it looked like before.
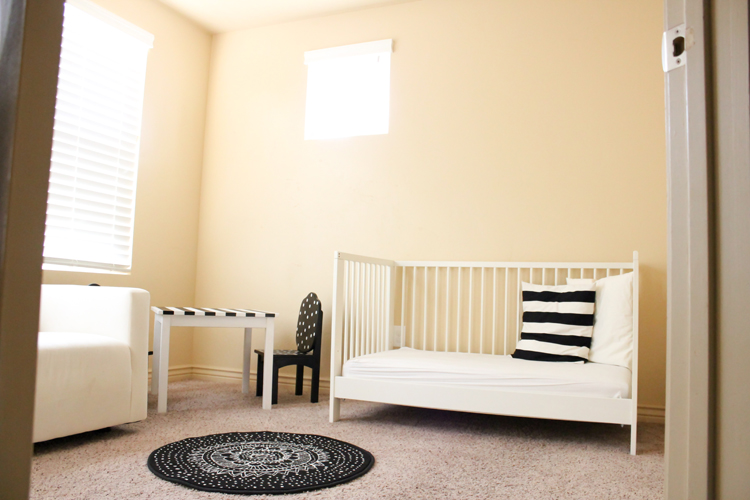
And…here is after!
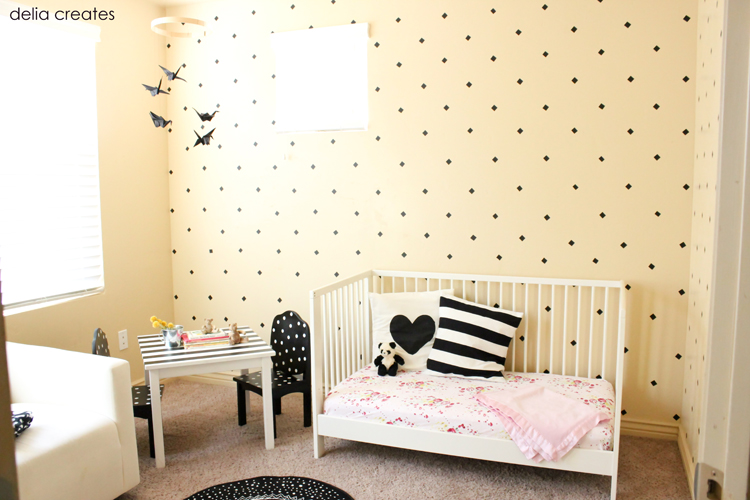
Much better.
And technically…it cost less than $5 because this room didn’t require the whole package of vinyl, just one sheet.
It also comes right off if you change your mind, or if you have a curious toddler who likes to pick at them. 😉 …like my daughter. I just keep a stash of extras and replace them as needed.
After I finished Natalie’s room, I got a little vinyl crazy and added some more to other parts of the house. I’ve already removed some of my experiments, but I kept the vinyl I added to the living room.
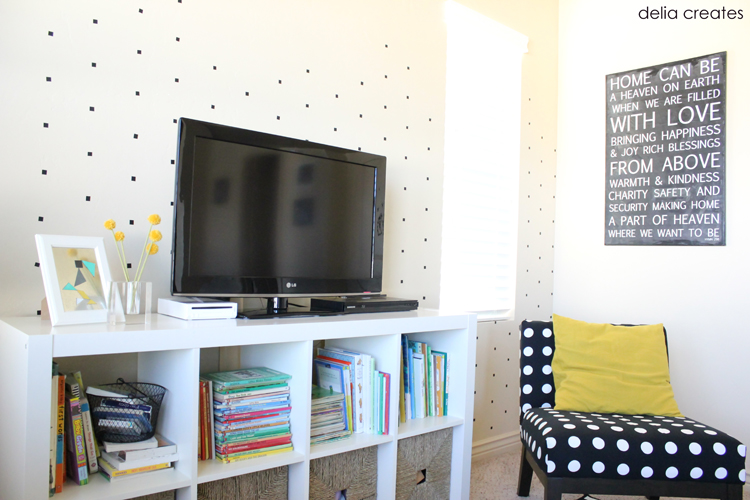
I originally wanted to do the whole wall, but as I worked my way up the wall, my husband remarked that it looked kind of cool uneven and halfway up.
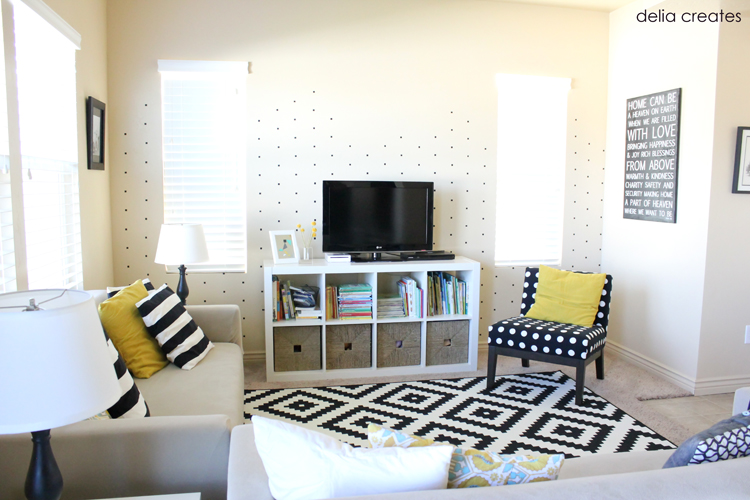
I agreed, so we left it. It’s pretty different, but I figure if I ever get sick of it, I can peel it all off pretty fast or add more up to the ceiling. So far, we haven’t felt the need to do either.
So, there you have it. A really simple, inexpensive and non-permanent way to add texture to your walls.
Because I used smaller squares in the living room, I used much less vinyl from the second sheet. Which means… I’ve got one more quick project to share using the vinyl leftovers. 🙂 More on that tomorrow!
P.S. Throw pillow tutorial found HERE.
Black and white wall art (living room pics) found HERE.
Paper crane mobile tutorial…coming soon.
AWESOME!!
Thanks Lisa!
Oh, I love it! So very cool, in both rooms! I’d never guess it wasn’t your first choice.
Thanks Laura! 🙂
so awesome Delia! I love how you make it work no matter what (even with the beige walls). Did you switch over to squarespace?
thanks Anna! I switched to wordpress…but saw the squarespace themes after and sort of regretted it. squarespace is drop dead gorgeous!
love it!
thanks Bec!
Wow! I love it! I want to go home and try this out =)
Thanks Gina! Have fun! 😉
This is so fun! I love that it was cute and inexpensive. Vinyl is awesome~I wonder if a paper punch would work and give you fun shapes…
Thanks Lisa! I bet. The original idea is from Ruffles and Stuff and she used a circle punch to get her polka dots. Little deer heads, or other animal shapes would be pretty awesome too!
Yeah this is so great. I have had Disney’s spotted wall swirling in my head ever since I saw it, but it never occurred to me to do vinyl. I’m the same as you though, all beige walls to deal with.
And, this is not Natalie’s room, right? Surely she is not in a toddler bed. Surely not.
She is! I know. It’s nuts. She was climbing out of her crib at 16 months and she kept hurting herself, so we converted it to a toddler bed. It made bed time harder for a while but she is back to going down without us having to lay down with her again. phew. 🙂
Wow, I totally love it. Great job on eyeballing it. Sometimes I get carried away when I start doing things too, but usually that’s not too bad.
With Love,
Al @ Shaffer Sisters
Hey Delia!
Where did you get your letter blanket? I love it!
Hi Jessica! I bought the fleece at Joann. 1 2/3 of a yard makes it an even square since it comes about 60 inches wide. I then rounded the corners and serged all the way around. Easy peasy. 🙂
This is such an amazing idea! I’m always looking for renter friendly options for changing the way a wall looks. I think I may have to talk my husband in to this one!
Thanks Stacia! I know they sell it in a bunch of colors at Hobby Lobby too. I almost got the gold glitter stuff but I can’t remember if that just came in the iron on t-shirt vinyl. Wouldn’t that be fun!? 🙂
I’ve never commented before, but I love checking in on your blog each week. I’m a crafter at heart and have recently picked up sewing, so I appreciate your sewing tutorials!
Thanks for this awesome vinyl idea. My husband and I just moved from owning a condo to renting, and we have so. many. beige walls! This will be a great non-permanent way to add a little interest to our rooms while we’re renting. Thanks for sharing!
Thank you Mackenzie! I have some sewing tutorials coming up in a couple weeks. Thank you so much for your kind words! What is with renting and beige walls, right?
Hi!! Adorable walls, but I just have to know where you got the perfect striped pillow from?? Did you make it? Super cute!!
Thanks Emily! I did make them. Here is the tutorial: http://www.deliacreates.com/2013/03/easy-envelope-pillow-case.html
Clever. =) I love that this is a vinyl idea anyone who doesn’t own a fancy cutting machine can do. =)
awesome Delia…just awesome!
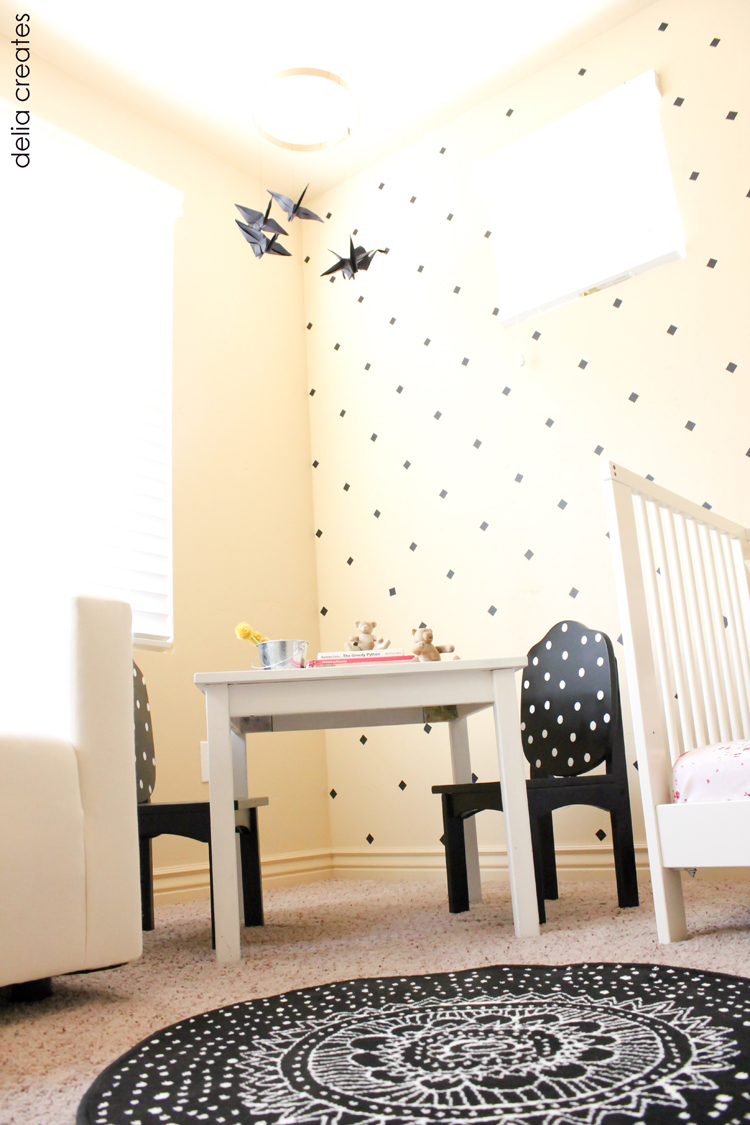
I love love love love your rug. Where on earth did you get that?
Thanks Amie! I got it from Ikea. It was $99 for an almost 7×11 foot rug. As far as rugs go, that is really good! It’s low pile but kid friendly. 🙂
I came back to this post, because I love the storage shelf thingy that your TV is sitting on. Where did you get that? My husband and I are brainstorming ideas for a bookcase/tv entertainment center/storage center for the kids toys, books, and pictures. Very nice! Happy New Year!
Hi Hannah!
It’s an expedit bookcase from IKEA. We love that it elevates the TV above kid finger level. 😉 Happy New Year’s to you too!