I’m bringing this tutorial home for the holidays! 😉 I originally posted it over at Make It Handmade HERE.

__________________________________________
Hi Make It Handmade readers!
It’s a pleasure to be here having a holiday ornament swap with Palak.
My ornaments today are just paper and glue, and they don’t require hooks. Simplicity at it’s best. I call them…
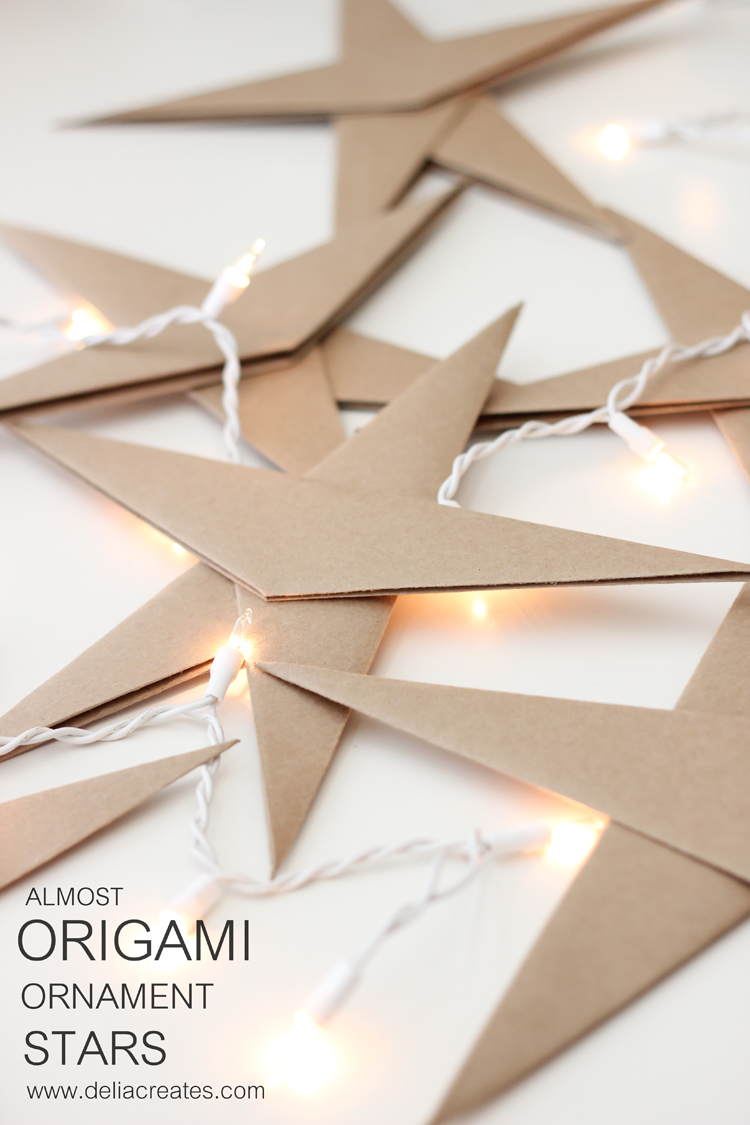 I say almost, because we are gluing them together after we fold them. 🙂
Let’s get started.
You need:
*cardstock, three pieces per large star scissors a ruler or bone folder hot glue and hot glue gun*I used a coupon on this 50 pack of kraft cardstock from the Hobby Lobby, which made this project really inexpensive.
And here is a visual for how to fold your card stock.
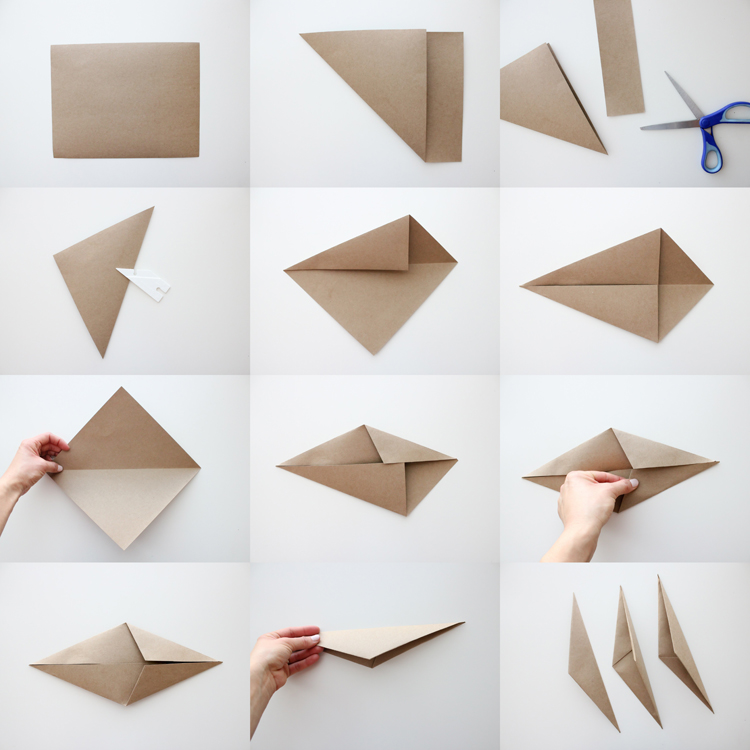 Use a ruler, or a bone tool (I used my point turner ;)) to make the edges fold nice and crisp.
Repeat the process three times so that you end up with three star pieces.
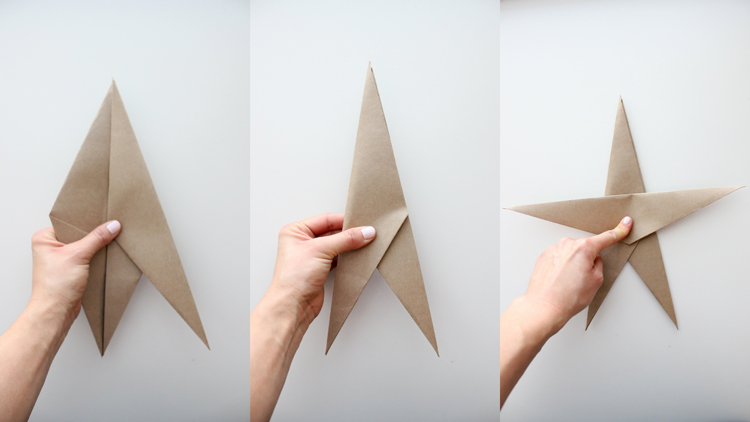 Take one of the pieces and open it up.
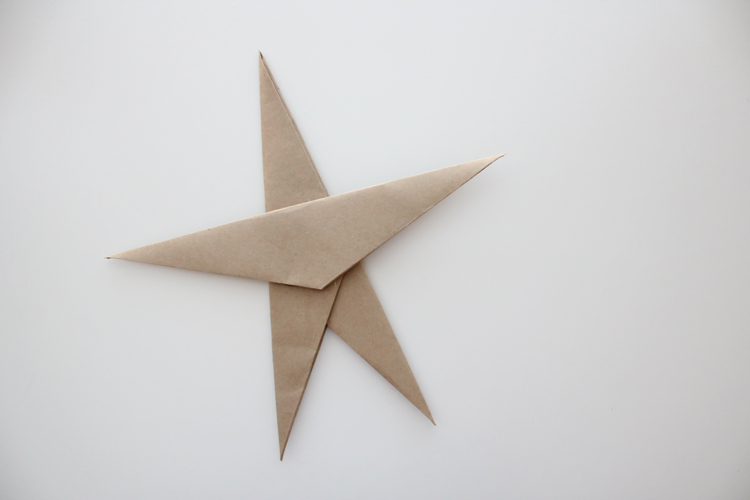
Slide another piece inside of it. Last, take the third piece and place it on top.
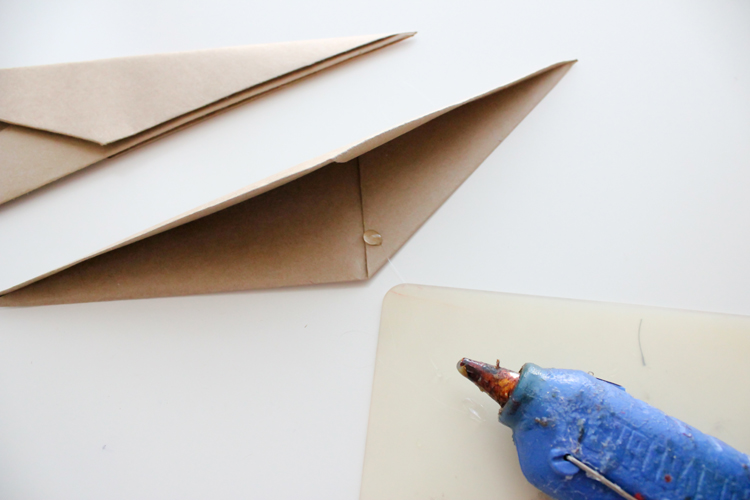
Hot gluing it all together as you go of course.
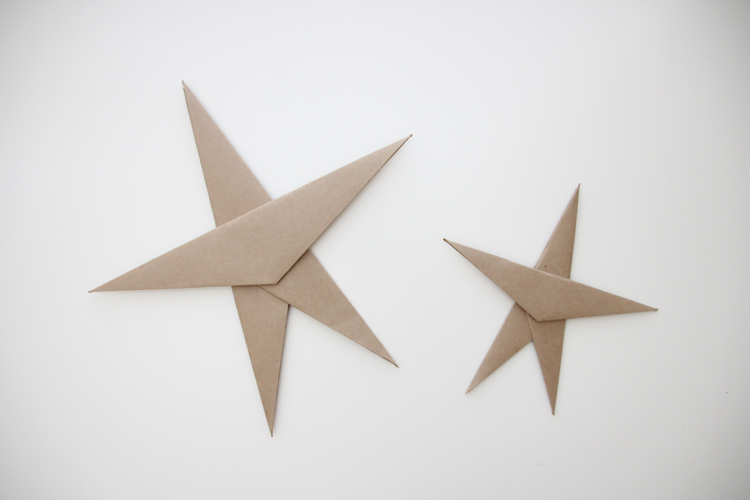
 To make smaller stars, cut your cardstock in half first and treat each half paper like you did a full sheet. Three full sheets makes 2 small stars.
Now make a bunch…
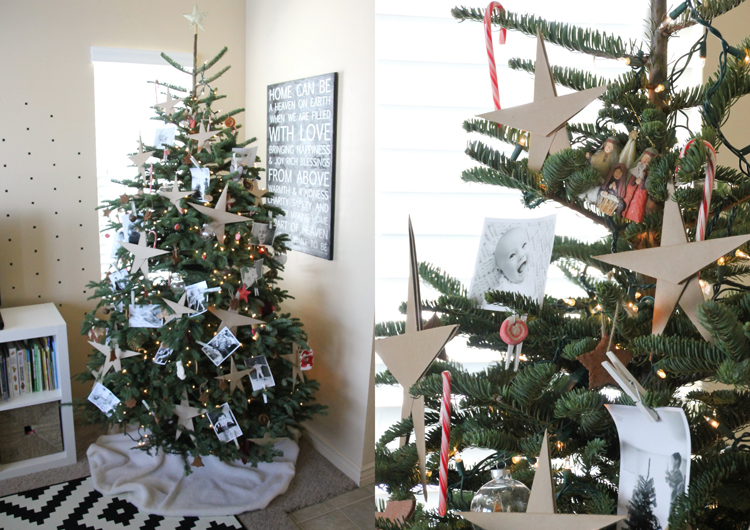
…and adorn your tree!
The stars are big enough, sturdy enough, and yet light enough for you to simply nestle them into the branches.
Of course, you can always hang these from the ceiling instead, or use the small ones as gift tags…
They are perfectly versatile to whatever you need!





beautiful tree and such a cute idea!
Such a nice and easy idea and your photos are gorgeous! Happy to share.
Thank you Ann!
Would there be a missing step between photo 6 and 7 of the grid directions. I’m not exactly following how it’s done…
I’m sorry, that does look confusing doesn’t it. The seventh photo should actually be the fifth photo. I hope that helps it make sense!
I love this star! Thank you for the instructions!
Melanie
Thanks Melanie!
I am having difficulty making the star. Can you explain steps 6 – ? Thanks
Sure! Ignore the seventh picture that shows it opened up. This is an older post and I didn’t realize that photo was out of place. Fold the square in half, one corner to the opposite corner. Open it up. Fold the sides in so it looks like a kite. Fold the other corners inward as well so it looks like a diamond. Then fold the whole thing in half making a triangle shape. Repeat with two other sheets of paper. To make the star, take one of the three triangle pieces and nest it into another triangle piece. You should end up with a v shaped piece. Glue it together with hot glue. Glue the remaining triangle piece shut and then glue it on top of the v shaped piece. I hope that helps clear things up! Let me know if you have any more questions.