My daughter loves character toys and shows, but mysteriously has never been up for a character themed party or even character Halloween costumes for that matter. No My Little Pony party, nothing Frozen themed. So, it wasn’t a surprise to me when she specifically insisted on a ballerina bunny birthday party for her sixth birthday.
I should say that it didn’t surprise me that it wasn’t character related, but the whole ballerina bunny bit did make me laugh. It felt like it came out of no where. What can I say? She keeps us on our toes.
She’s the baby in our family, so I feel sheepish to admit that her birthday kind of crept up on us. We knew it was coming, but it was about a week before that I realized it was actually upon us. Ack!
I told myself to keep it simple. And I did…In my own way. 😉
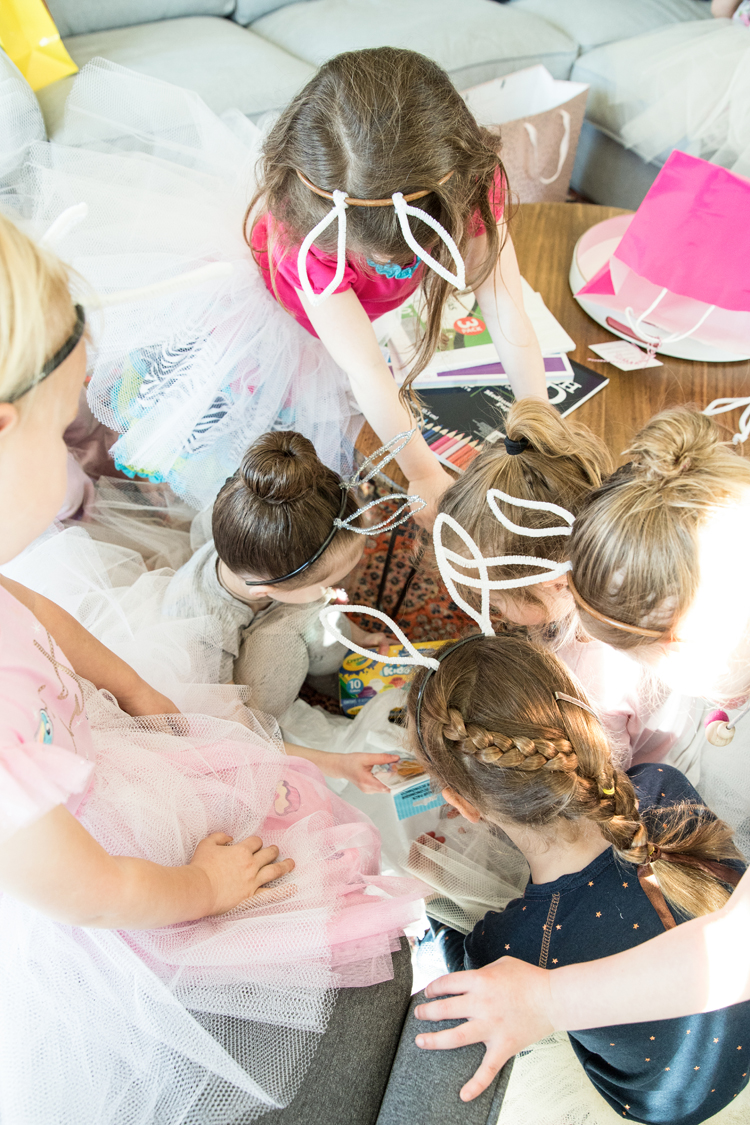
The party itself was a whirlwind of fun for the girls and constant running around for me. Little craft projects and 8 little pairs of hands needing help meant not a lot of pictures taken during the party. Thankfully, I do have some pre-party pictures and flat lays to give you an idea of what we did.
DECOR
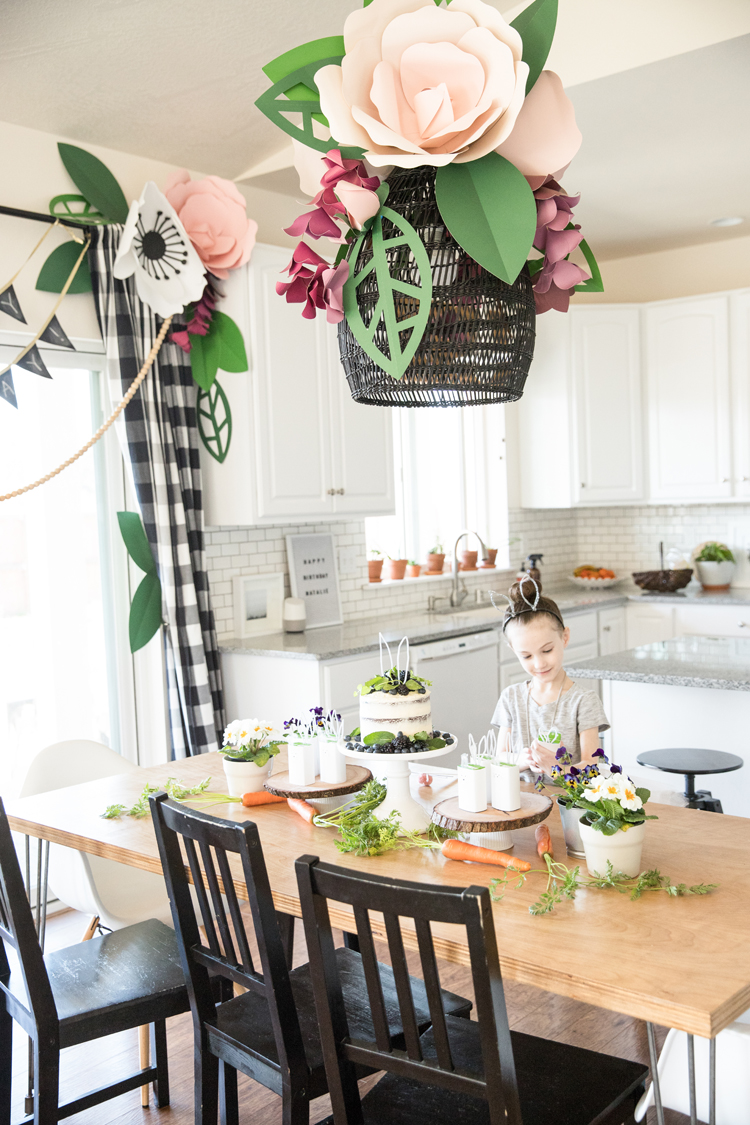
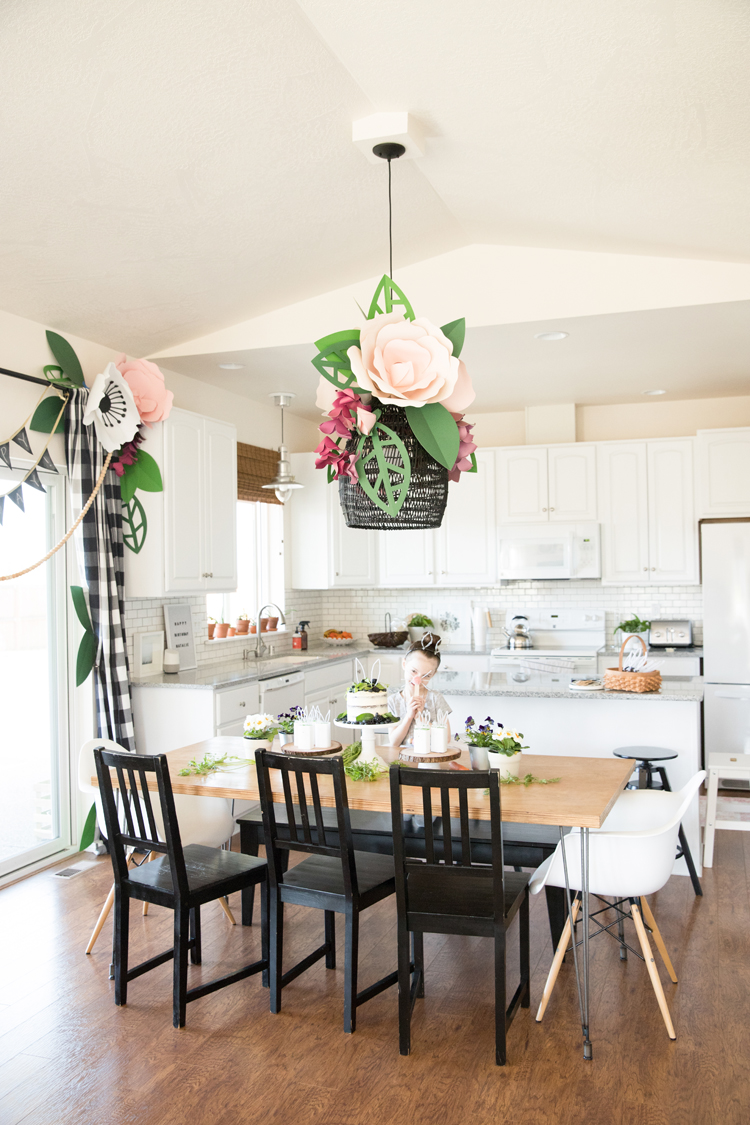
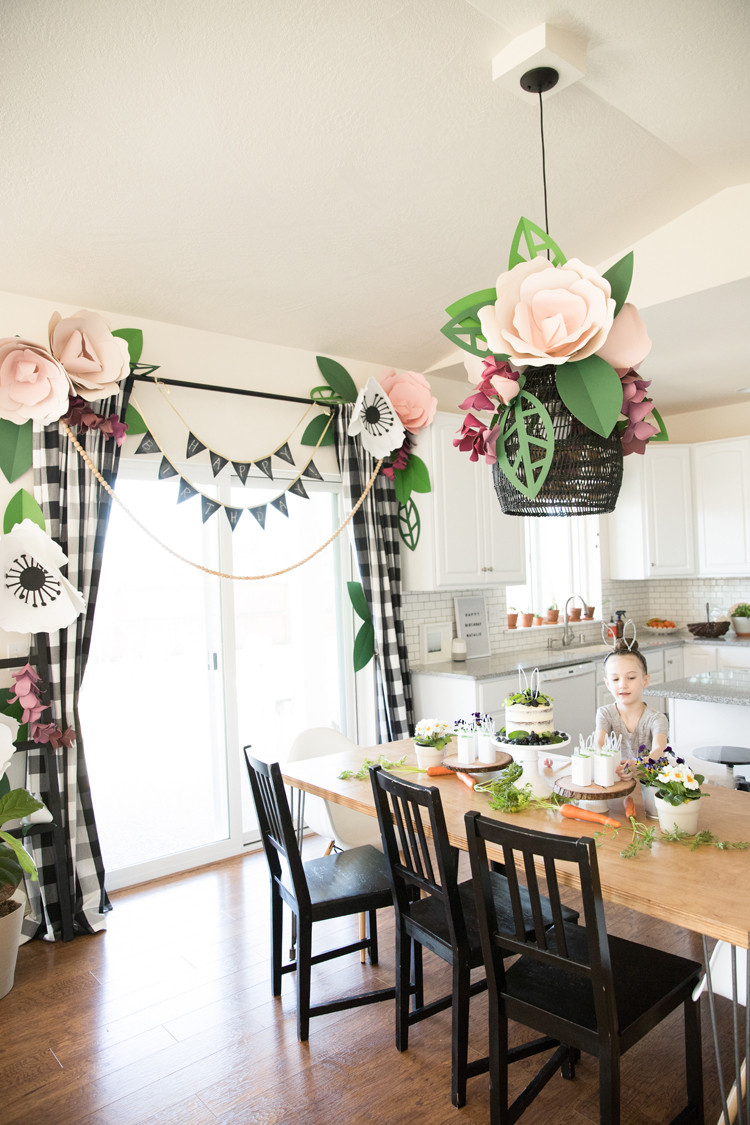
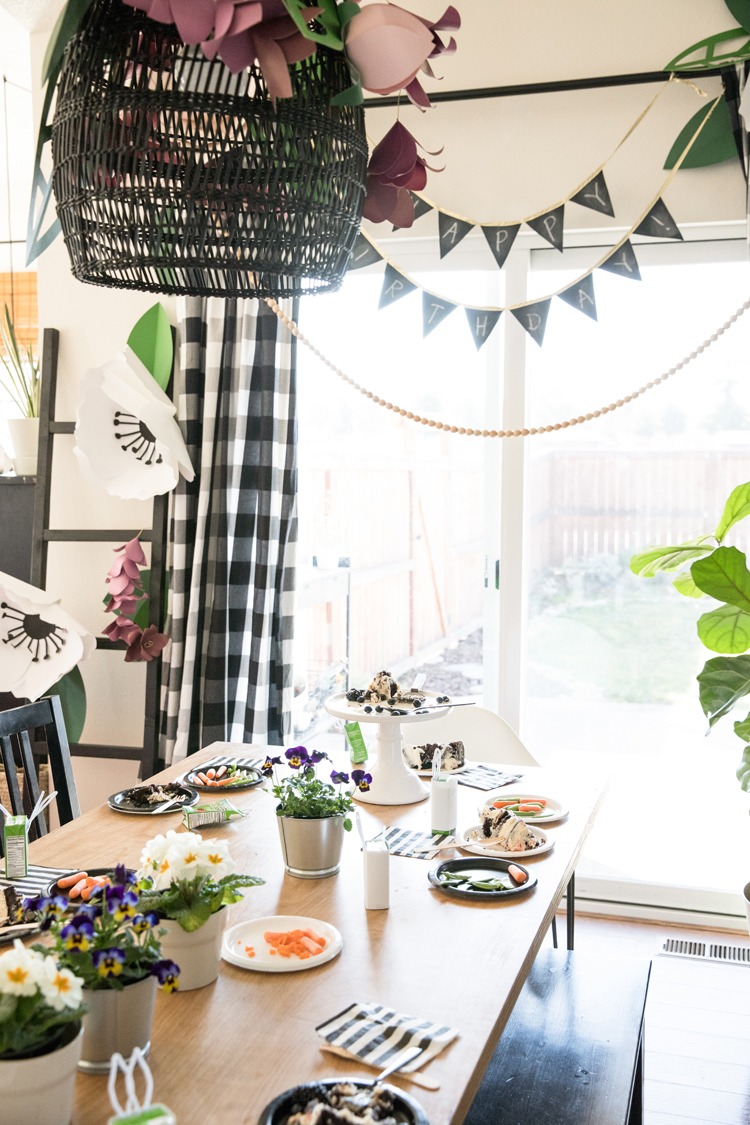
First, I did not make these flowers for the party. I made them last year and thankfully, oh so thankfully, kept them.
I have a post all about them with free cut files and tutorials on how to assemble them. Go HERE for all the details. They actually are really easy to make and I love that you pretty much just need paper and glue to make something with such wow factor.
The only thing I added this time was I replaced the backs of the larger flowers with pipe cleaners instead of bare wire. I felt like it was a little gentler on my light fixture and it was easier to twist into place.
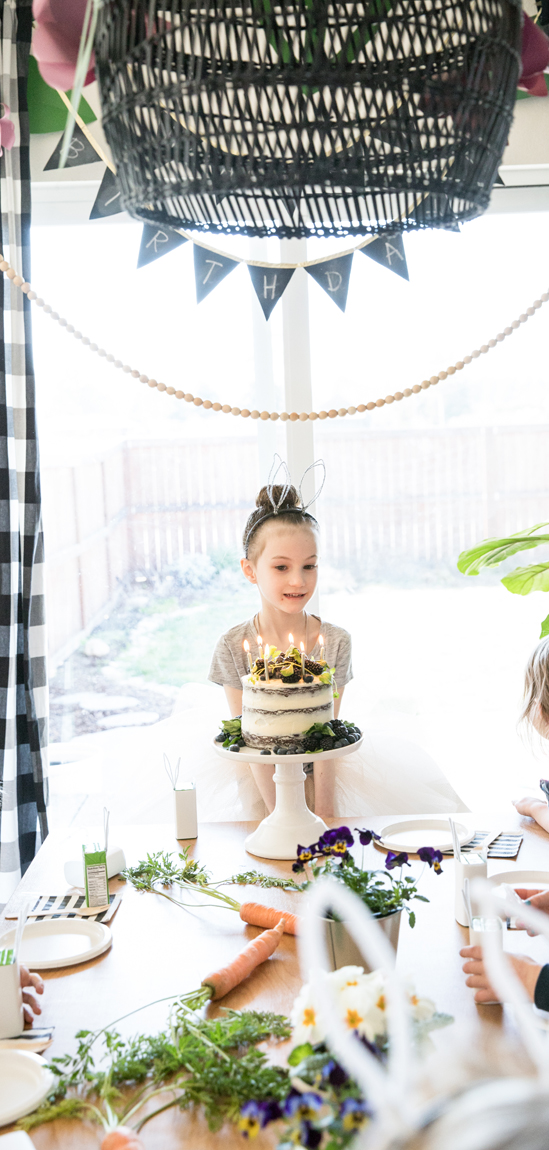
To get this look, I simply twisted the pipe cleaners attached to the back of the flowers to my curtain rod and light fixture. I used painter’s tape to tape the leaves on the wall and to the backs of the flowers. The wisteria (purple) flowers are one giant hook to begin with, so they easily hang wherever you need them.
To store them, I place them gently into several trash bags and put them on top of bins in the garage.
The banner is a chalkboard banner made from chalkboard fabric. I have a tutorial for that HERE. I made the wood bead garland from beads I found at Michaels.
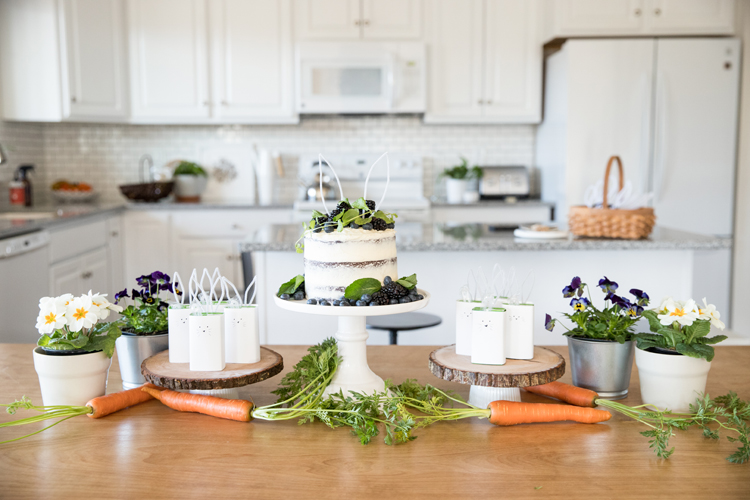
For the flowers on the table, I decided to save a little money and get some inexpensive annuals. I plopped them into slightly larger pots to hide the black plastic pots them come in. At just over $1 a piece, it added some nice floral touches that I was then able to move out into the garden after the party. Waste not, want not!
ACTIVITIES + FAVORS
I lumped activities and favors together because they kind of went hand in hand for this party.
Tutus
What’s a ballerina bunny without her tutu?
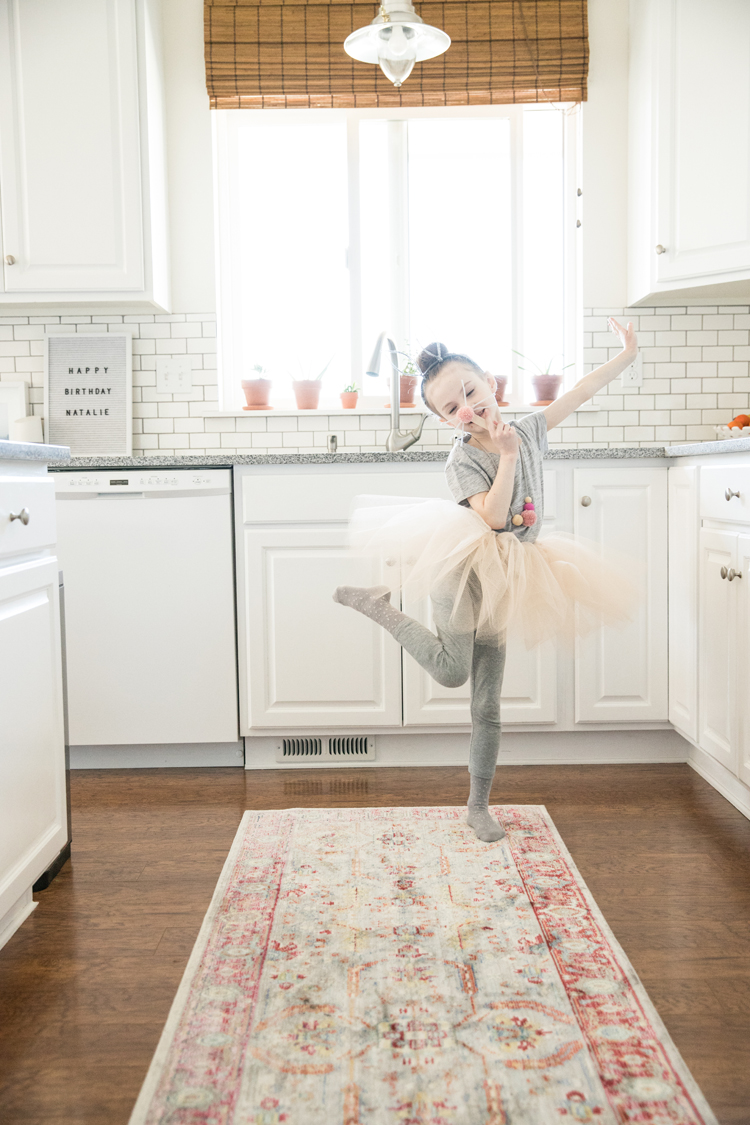
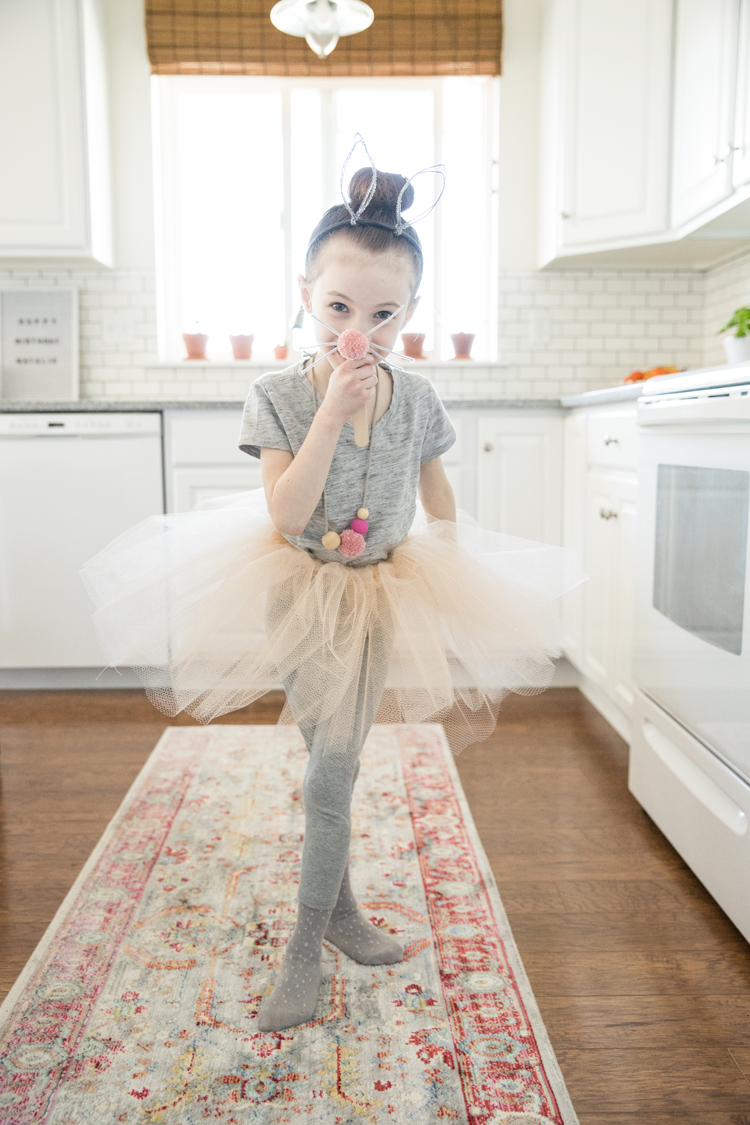
I got 24 yards of tulle from Jo-Ann and made a tutu for each girl using my basic gathered tutu tutorial. (You need 3 yards per girl) I used mesh tulle which is a bit thicker than most tulle. It doesn’t tear as easily and it lasts longer. The pink tutu from that tutorial from three years ago is still going strong and looks great :). (The gold one made with regular tulle ripped after a year and the red one was given away).
The only thing I wish I had done differently was cut the tulle into 18 inch strips, instead of 24 inch strips. The mesh tulle comes 72 inches wide, so you can get 4 strips, 18 inches wide and make a shorter but even fuller tutu.
Bunny Ears
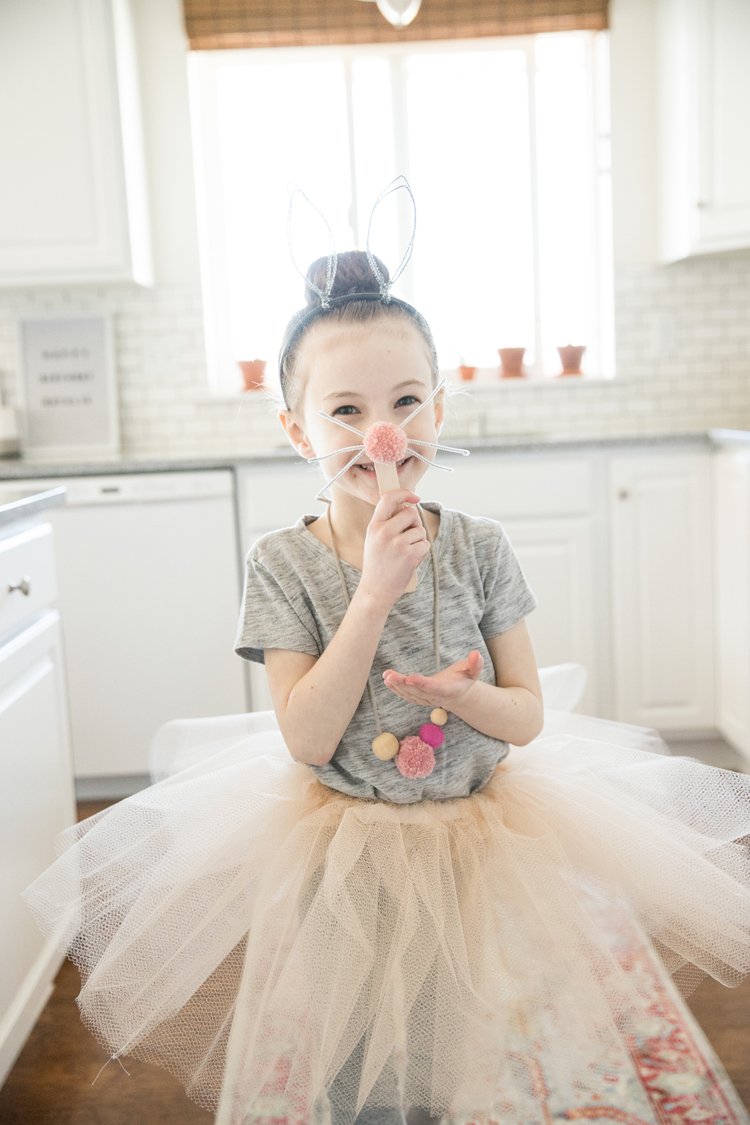
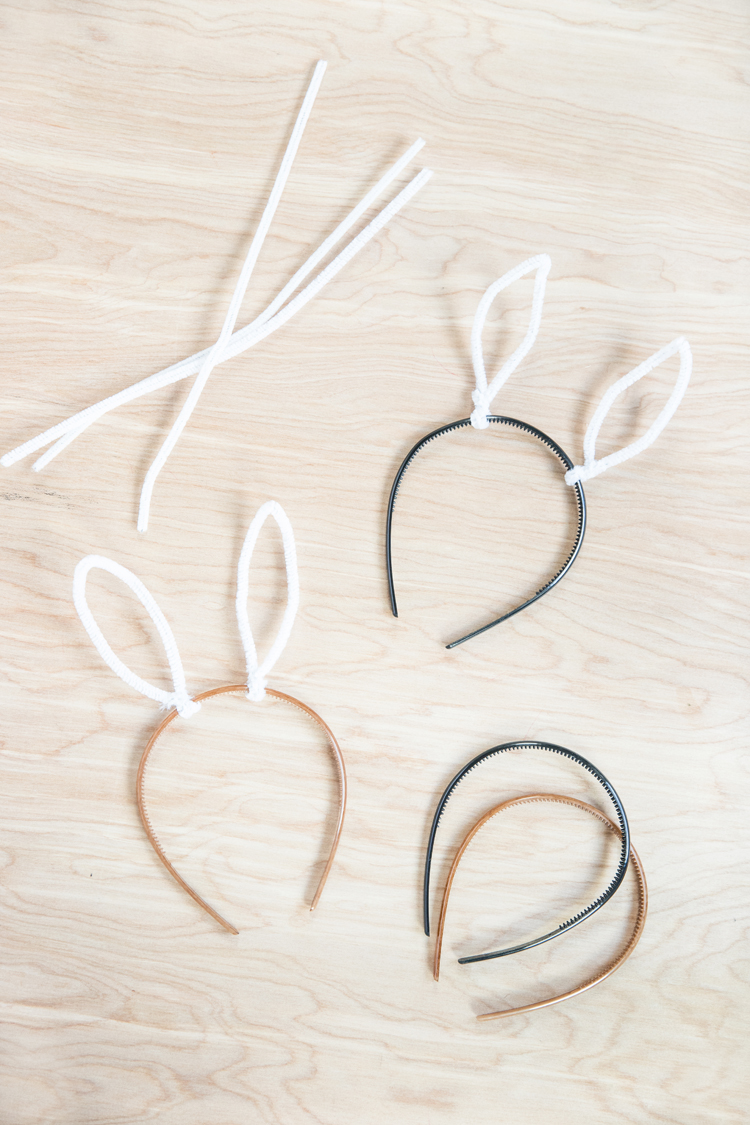
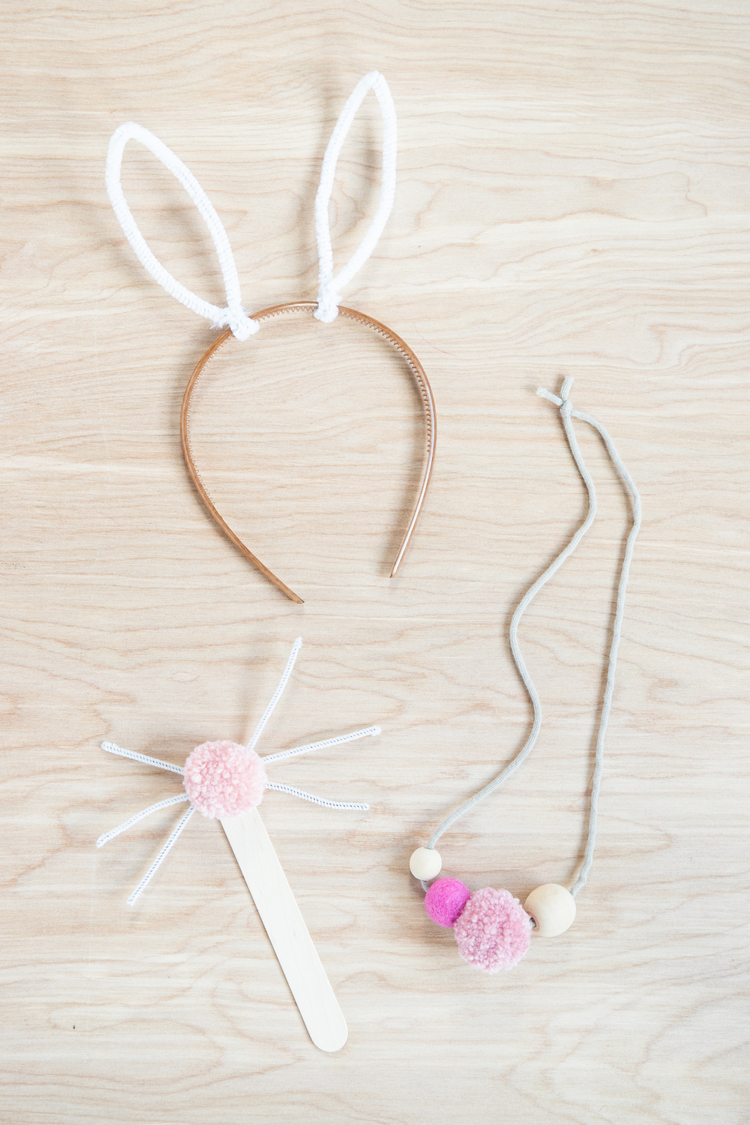
This is pretty self explanatory. I twisted two white pipe cleaners onto a headband to make the bunny ears. I also used this method for the cake and the juice boxes, which I’ll get to in a minute.
Bunny Nose Masks
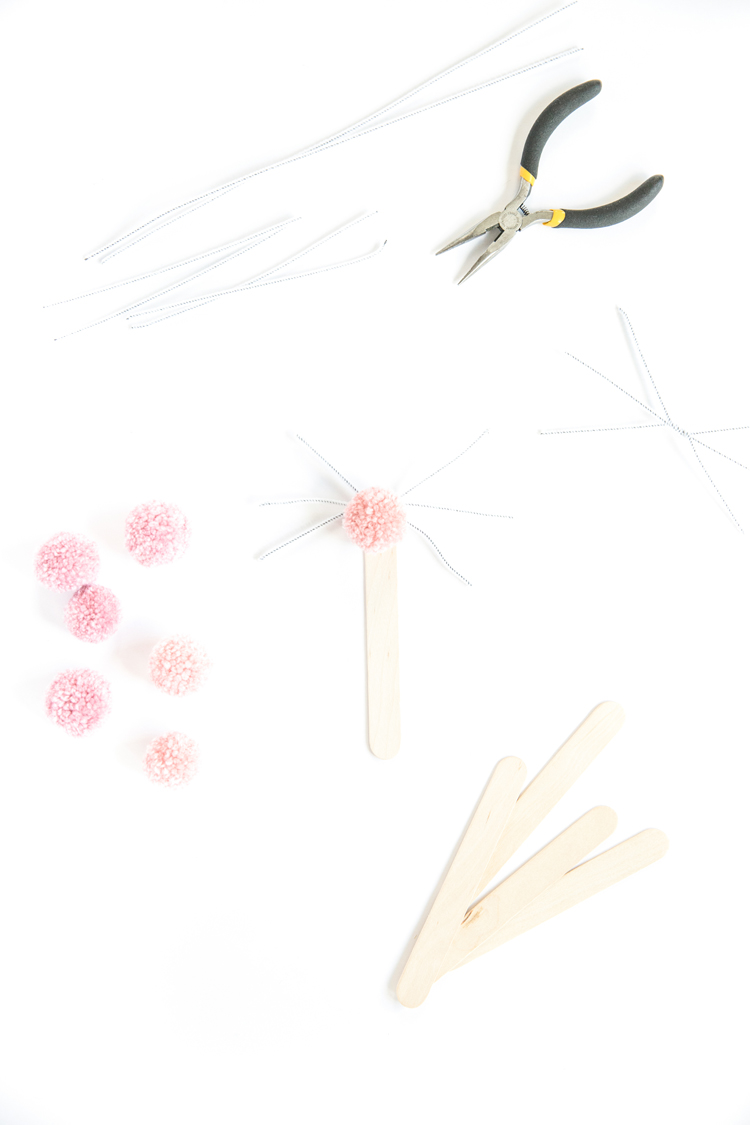
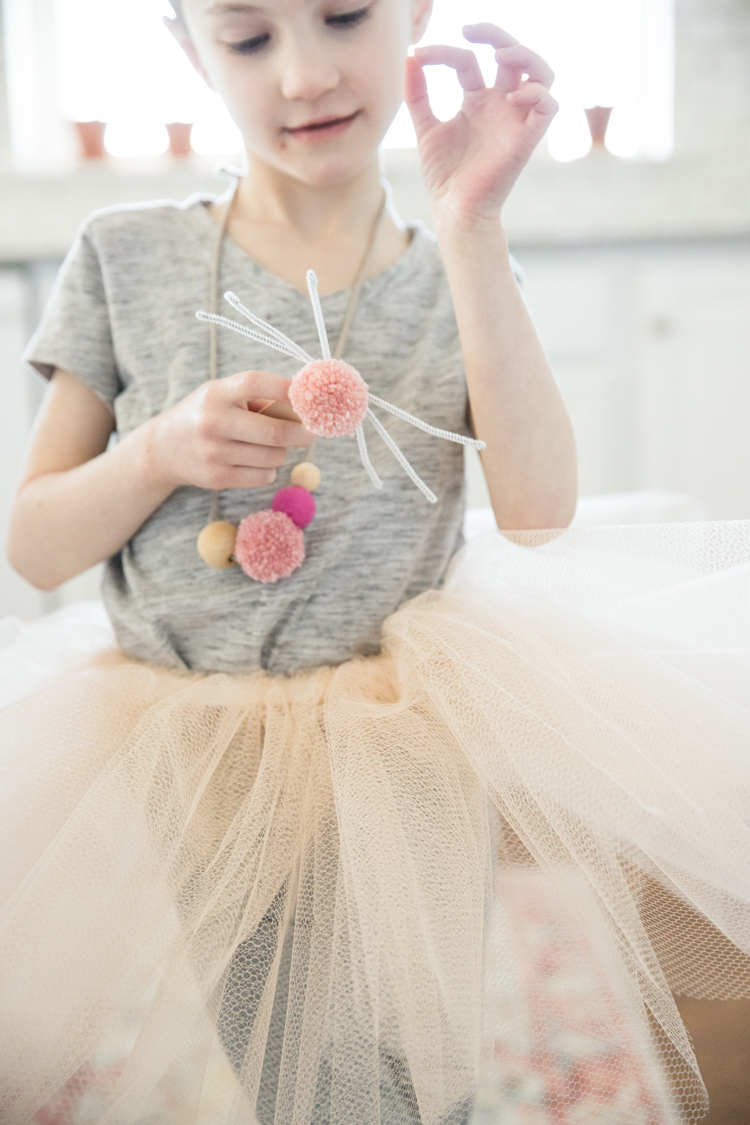
I saw several bunny nose masks on Pinterest and thought it was be so cute for the girls to make their own. I made poms out of yarn. I cut pipe cleaners in half for the whiskers. Then they glued the whiskers and poms onto a tongue depressor with a low temperature hot glue gun (and supervision of course ;)).
“Bunny Tail” Necklaces
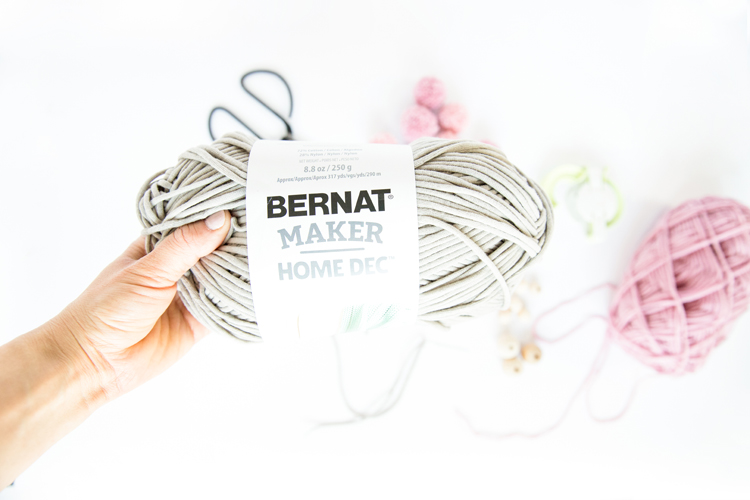
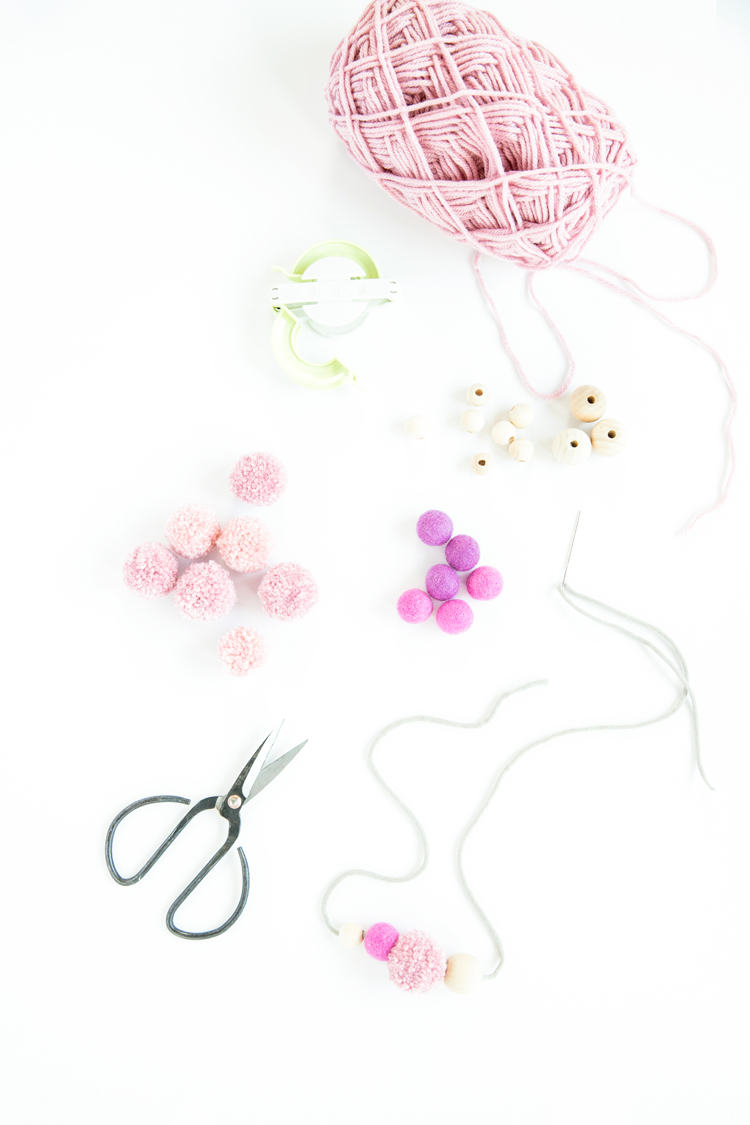
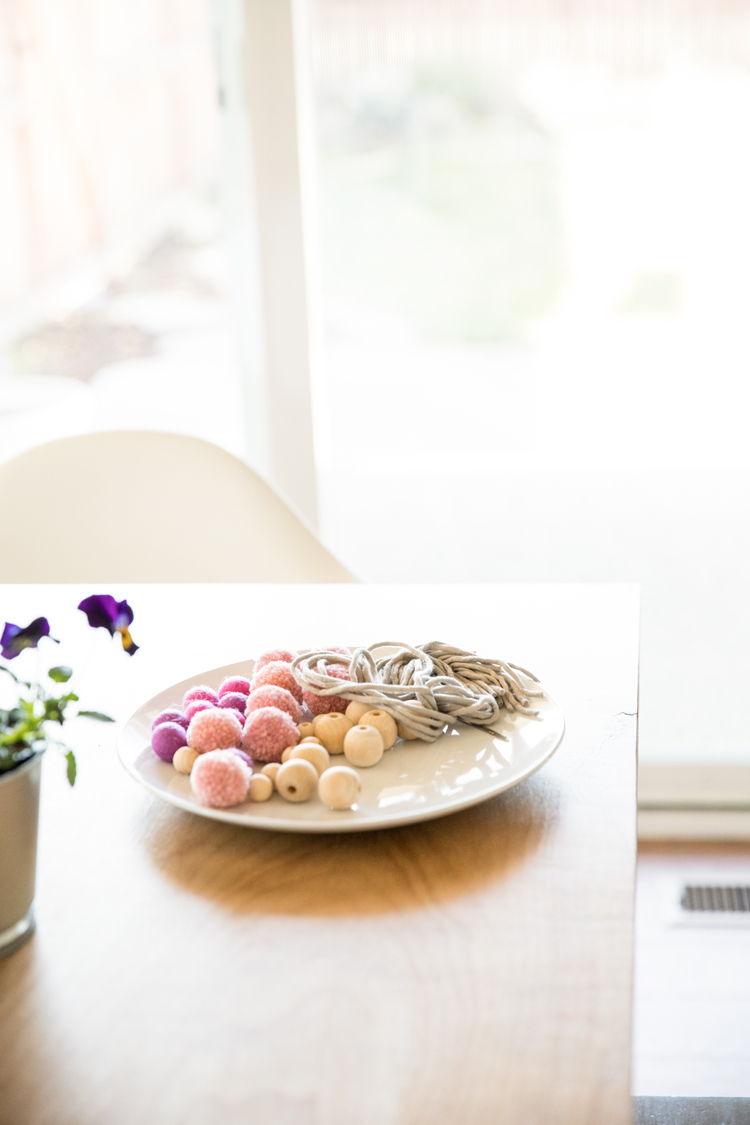
The girls strung wood beads (from Michaels), felt balls, and a pom onto some jersey home dec yarn with a tapestry needle. The felt ball was pretty tricky to string onto the yarn. It took adult muscle for that part, but the girls were able to mostly handle the rest.
To keep the beads from rolling away too much, I corralled everything onto a dinner plate.
Put it altogether and they were the cutest little bunny ballerinas!
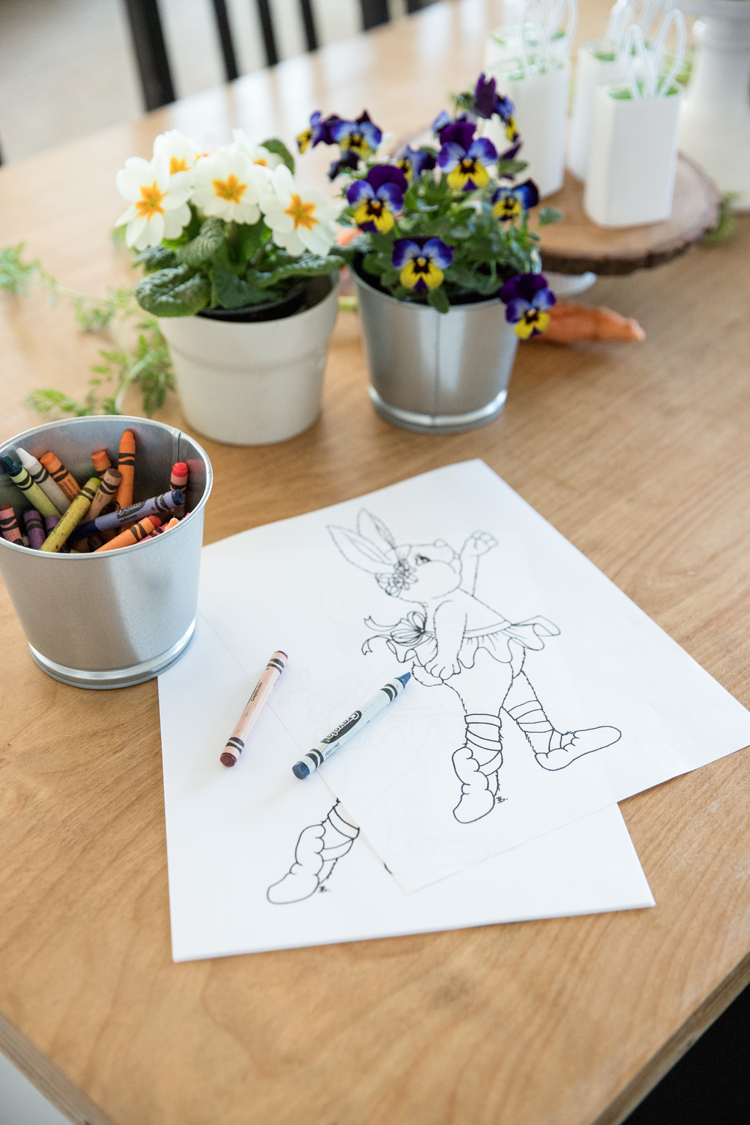
At the start of the party, I had coloring sheets out. This is literally one of like 5 coloring pages I could find of a bunny ballerina. ha!
The girls enjoyed coloring while others were getting help making their nose masks and necklaces.
When everyone was ready, we had a little bunny hop dance party! We tried to teach them the bunny hop, which was kind of hilarious.
After the dancing, we headed outside for an Easter Egg Hunt.
I know it strays a little from the theme, but with Easter being so close, it worked out great.
Baskets
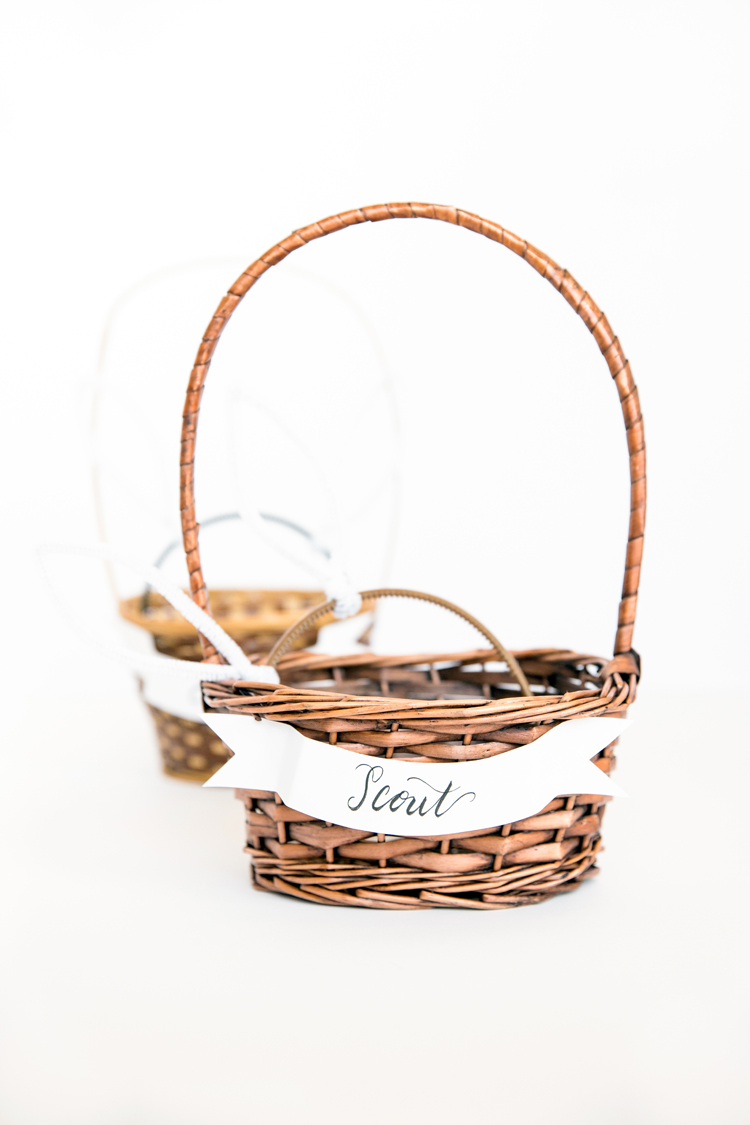
I scrounged up these cute little baskets at Goodwill for 99 cents and then gave them a good steam clean. (Affiliate linked to the one I use)
I hand cut little paper banners and hand lettered their names on them. Then I folded the ends and hot glued them to the baskets. (The hot glue peels away from the basket easily if they ever want to remove it.)
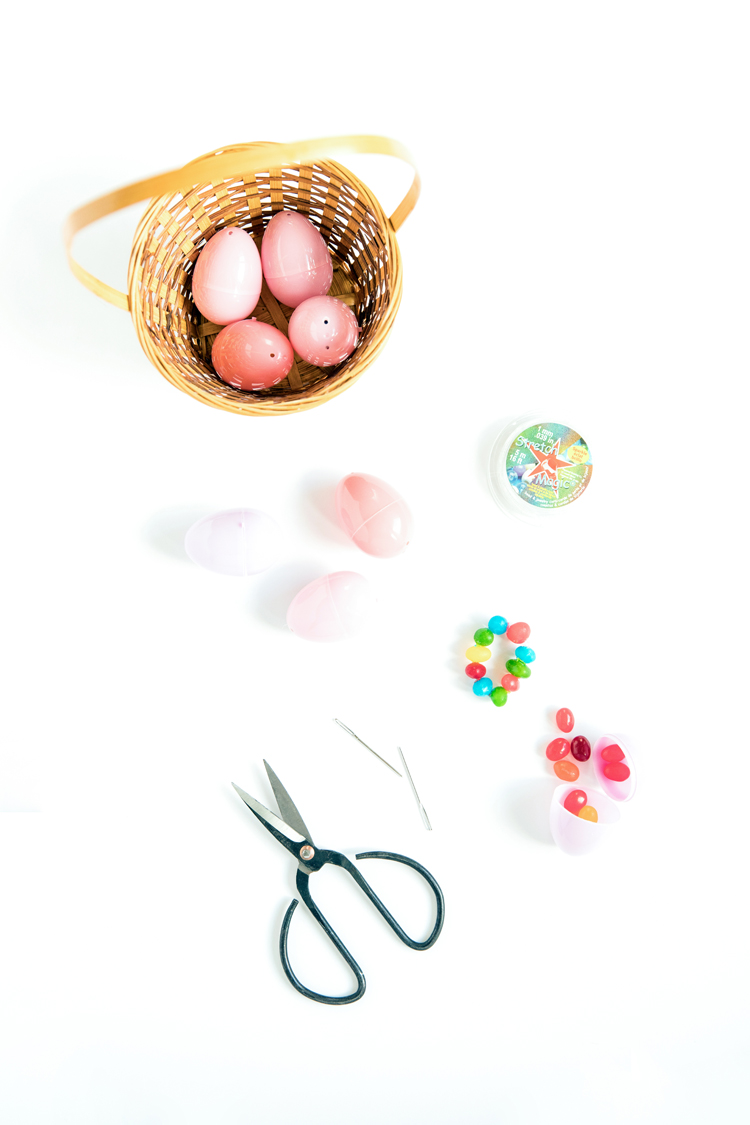
Easter Eggs and Jelly Bean Bracelets
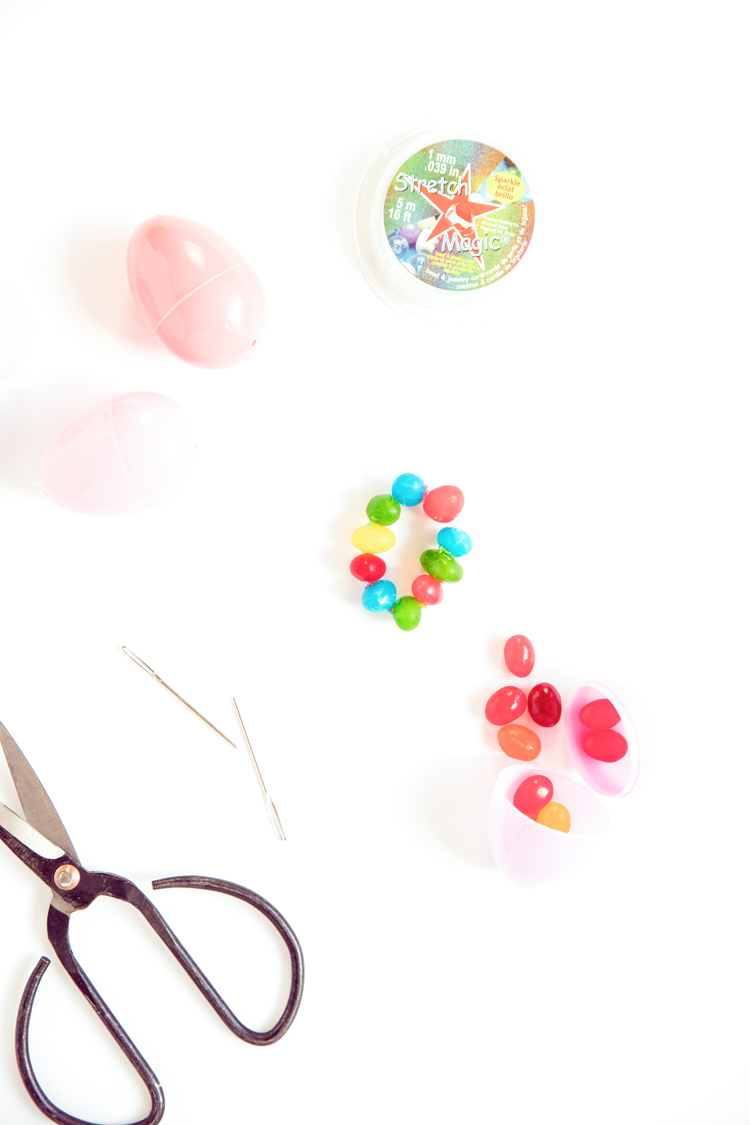
I filled the eggs with jelly beans. (The Starburst brand are dairy free, egg free, gluten free, and nut free). When the girls all found their eggs we made jelly bean bracelets.
Honestly, it was kind of a big mess! Not kind of actually, it WAS a big mess. Ha! Maybe it’s because we used larger needles, but it was really hard for the girls to do on their own, and even pretty tricky for us to do as adults. And when the girls washed their hands, it turned their arms into a rainbow of stickiness. Maybe it was the kind of jelly beans we used. I don’t know. I’ll just recommend this craft with caution. The girls of course loved it, but I don’t know that we’ll do this one again. 😉
We then finished the party off with presents and cake.
FOOD
Cake
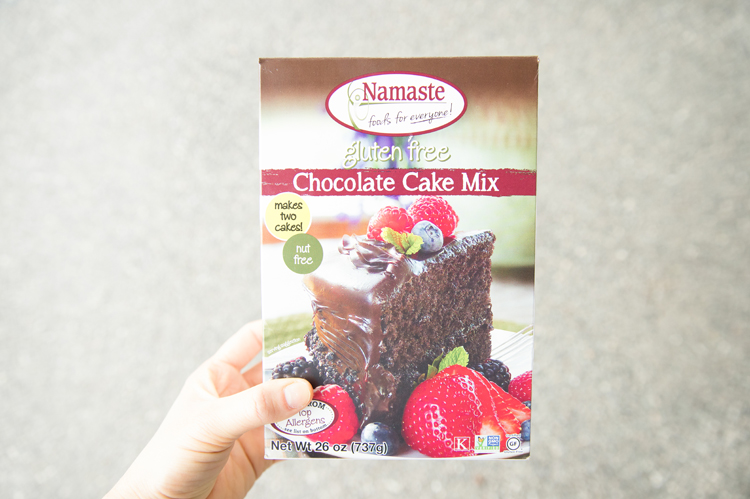
Our daughter is allergic to dairy, eggs, peanuts, and most tree nuts and she has a friend who is also allergic to wheat, so I needed to make a cake that was free of all those allergens. My friend made this Namaste cake mix at her daughter’s party so she could make it a safe party for our daughters….seriously what a friend right? It was probably the best gluten free cake I have had to date. So, I did the same.
It was also pretty fail-proof. If you need an allergy friendly cake for your next party, I highly recommend this one.
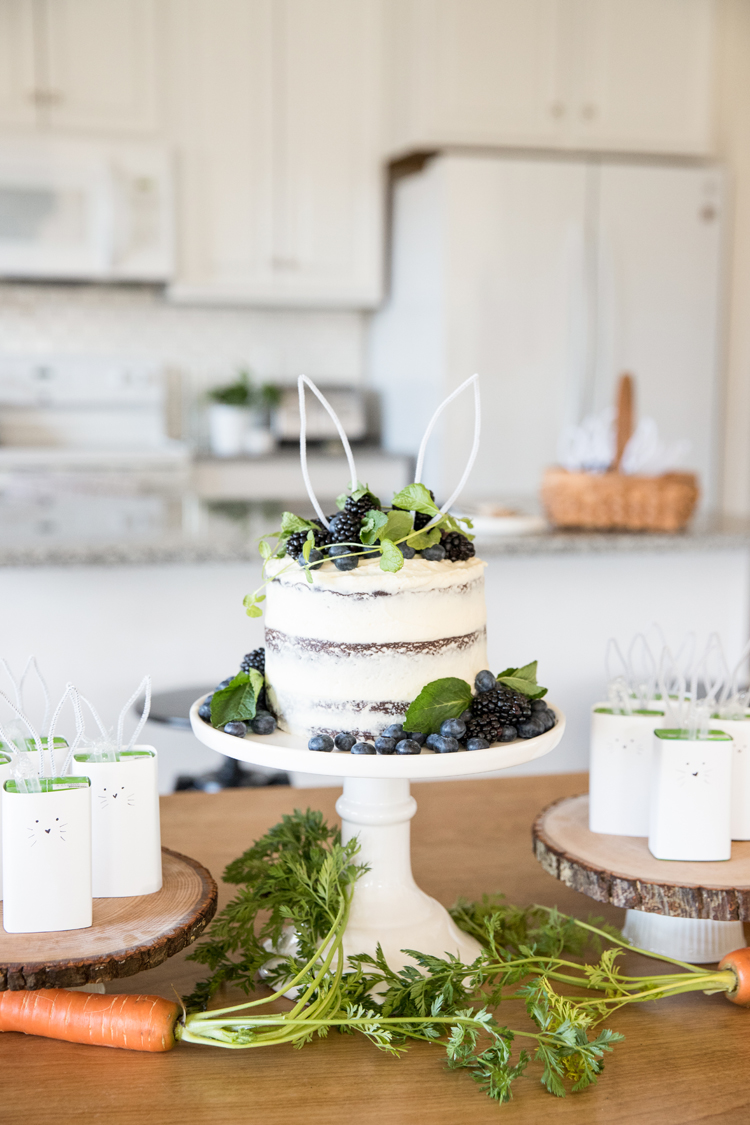
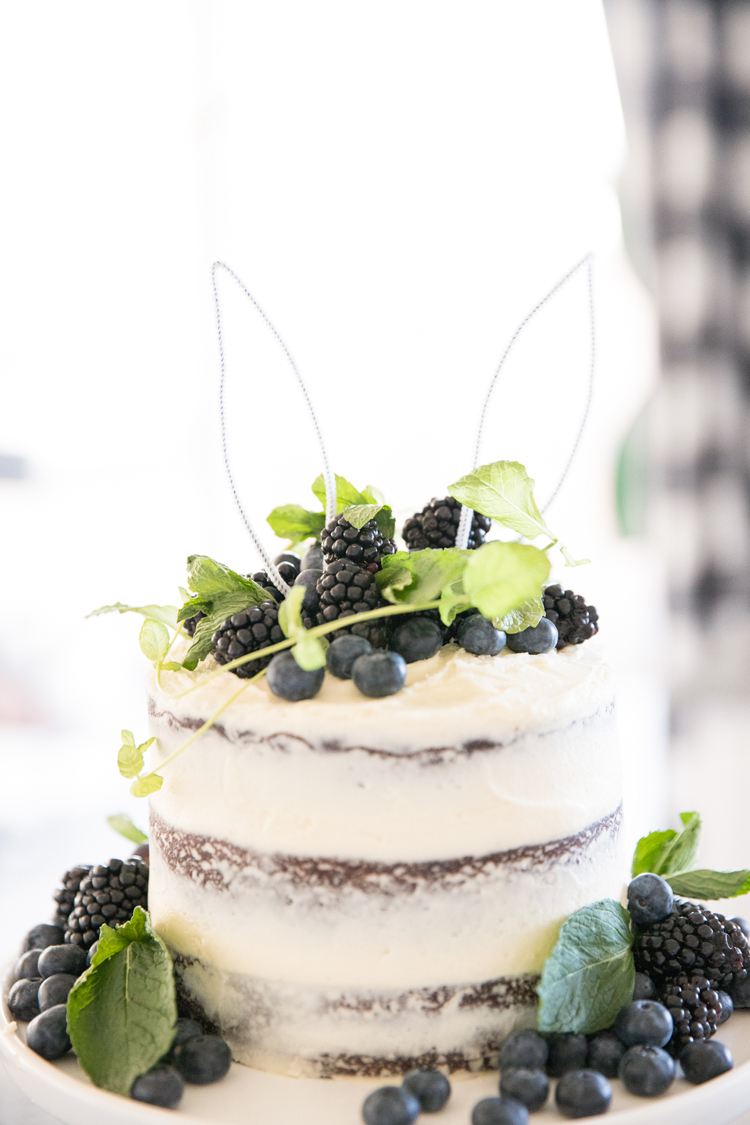
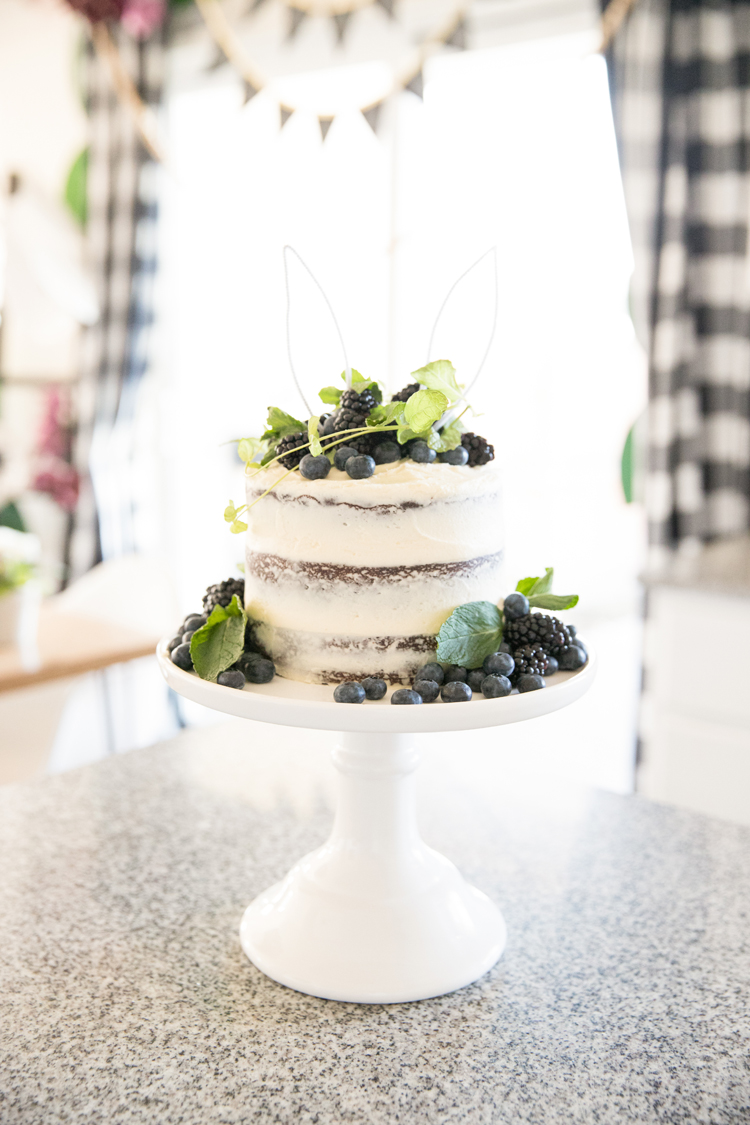
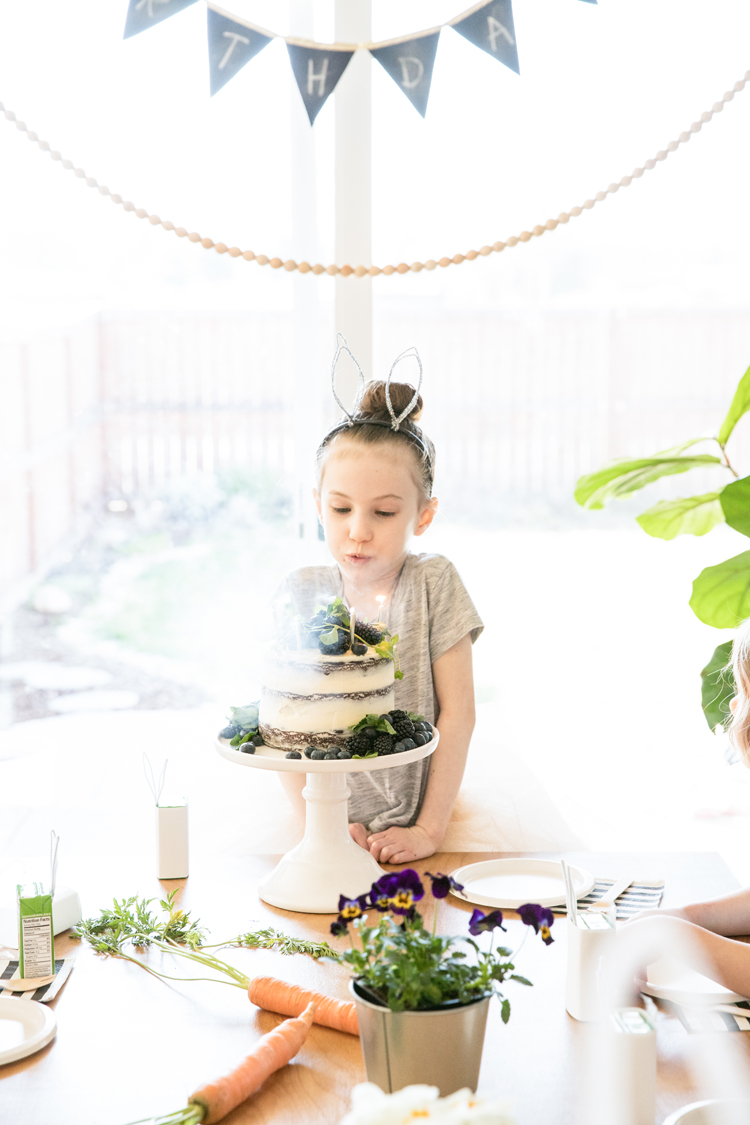
I used one box of mix with three, 6-inch rounds. Instead of eggs, I used flax eggs which is 1 tbsp. of ground flax seed to 3 tbsp. of water, per egg. I used Milk Allergy Mom’s dairy free frosting recipe and doubled it. It was still not quite enough to cover the cake, so I scraped the sides with my pastry bench scraper and made it a naked cake. I’m a huge fan of naked cakes anyway, because they are very forgiving.
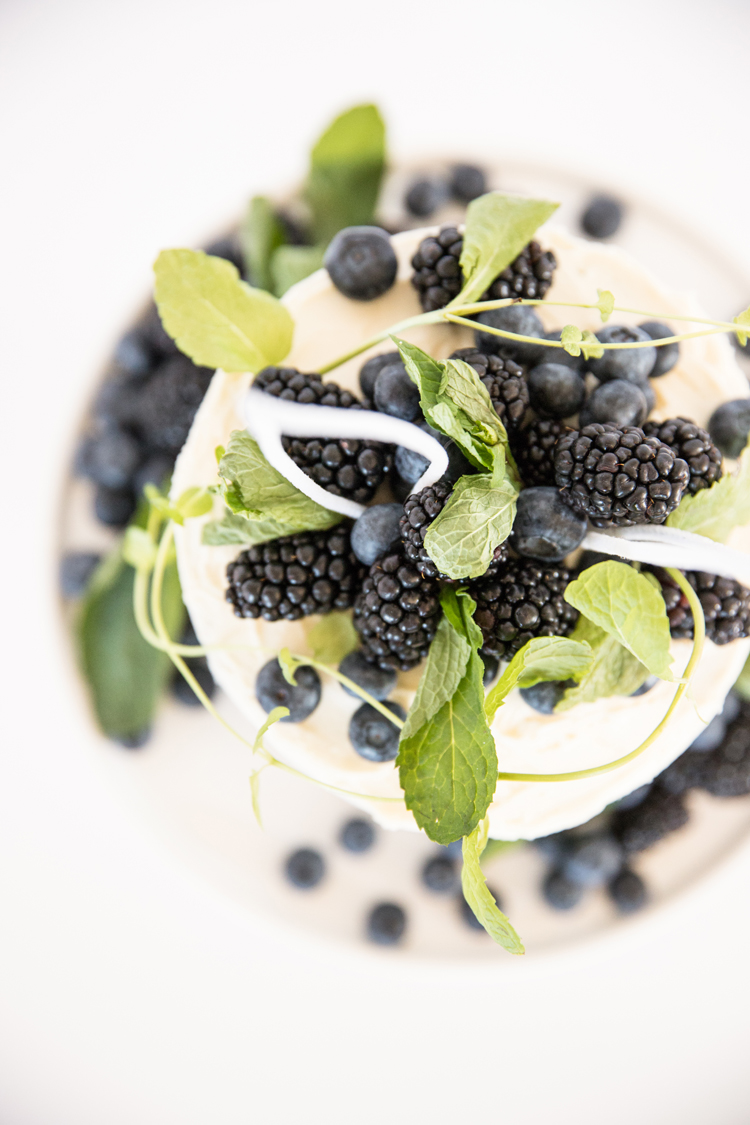
I washed some blackberries and blueberries and then laid them out on a towel to dry about an hour before I added them to the cake. It’s important to let them completely dry so they don’t muddy up the frosting.
Then I added little mint leaves here and there. One of my mint plants in the backyard had grown some long, sparse tendrils. Usually you don’t want your mint to grow like that, but it made for a beautiful garnish and it gave me a reason to give my plant a much needed pruning. Win, win!
Bunny Juice Boxes
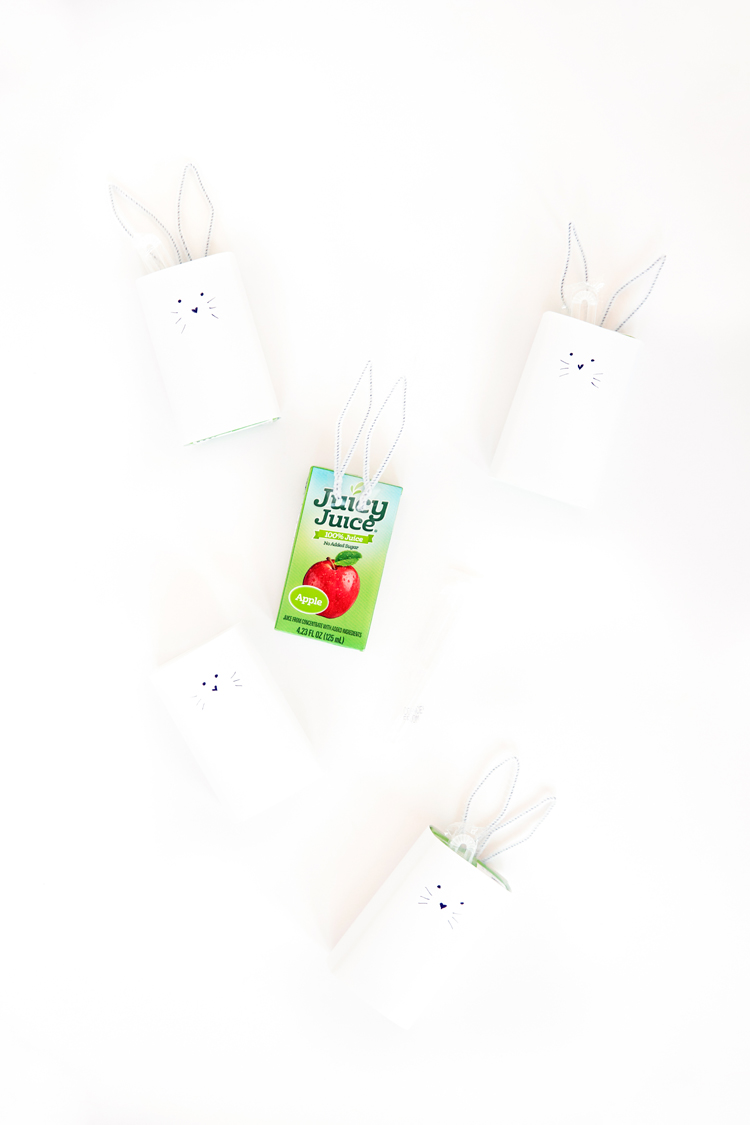
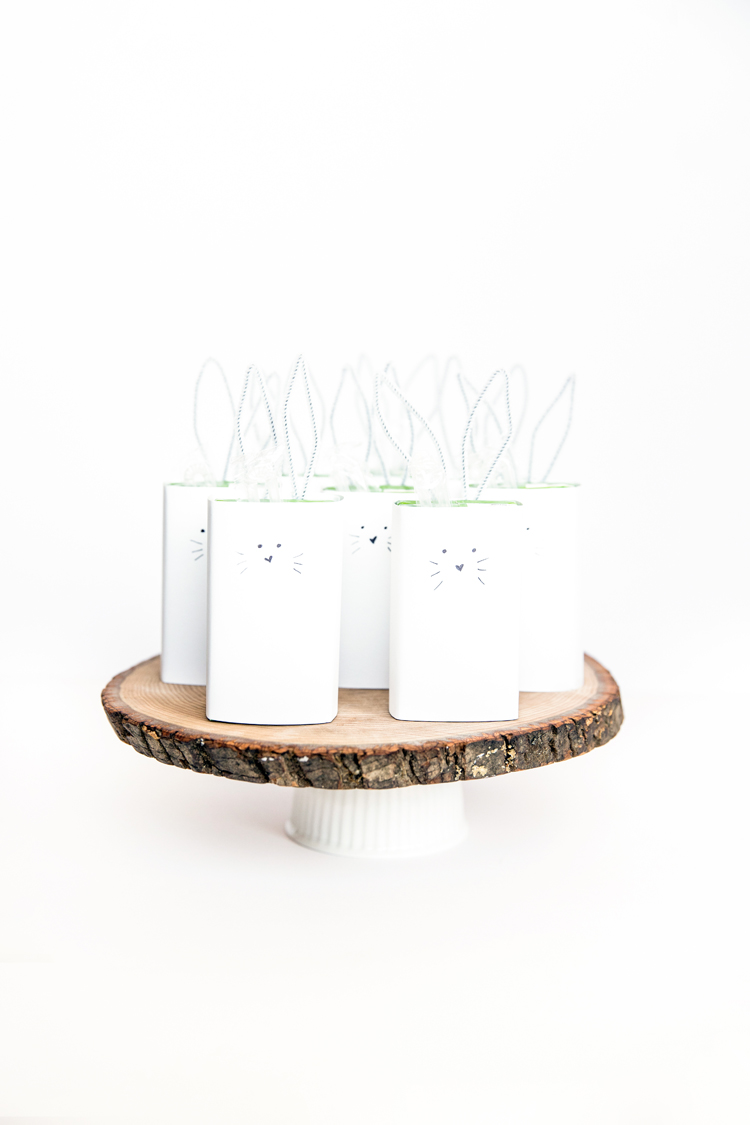
I took simple apple juice boxes and removed the straws. I cut white pipe cleaners in half, bent them into bunny ears, and then taped them to the boxes. Then I wrapped the boxes in white paper, drew on a face, and tucked the straw into the paper sleeve. You don’t want to leave the straw attached, or they have to pull the wrapper off to get it.
I have a tutorial for these raw edge wood slice cake plates too. They are actually food safe as well! Click HERE for the tutorial.
We served the cake with some carrots and snap peas. It seemed to be the perfect sized snack for a mid-afternoon party and a good break from the sugary rush.
All in all, it was a successful party, especially considering we gave people less than a week’s notice. Speaking of last minute invitations. I was a little bummed to not have enough time to make a creative invite, but I actually found that texting an invite was so much more practical. Let’s face it. We as a society have become really bad at RSVPing. I am trying to get better at it, but I still struggle to remember to do it too. Sending a quick text with all the details was so much more effective. I knew within about an hour, who could come and who couldn’t. So easy!
It also made things a lot less nerve wracking as I was sewing eight tutus, knowing they would all be put to good use. Phew! 😉


I just loved everything you did for this party. So adorable. That cake is beautiful andthe crafts were fantastic!
Thank you Katja! You are so kind!
This is so fun! I’m impressed that you managed to put all this together in just a week! That cake is so simple, but gorgeous (and I’m going to be looking for that mix for food-allergy friends), and the activities all look like great fun for a group of little girls. Also, your hand-lettering is looking really good!
Thank you for noticing! You’re the best. <3 And yes, this cake mix is great! I was worried it would stick in my cake rounds because I couldn't flour them (eep!) but with just parchment and oil, they slid out beautifully. Kudos to you for making a cake that's safe for food allergy friends! <3 <3