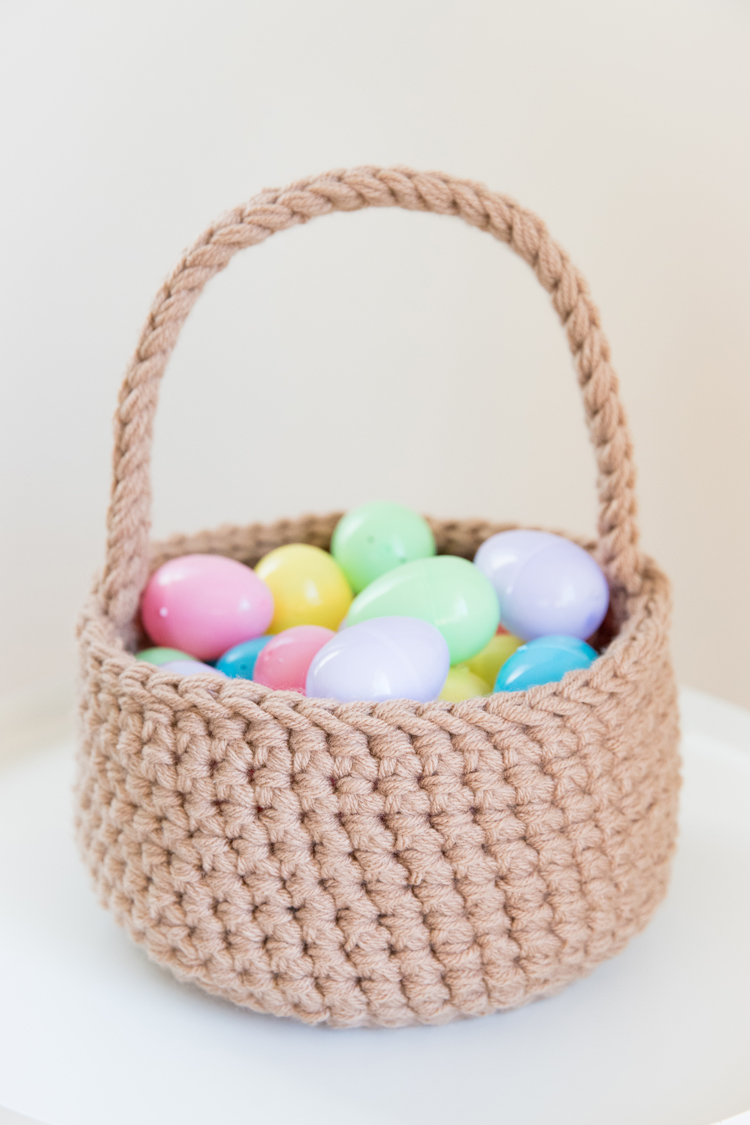
Today, we’re making a sweet little basic Crochet Easter Basket.
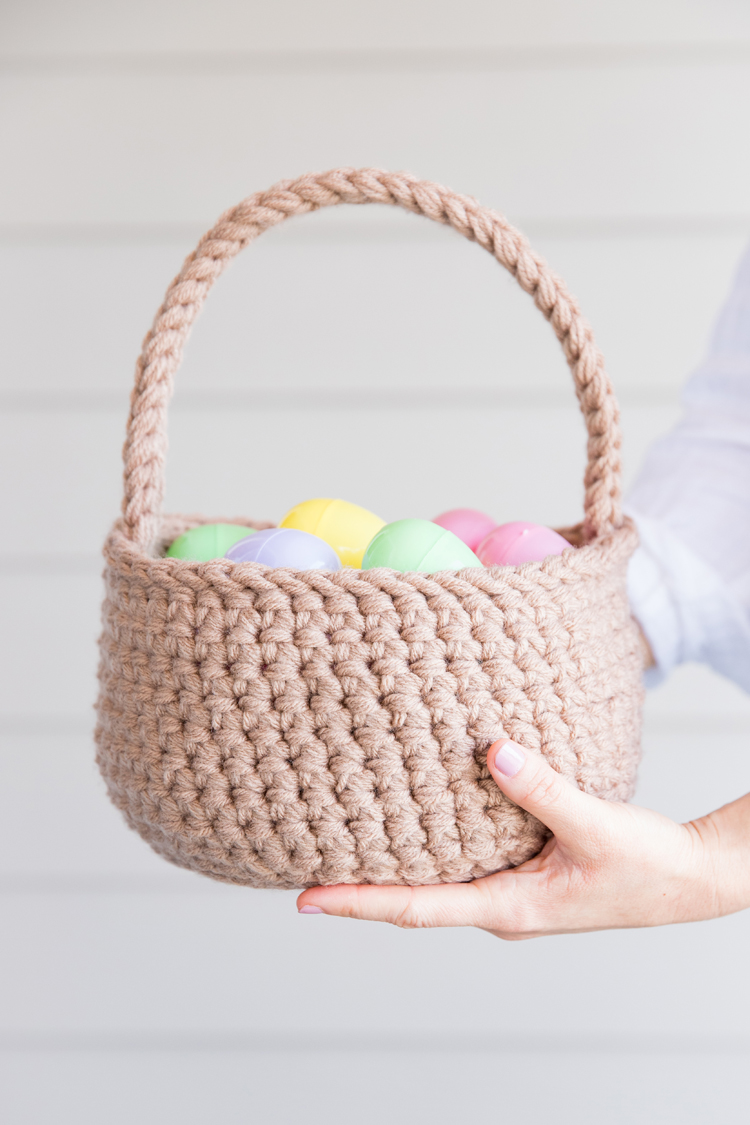
This pattern uses four strands of worsted weight yarn like my Four Strand Tote Pattern and just beginner friendly basic stitches like double crochet, single crochet, and slip stitch.
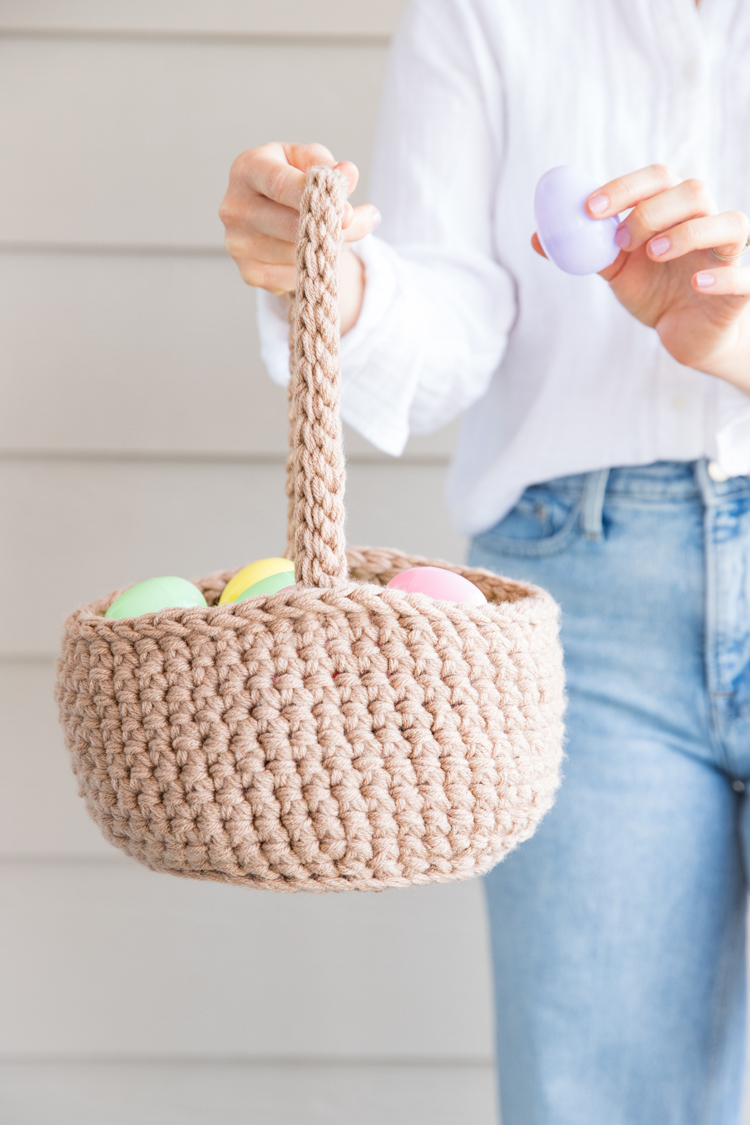
As with my Four Strand Tote, the cheaper and scratchier the yarn, the better! In fact, if it’s too soft, then results will not be as good. See the materials section for more about that.
This pattern is beginner friendly, but if you have never worked in the round before, I suggest checking out my Crochet Basics Series first. It consists of five main lessons from chaining to working in the round. You can read more about it HERE.
MATERIALS
- About 415 yards of worsted weight or size 4 yarn, divided into four equal balls or cakes*
- 9 mm hook **
- Stitch marker
- Scissors
- Yarn needle (with a blunt tip and a large eye, not pictured here)
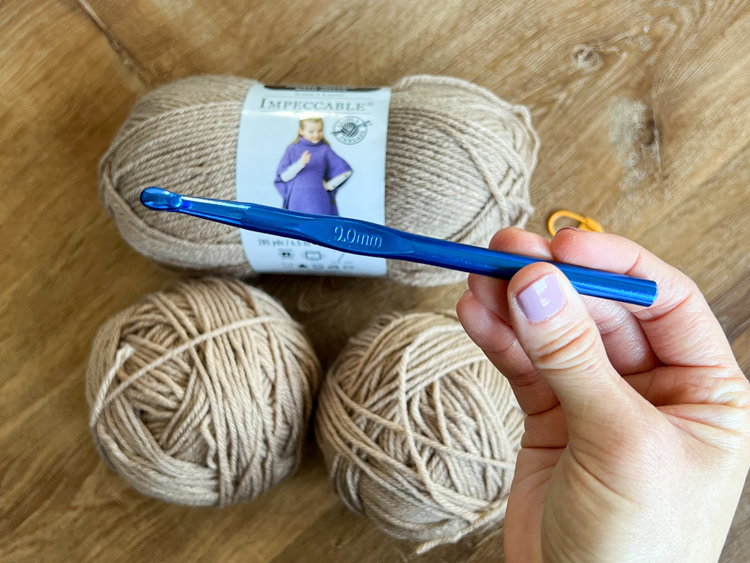
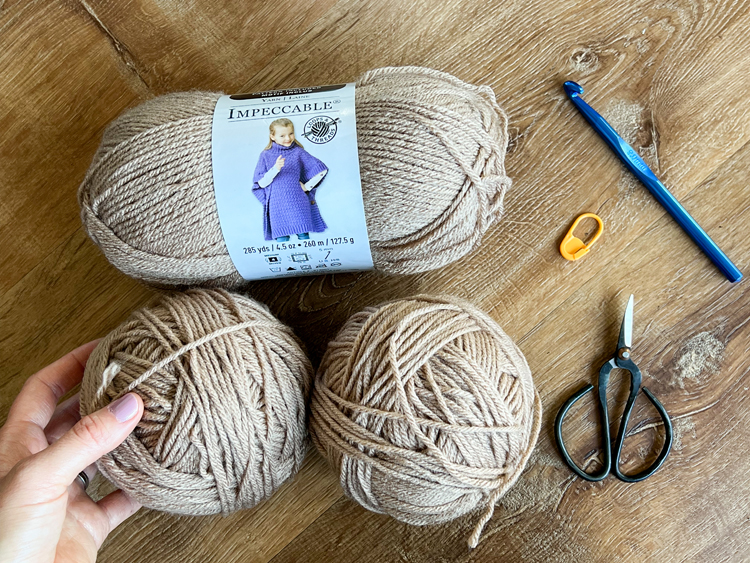
Materials Notes and Prep:
*Yarn: I used Loops & Threads Impeccable Yarn from Michael’s in “Soft Taupe.” I have found their budget yarn to be sufficiently good quality, not too scratchy, but stiff enough to make a sturdy basket. I imagine Red Heart’s budget selection of yarns, would work well also. I tried using Lion Brand’s Vanna’s Choice and it was too soft and made a floppy, misshapen basket. So, yarn really matters for this project.
*Divide Yarn: When buying yarn, keep in mind that you will need to make four balls of about 103+ yards from it. I used two skeins of Impeccable yarn and have some left over. You can do this by weight if you have a small scale, or you can try eyeballing it. It doesn’t have to be perfect, if you have more than 415 yards like I had with the Impeccable yarn.
Quick note about the yarn color. The tutorial photos were taken with my phone and the color is not as close to real life as the finished photos taken with my dSLR.
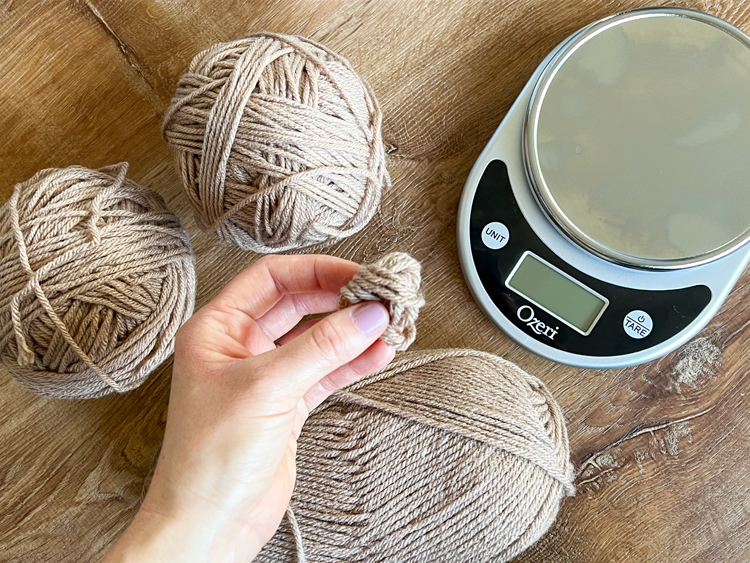
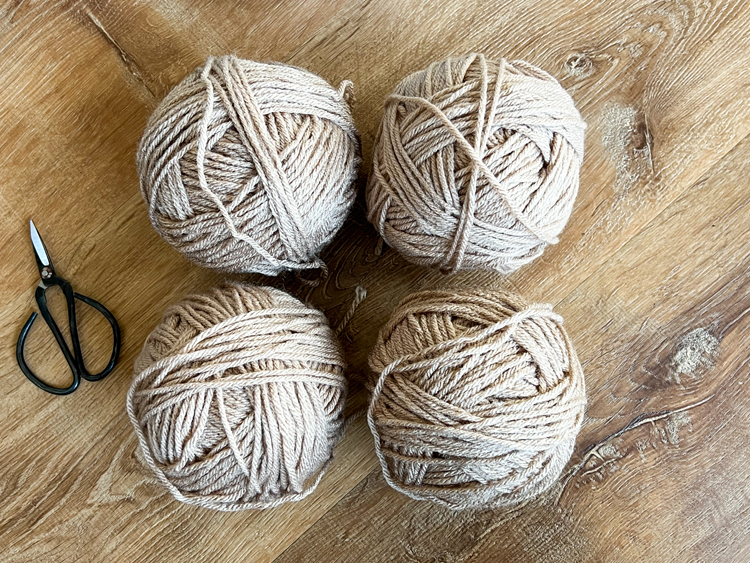
**Hook: TLDR: You may need to buy this size hook online.
Full story…If you are a long time follower, you know I really lean on this 9 mm size. Well, reality check. I just lost the hook I have been using for years and when I tried to replace it, it was impossible to find in stores. The hook I bought years ago from Jo-Ann was listed as an N/ 9.00 mm. Now all you can find for N hooks is N/10.00 or N15/10.00 and there is no 9.00 mm hook size commonly found. There is an M13 which can be a 9.00, but that’s like finding a unicorn. So, you all have my apologies that I have been creating so many projects with a 9.00 mm hook. I honestly still will, because it’s such a great size for a hook (crochet companies…what’s up???) but you will likely have to order it from a non-brand name seller online like I just did.
GAUGE
3 x 3 inch square = 5.5 sc x 6 rows
FINISHED MEASUREMENTS
About 12 inches tall with handle, 5.5 inches tall for just basket portion. About 9 inches in diameter.
ABBREVIATIONS
- ch = chain
- sl st = slip stitch
- sc = single crochet
- dc = double crochet
- fpslst = front post slip stitch
VIDEO TUTORIAL
The video should have already popped to the side or top of your screen. If it has not, it will play here after the initial ads. I still recommend reading the pattern/tutorial below, as there are some details better explained in written form.
Music is by Pleasant Pictures Music Club.
WRITTEN PATTERN & TUTORIAL
BASKET
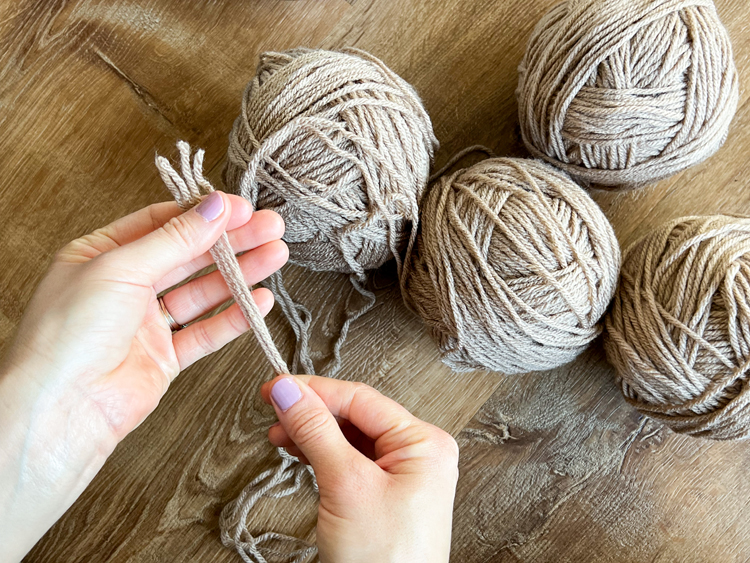
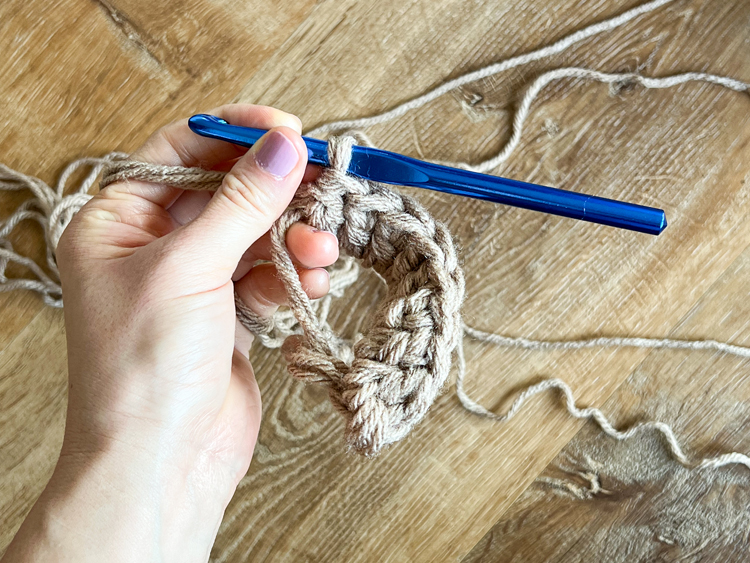
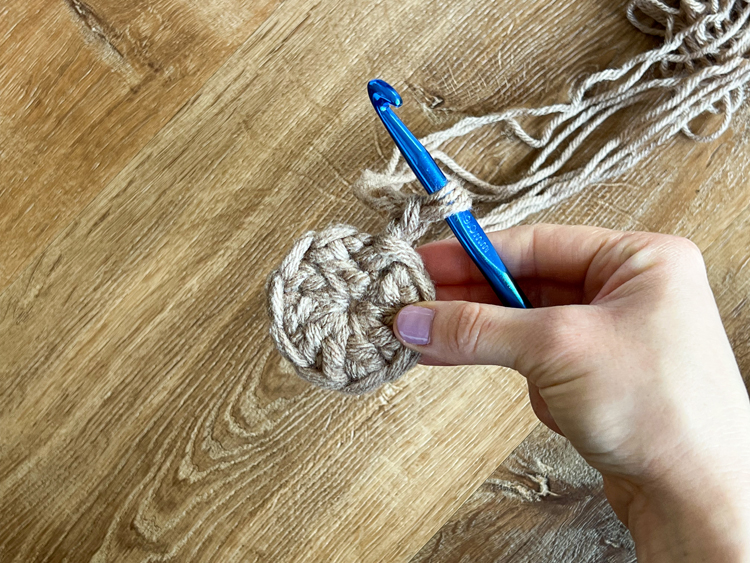
Form a magic ring (see the video).
ROUND 1: Ch 2, dc 9 times into the magic ring. Pull on the tail to cinch the ring closed and form a circle/disk. Slip stitch to the top of first dc.* The ch 2 will count as one stitch in the total stitch count in each round BUT, when you work a slip stitch into the top of the first dc, it will create the “top two loops” that the other stitches have over the ch 2 for a total of (10 dc)
*NOTE: See the video for visual clarification.
Sometimes I just call this working in the top of the ch 2 in many of my tutorials, because it’s easier to describe it that way and it’s the first top loops you can see from the beginning of the round anyway, but I wanted to be more precise this time to make things clearer.
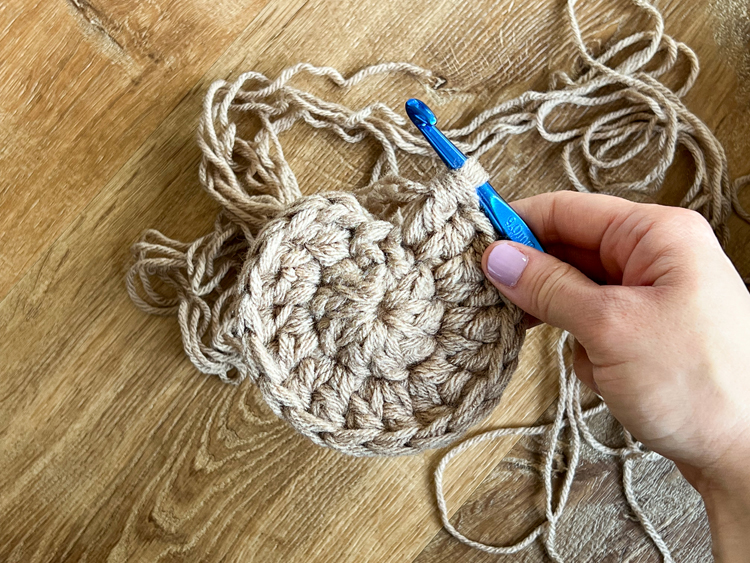
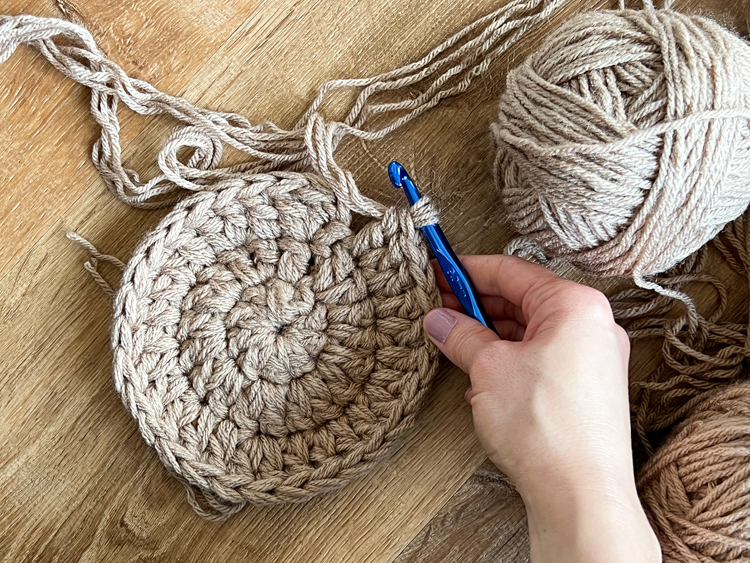
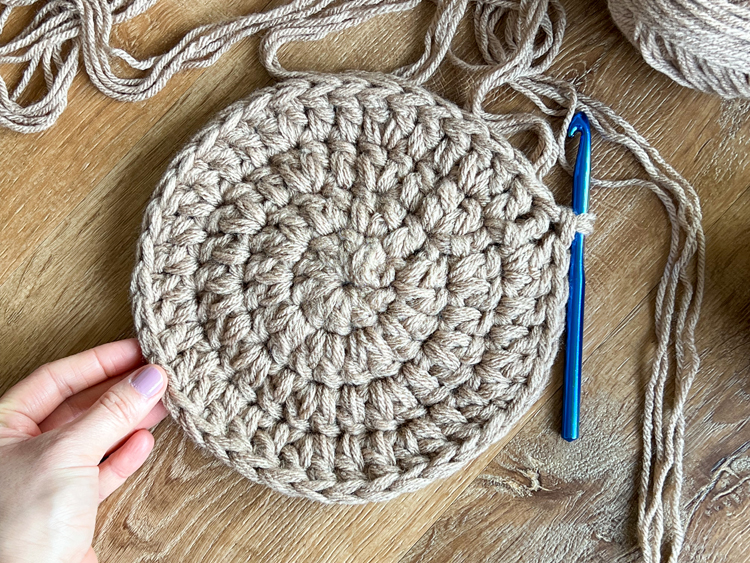
ROUND 2: Ch 2, dc in same space at the base of ch 2. Work 2 dc in each stitch. Sl st to the top of first dc. (20)
ROUND 3: Ch 2, work 2 dc in next the next stitch. Continue to work this pattern of 1 dc and 2 dc together in the next for the rest of the round. Sl st to the top of first dc. (30)
ROUND 4: Ch 2, work 1 dc, work 2 dc in the next stitch. Continue to work this pattern of 2 regular dc, and 2 dc together in the next for the rest of the round. Sl st to the top of first dc. (40)
You have formed the base of the basket. Now to move onto the sides…
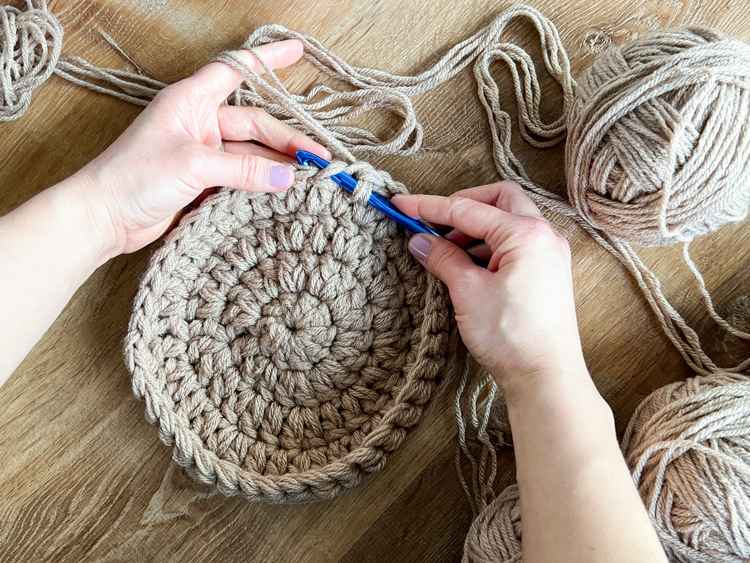
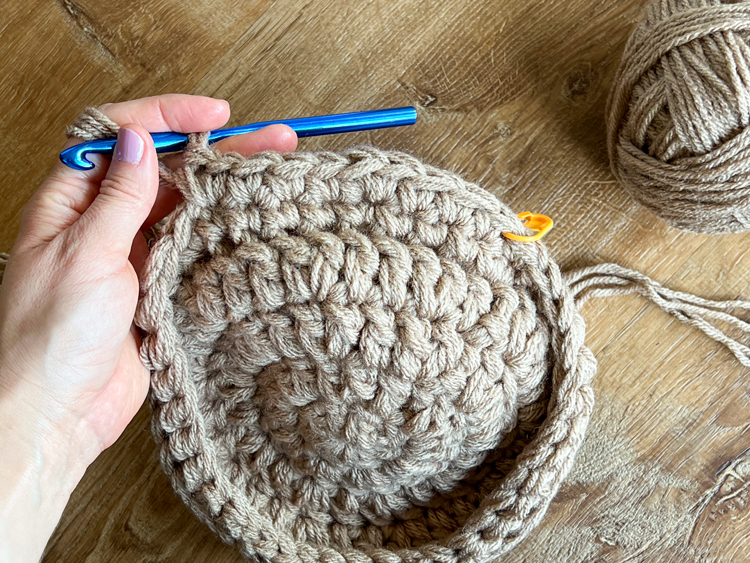
ROUND 5: Ch 1, working in front loops only, sc into each stitch in the round (40). When you get to the end of the round, DO NOT join to the first stitch. We will be working in continuous rounds so that there won’t be a side seam to the basket. Skip the chain one and go right into Round 6…
ROUND 6: Sc into the first sc from the beginning of Round 5. Place a stitch marker to indicate the beginning of the round. We will increase one more time in this round to create rounded sides to the bottom of your basket. Work 2 more regular sc in the next two, and then 2 sc together into the next stitch. Continue the pattern of working 3 regular sc and 2 sc together in the next, for the rest of the round. You will actually be working 2 sc together into the first stitch from the round. (so the total count is now 49/50 depending which stitch you count for which round).
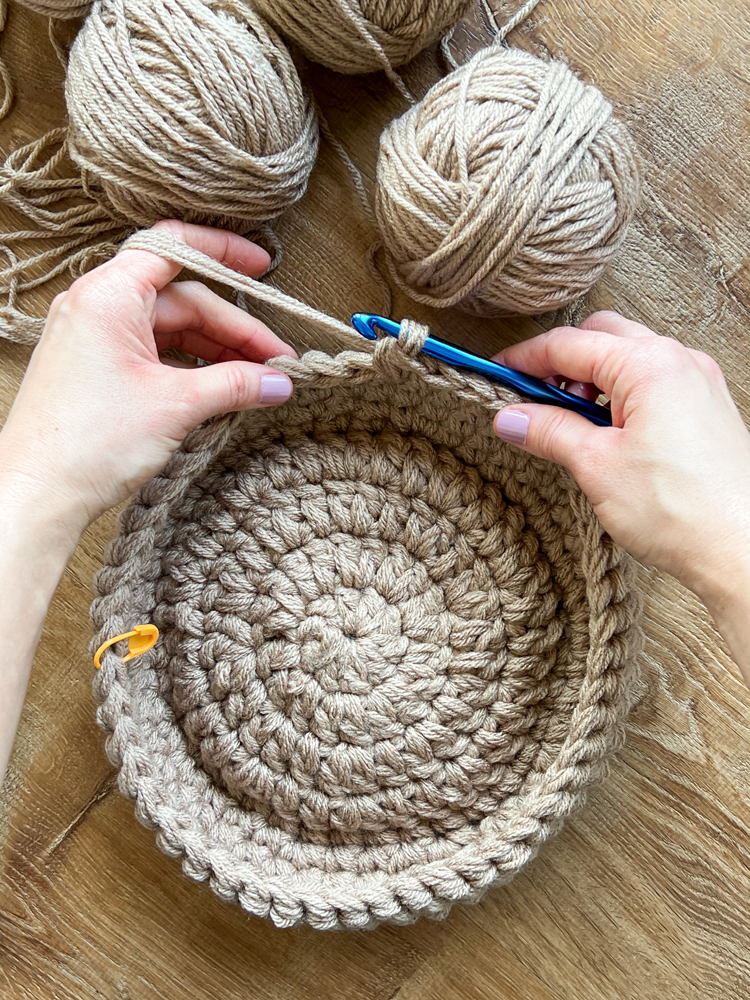
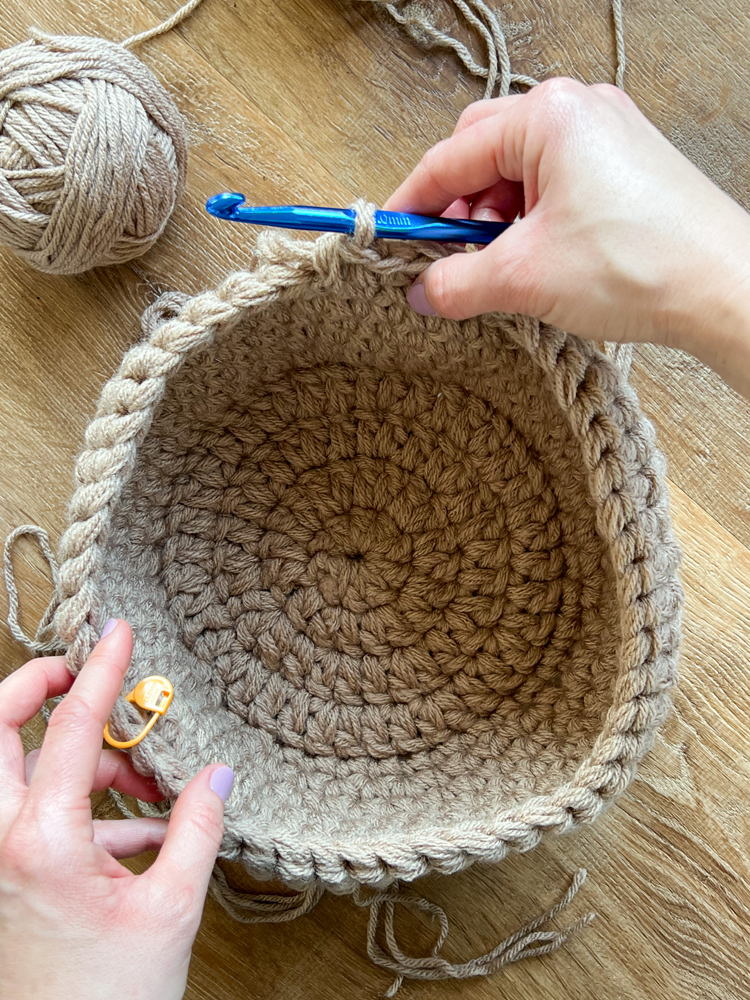
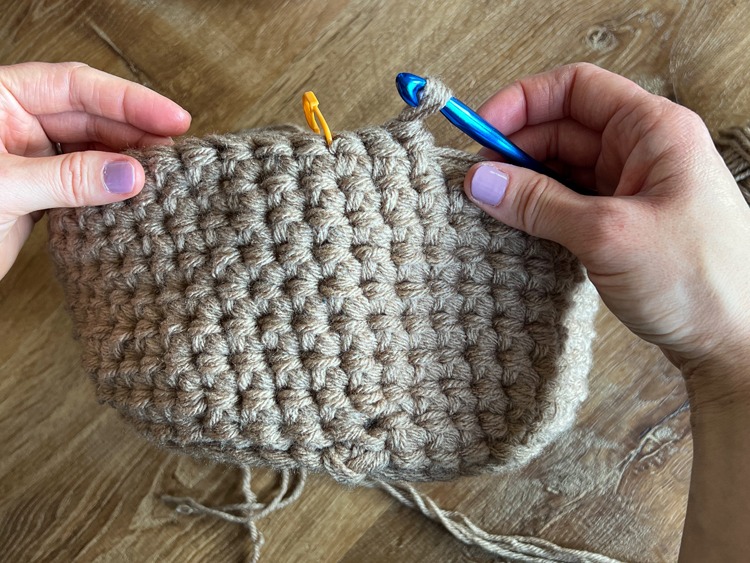
ROUNDS 7-14: Work a sc into each stitch in the round. When you get to the stitch marker, remove it, work a stitch, and then replace it to keep track of which round you are on. (49/50) As you can see above, there is no visible seam but the rounds slightly slant.
In Round 14, finish by working a sl st to the first sc from the previous round. Don’t tie off…
Now you’re ready to create the finishing round of trim around the top of the basket. You may notice that it sort of curves inward. To combat this, we will add a little band of sl st to the outside rim of the basket. It is very important that you keep tension LOOSE for this round.
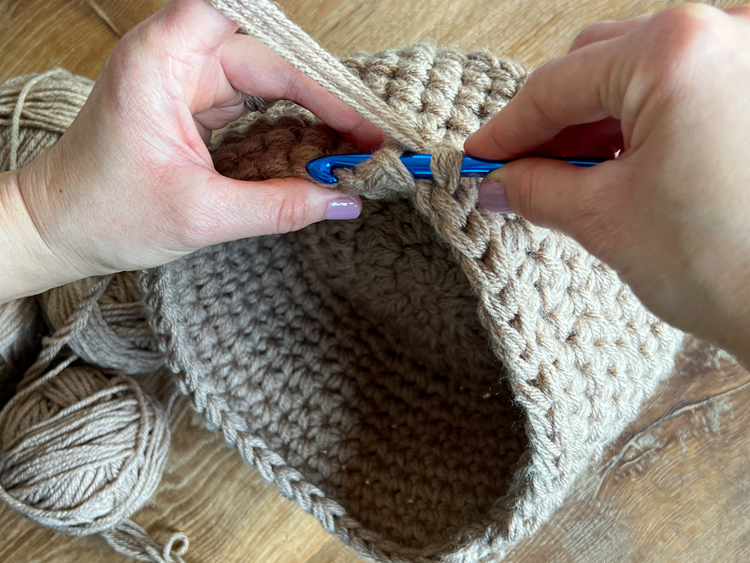
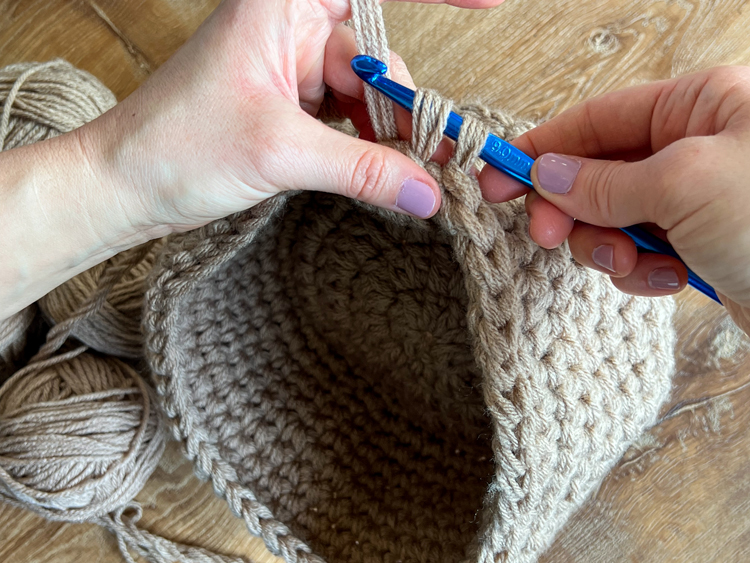
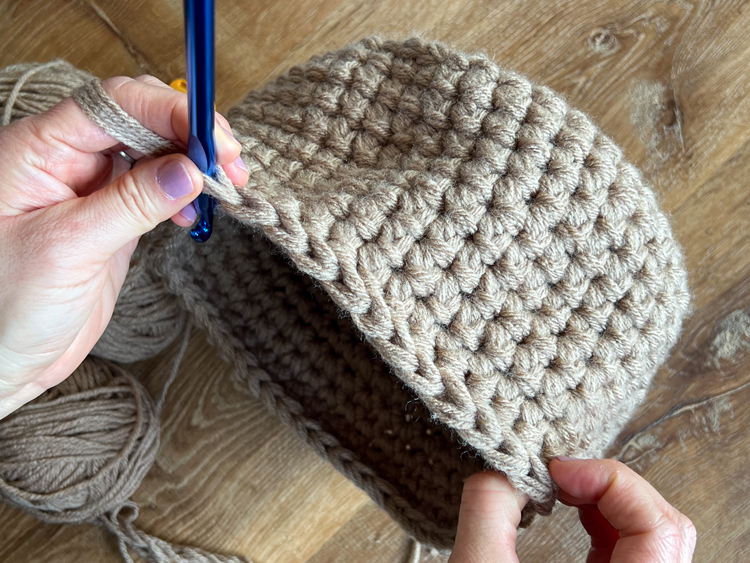
ROUND 15: Pull up the loop on your hook a little bit so it is nice and loose. Turn the basket so you are working on the outside rim and in the post (below the top two loops) of the stitches from the previous round. Insert your hook under and around the post, yarn over and pull up a loop as tall or slightly taller than the one already on your hook, then complete the sl st. We will call these fpslst. Complete fpslst around the entire outside rim of the basket.
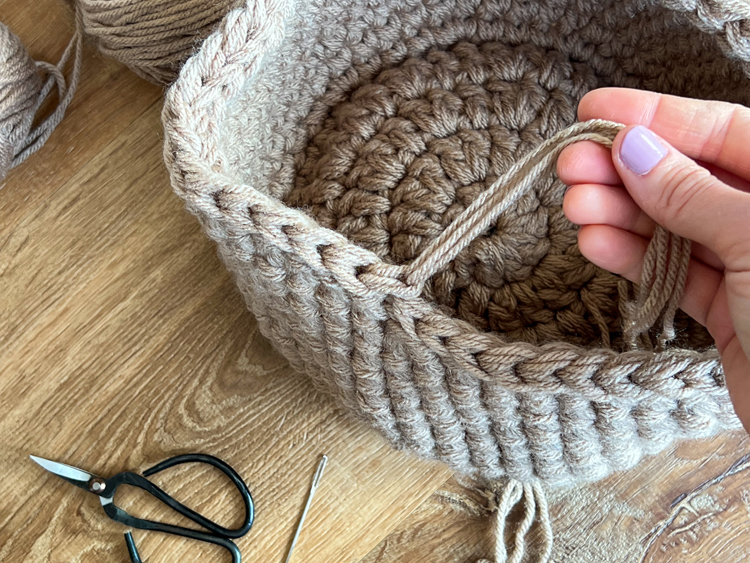
When you get back to where you started, cut an 8 inch tail, remove the hook and use it to pull the tail into the inside of the basket through the first stitch in the round, then pull the tail through the loop to tie it off. This helps create a cleaner finish that more closely matches the braided texture created by the slip stitches. It won’t be perfect, but it will blend it in more when we get to the handle.
Thread one strand of the tail at a time onto a yarn needle, and weave them in while also using them to blend in and clean up the rim of the basket. Also weave in the tails on the bottom of the basket.
HANDLE
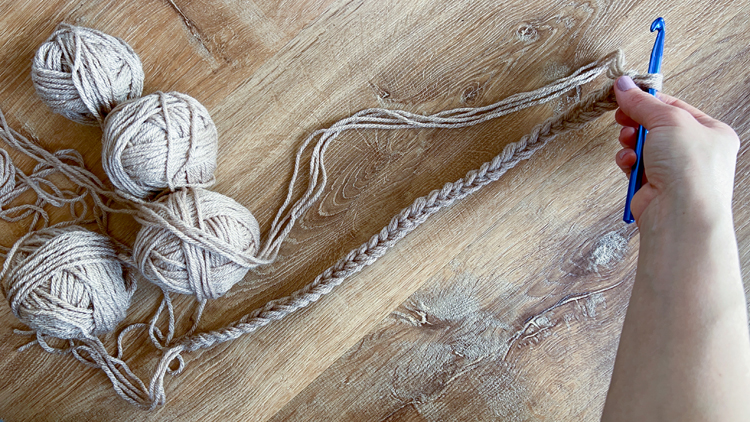
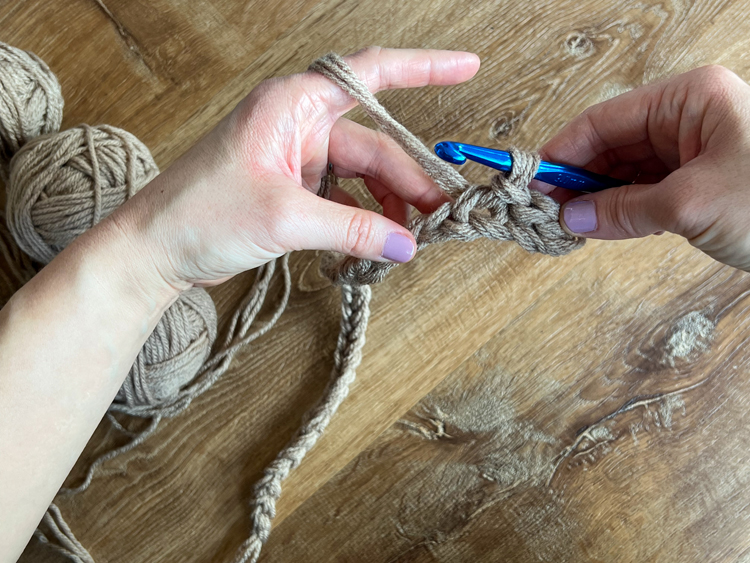
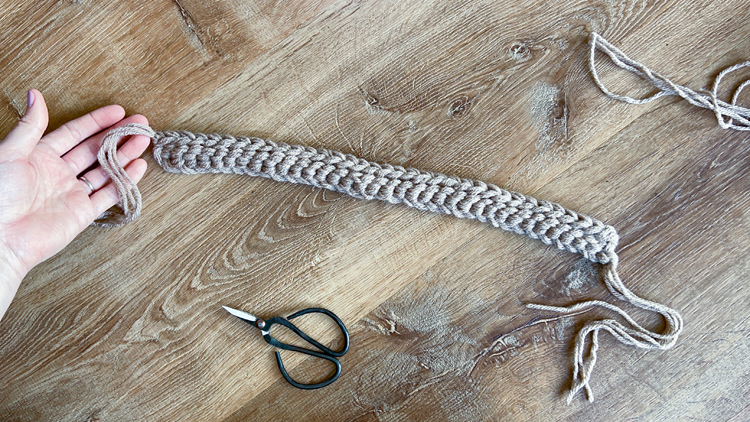
Using the remainder of the yarn and all four strands, tie a slip knot (making sure you have an 8+ inch tail to begin) and ch 36.
Row 1: Sl st into the back loop of the second ch from the hook. Continue to sl st in each in back loops only for the rest of the row. (35)
Row 2: Turn, ch 1. Sl st into the front loops only of each stitch for the rest of the row. (35)
That’s it! Tie off and leave an 8 inch tail. The tails are important because they will be used to attach the handle to the basket.
BASKET ASSEMBLY
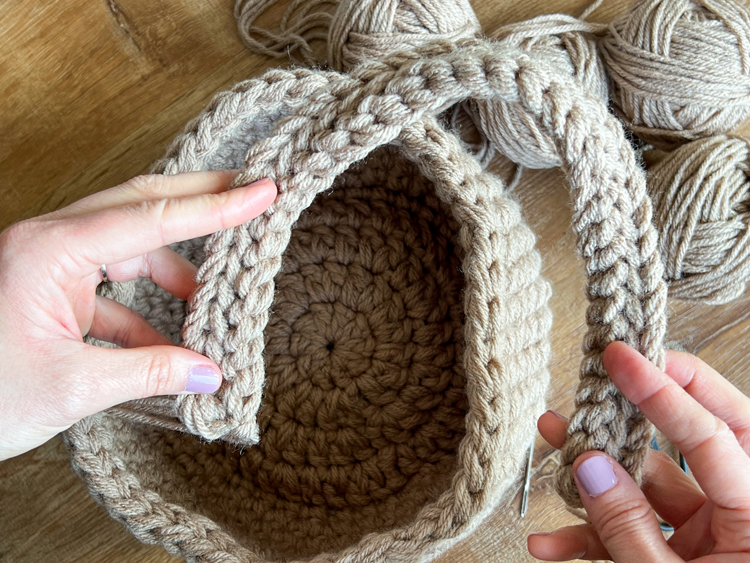
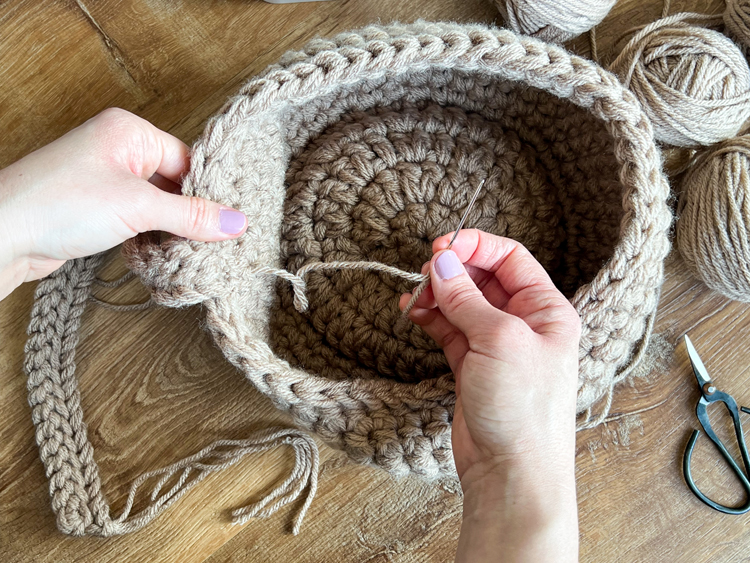
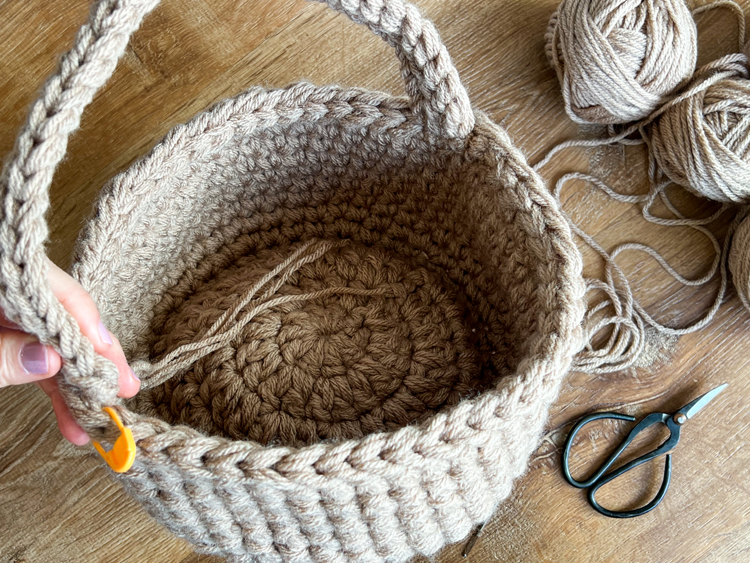
Use the yarn needle, and one strand of each tail at a time, to sew the handle into the side of the basket. Place the handle on the inside of the rim, just behind where you finished the slip stitch rim detail and sew the handle in place. Once secure, weave in the rest of the strand, trim it, and repeat it for the other three strands.
Fold the basket in half to determine where to place the other end of the handle. Use a stitch marker to mark it. Then sew it in place like you did the first side.
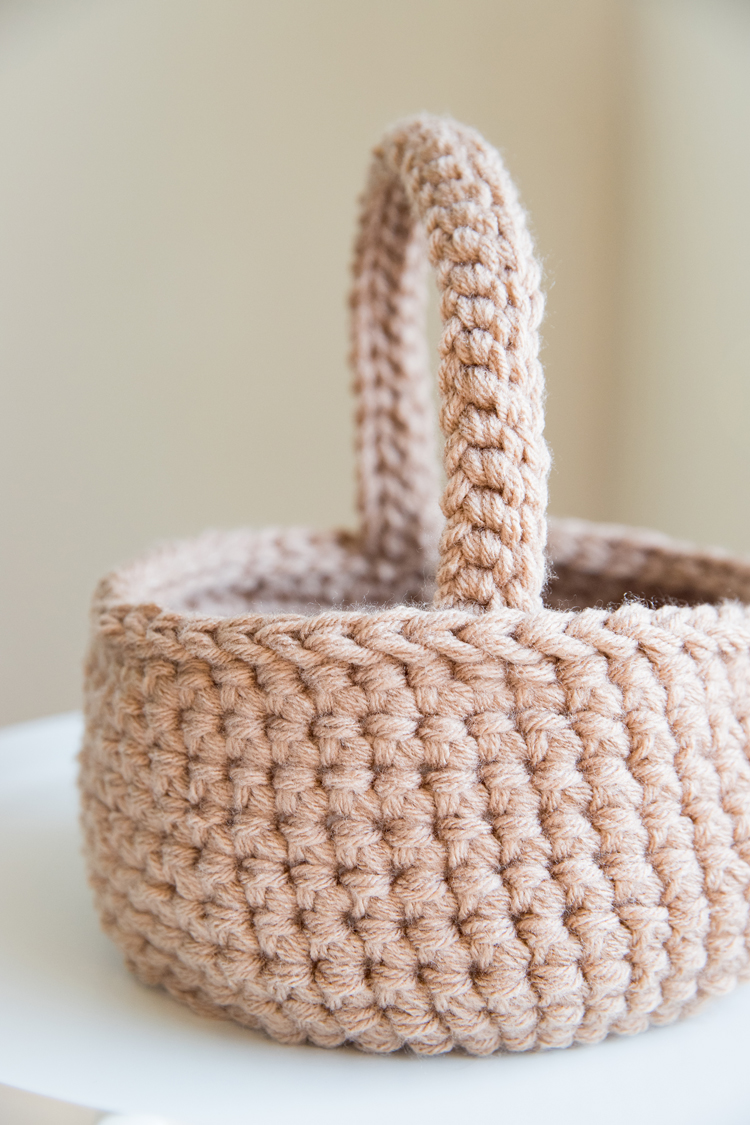
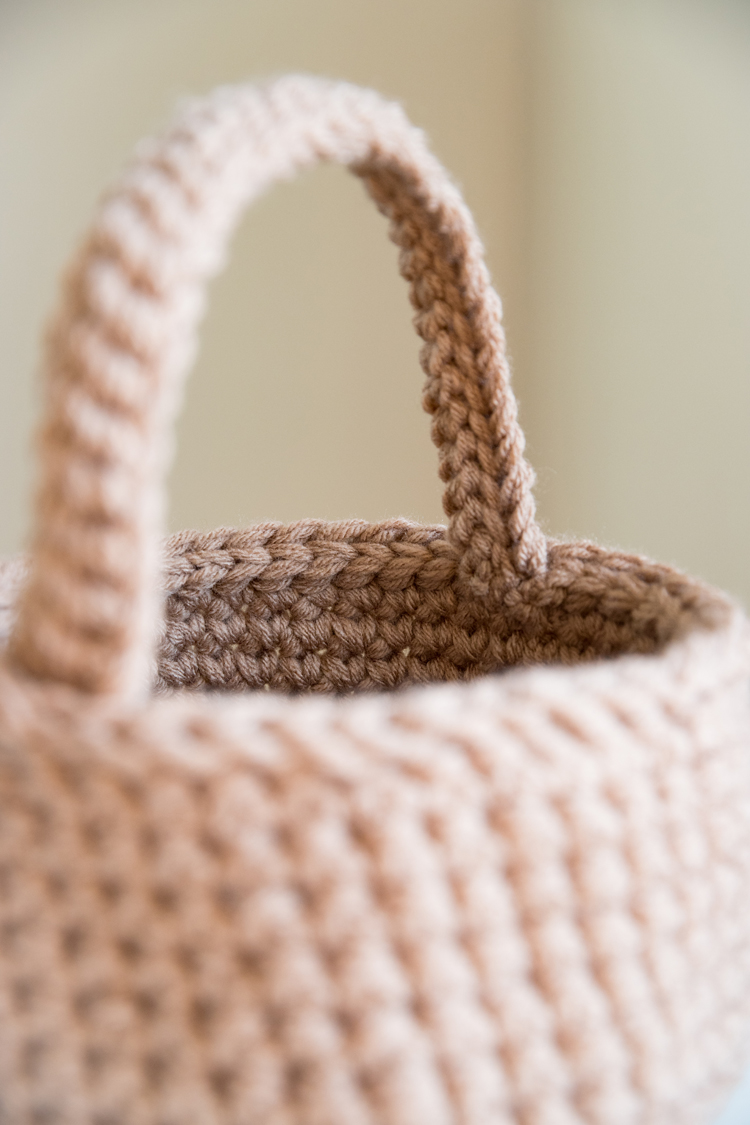
You’re done!
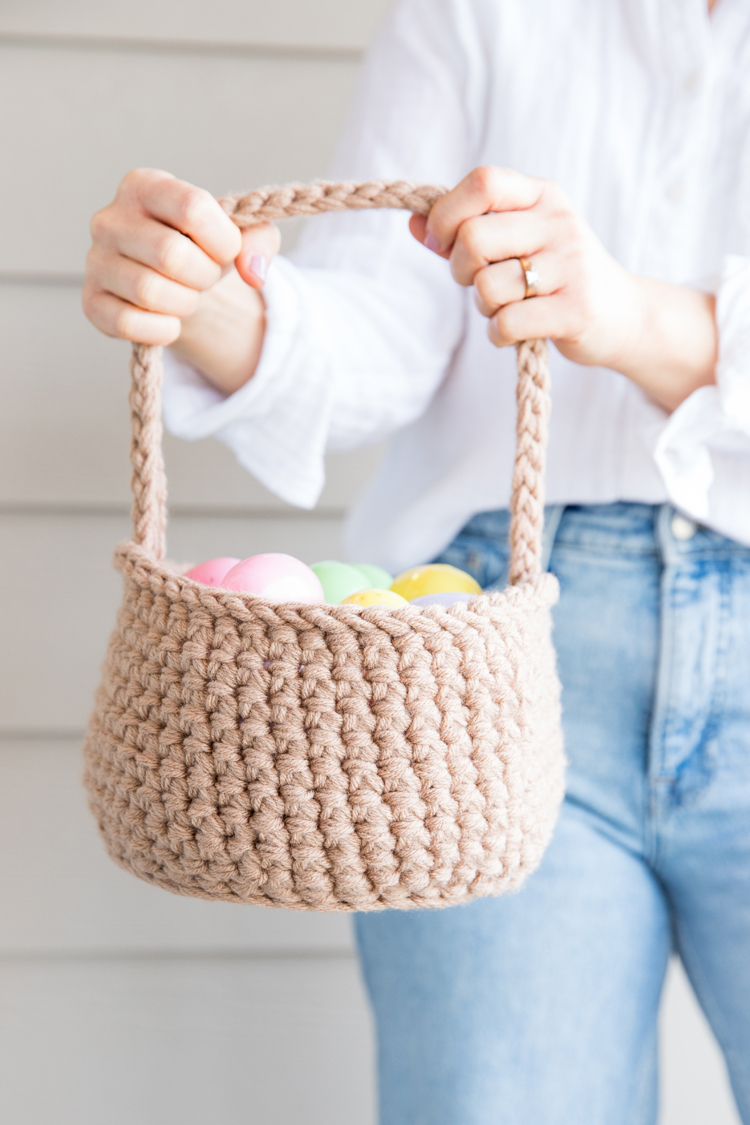
This is the basket, sort of smooshed down and unshaped…
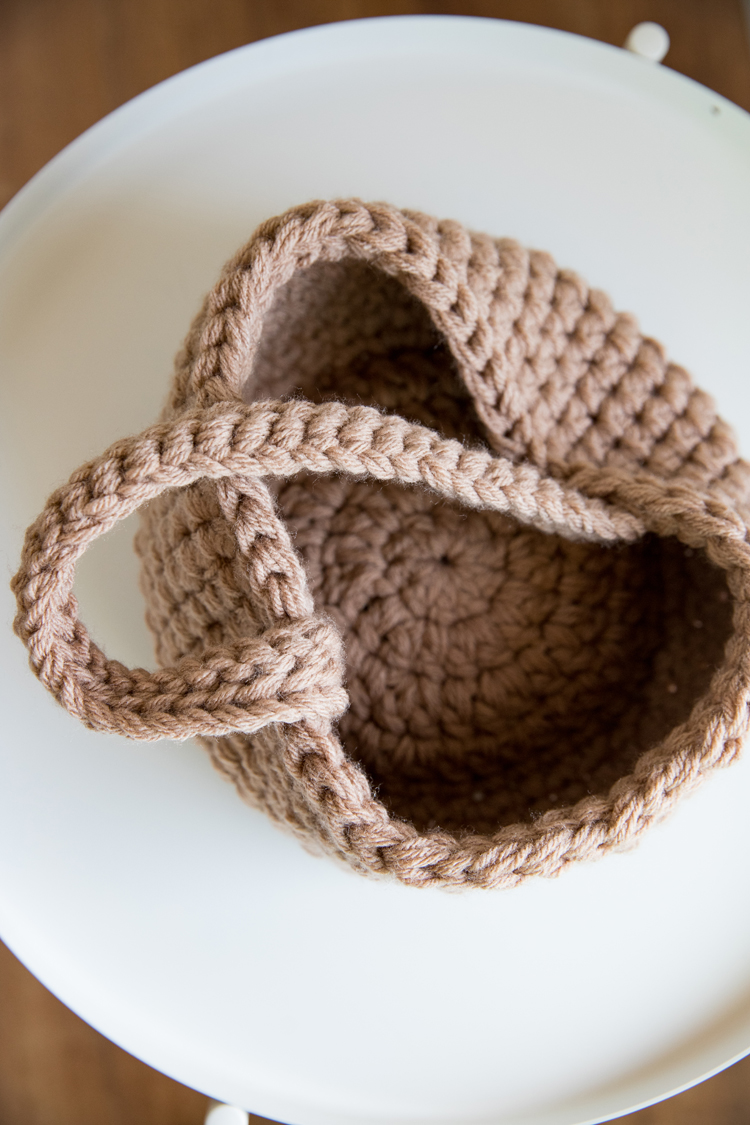
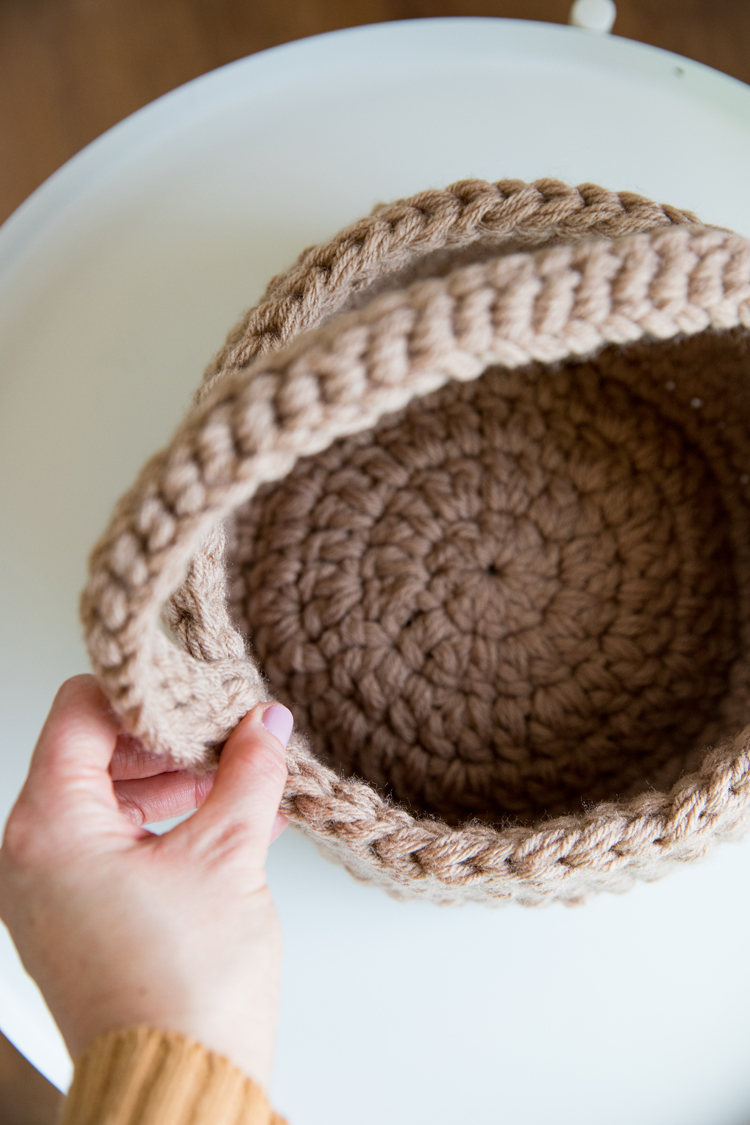
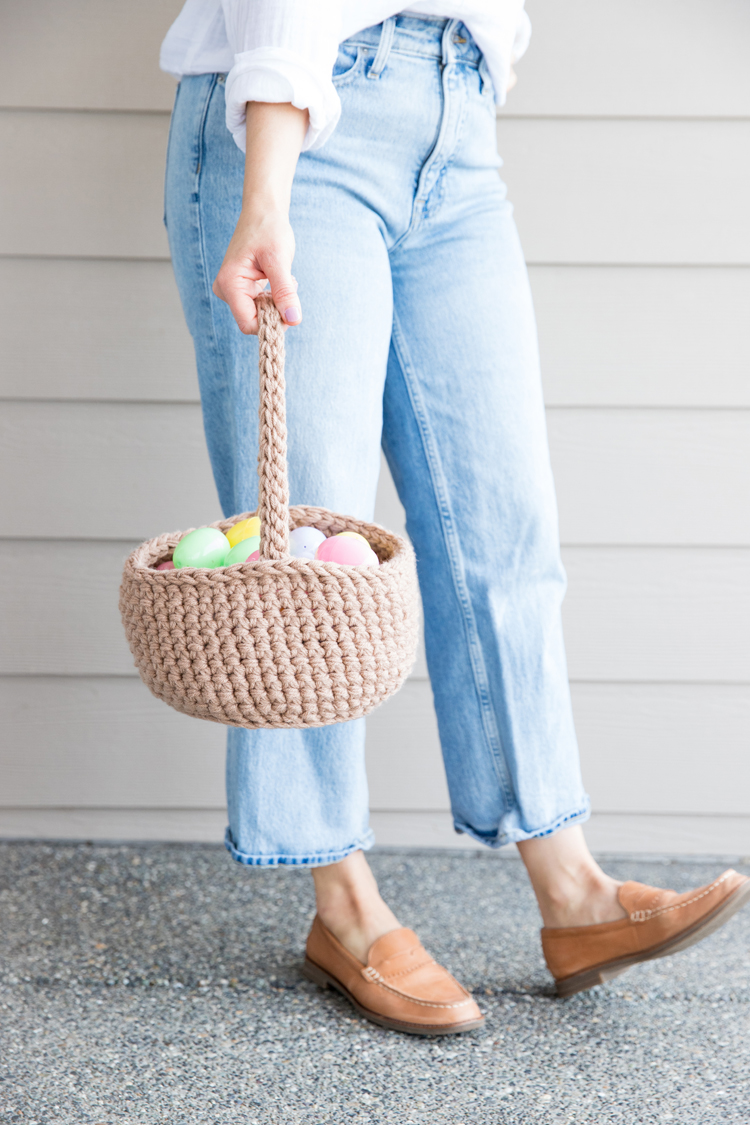
It’s a nice, relatively soft basket that is easy to run around with during a hunt and that makes it a space saver in storage, but it’s still sturdy enough to stand upright with some quick shaping…even the handle!
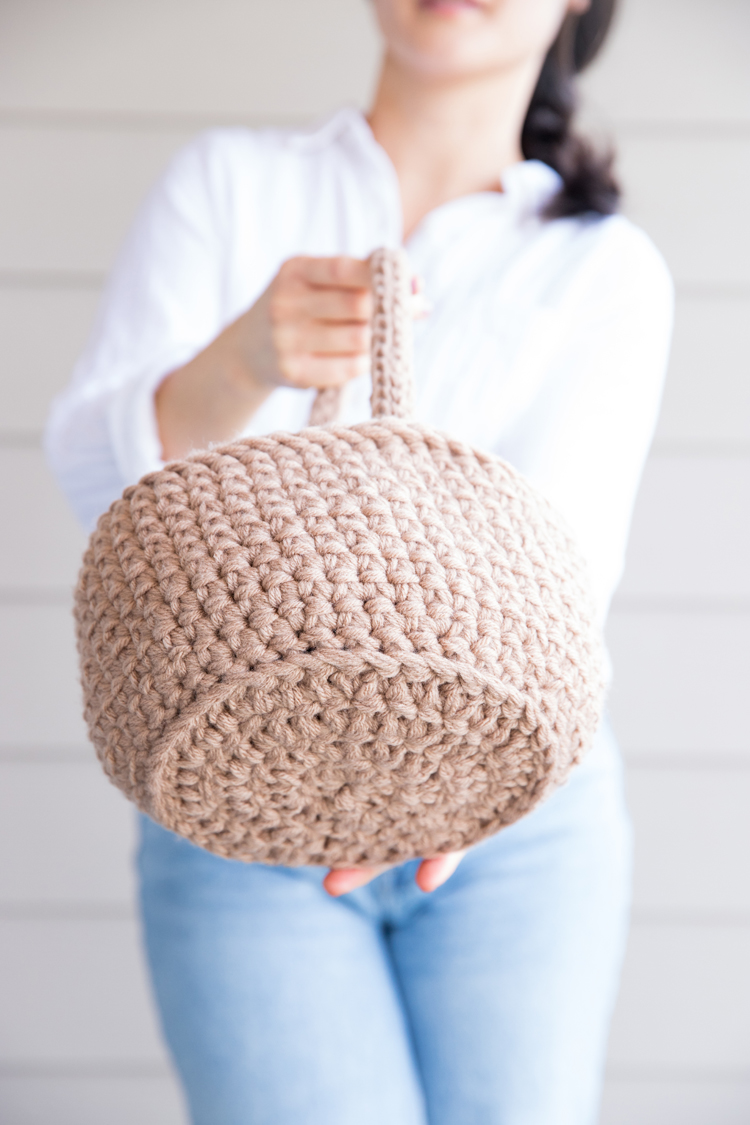
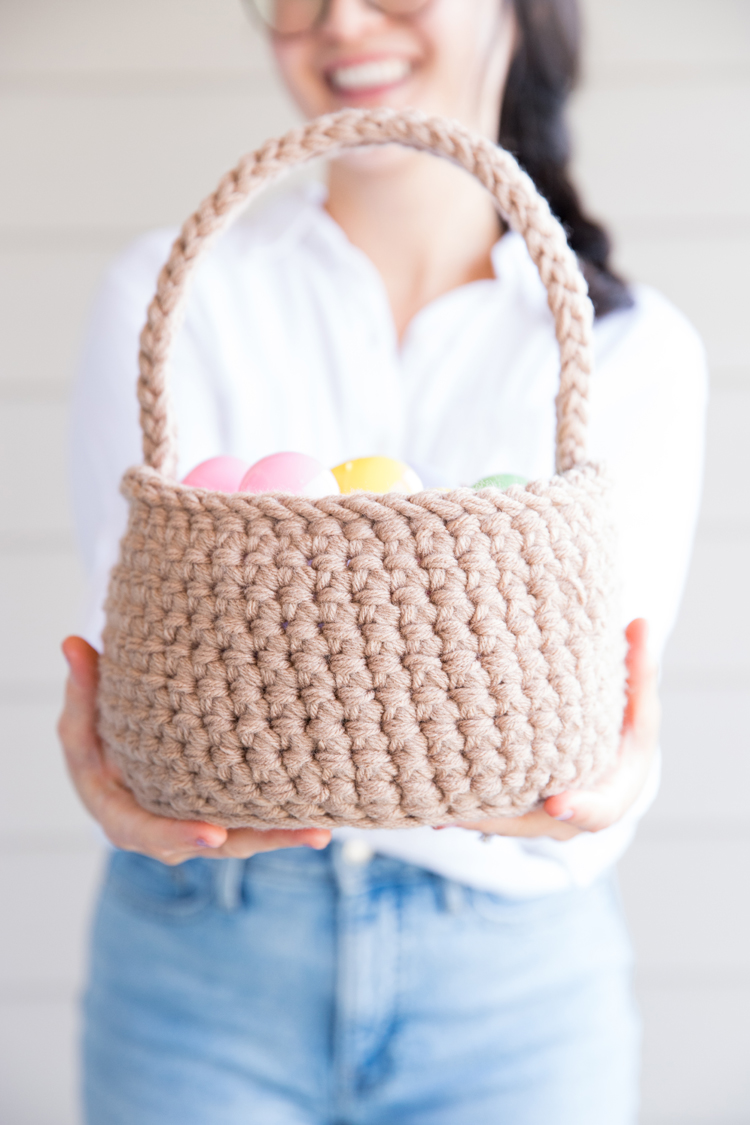


I can’t seem to find your video in the post or on YouTube. Could you please share the link?
Hi Anna. I don’t have a YouTube link up just yet. Sometimes the video won’t show if you have an ad blocker. The video player shows an ad before it plays the tutorial and it’s often in a pop up window, so it’s easy to mistake it as an ad. If you refresh the page, it should come back up. I hope that helps.
The video comes up, but there is no way to expand it; therefore no sound and very difficult to interpret. Do you usually post to YouTube at some point? Either way, thanks so much for sharing all of this information!
I’m so sorry for the technical difficulties. I have reached out to my video host several times about this issue. I really should have listed it on YouTube sooner. I am very sorry. If it’s not too late and you still want me to list it, let me know: [email protected] and I’ll prioritize it today. I’ll also reach out to my video host again today.
Can you make it wider?
You could make the base wider before building up the sides. I made the base of this basket a circle, but you could make it more oval shaped, similar to this bag: https://www.deliacreates.com/four-strand-crochet-tote-free-pattern-tutorial/