I don’t often create patterns upon request, but after a couple of years of some readers asking for a beginner friendly Christmas stocking, I decided to take on the challenge!

It’s a great no frills, basic stocking, that you can embroider, add color changes to, or enjoy all on it’s own.
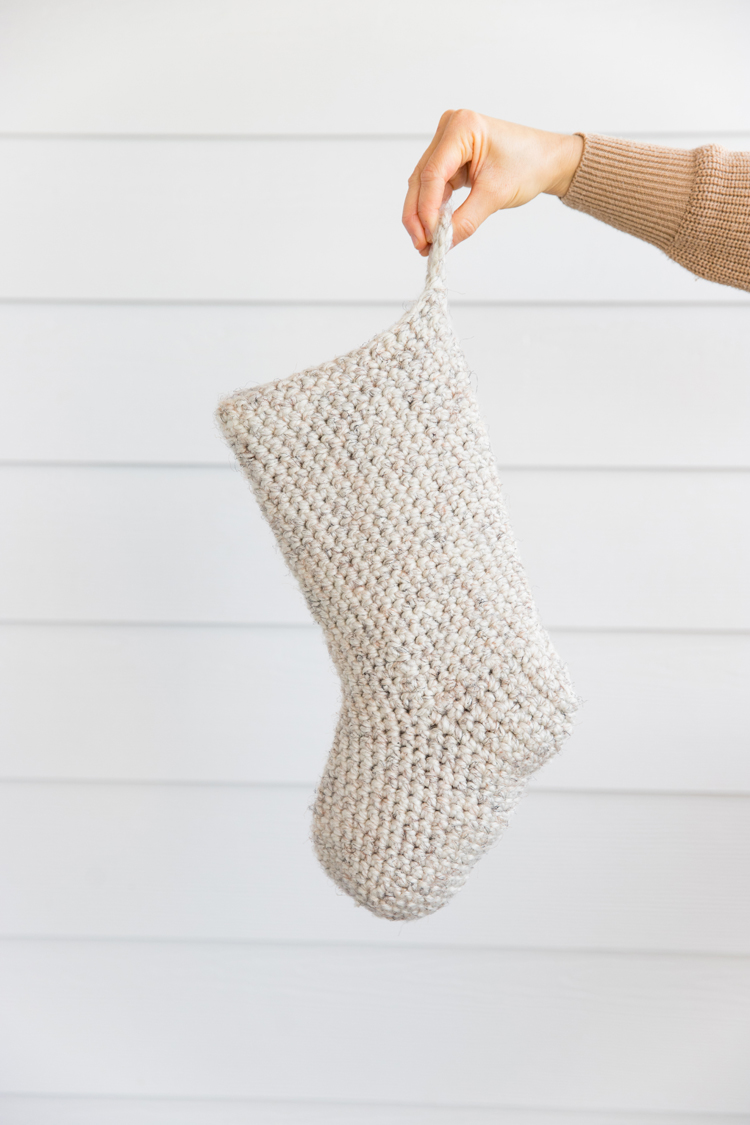
It uses mostly just single crochet with some double crochet and slip stitches thrown in, so it checks that “beginner friendly” box while also being really sturdy.
Crochet tends to be stretchy which can make bags and things like this stocking impractical to actually use. By using tight single crochet in seamless rounds we can take out a lot of that stretch and add in strength. I tossed some soup cans in to test it out and it was able to easily handle at least 5 pounds! (You can see me dropping cans into it at the end of the video tutorial.)
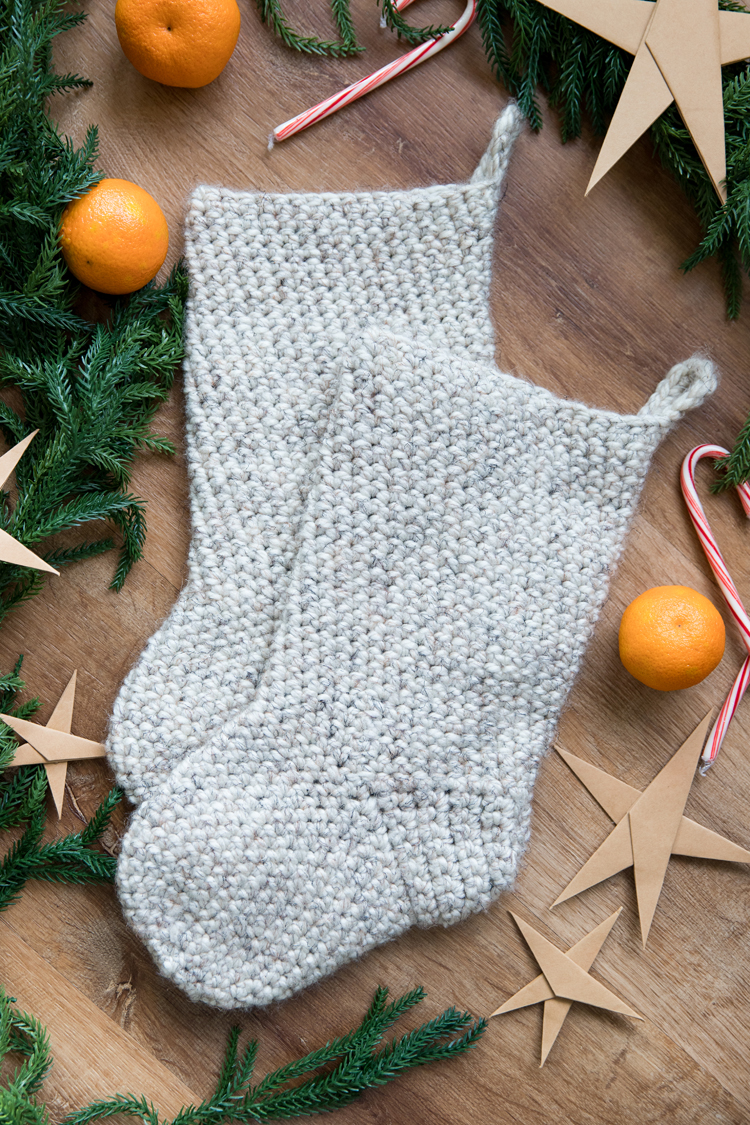
It’s a great mindless pattern to work on while you watch holiday movies and it takes maybe 2-3 hours per stocking depending on how fast you are.

I also wanted it to be cost friendly, so I’m happy to say you only need one skein of Wool Ease Thick and Quick plus a little extra. I explain more in the material details…Let’s get started!
MATERIALS
- Super Bulky or Category 6 Yarn*
- K/10.5 or 6.50 mm hook
- Scissors and yarn needle
- Stitch marker (you can use a piece of ribbon or a paper clip as well)
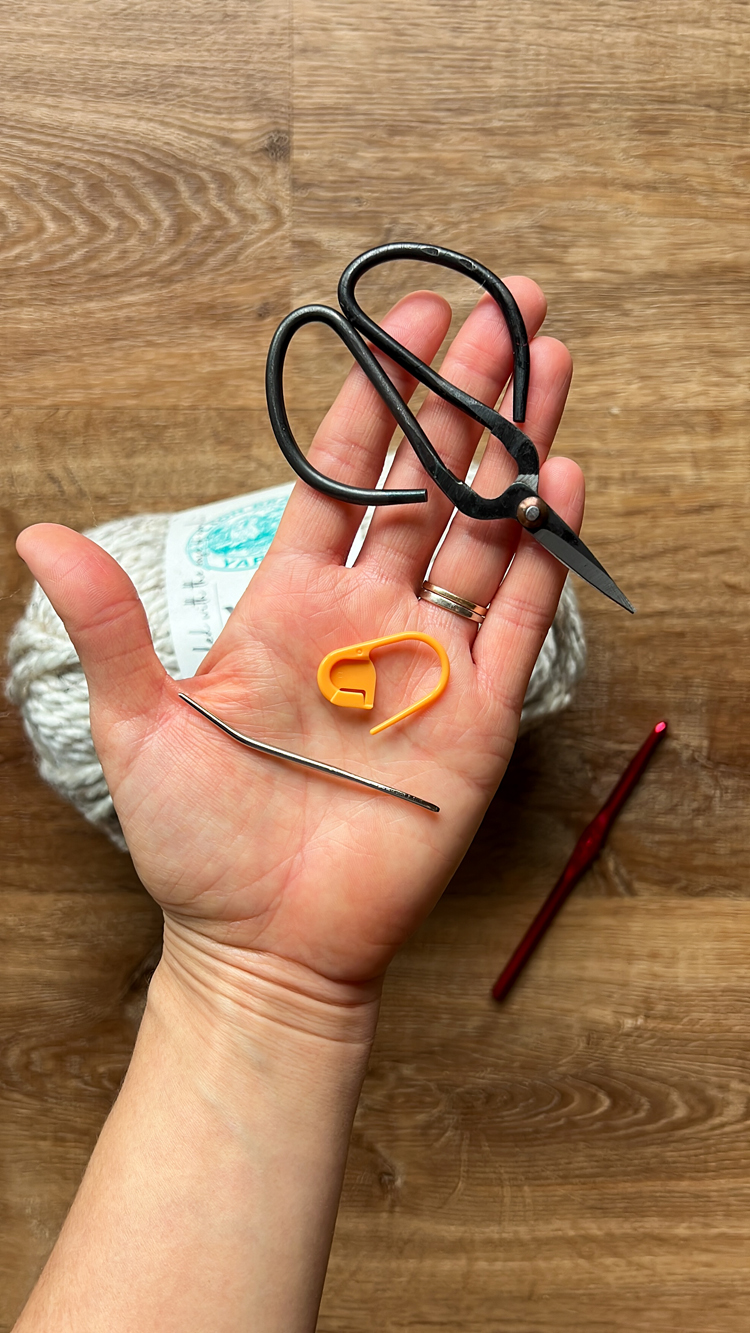
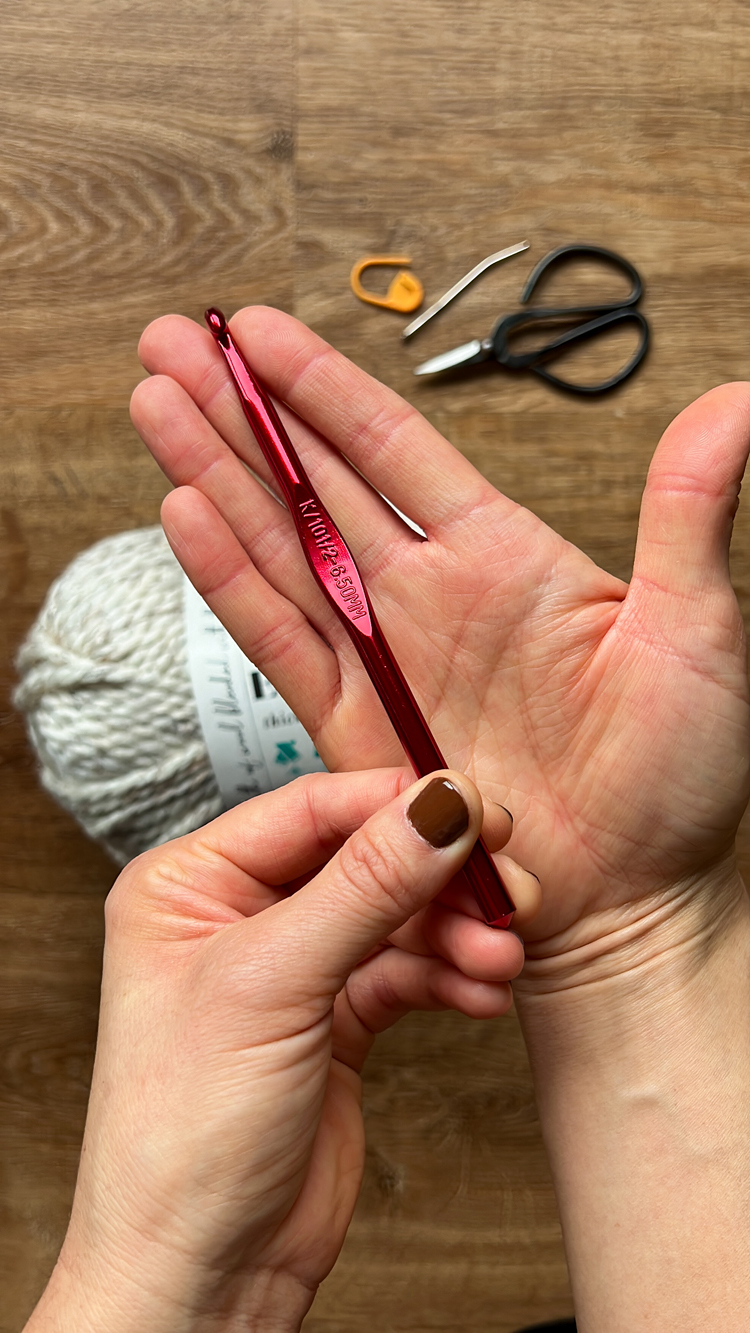
Materials Notes
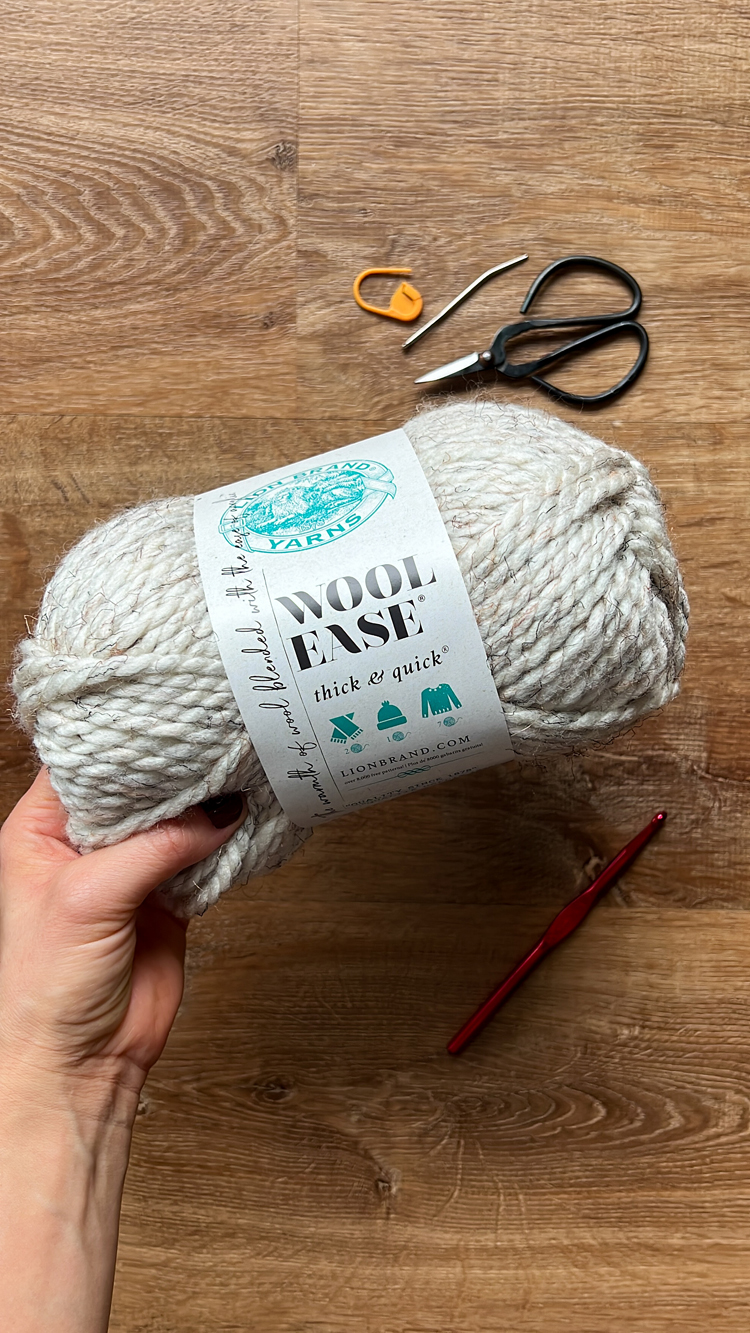
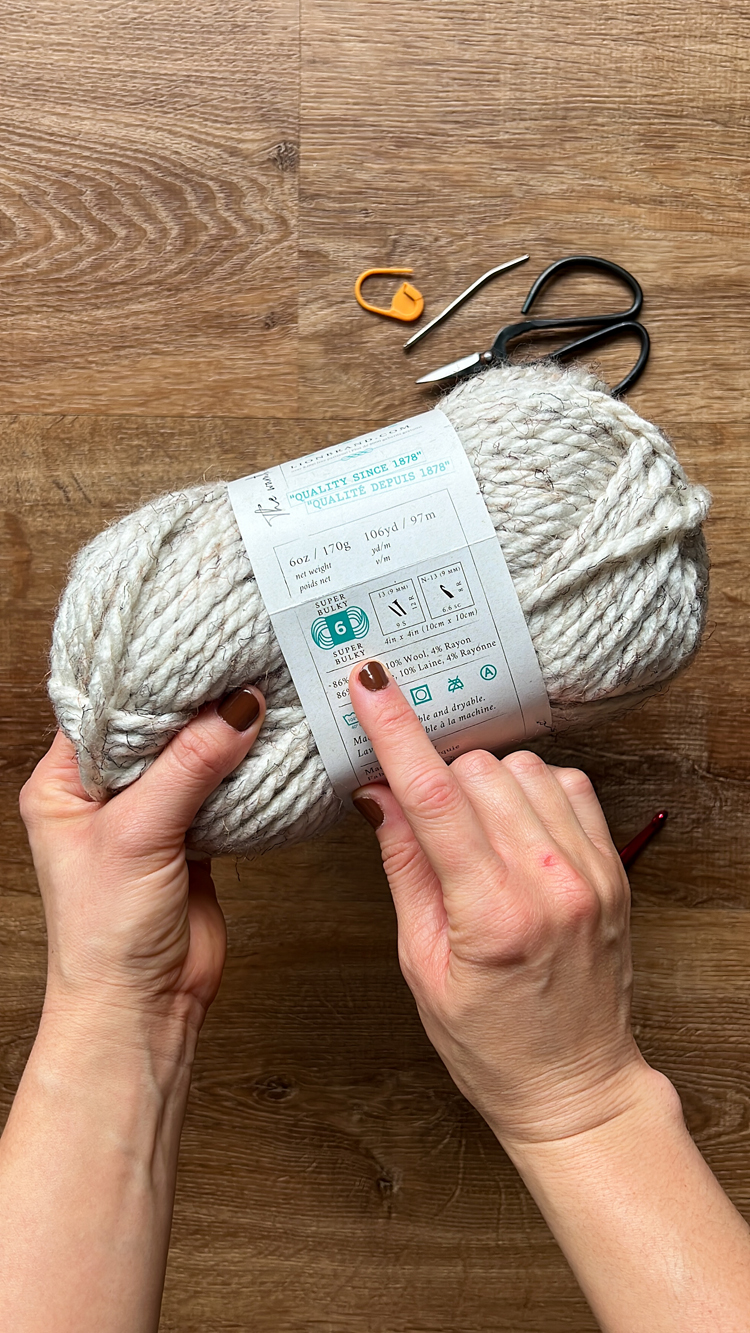
*I used Wool-Ease Thick and Quick in “wheat.” You can use any super bulky or category 6 yarn, but I recommend using yarn with some wool in it. It usually looks more matte and gives a prettier finish.
*Each stocking takes about 190 g or 118 yards of yarn. This equals one skein plus an extra dozen yards. So if you want to make more than one stocking, get one skein per stocking, plus one extra skein for the lot (for up to 8 stockings).
Disclaimer: In the video tutorial I list a more generous yarn amount. That was recorded before I wrote out the pattern and made a more precise yarn estimate. I’m leaving the generous estimate and including this disclaimer though because it’s a good idea to plan to have a little more just in case: Your tension may vary slightly from mine, which can impact yardage. Sometimes the listed yardage doesn’t accurately represent what’s in the skein, and once in a blue moon I’ll get a skein with some damaged yarn in the middle that needs to be cut out. It’s just a good idea, generally, to overshoot a little if you can.
GAUGE
4″x4″ = 10.5 sc x 10.5 rows
ABBREVIATIONS
This pattern uses U.S. Crochet Terms.
- sc = single crochet
- dc = double crochet
- sl st = slip stitch
VIDEO TUTORIAL
The video should have already popped to the top or side of your screen. It will play after some initial ads. If you “x” out of the video, you need to refresh the page to get it back.
Music is by Pleasant Pictures Music Club.
WRITTEN PATTERN & TUTORIAL
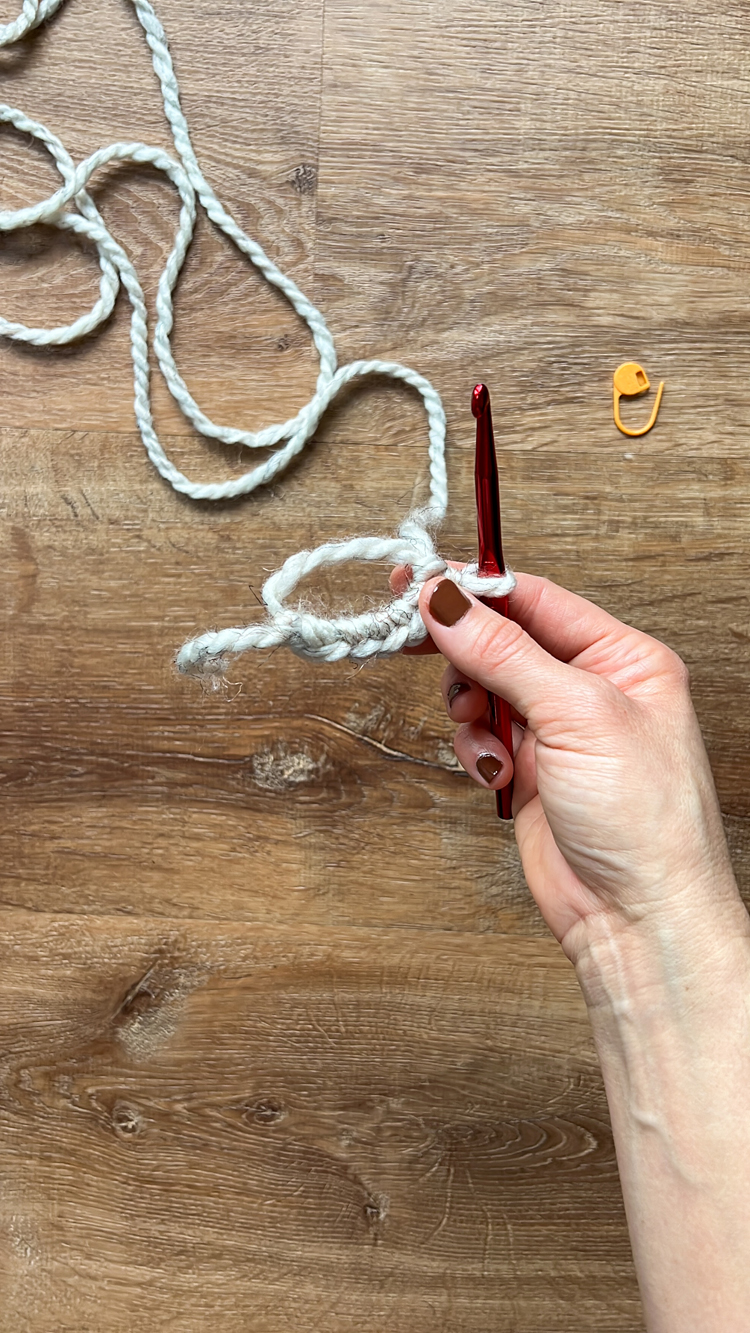
This pattern uses a magic ring. See the video tutorial for more instruction on how to make one or see this lesson from my Crochet Basics Series.
Pattern is written in U.S. crochet terms.
STOCKING TOE
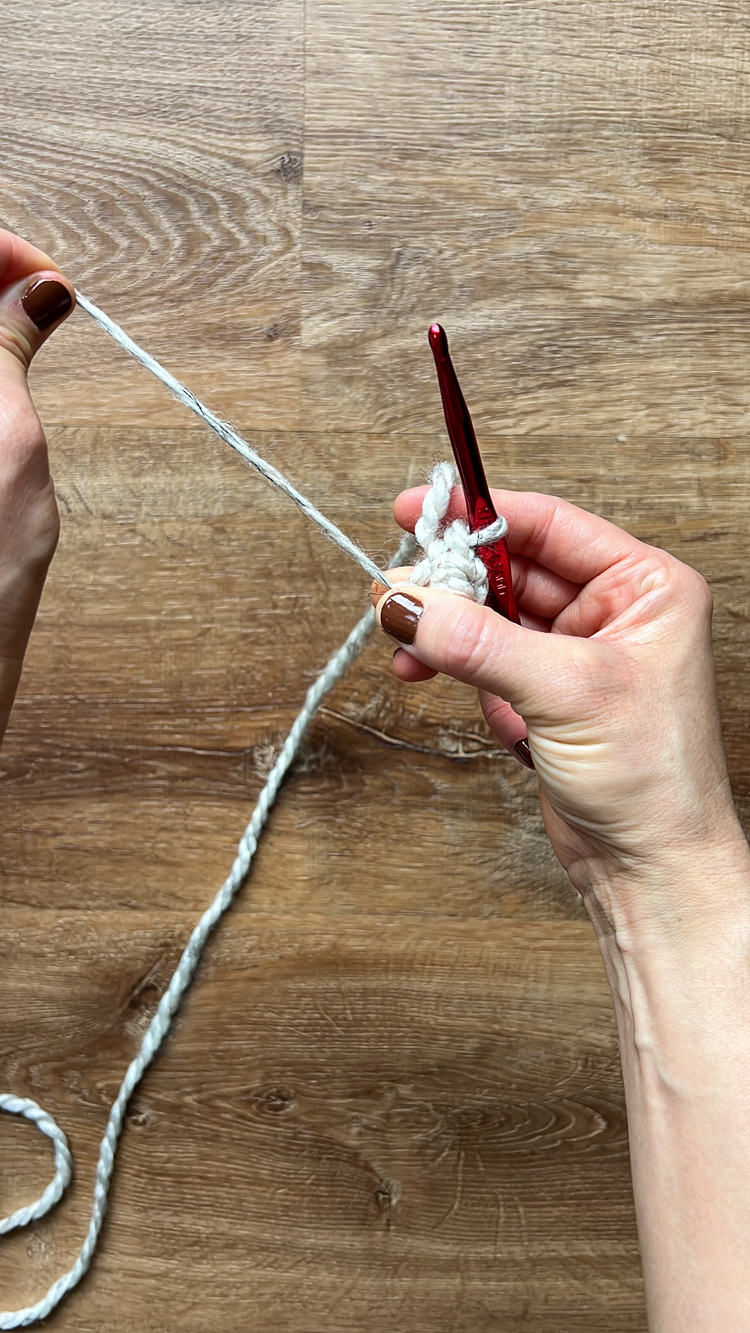
Toe Round 1: Start with a magic ring, ch 1, then work 6 sc into the magic ring. Pull tail to cinch up the round, but do not sl st to close the round into a circle. We will be working in continuous, seamless rounds. Total stitch count = 6 (chains will not be counted as stitches).
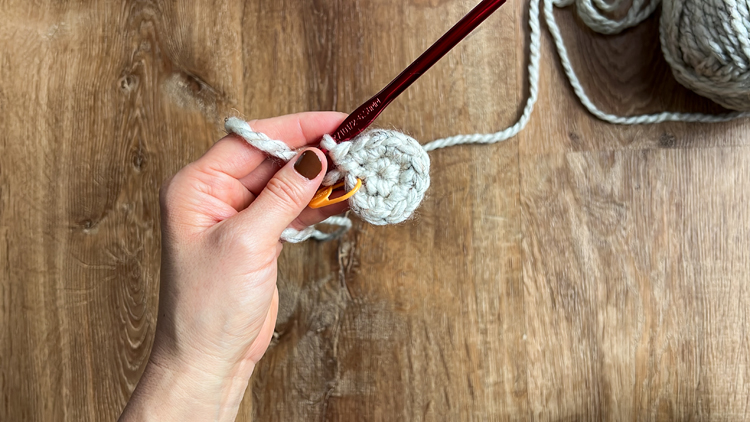
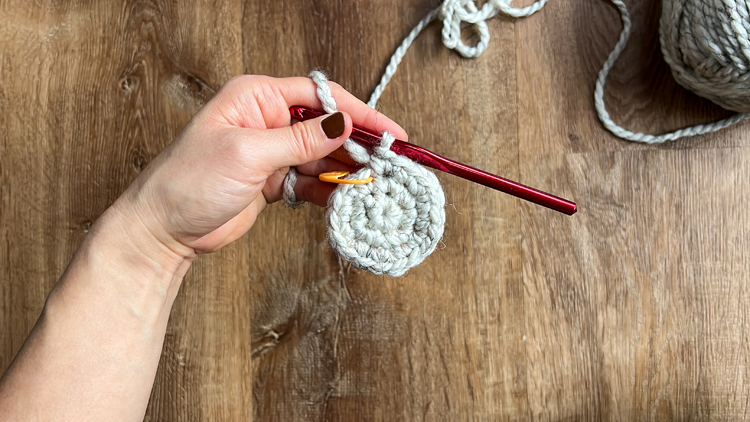
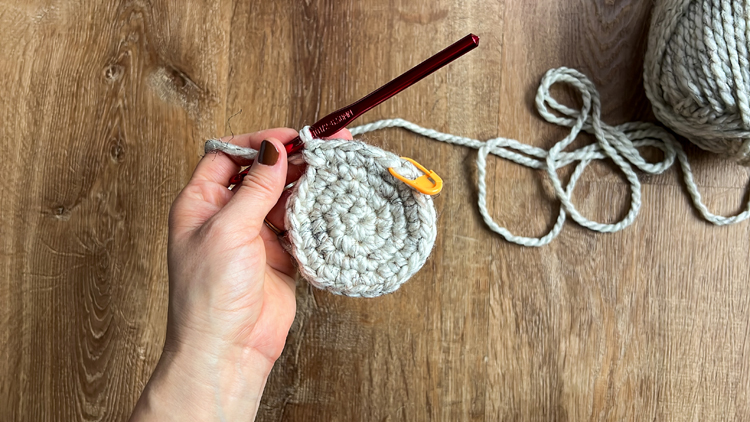
Toe Round 2: Work 1 sc into the first sc from Round 1. Place a stitch marker to indicate the start of Round 2. Sc into the same stitch. Work 2 sc into each stitch in the round. Total stitch count = 12.
Toe Round 3: Remove the stitch marker, sc, replace the stitch marker. 2 sc into the next stitch. *1 sc, 2 sc together.* Repeat from * to * four more times. Total stitch count = 18.
Toe Round 4: Remove the stitch marker, sc, replace the stitch marker. 1 sc into the next stitch. 2 sc into the next. *1 sc, 1 sc, 2 sc together.* Repeat from * to * four more times. Total stitch count = 24.
Toe Round 5: Remove the stitch marker, sc, replace the stitch marker. Work 1 sc, 1 sc, and then 2 sc into the next. *1 sc, 1 sc, 1 sc, 2 sc together.* Repeat from * to * four more times. Total stitch count = 30.
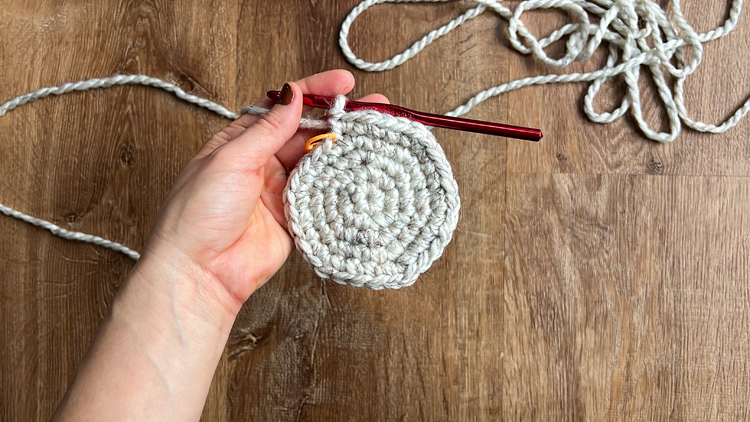
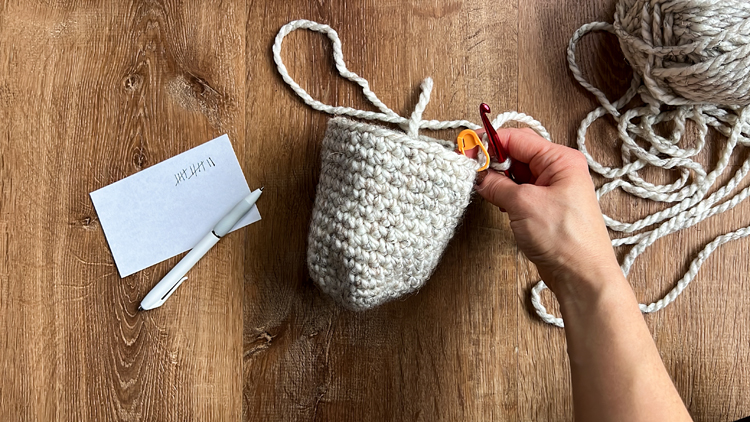
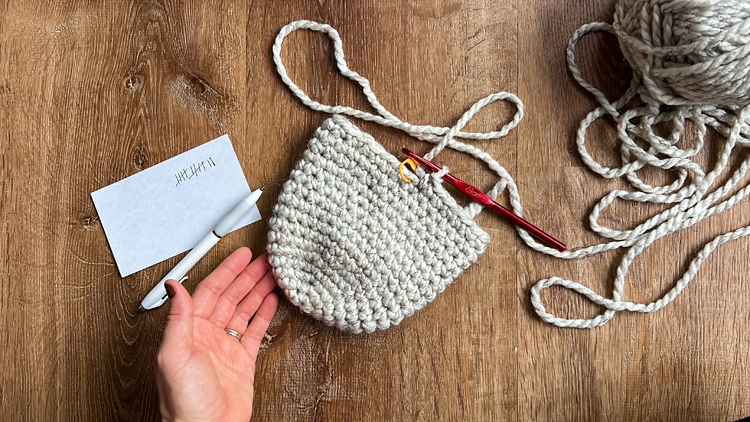
Toe Round 6: Remove the stitch marker, sc, replace the stitch marker. Work 1 sc into each stitch in the round. Total stitch count = 30.
TIP: The continuous rounds can be difficult to count by sight and it’s so repetitive that it’s easy to lose count. I recommend using a stitch counter or keeping track on a piece of paper (as you can see in the photos).
Toe Rounds 7-17: Repeat Round 6.
STOCKING HEEL
Even though the heel has different pattern instructions and is worked in rows rather than rounds, there is no tying off. You will continue right from the toe into the heel pattern.
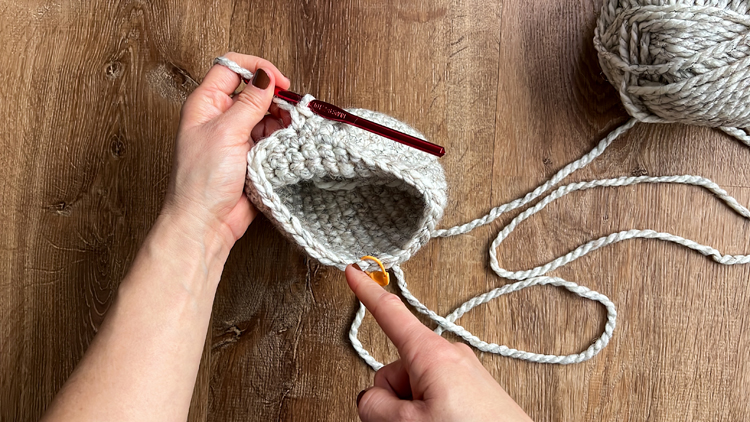
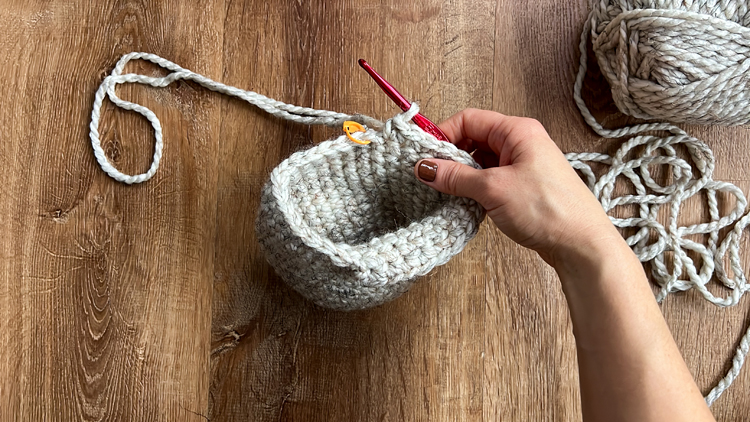
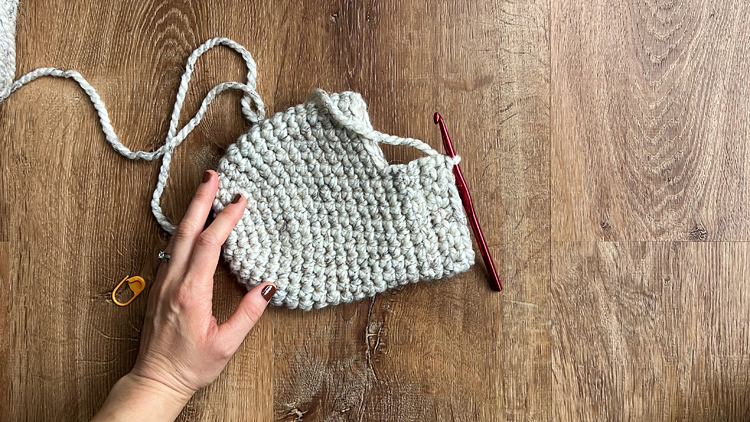
Heel Row 1: Remove the stitch marker, sc, replace the stitch marker. Work 1 sc into the next 15 stitches and then stop. Total stitch count = 16
Heel Row 2: Turn, ch 1, sc into the same space. Work 1 sc into the next 15 stitches. Remove the stitch marker for now. Total stitch count = 16
Heel Row 3 and 4: Turn, ch 1, sc into the same space. Work 1 sc into the next 15 stitches. Total stitch count = 16
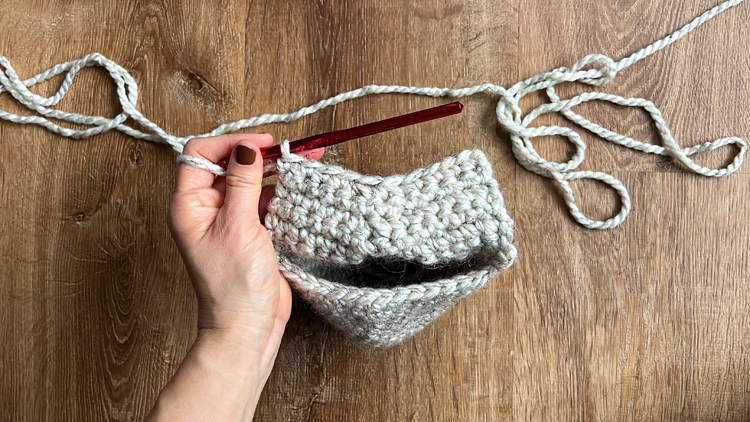
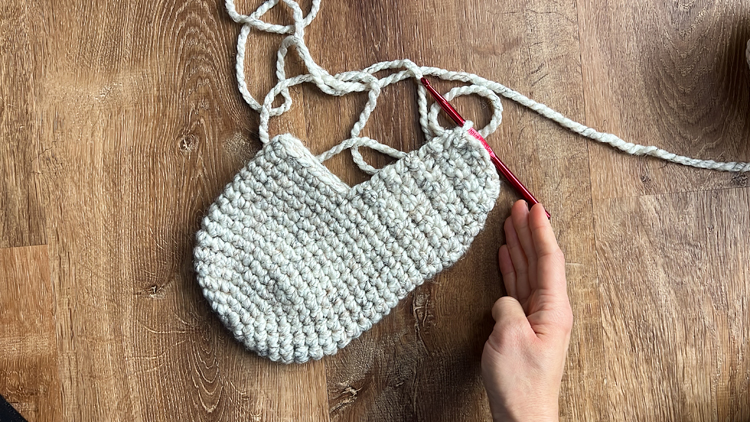
Heel Row 5: Turn, ch 1, sc into the next 7 stitches. Work 1 decreasing sc. (See the video for more instruction if needed.) Work 7 sc to complete the row. Total stitch count = 15
Heel Row 6: Turn, ch 1, sc into the next 6 stitches. Work 1 decreasing sc. Work 7 sc to complete the row. Total stitch count = 14
Heel Row 7: Turn, ch 1, sc into the next 6 stitches. Work 1 decreasing sc. Work 6 sc to complete the row. Total stitch count = 13
Heel Row 8: Turn, ch 1, sc into the next 6 stitches. Work 1 decreasing sc. Work 5 sc to complete the row. Total stitch count = 12
Heel Row 9: Turn, ch 1, sc into the next 4 stitches. Work 2 decreasing sc. Work 4 sc to complete the row. Total stitch count = 10
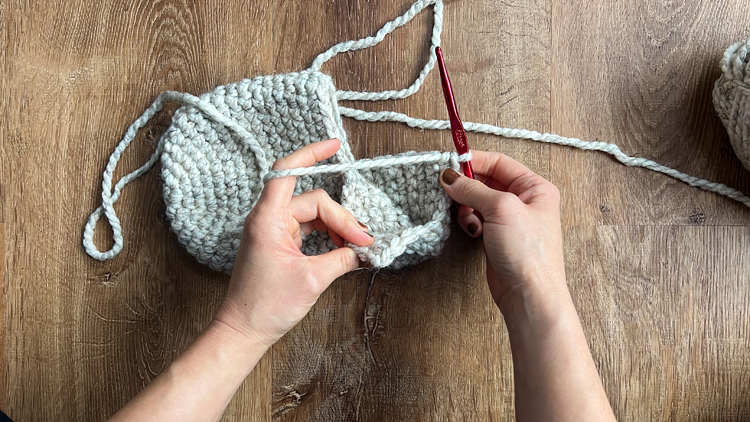
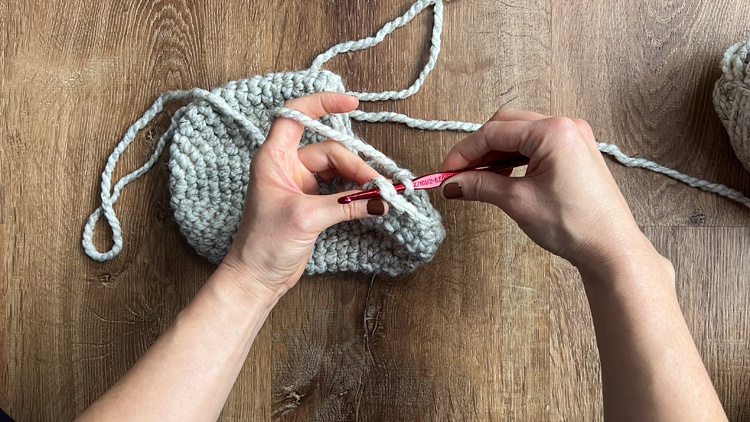
Fold stocking toe and heel together so that the top corners of the heel line up. With the hook still in one of the top corners, slip stitch it to the other corner. See the video for more instruction if needed.
STOCKING BODY
Body Round 1: Sc to the left of the sl st and place a stitch marker. Work 8 more sc along the sides of the heel rows until you get to the dip where the heel section meets the toe section. Work 1 dc into the dip. Then work 14 sc around the top of the stocking toe and over to the the dip on the other side of the stocking. Work 1 dc. Sc 9 times and then sc 1 more time in the sl st join from the heel rows. Total stitch count = 35.
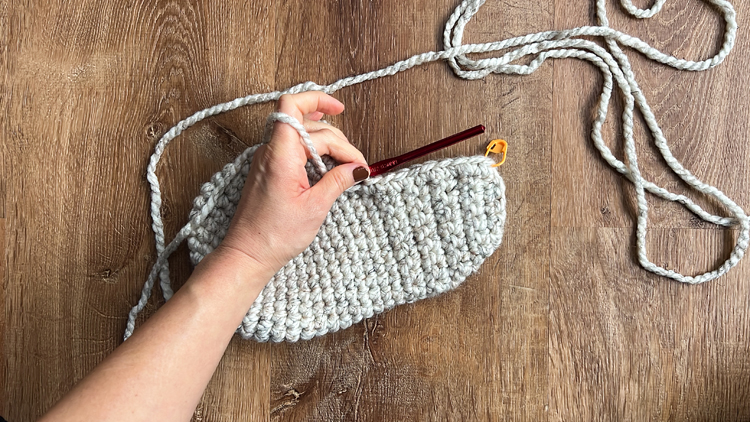
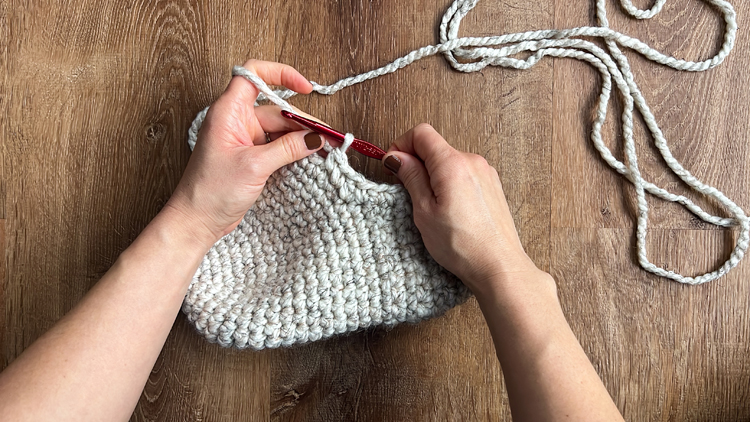
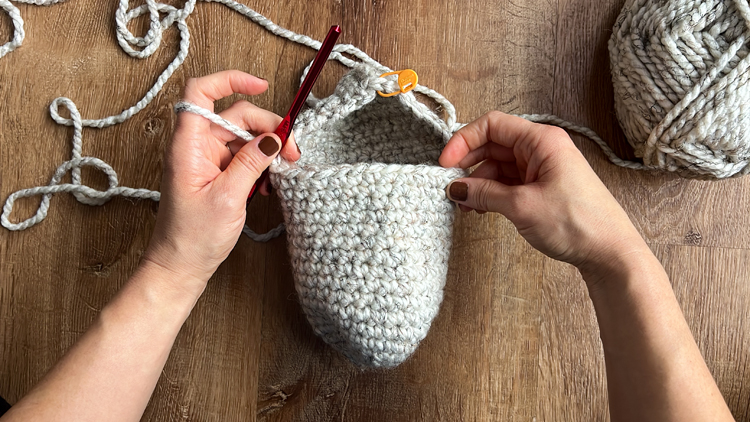
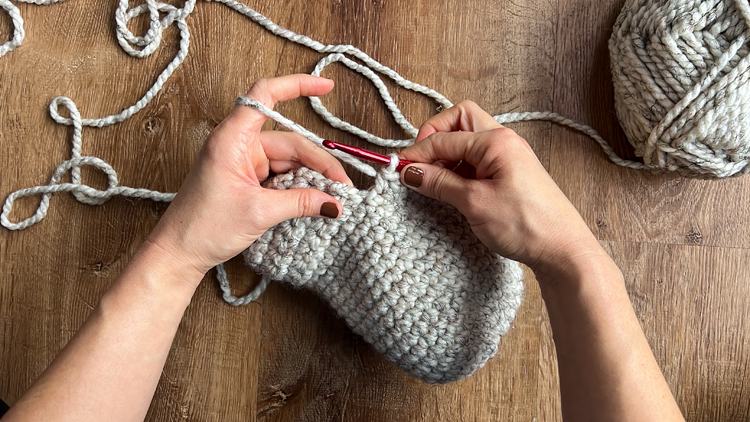
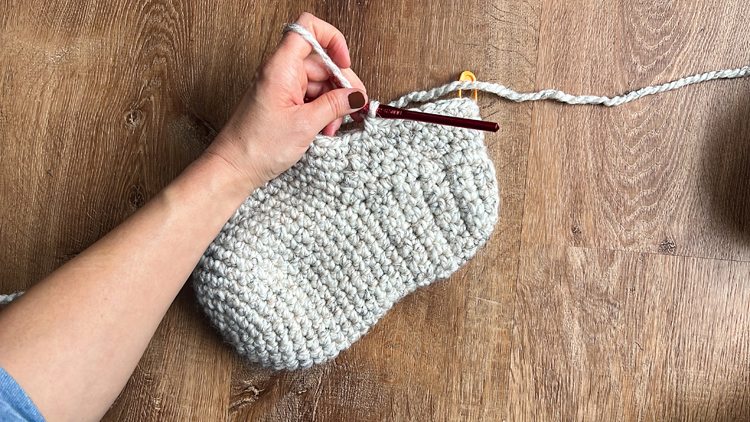
Body Round 2: Remove the stitch marker, sc, replace the stitch marker. Work 8 more sc, 1 dc, 14 sc, 1 dc, 10 sc. Total stitch count = 35.
Body Rounds 3-5: Repeat Round 2.
Body Round 6: Remove the stitch marker, sc, replace the stitch marker. Work 1 sc in each stitch in the round. Total stitch count = 35.
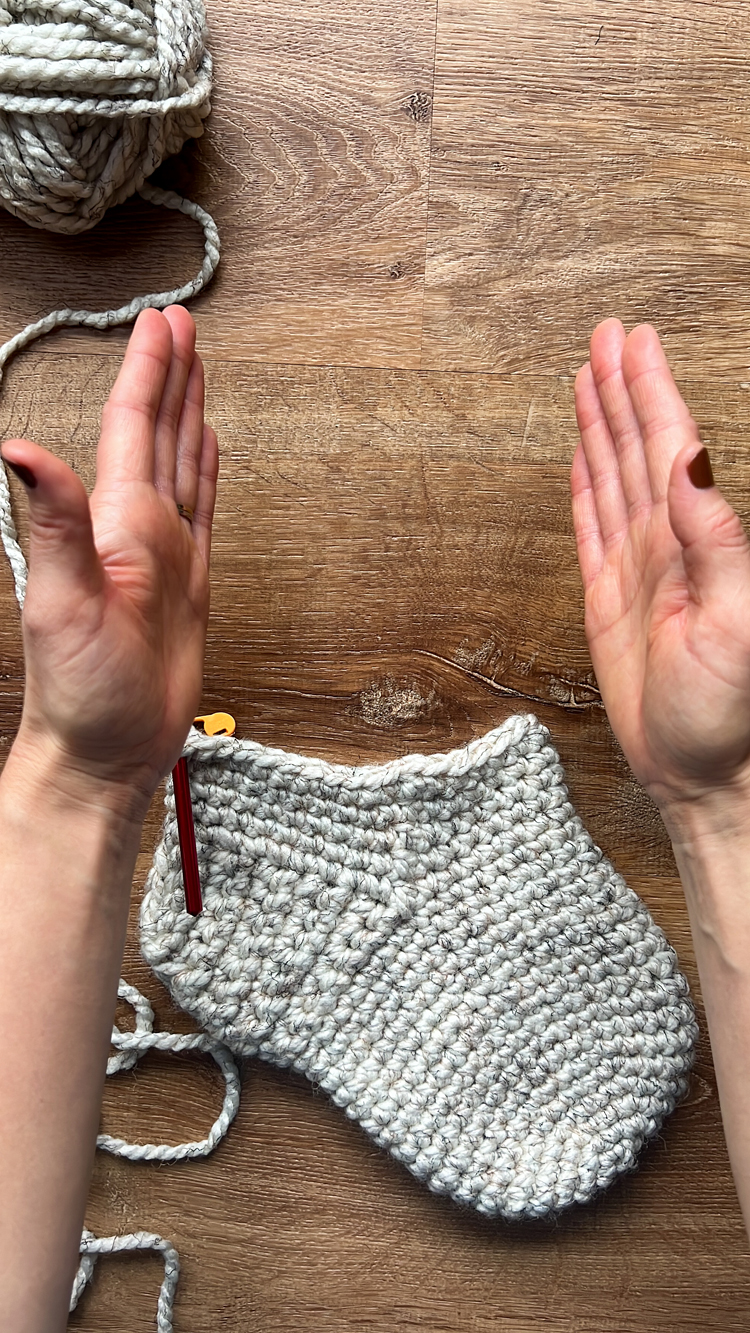
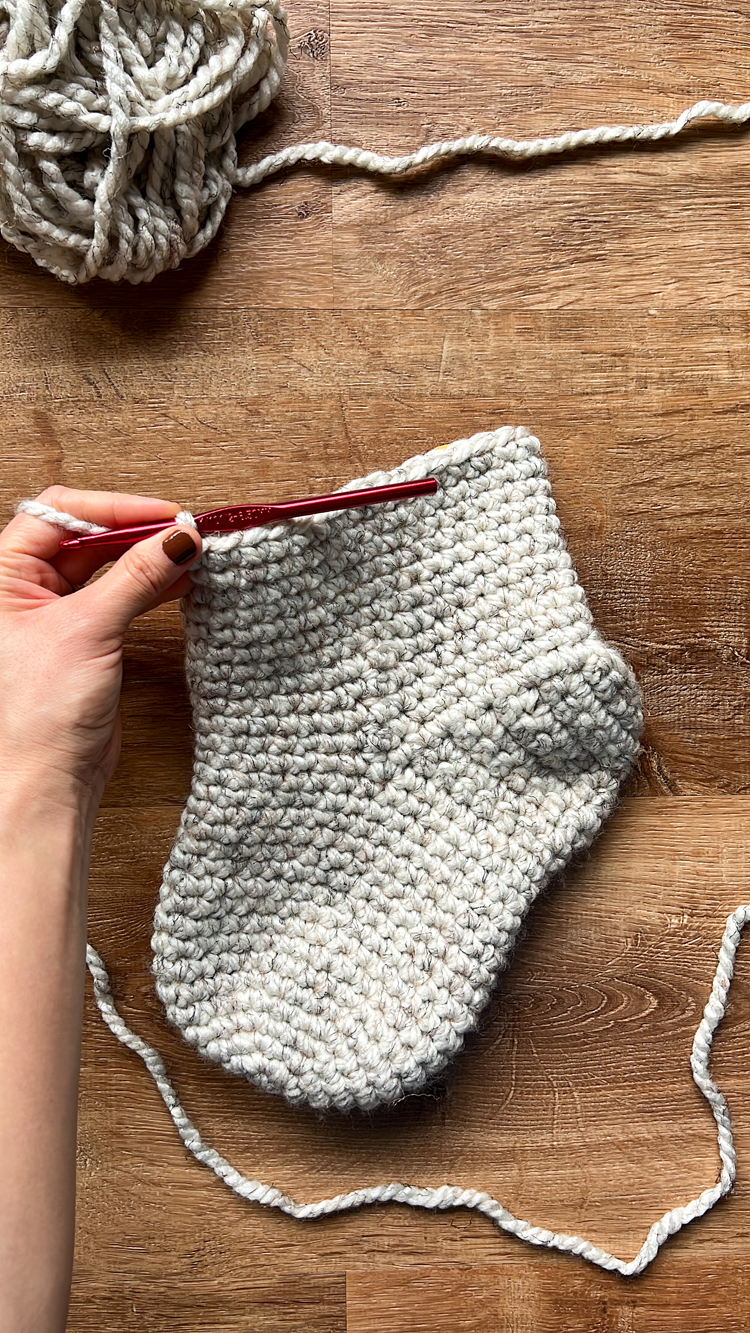
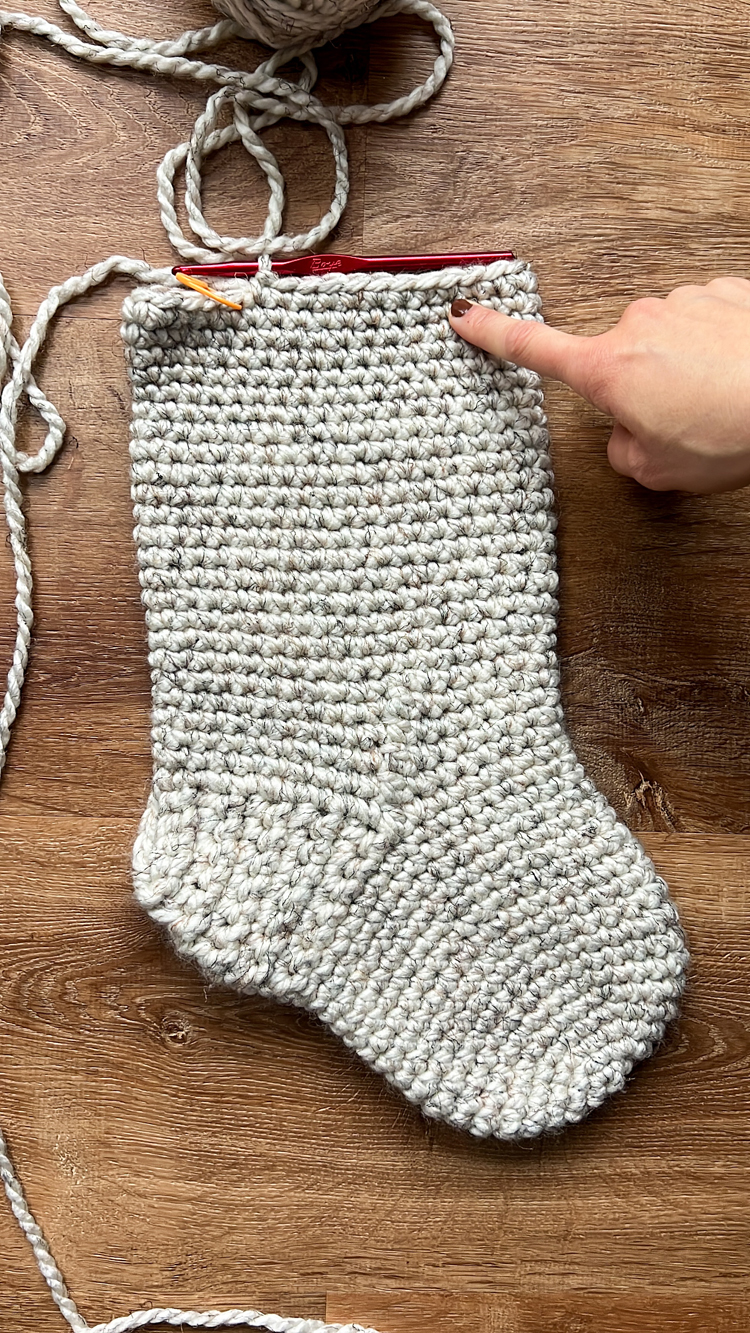
Body Rounds 7- 25: Repeat Round 6.
NOTE: Near the end of your stocking you will likely run out of yarn. You can tie in the new skein of yarn the traditional way (I cover this in my Crochet Basics Series in THIS post. See the video at the 7:45 mark). Or you can use what is called the “magic knot” or “fisherman’s knot.” I show this in the video tutorial for this project and I also have a post about it HERE.
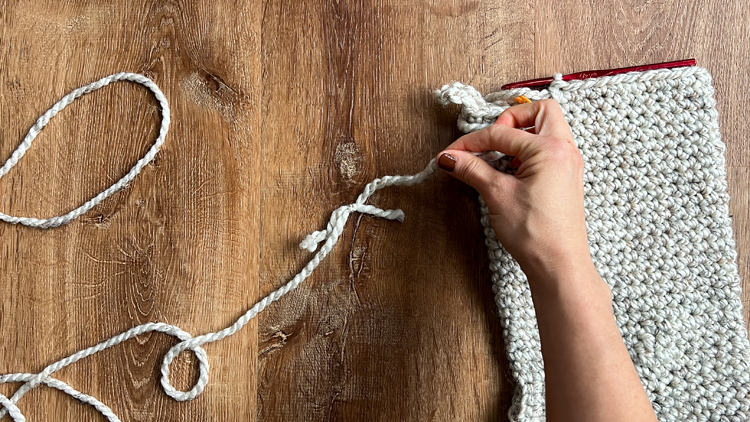
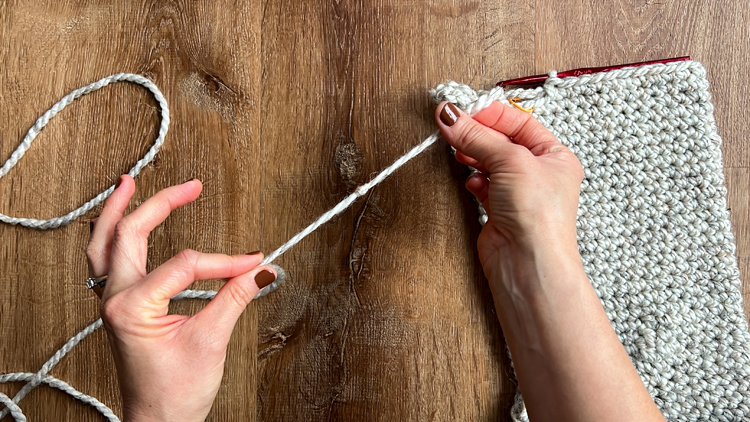
Body Round 26: Remove the stitch marker, sc, replace the stitch marker. Work 5 more sc to get to the heel/side fold of the stocking. Create a loop by chaining 8, reattach to the stocking with a sl st at the base of the chains. Resume working 29 sc to complete the rest of the round.
Body Round 27: Remove the stitch marker, sc, replace the stitch marker. Work 5 more sc to get to the loop. Sc around the loop 10 times (scrunching the stitches tight as needed to make them fit) and then sl st back to the base of the loop. Resume working 29 sc to complete the rest of the round. Remove the stitch marker and work 6 sl st up to the loop. This helps even out the natural slanted top that occurs with seamless, continuous rounds.
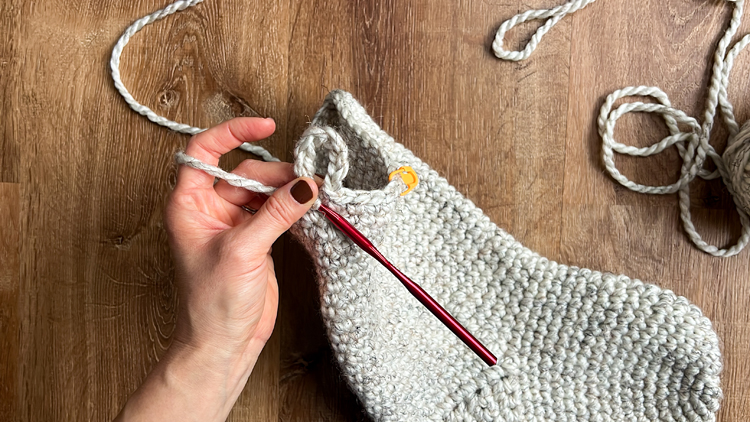
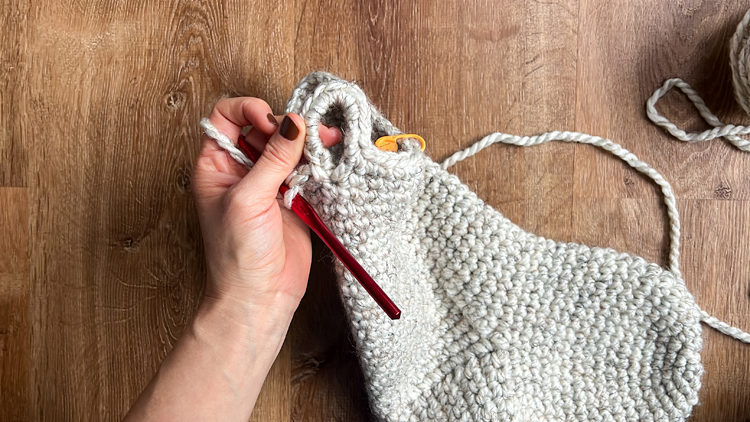
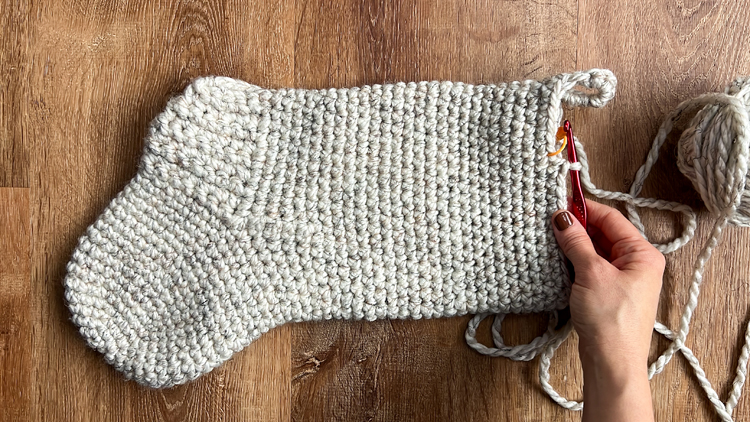
Tie off the end, leave a 6-8 inch tail.
FINISHING TOUCHES
Use the tail to reinforce and tighten up the base of the loop while weaving it in. After the loop is secure and you have woven in the tail for a couple inches, cut off the excess.
Repeat for the toe of the stocking (you’ll need to turn it inside out to get to it). Use the tail to reinforce the toe, and to secure and close up the magic ring from the beginning of the toe rounds. Then trim off the excess.
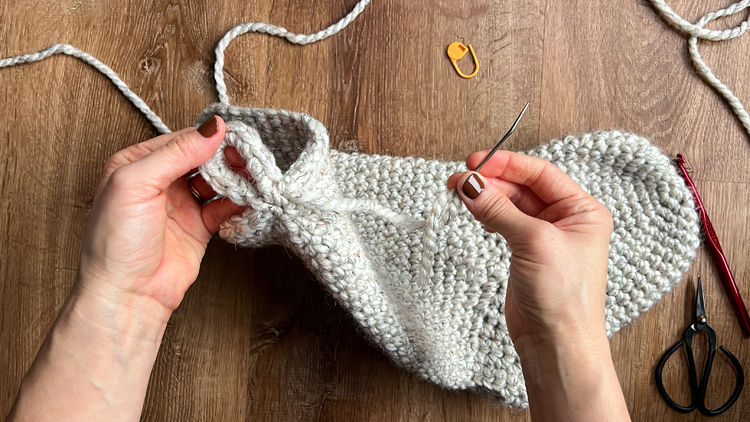
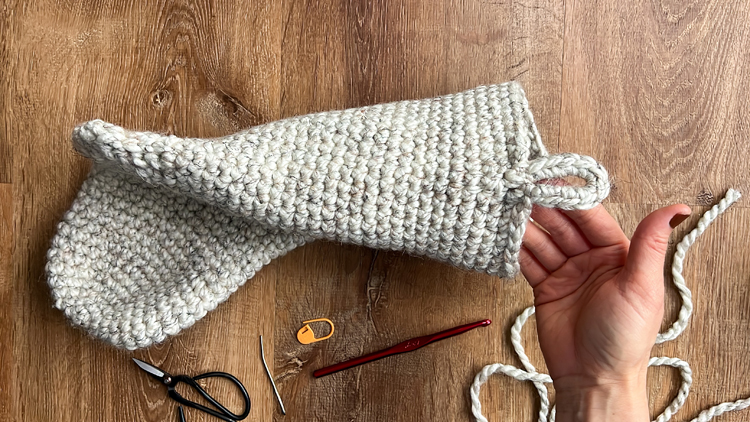
To close up the hole we left at the heel, cut a piece of yarn about 15 inches long. Weave it through the hole at the heel, leaving about 4-5 inches of a tail at the start. We will weave this end in later. Use the yarn and needle to sew through the heel opening, then reinforce the rest of the heel. Weave in the other end of this piece of yarn and cut off the excess.
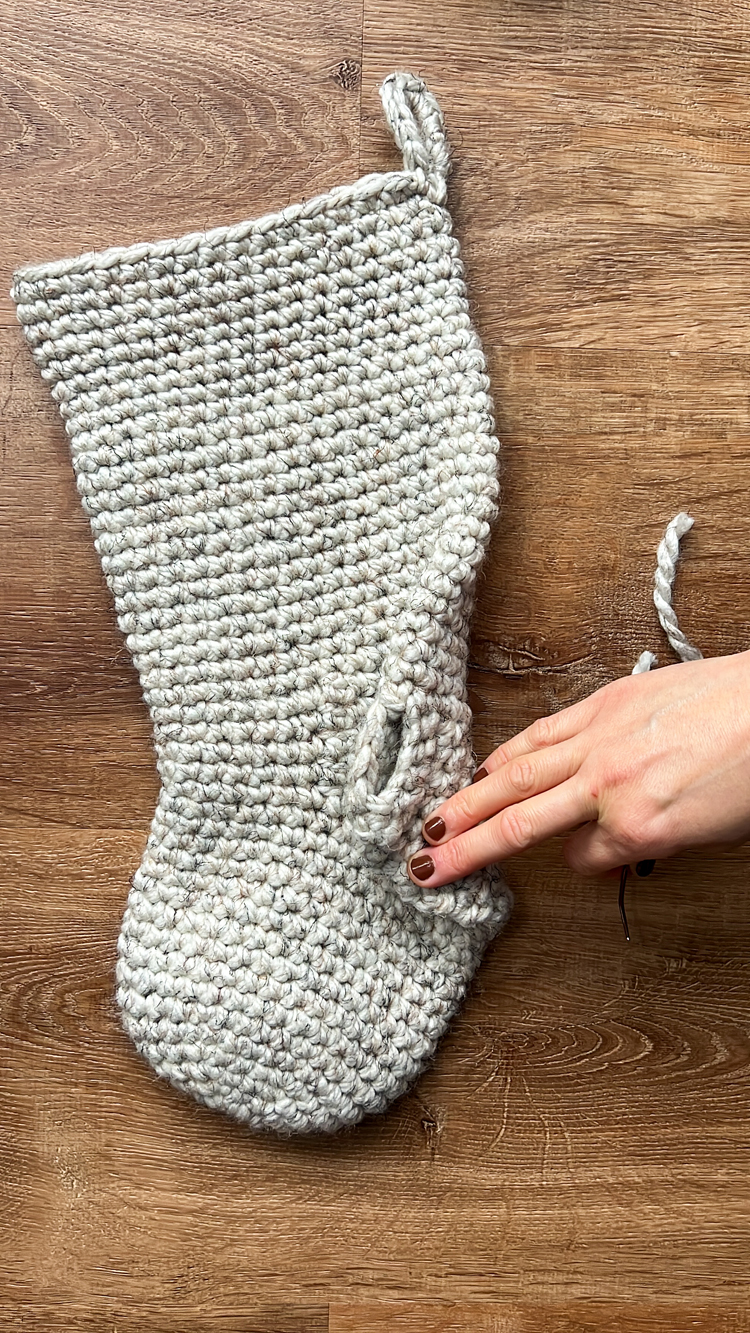
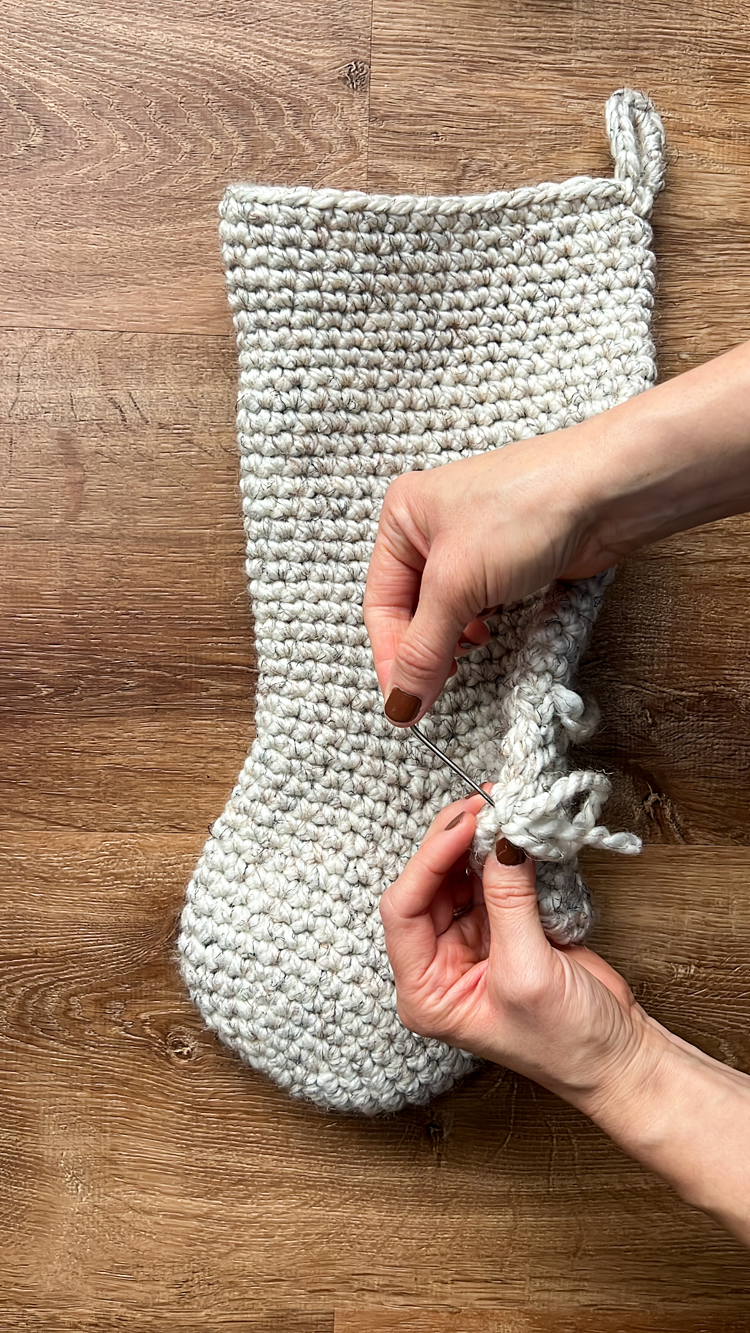
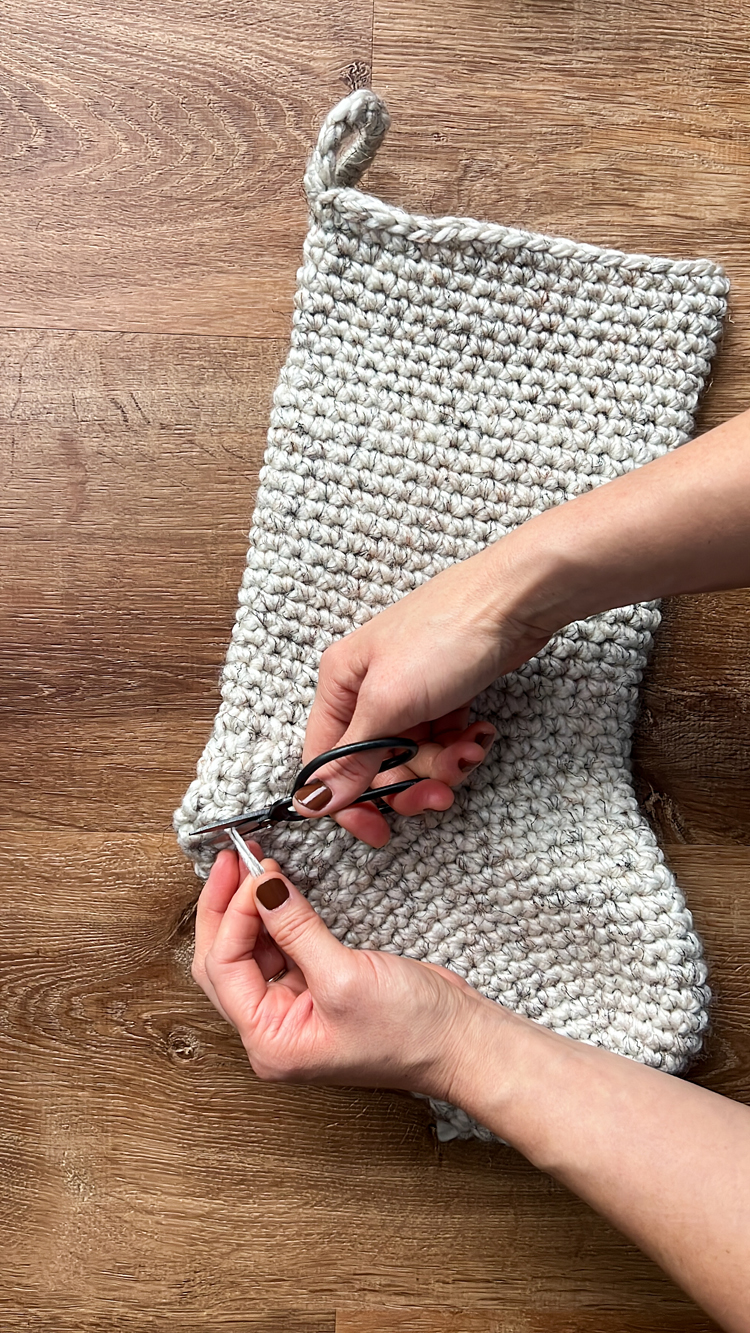
That’s it! Leave it as is…or turn it inside out for a different texture.
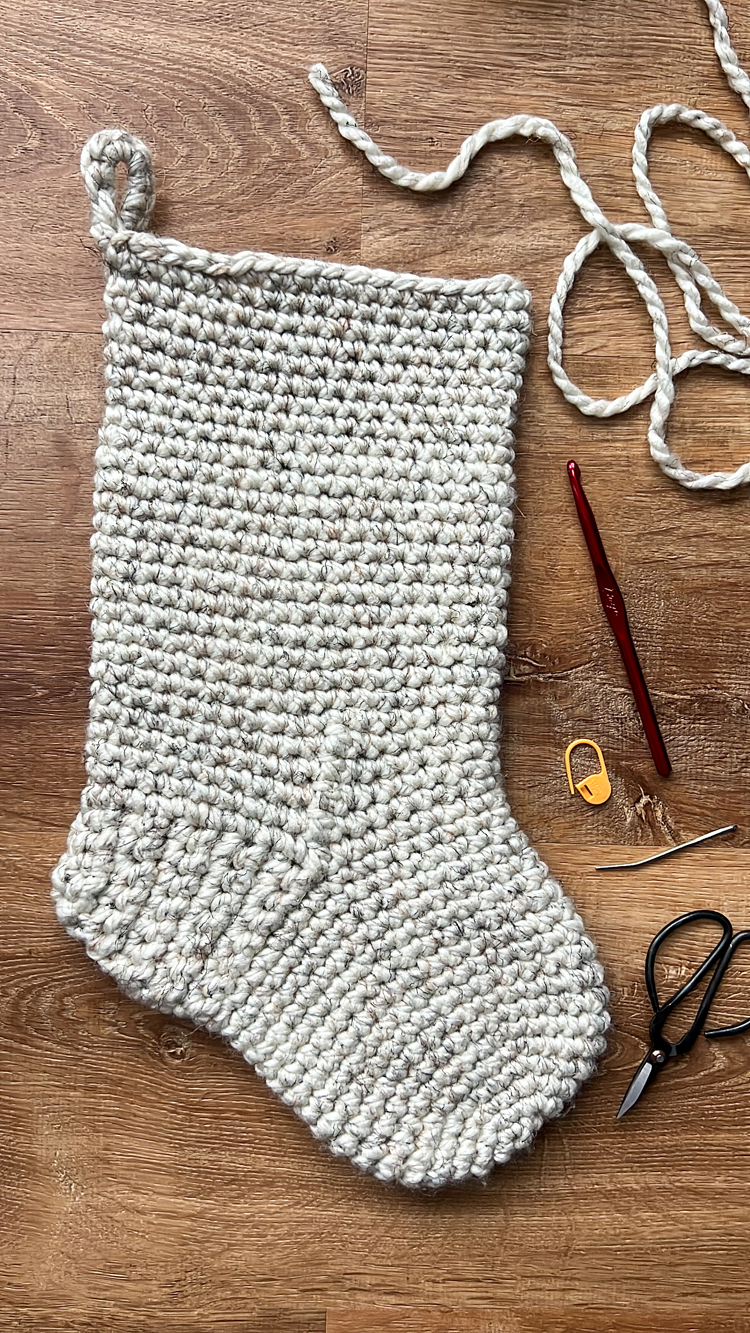
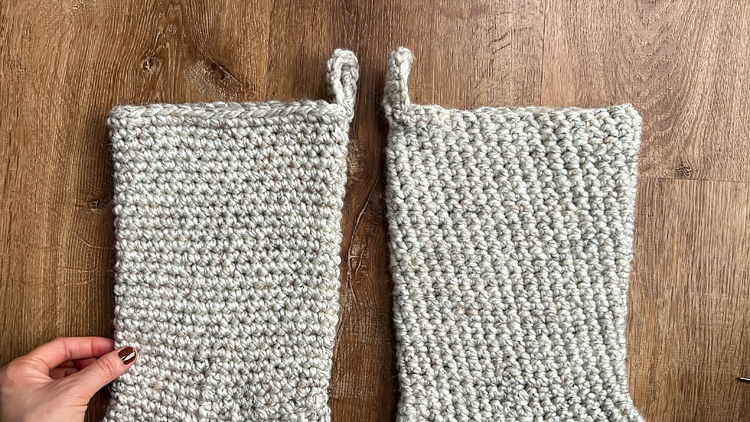
Because it’s worked in continuous rounds, the texture is uniform and unique to each side. I prefer to turn my stocking inside out because the dc stitches are less obvious looking on the “inside.”
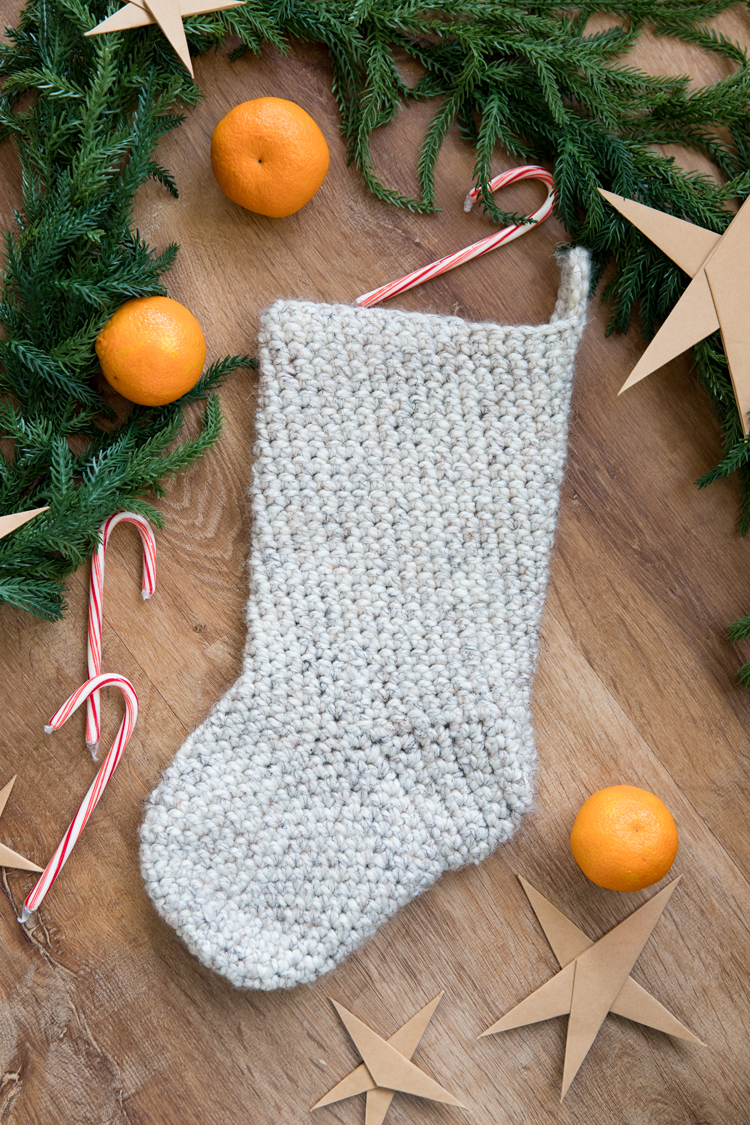

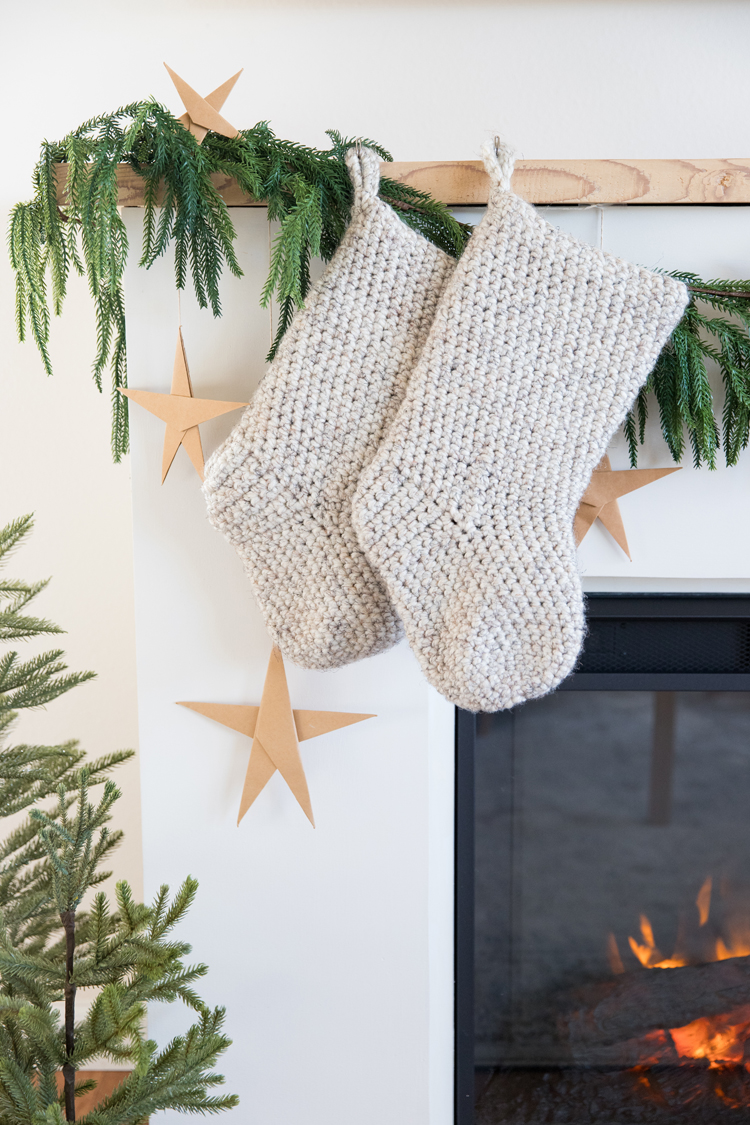
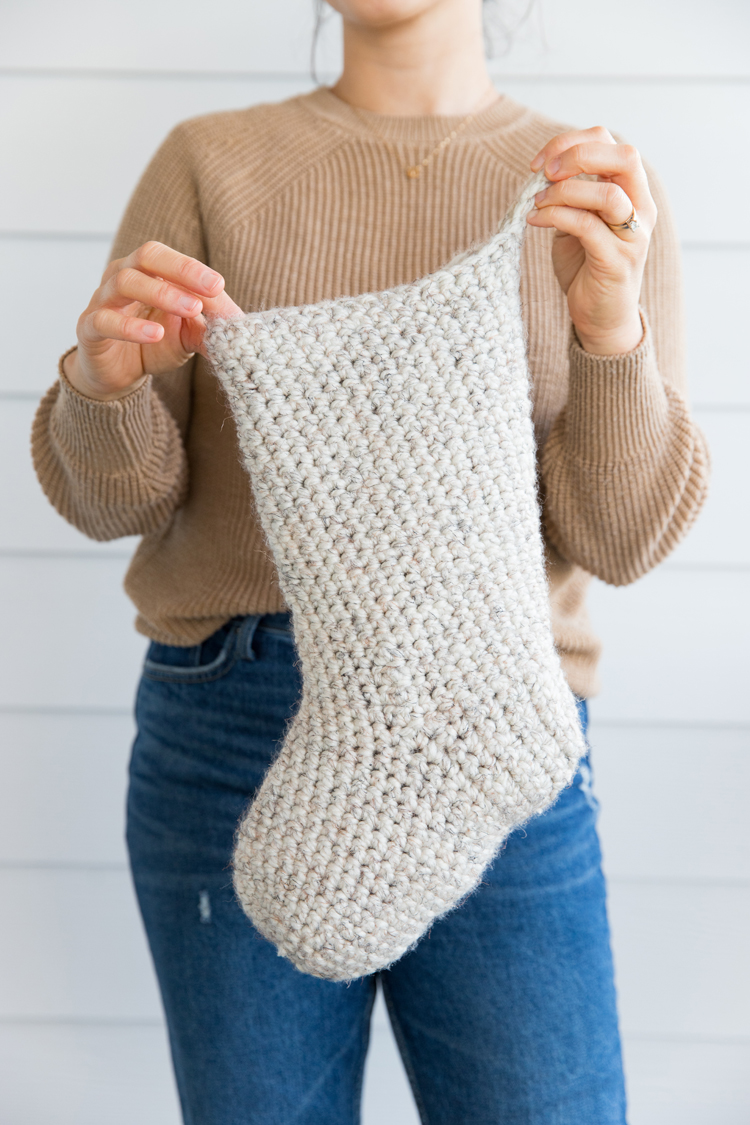
For more holiday crochet projects check out this popcorn and cranberry garland tutorial.


Leave a Reply