A super stretchy, deliciously ribbed beanie made with just basic single crochet (sc) stitches?
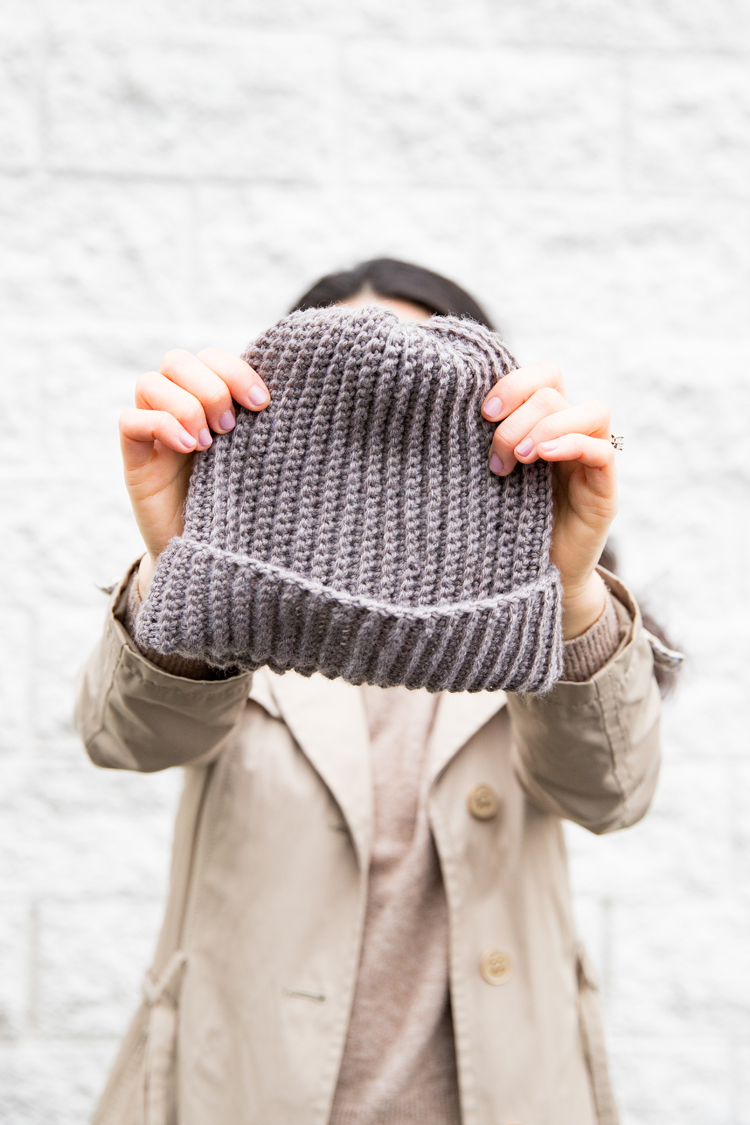
You bet!
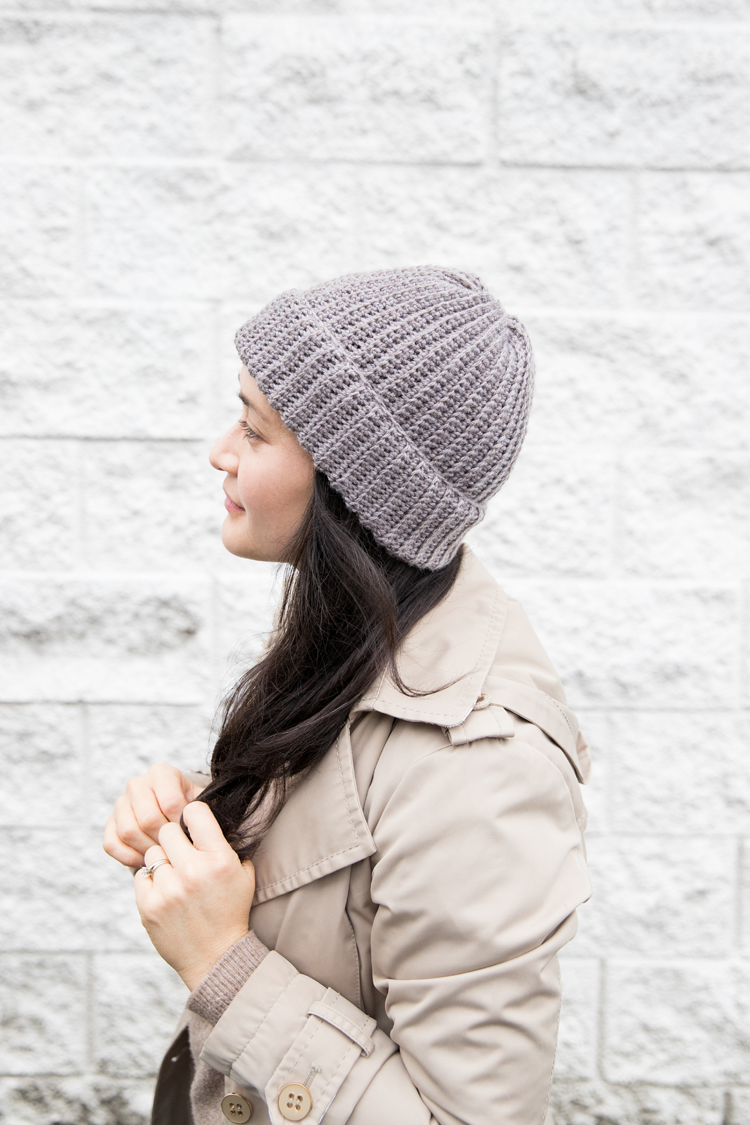
This year, I’m unofficially revisiting some of the lessons I taught in my Crochet Basics Series, and elevating them to the next step. So if the Crochet Basics Series is the 101 course, some of my projects this year will be like the 102 course.
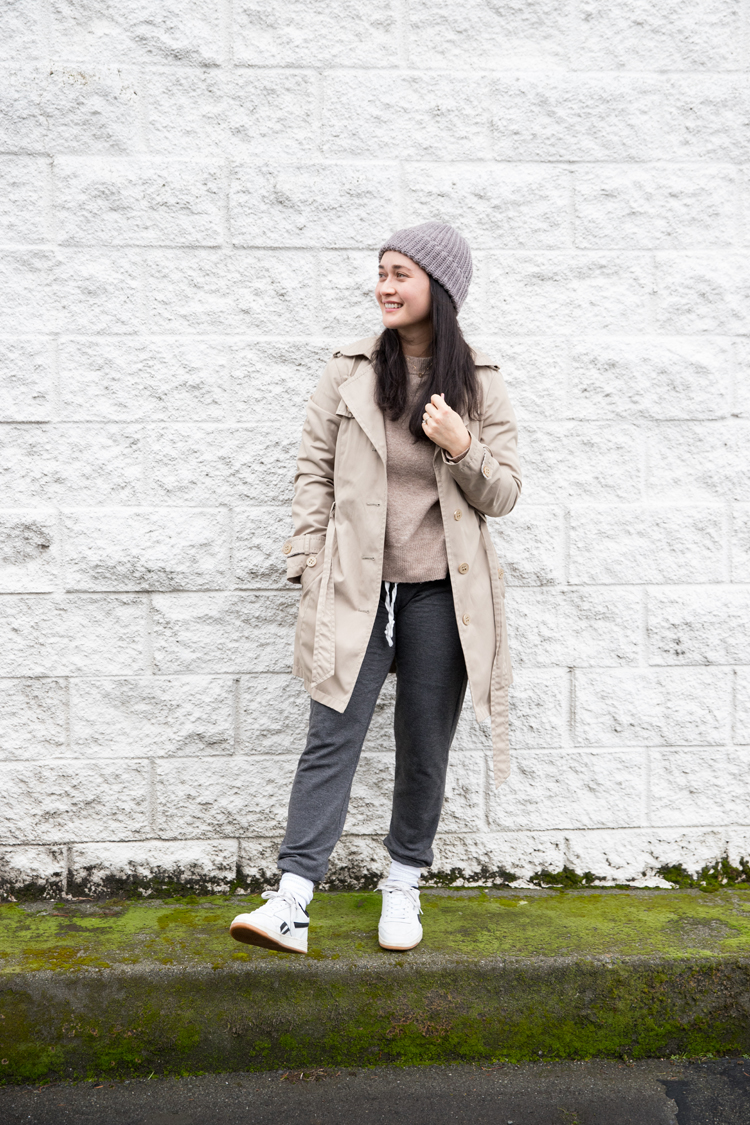
For example, this Basic SC Beanie uses single crochet and making a rectangle from lesson 2, and working in back loops only and seaming from lesson 4. Plus, it uses a thinner DK or category 3 yarn and a smaller hook that may test the patience of a total beginner, but feel doable for someone who has completed a few projects.
Let’s go!
Materials
- About 215 yards DK, light, or category 3 yarn
- H/8 or 5.00 mm hook
- Scissors and yarn needle
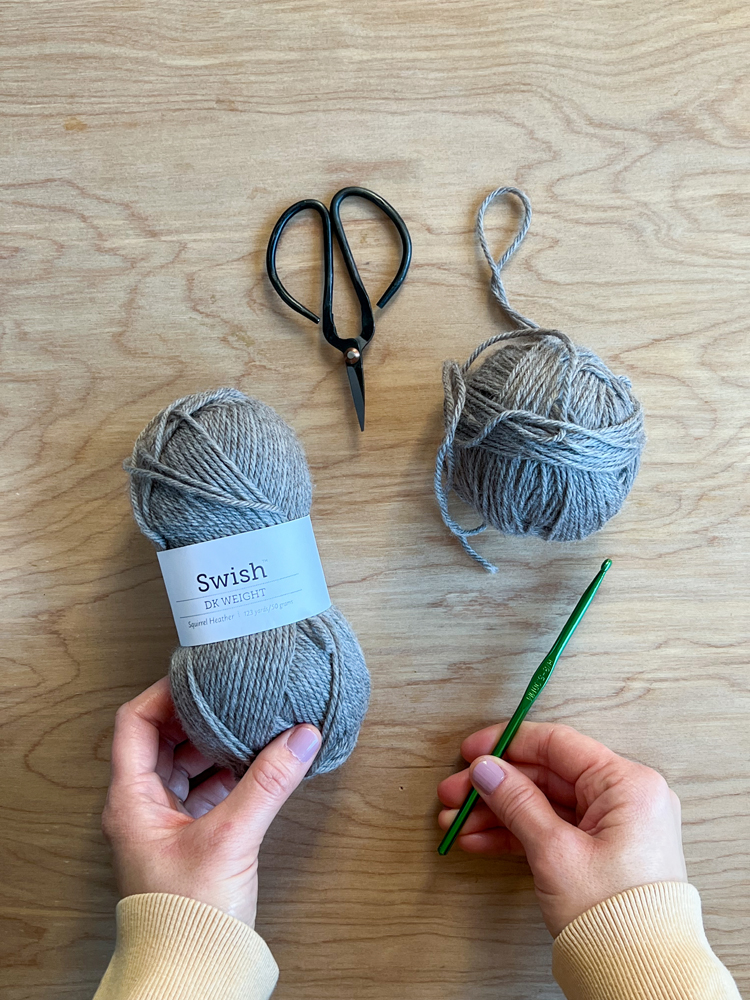
Material Notes:
I used Knit Picks “Swish” Superwash Merino Wool in Squirrel Heather. It looks grayer in the tutorial photos, but I would say it looks more true to color in the warmer, finished/modeled photos.
Keep in mind that if you use a cotton yarn, it may alter the fit and feel of this beanie somewhat. Just like a different kind of fabric can change the look of a garment, the type of yarn you use can have the same effect.
If you are unfamiliar with DK yarn (also known as light or category 3 yarn), I have more information about yarn sizes in this post.
Sizing
This hat is one size fits most adults.
If you want to make a smaller or larger beanie subtract or add two rows. Whatever you do, you want to end with an odd number of rows so that the seam is easier to disguise.
Gauge
4 inches x 4 inches = 18 sc x 18 rows
***IMPORTANT: PLEASE READ***
This stitch shrinks A LOT the more rows that you work. If you try to test the gauge with a small swatch or adjust sizing based off how long the chain is, or even if you try to base it off a few rows, it will NOT give you an accurate representation of how the finished hat will be. It does stop shrinking, or at least shrinking significantly after a few dozen rows.
For that reason, I suggest making a swatch larger than listed above if you are worried about tension, sizing, or if you want to use a different kind of yarn (like cotton). I suggest making a swatch at least 20 stitches by 20 rows or more, then measuring 18 stitches x 18 rows within that larger swatch to see if it’s close to a 4×4 inch square.
Abbreviations
- ch = chain
- sc = single crochet
- blo = back loops only
- sl st = slip stitch
Video Tutorial
If the video hasn’t already popped up on the side or top of your screen, it will show up here. The tutorial will play after the initial ad. NOTE: Once it has played through it will start other tutorials available on my site. To get back to this video, sometimes you have to refresh the page.
In this video, I walk you through the pattern, briefly review how to sc and work in the back loops, and I show you how to seam and cinch your hat.
I recommend still reading the written pattern (below). Most of the pattern it is covered in the video, but there are some clarifications in the written form that are not included in the video.
Written Pattern and Tutorial
Chain 51.
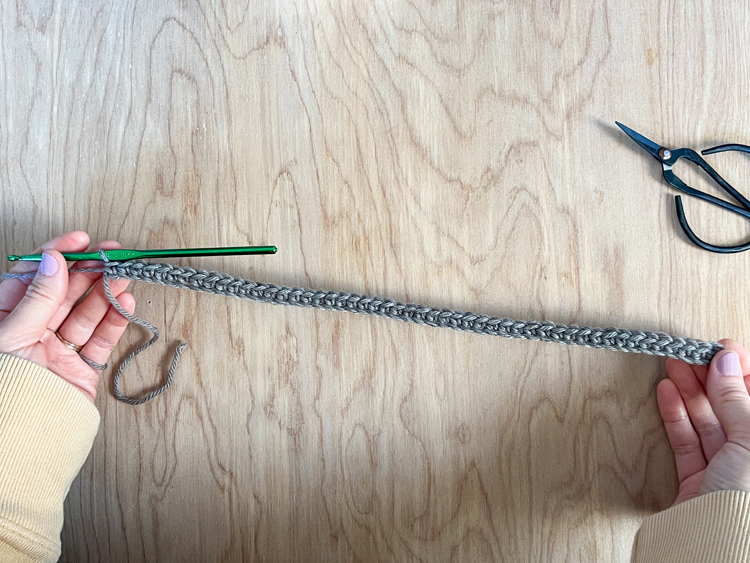
Row 1: Skip one chain and work a sc in the back loops only (blo) of the second chain from the hook. Work 48 more sc in the remaining chains. Work last sc in both loops of last chain. (Total stitch count = 50. Skipped ch and subsequent starting ch 1 for each row will not count as a stitch for this project)
NOTE: If the chain seems SUPER long to you, that is on purpose. Sc worked in blo shrinks up a lot when worked over several rows. See the note I included in the gauge section about this.
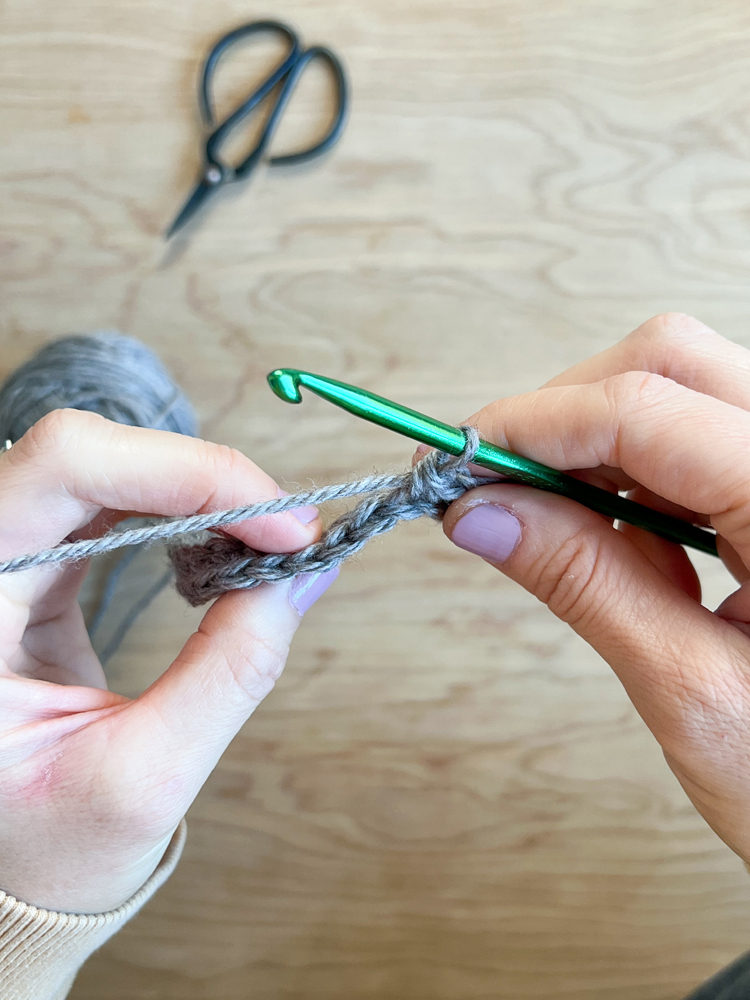
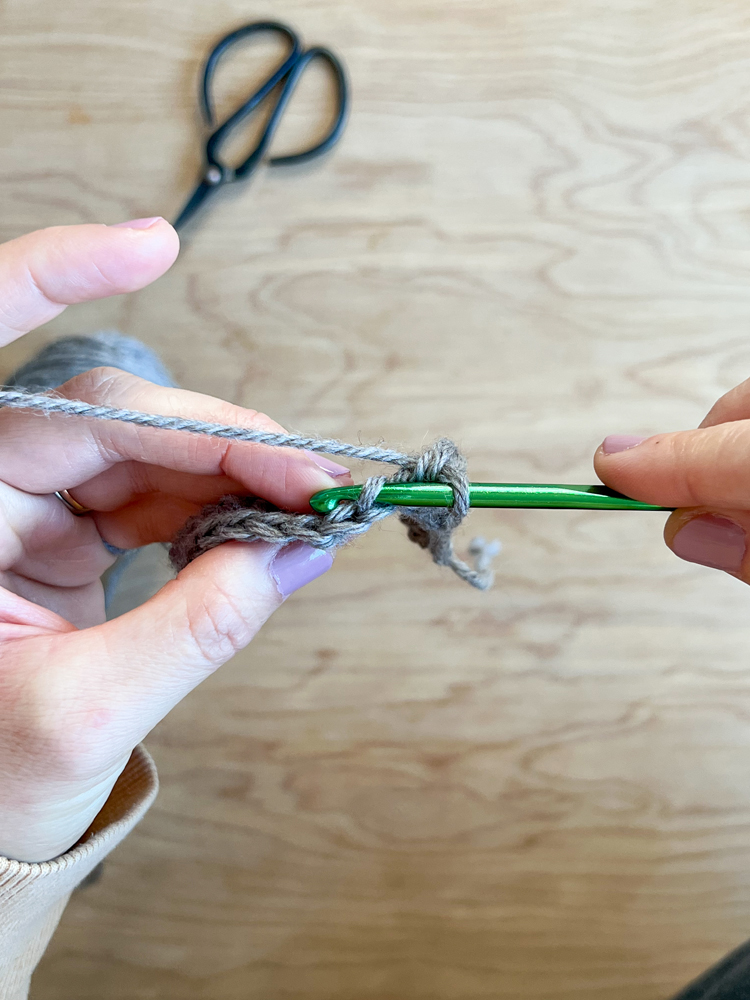
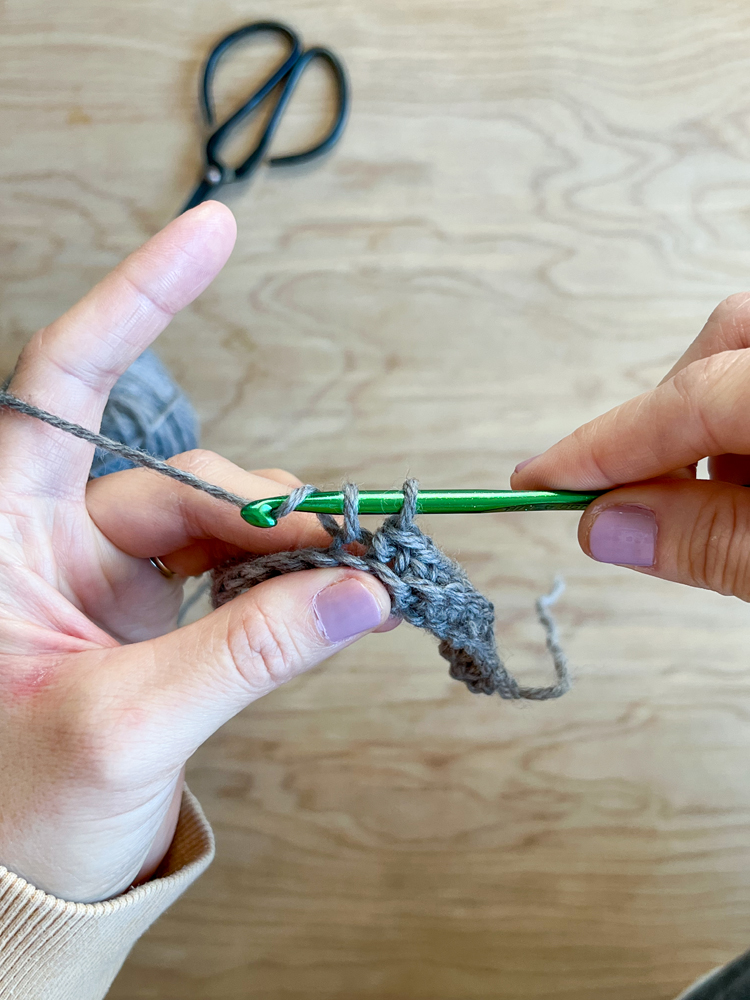
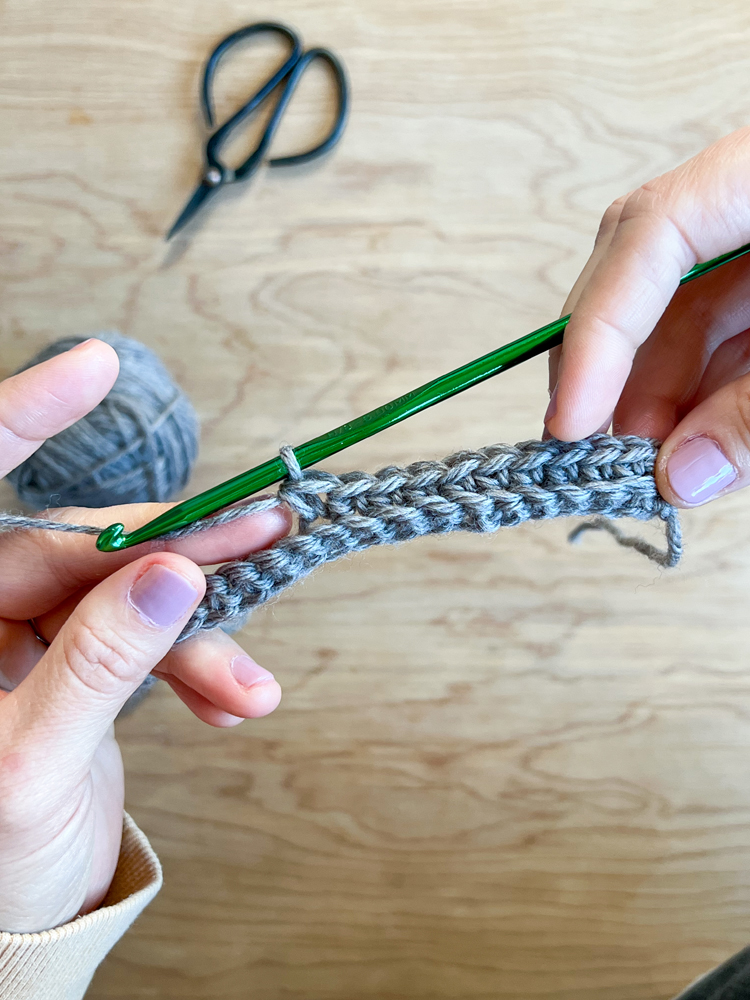
Row 2: Turn. Ch 1. Sc in blo for 49 stitches. At the end of the row you will see the top two loops of the last stitch and the starting ch 1 from the beginning of the previous row. Skip the last stitch and work a sc in the ch 1. This helps keep the sides even and straight. (50)
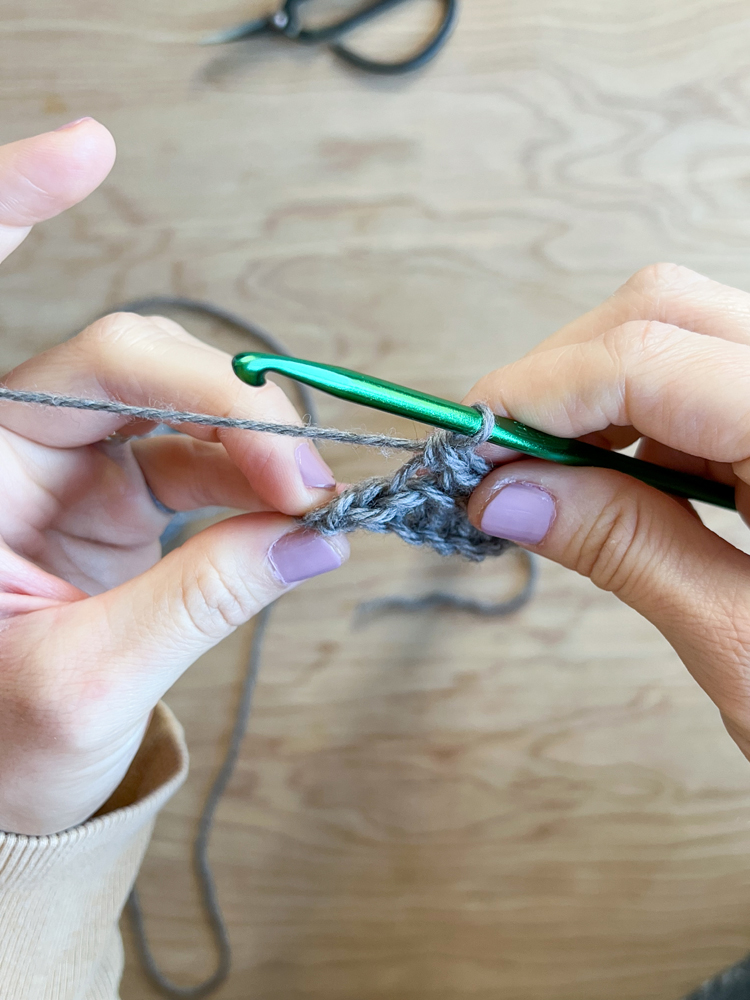
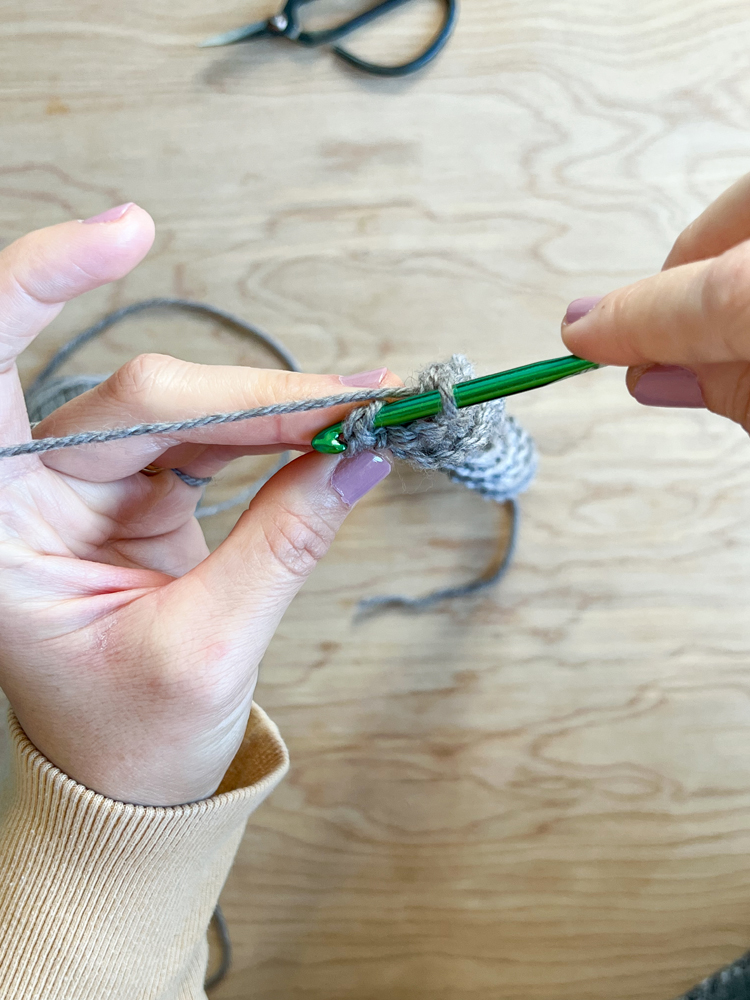
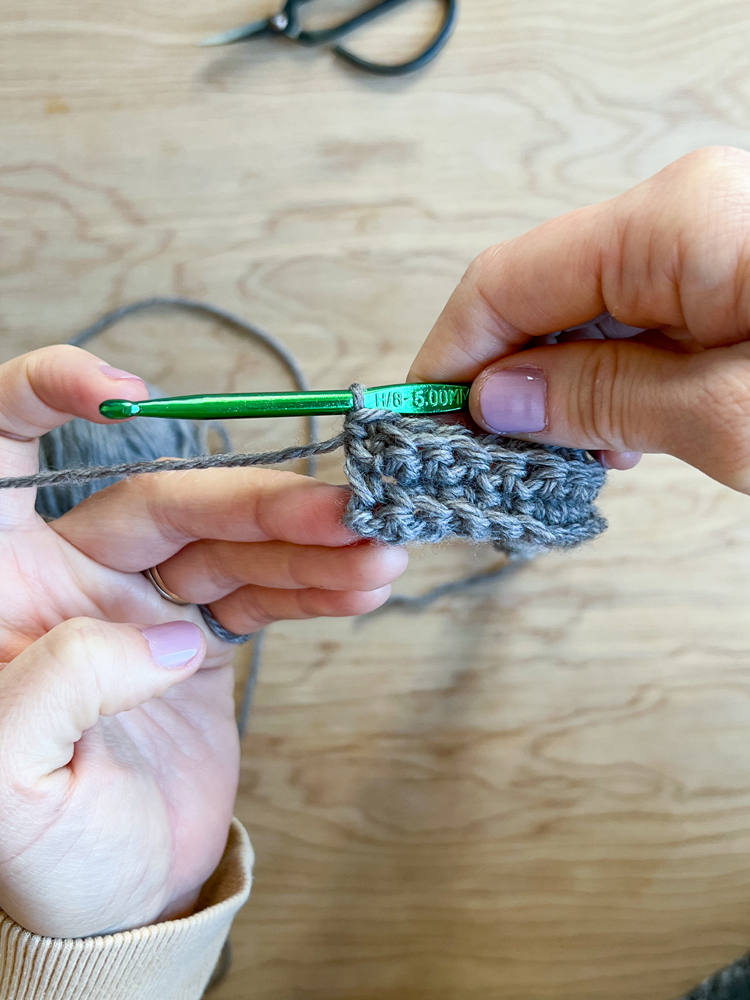
Rows 3-73: Repeat Row 2.
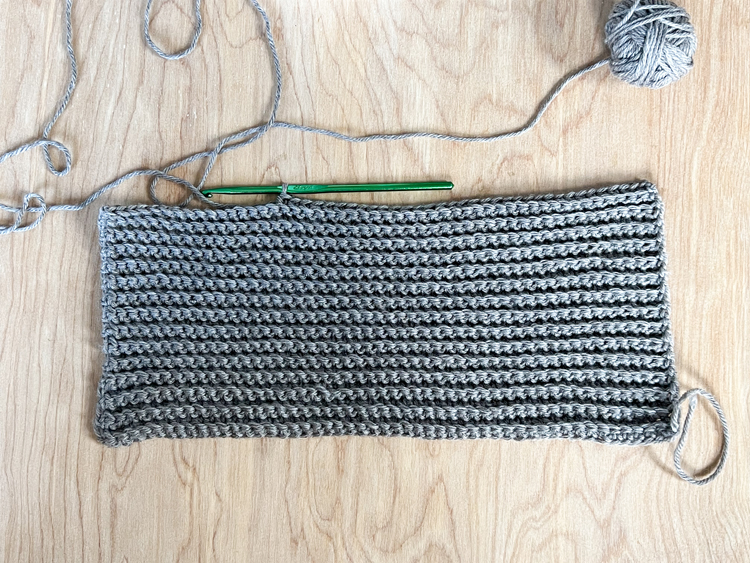
You should now have a rectangle. With the ribbed texture running vertical, fold the rectangle in half and seam the edges together.
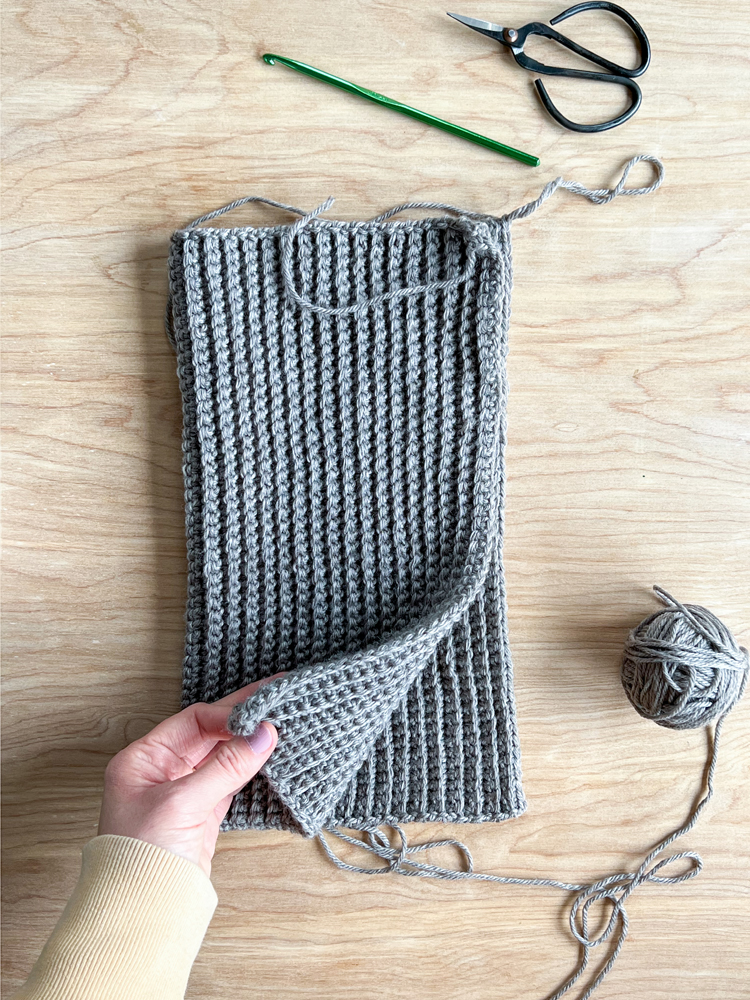
SEAMING:
One edge will be the bottom of the the starting chain and first row of the rectangle and the other will be the top of the row you just worked. Insert your hook through the bottom of the starting row (do not distinguish between any loops) and then insert your hook into the blo of the previous row you just worked. Complete a sc stitch.
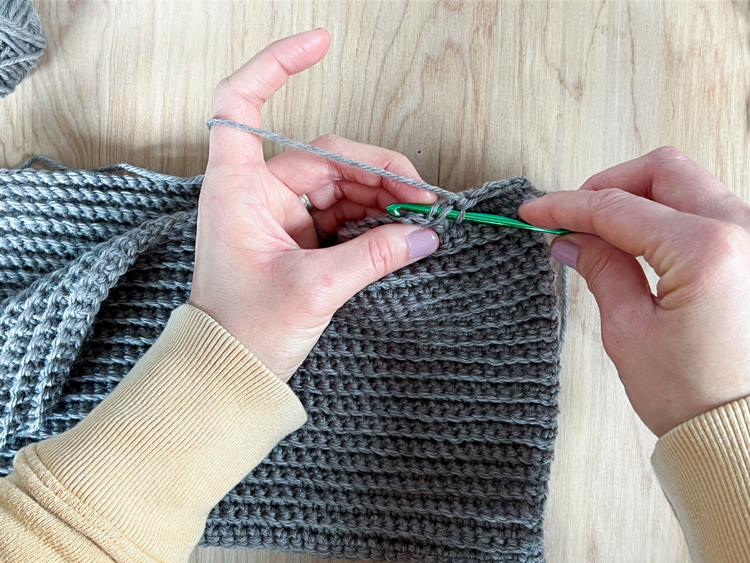
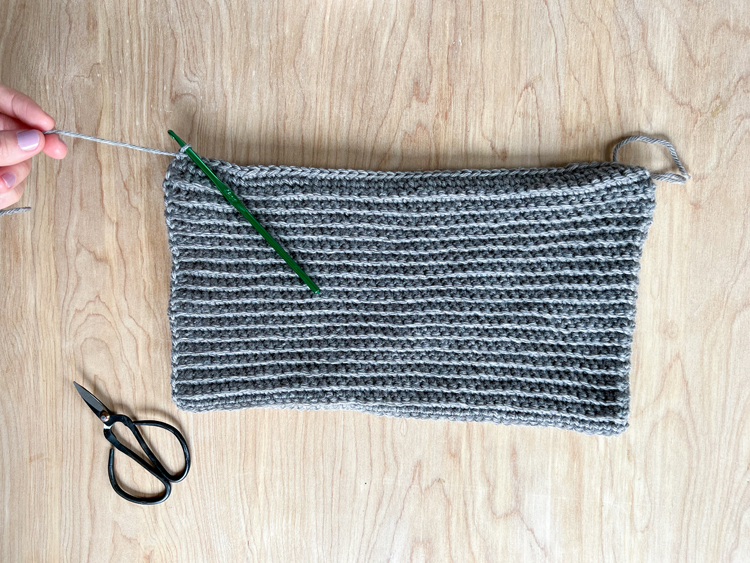
Repeat this process, joining the edges together stitch to stitch until you have seamed the rectangle into a tube. (50)
FORM HAT:
Tie off the end but leave a really long tail (at least 18 inches) and use the tail to cinch the top of the hat.
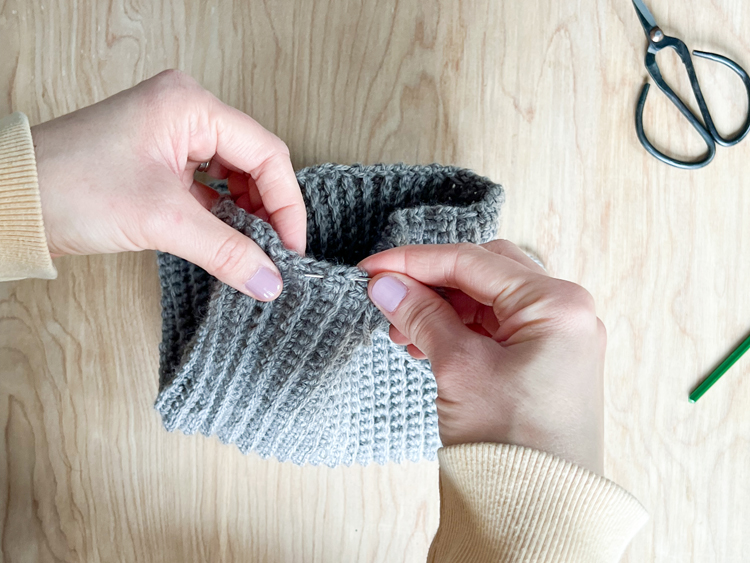
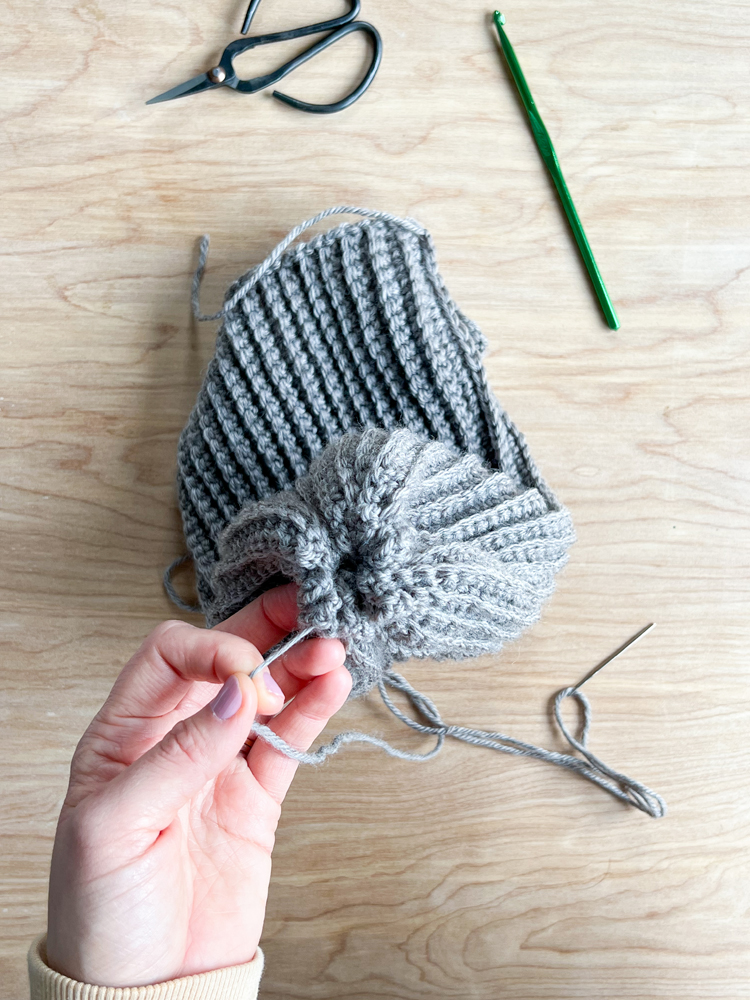
Thread the tail onto a yarn needle and sew a running stitch around the circumference of the tube opening. Then pull the tail to close up the opening. Sew into the gathered end several times to secure the top of the hat and to help control how the gathers look from the right side of the beanie.
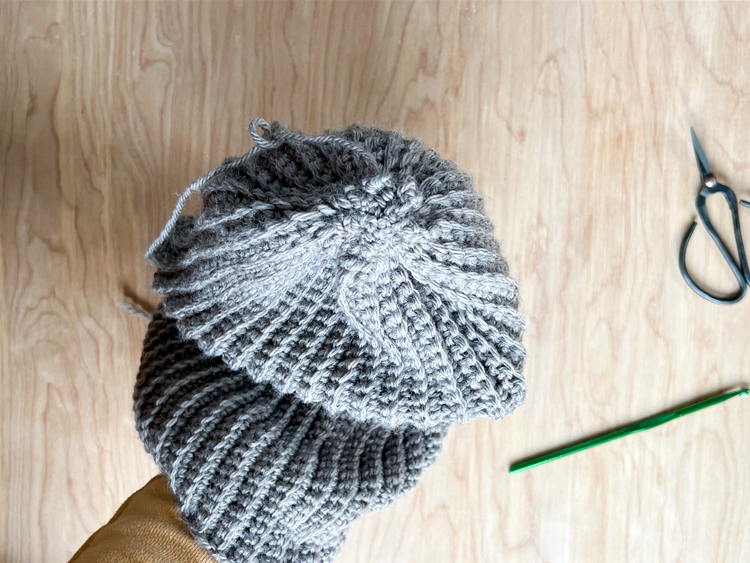
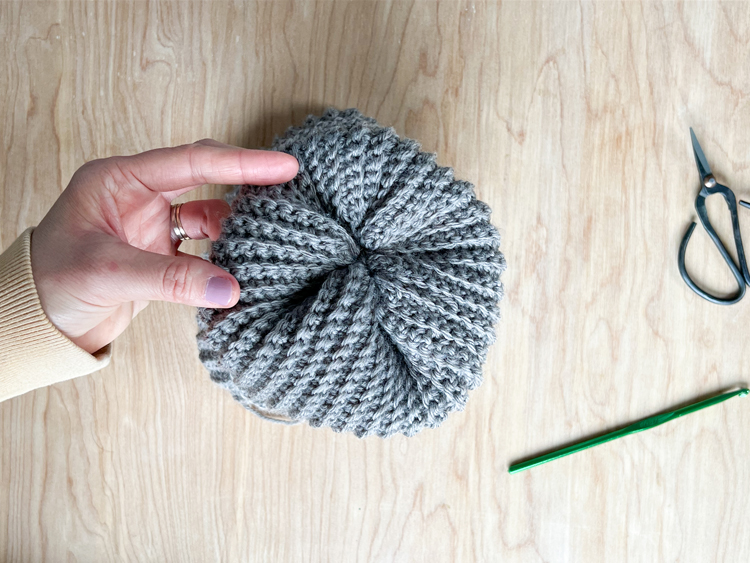
It can help to turn the hat right side out periodically to check that it’s laying and bunching just how you want.
WEAVING IN:
When you’re satisfied with the look of the gathers, turn the hat wrong side out, tie a knot (the video shows how to do this), and weave in the tail. You only need to weave a few inches (I usually shoot for 5-6 inches) before cutting off the excess.
Use the other tail from the beginning row to clean up the seam at the brim of the hat while you weave it in.
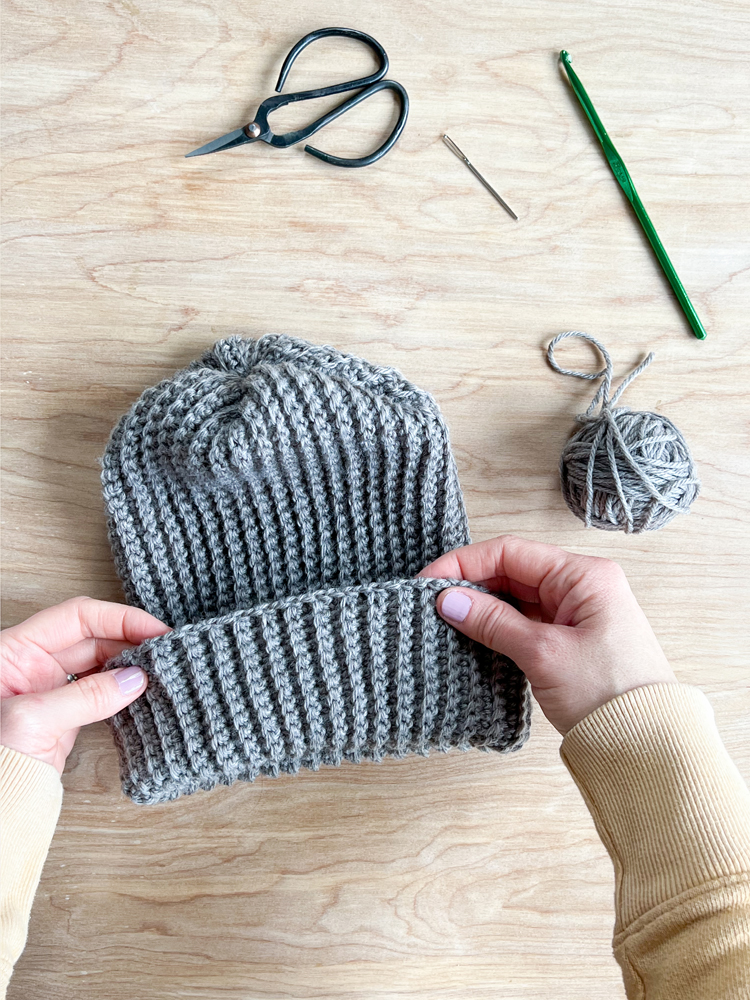
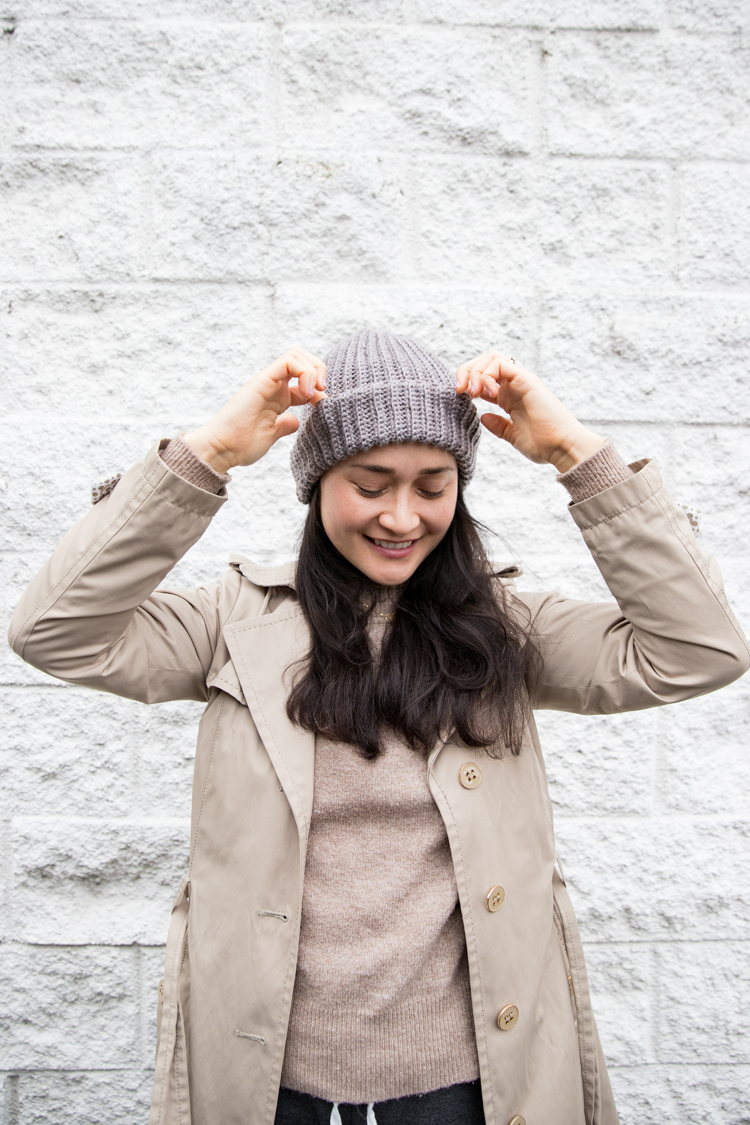
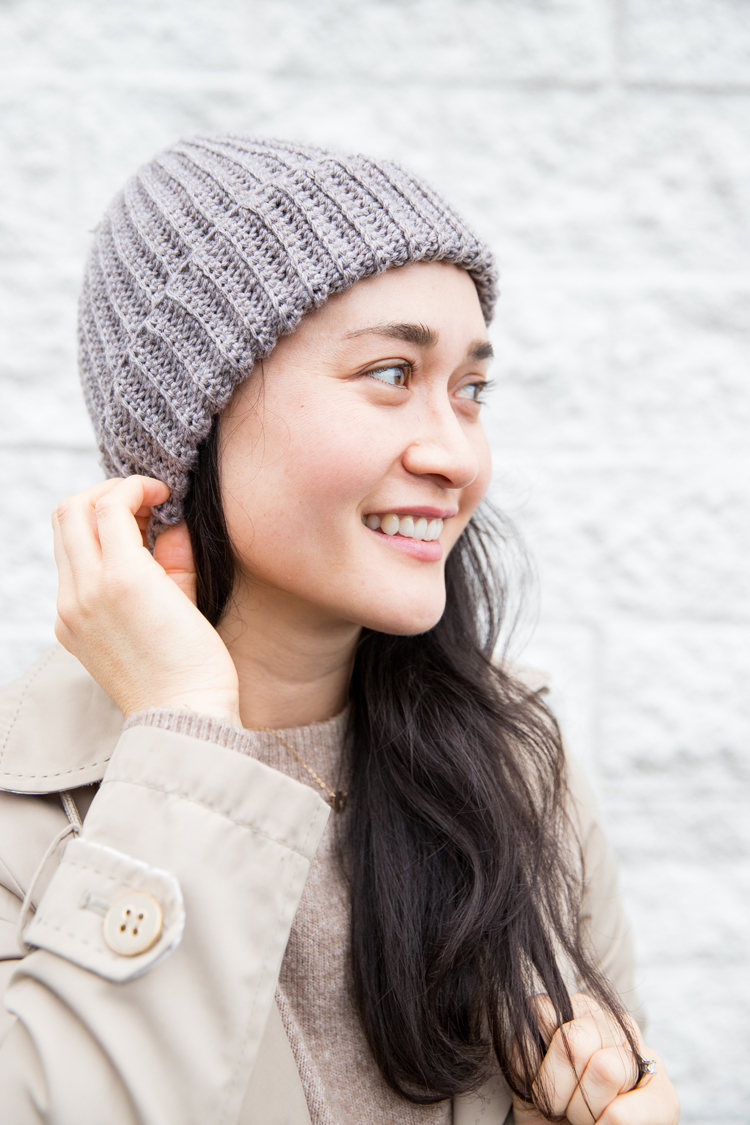
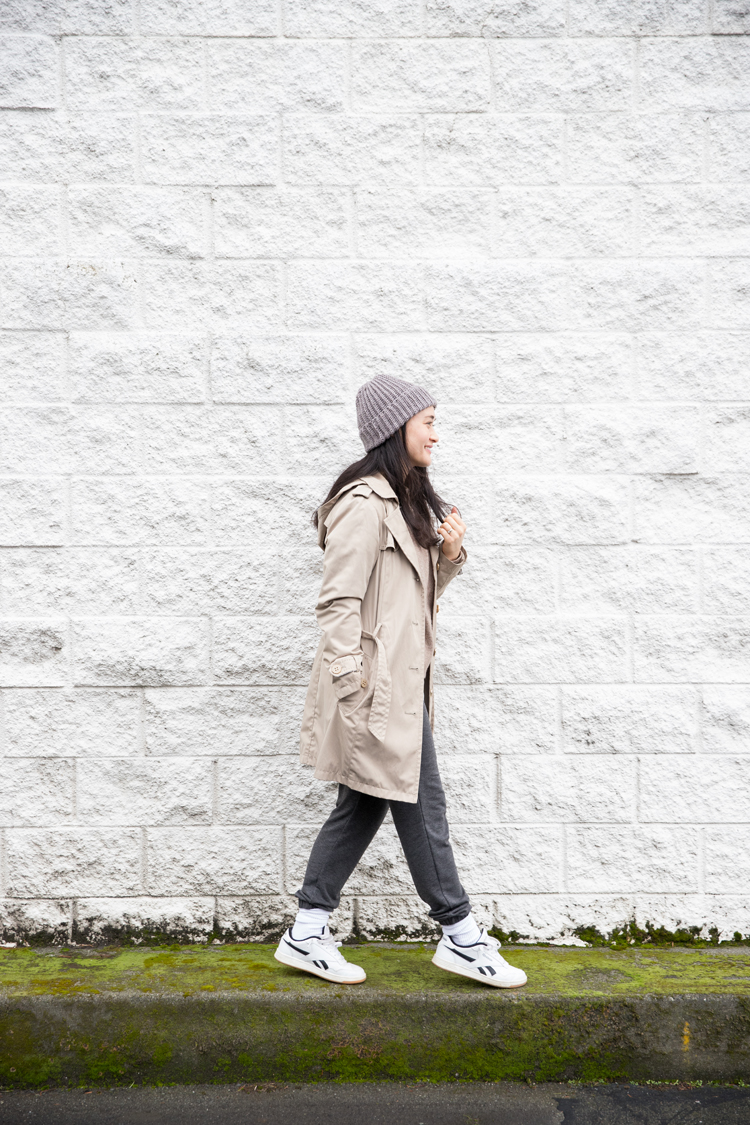
Cuff it and wear it. You’re done!
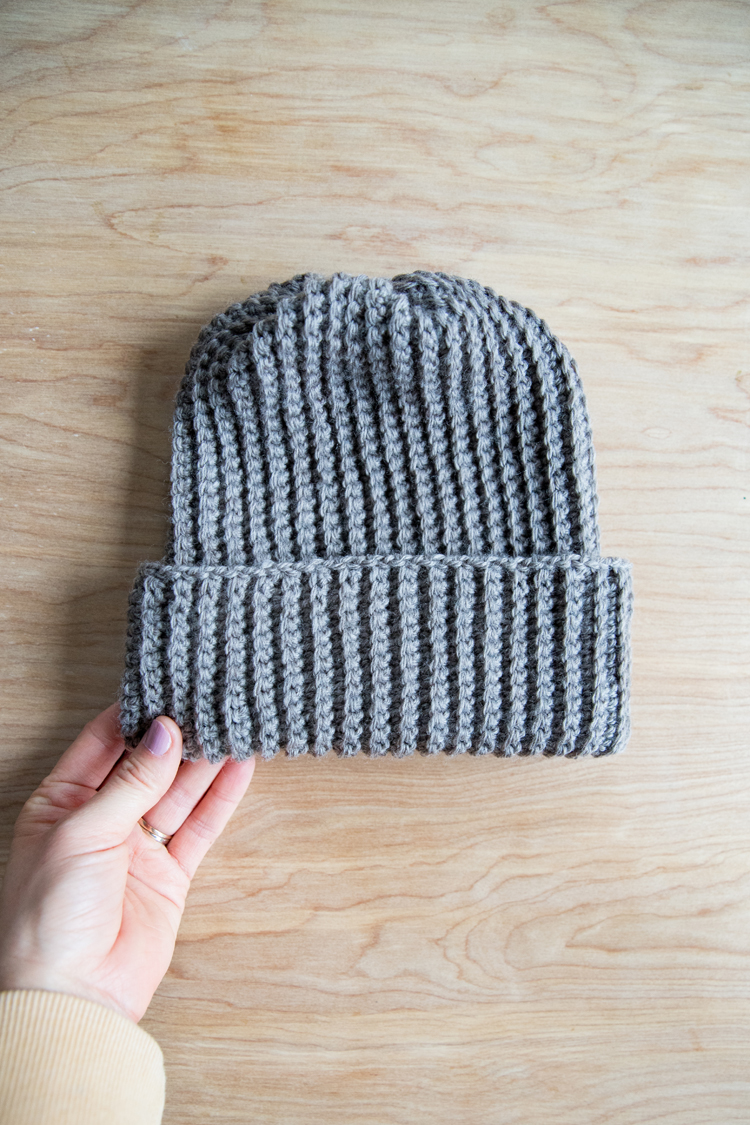
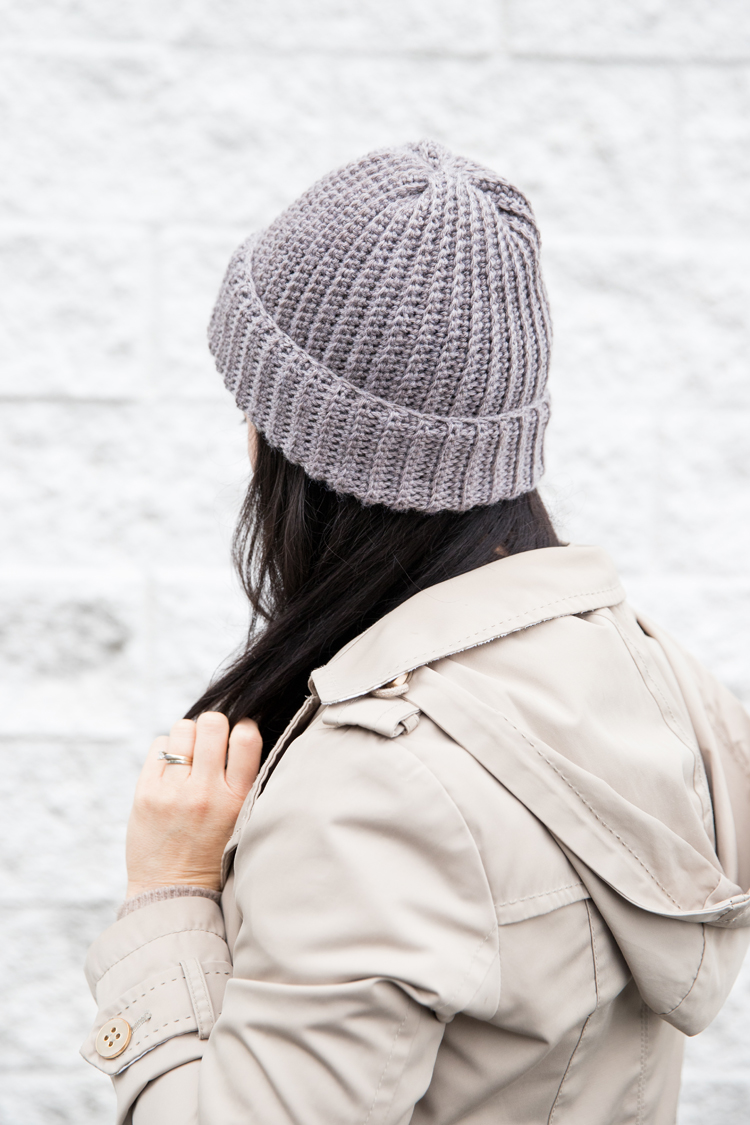
The body of the beanie is super stretchy with great recovery, which makes it very cozy, but the edge of the brim is made up of the sides of rows so it’s a little inflexible. I like that it helps keep your folded brim in place, but be aware that it can impact sizing.
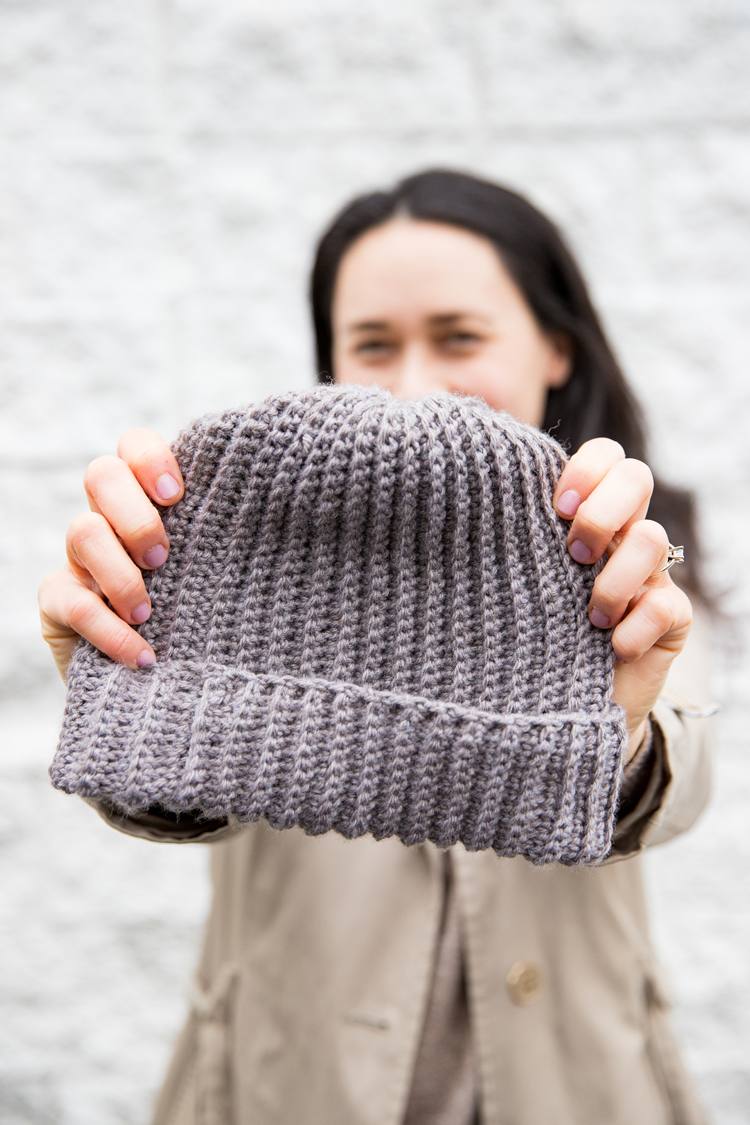
As you can see, by seaming the hat with blo, having an odd number of rows, and by cleaning up the seam when weaving in the tail, the seam is mostly disguised. Do you see it in the picture below on the left side?


I can’t use wool due to a severe lanolin allergy and therefore use acrylic rather frequently. Would you recommend chaining a few extra stitches initially in order to compensate for the difference between the 3 weight yarn and the 4 weight acrylic
That’s a good question. There are 100% acrylic yarns that are category 3. I am currently working on a project with one I found at Michael’s. If you would rather use category 4 yarn, you will likely need less chains and less rows. Just keep in mind, that if you follow the gauge I provide, then the starting chain will shrink up the more rows you work, so it should be longer than the finished hat. (That shrinking is what makes it so stretchy.) I also recommend trying to end on an odd number for your row count. It makes it easier to disguise the seam. I hope that helps!
Thanks for sharing.
I’d like to know more sizing dimensions please 🙂 How long and wide is your rectangle when finished before you connect?
It’s about 18 inches (width of hat) by 12 inches tall (it will fold up to form a brim and lose some height in the gathered portion).
Thank you so much ❤️
Wonderful pattern. I am making it now. How did you not have holes at the end with the one sc at the end stitch? Thanks Arlene
I found my answer. I love how simplistic this pattern is! Thanks!