I’ve taken the basic witch hat and made it well…more basic…witch? haha.

This is a stiff brimmed witch hat that sits on the top/back of your head. If you tilt your head just right, it almost masquerades as a fedora.

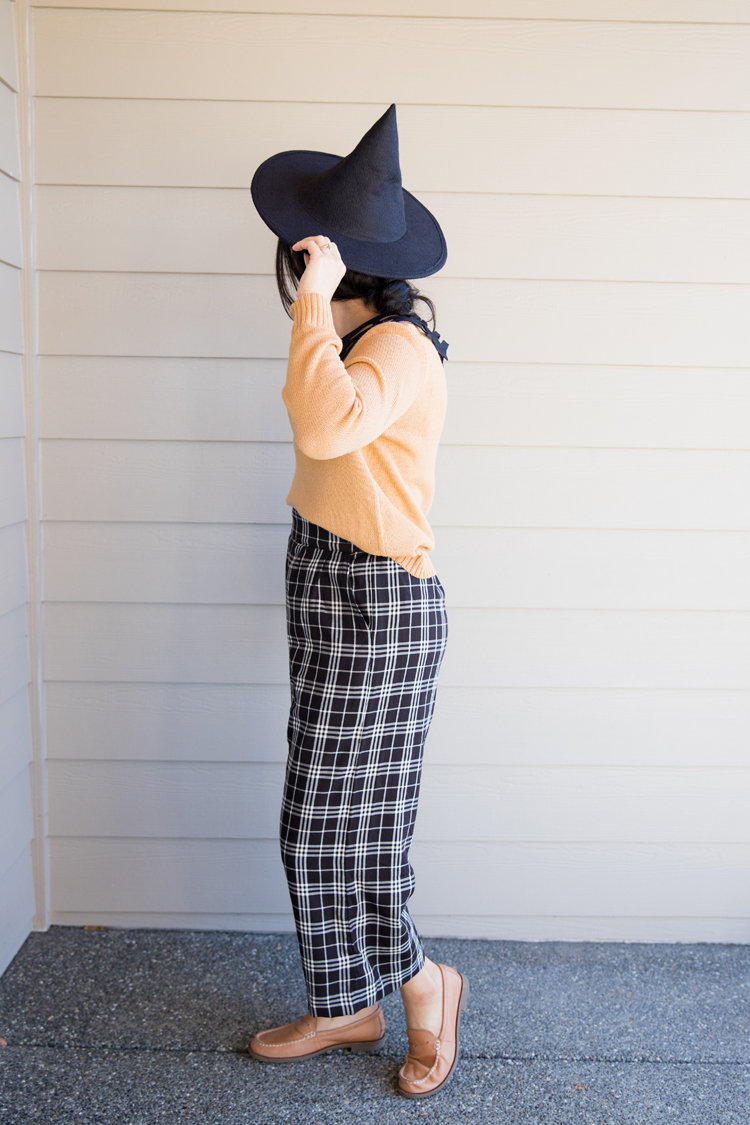
It is a beginner friendly sewing project, but if you are new to sewing (and even if you’re not), please please please splurge for the felt with some wool in it. It will make the whole process so much easier and the finished hat a lot nicer.

I’ve got a free pattern, plus a detailed video and written tutorial.
Let’s go!
Materials
- 1/2 yard of felt*
- matching thread
- 1/2 yard very stiff sew-in interfacing**
- pins AND clips***
- scissors, universal needle, point turner or chopstick
- sewing machine
- iron and spray bottle of water
- pen knife/exacto knife
- chalk
Material Notes:
*I used the partial wool felt from Jo-Ann. You do not need 100% wool felt, you just need some wool content in it that will help it be less stretchy and will shrink up a bit when you iron it. If you have to use 100% polyester felt, please get the premium stuff. It will make a better hat.
**I used Peltex 70 Ultra Firm Sew-in interfacing from Jo-Ann. Even though the fusible interfacings are rated to be thicker, they really aren’t. I tried this out with both types and the sew-in stuff was better. If you use fusible, it can cause some warping when you iron it throughout the project.
***If you don’t have quilter’s clips, then little binder clips would work great.
Pattern Download
Sizing
This hat is one size fits most adults. It is designed to fit a head that is about 23 inches, but it is supposed to fit on top of the head, rather than sliding over it, so sizing can be a bit more flexible. One inch of ease has been added to it.
If you want to make it smaller or bigger, you could try small adjustments to the percentage at which you print it. I would start with the interfacing and cut it conservatively, making larger cuts as you go to get the fit you need. You may want to consider making a hat top and top brim muslin to test with it as well.

Seam Allowance
This will change depending on the step. Please read carefully to make sure you are using the correct seam allowance for each step.
Video Tutorial
If the video has not yet popped to the side or top of your screen, it should now, or it will simply show below after the initial ads.
Even if you watch the video, it can be helpful to read over the written instructions as well.
Written Tutorial
Step 1: Assemble Pattern
Print pattern at 100%.
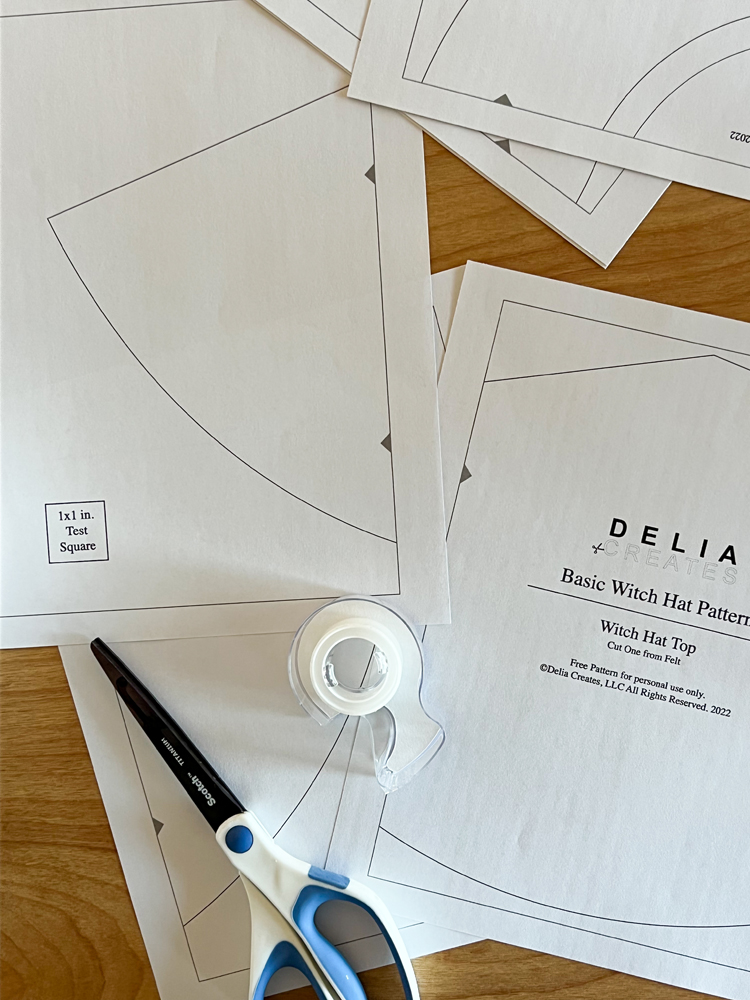
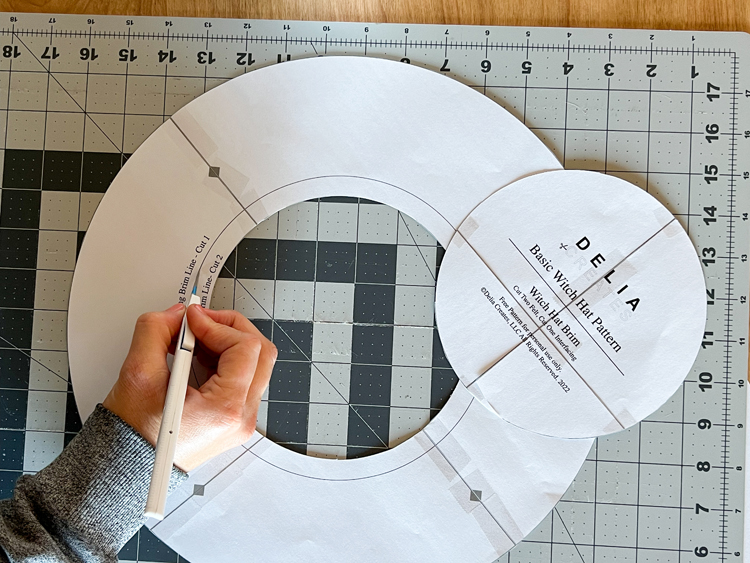
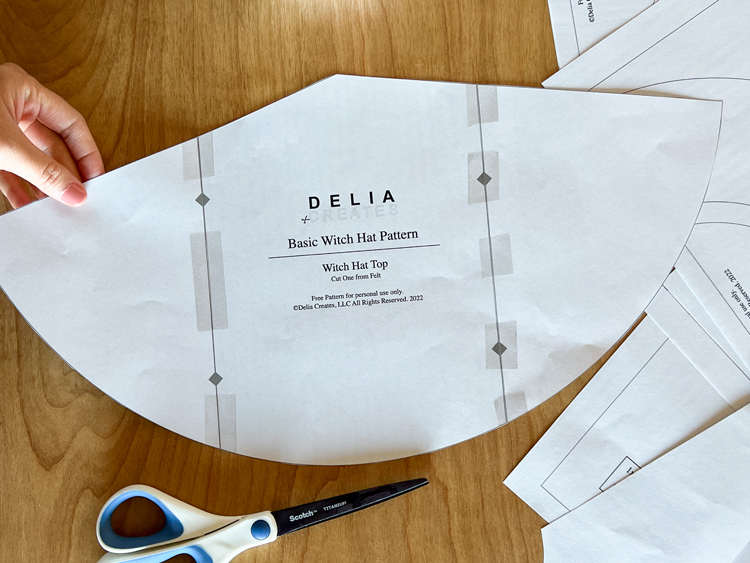
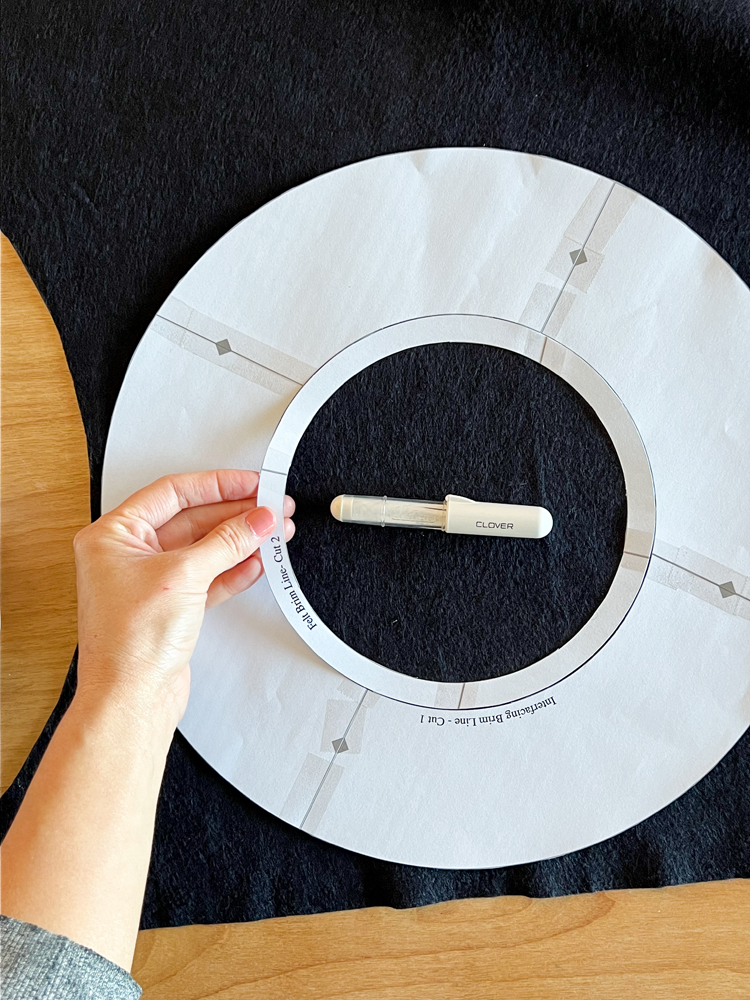
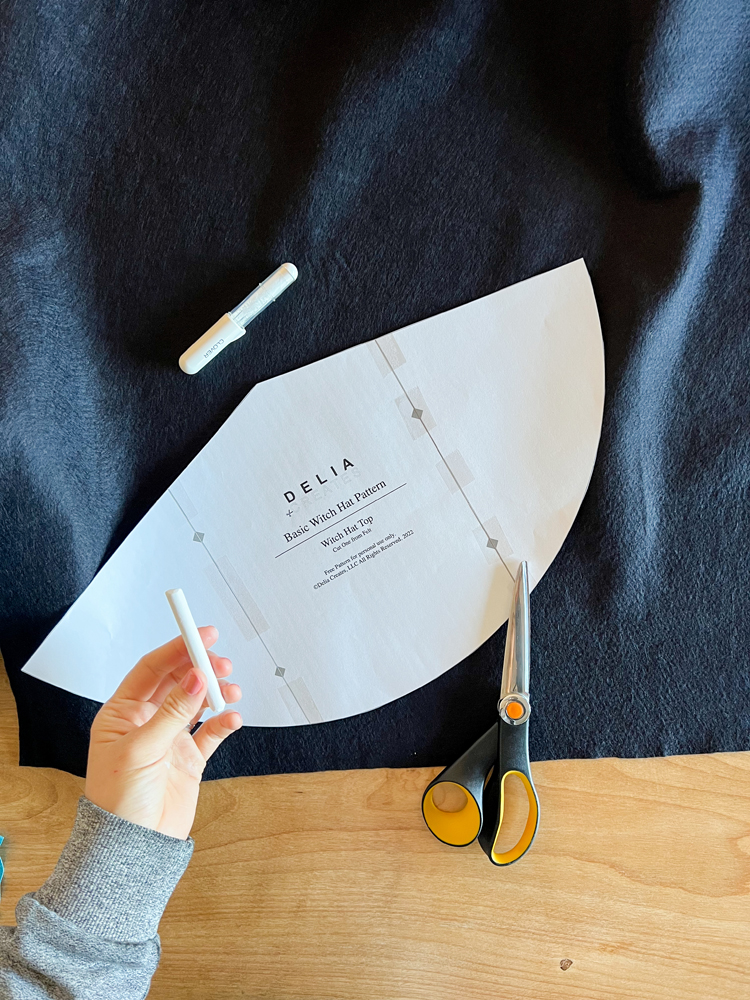
Measure the 1 inch test square to make sure it printed correctly. Then trim around the gray boxes and line up pages according to the gray diamonds. Tape together and cut out the pattern.
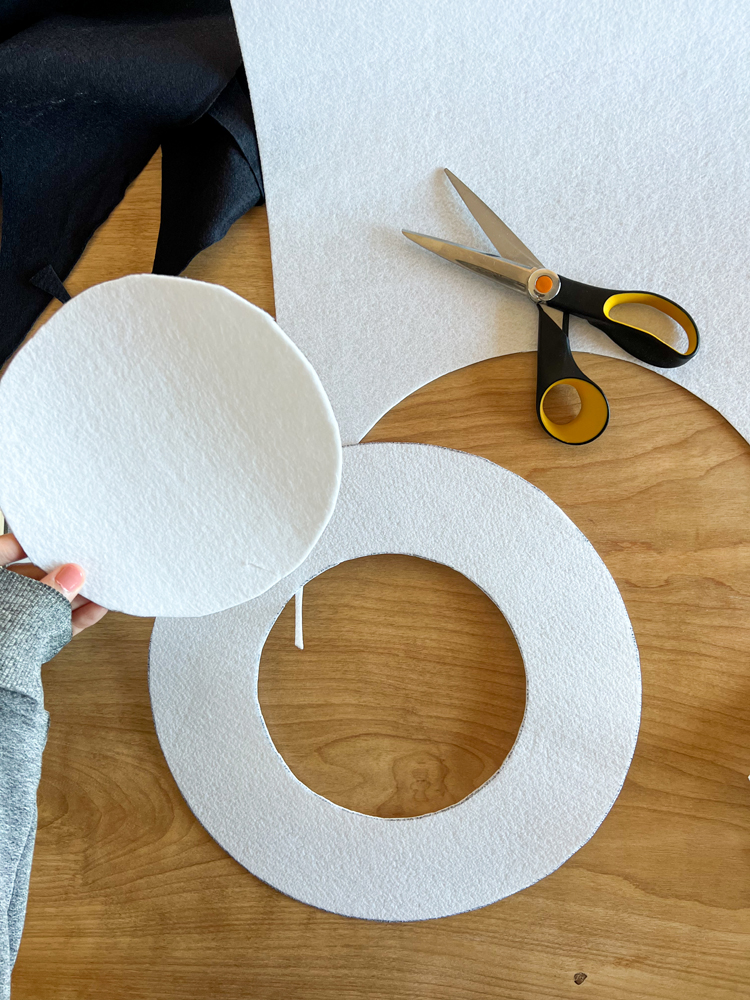
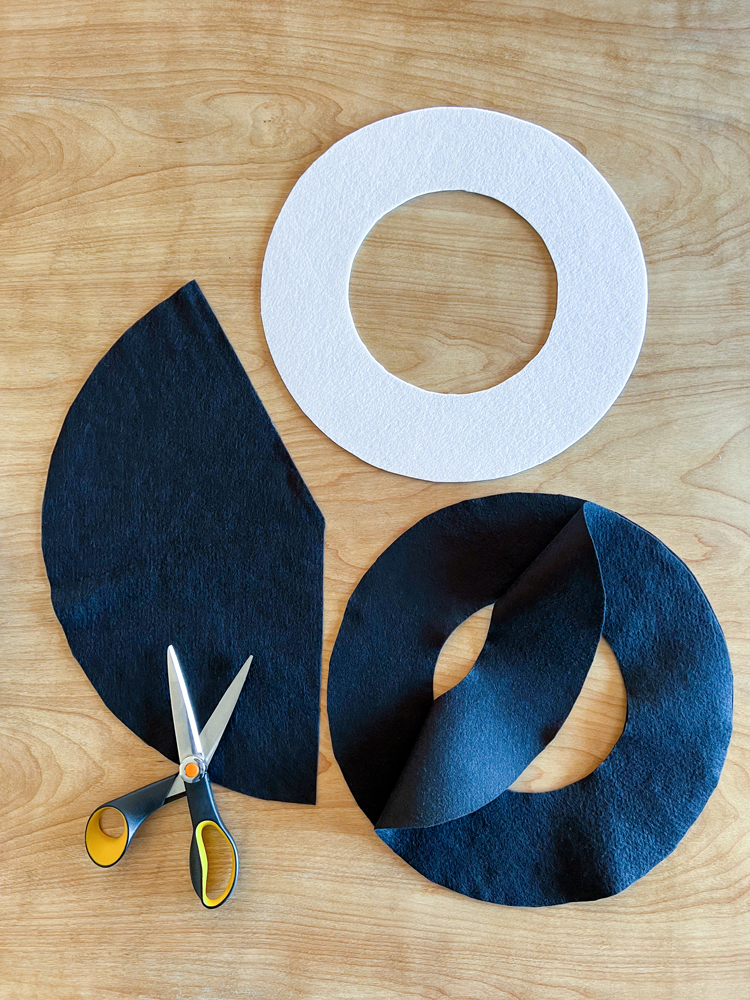
Note: For the round brim pattern pieces, you will need to use a pen/exacto knife to cut out the inner ring. Keep both pieces, as you will need them for different materials.
Step 2: Cut out all hat pieces.
Interfacing – Cut 1 brim with the inner ring removed.
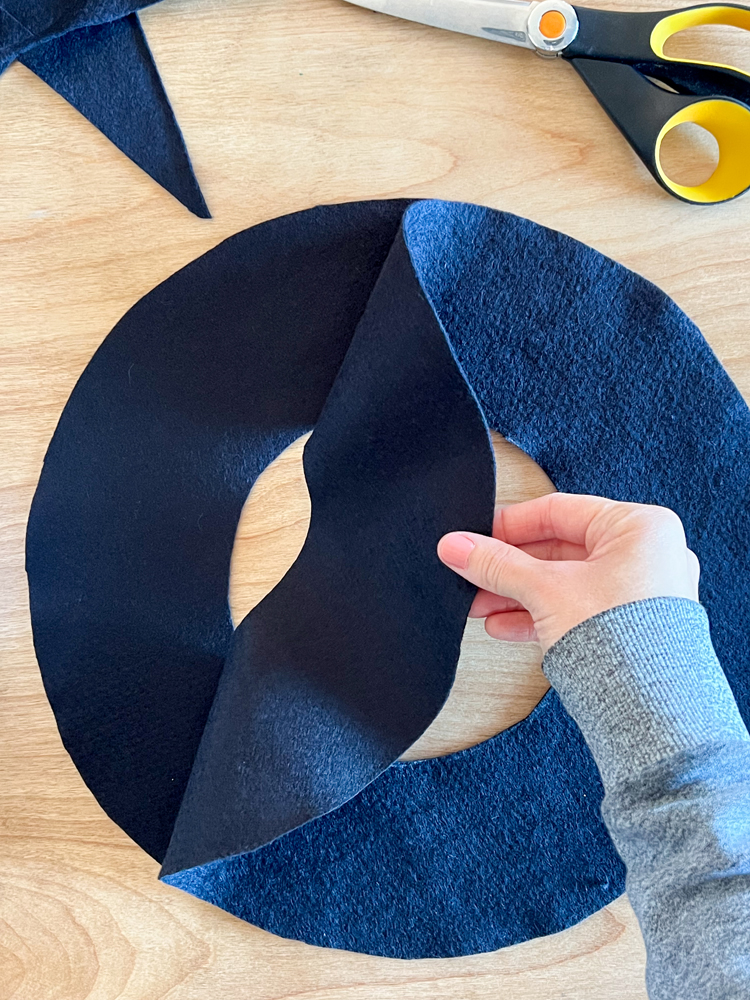
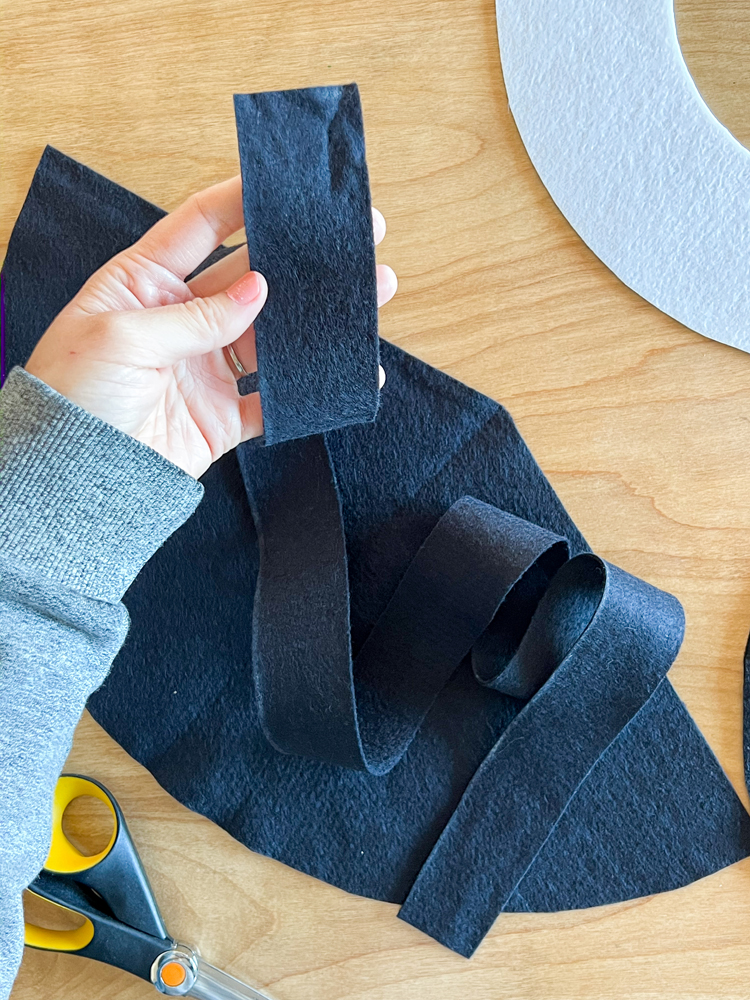
Felt – Cut 1 hat top, 2 brim pieces with the inner ring included, 1 strip of felt 1.5 inches wide by 43 inches long.
TIP: Using chalk can make tracing on dark felt much easier.
Step 3: Sew hat top.
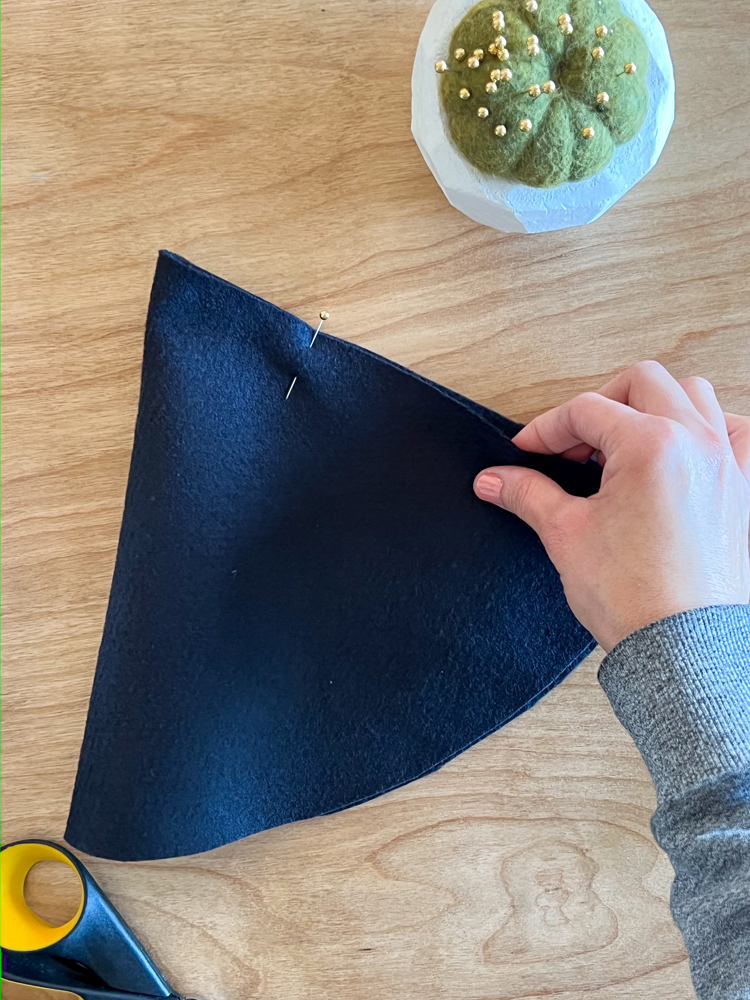
Fold hat top in half, pin along raw edge, and sew with a 1/2 inch seam allowance.
TIP: Lengthen your stitch to 3.0-3.5 mm to reduce stretching. Lifting your presser foot periodically or using a walking foot can also help.
Clip seam allowance at the tip of the hat to reduce bulk. Press seam allowance open and flat.
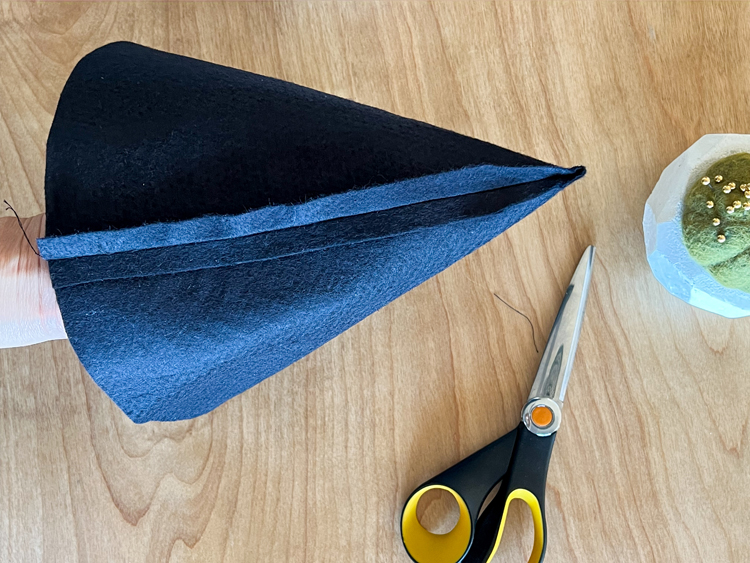
Turn the hat right side out, using a chop stick or point turner to get the point nice and neat.
Step 4: Sew on first felt brim.
Pin one of the felt brims around the outside (right side out) perimeter of the hat top. Try not to stretch it too much. With wool felt, this shouldn’t be too much of a problem. With polyester felt, you have to take extra care. Remember to use a 3.0-3.5 mm stitch length.
Sew in place with a 1/2 inch seam allowance.
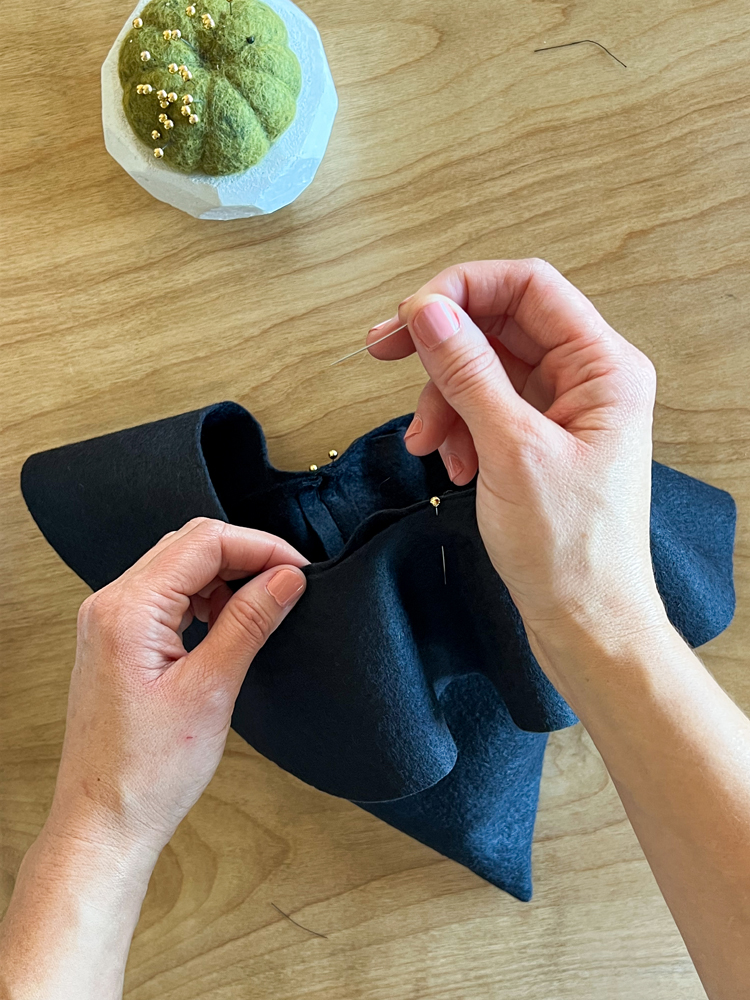
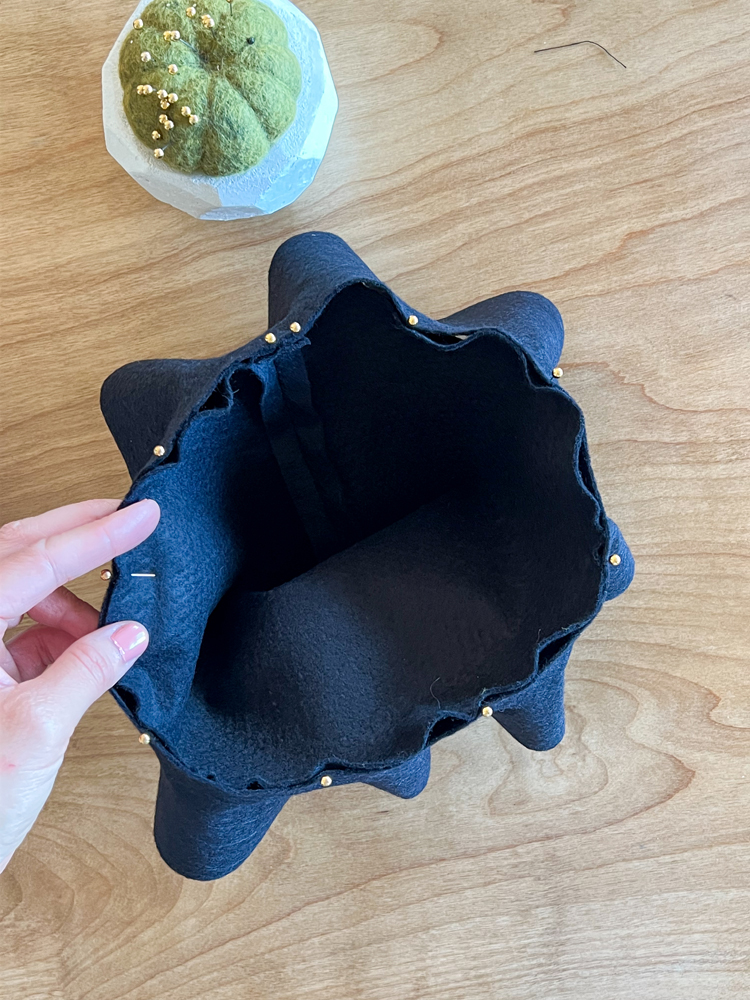
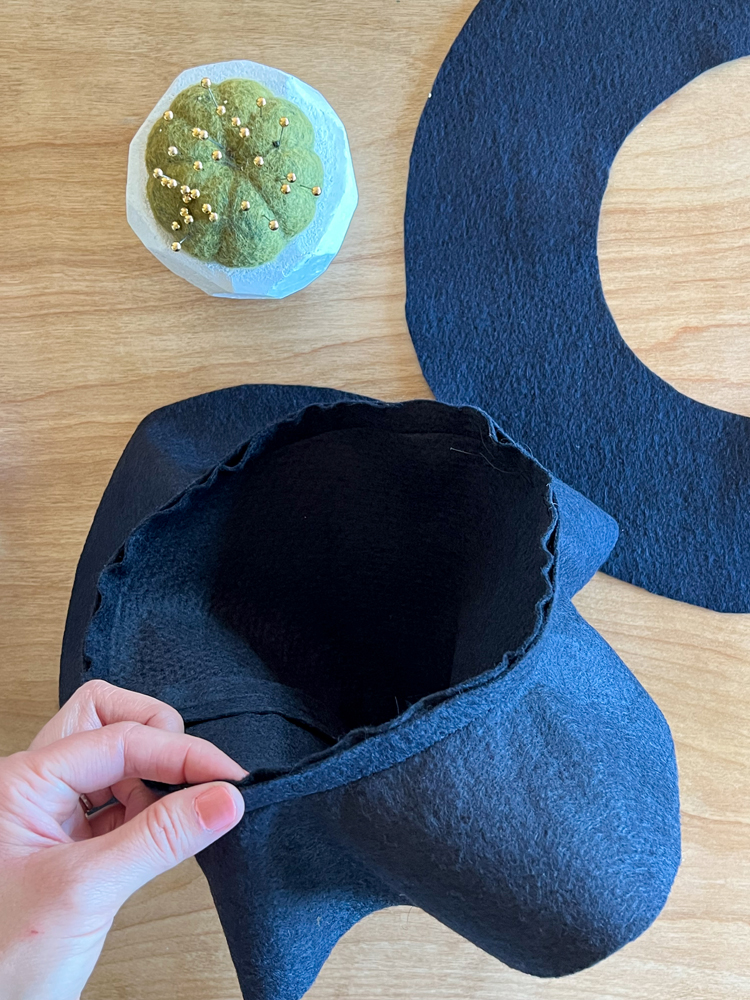
Step 5: Sew on second felt brim.
Pin the remaining felt brim to the inside of the hat top. You may need to adjust your pins as you go to make sure it fits. Stretch the materials only to make them fit, but try to limit stretching as much as you can.
Sew in place with a 3/8 inch seam allowance.
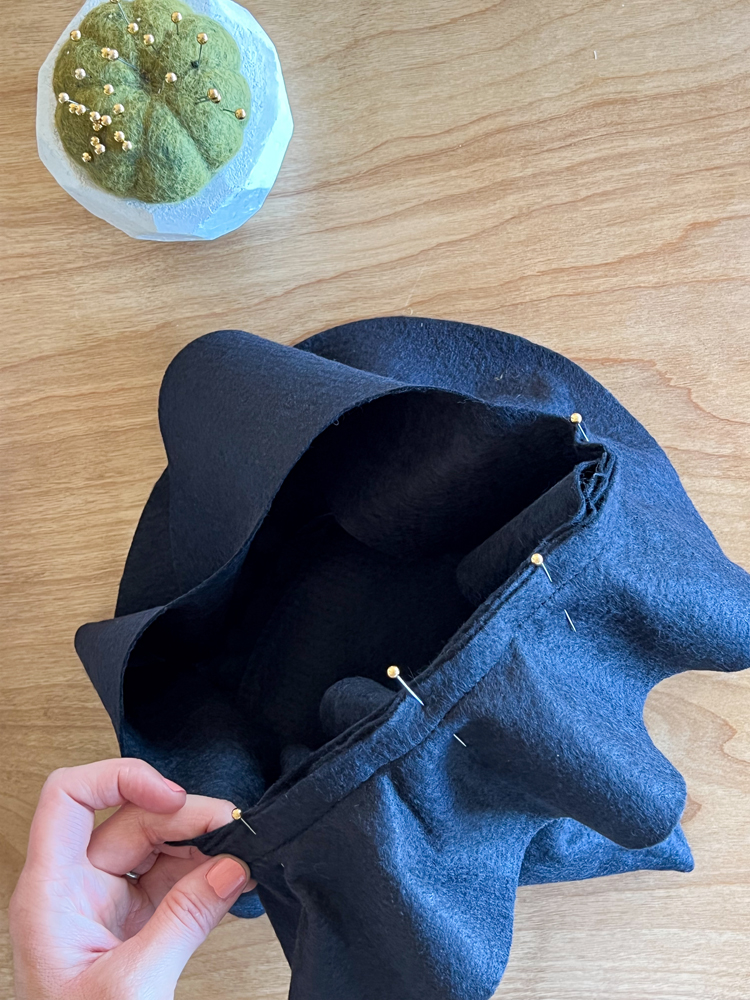
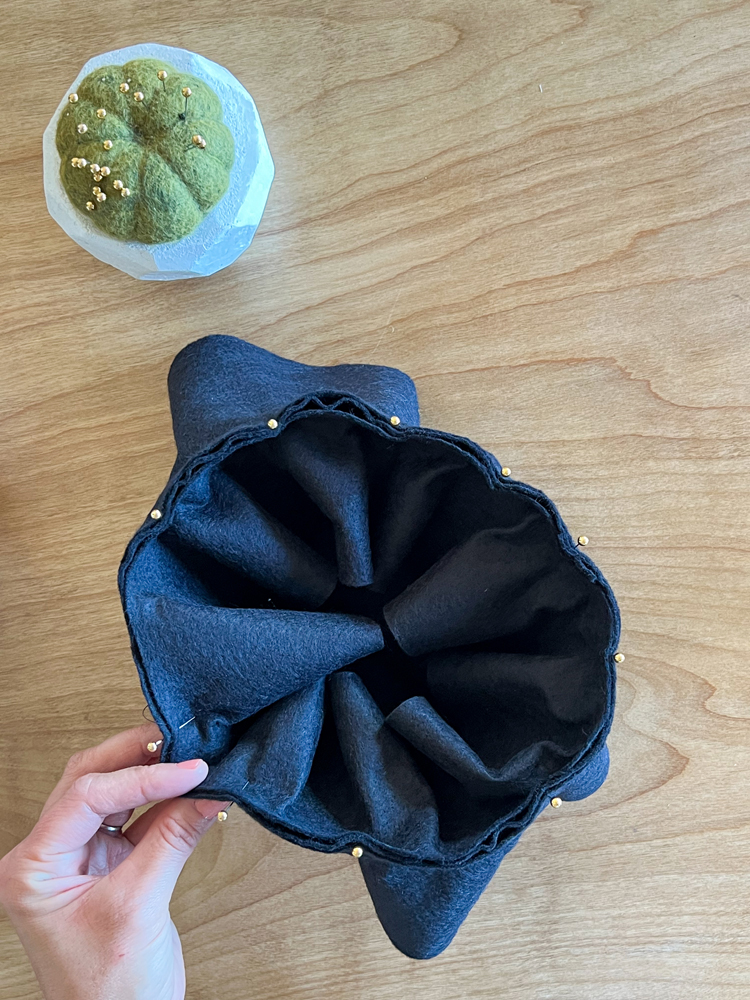
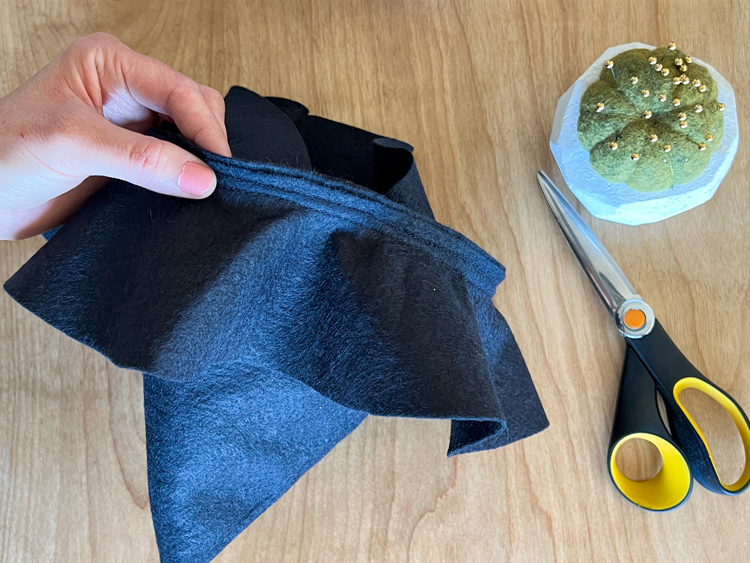
You should now be able to see two distinct stitch lines at 1/2 inches and 3/8 inches on the outside of the hat and only one stitch line with a 3/8 inch seam allowance on the inside of the hat.
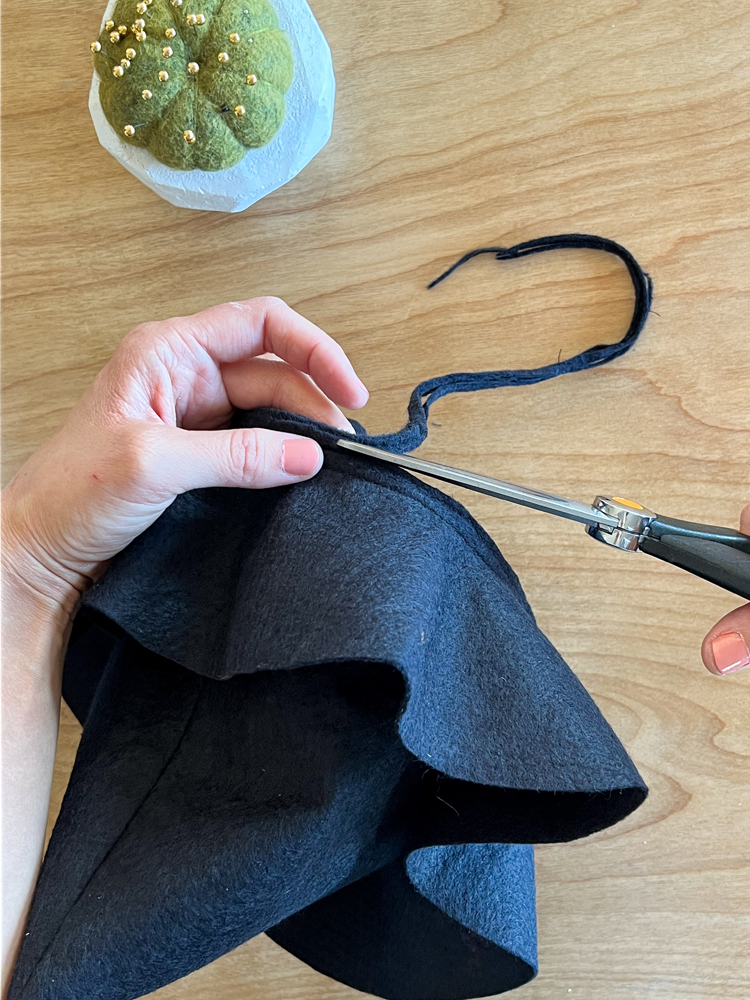
Trim ALL layers close to the 3/8 inch stitch line, without cutting through any stitches.
Step 6: Attach interfacing brim to the top brim.
Slide the interfacing brim in between the two felt brims. Now, attach the top brim only to the interfacing brim.
Clip the top brim to the outer edge of the interfacing brim with quilter’s clips or little binder clips. Do not use pins. They will puncture and weaken the interfacing and they don’t hold the felt brim in place as efficiently.
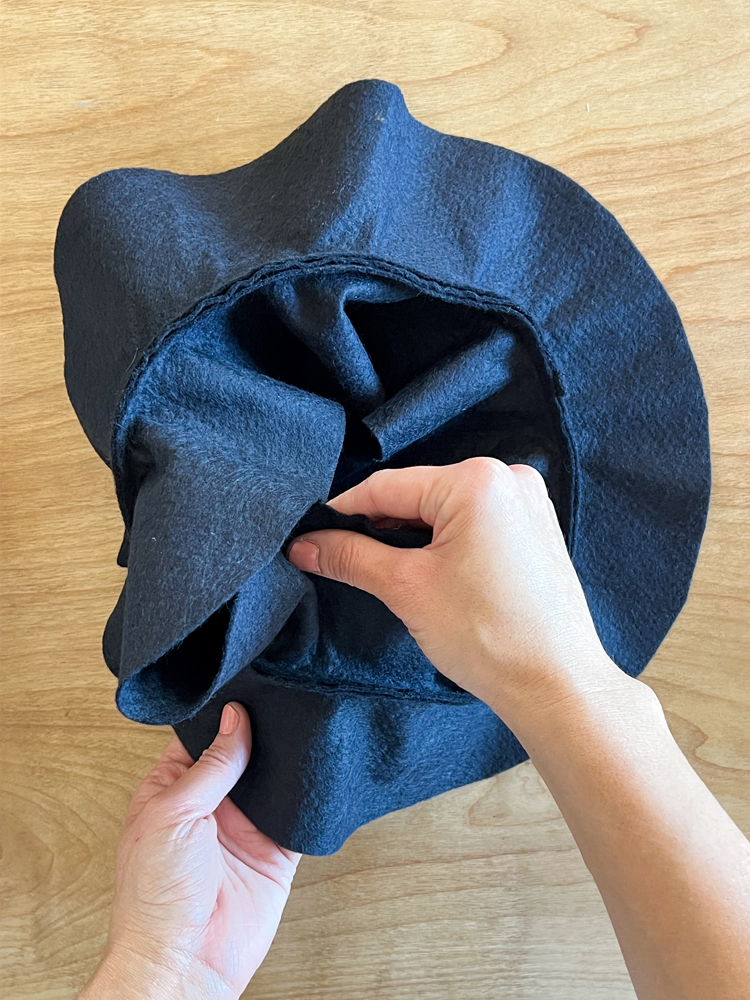
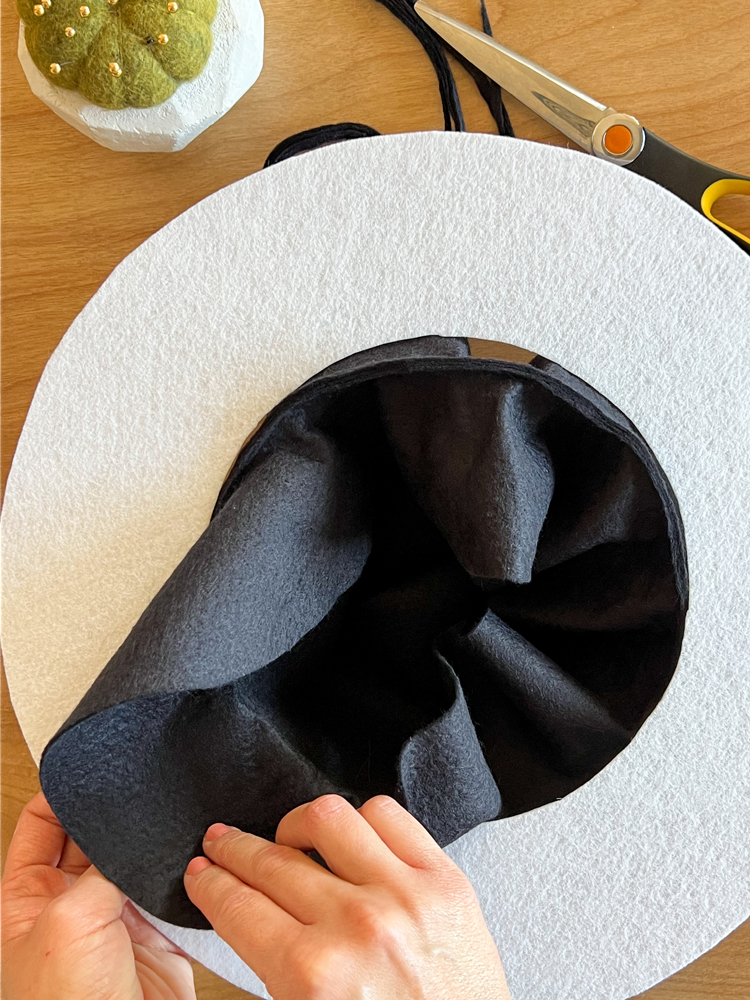
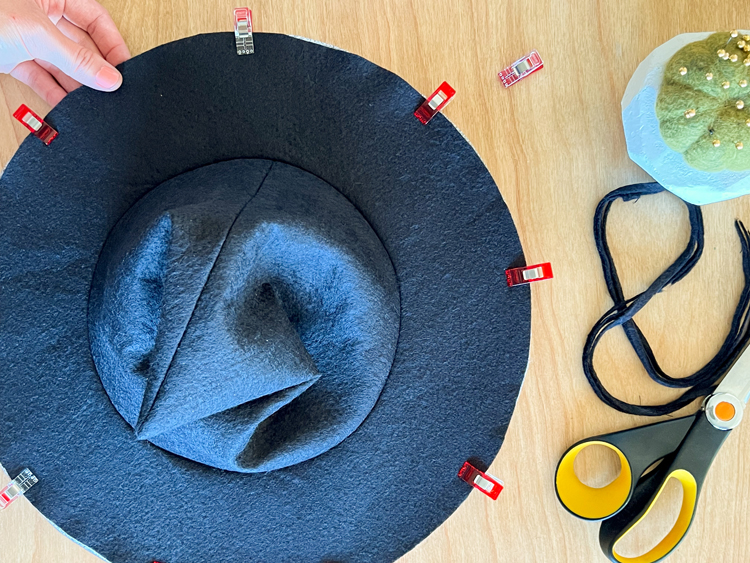
Make sure the top brim is clipped to the interfacing evenly and smoothly, and that the bottom felt brim is tucked away into the hat top so it doesn’t get unintentionally sewn into the top brim.
Sew the top brim in place with a 1/4 inch seam allowance.
TIP: Around the brim, lengthen the stitches to 4.0-4.5 mm. To prevent stretching and warping around the edge of the brim, try not to pull the felt toward you as you sew. Pull it outward toward the edge of the brim and pat it toward the presser foot as you sew. The video illustrates these tips, if you need to see them in action. You may need to unpick stitches and re-sew them if you have any puckering.
For wool felt only: Spray with water and press with an iron. This helps felt up or shrink up the wool content in the felt, and can mitigate minor stretching issues. This will not work with 100% polyester felt.
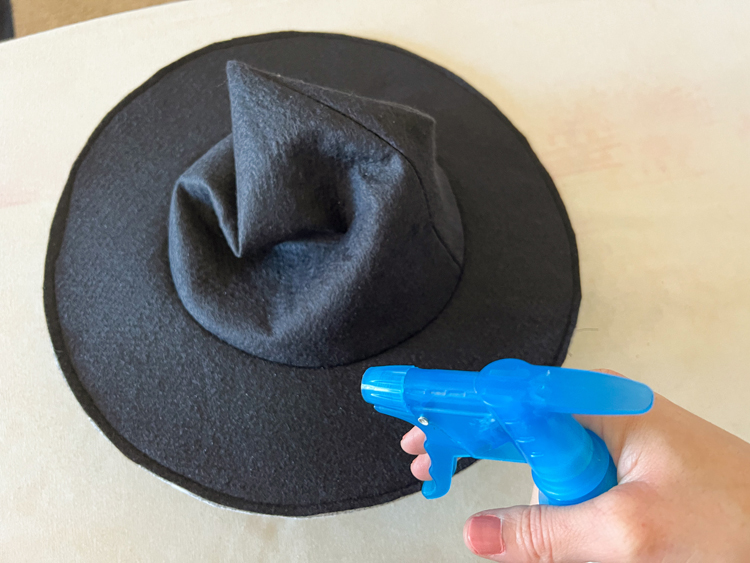
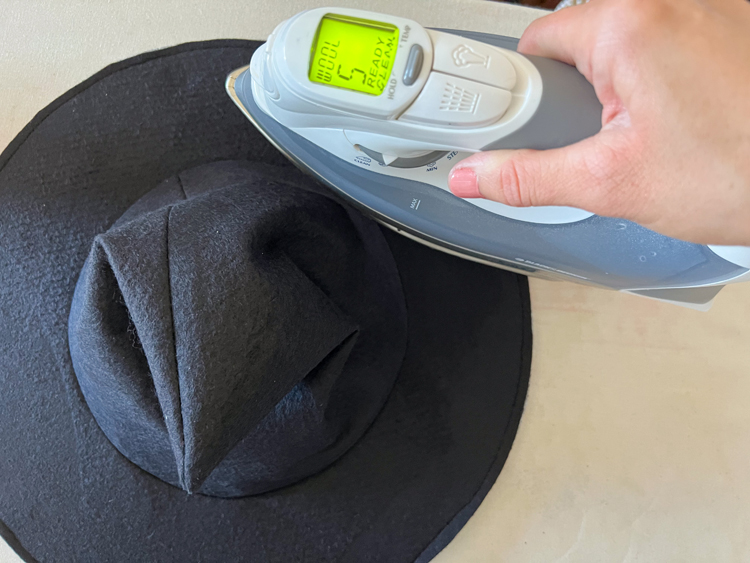
Step 7: Attach bottom brim to the interfacing.
Pull the bottom brim to the outer edge of the interfacing brim. If this is a tight fit, that is a good thing! You will likely need to pull pretty firmly, and adjust your clips several times before you get the bottom brim smooth and all the way to the outer edge.
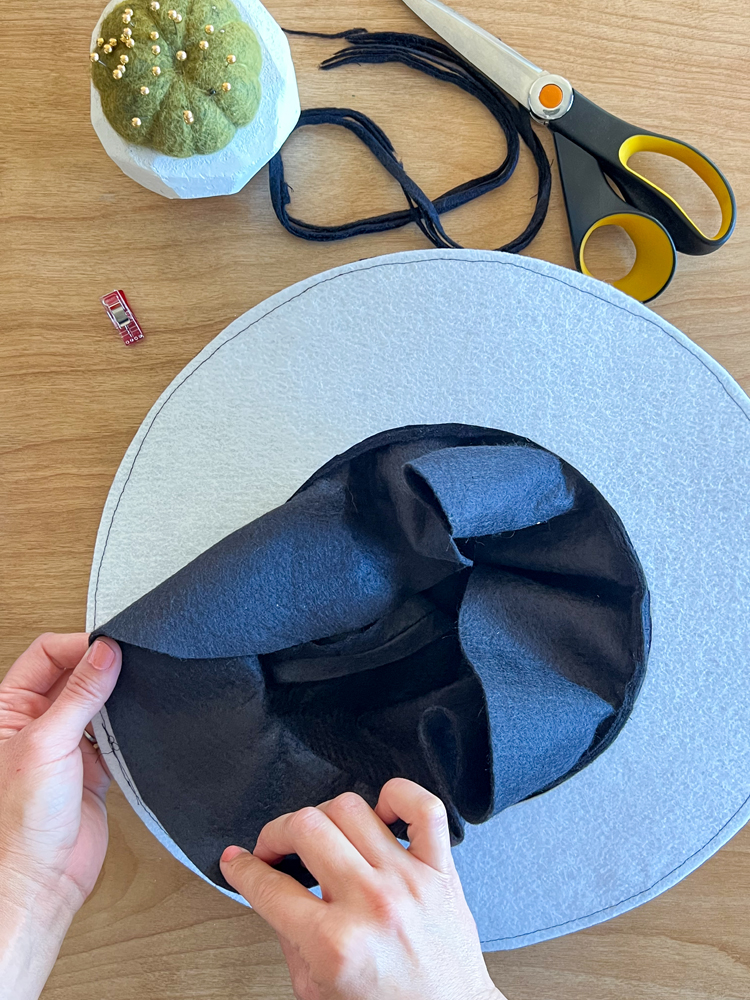
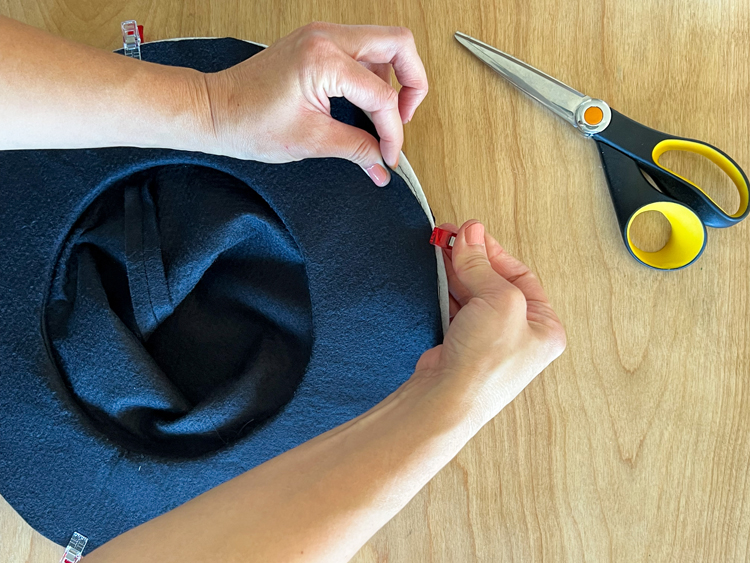
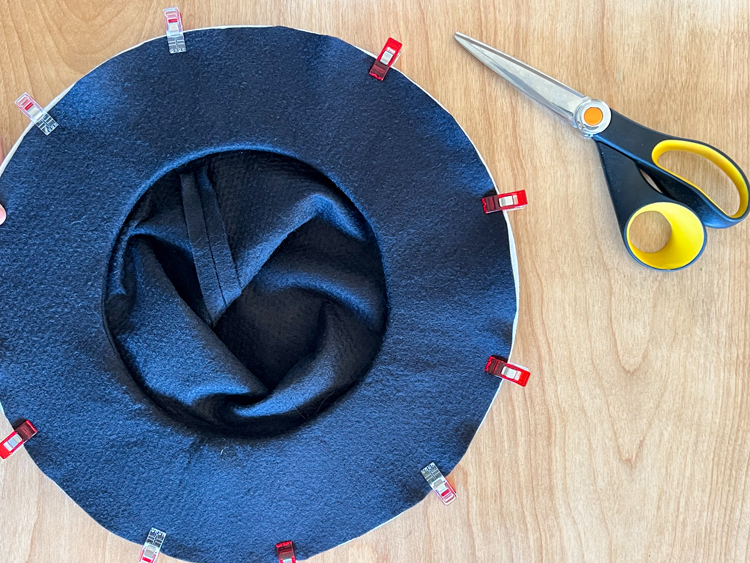
Sew in place with a 1/4 inch seam allowance. It is especially important at this step to reduce any stretching along the stitch line. Pull the brim firmly outward and push it gently toward the presser foot.
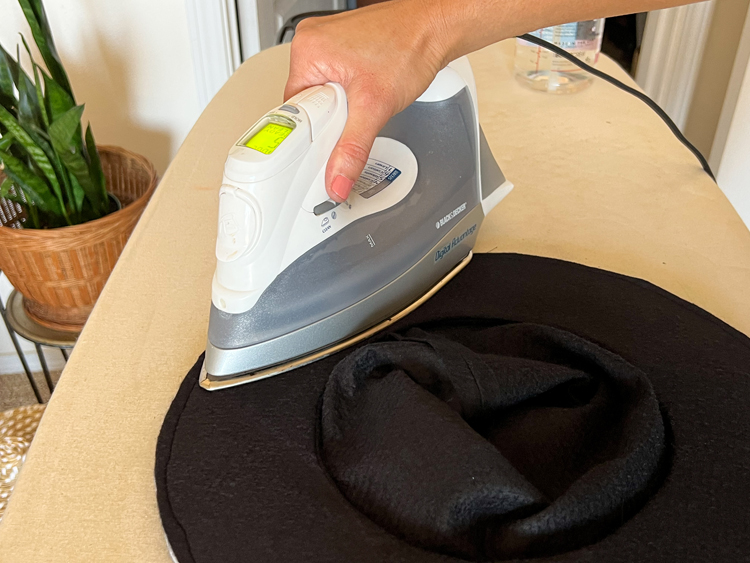
Spray the brim with water and iron it, to smooth it out and tighten it up.
Step 8: Add the felt strip as trim around the raw edges.
Fold the felt strip in half. Optional: iron it in half lengthwise.
Cup it over the raw edge of the brim and sew in place with a 3/8 inch seam allowance.
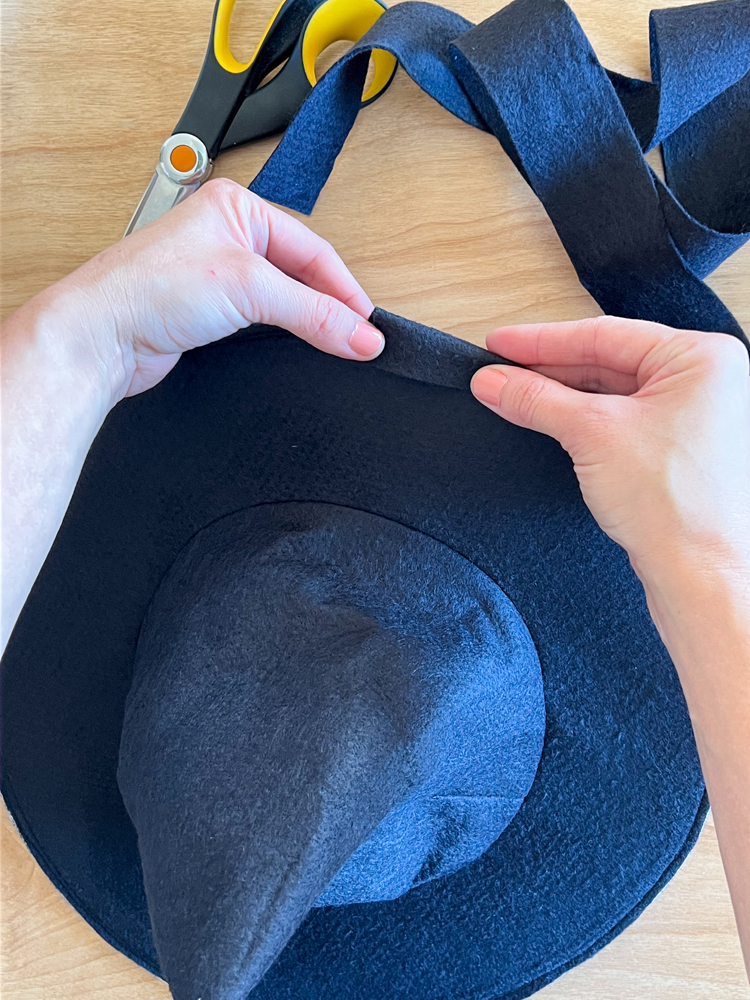
Tip: Be sure to line this starting point up with the seam of your top hat. (Did I do this?…nope, and so now I have a little brim seam line in the front of my hat. Learn from my mistake. ;))
I don’t recommend clipping the trim in place first because you WANT to stretch it toward you as you sew this time.
It won’t look perfect, and that is part of the process. As long as you are pulling it tightly and as long as you are catching the felt trim on the top and bottom with your stitch line, then we will clean up the rest in the next step.
Overlap the trim about 1/2 inch and back stitch.
Step 9: Cut away trim excess.
Cut the extra felt trim as close to the stitch line as possible, without cutting into stitches. This cleans up the hat considerably.
If you used wool felt, give it another spray and press with an iron.
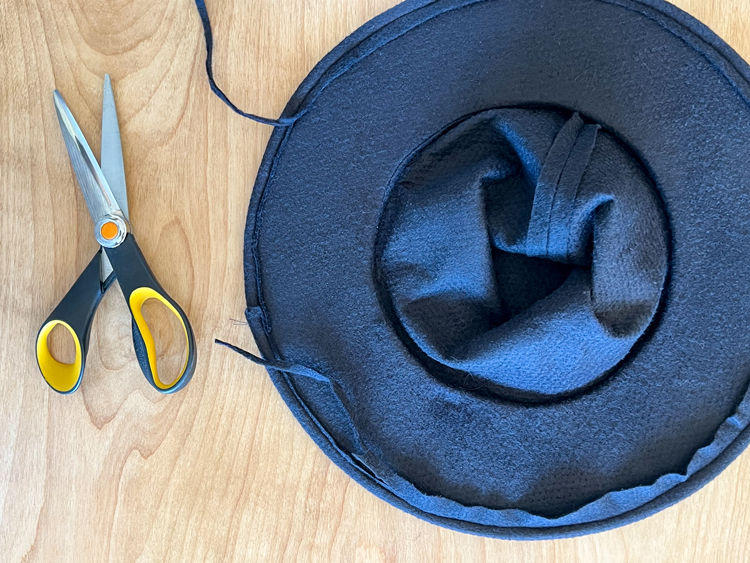
Seriously. The iron makes a big difference.
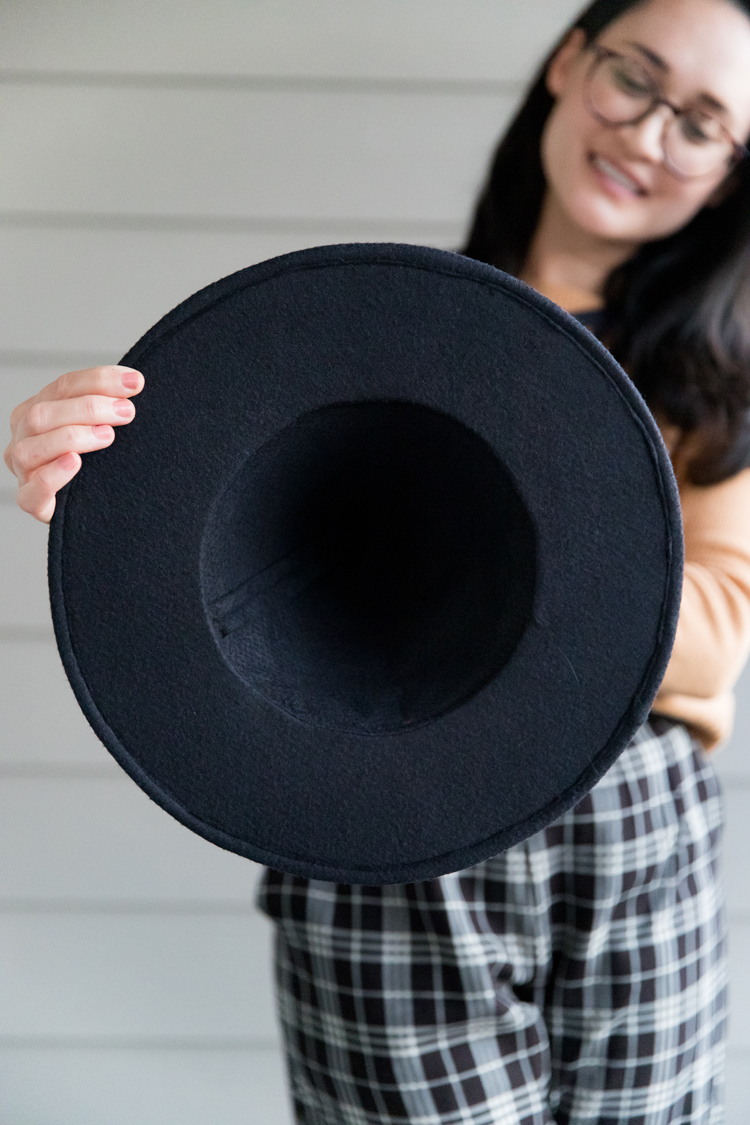

If you like the collar, I have a free pattern for that too! It’s also made from felt and requires hardly any sewing.
Click here for the free spiderweb collar download.
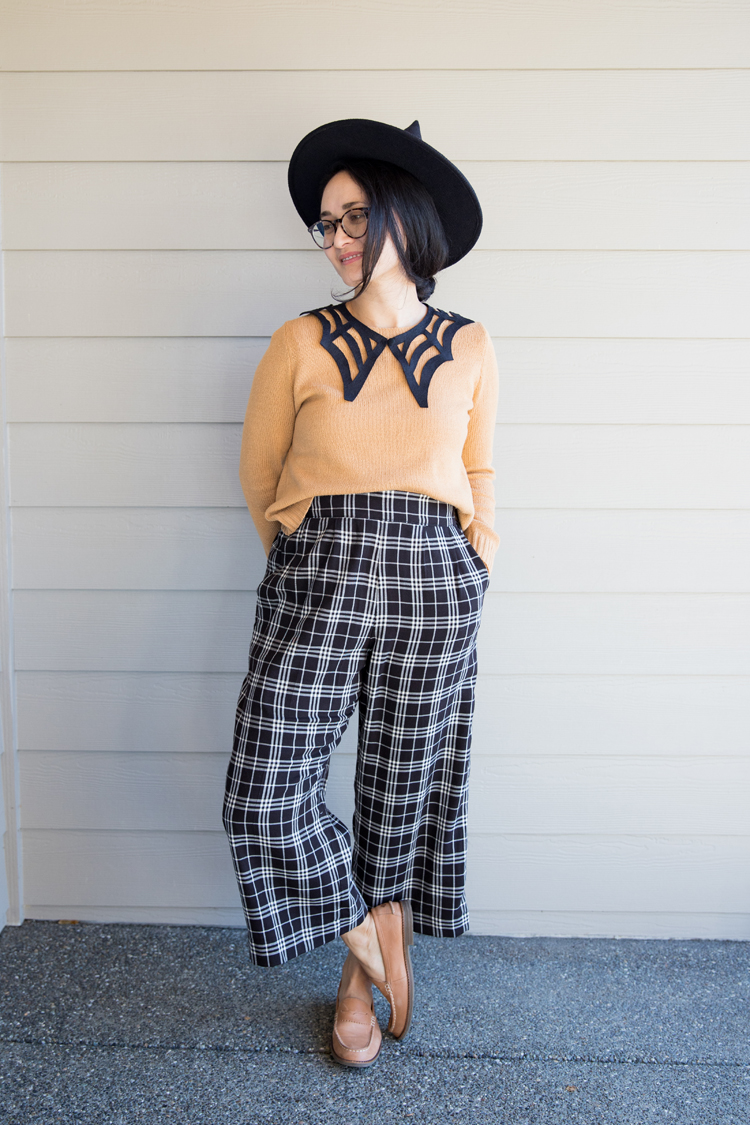
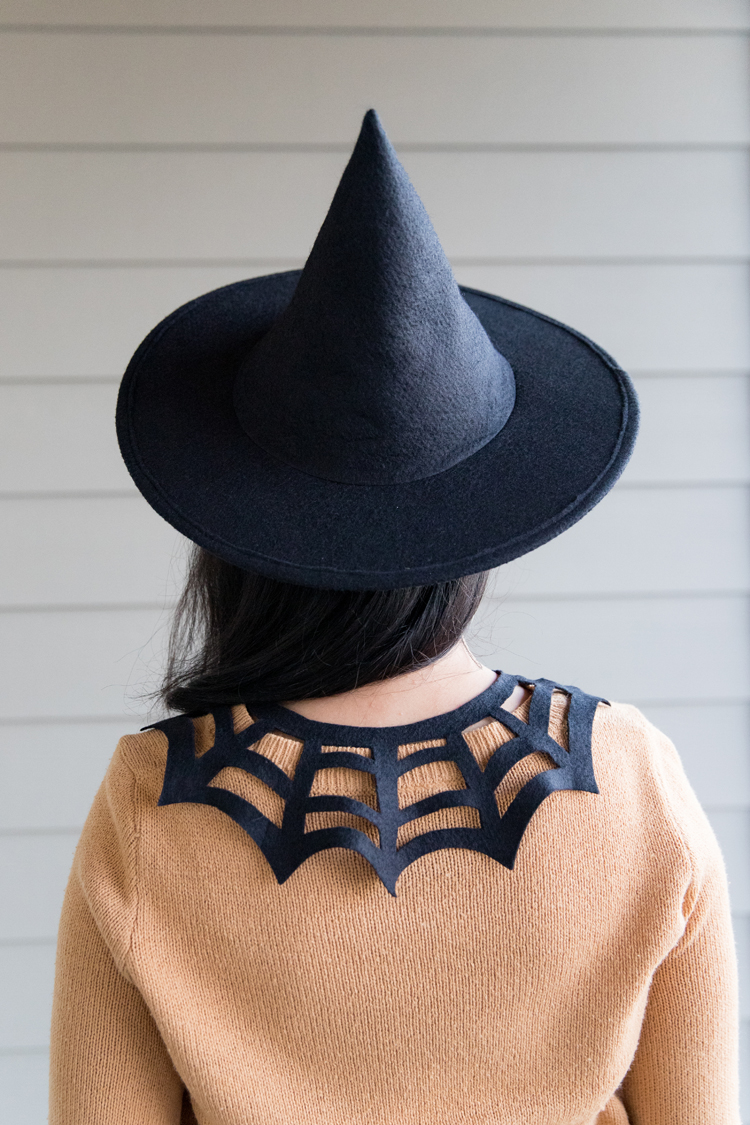
If spiderwebs are your thing, I have a bunch of spiderweb related Halloween projects, including the cape version of this collar. Check them out here.


This is so cute! I totally want to try this!
This tutorial is amazing! I modified it to make a custom hat for a kid’s costume, and everything from the materials you recommended to the stitch lengths and how to manipulate the fabric as you sew was absolutely invaluable. First time making a hat and it turned out great! Thank you so much for sharing 🙂
I am so happy to hear that it went well! Thank you for your kind comment.<3