Anyone else still scrambling to get costumes together? (raises hand too)
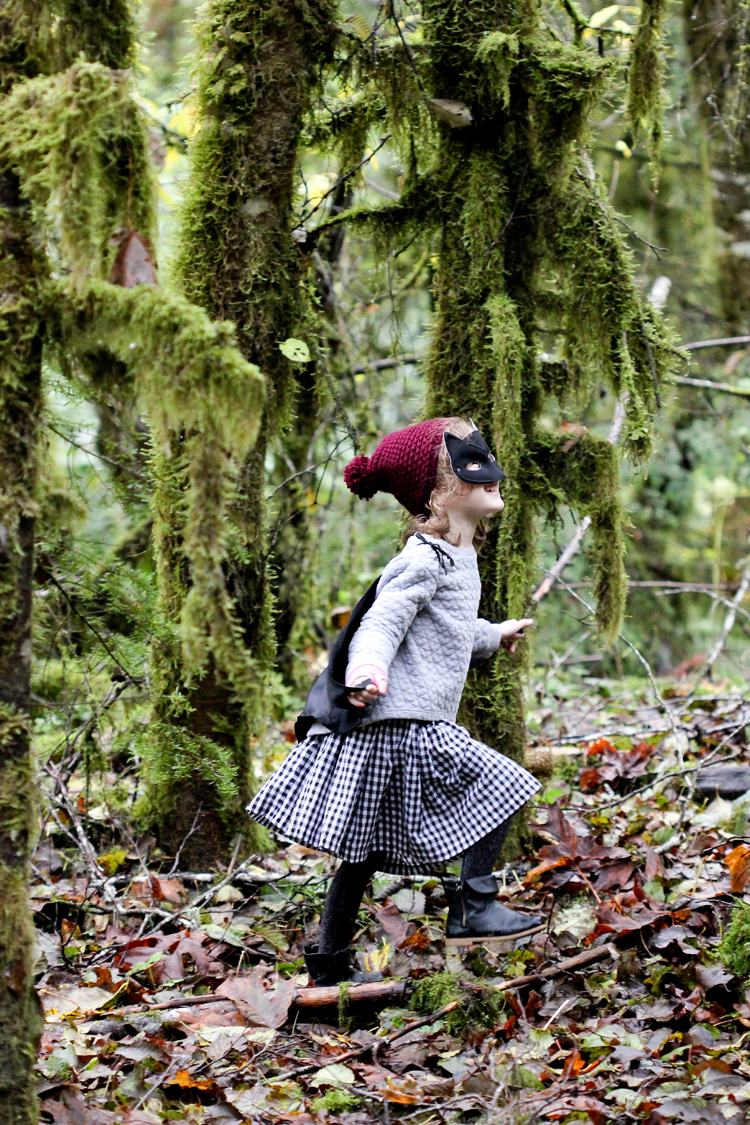
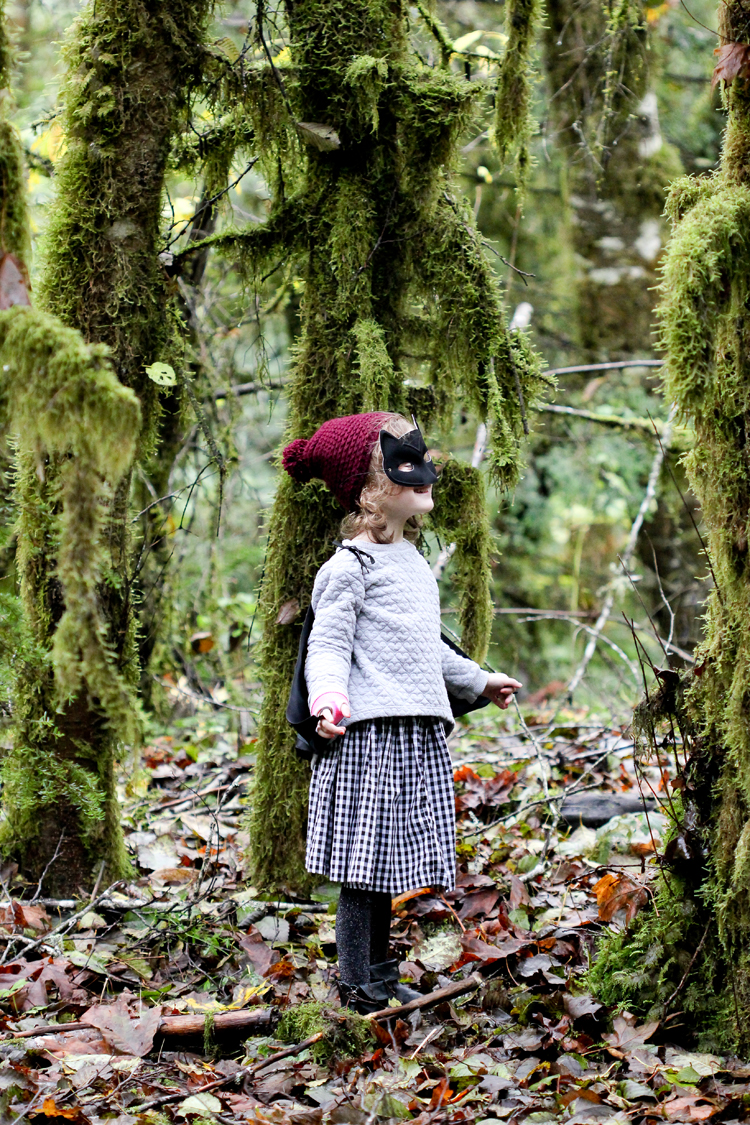
Yep. We’re still riding the indecision train over here. My four year old still hasn’t quite settled on what she is going to be for Halloween. We’ve gone through witch, ballerina, kitty cat ballerina, Pikachu and a fox. Not one of them being the only costume I’ve sewed so far this year…
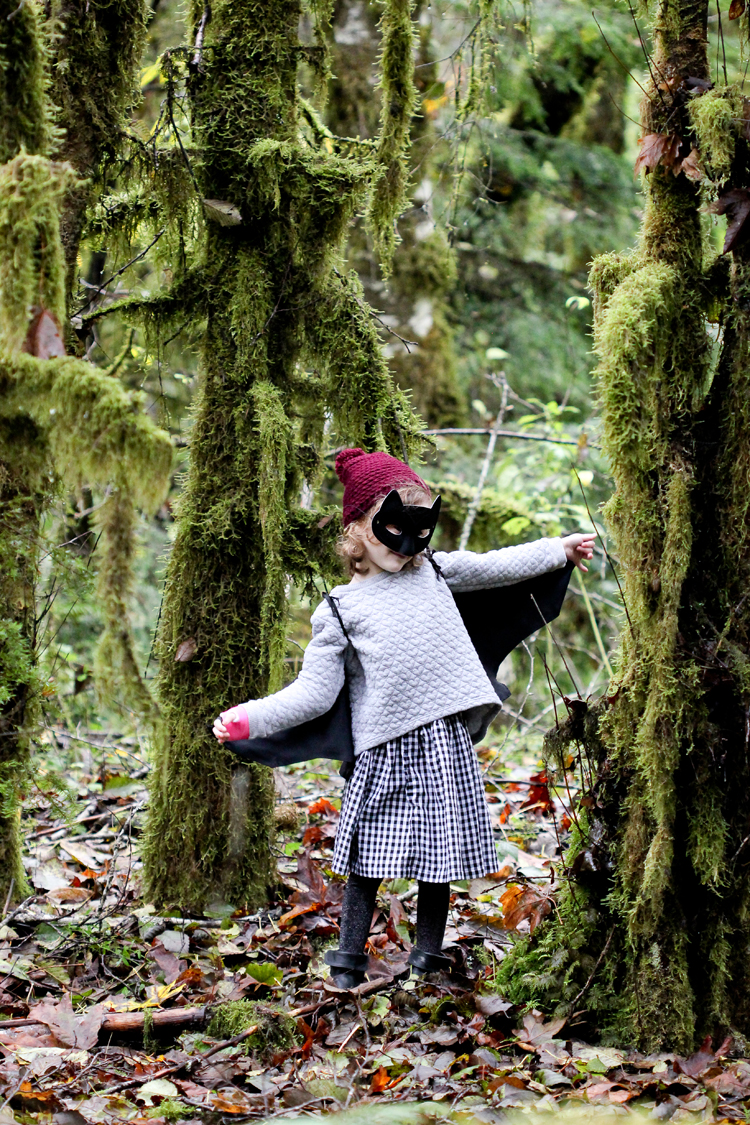
Bat. Of course. 🙂
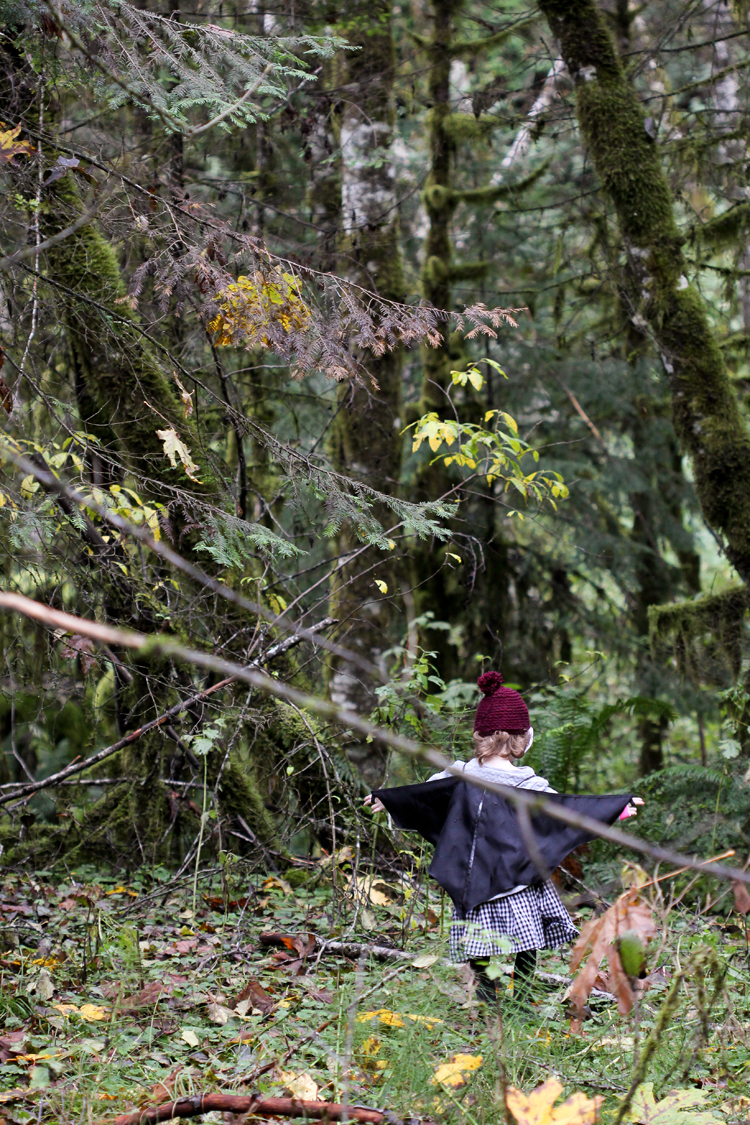
I actually created these bat wings this past summer for Baby Lock’s Halloween E-book.
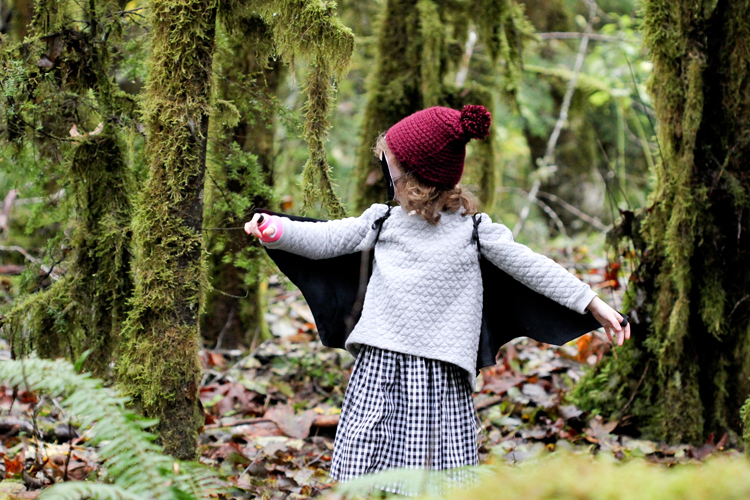
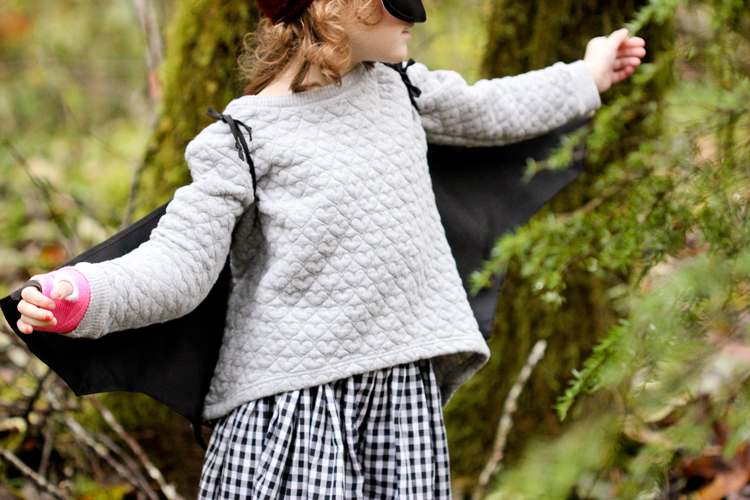
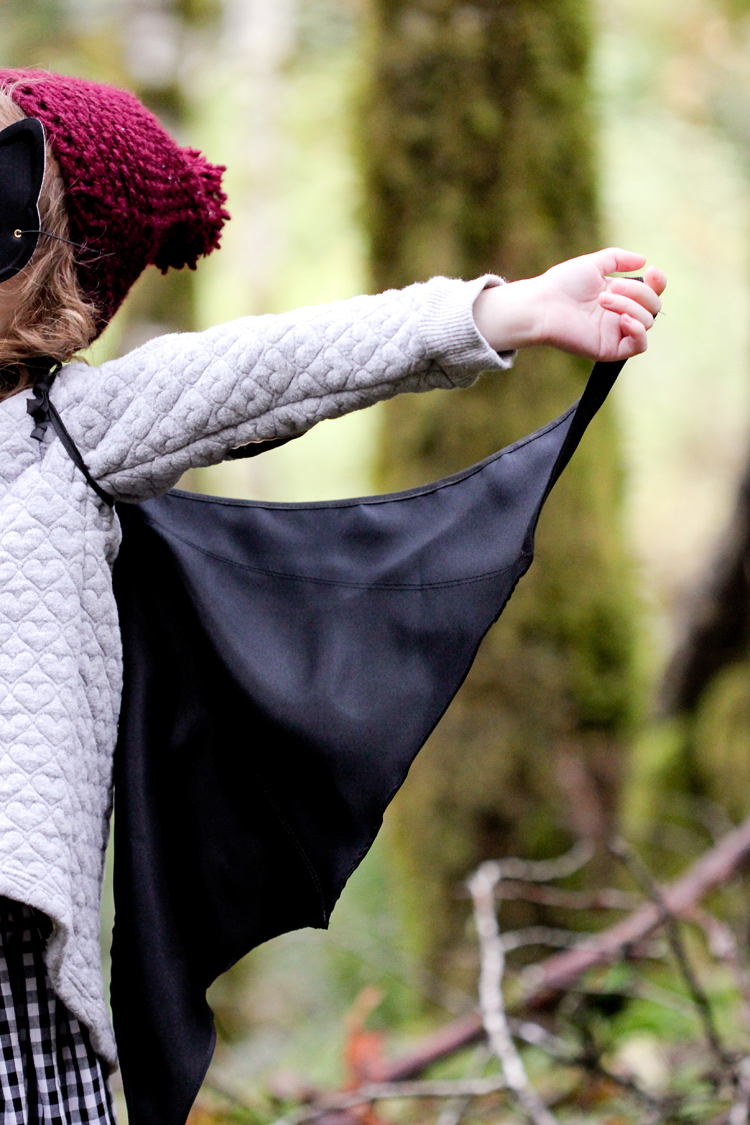
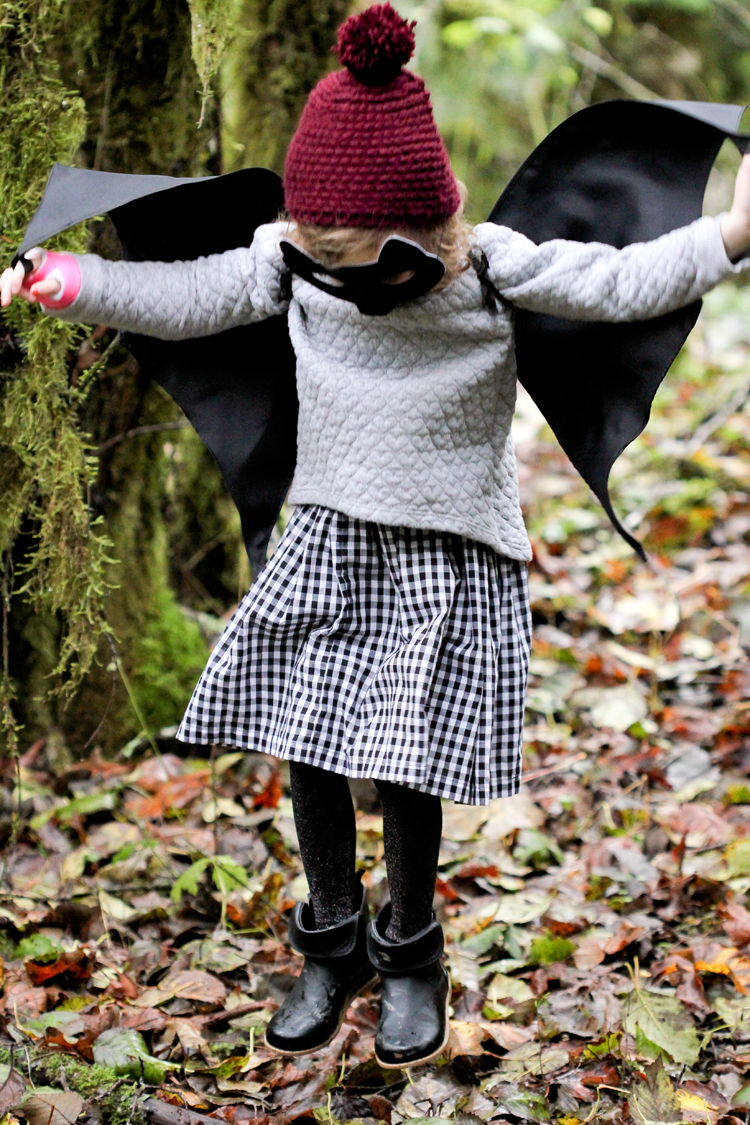
They tie at the shoulders and the tips of the wings have a loop for little fingers, which make them great for wearing with any outfit or jacket. No need to cover up this costume with a jacket on a cold Halloween night. It ties on right over top.
It works around casts too. My daughter recently broke her elbow, so she has a wrist to bicep cast. Her poor little wing is a little bent, but she has no problem getting a few flaps in. 😉
This project is a pretty easy sew and only takes about a yard of fabric, but it’s also designed and constructed to last way beyond Halloween. Bat wings make a great, versatile piece for any dress up box!
MATERIALS
-
- Polyester fabric (1-2 yards, depending on size)
-
- 1/4 inch matching elastic
-
- matching double fold bias tape – 5/8 inches wide, about 2-4 yards
-
- matching all-purpose thread
-
- universal needle
- clover clips or pins
INSTRUCTIONS
1. To determine the size of the wings, measure the arm length of the wearer from the knuckle of the middle finger to the middle of the back. Then measure from nape of neck to how long you want your wings to be (It looks best if it hits below the hip area).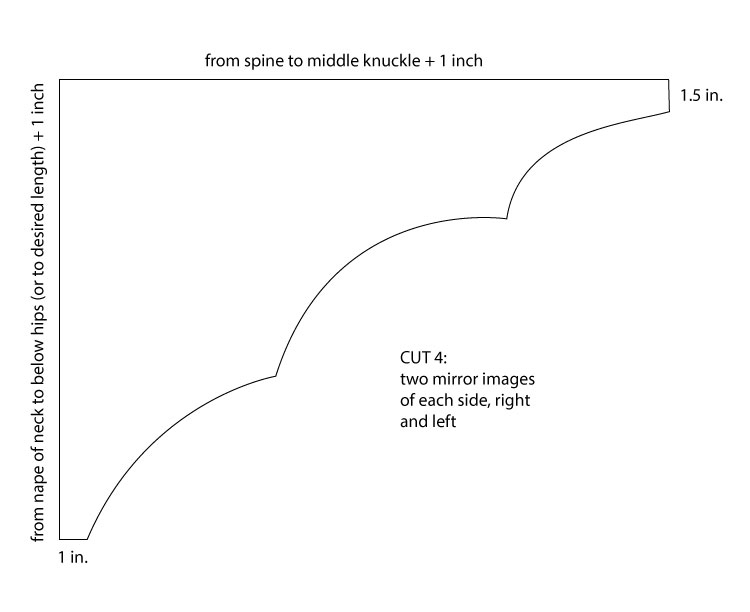
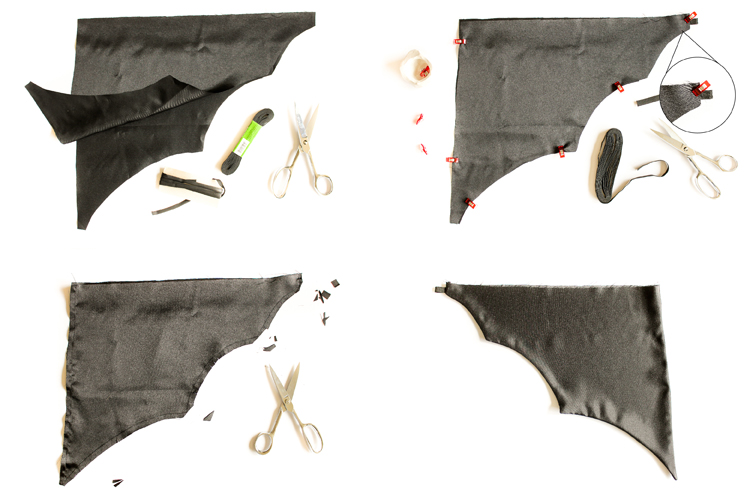
2. Cut four wing pieces, two mirror images of each side, right and left. Make sure the finger tip ends of the wings are squared off so that you can add an elastic finger loop.
3. Align wing pieces right sides together and clip or pin in place. Cut a 3-4 inch piece of elastic and sandwich it in between the layers at the wing tip ends with the raw ends of the elastic sticking out. Make sure the loop is large enough to comfortably fit around the wearer’s finger.
4. Sew around the perimeter of each wing, leaving the top edge of the wings open and unsewn. Clip along the curves and trim down the seam allowance around points and corners to reduce bulk, taking care to not cut through any stitches. Turn wings right side out and press with a warm iron setting appropriate for polyester.
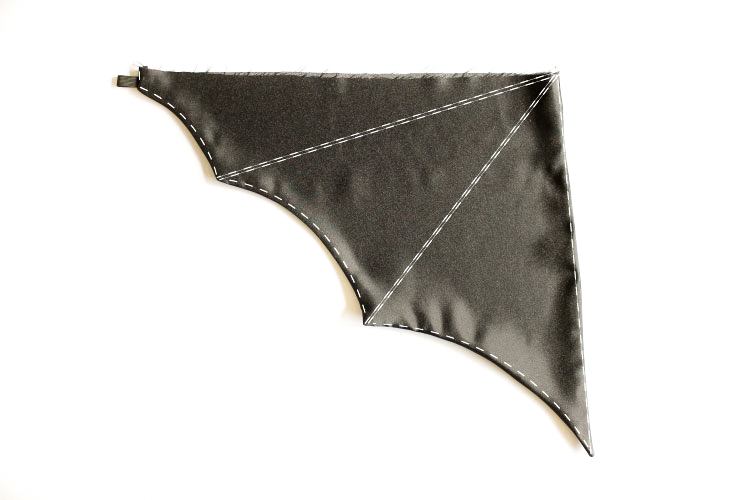
5. Top stitch around the sewn edges of the wing. Sew two parallel lines of top stitching from each wing point to the top center back of the wing. Mark with tailor’s chalk as a guide beforehand, if desired.
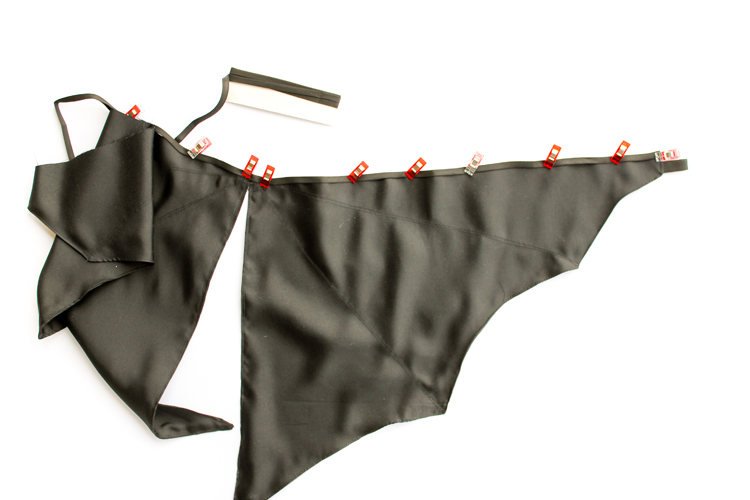
6. Lay both wings as mirror images, next to each other. Clip or pin double fold bias tape to the top raw edges of the wings, thus encasing the raw edges and connecting the wings together.
Fold the raw edges of the bias tape under and top stitch the bias tape in place, taking care to catch both layers.
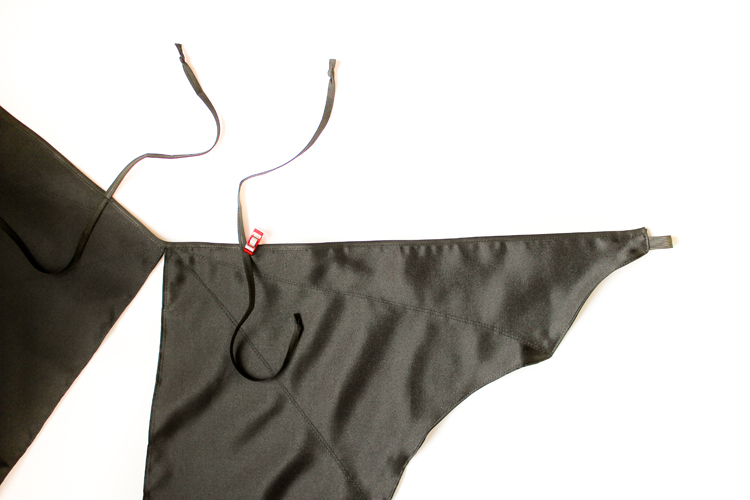
7. Cut two pieces of bias tape long enough to tie around the wearer’s arm (small children = at least 12-18 inches, adults = at least 24-36 inches). Sew the bias tape pieces closed and knot the ends.
Measure your wearer’s shoulder width to determine bias tape tie placement. Center the ties on the wings to the fit the shoulder width you measured earlier. Secure ties in place by zig zag stitching back and forth several times.
All done!
To wear it: Slide the wings on their fingers and tie to their shoulders.
Here’s to hoping she finally decides on “bat” for her Halloween costume. Otherwise, I’ll have some late last minute sewing to do…or we might end up with a dress up box special like last year. ha! Life is never dull with a four-nager around.
Sources: costume satin, elastic, and bias tape: Jo-Ann || black “cat” mask (but works for bat imo): Michaels || beanie pattern: Emerson Beanie crochet pattern || Sweater pattern || Skirt pattern || boots and tights: Old Navy


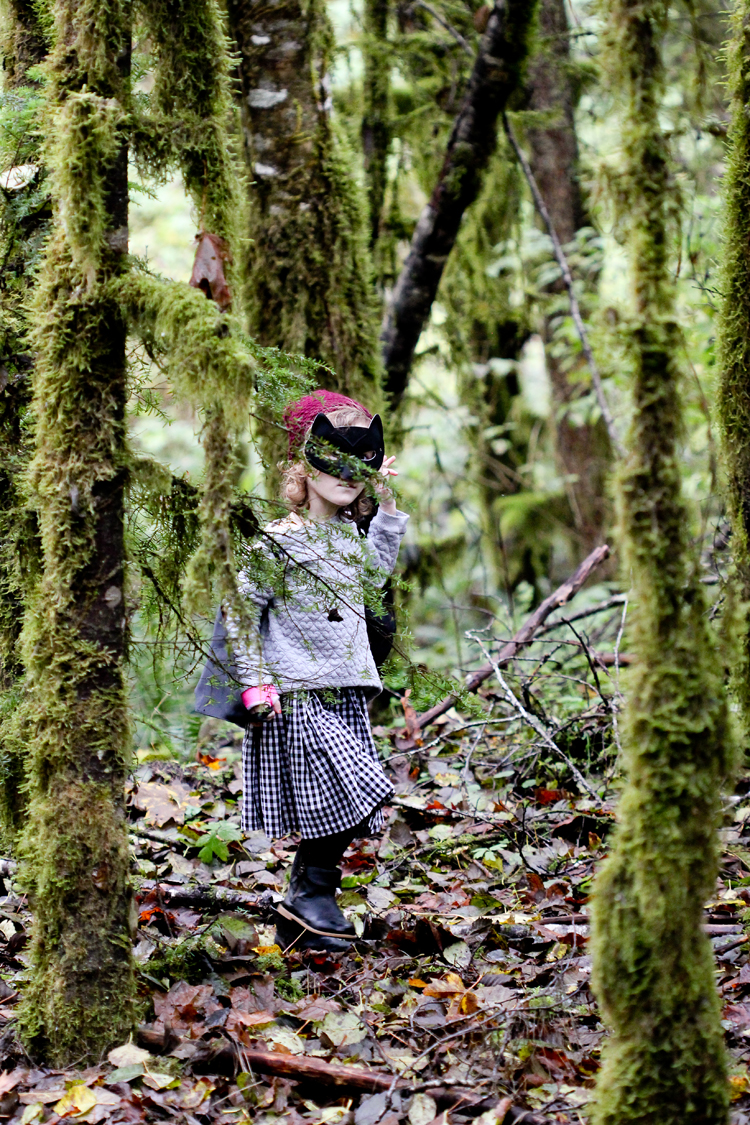

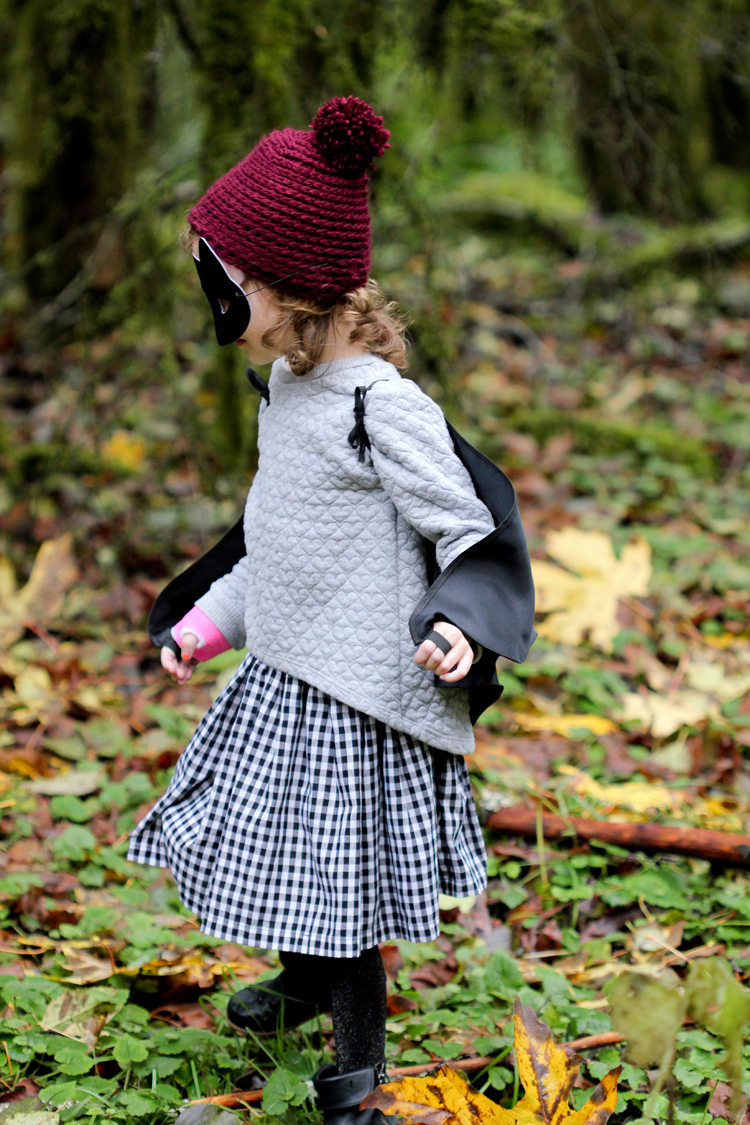
I love the overgrown forest in these photos! Natalie makes an adorable bat! I hope her elbow heals quickly.
Thanks Charity! It’s one of my favorite parts about this area too. Thank you for the well wishes. We get her arm x-rayed again next week. Fingers crossed everything is healing like it’s supposed to! 🙂