One of my most pinned, most viewed, most loved posts is this bread recipe I got from my friend Connie.
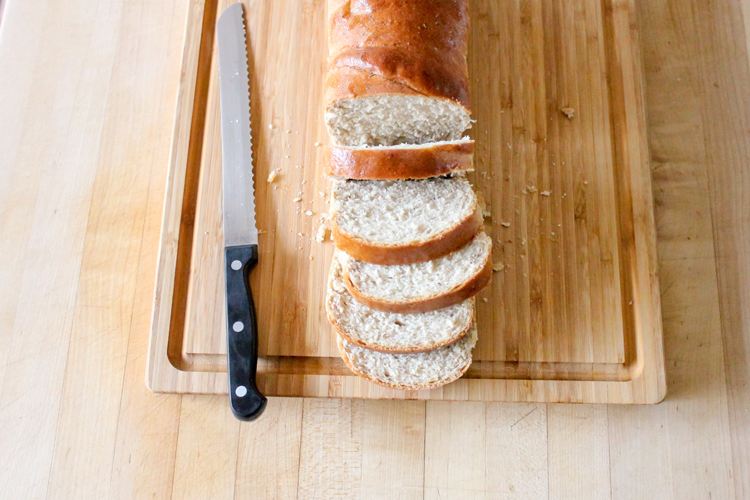 You can see the original post here: Best Bread Ever.
After having made this bread countless times over the past almost five years, I’ve learned a few things. I thought the post was due for some new pictures and some added recipe notes.
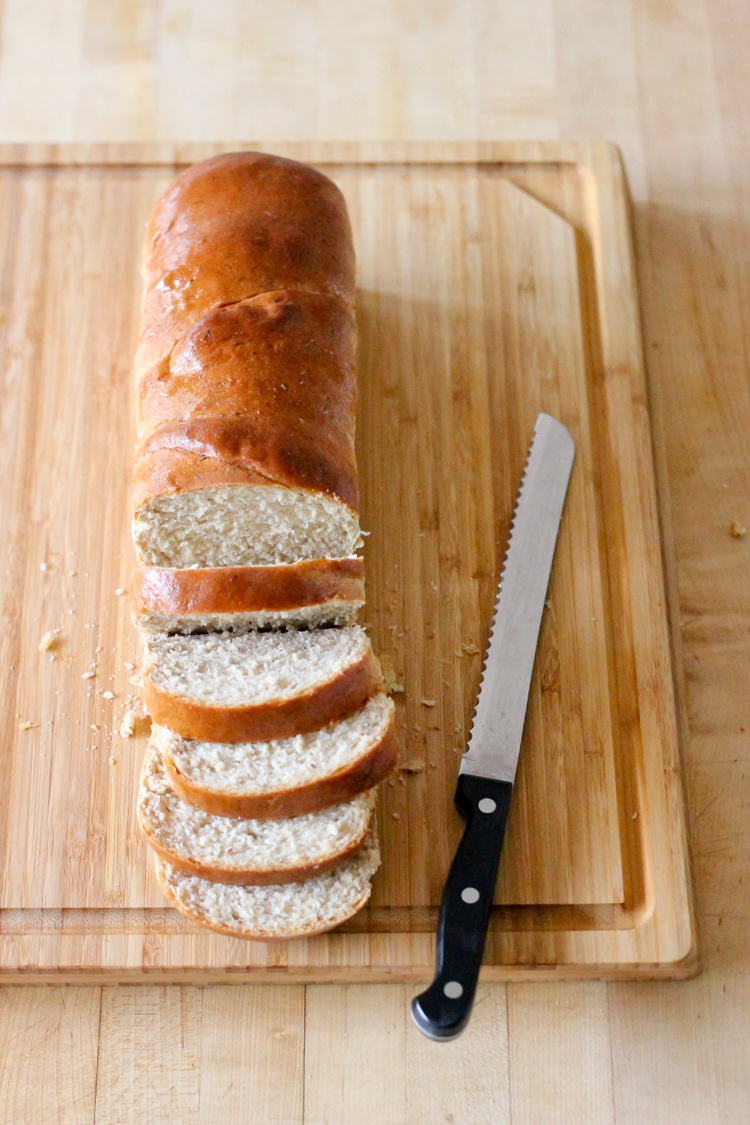 Since finding out that my daughter is allergic to dairy, eggs, and peanuts two years ago, we have had to set aside many of our family favorite recipes. Fortunately, this one has not had to be one of them! It is dairy and egg free. Not gluten free, of course, but I am confident it could be made so with the right flour.
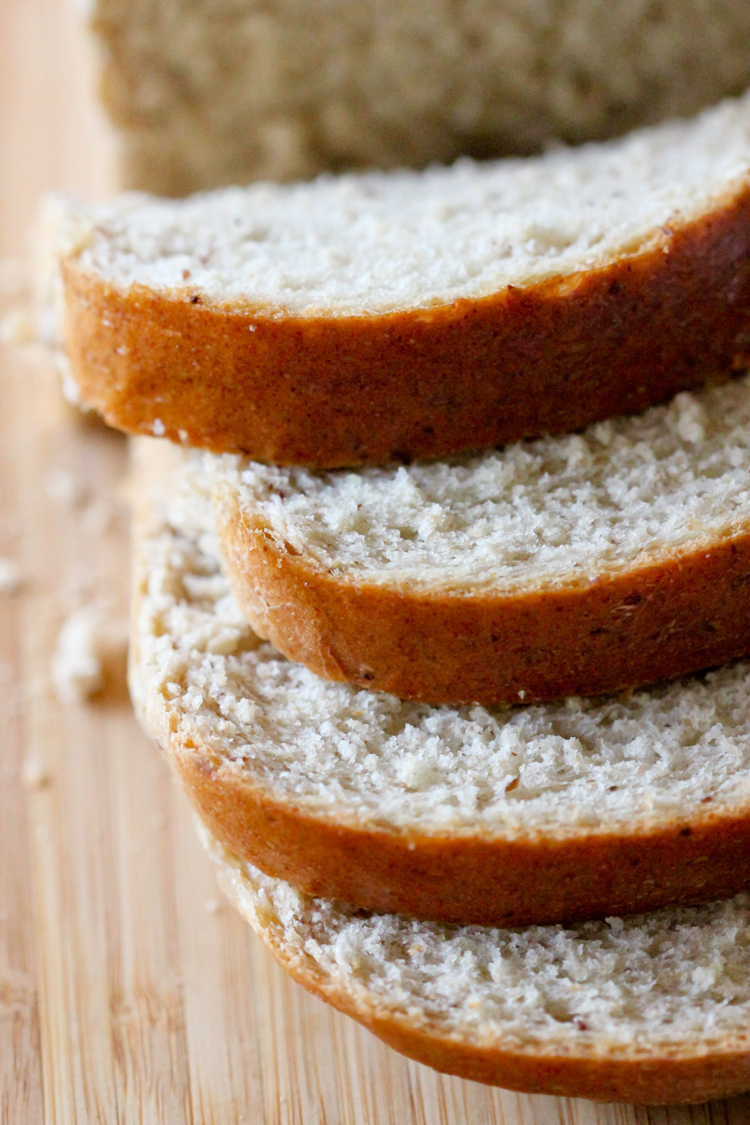
This bread is a great sandwich bread: soft, and chewy but elastic enough to hold it’s shape and not crumble. The dough is a great basic dough as well. It’s really flexible and can be use for dinner rolls, sweet rolls, swirled breads, etc.
 I have made it in a dry, high altitude climate, and now our new high humidity, sea level climate. The recipe has given me no trouble in either location.
Cross my heart, it is a really hard bread to mess up. If you have been looking for a tried and true bread recipe that is easy to make, look no further.
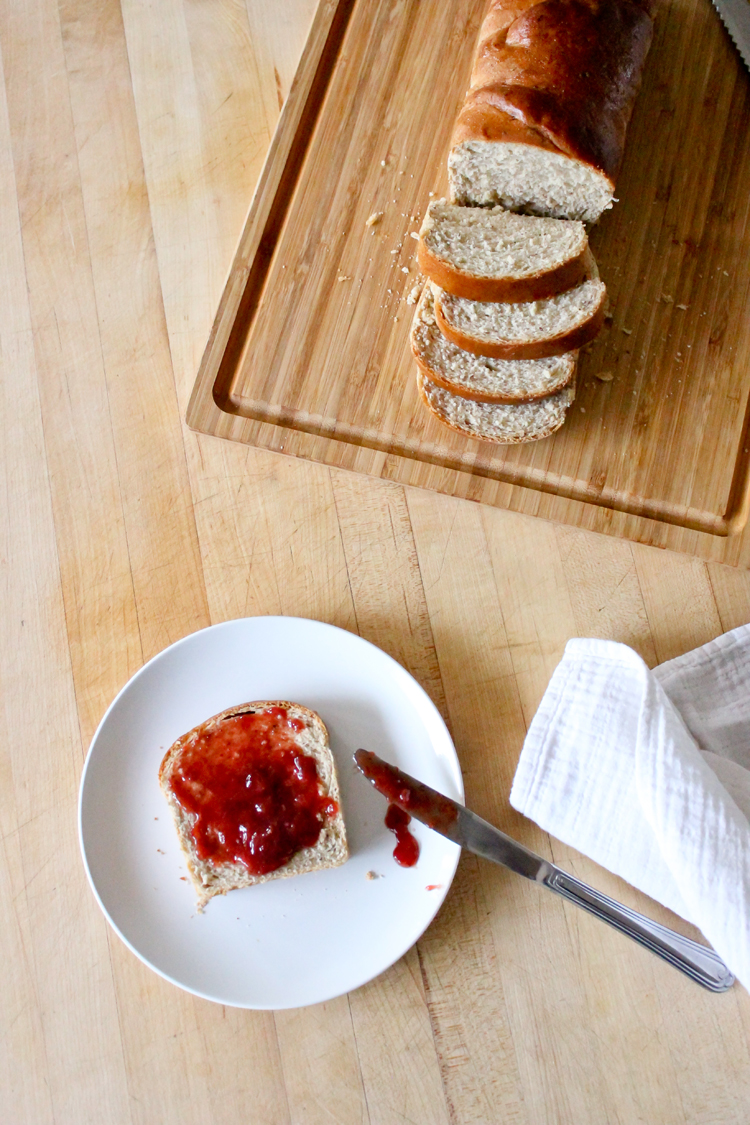 It’s the trifecta of a great bread recipe: delicious, beautiful, and easy to bake.
Hence, why I have called it the Best Bread Ever!
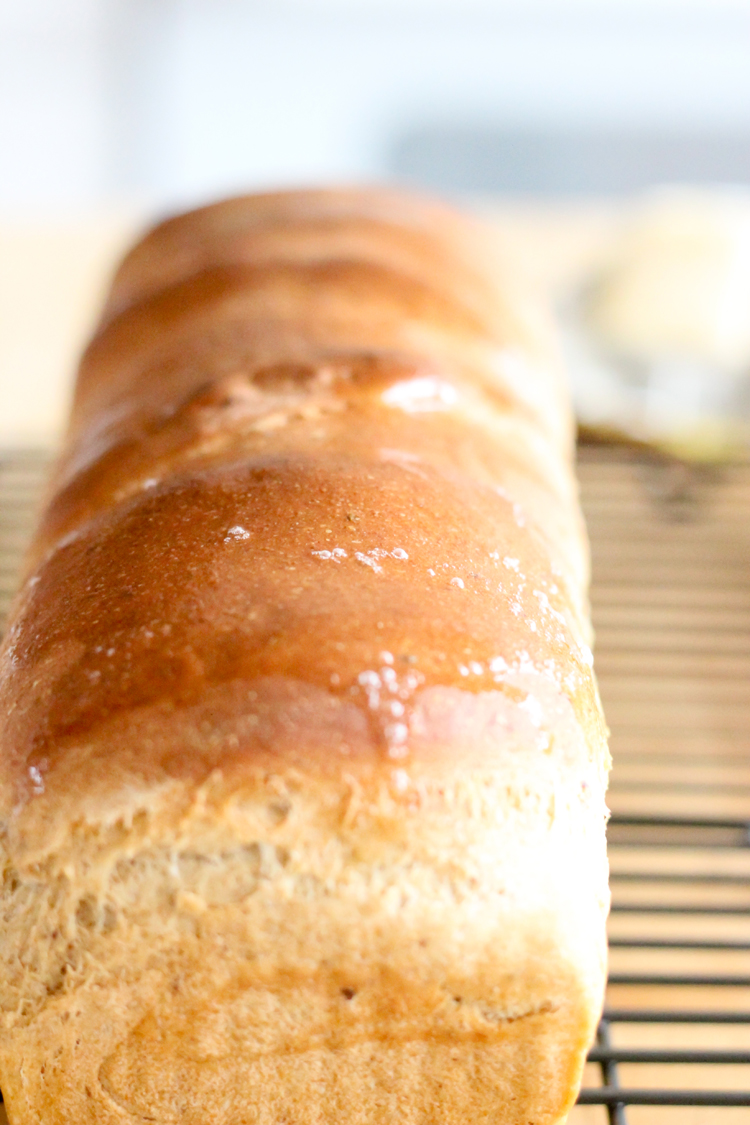 Before we dive into the recipe, I have three notes. One, read carefully. I have included pictures and notes to help you be successful. It’s a relatively very easy bread to make, but you still have to pay attention to certain indicators I will explain in the recipe. Two, this recipe breaks some traditional bread making rules, like putting salt in with the yeast and not proofing the yeast with sugar. Don’t ask me why it works, but it just does. Three, I’m going to take you through the recipe step by step, photo by photo.
If you want an easy to read, printable version, you can print the recipe up by clicking here: Best Bread EVER recipe
Let’s bake!
BEST BREAD EVER RECIPE
Makes 2 large loaves, 3 medium loaves, or 1 large loaf and 2 mini loaves*
*In these pictures, I used two fairly large loaf pans and one mini loaf so I would get nice uniform shaped loaves. If I had just used two large pans, I would likely have had taller loaves that may have risen over the sides a bit…which is just as pretty! It comes down to personal preference.
Ingredients:
2 1/2 cups HOT water1/3 cup oil1/3 cup sugar/honey {I fill my cup with oil first, empty it, and then fill it with honey so it doesn’t stick to the cup}1 TBSP salt3/4 cup flour and about 5-7 cups of flour (divided) **1 1/2 TBSP yeast***Spray oil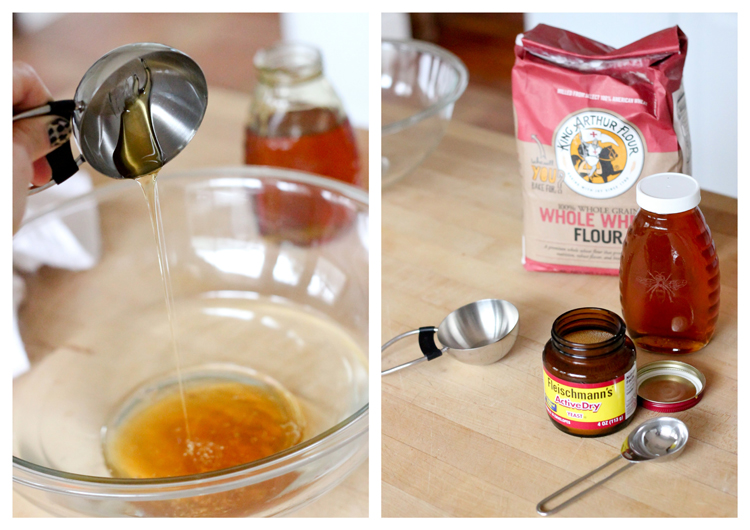 **For the 3/4 c. of flour use all-purpose, bread, or a light weight flour. For the remaining flour, you can use a mixture of any flours you like. I used about half and half white bread flour and whole wheat flour (red wheat). I have often used white wheat flour which is lighter than red wheat, often labeled as whole wheat flour, even though they are both whole wheat. Be aware, that using all whole wheat flour will increasing rising and baking times significantly (maybe even double the time). If you use only whole wheat flour, I suggest increasing the sugar or honey content a little bit for good flavor.
This honey was a gift from my friend Katy (No Big Dill). Can you believe she etched that bee on there? <3 (see below)
A range was given for amount of flour instead of a definite measurement, because moisture content and weight can vary between flours. You really need to go by look and feel over amount.
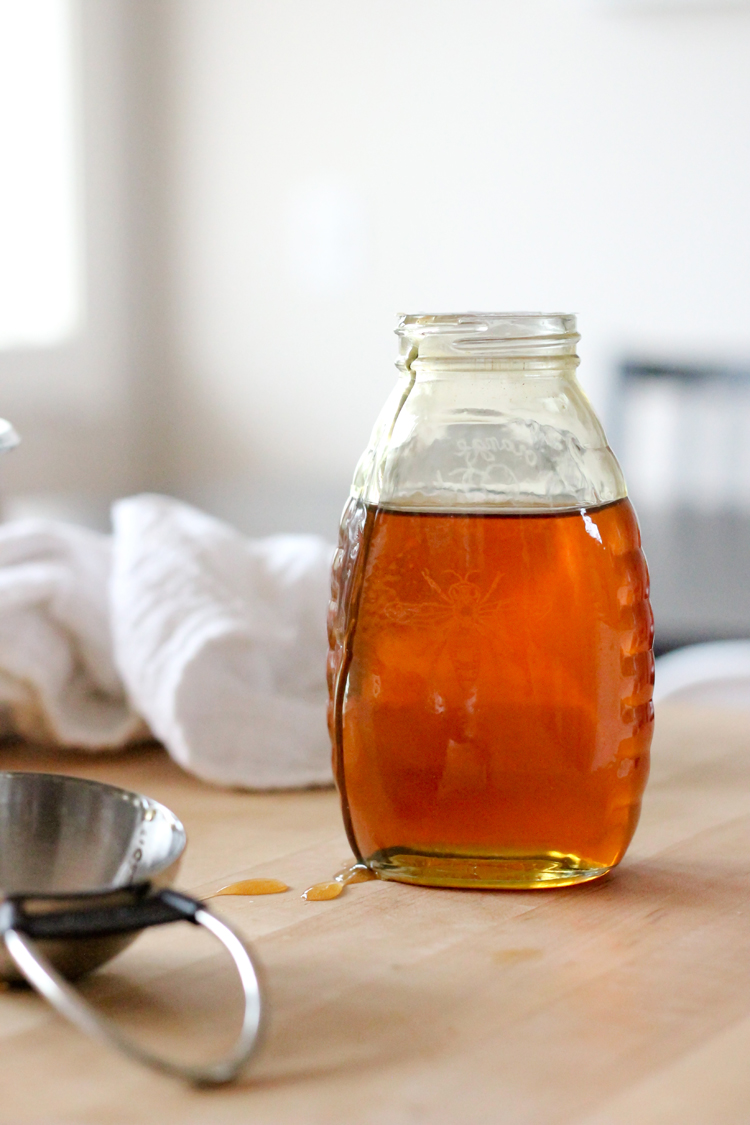 *** Almost any kind of yeast works. Rising times will just vary. I have used Saf Instant Yeast and Fleischmann’s Yeast, ActiveDry with great results. (Disclaimer: Any links to amazon in this post are affiliate links, which means if you purchase the products I link to, I make a small commission).
1. Whisk together in large bowl: Water, oil, sugar/honey, and salt.
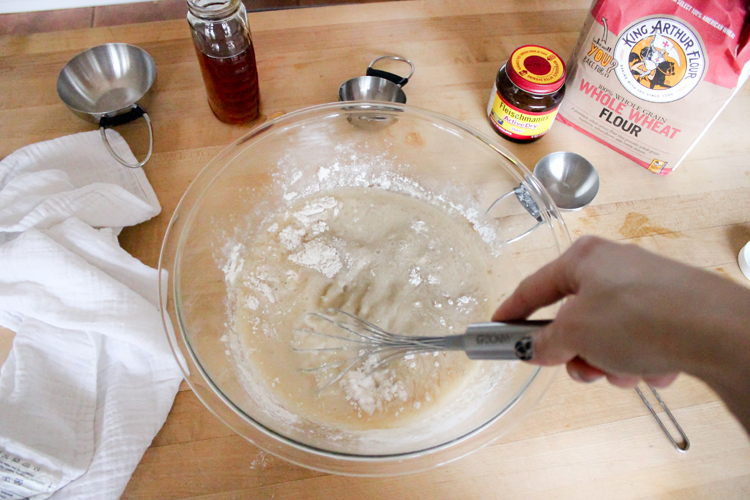 2. Add: 3/4 cup flour and whisk for 30 seconds then yeast and whisk for 30 seconds more.
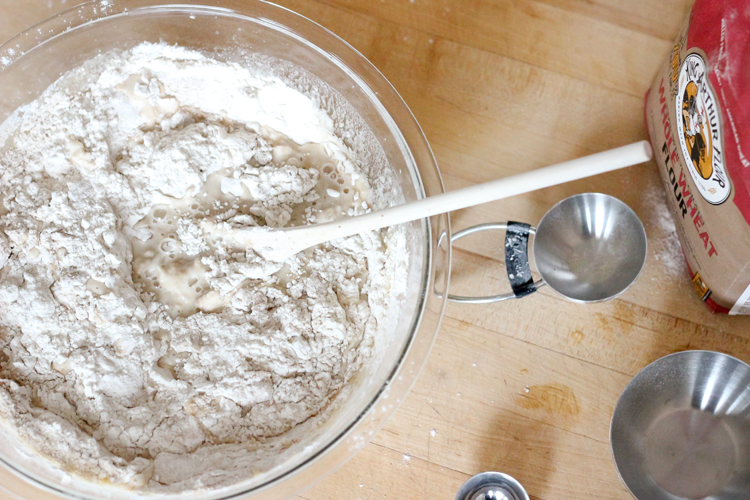 3. Add 2-3 cups of flour and mix together with a spoon.
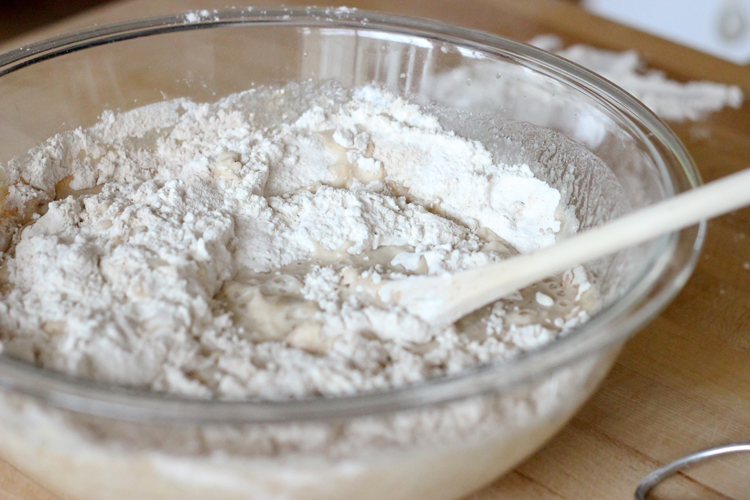 If using a mixer (Kitchen Aid or Bosch), add the rest of the flour and mix for about 5 minutes with the dough hook.
The total flour should amount to about 5-7 cups—this does not include the flour used in step 2.
If mixing by hand (how I prefer to do it), add the rest of the flour and mix until shaggy looking and hard to work with a spoon. Knead in the bowl a few times and then turn the dough out onto a floured counter.
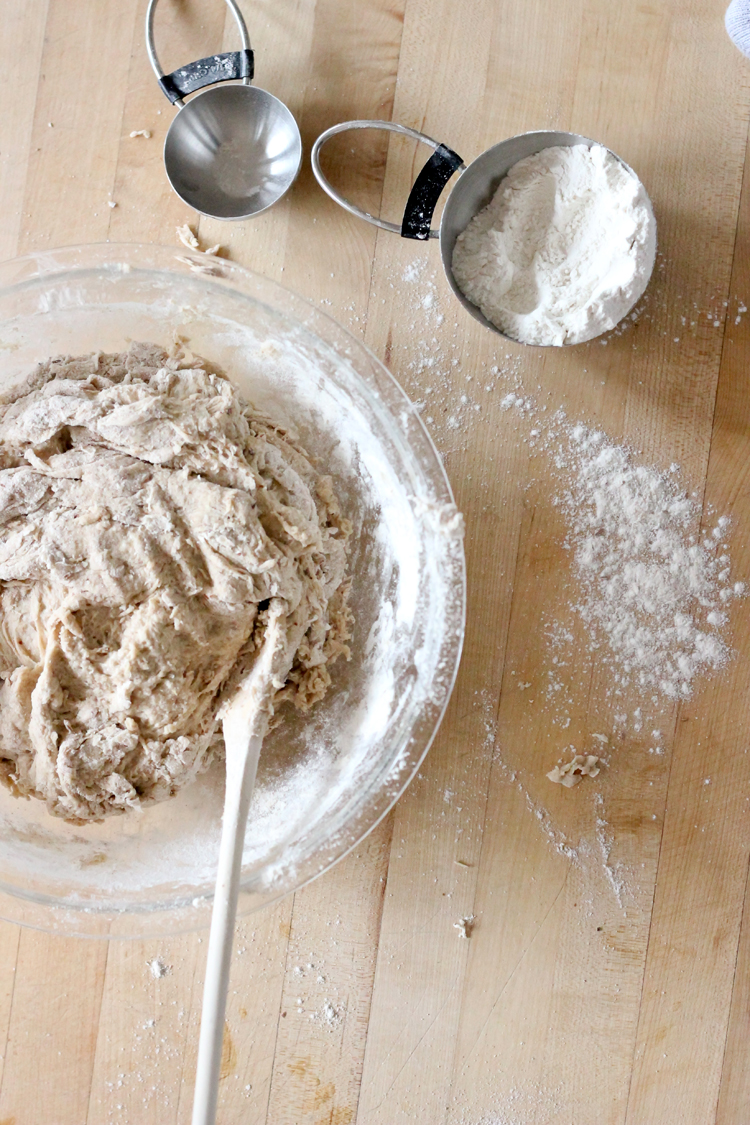
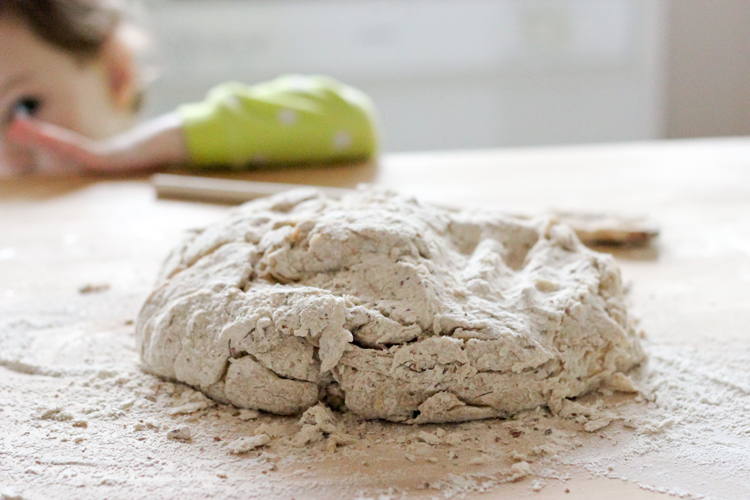
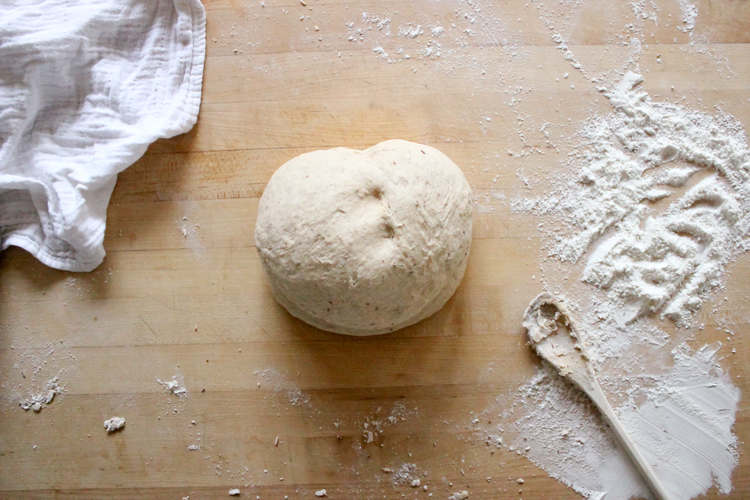
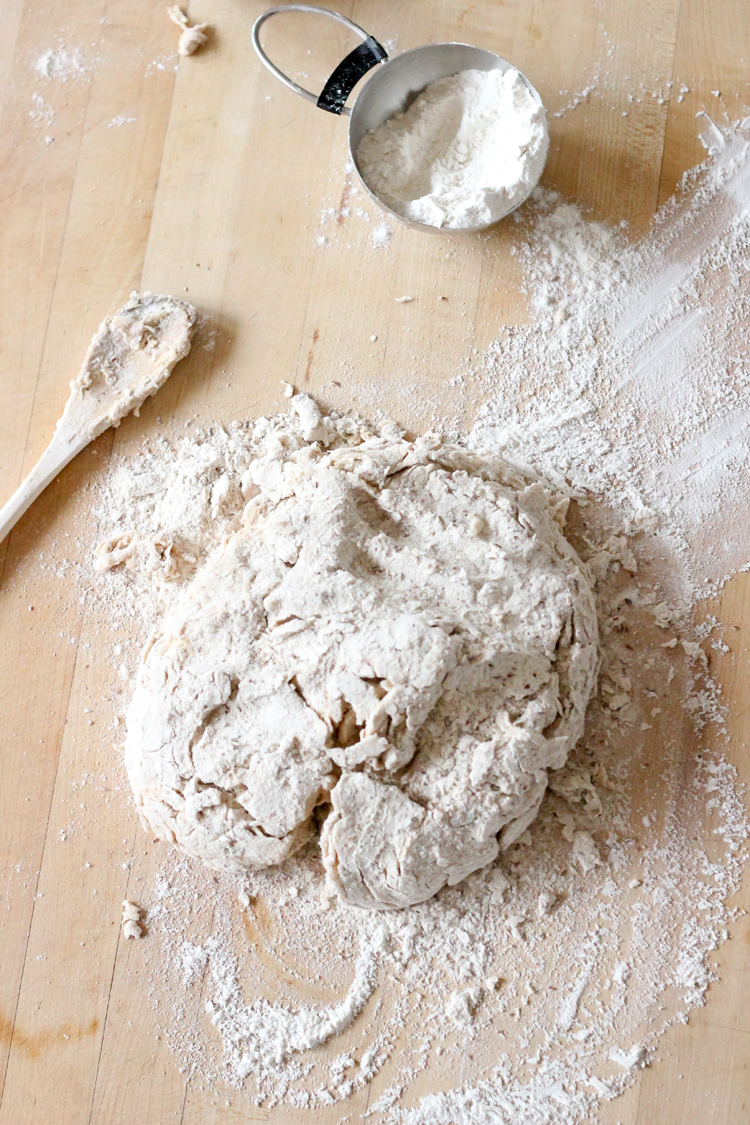 It will look like a bit of a floury mess at first. If it doesn’t, and you didn’t exceed the 7 cup limit, add another cup of flour and keep another cup in reserves off to the side if you need to add more while kneading.
Knead for 5+ minutes. I personally shoot for 7-8 minutes so I can get a nice elastic dough.
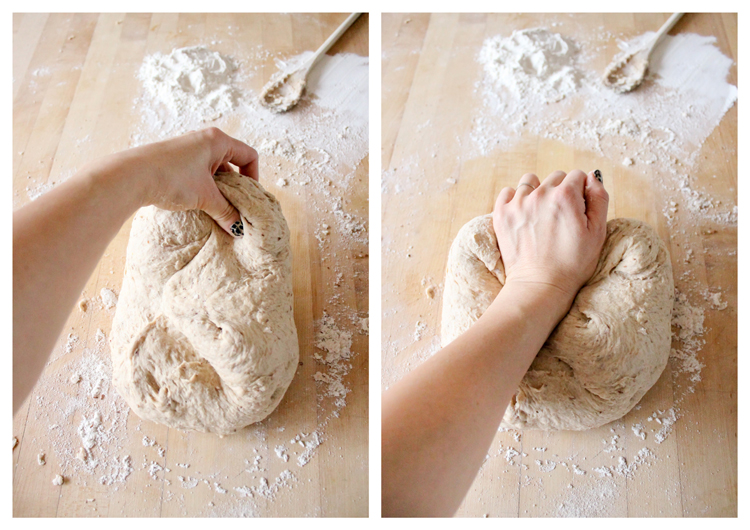 I like to put on a timer, then put on music or a show to keep me entertained. Then I just knead like it’s a really good arm work out…because it is. 🙂
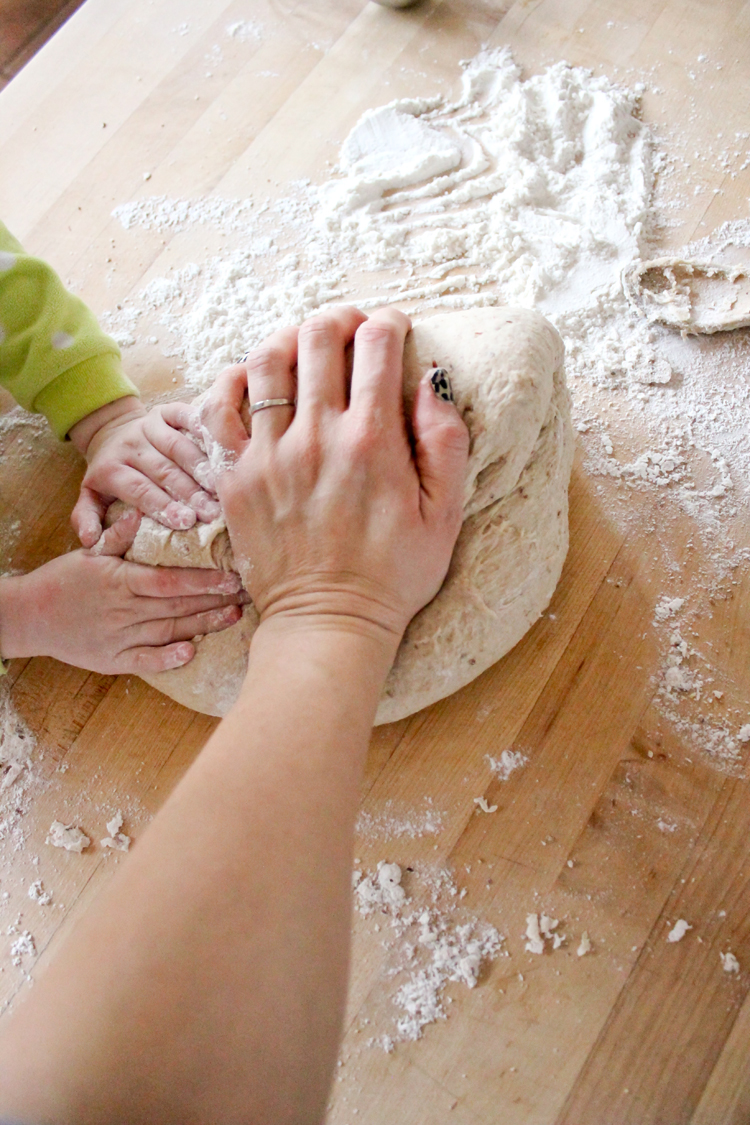
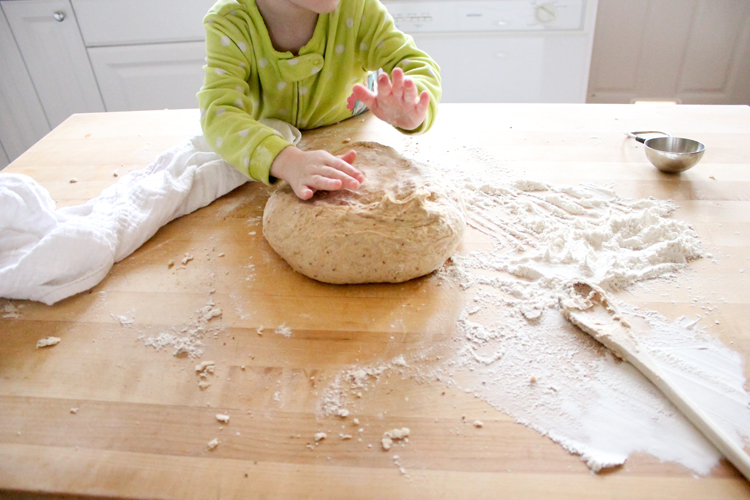 Be careful not to add too much or too little flour. Flour the board/counter and your hands very well at the start. Then add light dustings of flour to the board as you knead it when it gets too sticky. If you add flour in this manner, you should do fine.
The resulting dough should be soft and a little tacky but not sticky.
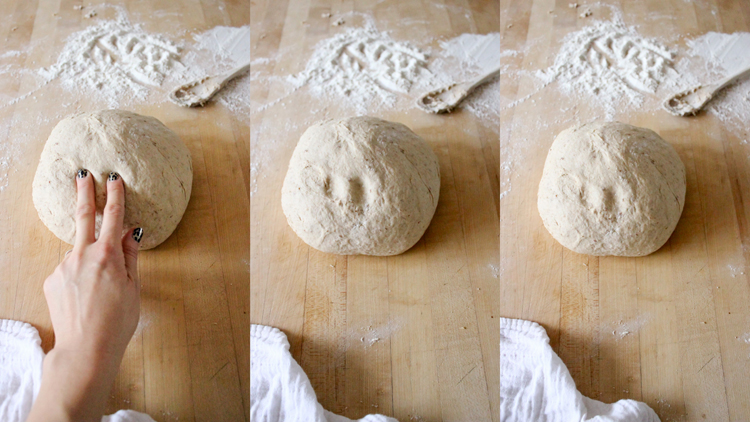 You can test to see if the dough is ready by giving it an assertive but gentle two finger press/poke (don’t dig and jab). If the dough bounces back fairly quickly, you’re ready to go. If it sags and sinks in without much resistance, then keep kneading. For reference: I kneaded for about a minute or so longer after these pictures.
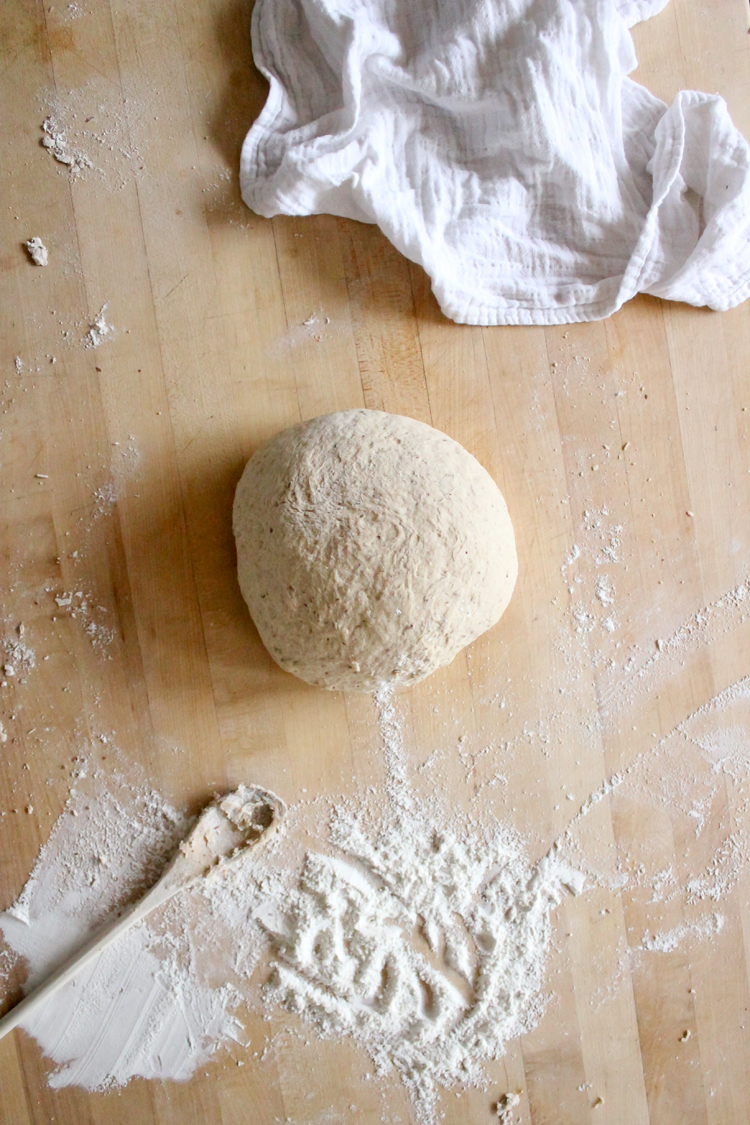
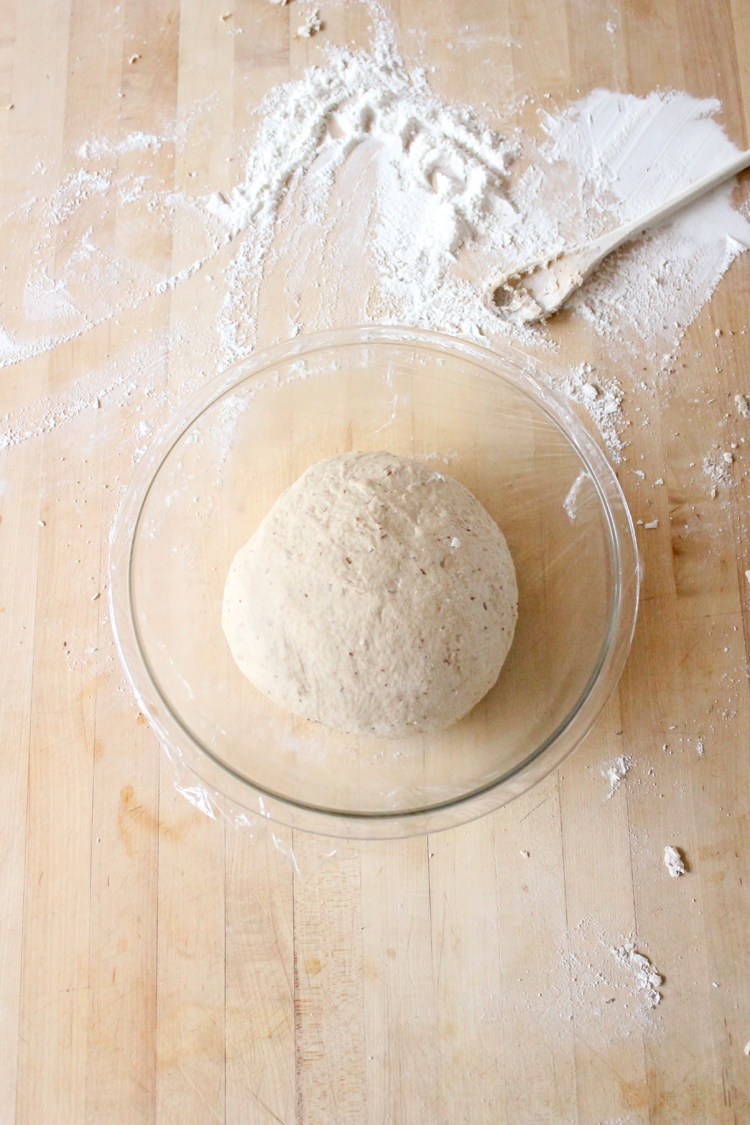 4. Let rise in a clean, greased, covered bowl for about 30 minutes or until doubled.
You can let it rise on a warm, sunny counter, but it will also rise nicely in the oven. Set your oven to 450 degrees for about a minute then turn it off before placing the oven safe bowl inside. If the oven feels too hot, leave the door open, to vent some of the heat out first. You just want it to be warm, not hot.
I like to use professional grade plastic wrap as a covering (it’s less likely to melt in a warm oven than the cheap stuff). I then cover the bowl tightly, with a few spots at the edges left open.
Be sure that the dough doubles in size, but does not over proof (rise too high, peak, and then deflate).
 5. When the dough has doubled, remove from the oven and preheat it to 175 degrees.
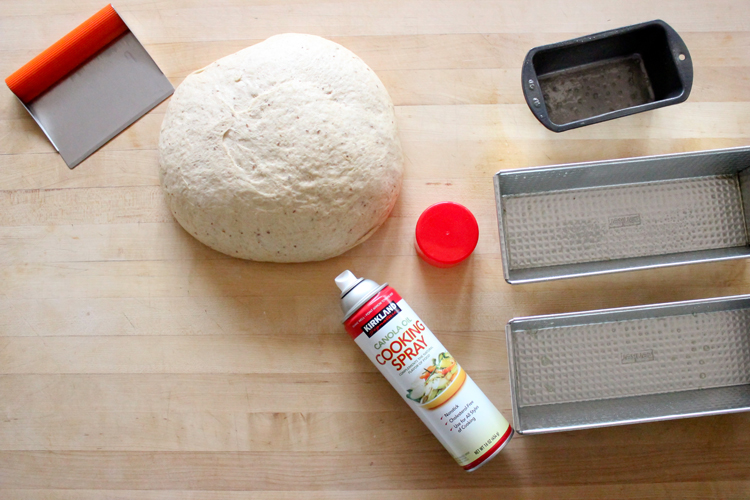
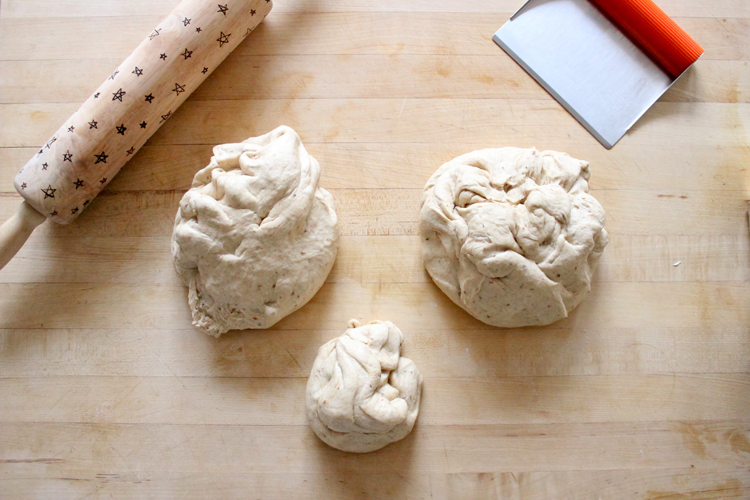
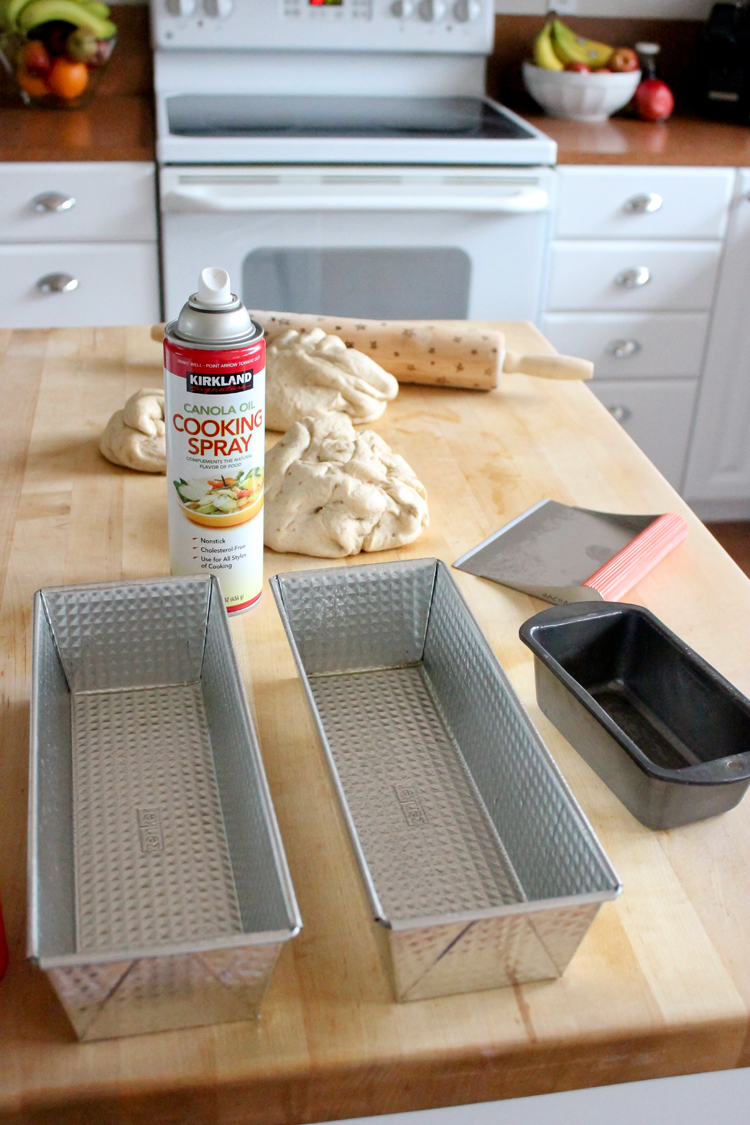 6. Grease your bread pans with spray oil. Divide the dough.
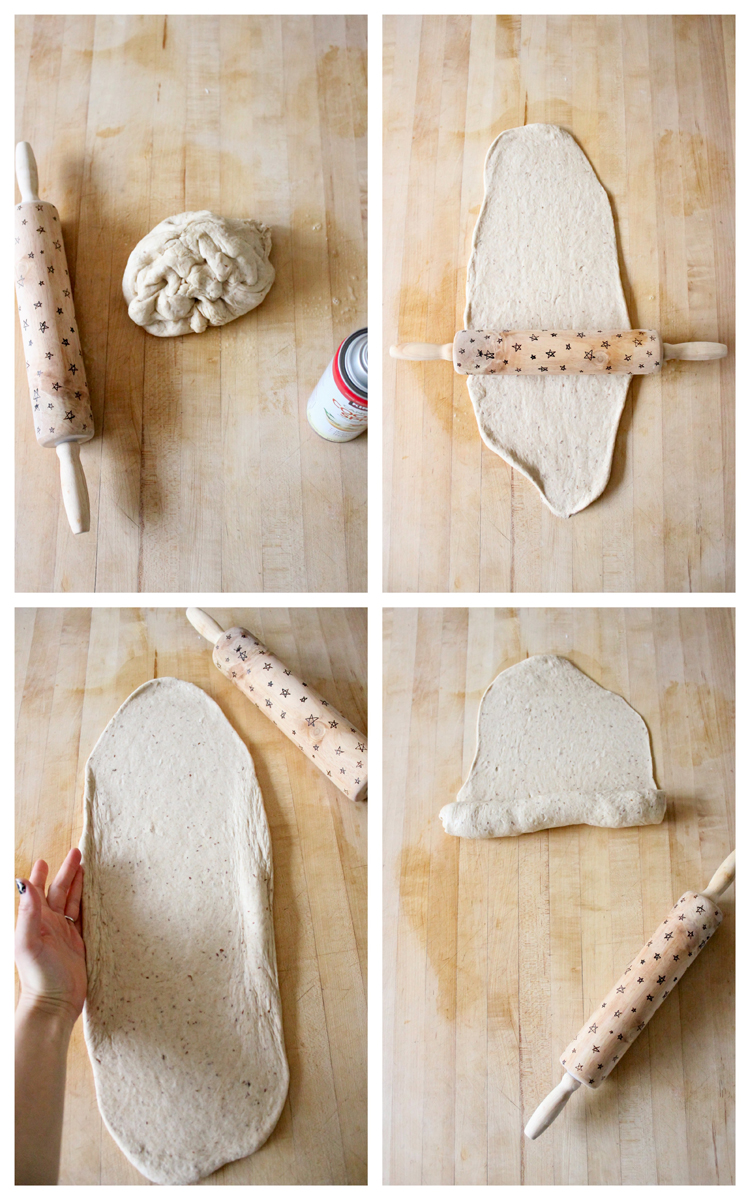 7. Now grease your counter top with more spray oil. We are using oil at this step, instead of more flour, so the bread will stay moist and not dry out. (note: I found that butcher block doesn’t really need as much or any oil for this step, but most other, non porous counter tops will).
Roll out the dough with a rolling pin into a long oblong shape. You should hear air popping out of the dough as you roll it. That’s good! Roll all the way to the edges and roll it out until all air bubbles are gone.
Ideally you want your dough to roll out to the width of your pan. You can narrow the dough by squishing the sides in as you roll it out if you need to.
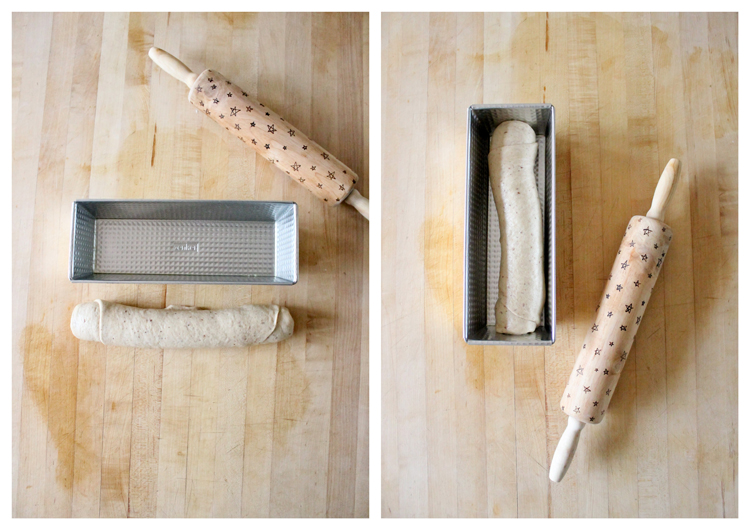 8. Roll the dough into a tight cylinder. If your dough roll is too long for your pan, tuck the ends under to get it to fit. This creates a less uniform looking loaf, so if you can narrow the dough at the rolling out stage, that is ideal. (see step 7)
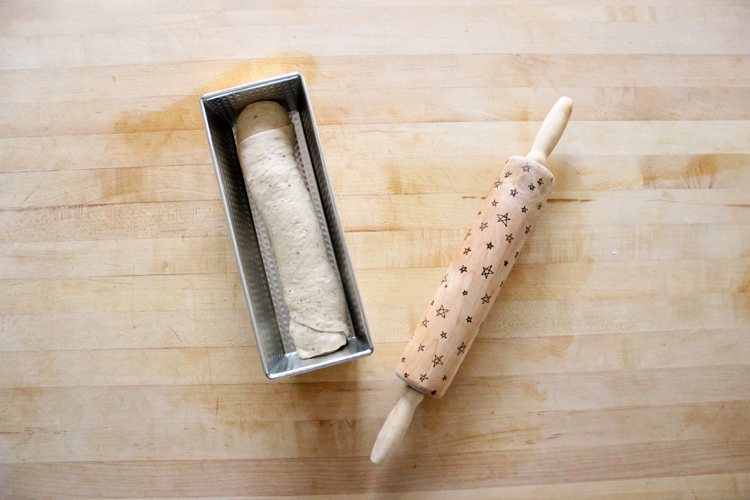
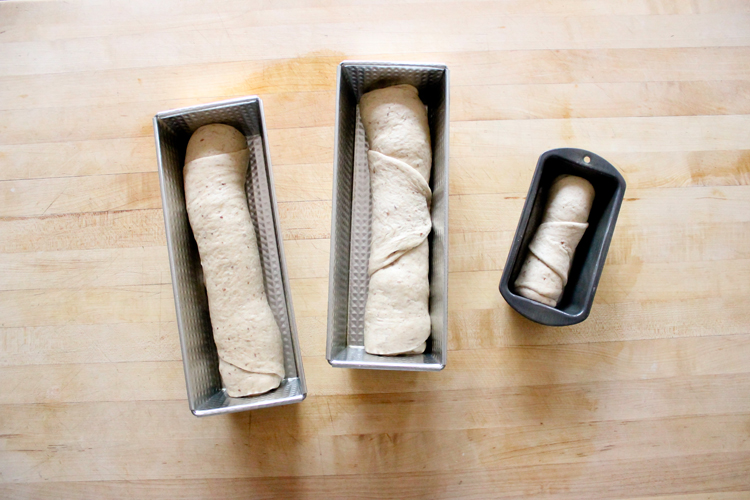 9. Place loaves in warm 175 degree oven for about a 1/2 hour or until the dough has risen to fill the pans (almost doubled).
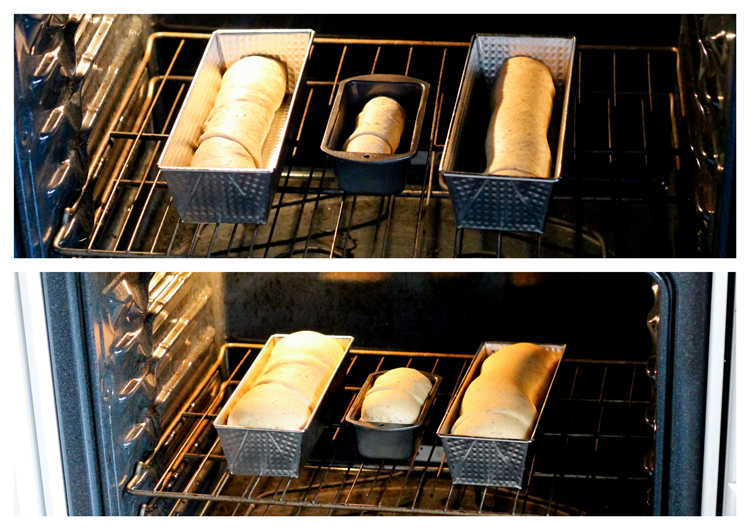 Turn the oven up to 350 degrees and cook for about 30 minutes. The bread is done when you hit the top and it sounds hollow. Don’t worry about the baking time as much as this indicator. The bread isn’t done until you hear the hollow sound. If you are worried that the crust is getting too brown, cover it lightly with a piece of foil.
If you have different sized loaf pans baking at the same time, you will likely have to remove smaller pans before removing the larger ones. I removed my mini pan at least five minutes before the larger loaves were done.
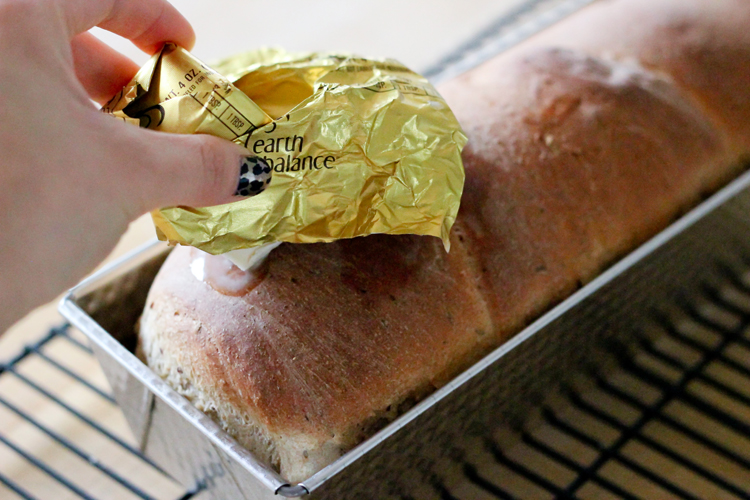
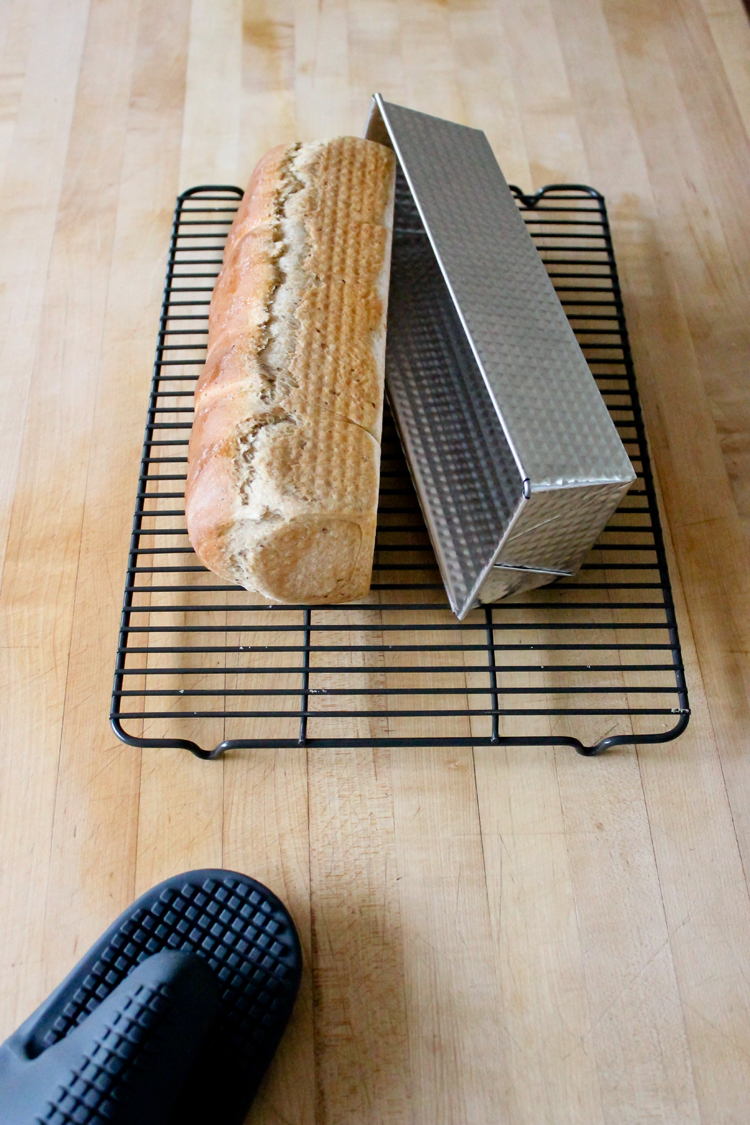
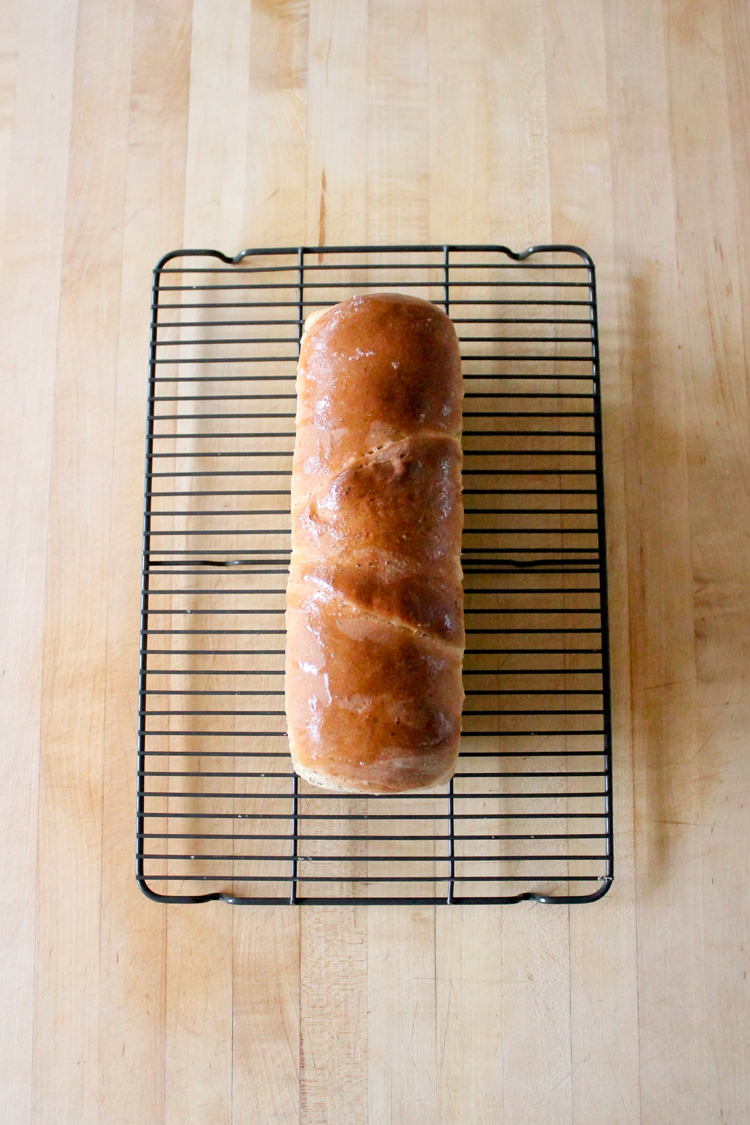
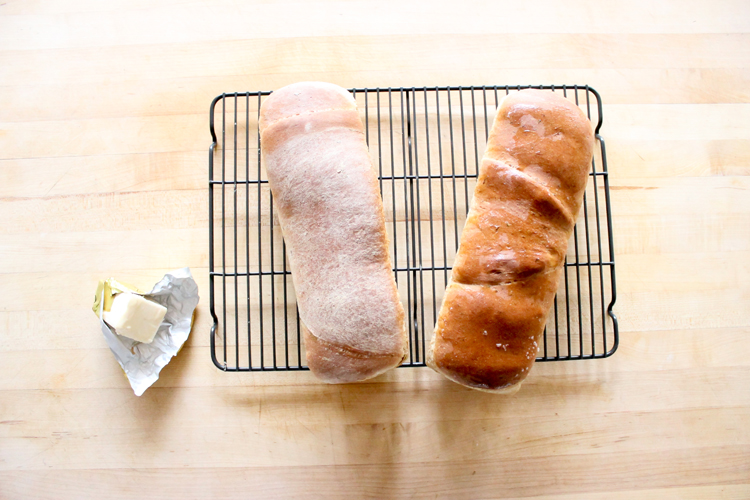
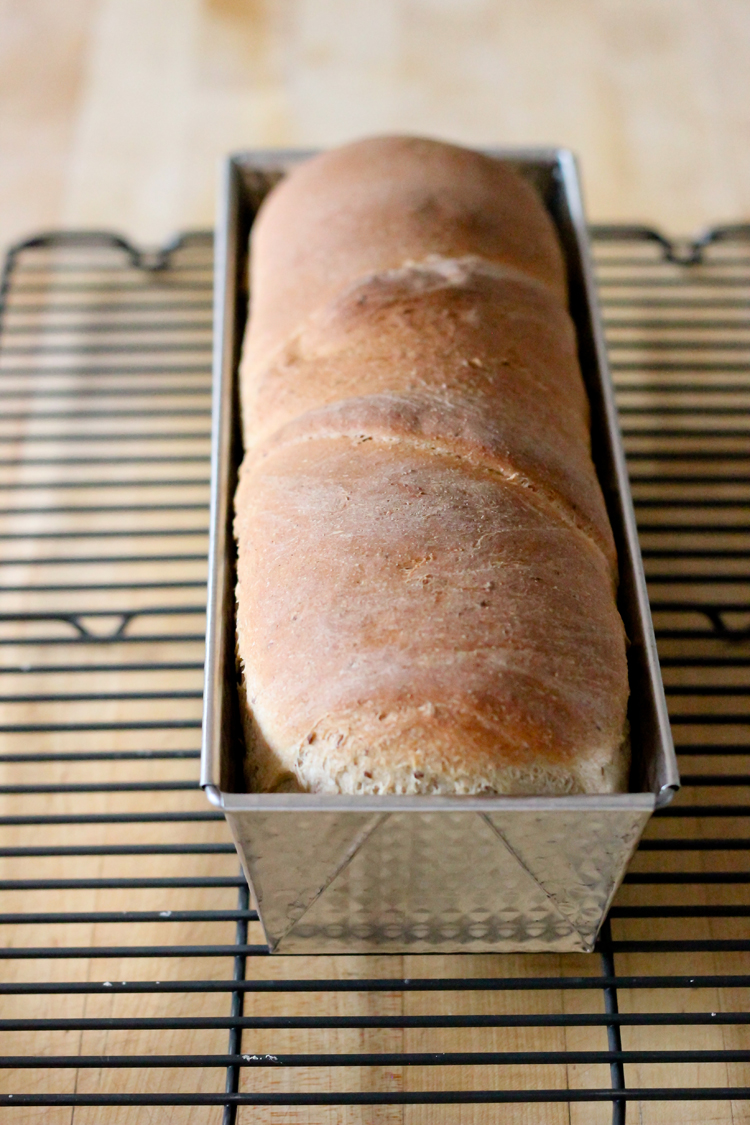 10. Turn loaves out on a wire rack. Smother the top of the loaves with butter if you desire. We use dairy free, Earth Balance butter sticks.
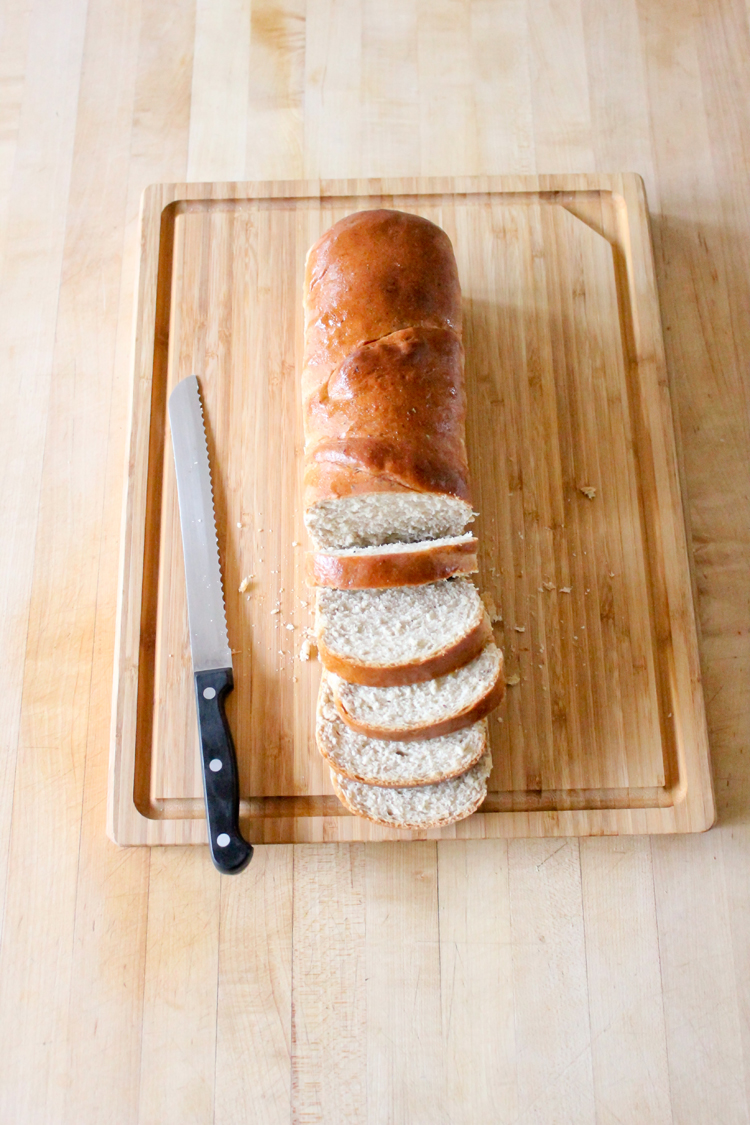
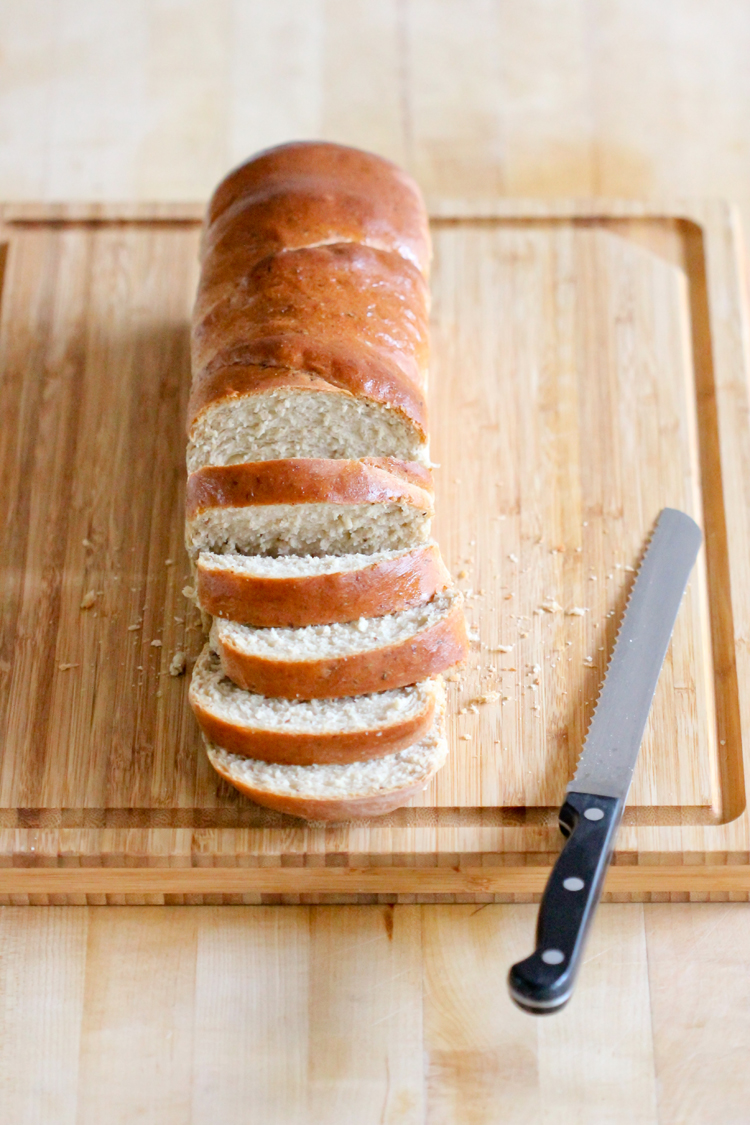
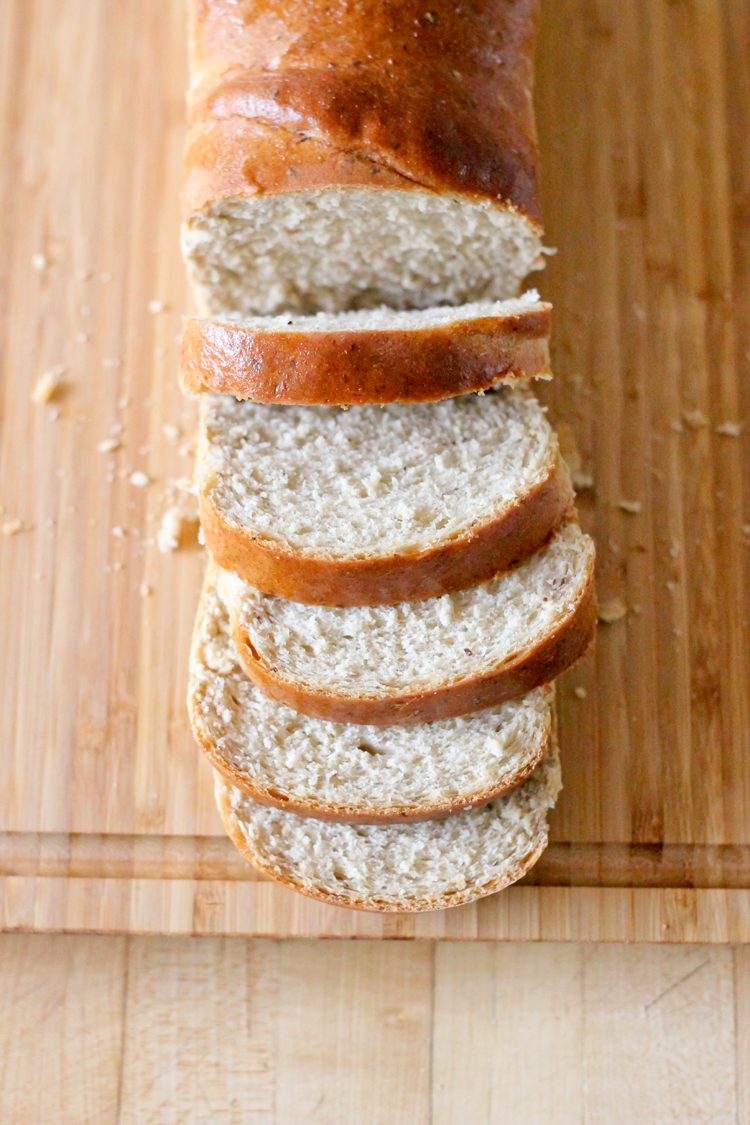
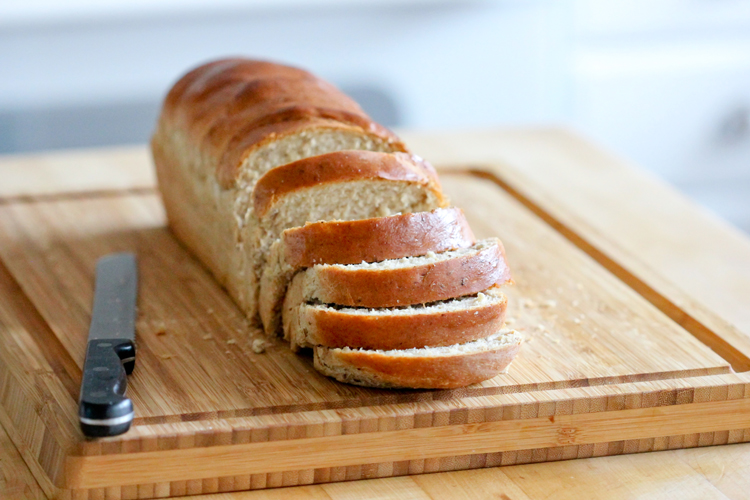
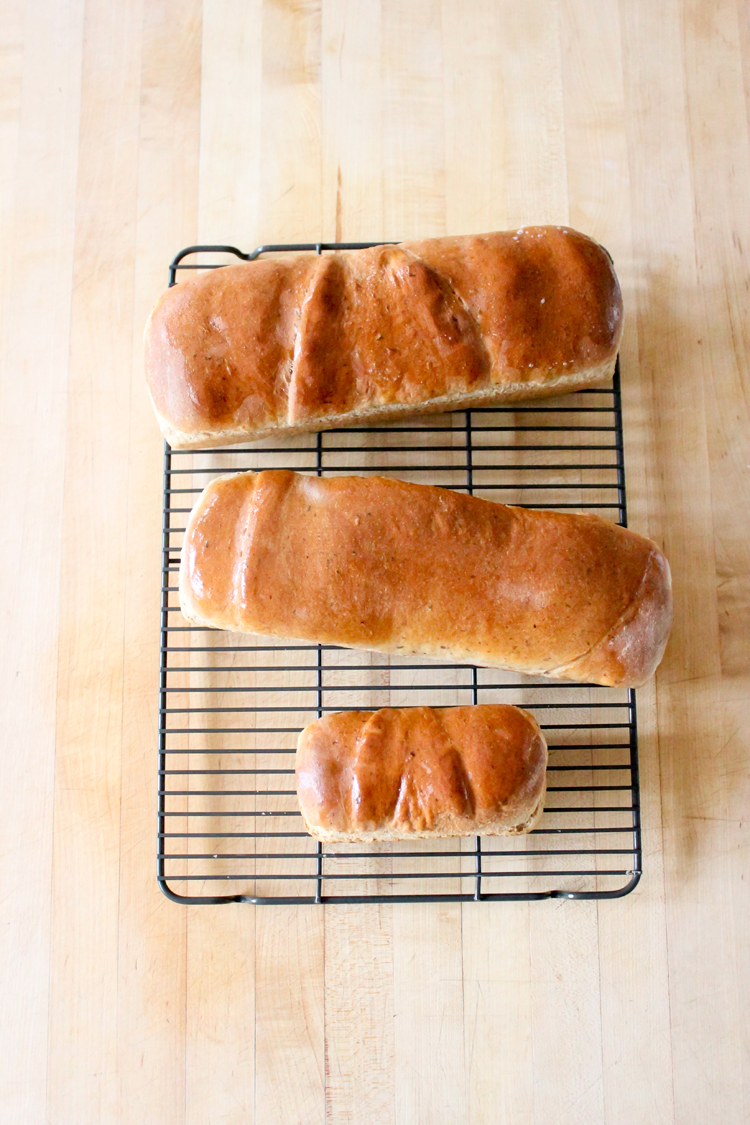 Let the bread cool completely before slicing…if you’re that patient. 😉
 For an easy to read, printable version of this recipe click on the download button below:


I LOVE LOVE LOVE this recipe! I can’t tell you how many time I’ve made it! It is such a hit with everyone who tries it. My favorite variation it to make it into dinner rolls. I use a half sheet pan… we love the preportioned rolls for small children. Serving it with cinnamon honey butter doesn’t hurt either! Thanks for sharing!
Homemade bread is the best!
I know right! 🙂
Have you ever tried this with coconut or olive oil? Or does vegetable oil work best?
I haven’t tried it with coconut oil, but if you melt it first, I am sure it would work fine. Olive oil should be okay too, but I would think the flavor might be a bit too much? I guess it depends on if you are using an extra virgin olive oil, or a diluted, lighter olive oil designed for baking. If you use the latter, I would think it would work fine. You have me curious! I think I might try it with coconut oil next. 🙂
I’ve made a recipe very similar to this with melted coconut oil! It works beautifully, and the texture is even better than with vegetable oil. I didn’t like the taste, but if I’d used unscented coconut oil it probably would have been better. =)
What a coincidence. Just when your message came in on my reading list, I was looking what kind of bread to make. I didn’t stay no to the BEST bread recipe ever. It succeeded very well and tastes wonderful indeed!
Yay! I am so glad you like the recipe and that it popped up so serendipitous-like on your reading list!
That is some beautiful bread!
This looks amazing! Could you tell me what size your large loaf pans are? Im not sure if mine would be considered large or medium. Thank you!
Sure! They are about 11.5 x 4.5 inches at the widest part. I would say they are large-ish. They are not quite as large as some silicone bread pans I have from IKEA. They are Zenker brand, if that helps.
That looks delicious! I love the smell of fresh bread cooking in the oven. Thanks for sharing the recipe – I will definitely give it a go.
Thank you! Enjoy!
I make our own bread most of the time, so when I saw your post I was just curious to see how your recipe differed from the one I normally use. I was so surprised to see that the ingredients were exactly the same! But your technique is so much more intentional than mine. Mine was pretty lazy and not as detailed. I decided to try your way this morning, just pulled them out of the oven, and the breads turned out awesome! I admit that due to financial constraints I normally just eyeball it and pour in the honey and olive oil to what I thought was a decent amount but less than 1/3 cup. Not today. And I love the idea of using a little loaf so the bigger ones don’t have a “muffin top.” It was our snacking loaf and kept us from devouring a whole fresh loaf in one sitting. Thanks so much!
We love having a snacking loaf too! It disappears too quickly though. ha 😉 Glad you liked the recipe and that it was close to your own. It’s definitely not one I made up, just one a friend shared with me, and it is a keeper!
I meant to ask a couple of questions before posting my last comment:
1. I don’t like to use plastic wrap very often, so I put a plate that covers the top of my rising bowl. Do you have any thoughts on whether that would work as well as the plastic wrap? You lose visibility, but that’s the only downside I can think of.
2. How do you find is the best way to store your homemade bread? Refridgerate? Plastic bags at room temperature?
Ruth,
1. A plate should work fine. If you use a clear bowl or a clear plate, that should help with visibility.
2. I like to store mine at room temperature in plastic bags. Fridge or even freezer for longer term storage should be fine as well. I find that in the summer my bread tends to mold quickly so I store it in the fridge to prevent that.
I hope that helps! Let me know if you have any other questions. 🙂
Thank you!
Oh this is exactly what I’ve been looking for! Long time craft follower but now needing your allergy – friendly recipes with my soy and milk allergic baby (thank you for sharing that part of your life – and the recipes that follow!). I’ve really been craving bread but was too nervous to try making it myself. Your instructions were easy to follow, tips super helpful and the bread turned our great! Thank you!!
Rebecca,
I am so glad you like the bread recipe! I am sorry to hear that you have allergies to deal with too. I am happy I can help ease that burden for you in any way.
Delia <3
Can this be made in a bread maker, it sounds good. I just found my Moth e r long loaf pan, thinking I was going to try and find bread to make it it more like sandwich type this sounds perfect. Thank you
Hi Janet! Honestly, I am not sure. I have never used it in a bread maker and I don’t have a bread maker, so I really don’t know. Sorry I don’t have a better answer for you!
This looks like a lovely recipe, I just have one question. Could I do the rise overnight in the fridge?
Thanks! I haven’t tried it myself, but I bet it would work for the first rise (not the second).
Thanks, I’ll give it a go and let you know how it turns out
Hi,
I am looking forward to trying this bread but I was wondering about the whole wheat flour? I s it a bread flour? Sorry about this as I am in Australia and your flours are different to ours:-)
Looks great, thanks for the recipe
The whole wheat flour I used is not a bread flour. I often use a mix of half white bread flour and half regular (red wheat) whole wheat flour if that answers your question? Let me know if you have any more questions. I am happy to help!
Are the pans pictured your favorite for bread baking or do you have other recommendations? Are the ones pictured the tin plated steel? Thanks!
I like them, but I would say my silicone bread pan is my easiest/favorite. The ones in my picture are Zenker brand and are non-stick coated carbon steel. I hope that helps! 🙂
Hiya,
This bread looks incredible- the texture looks perfect but I’m just wondering about the amount of honey/ sugar: is it really sweet? Like a brioche? Or neutral like shop bought bread? Would love to try it if I knew which!!
Thanks,
Em
Hi Emily! Because it’s 1/3 c for 2 large loaves it really doesn’t add too much sweetness. The bread ends up tasting like shop bread. If you are making white bread, you could probably reduce the sugar/honey to 1/4 cup if you are concerned about that. I hope that answers your questions.
Hi Delia,
Thank you so much for this recipe/tutorial. I was always too intimidated to try and make bread, until know that is! I have made this several times with success, so easy I’m thinking about switching from store bought to homemade for the bulk of our bread 🙂 thanks again!
Isn’t it such a great recipe? When my friend Connie taught it to me I was hooked too. It’s hard to go back to other bread recipes when I know I can whip up this one pretty quick and with such great success. Thanks for leaving such a kind comment Crystal!
Thanks for posting and sharing! This is one of the only times I’ve left a comment on someone’s blog after trying their recipe but honestly, this one is golden =) I wanted to express my gratitude for all the work you’ve spent writing and taking photos. My bread didn’t turn out exactly like yours, but not bad a first attempt.
A few questions:
– Mine came out more dense and not as “fluffy” as typical store-bought bread. Any ideas on what I did wrong or is this normal for homemade bread?
– I halved your recipe because I don’t have two loaf pans to bake at the same time. Because of that, I think my pan was too wide and not long enough. Any recommendation on what size I should get?
I followed your hints along the way rather than the exact time… here’s how long it took me for each step:
– Yeast rising ~ 40 mins
– Rising in oven at 175 ~ 35 mins
– Baking at 350 ~ 20 mins
I am so glad it turned out for you Cherrie!
To answer your questions. The bread will be a little bit more dense than store bought. It shouldn’t feel heavy, but maybe a more substantial homemade feel. I know it sounds weird, but not halving the recipe may yield a little better results too? Maybe not, but halving recipes is often riskier than doubling them.
For pan size, the bread will fit the pan. I just have some quirky skinny pans is all. Sometimes I use my IKEA silicone pan for one loaf and a long thin, metal bread pan for the other. I say, buy whatever pans you like best, and then be sure to not over fill them with dough. So if you get medium sized pans, get three, so you can get three nice, even loaves. I hope that makes sense.
Let me know if you have anymore questions.
Delia <3
I’ve had this recipe pinned for a while and just made it a few weeks ago. It literally is the best bread ever! It is now my weekly bread and we enjoy a treat loaf of cinnamon bread too. Thanks for a great recipe!!
That makes me so happy! I’m so glad you are enjoying the recipe!
I have a question.
Did you dissolve the yeast before mixing it with the sugar and other ingredients or just added undissolve?
I add it undissolved, but it will dissolve in that initial mixture. I hope that helps. Let me know if you have any more questions. 🙂
Hello,
I am fairly new to baking bread so I am looking for a simple recipe and I’m pretty sure that your recipe is simpler than most of the bread recipes I’ve seen on the internet – plus the detailed step-by-step instructions with gorgeous photos. And I’m really excited to try this recipe. However, I am a student so I bake only for myself and this recipe seems to be a lot for me. I have only one regular bread pan — what would be the measurement of the ingredients if I want to bake just a single loaf? or.. can I just make the dough and freeze it to bake at a later time?
Thank you very much.
Hi Jam,
I bet you could cut the recipe in half and bake up one really large loaf or two small ones. In my personal experience though, cutting a baking recipe in half doesn’t always turn out well for me. I am not really sure why, but if I were you I would bake up the full batch and freeze extra loaves (or give them to friends!). You could probably freeze the dough as well. I’ve never done it, but I don’t see why it wouldn’t work. I would make the dough and freeze it before letting it go through any of the rising steps. I hope that helps. Let me know if you have any more questions. Good luck!
Delia
I have just made bread for the first time using this recipe, and it’s come out better than I’d ever expected <3
I am so happy to hear that! <3
I made this for the first time yesterday, and it turned out great even though I didn’t have bread flour – only regular bleached flour.
I made one medium loaf and filled two round cake pans with rolls. They turned out beautiful. I’d post a photo, but I guess I can’t do that here. Thanks for the recipe 🙂
Am I right, this calls for 1/3 cup of sugar AND 1/3 cup of honey??
What size are the 2 large loaf pans in the picture??
Can ANYONE please help me?? Do you add 1/3 cup Sugar AND 1/3 cup Honey? Also, what size regular loaf pans should you use? 9×5 or 10×5??