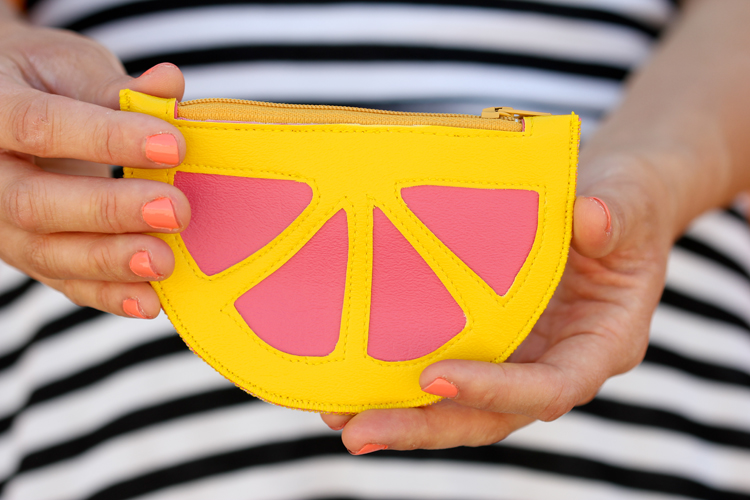
 I’m not really sure when I thought about making this project. I just sort of thought it would be fun to try and that it would be perfect for summer; kind of like when I made THIS lemonade, and it worked out. It’s been a good week. 😉
Speaking of lemons…
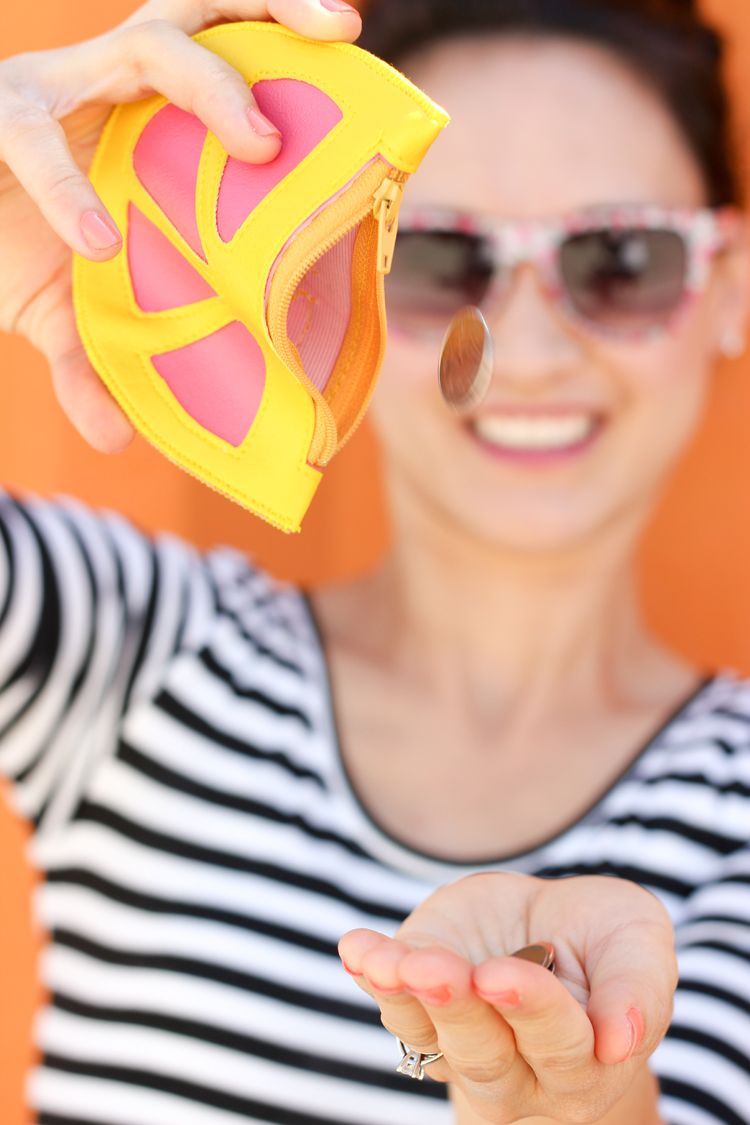
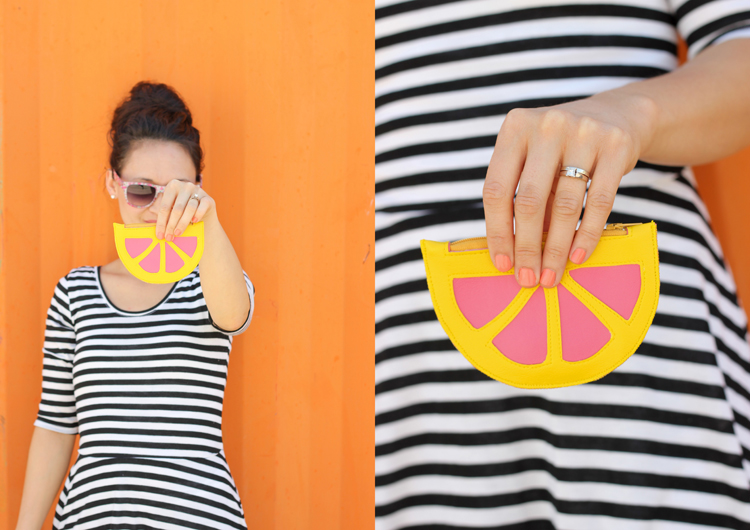
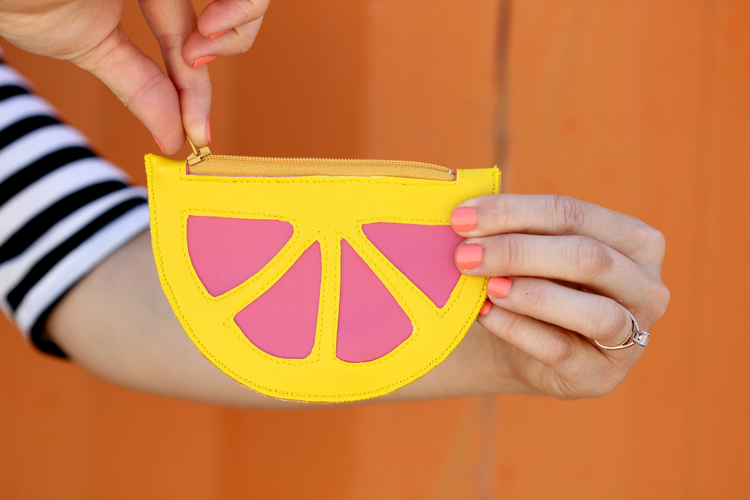
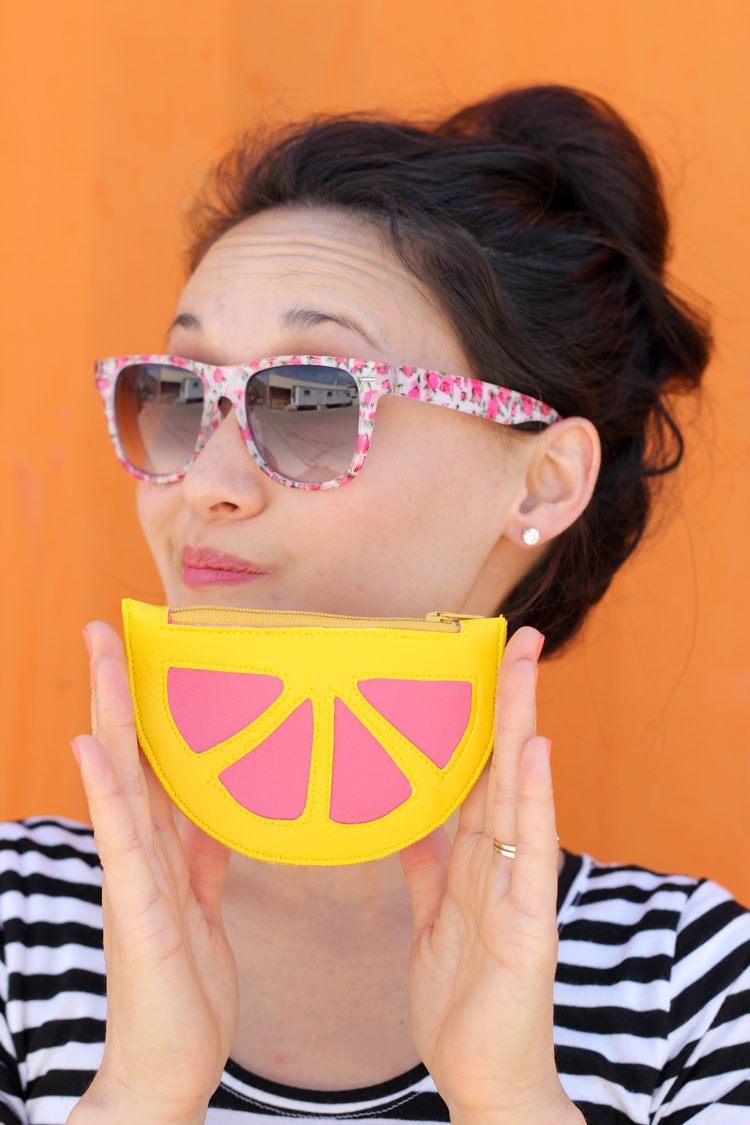 It’s kind of a cross between a pink grapefruit and something that reminds me of pink lemonade….and everything summer.
We’ll just call it a citrus wedge. How about that?
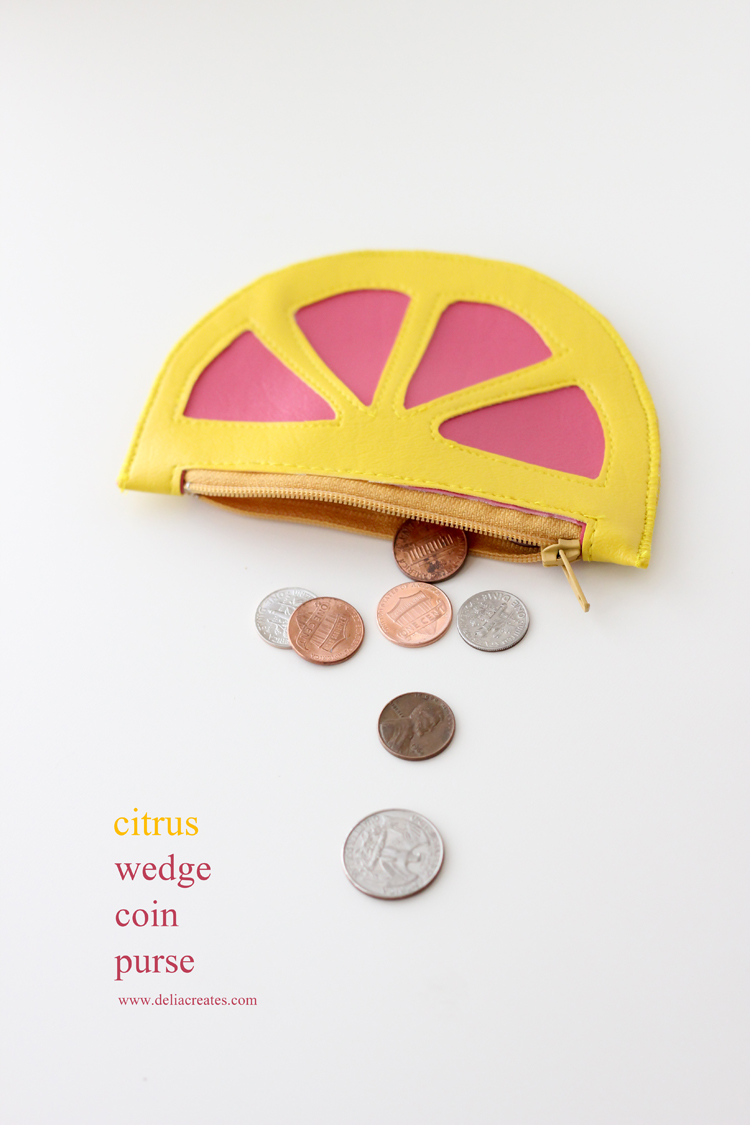 It’s the perfect, bright little wallet to whip out when you go shopping at your local lemonade stand. Don’t you think?
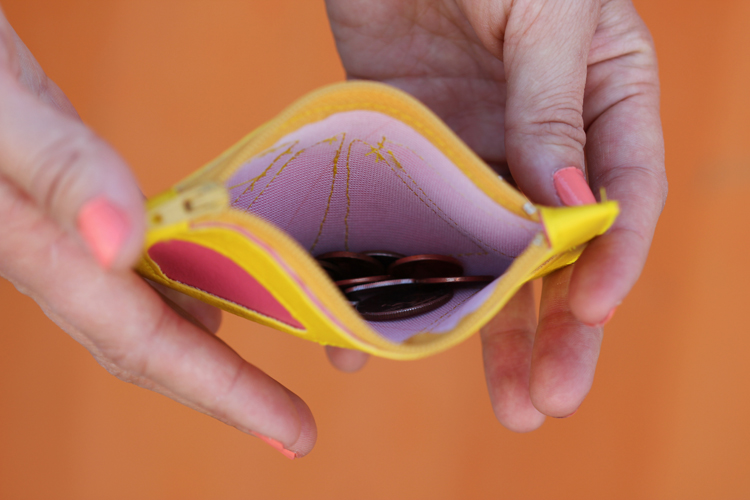
Because when you squeeze this wedge, instead of lemon juice, you get money! Oh yeah!
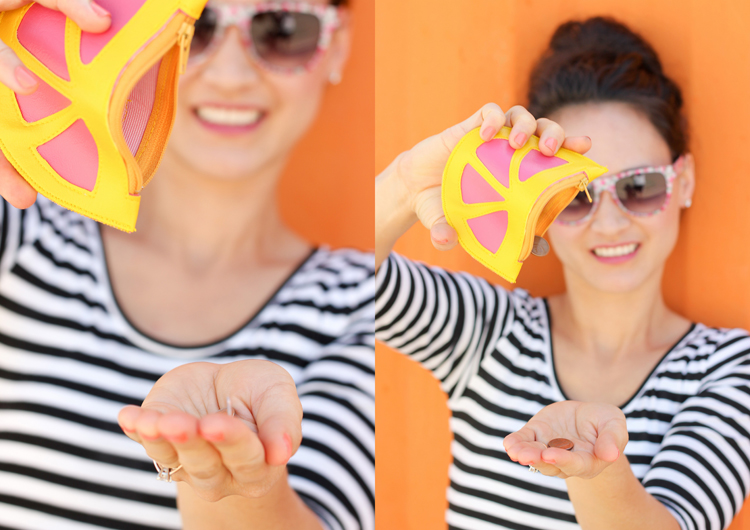 How does the saying go? If life gives you a lemons, squeeze out money?
Thought so. 😉
 Want to make one too? First I must ask you…
Too much? 😉 Okay. Enough shenanigans.
Let’s get to sewing.
Two colors of vinyl fabric – scraps or 1/8 yard each* A standard zipper (at least 5 inches long) Exacto knife Self healing cutting mat Scissors, ruler, pencil A lid or bowl that is about 4.5 inches in diameter (close to is fine) Clover clips or regular office supply type binder clips (can’t use pins, because they will leave holes) Matching or contrasting thread Scotch Tape Leather needle – not totally necessary but you’ll thank yourself if you get one*I sourced my vinyl fabric from Jo-Ann. They used to carry an assortment of bright colors but during my last trip there, I found one lonely pink bolt in the red tag clearance section and they told me they weren’t ordering it anymore. I luckily had the yellow in my stash already. I found some colors still available at Joann.com and LOTS of colors at Fabric.com.
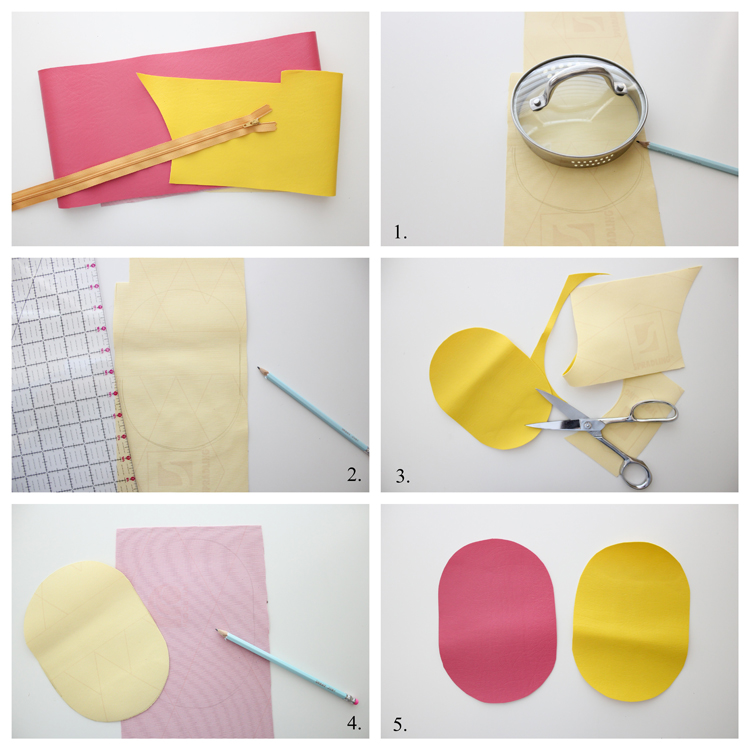 1. On the wrong side of the vinyl, trace the curve of your lid over the top, move it down an inch or two and then trace the bottom curve, so that you end up with an oval shape.
2. Use a ruler to straighten out the lines between the two curves.
3. Cut out your shape.
4. Trace it onto the wrong side of the other color of vinyl.
5. Cut that out. You should now have two ovals, one in each color.
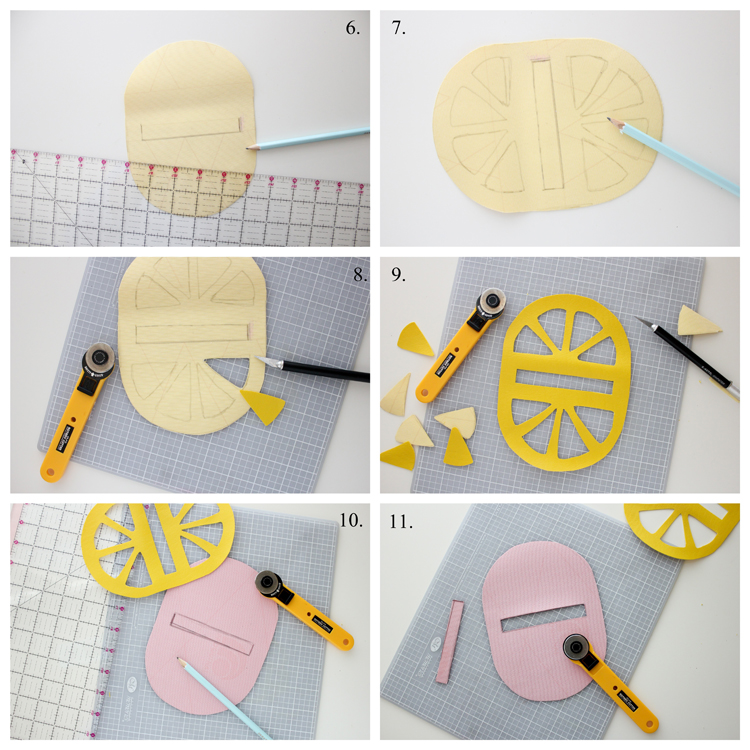 6. The zipper will be sewn in like a welt pocket for this purse because I think it’s the cleanest, easiest way to install a zipper.
Select the piece of vinyl you want to show on top, turn it over to the wrong side and draw your welt pocket with pencil, in the center of the oval (as pictured). Measure out a rectangle that is about 3/8 – 1/2 inch wide and 3.5 inches or so long. You want to leave 5/8 – 3/4 of an inch on each end.**Edited to add: After posting, I thought of an easier way to create the welt opening – See Step 13.
7. Now draw your lemon wedge triangles.
8. Cut out your lemon wedges and welt pocket space with an exacto knife on top of a self healing cutting mat.
9. A small rotary cutter is also helpful and often faster. Once you get everything cut out, clean up any jagged edges as needed.
10. Now trace your welt pocket onto the wrong side of the other piece of vinyl.
11. Cut the welt pocket out for the other piece of vinyl.
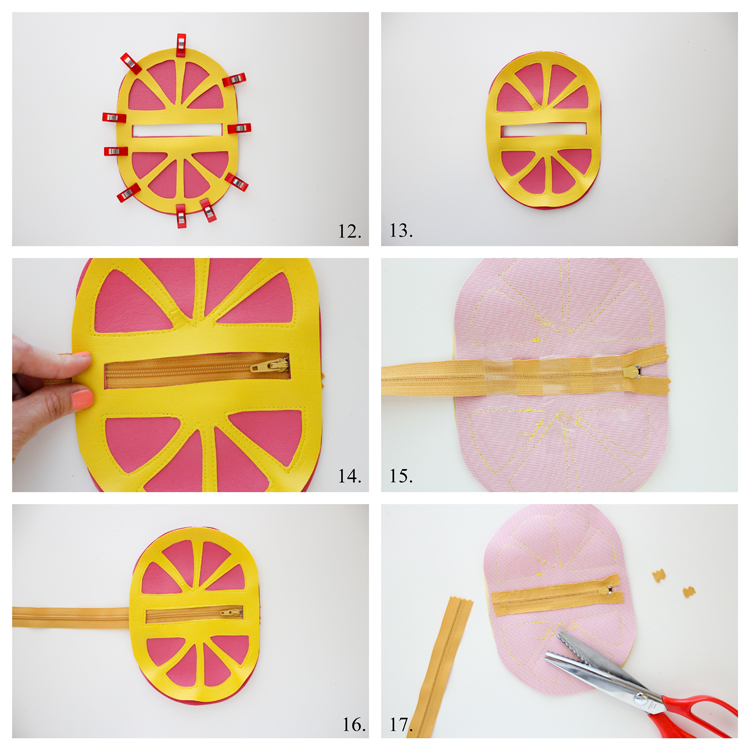 12. Lay the top, lemon wedge piece of vinyl on top of the other piece of vinyl and clip them together.
13. Carefully and slowly sew the top layer to the bottom layer, around the lemon wedge openings (not the welt pocket yet). This can be tricky. It helps to lengthen your stitch and go very slowly, being careful to not the stretch the vinyl.
**Edited to add: After posting I realized that waiting to cut your welt opening after this step may be easier and help remedy any shifting that may happen while you sew the citrus wedge openings. It is not necessary to completing the project successfully, but I thought I would mention it as another option. 🙂
14. At this point the welt pocket rectangles might not match up completely perfect due to shifting. Trim back the bottom layer of vinyl if need be to ensure the welt opening is nice and clean. Next, lay your zipper underneath the welt opening.
15. Using scotch tape, tape the zipper in place.
16. Top stitch around the welt pocket from the right side. Check the back to make sure the zipper tape was sewn in with the stitching. Remove the scotch tape.
17. Cut off any excess zipper length if needed, preferably with pinking shears to prevent fraying.
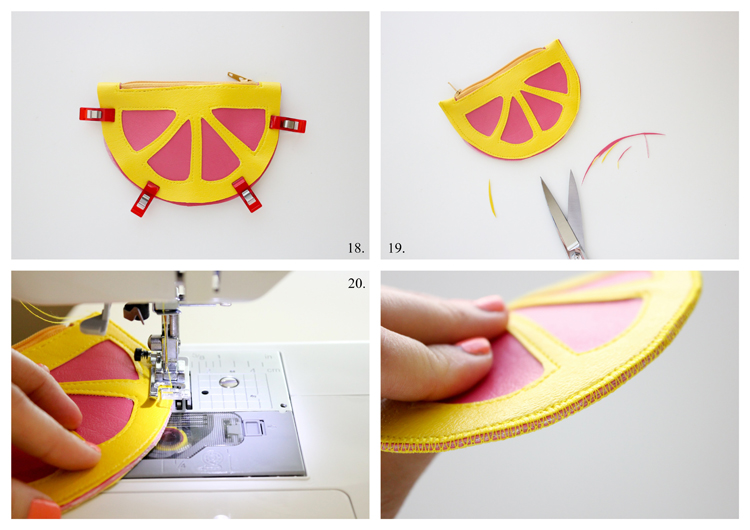 18. Fold the purse in half , using the zipper as the center point. Clip layers in place with clover clips or binder clips. Sew close to the edge around the curved edge with about a 1/4″ seam allowance.
19. Trim off the seam allowance and even out the layers that may have shifted during sewing.
20. With a wide zig zag stitch, sew along the curved edge one more time. This creates a cleaner look and strengthens the seam.
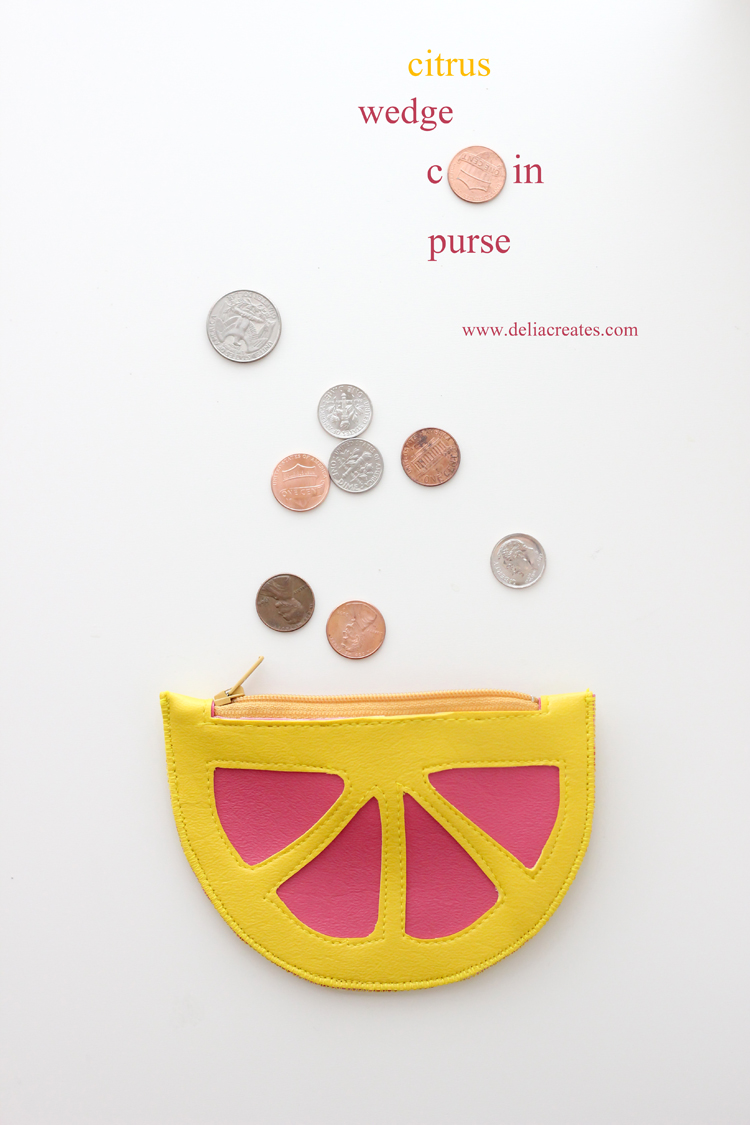
All done!
(Dress: Lady Skater Pattern)


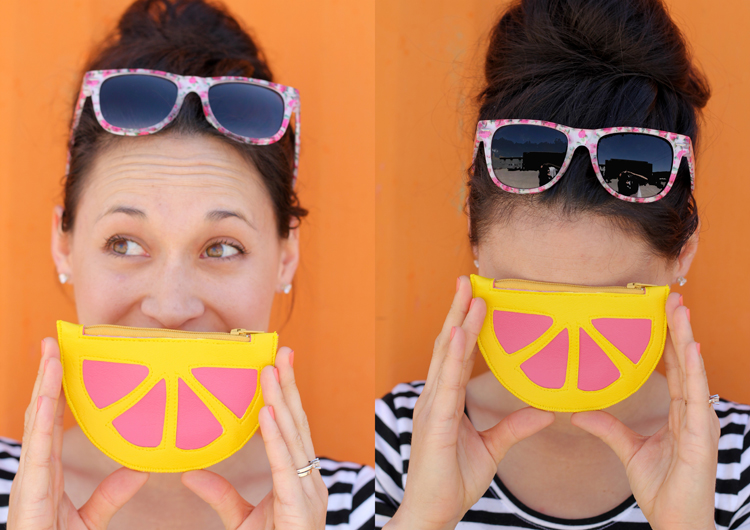
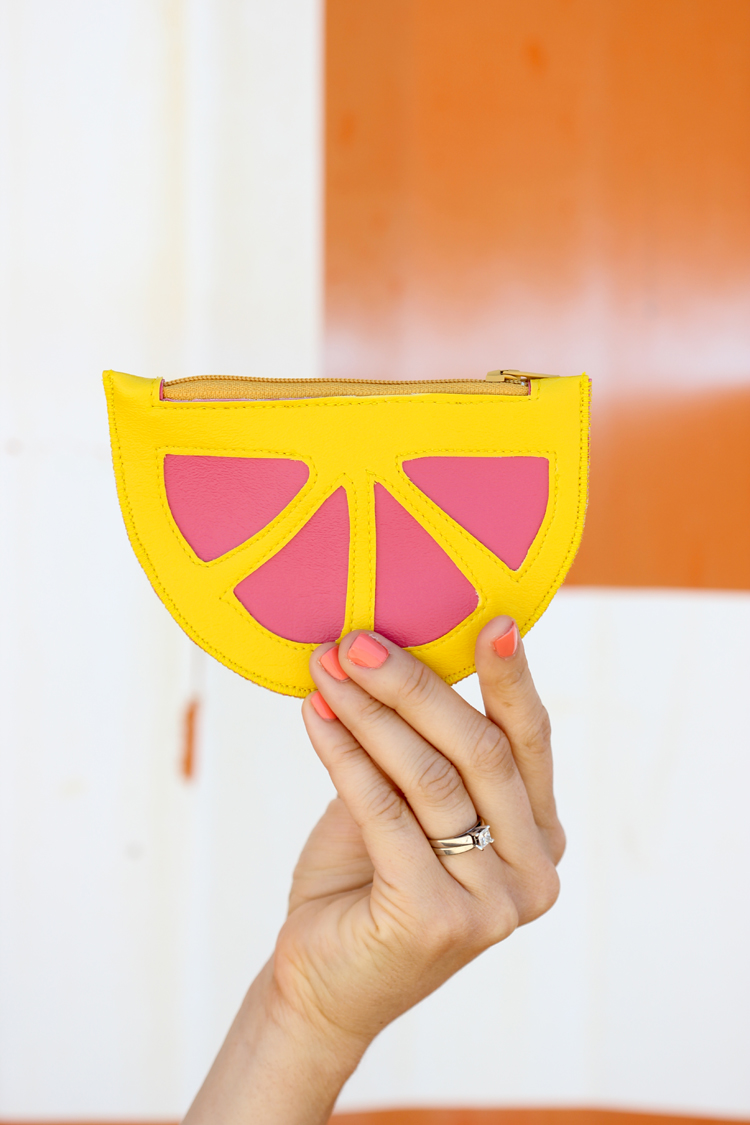
Oh my goodness!! This is so so cute (and so are you 😉 ) !!! Love it!
Thanks Jane! 🙂
You are so very clever!
Why thank you Nancy!
I can’t wait to make one of these, so cute!
Thanks Kristie. 🙂
This is SOOO cute! I’ve got a Craft Gossip post scheduled for this morning that links to your tutorial:
http://sewing.craftgossip.com/tutorial-citrus-wedge-coin-purse/2014/06/06/
–Anne
Awesome. Thank you so much Anne!
I love that purse – but I guess I even more love your photography skills. Your pics are perfection!
Thank you Annika! What a nice compliment. 🙂
I got so excited when I saw the title of this post! That is just adorable. I may just have to add that to my growing list for summer sewing!
Thanks Lynette! It’s totally a just for fun type project but sometimes those are my favorite ones. 🙂 And I hear ya on the long summer sewing list! It’s totally nuts. I know at some point I am going to have to ditch some things and start sewing ahead for Christmas instead. I’m always behind! 😉
That is SOOO CUTE! As are you… also very punny. 😉
haha…thanks Charity.
I love it! I’ve never sewn vinyl…and I’m not scared! I’m picking up some remnants next time im at the fabric store!
And, I adore your dress. If you made it, what pattern did you use?
Thanks Stephanie! I love your attitude about sewing! My dress is handmade and the pattern is the Lady Skater Dress by Kitchy Koo.
um yeah this is totally adorable (and love how you coordinated your nail polish to the project, so cute!). i’m still searching for last minute teacher gifts (I HAVE A WEEK) so thanks! 😉
Thanks Kristin! The nail polish matching was semi unintentional. I meant it to match something else but it was nice that it matched this as well. 😉
So cute! I love the summer feel of this project. You always have such awesome ideas!
You are so kind. Thanks Jennifer. 🙂
That is just so “cool”! I’ve never sewn with vinyl. Will be pinning this to try at some point when I get some vinyl. Thanks for the tutorial.
Thanks Melissa! 🙂
Oooohhh so cute….I was looking for a pattern to make a purse or bag of this type! thanks for sharing! 😉
Thank you!
Haha, this is so cute!! I love how we can “squeeze” money out of the citrus 🙂 Love your flower glasses btw!
Thanks! The glasses are cheapo ones from Wet Seal, but I loved the floral design and couldn’t pass them up!
I am in LOVE!!! What a cute idea and sooo summery! I think I have some of that same pink vinyl!
Thanks Raeanna! It’s such a pretty pink. I had to snatch it up for this project, but I think I’ll make shoes out of it too!
This is darling!
Thank you Stacey! 🙂
This is too cute Delia!! Love all those happy colors too.
Fun!