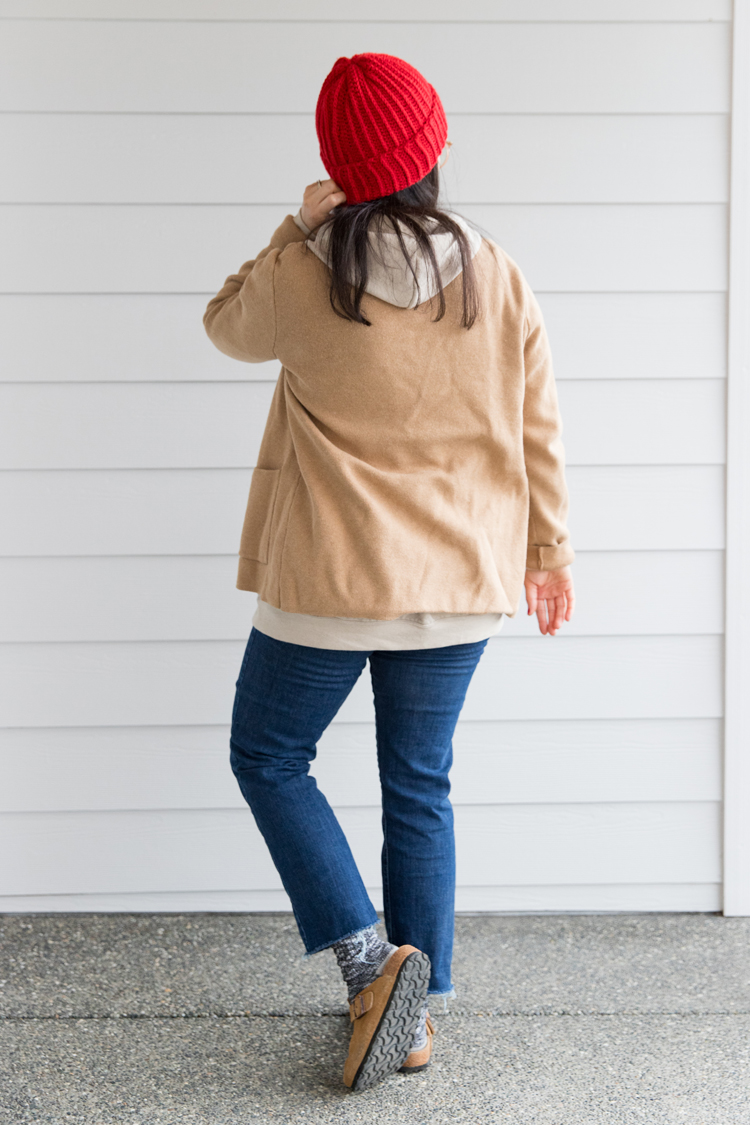
With a defined texture and simple construction, this classic ribbed beanie is beginner friendly and a great cold weather staple.
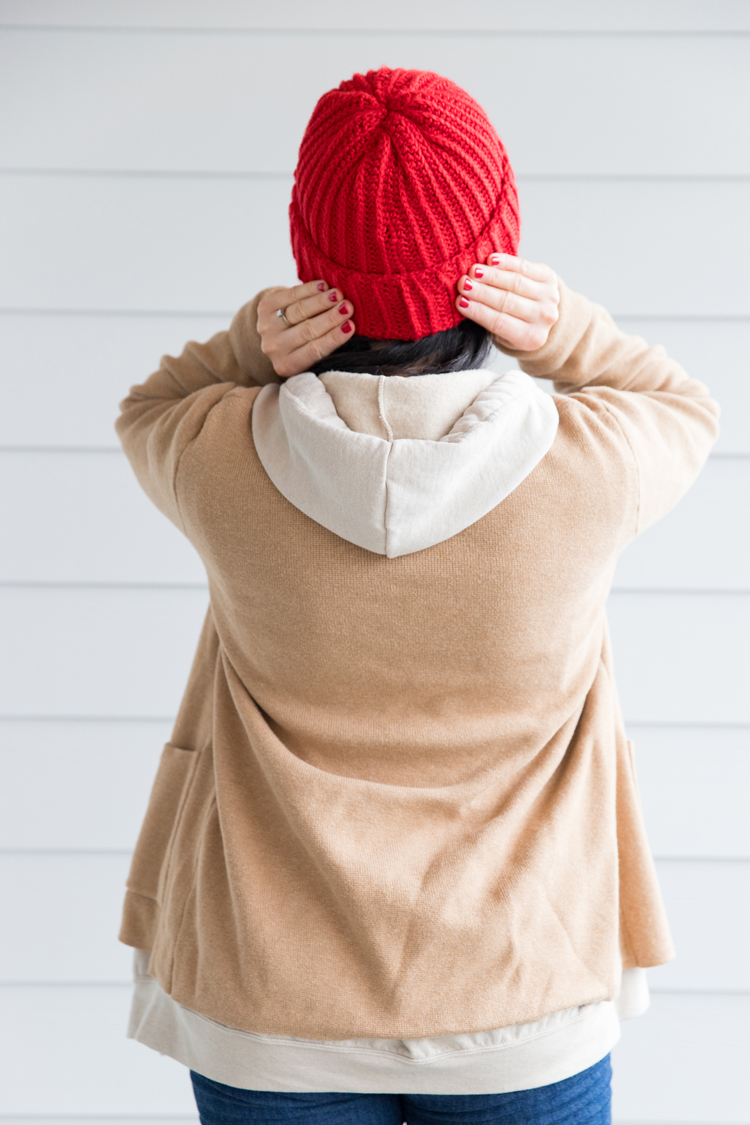
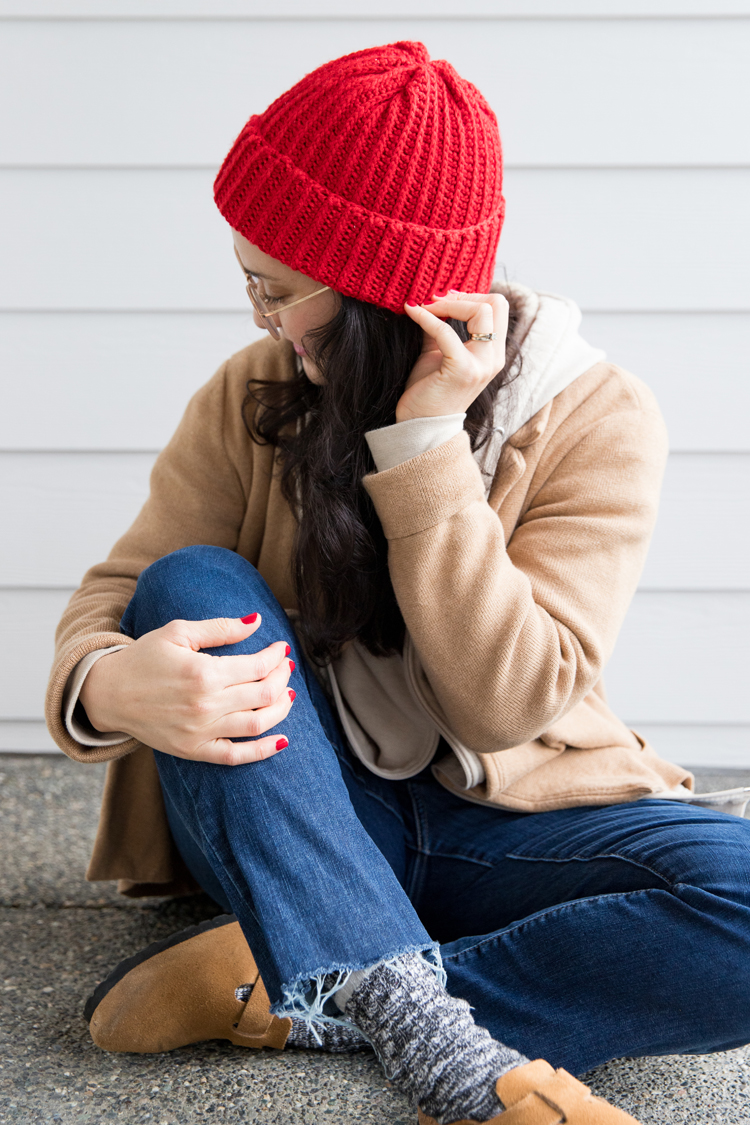
It consists of just half double crochet (hdc) stitches, but instead of being worked in the top two loops (normal) it’s worked in the third loop (see the tutorial below) to give this beautifully bumpy ribbed look. If you made my SC beanie which is “ribbed” as well, it’s a lot like that but the ribs stand out even more. It’s a little less stretchy, thicker, and more defined.
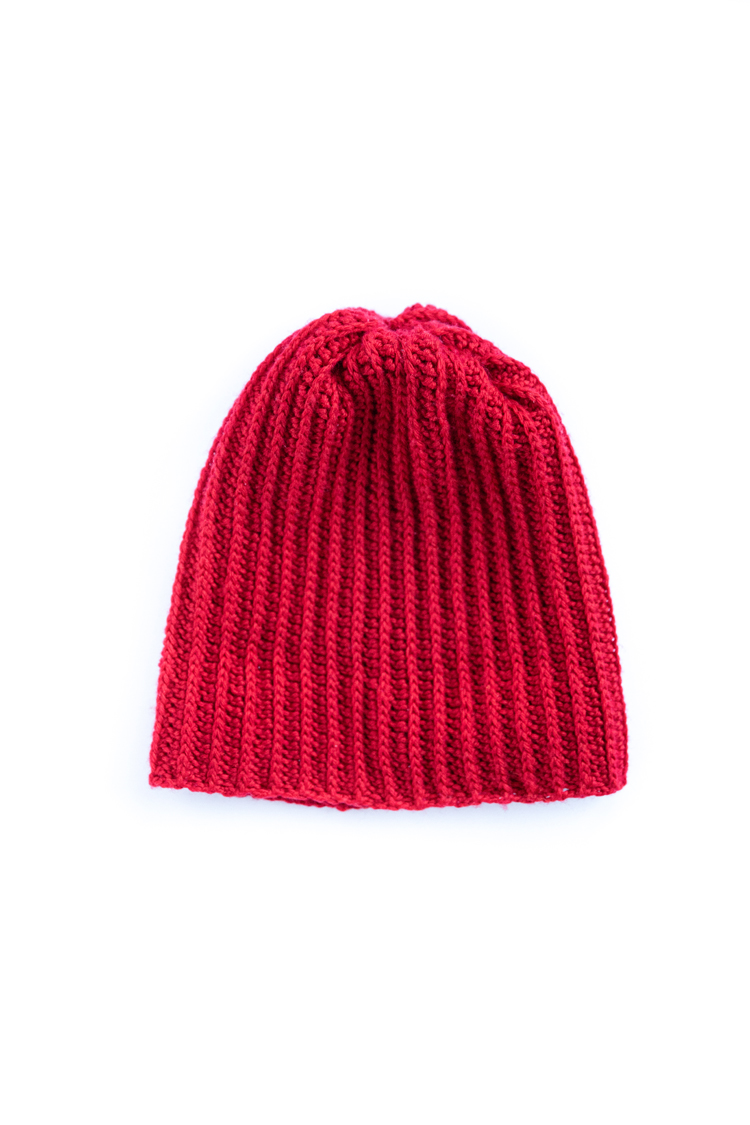
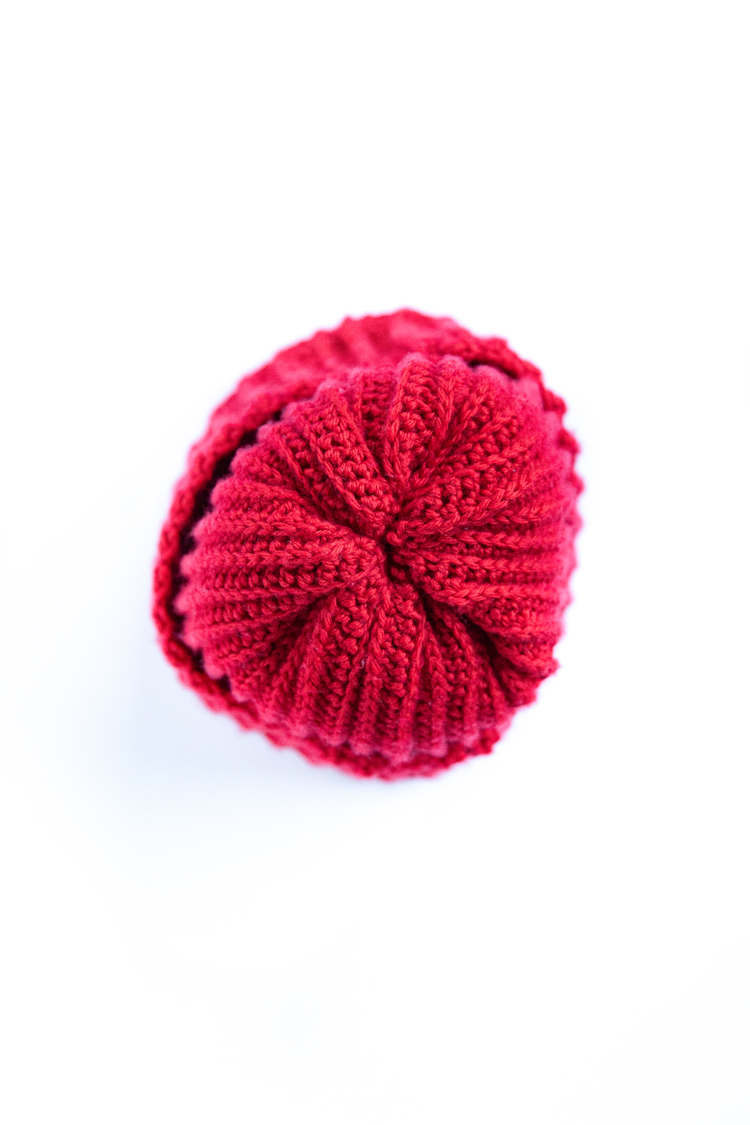
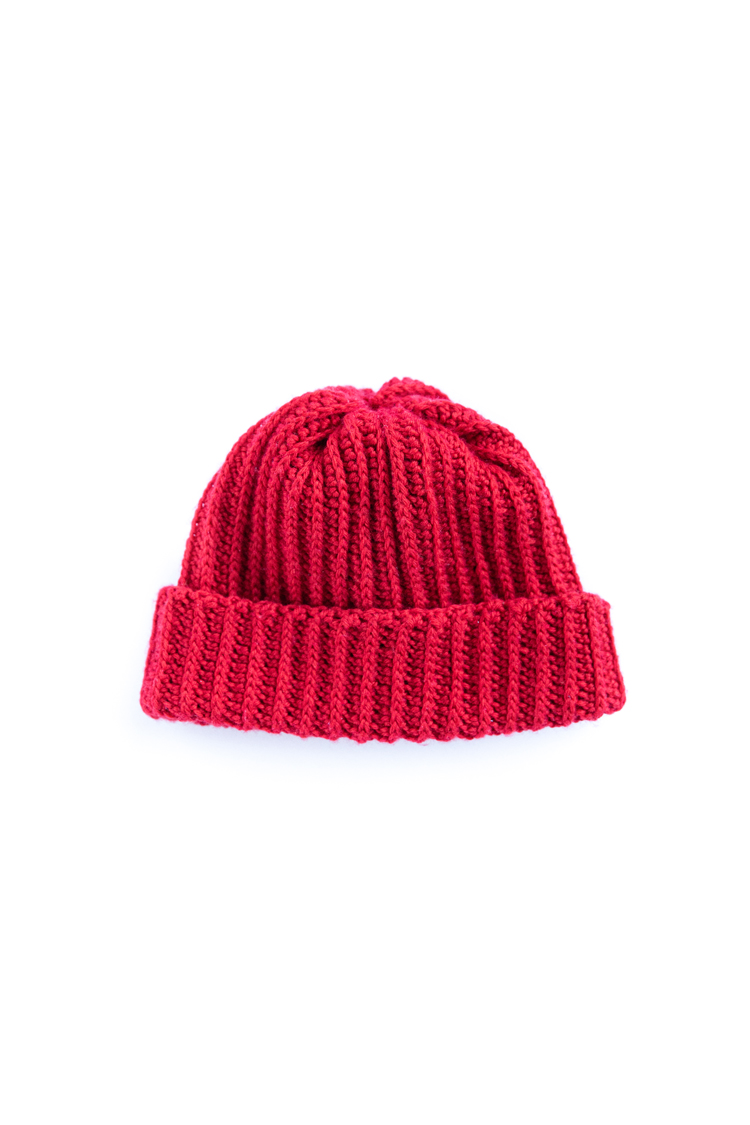
And when I say it’s beginner friendly…you don’t have to crochet in the round or anything. Just create a rectangle, seam it into a tube, and cinch the top shut to form a hat. If you are new to crochet and want even more beginner friendly instruction on how to make this style of hat, see my Crochet Basics Series, and click here for another, easier hdc beanie pattern.
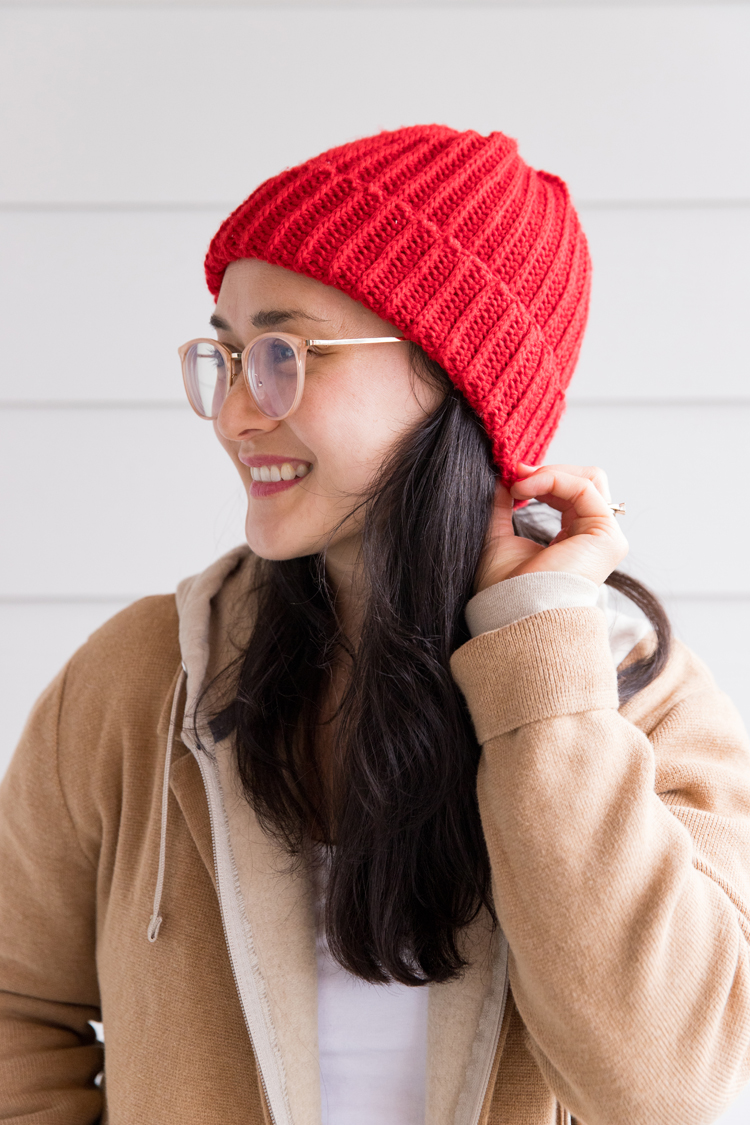
I have designed the pattern for adult sizes S, M, and L, but you could add or remove stitches and rows to make this beanie whatever size you desire. The size small is also suitable for youth/tweens. See the sizing section for more.
Let’s get started!
MATERIALS
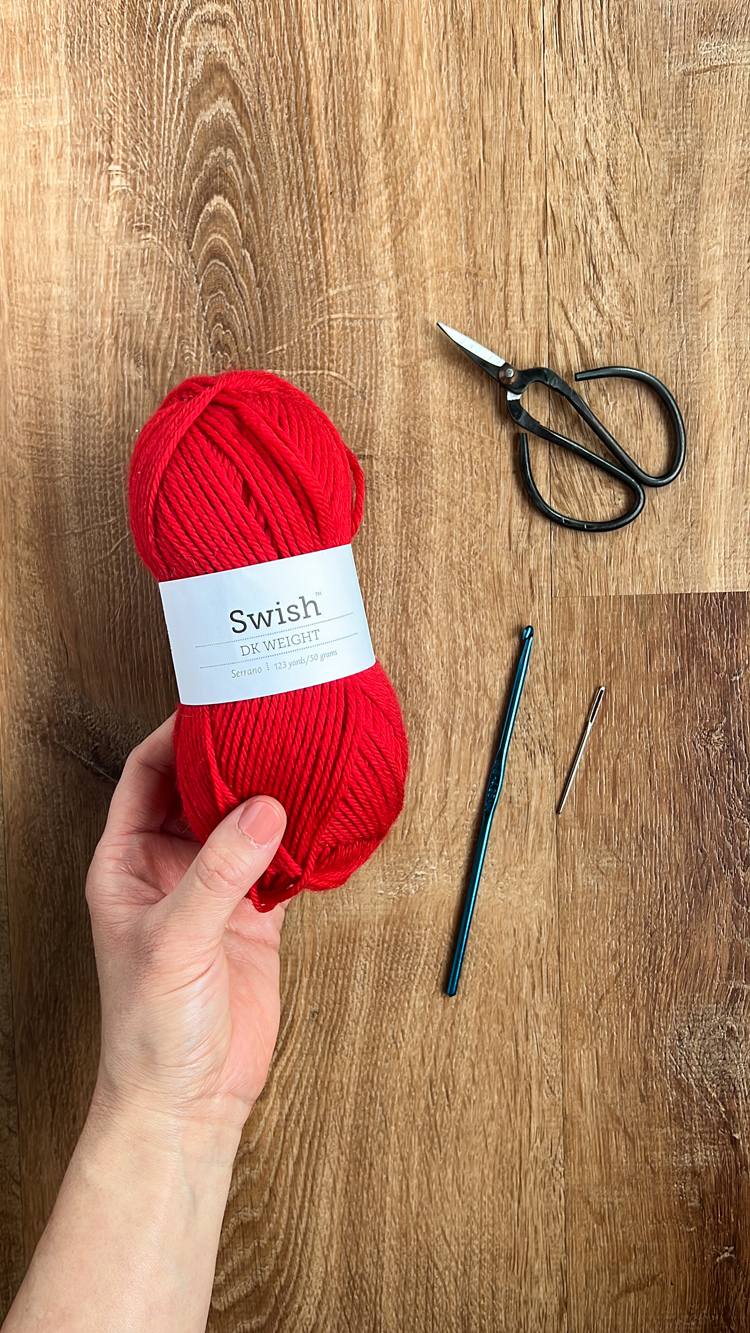
- DK or size 3 yarn made of wool, wool blend, or acrylic* (see notes for amounts)
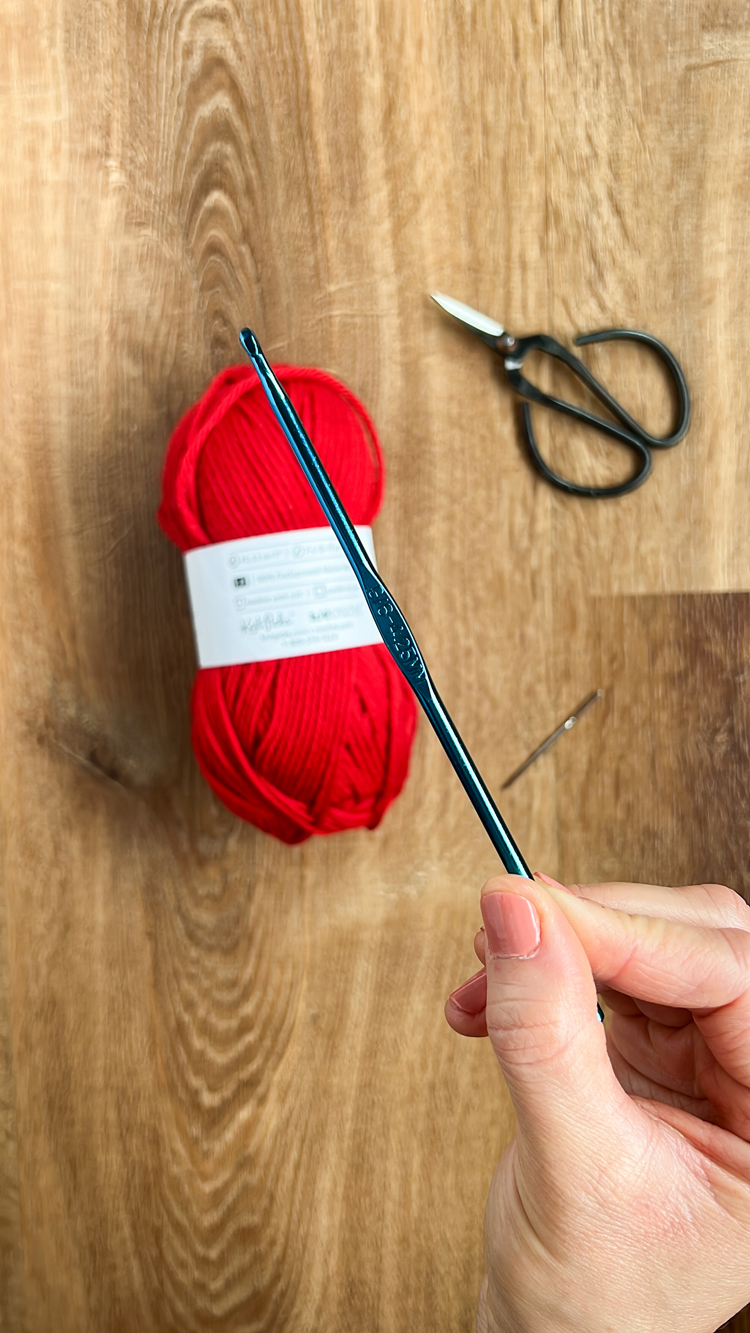
- G/6 or 4.25 mm hook
- Yarn needle and scissors
Material Notes:
*Approximate yardage needed according to size: 240 yds. (small), 255 yds. (medium), 270 yards (large). You may need more than this if you add any stitches or rows.
*I used Knit Picks Swish merino wool yarn in Serrano. If you want to use a cotton yarn, you may have to adjust your hook size (likely go down a hook size) and yarn amounts. Cotton yarn will sometimes create a less stretchy hat as well, so you may have to experiment and adjust sizing as you go.
SIZING
Pattern includes adult sizes small through large. The adult small is also suitable as a youth (tween) size. This is a form fitting beanie. Size up when in doubt or if you are in between sizes.
For reference, I made a size M for my 22.5 inch head circumference.
These are sizing suggestions. You can add or subtract stitches and rows to customize the sizing however you want. See the next section for tips on how to do that.
Hat Size to Hat Circumference:
- Youth/Adult Small – 20-21 in. (50.8 – 53.3 cm)
- Adult Medium – 22-23 in. (55.9 – 58.4 cm)
- Adult Large – 24-25 in. (61 – 63.5 cm)
Sizing Adjustments
Beanie Circumference
You can add or subtract rows to fit the wearer’s head. Just be sure to complete an odd number of rows if you want a mostly disguised seam.
Sometimes the type of yarn you use can affect the circumference and the stretchiness, so it can be helpful to seam that hat into just a tube and test it on the wearer before you tie off the tail and cinch up the top of the hat.
Beanie Height
The height of the beanie in all sizes is roughly 10 inches when cinched up, not folded up or cuffed. For about a 3 inch cuff, the hat comes out to be about 7 inches tall, but it will stretch when worn.
I have designed the beanie to fit snugly to the scalp with no extra material at the crown of the head.
If you need the hat to be taller, simply add chains and stitches to achieve the height you desire.
GAUGE
4 x 4 inches (un-stretched) = 21 hdc x 15 rows
ABBREVIATIONS
This pattern uses US terms.
- ch = chain
- sc = single crochet
- hdc = half double crochet
VIDEO TUTORIAL
The video should have already popped to the top or side of your screen. An ad will play before the video. If you “x” out of the video thinking it is just a pop up ad, you have to refresh the page to get the video back.
PATTERN & TUTORIAL
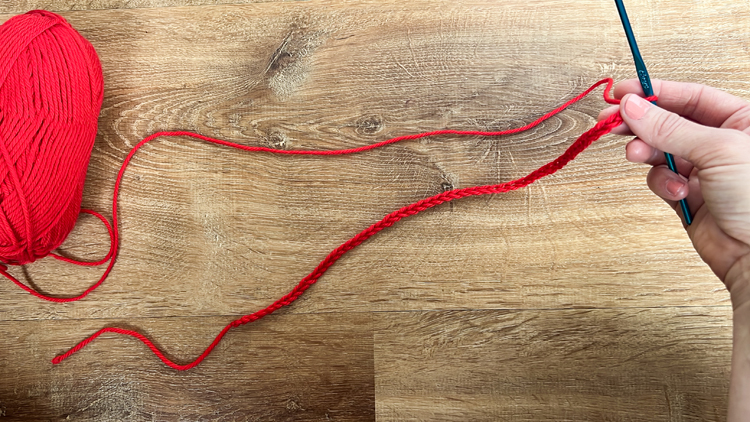
Row 1: Ch 54. Turn, skip two ch and hdc into the third ch from the hook. Hdc in the rest of the chains. (Total stitch count, including 2 skipped ch as one stitch = 53)
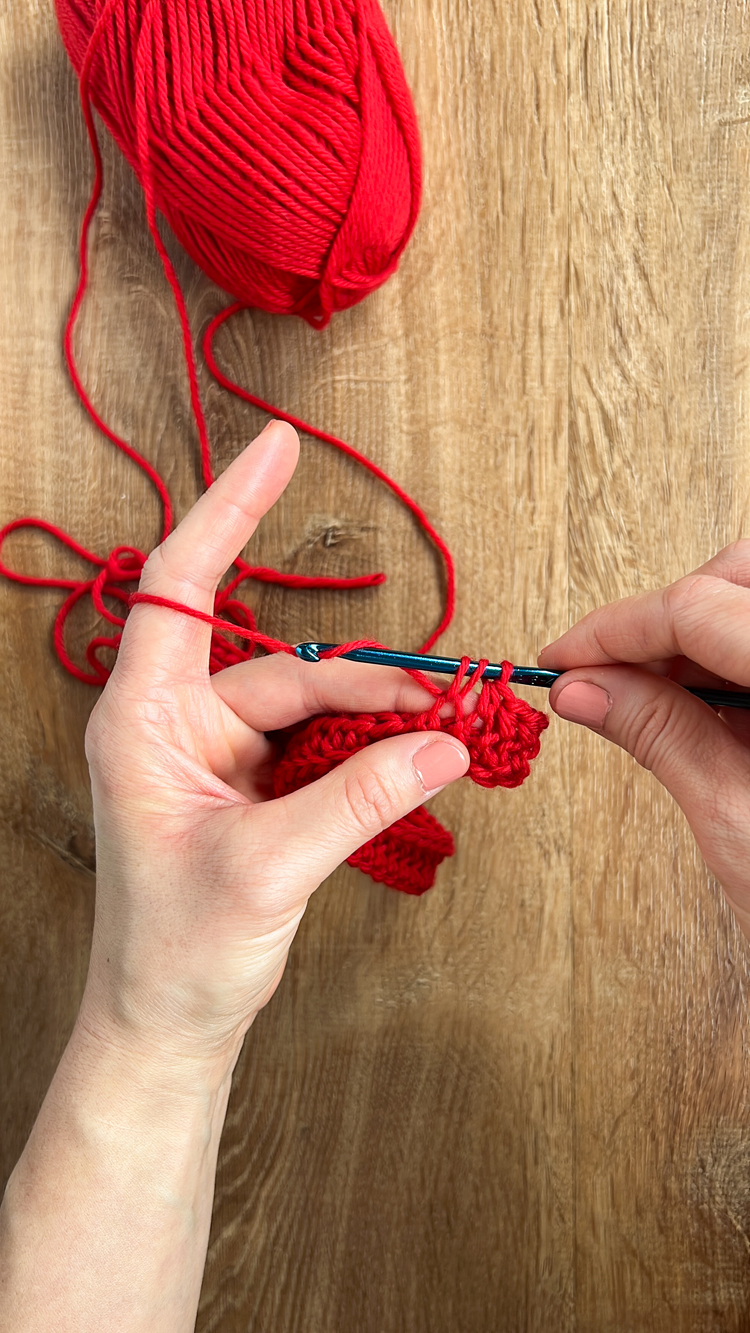
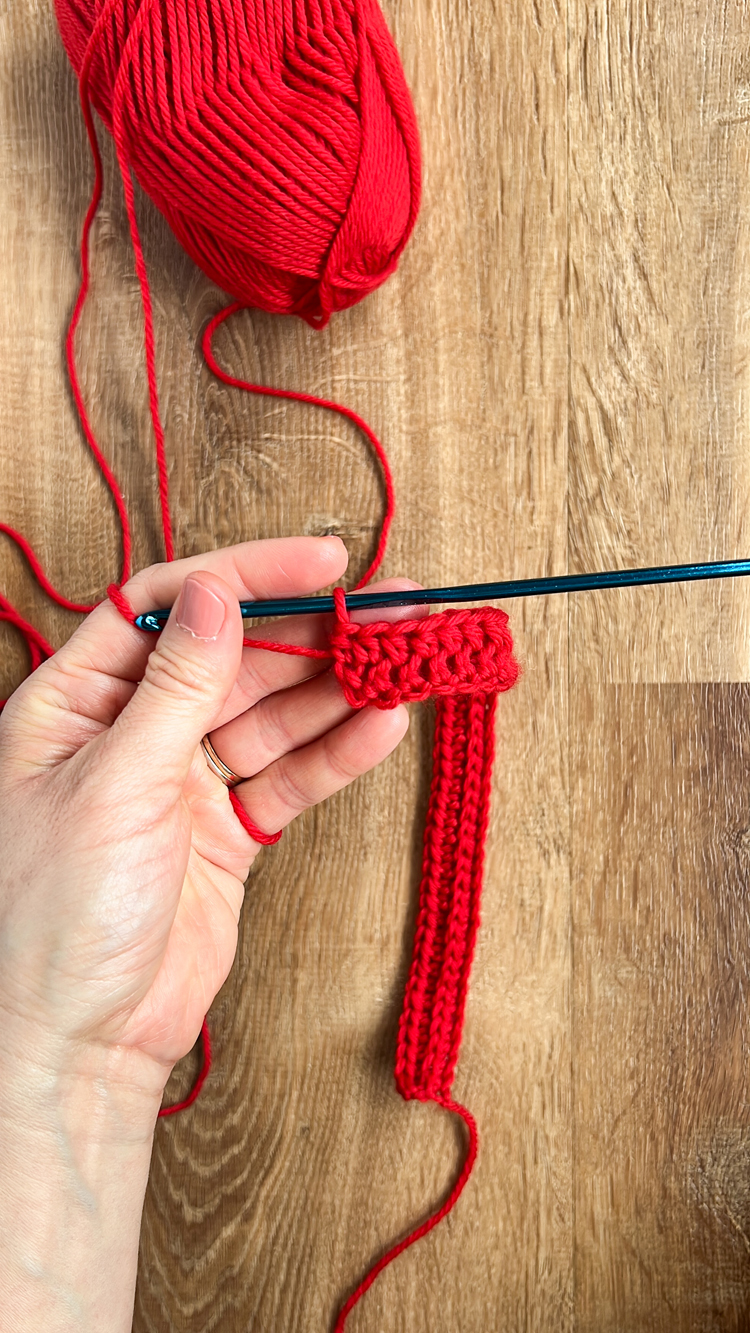
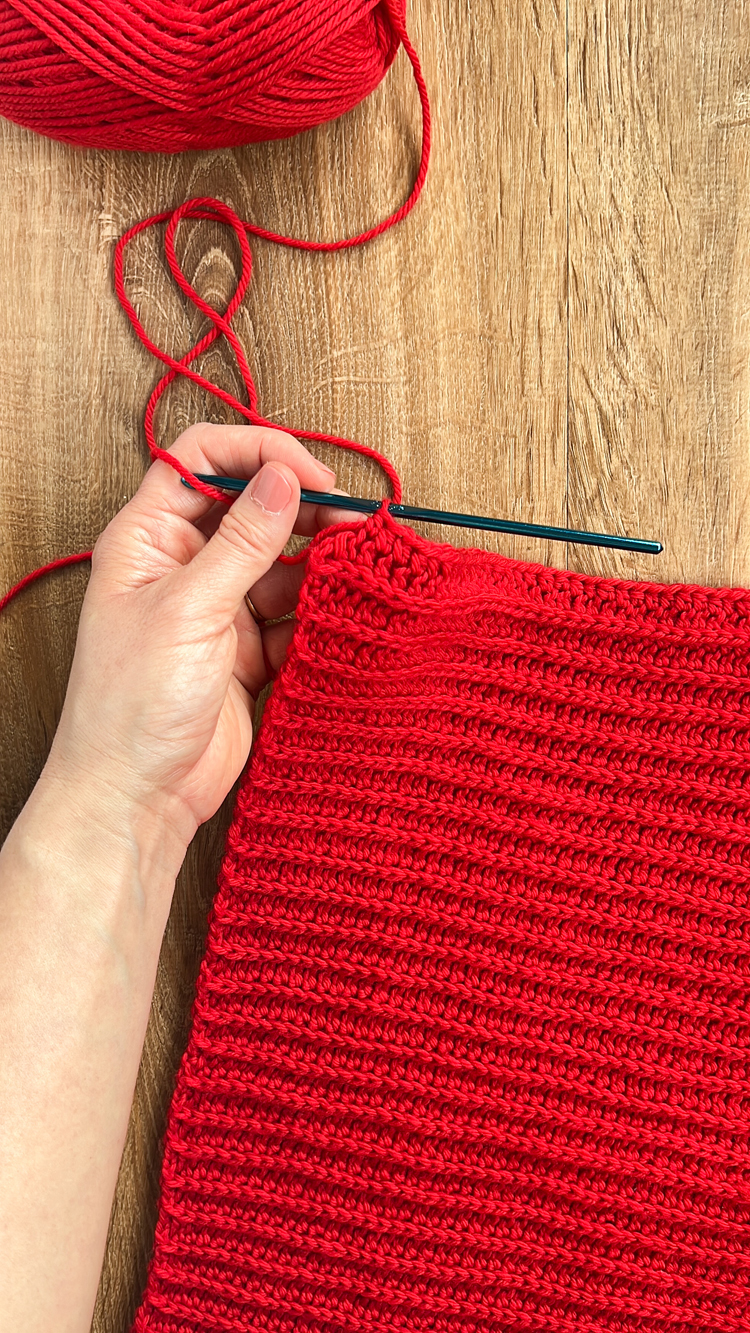
Row 2: Turn, ch 2. Hdc into the third loop for each stitch in the row. The third loop is under the top two loops. See the video for more instruction. (Total stitch count = 53, including 2 ch from the beginning)
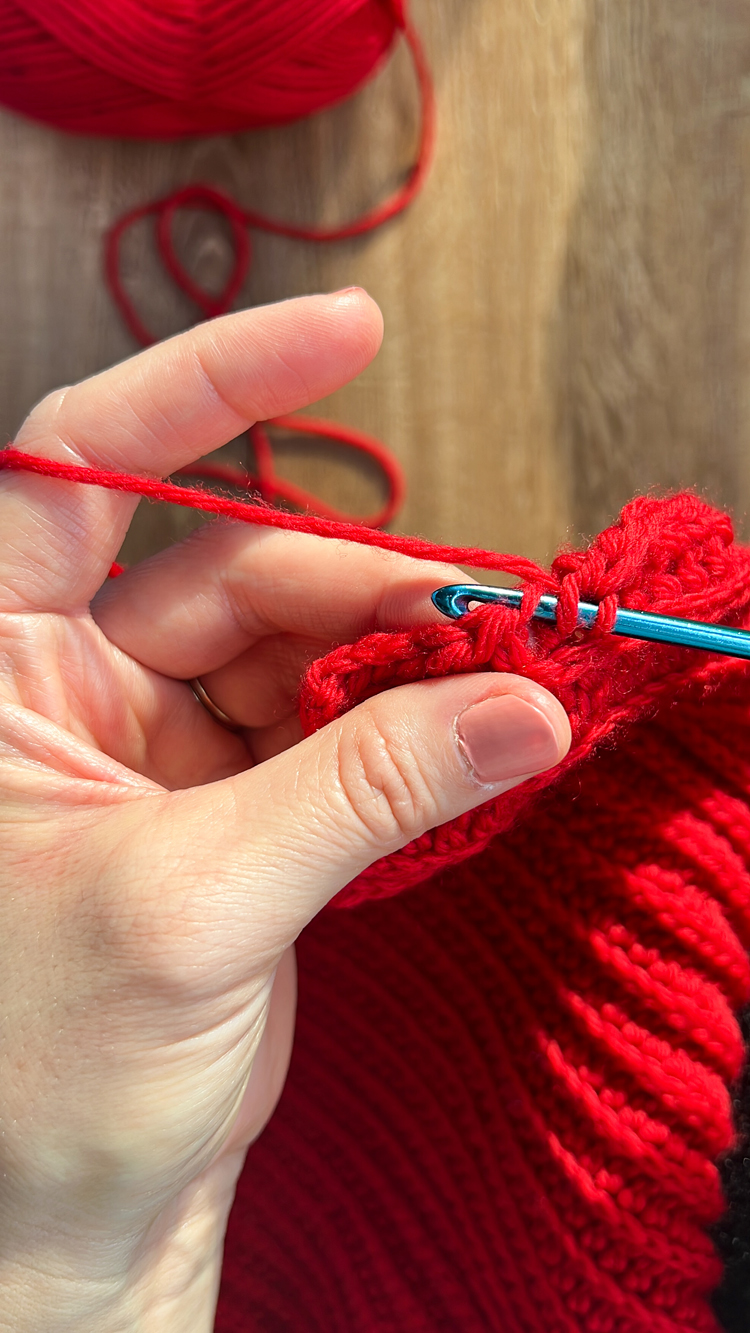
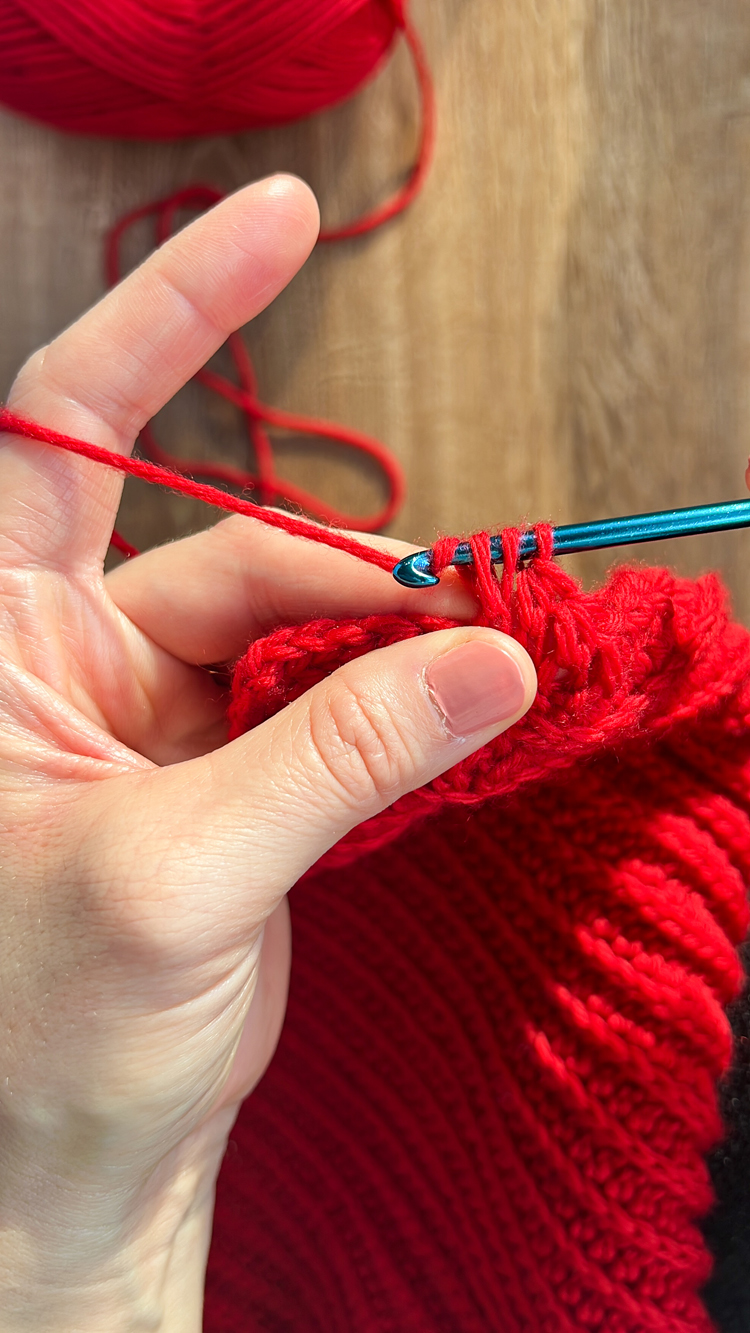
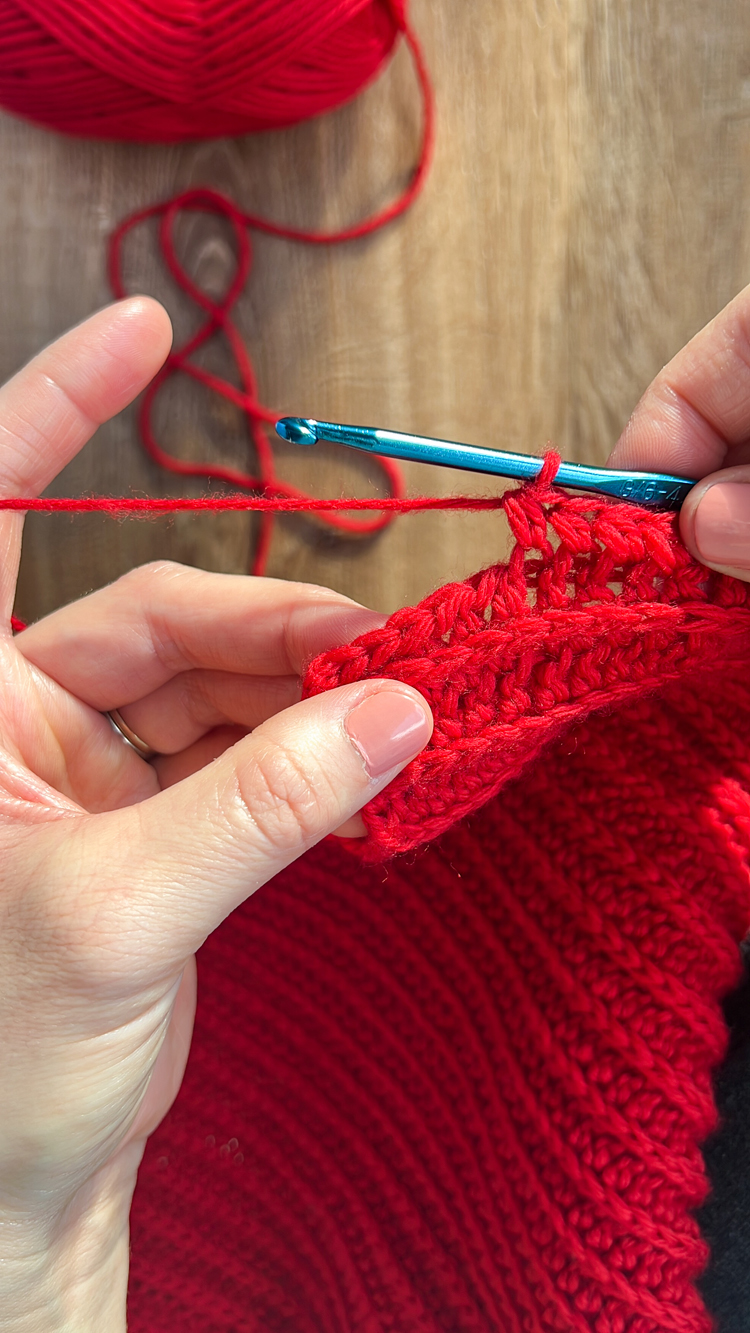
Row 3: Repeat Row 2, 61 (S), 65(M), or 69 (L) times for a total of 63(S), 67(M), 71 L) rows.*
*Follow hat size as indicated in parentheses.
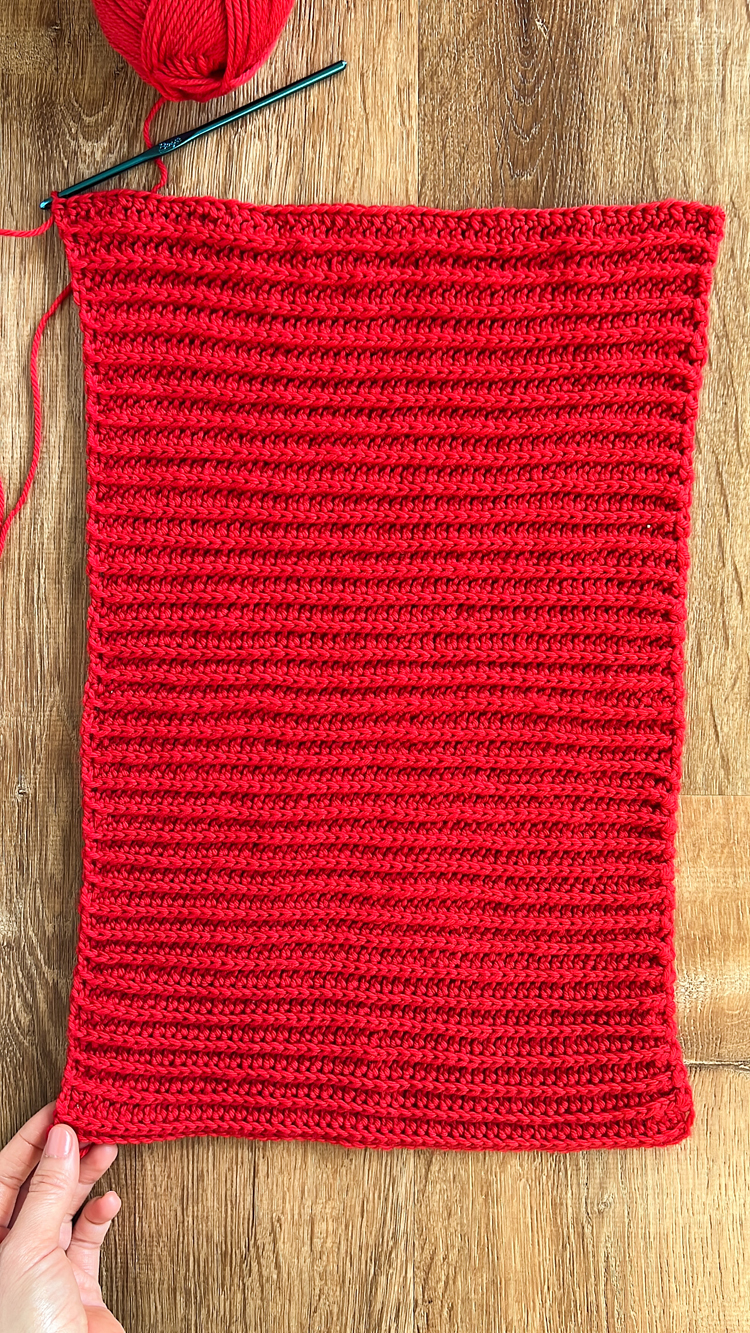
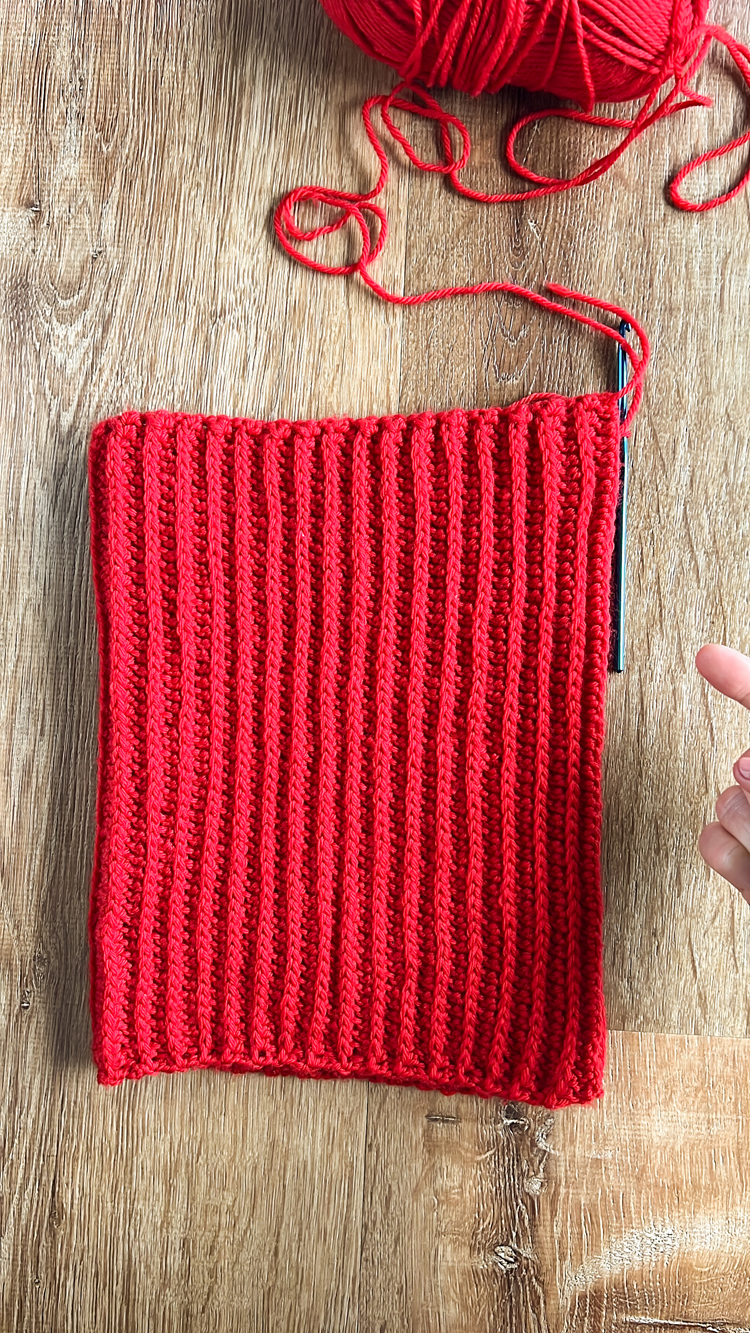
Do not tie off. Fold the rectangle in half with shorter sides together.
Insert hook (still attached to the end of the last row worked) into the corner of the first row worked and work a slip stitch to join the two short sides. Insert hook into both layers and seam together with sc.
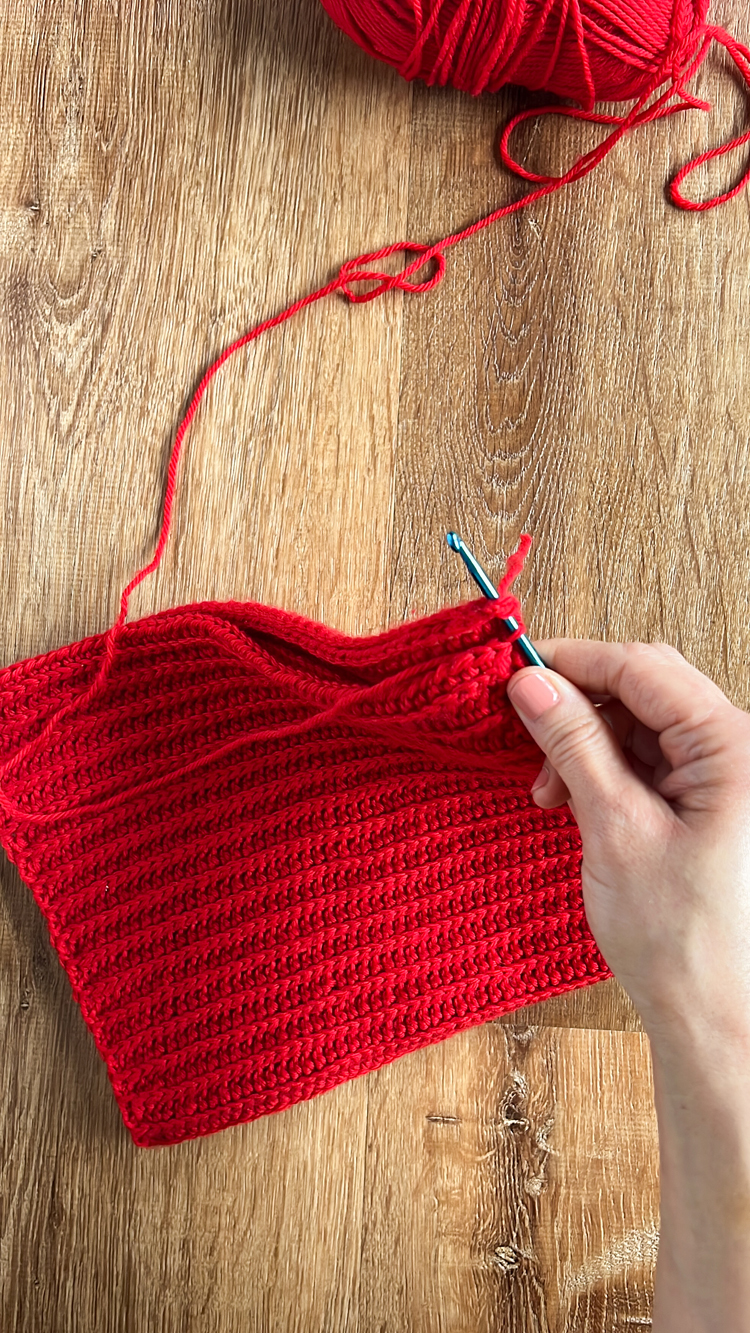
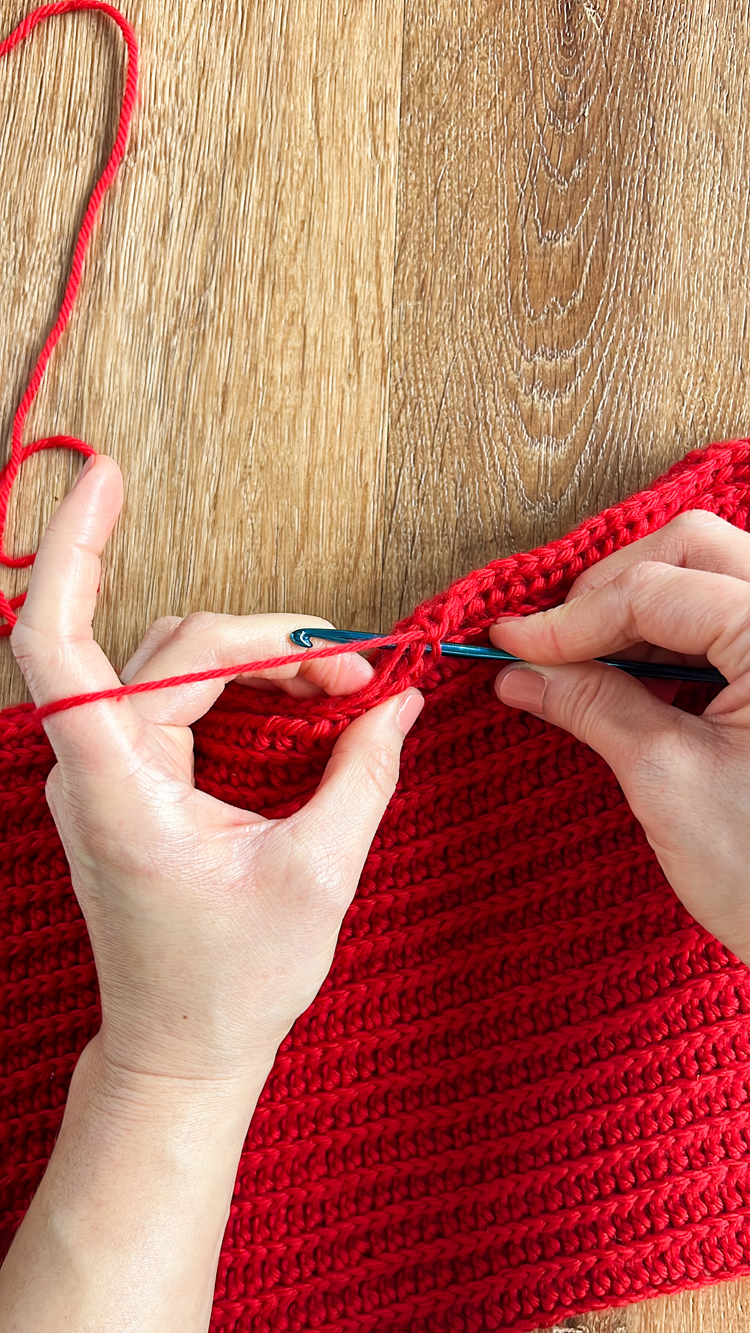
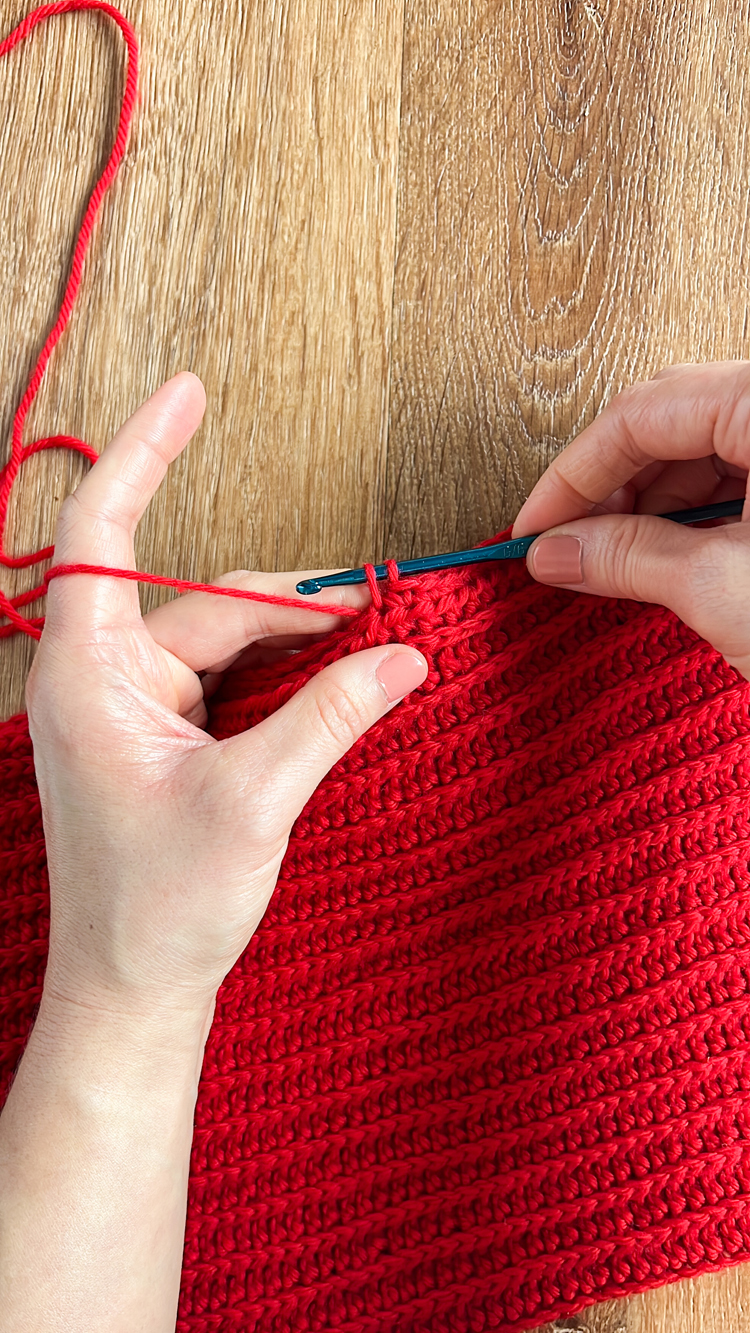
To create a cleaner looking seam, be sure to insert your hook under both top loops and the third loop through the top layer, and under the braided texture through the back layer (see the video for more instruction on where to insert your hook).
Now tie off, leaving about a 2 foot long tail.
Thread the tail into a yarn needle and sew a running stitch around one end of the tube you just created. Pull it tight to cinch the hat closed. Make note of which side you want facing as right side out, and ensure the opposite side is facing you when you close up the end.
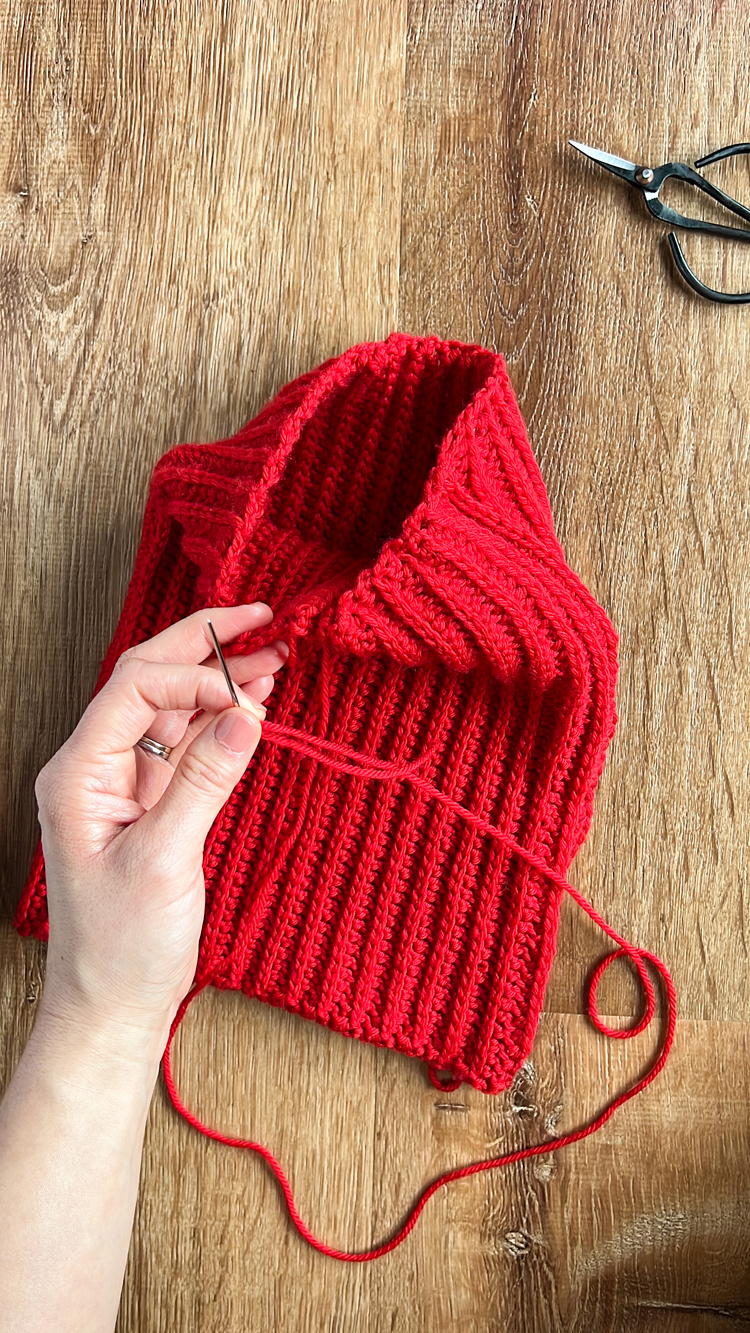
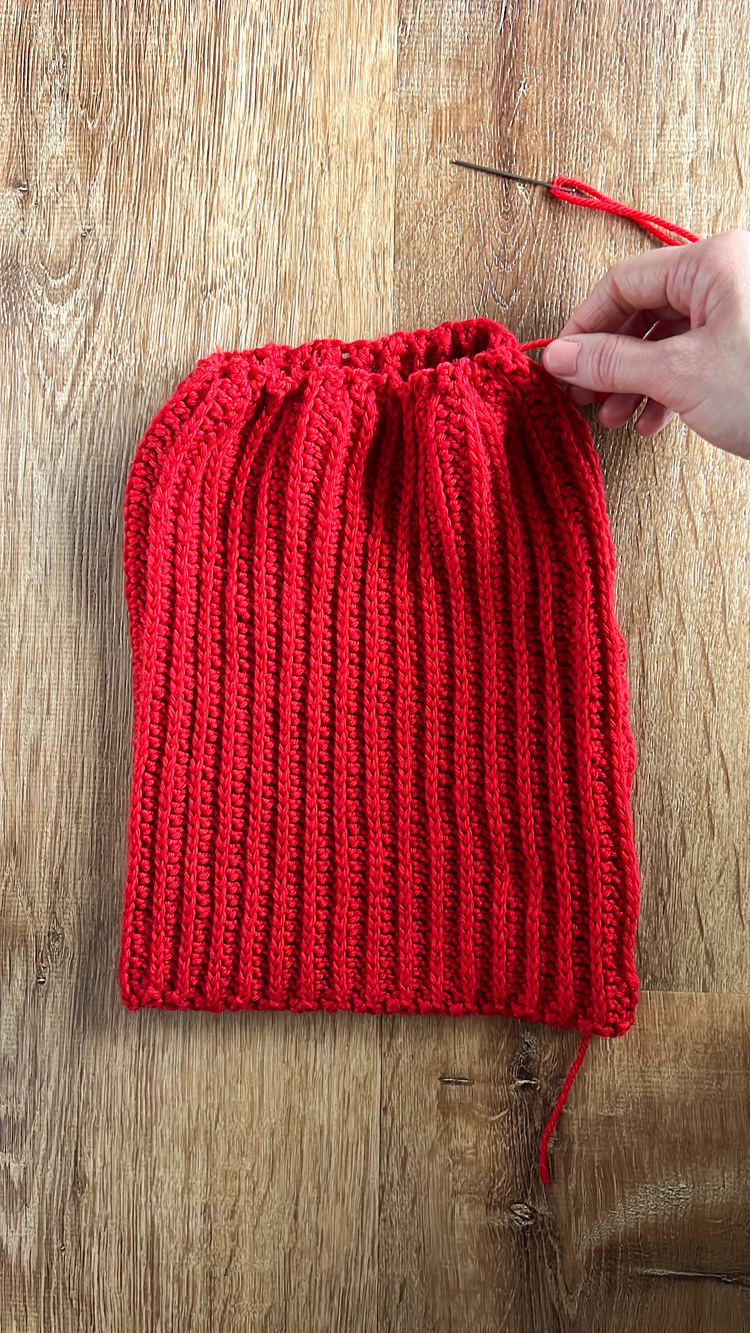
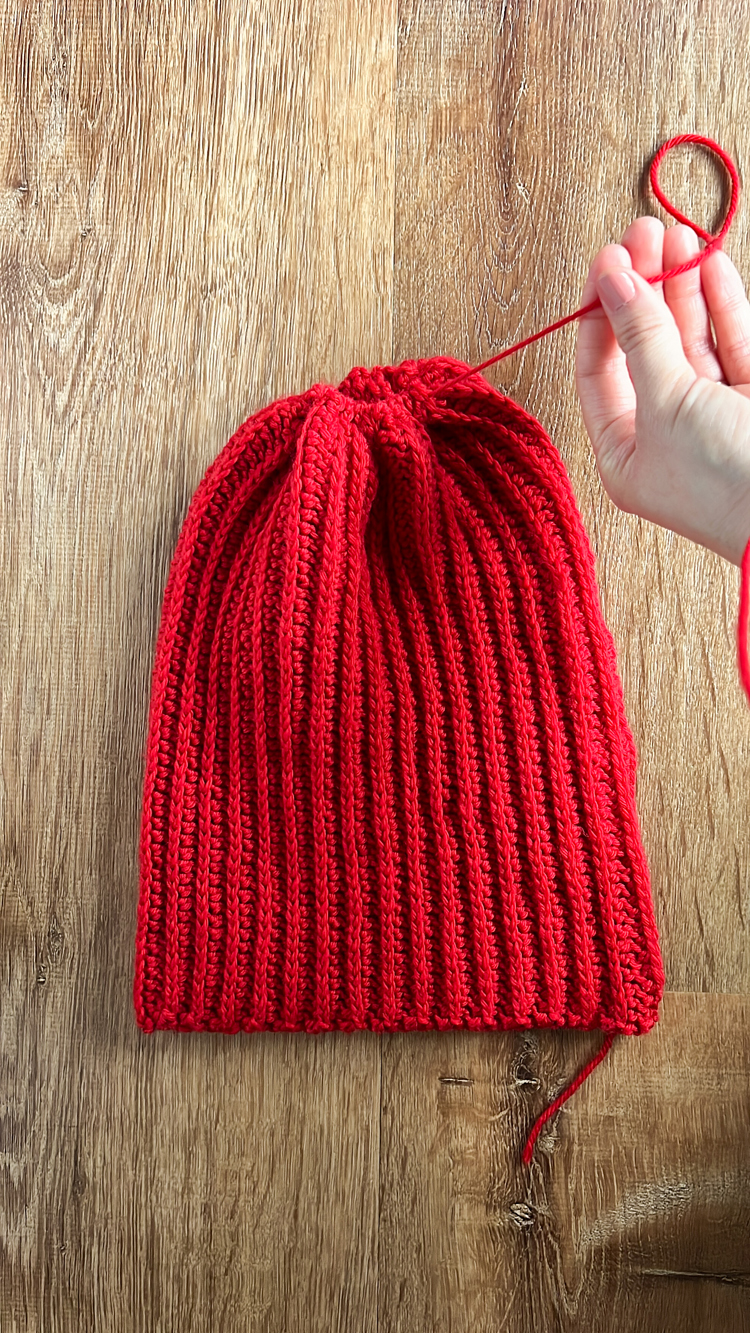
Then use your yarn needle to sew through the gathered end about a dozen times until it is secure and it looks how you want from the right side out. Then weave in the end for a few inches and snip off the excess.
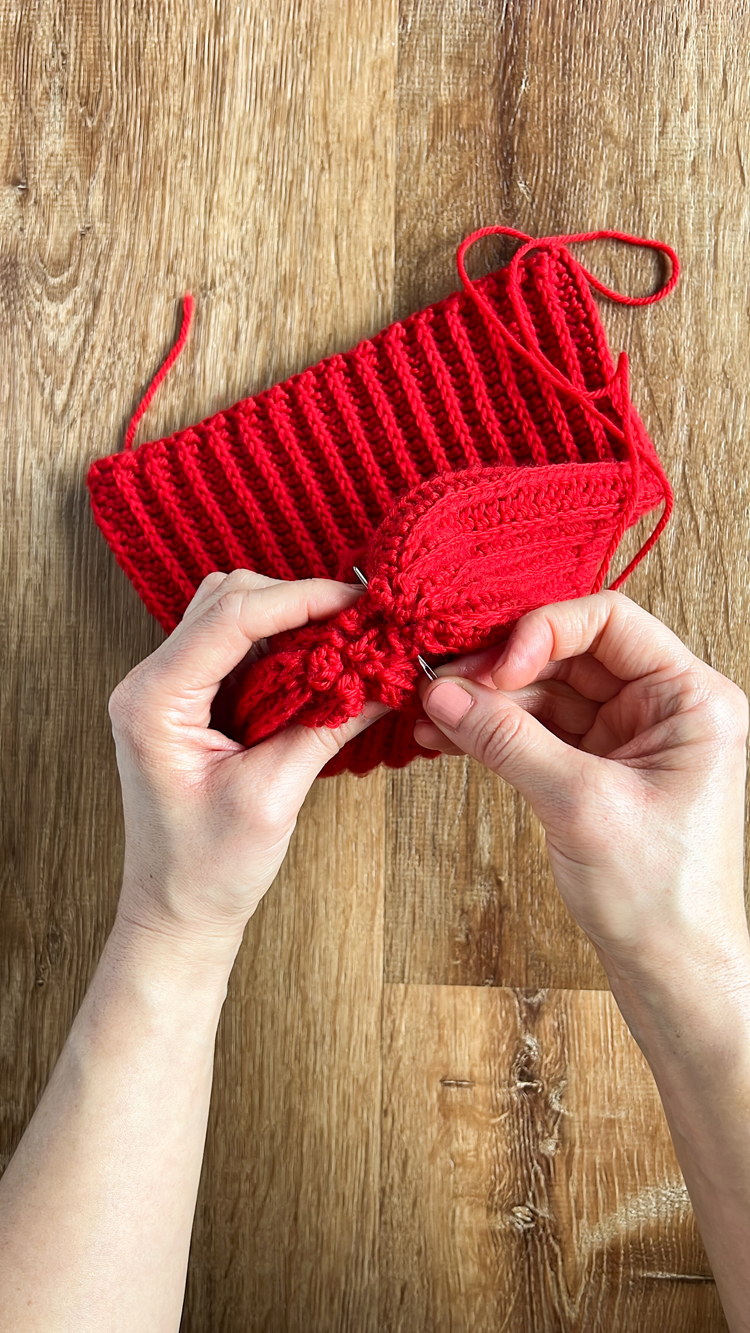
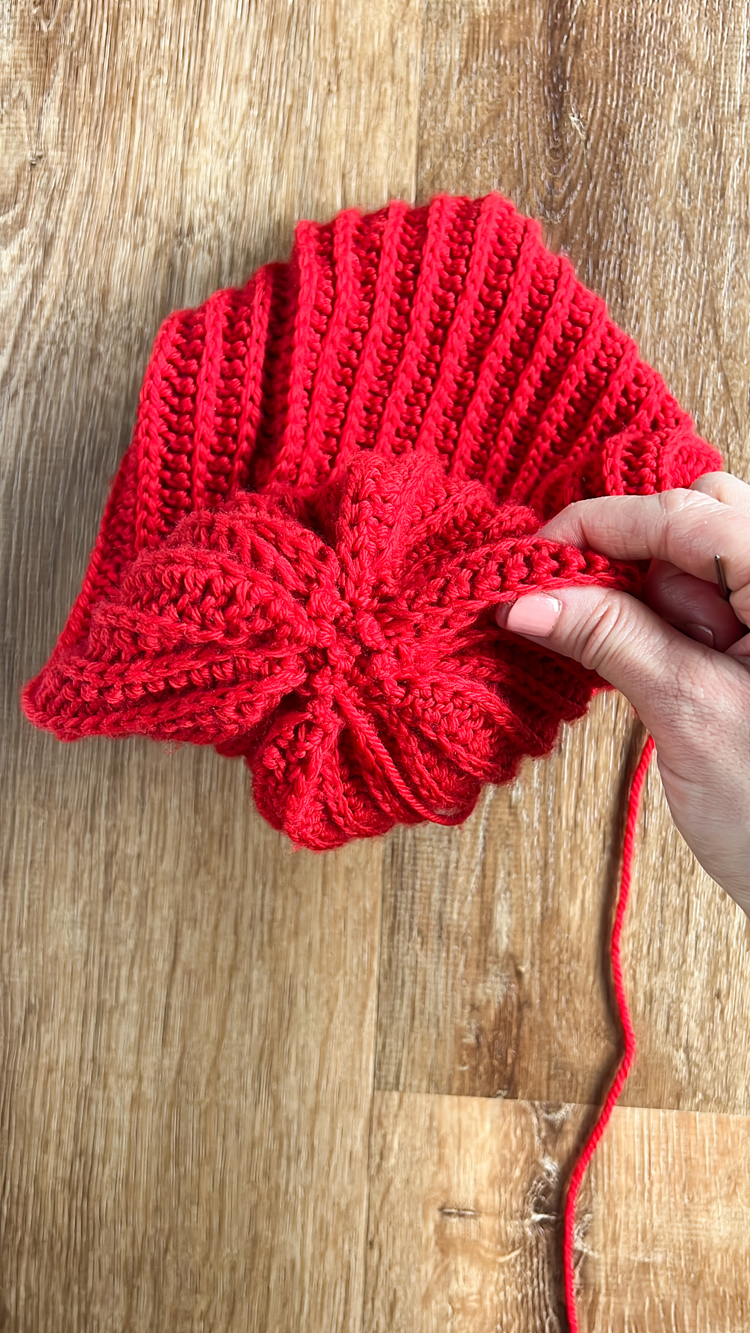
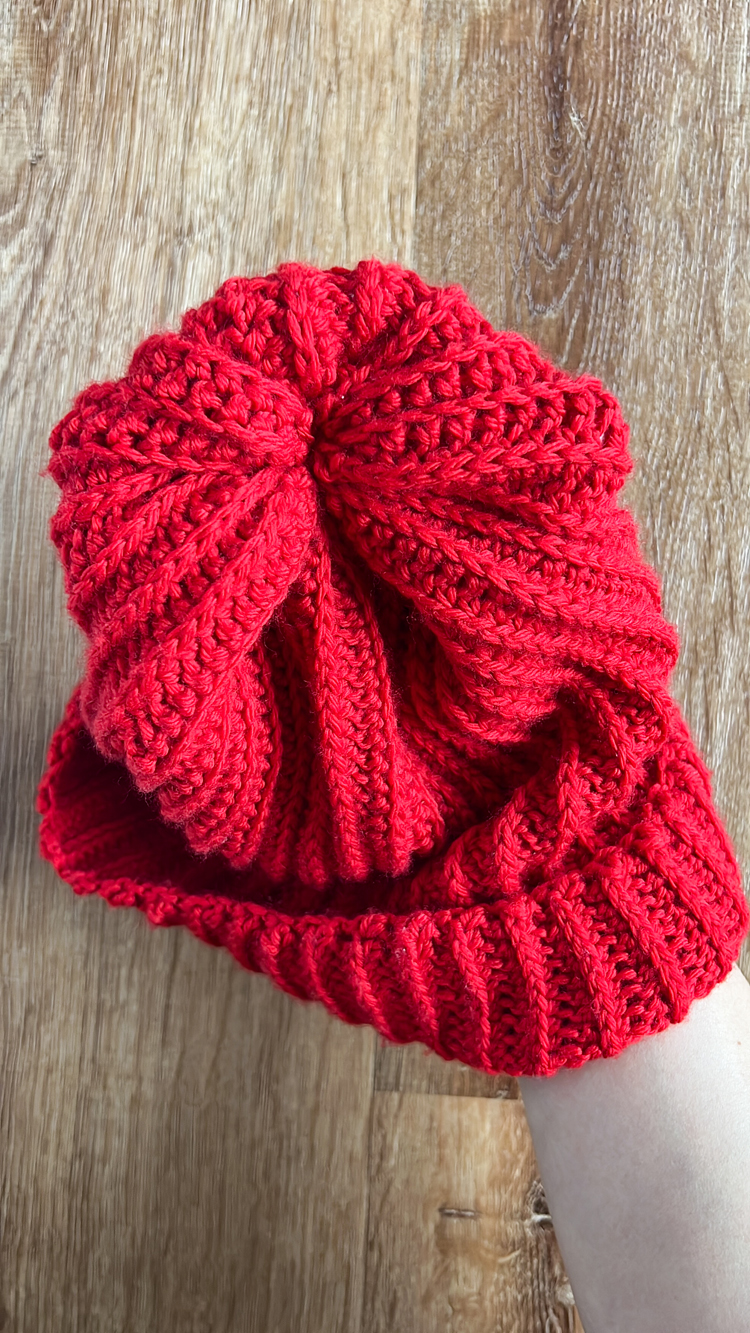
Weave in the other tail, using it to help you ensure that the brim of the hat is straight and even at the seam.
Then stretch and spread out the stitches to help the seam relax and to help the hat achieve the proper shape. Use your fingers to smooth out the seam and to help the extra “rib” lay straight.
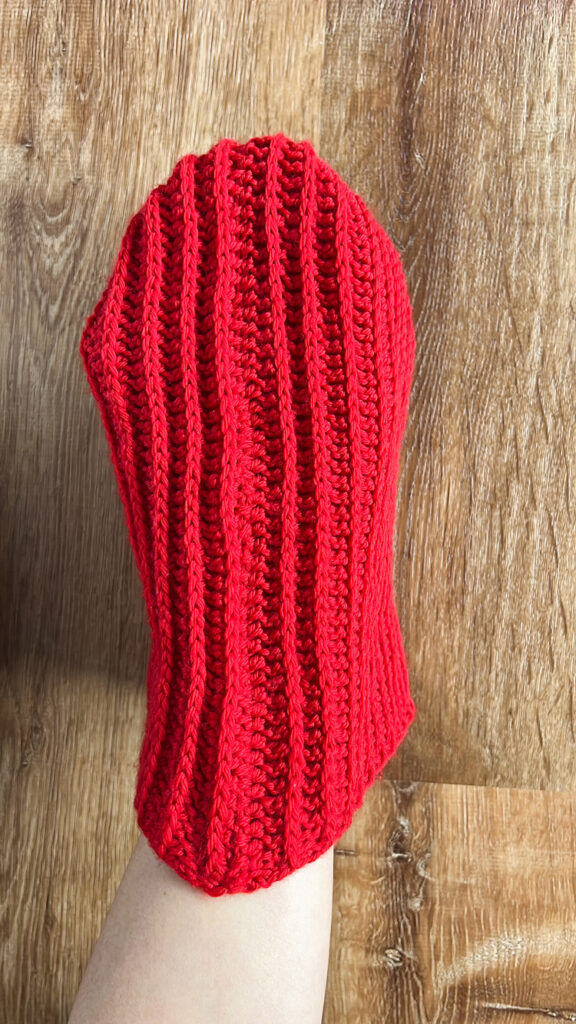
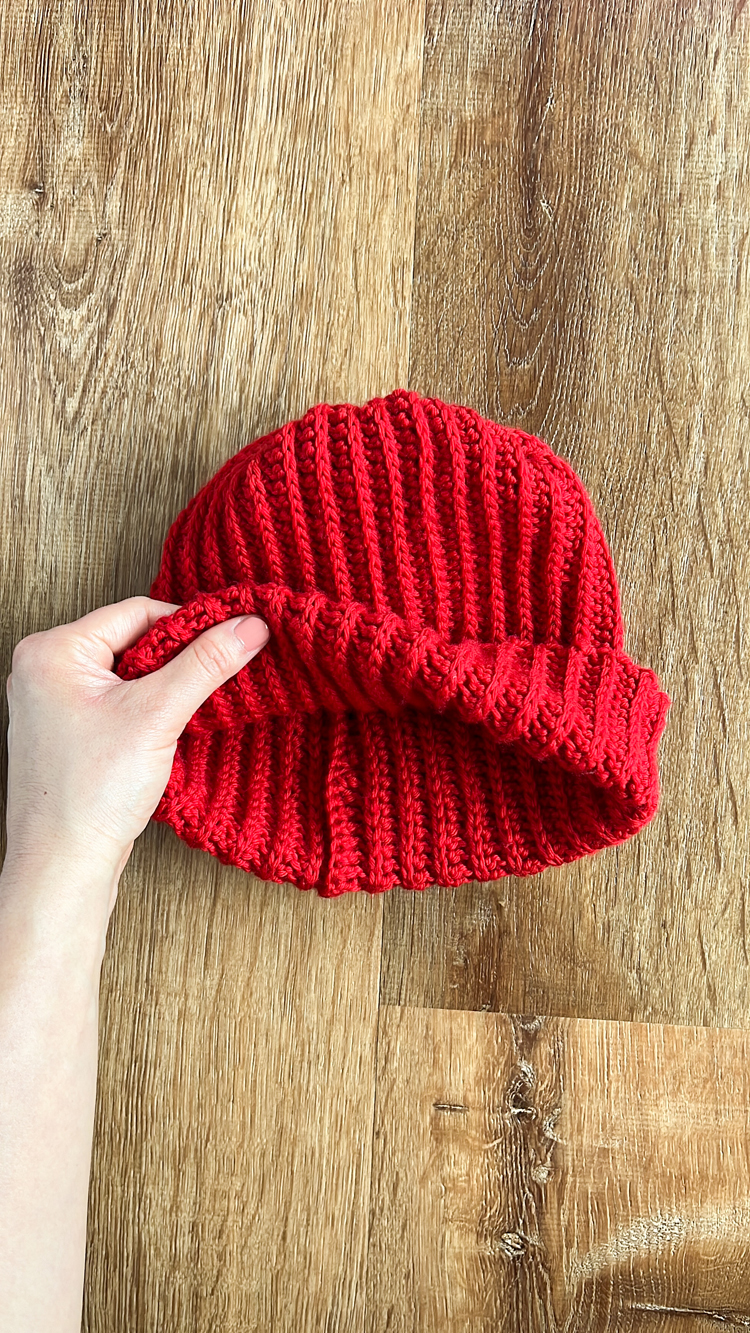
Fold up the brim, and you’re done!




Love how this stitch pattern looks! Ribbed crochet is always so pretty 😍
Thank you Abbey! <3
This cute ribbed beanie looks like a joy to crochet! Today I’ve featured your pattern on Crafts on Display, I hope you enjoy it, and keep up the amazing work! https://craftsondisplay.com/crochet/classic-ribbed-beanie-144713/