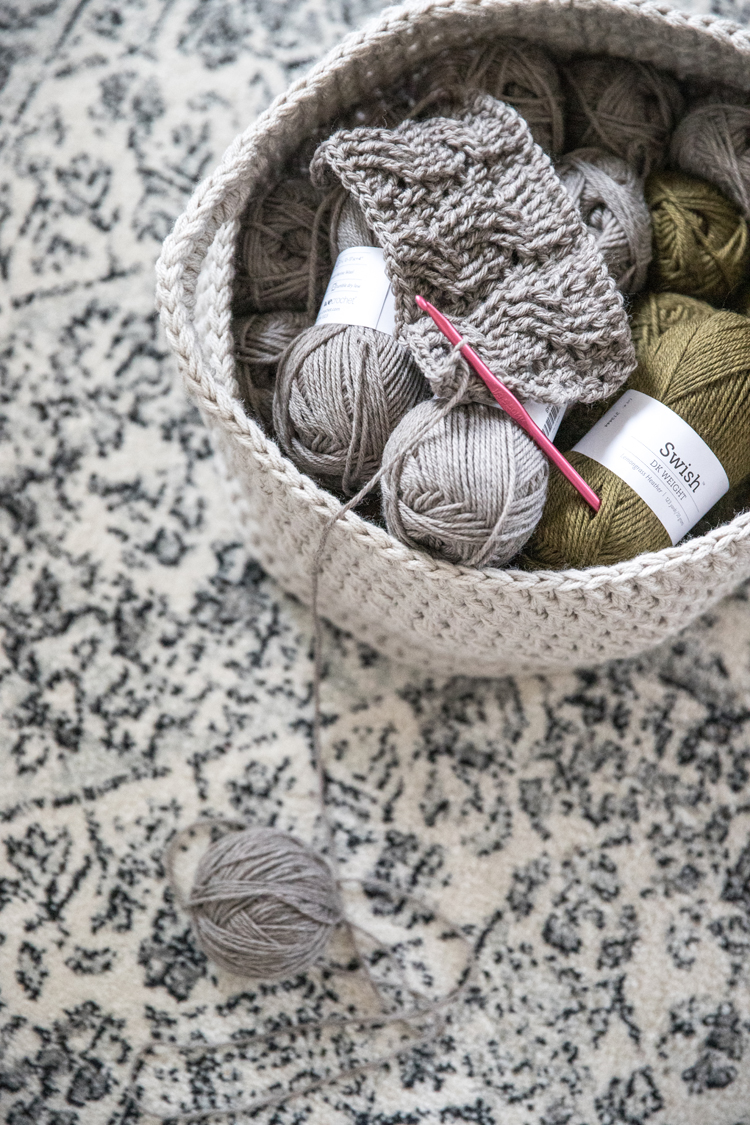
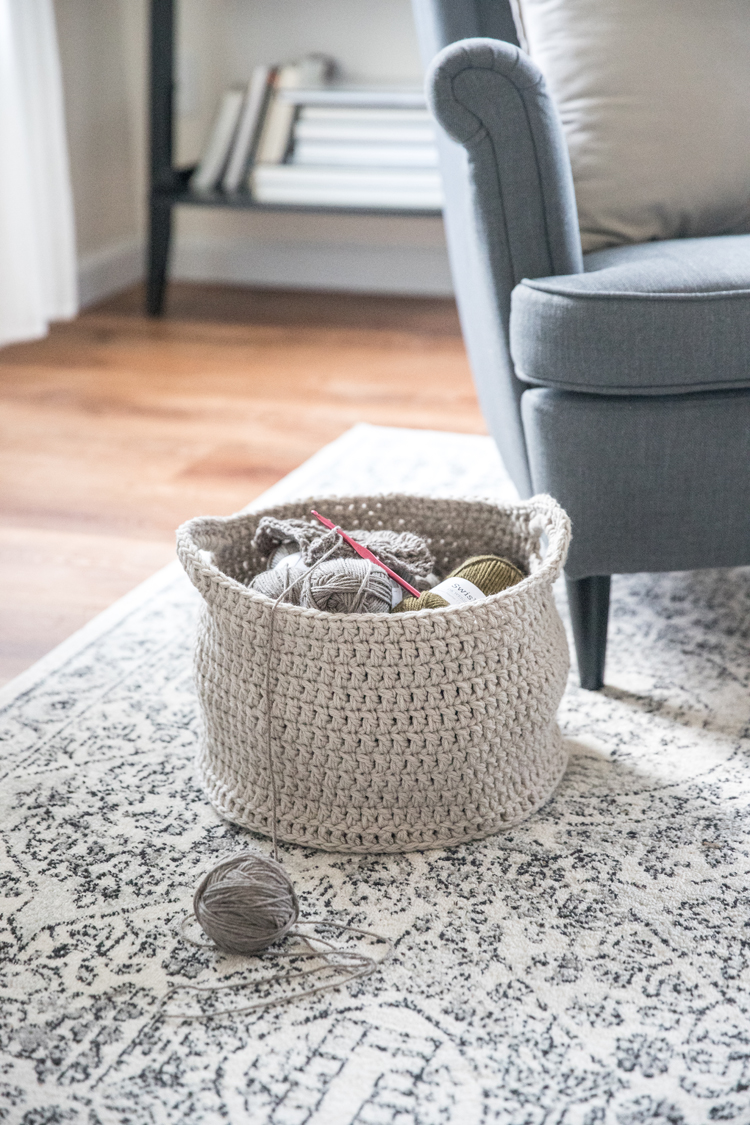
Would you believe I made each of these baskets for just $6?
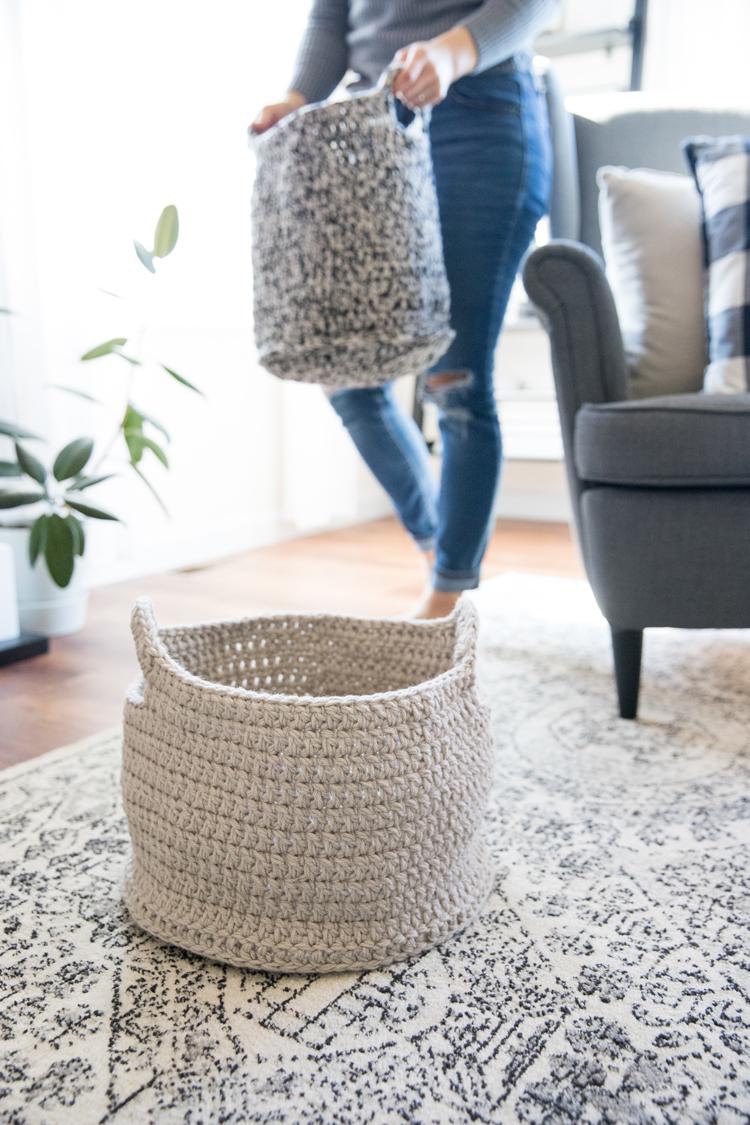
Gotta love it when a craft project doesn’t actually cost more than it would be to buy it finished. 😉
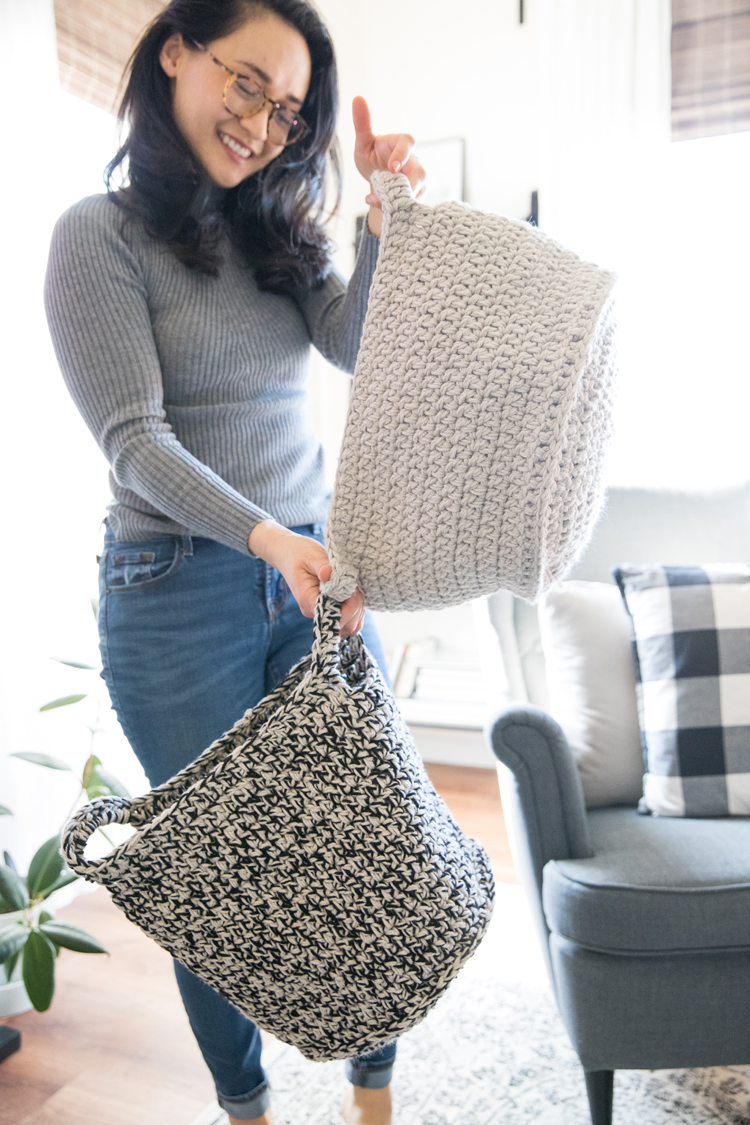
This is probably my favorite project from my Crochet Basics series, because it’s so practical too!
If you’re new to my Crochet Basics series, it’s a set of video tutorials that breaks down the basics of crochet for the utmost beginner. The first video shows you how to hold your hook, what yarn to use, and then the lessons progress through foundational stitches like chaining, single crochet, and double crochet; all the while showing you a fun project that you can make with each lesson.
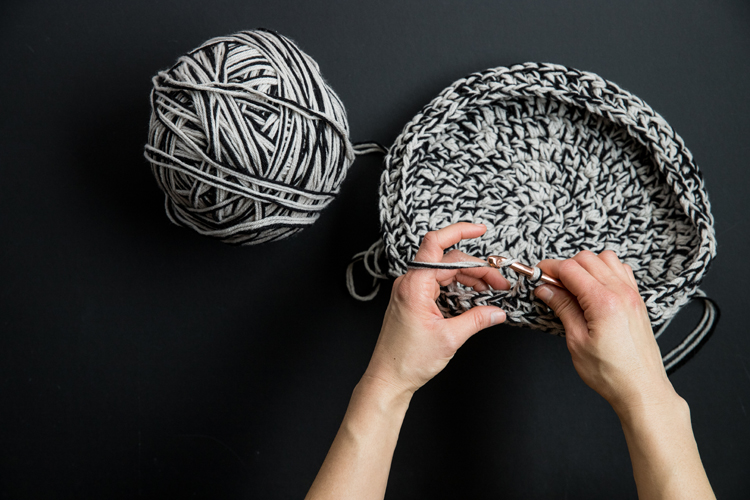
For this lesson, I teach you how to move from working in rows, to working in the round. Instead of sharing just one project though, I’m sharing three! Because working in the round opens up so many different project possibilities.
They all start the same and are even all worked in basic double crochet, but with three very different results:
- Basic beanie.
- Simple beret (which also includes decreasing).
- And this basket project!
If you have never worked in the round before, I suggest starting with the basic beanie post. The process, at least in the beginning, is nearly identical between all the projects, but I take a little more time to explain things in the beanie post and it’s the easiest project of the three.
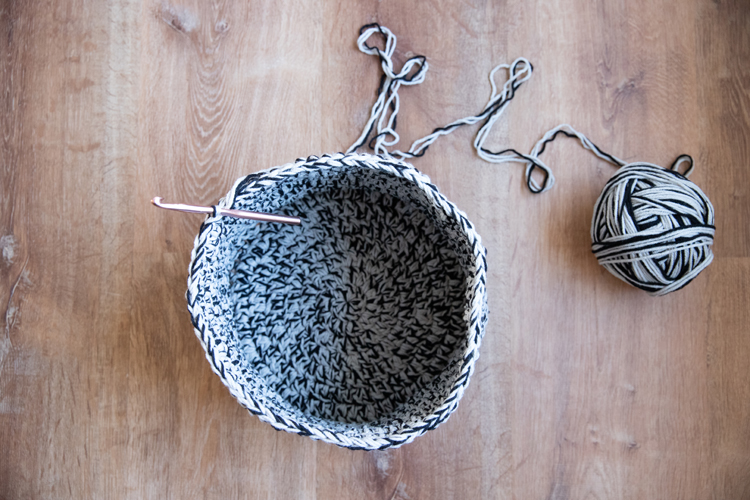
For these baskets, I have you working with three balls of yarn at the same time. Using three strands helps you fake a thicker yarn for a much smaller price tag (I got my yarn for $2 a ball!), and it creates a nice sturdy finish. It can be tricky managing all the strands together though, which is why I suggest you practice working in the round with a smaller project first, before tackling this one.
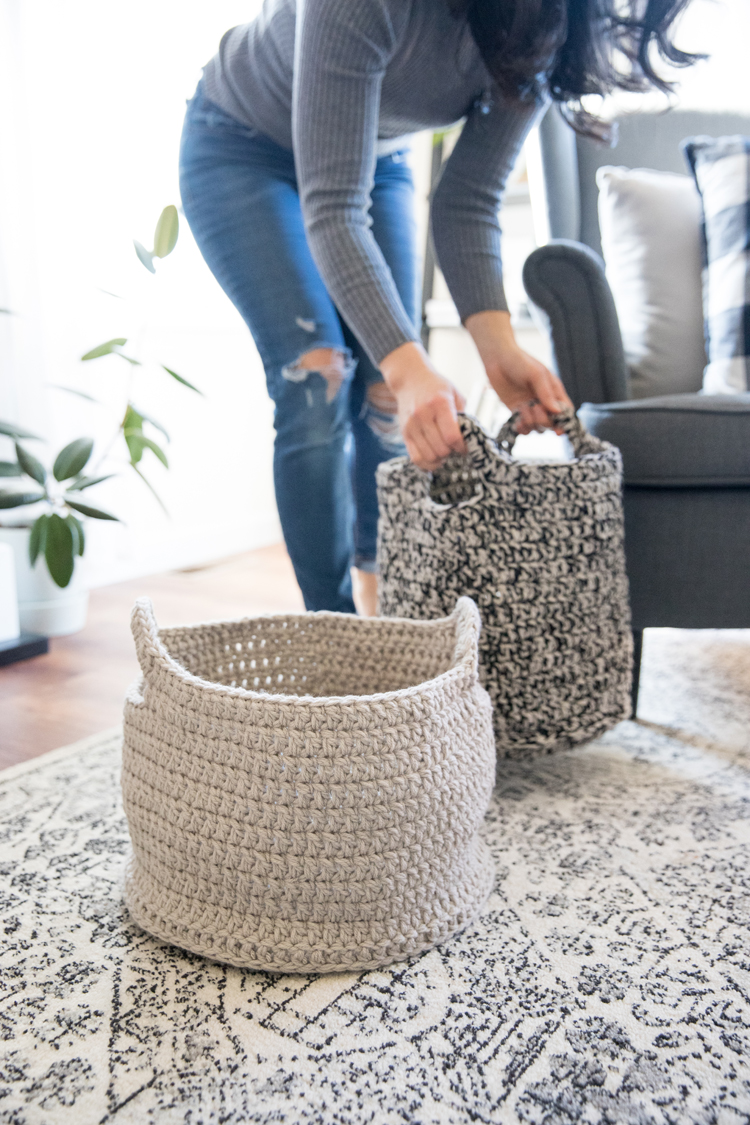
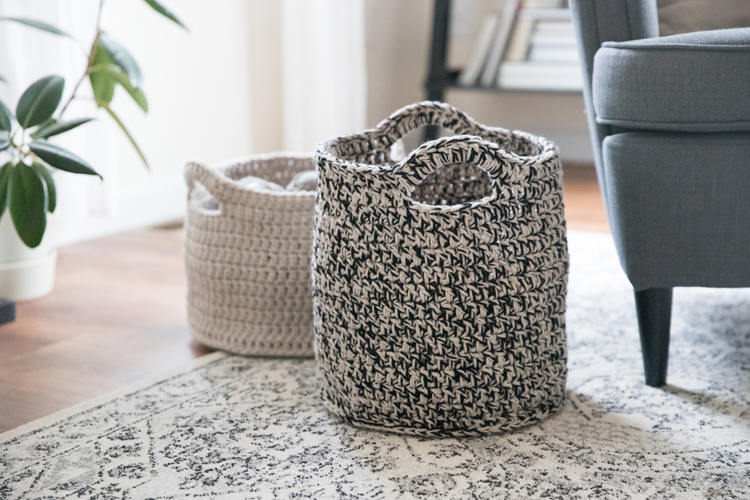
One interesting thing about these baskets, is that both sizes use about the same amount of yarn!
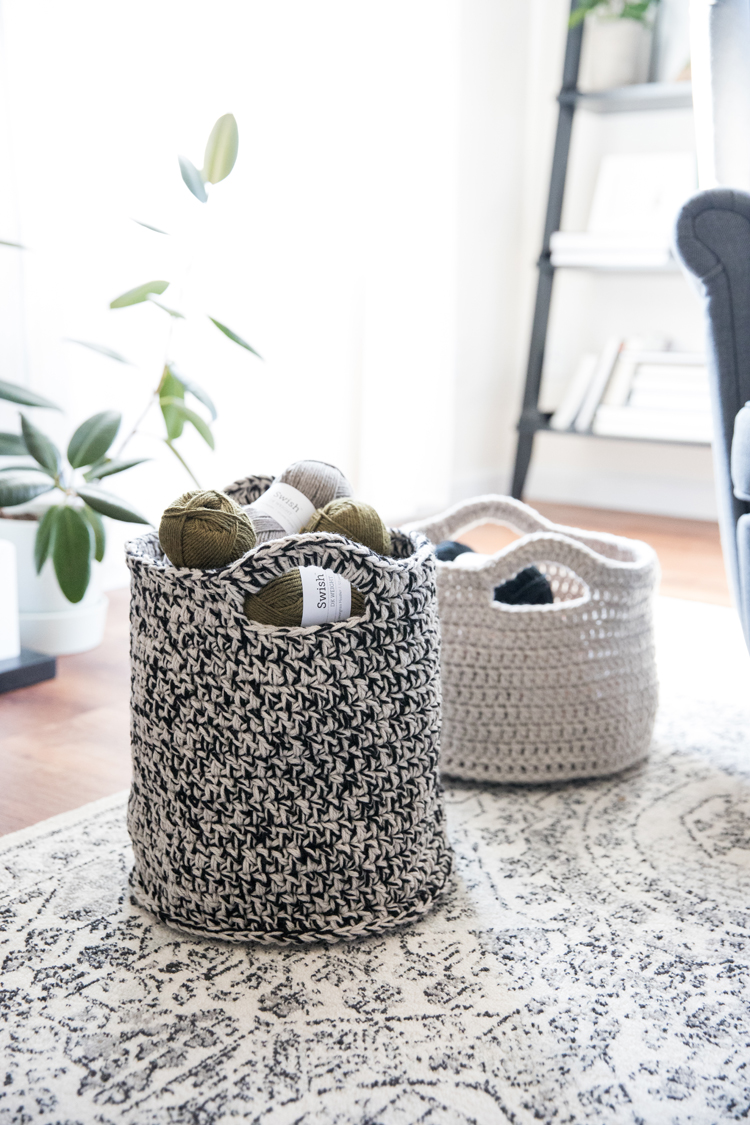
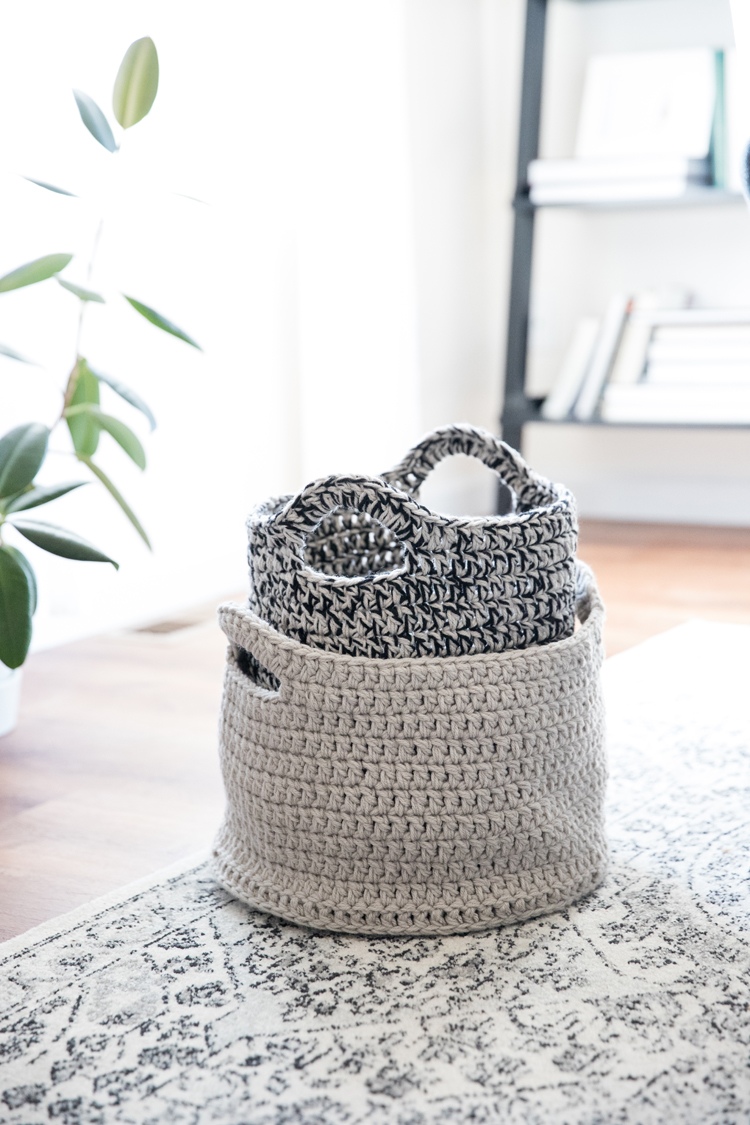
By making the base one round smaller, there is more yarn left to also make it taller, creating a different look and basket that can nest inside the wider basket.
Let’s get started.
Materials
- 3 balls of category 4 or worsted weight yarn, at least 280 yards for each ball
- N/15 or 10.00 mm hook
Materials Notes
- This is one project when using a cheaper yarn is better. You want it to be a little scratchy, stiff, and have no drape. As I explain in the first Crochet Basics post, within each yarn size, there is a spectrum of thicknesses and substrates. You want to try to steer clear of the softer, drapey-er yarns or your basket won’t hold up as well.
- Both the wide and narrow basket sizes use about the same amount of yarn. If you don’t want to have to tie in a new ball of yarn, make sure you get 280 yards for each ball.
- You can use the same color for all three strands, or mix it up for a heathered or marled look. For my mixed color basket, I used 2 balls of tan/putty grey and 1 ball of black yarn.
Abbreviations
- ch = chain
- dc = double crochet
- sl st = slip stitch
Gauge
4 x 4 inch square = 9 dc x 5 rows*
*Even though the baskets are worked in rounds, if you plan on making a test swatch, it is easier to do so in rows. For more information on gauge, see THIS POST.
Video Tutorial
Music credit: Pleasant Pictures Music Club.
Written Pattern
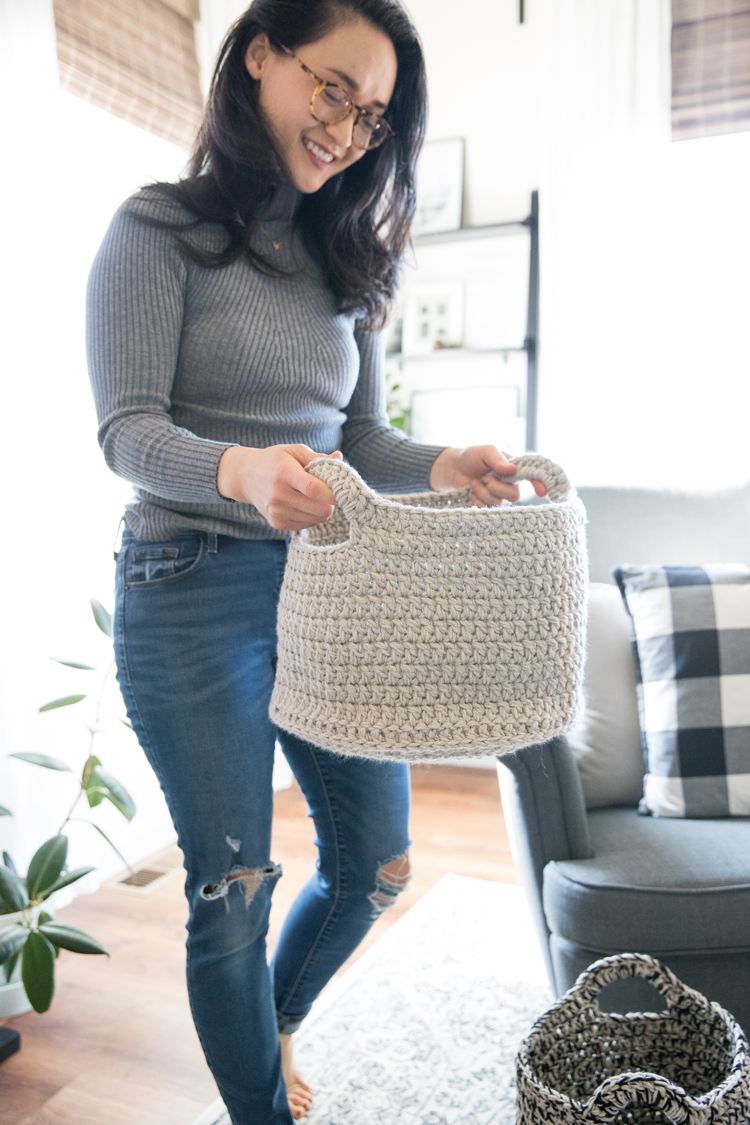
Wide Basket (tan)
Round 1: Magic Ring, ch 2, 9 dc in ring, sl st to top of ch 2. (Total stitch count = 10, including ch 2).
Round 2: Ch 2, 2 dc in next stitch, 2 dc in next 8 stitches, 1 dc at the base of ch 2, sl st to to the top of ch 2. (20)
Round 3: Ch 2, 2 dc in next stitch, * 1 dc, 2 dc in next stitch.* Repeat from * to * 8 times. Sl st to top of ch 2. (30)
Round 4: Ch 2, 1 dc, 2 dc in next stitch, * 1 dc, 1dc, 2 dc in next stitch.* Repeat from * to * 8 times. Sl st to top of ch 2. (40)
Round 5: Ch 2, 1 dc, 1 dc, 2 dc in next stitch, * 1 dc, 1dc, 1 dc, 2 dc in next stitch.* Repeat from * to * 8 times. Sl st to top of ch 2. (50)
Round 6: Ch 2, 1 dc, 1 dc, 1 dc, 2 dc in next stitch, * 1 dc, 1dc, 1dc, 1 dc, 2 dc in next stitch.* Repeat from * to * 8 times. Sl st to top of ch 2. (60)
Round 7: Ch 2, 1 dc, 1 dc, 1 dc, 1dc, 2 dc in next stitch, * 1 dc, 1 dc, 1dc, 1dc, 1 dc, 2 dc in next stitch.* Repeat from * to * 8 times. Sl st to top of ch 2. (70)
Round 8: Ch 2, 1dc, 1 dc, 1 dc, 1 dc, 1dc, 2 dc in next stitch, * 1 dc, 1 dc, 1 dc, 1dc, 1dc, 1 dc, 2 dc in next stitch.* Repeat from * to * 8 times. Sl st to top of ch 2. (80)
Base of basket complete. Remaining rows will create sides of the basket.*
Round 9: Ch 2, dc in posts from previous round. Sl st to the top of the ch 2. (80)
Round 10: Ch 2, dc in each stitch in the round. Sl st to the top of ch 2. (80)
Rounds 11 – 17: Repeat Round 10.
Round 18: Ch 2. Dc 15 times, ch 10, skip 9 stitches, work dc in 10th stitch from where left off/started ch 10. Dc 30 times. Ch 10, skip 9 stitches, work dc in 10th stitch from where left off/started ch 10. Dc 14 more times. Sl st to top of ch 2. (62 stitches, including ch 2, but not including 10 ch spaces/handles)
Round 19: Ch 2. Dc 15 times, work 13 dc in ch space, work dc around post of first stitch after ch space. Work dc under top two loops of same stitch. Work 30 more dc. Work 13 dc in next ch space, work dc around post of first stitch after ch space. Work dc under top two loops of same stitch. Work 14 more dc. Sl st to top of ch 2. (90)
Tie off and weave in ends. It helps to weave in each strand one at a time.
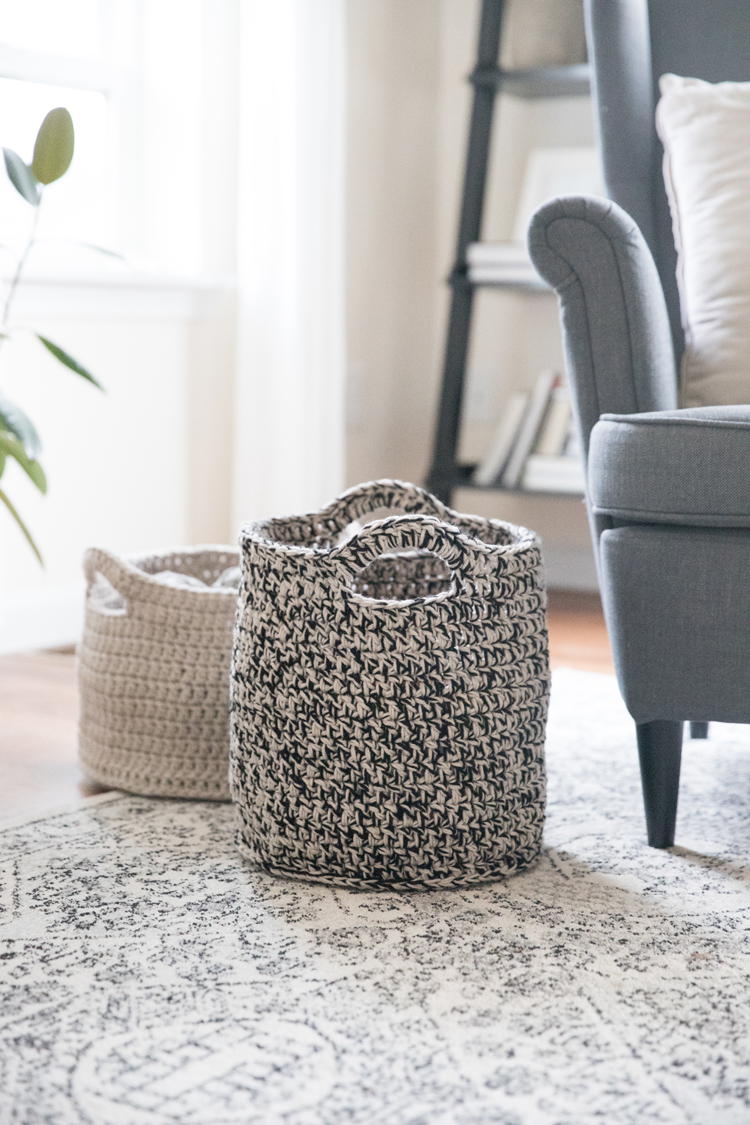
Narrow Basket (black and tan mix)
Round 1: Magic Ring, ch 2, 9 dc in ring, sl st to top of ch 2. (Total stitch count = 10, including ch 2).
Round 2: Ch 2, 2 dc in next stitch, 2 dc in next 8 stitches, 1 dc at the base of ch 2, sl st to to the top of ch 2. (20)
Round 3: Ch 2, 2 dc in next stitch, * 1 dc, 2 dc in next stitch.* Repeat from * to * 8 times. Sl st to top of ch 2. (30)
Round 4: Ch 2, 1 dc, 2 dc in next stitch, * 1 dc, 1dc, 2 dc in next stitch.* Repeat from * to * 8 times. Sl st to top of ch 2. (40)
Round 5: Ch 2, 1 dc, 1 dc, 2 dc in next stitch, * 1 dc, 1dc, 1 dc, 2 dc in next stitch.* Repeat from * to * 8 times. Sl st to top of ch 2. (50)
Round 6: Ch 2, 1 dc, 1 dc, 1 dc, 2 dc in next stitch, * 1 dc, 1dc, 1dc, 1 dc, 2 dc in next stitch.* Repeat from * to * 8 times. Sl st to top of ch 2. (60)
Round 7: Ch 2, 1 dc, 1 dc, 1 dc, 1dc, 2 dc in next stitch, * 1 dc, 1 dc, 1dc, 1dc, 1 dc, 2 dc in next stitch.* Repeat from * to * 8 times. Sl st to top of ch 2. (70)
Base of basket complete. Remaining rows will create sides of the basket.*
Round 8: Ch 2, dc in posts from previous round. Sl st to the top of the ch 2. (70)
Round 9: Ch 2, dc in each stitch in the round. Sl st to the top of ch 2. (70)
Rounds 10 – 20: Repeat Round 10.
Round 21: Ch 2. Dc 12 times, ch 9, skip 8 stitches, work dc in 9th stitch from where left off/started ch 10. Dc 26 times. Ch 9, skip 8 stitches, work dc in 9th stitch from where left off/started ch 9. Dc 13 more times. Sl st to top of ch 2. (54 stitches, including ch 2, but not including 9 ch spaces/handles)
Round 22: Ch 2. Dc 12 times, work 12 dc in ch space, work dc around post of first stitch after ch space. Work dc under top two loops of same stitch. Work 26 more dc. Work 12 dc in next ch space, work dc around post of first stitch after ch space. Work dc under top two loops of same stitch. Work 13 more dc. Sl st to top of ch 2. (80)
Tie off and weave in ends. It helps to weave in each strand one at a time.
*As I mentioned in the video, simply by turning the bottom of the base of the basket to face me as I worked the sides, either after the first side round, or right away, it created two different looking basket bottoms. Both are sturdy. Choose which look you prefer.
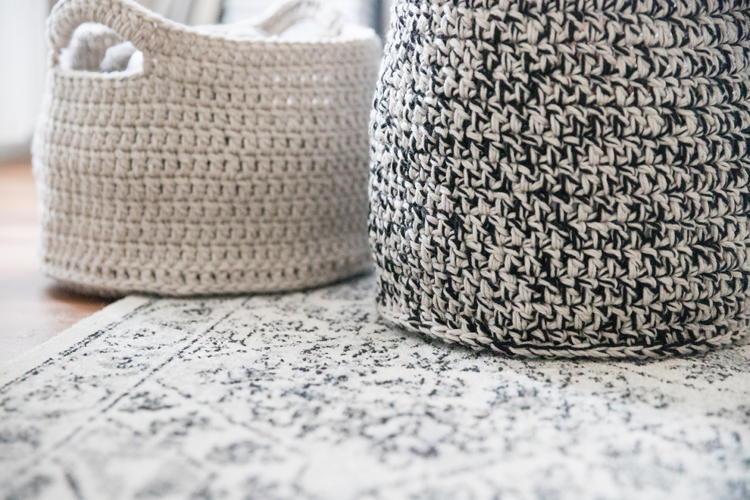
Done!
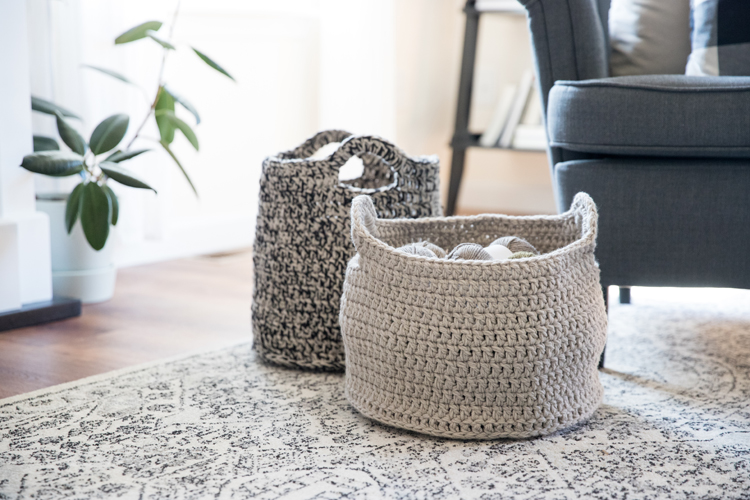
You have a nice flexible basket that can be folded up and put away when empty, but that will hold it’s own when filled up goodies.
To check out the other in the round projects for my Crochet Basics series, check out these posts:


Hi! I’ve been working on the basket and even though I’m following the instructions (using three worsted weight yarns and size 10.0 hook) my basket is super floppy. Should I try a smaller crochet hook? Is there something I can do to the basket afterwards to stiffen it? I’m actually almost done with it. Just trying to salvage my project- who knows what i did wrong! 🙂
A smaller crochet hook may help if you tend to crochet loosely. The best way to determine that is to check your gauge and make sure it matches the one listed in the pattern. If you want to email me [email protected] I would be happy to help you trouble shoot as well. If you can send me pictures, that can help me figure out what may be going on.
What are the actual finished sizes supposed to be?
Great question. The shorter, wider basket is approximately 13.5 inches wide by 10 inches tall. The taller basket is approximately 11.75 inches wide and 12.5 inches tall.
Mine was also pretty floppy. I think I chose too soft a yarn. At the very end, I did one extra row of single crochet around the top, pulling very tightly after each stitch. It tightened up the “brim” of the basket and helped a lot with the overall feel. I’m buying stiffer yarn for the next one. 🙂
That’s a great tip. Thank you for sharing!
Thank u for the lovely pattern and tutorials. I am a knitter and am trying to learn to crochet just so I can make these baskets?. What yarn dis u use?
Thank you Paige! I used Loops and Threads worsted weight yarn from Michaels.
How long did it take you to crank these out? I need several big baskets for an organization project and I’m just too cheap to buy $15 each or more baskets! Your instructions looks super doable for me, I’m still a beginner, but hats are easy now so these seem like they would be fine! Thank you for the economical idea!
That’s a good question! I’d say a 4-5 hours or an afternoon. Tightly working three strands together can cause hand fatigue, otherwise it probably wouldn’t take that long. I hope that helps. Let me know if you have any more questions. DM me on instagram: @deliacreates for a faster response.
Dear Delia, thank you for your videos! I have a problem finding the same tipe of yarn as yours because I am from Europe. Could you please tell me contents of your yarn for this project? I have some that are 100% acrylic and I am nit sure are they good for making this baskets?
Hi Bernarda,
That’s a great question. The yarn I am using for this project is also 100% acrylic. I hope that helps!
Delia
I have tried undoing the circle for bottom with chunky yarn just because I had some but it is not laying flat! Your tutorial in some cases says ch 2 1 dc, 1dc,1dc in the next stitch! Is that all these stitches in same stitch? Confused!!!
I’m sorry for the confusion. Were you able to watch the video? That can help clear up a lot of confusion. If that wasn’t helpful, I would be happy to trouble shoot with you via direct message on instagram. I’m @deliacreates over there. I also respond a lot faster on instagram (sorry for my delayed reply here).
I can’t see a video on the page! Is there a specific link for it that you could share for clueless techies like me?
It should have popped to the side of your screen if you’re viewing it on a desk top or to the top of your screen on a mobile device. It plays an ad first before the tutorial so sometimes people confuse it for an ad and they close it. If that happens, refresh the post and it should pop back up. If that doesn’t apply to you, then my next question would be if you implement some kind of ad blocker. My ad company hosts my videos for me, so if there is an ad blocker, the video will not show. If neither of these things apply, I will do my best to get to the bottom of the problem. Please email me: [email protected] and I will work on it. Sorry for the issues!
If you’re brand new to crochet like myself, MAKE THE TEST SWATCH. I assumed that my gauge was somewhere near normal because my process felt nice and the stitches were even and orderly, but my basket was turning out super floppy. Eventually, even though I was two thirds of the way through, I decided to frog it and start over (and let me tell you, undoing three balls at the same time took literally HOURS), but ultimately I was so glad that I did because it turns out that I needed to be using a 5.5mm hook instead of the 10mm. Thankfully, at the end of all that, I have a beautiful and satisfying basket to be the culmination of working through this series! Thank you so much, Delia for making these tutorials!
Maria, I am so happy you commented. Your advice is spot on and so needed! I’m so glad that changing the hook helped you get the proper gauge and a beautiful basket! (So sorry for how painful frogging several strands was though. I have been there. It’s no fun!)
Hi Delia
Question: I’m working on the narrow basket. Confused about step 8
What do you mean by DC in posts from previous round.
DC around the post or in the top of the previous round
Hi Andrea,
So sorry I just saw your comment. I’m quicker to reach by Instagram DM (@deliacreates). So the “posts” are the shaft of the dc below the top two loops. That is what you want to work around just for the round when you turn to start the sides of the basket. The video helps support the written pattern in explaining/showing this a little better. Does that answer your question?
Delia