This is lesson two in my Crochet Basics series: How to single crochet!
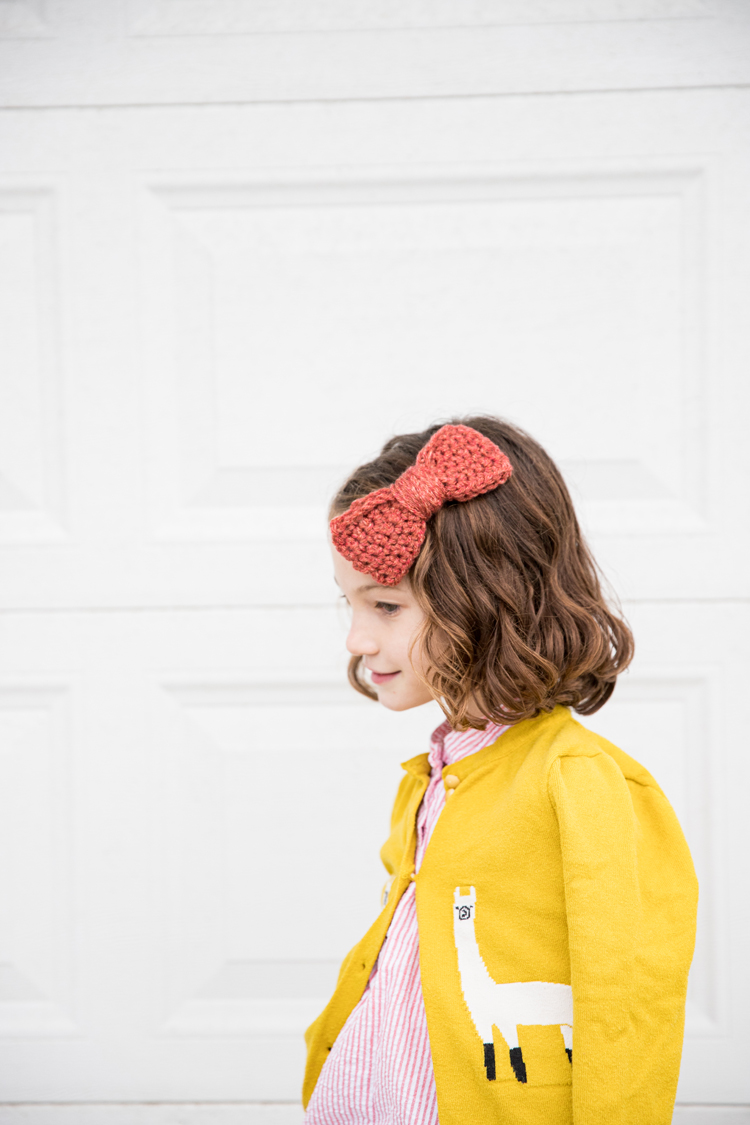
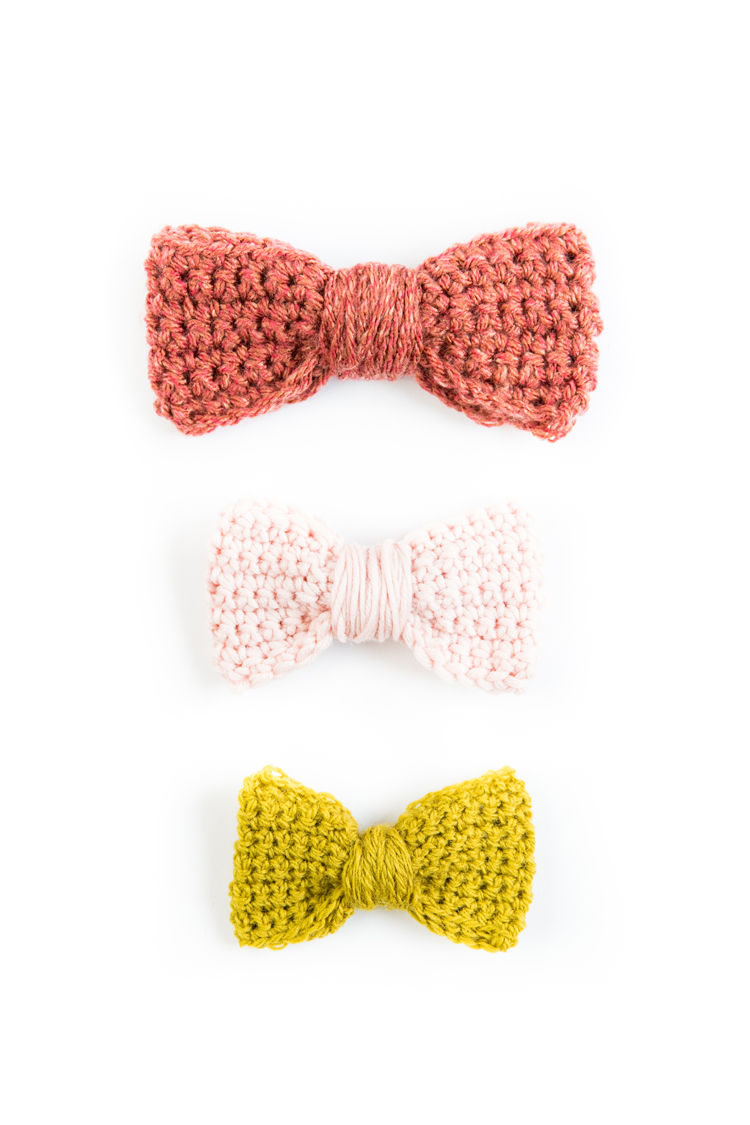
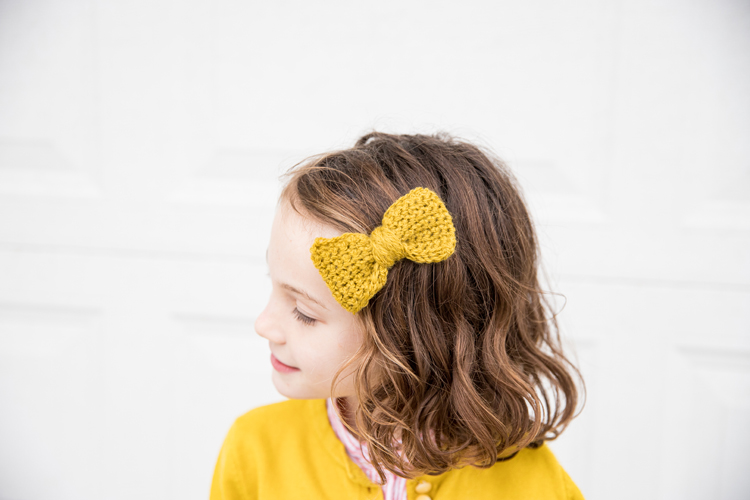
After you learn this stitch, I show you how to make a cute bow in almost any size, that works great as a hair bow or a bow tie.
This project builds upon the first lesson: How to chain stitch. So, if you missed that one, be sure check it out.
It also shows you how to choose the right hook and yarn, and gives you all the information you need to get started.
This post includes:
- Lesson 2 Crochet Basics video: How to single crochet + bow tutorial.
- Bow Patterns and how to make them in different sizes.
- Bow Tie Option.
Let’s get started!
How To Single Crochet + Bow Tutorial
Materials
- I/9 or 5.50 mm hook
- Worsted Weight or Category 4 yarn
- yarn needle
- glue
- scissors
Note: This is the materials list to make the red bow in the video. For the smaller bows and for the bow tie option, refer to the sections further down in the post.
Single Crochet Video
Click play for lesson 2!
Bow Patterns + How to Make Them in Different Sizes
Below are the written patterns for each bow featured in the video. But before we get to that, a few things:
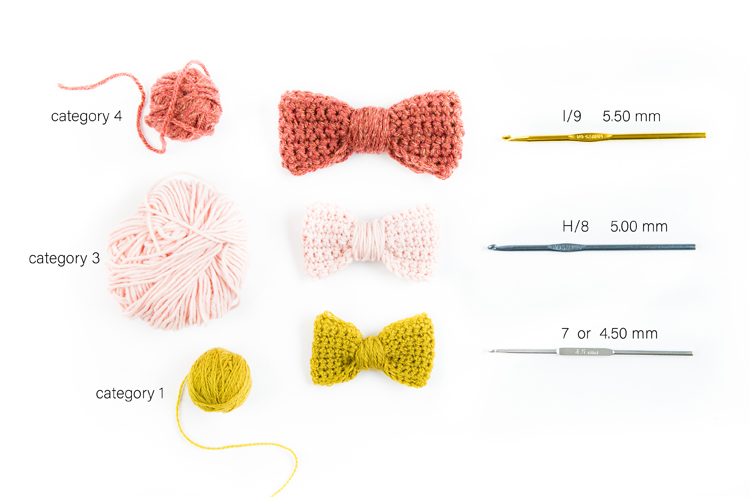
Change Hook and Yarn Sizes
The cool thing about this project is that you can change the size of your bow simply by changing your hook size and yarn size!
You also have to adjust the number of rows to get the proportions correct. Other than that, the pattern for each bow is the same. The smaller the hook and yarn, the more rows you work. That’s it!
Pattern Notes
As I explained in the video, I’ve altered my technique over the years so that it is different than traditional crochet techniques. I start rows of sc with one chain instead of two. I also work the first stitch from the hook in a new row, instead of skipping the first stitch, because it makes for a better, less loopy/wonky, square. You may notice that in some of my older patterns, I still use traditional methods because I felt that “I had” to follow those rules. Now, I say, do what makes sense!
PATTERN READING TIP: At the end of each row in the pattern, you will see a number in parentheses. Like this —> (30). This indicates the number of stitches you should have worked in each row. I like to include the starting chain as a stitch, so that number includes the chain at the beginning of each row as well.
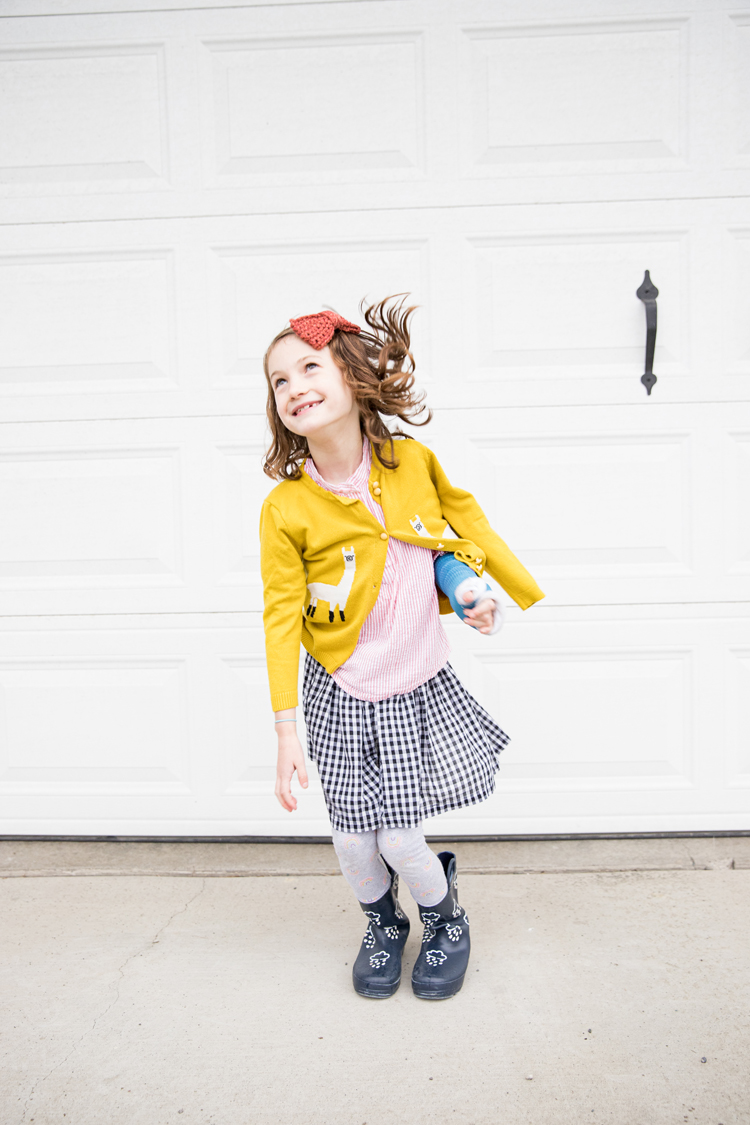
Bow Patterns
Abbreviations
- ch = chain
- sc = single crochet
*For more information about pattern abbreviations, see Lesson 1.
Gauge
I am not going to include gauge for this project since sizing is flexible and it doesn’t really matter in this case. My goal for this project is to get you experiment with your yarn and hook sizes, which makes the gauge variable anyway. If you’re wondering what gauge is, the first Crochet Basics post explains gauge in greater detail.
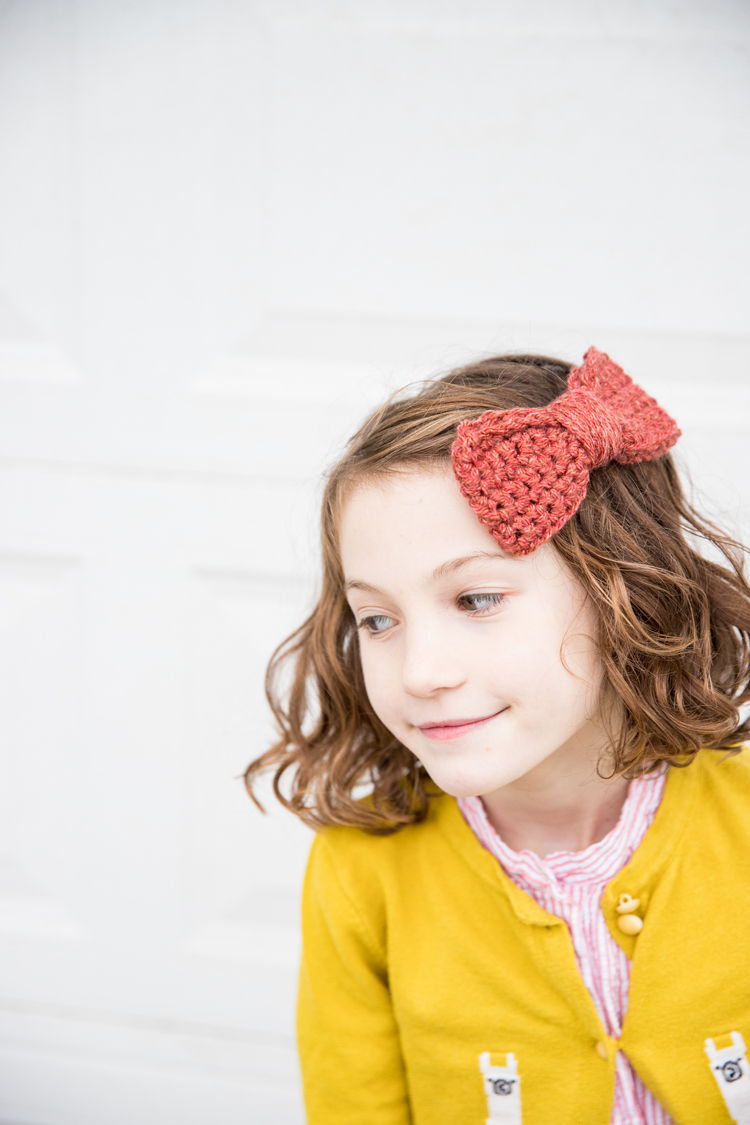
Red Bow
- Worsted Weight, Category 4 yarn
- I/9 or 5.50 mm hook
Ch 30, turn.
Row 1: Sc in second ch from the hook. Sc in the rest of the chains 28 times. (30 total stitches, including first ch 1)
Row 2: Turn. Ch 1. Sc in first stitch from the hook and in each remaining stitch in the row. (30)
Rows 3 – 7: Repeat Row 2.
Tie off, leaving a very long tail…about 2 yards long. Total Rows = 7.
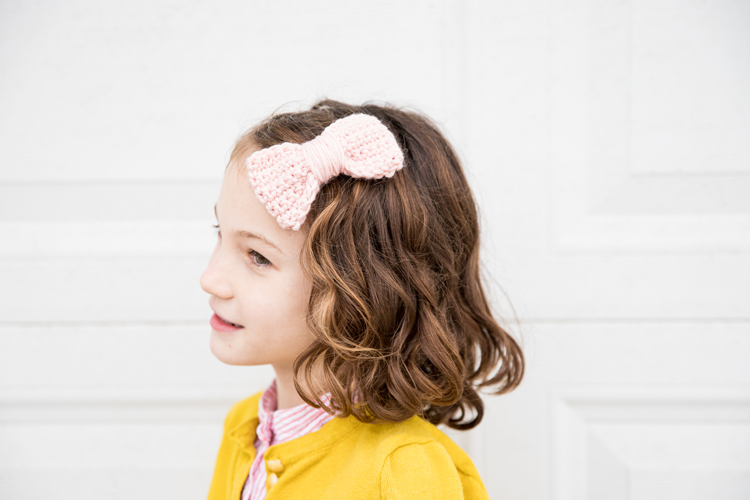
Pink Bow
- DK or Category 3 yarn
- H/8 or 5.00 mm hook
Ch 30, turn.
Row 1: Sc in second ch from the hook. Sc across the rest of the 28 chains. (30, including first ch 1)
Row 2: Turn. Ch 1. Sc in first stitch from the hook and in each remaining stitch in the row. (30)
Rows 3 – 9: Repeat Row 2.
Tie off, leaving a very long tail…about 2 yards long. Total Rows = 9.
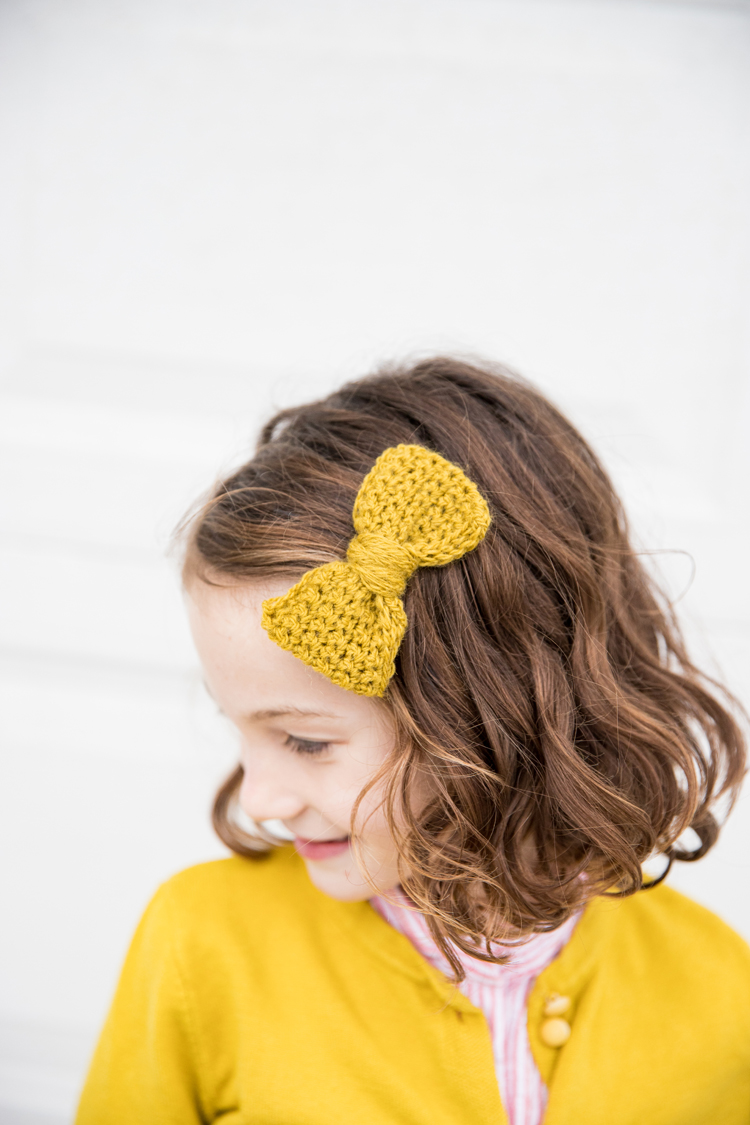
Yellow Bow
- Fingering or Category 1 yarn
- 7 or 4.50 mm hook
Ch 30, turn.
Row 1: Sc in second ch from the hook. Sc across the rest of the 28 chains. (30, including first ch 1)
Row 2: Turn. Ch 1. Sc in first stitch from the hook and in each remaining stitch in the row. (30)
Rows 3 – 11: Repeat Row 2.
Tie off, leaving a very long tail…about 2 yards long. Total Rows = 11.
Play around with yarn and hook sizes, and vary the number of rows to suit your preference. Make a bow any way you like! There is really no wrong way to do this.

Bow Tutorial
Thread the tail onto a yarn needle. Fold the crocheted rectangle in half with short ends together and whip stitch together, creating a loop. Open up the loop and press it flat with the seam at the center.
Remove the needle, and wrap the the long and short tail (from the beginning) around the center of the bow. Wrap until you get the center to look how you want.
Knot off the tail in the back of the bow, cut off any excess, and then tuck the end in with your crochet hook. The video shows this better than I can explain it.
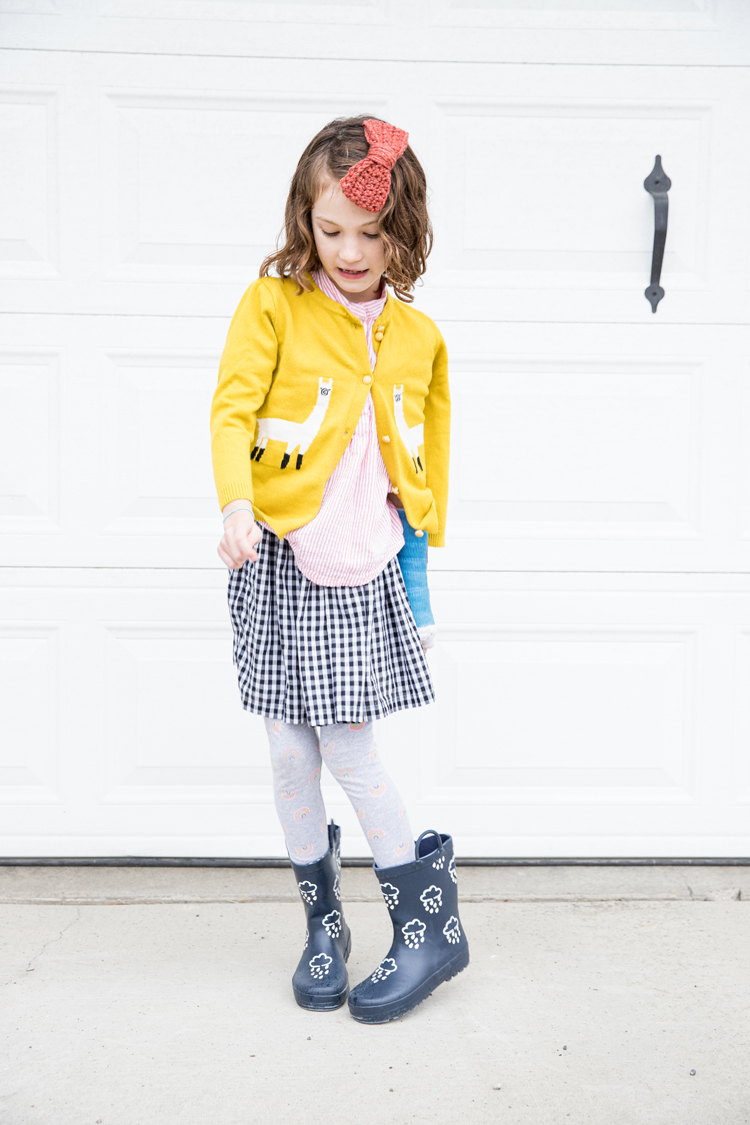
To Make a Hair Bow…
Add a clip to the back and secure it with glue like I show in the video.
Or add a bow tie strap!
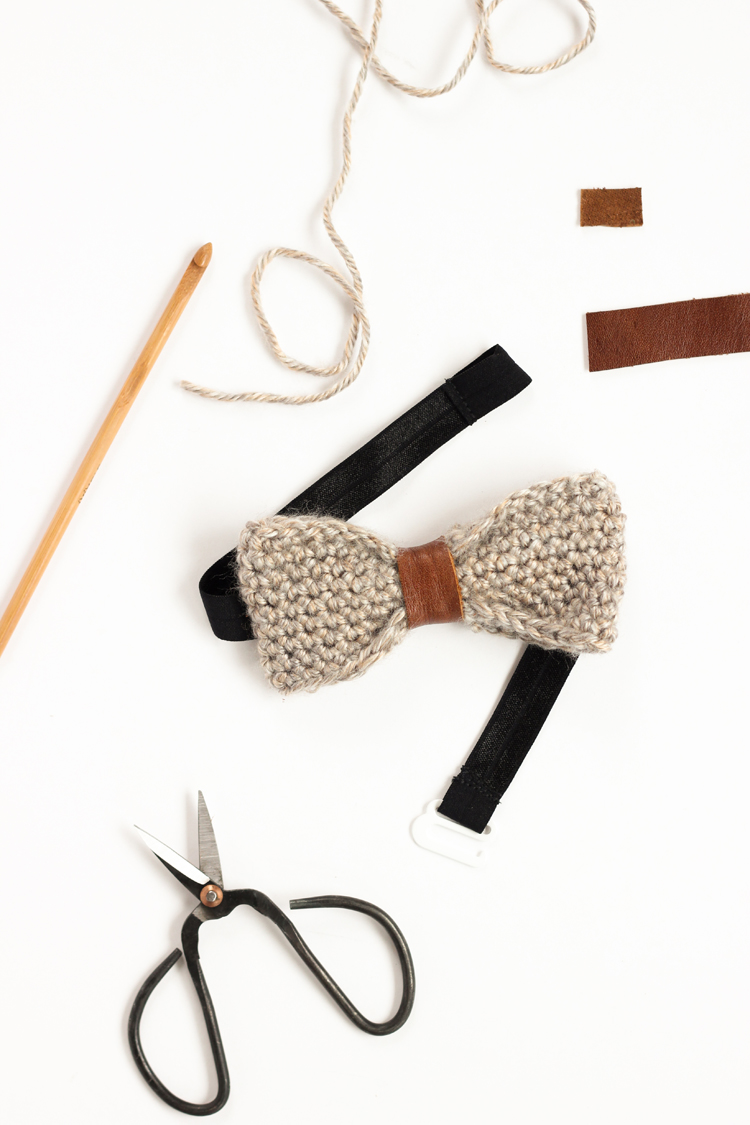
Bow Tie Option
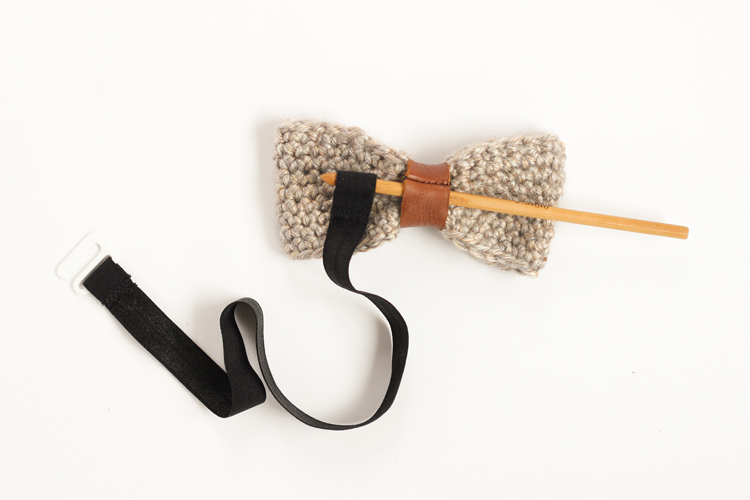
I have another Crocheted bowtie pattern that shows you how to make a bow very similar to these patterns. It has a much tighter gauge and I used leather to wrap the center. It is also worked in a looped row, which I won’t be covering until the next lesson.
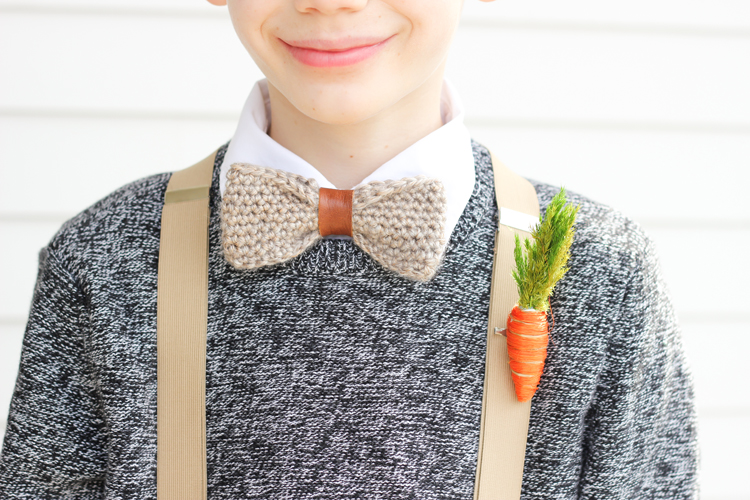
You can use that pattern if you want, or work up a bow in any size using this tutorial and then follow that post for the bow strap instructions.
CLICK HERE for the bow tie tutorial.
This concludes lesson two.
I’ll be taking a break next week for the Makers Retreat – woot! But I’ll be back in mid-November with Lesson 3: How to Double Crochet.


So cute!! I want to make some of these!
Thanks Dana!
Hi, I am unable to find the link for lesson two. The highlighted words above do not contain a link.
Thanks!
I’ll add that now. Thanks for bringing that to my attention. 🙂 Here is the next lesson for your convenience: https://www.deliacreates.com/crochet-basics-how-to-single-crochet-crochet-bow-tutorial/