I finally checked something off my someday list! (happy dance)
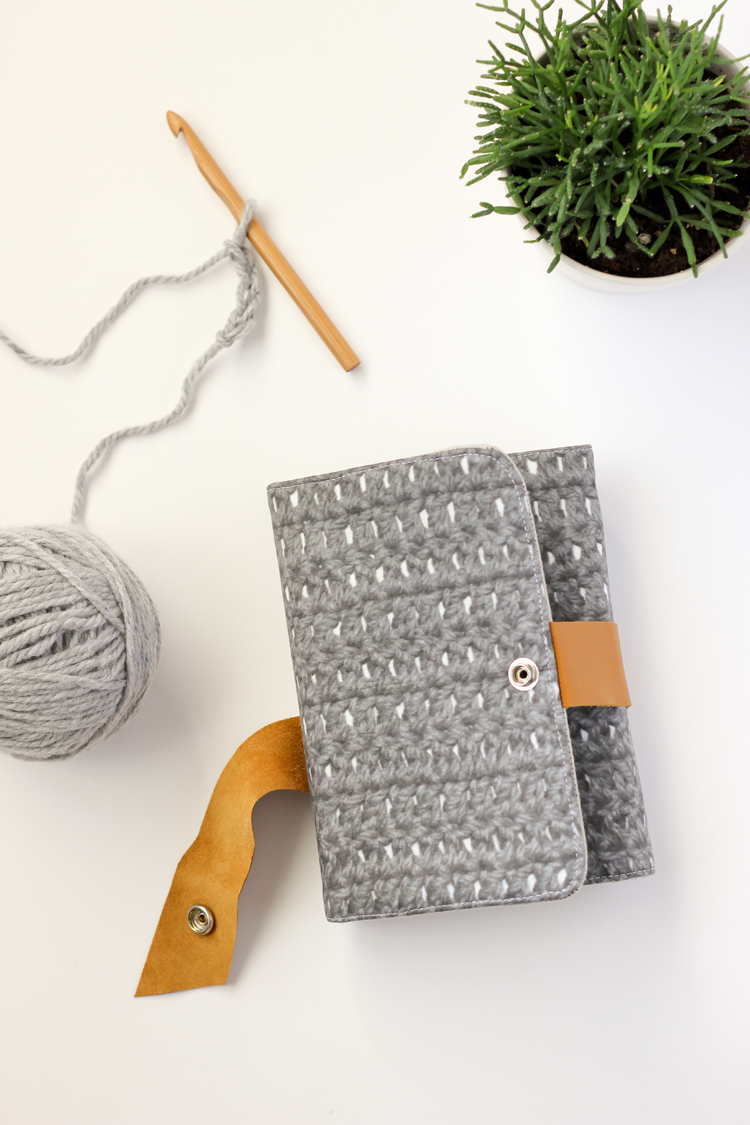
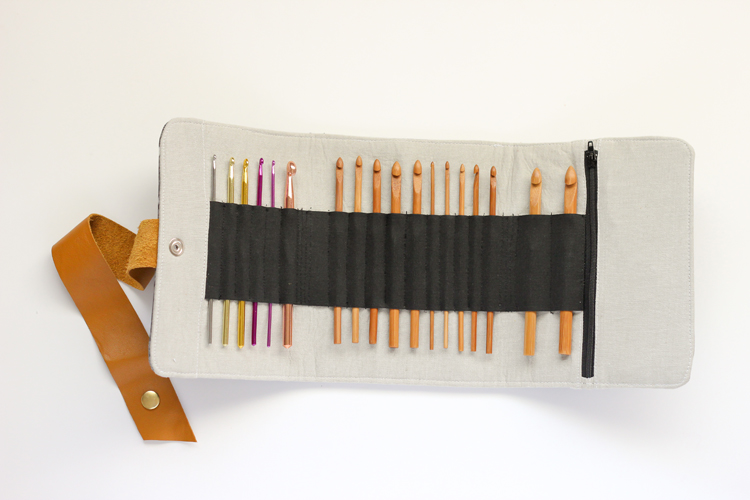
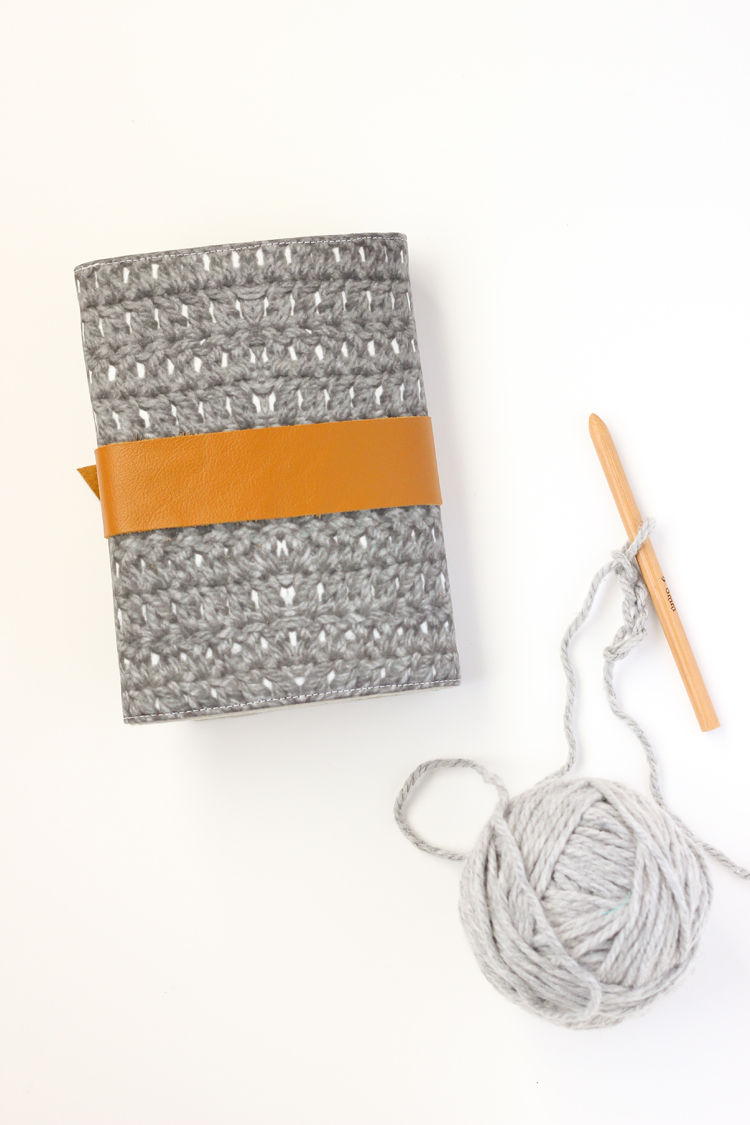
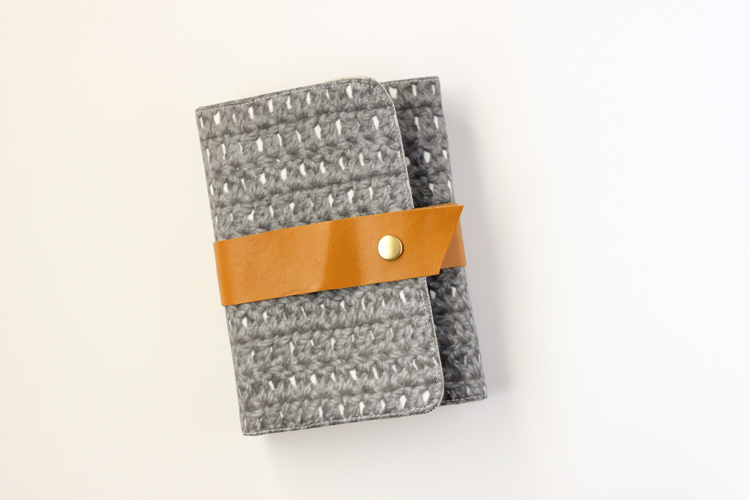
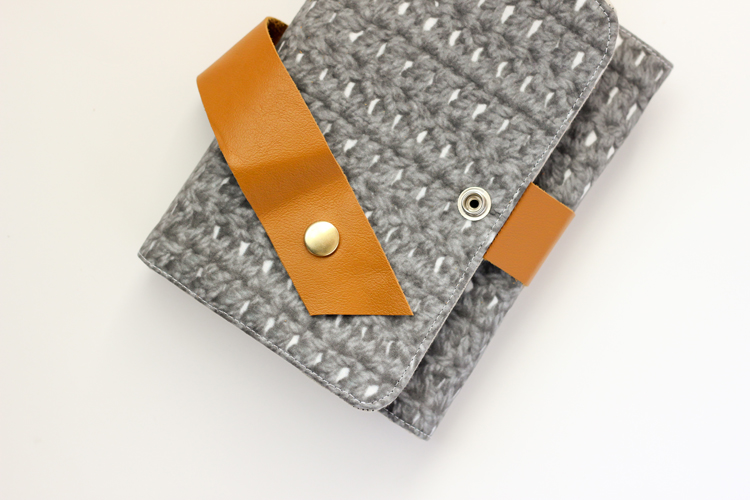 I made a case for my crochet hooks, so I can more easily take my crochet projects on the road with me when we travel this summer.
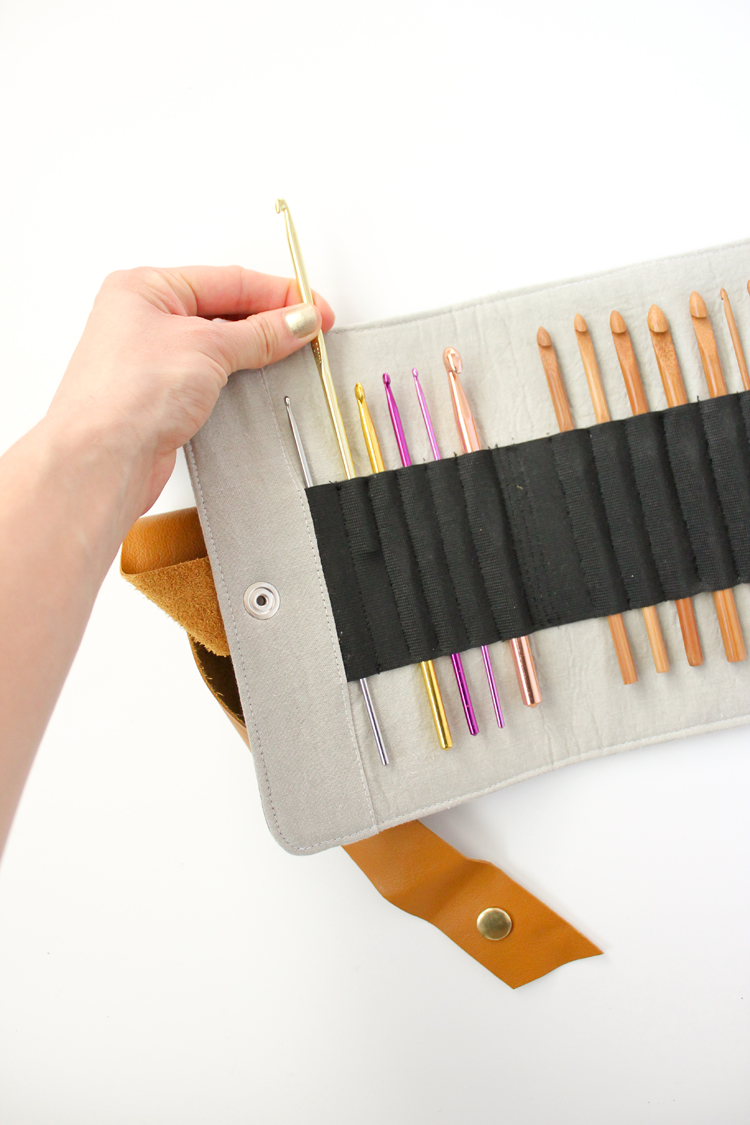
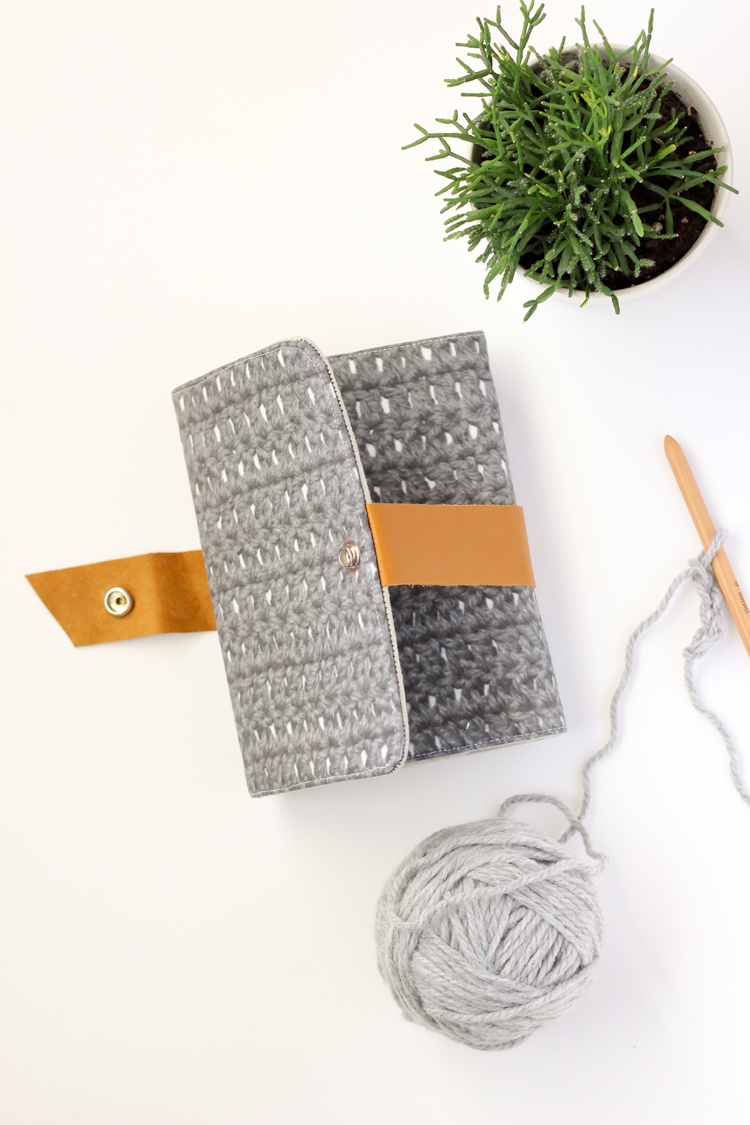
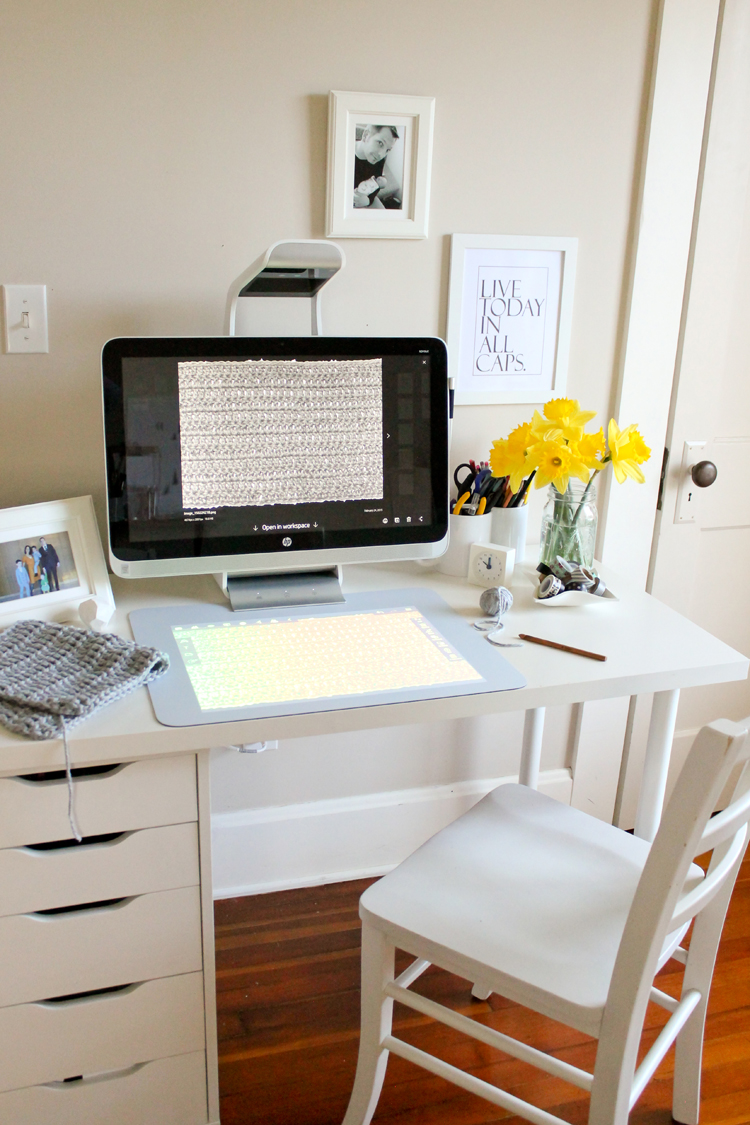
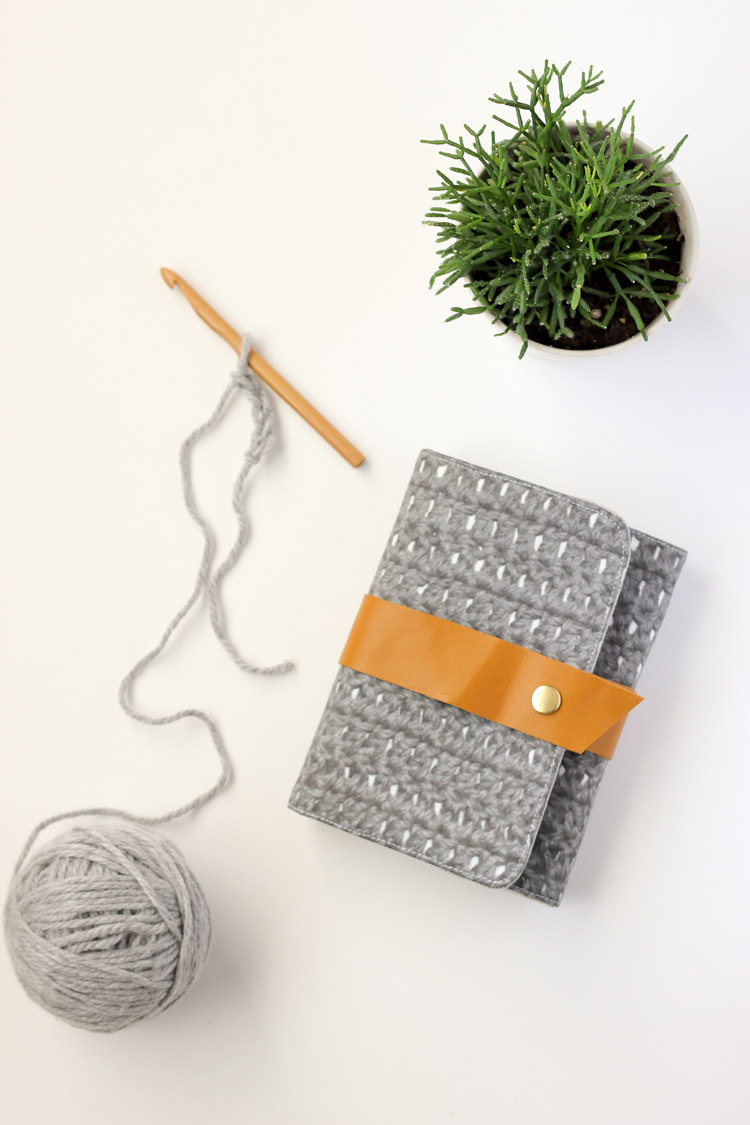 At first, I considered crocheting my crochet hook case, but I wanted something a little sturdier, so I put my sewing skills set to work. I thought it would be cute to still incorporate some crocheted texture, so I whipped up a double crocheted swatch to scan into my HP Sprout.
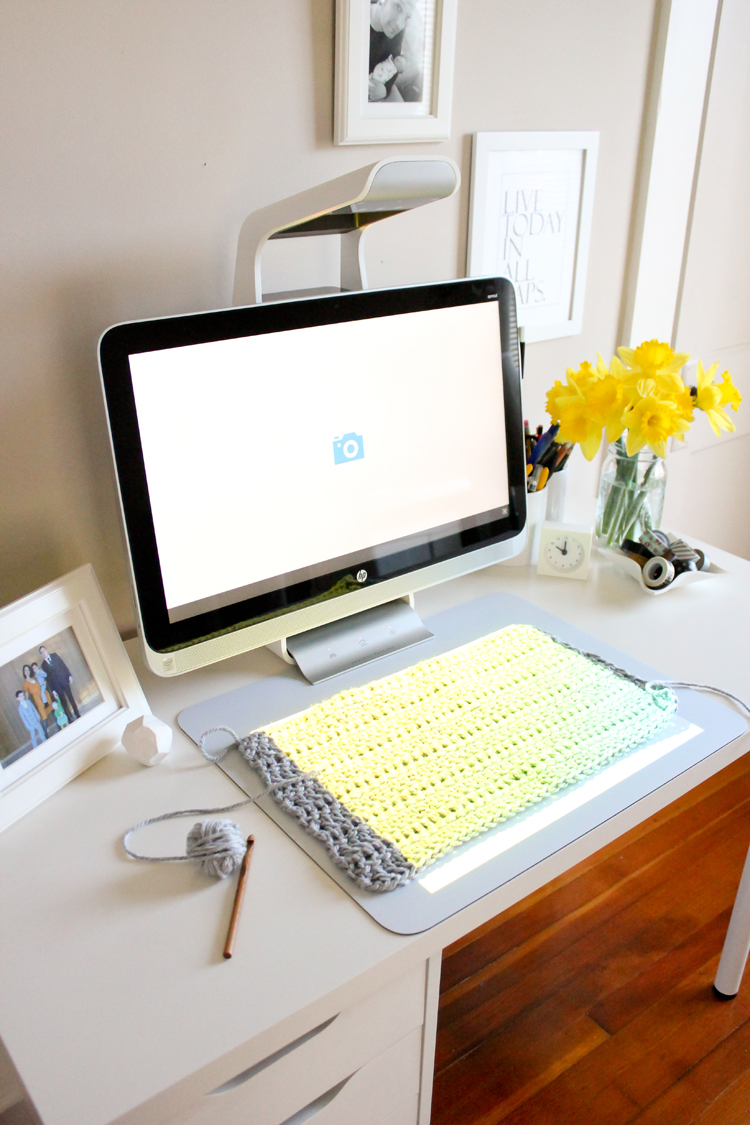 Then I uploaded it into Spoonflower, and printed off a fat quarter of fabric with which to make my case.
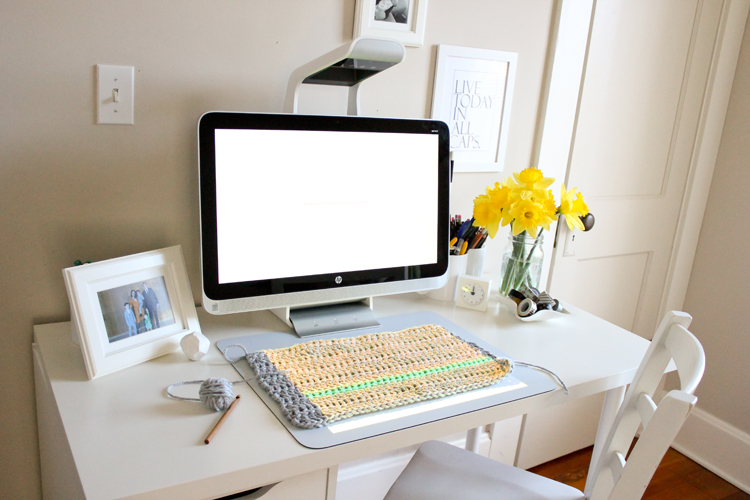
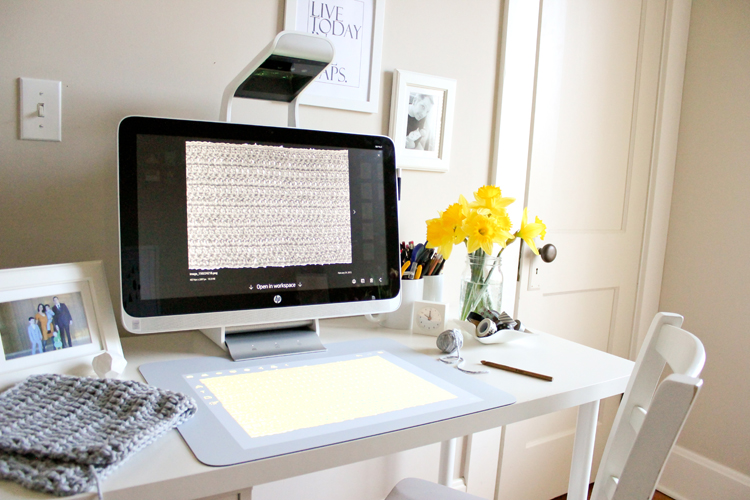 I didn’t edit it or anything. I just scanned it, saved it as a jpeg, and uploaded it. Lickety split! It was so easy and quick.
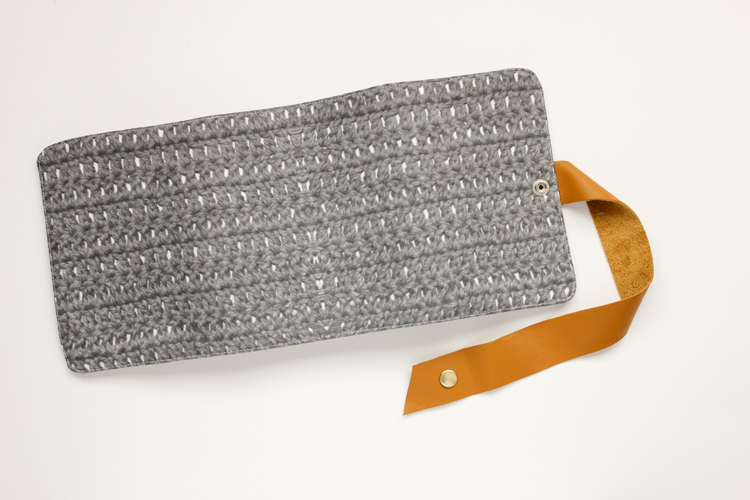
 To keep things true to scale, I had to tile the swatch, but the seams are hardly noticeable.
I love it and I think it’s really fun that it just hints at the purpose of my case.
Okay, ready for the case tutorial? Let’s do it!
 MATERIALS
2 fat quarters or 1/4 yard of each main and lining – woven cotton material like quilter’s cotton works great
1/2 yard Fusible craft interfacing (thickest, single side, fusible interfacing you can find at Jo-Ann)
14 inches of 3″ wide elastic (black)
10 inch polyester zipper
leather piece/strap – cut to 1.5 in. x 15 in.
1- heavy duty snap and tools
matching or contrasting thread for main and lining pieces, as well as the elastic
basic sewing supplies
Optional:
clover clips or small binder clips are helpful but are not required
jeans or leather needle for final top stitching is helpful
CUTTING GUIDE
Main:
1 – 19 in. x 9 in.
Lining:
1 – 9 in. x 2.5 in.
1 – 9 in. x 13.25 in.
1 – 9 in. x 3.75 in.
1 – 9 in. x 4.25 in.
2 – 2 in. x 1.25 in.
Interfacing:
2 – 19 in. x 9 in.
Zipper:
Cut zipper down to 8.5 inches.
TUTORIAL
Seam allowance is 1/2 inch unless otherwise noted.
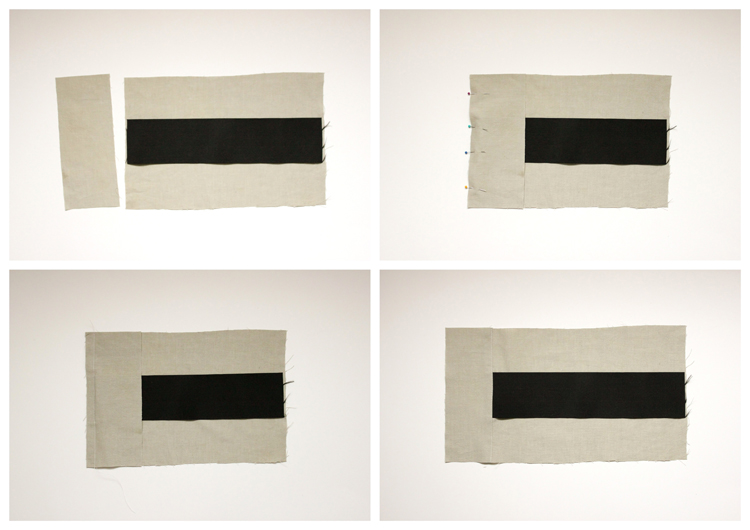 1. Cut all materials according to cutting guide.
2. Center the elastic on the largest lining piece, with right side facing up, according to the pictures.
3. Pin and sew the 9 in. x 2.5 in. lining piece to one short side of the larger lining piece (9 in. x 13.25 in.), with the elastic sewn into the seam, right sides facing.
4. Press piece open and flat. Top stitch close to the seam.
NOTE: The 9 in. x 2.5 in. piece looks a little larger than it should because I accidentally used one of the other lining pieces (doh). It won’t change the steps at all, but you will see that piece shrink when I realize my mistake in a few steps. 😉 Don’t let that throw you.
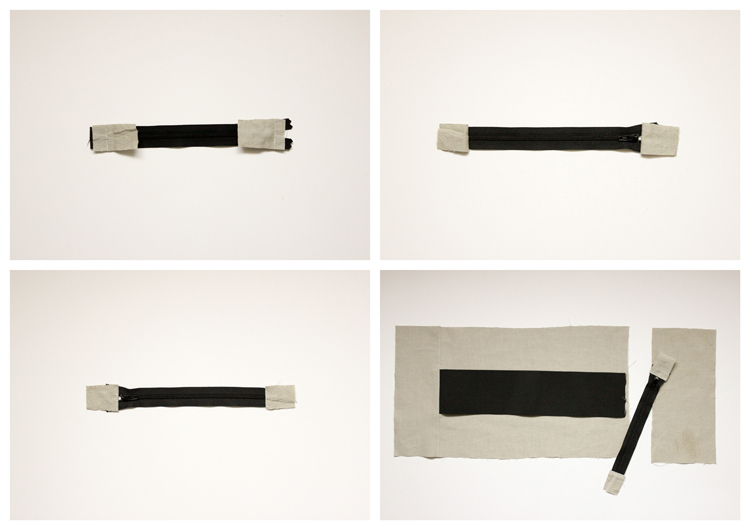 5. Prepare zipper by pinning the smallest lining pieces (2 in. x 1.25 in.) to the ends of the zipper, right sides facing, as pictured. Sew.
6. Open and top stitch along seam. Do NOT press with an iron. It is not necessary and ironing over polyester zipper teeth can cause them to bust open and break.
7. Place zipper face down along the other short end of the large lining piece, with zipper tape edge lined up with short edge. Make sure elastic is straight and centered. Place 9 in. x 4.25 in. lining piece on top of zipper.
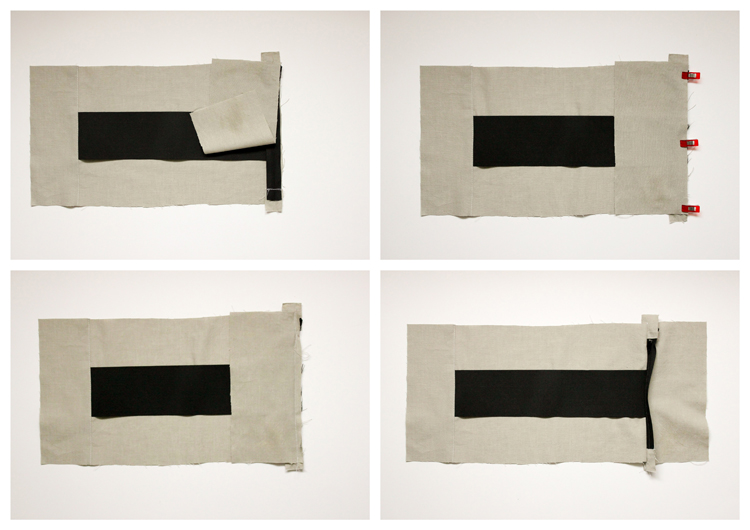 8. Clip or pin in place, right sides facing. You may have some over hang from the zipper ends on either side. Just make sure the zipper is centered.
9. Sew with a 1/4 inch seam allowance. It helps to use your zipper foot.
10. Open up the seam. Press in place on the elastic and zipper tape side ONLY. Avoid touching iron to zipper teeth.
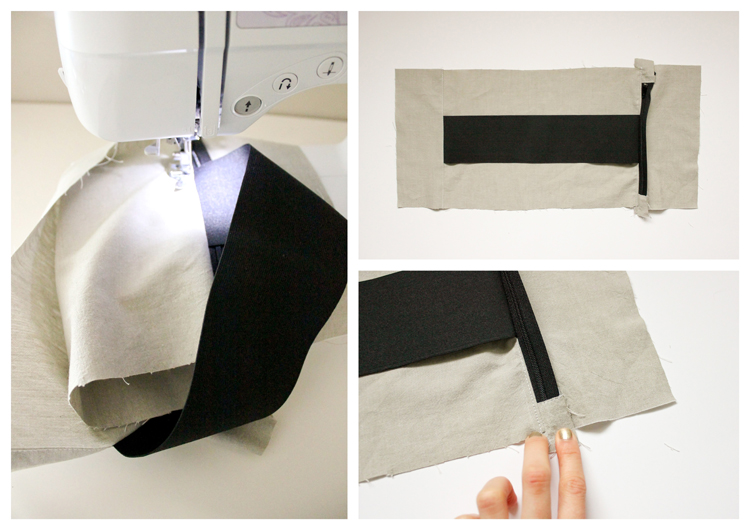 11. Top stitch next to the seam line, on the side with the elastic.
If your lining doesn’t match the elastic, sew under the elastic. You will top stitch on top of the elastic when you sew lines for the crochet hooks, so that you don’t have to keep switching thread colors back and forth. If your lining does match your elastic, of course, skip this step and just top stitch over the elastic for this step.
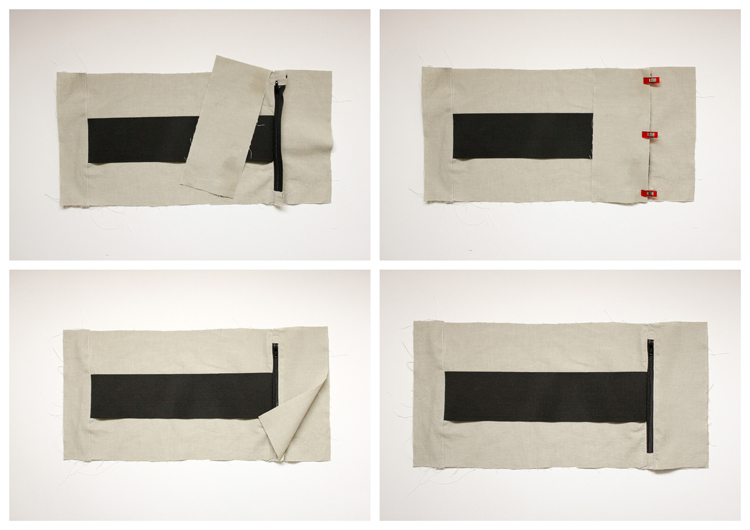 12. Pin or clip the 9 in. x 3.75 in. lining piece along the other (free) side of the zipper, right sides facing.
13. Open, and press in place, being careful to avoid zipper teeth again.
Optional: You may fold the back pocket lining piece out of the way and top stitch along the other side of the zipper, if desired.
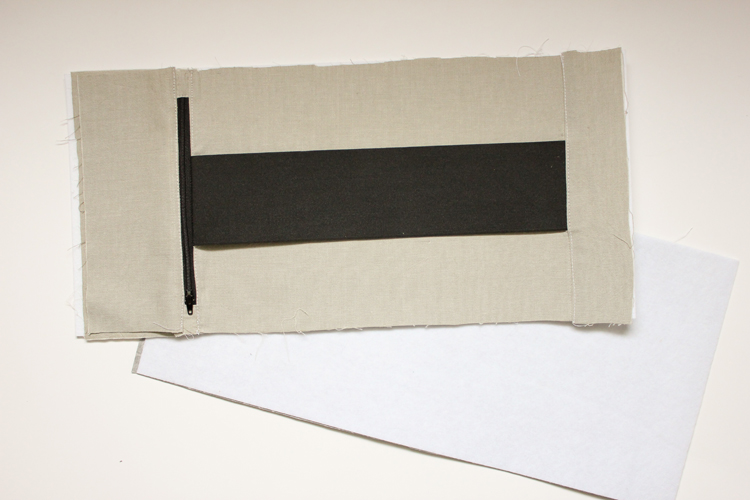 14. Fuse lining and main pieces to craft interfacing. Take care to iron around the zipper and not over it, so you don’t ruin the zipper.
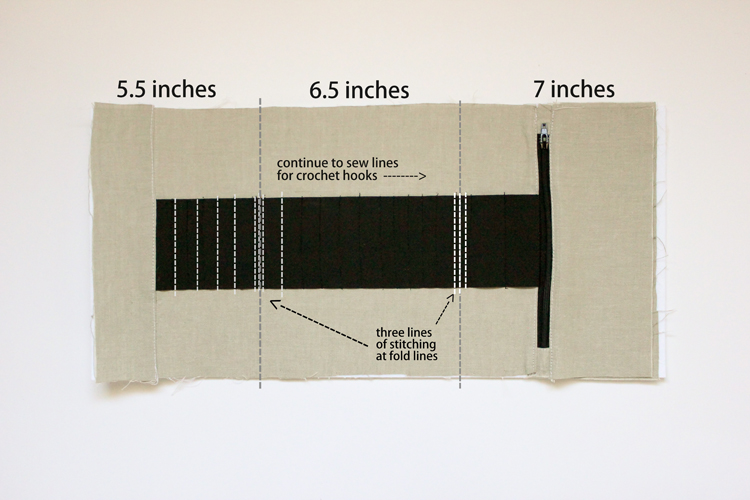 15. Divide the lining piece up as pictured. Sew lines along the elastic for your crochet hooks with matching black thread. Space them as desired. A 1/2 inch gap seems to fit most hooks, but the larger hooks with need a 3/4 inch or more opening, depending on the size of the handles of your hooks.
 TIP: To help the case fold up better when finished, sew three lines of stitching, close together at the fold points, marked in the picture.
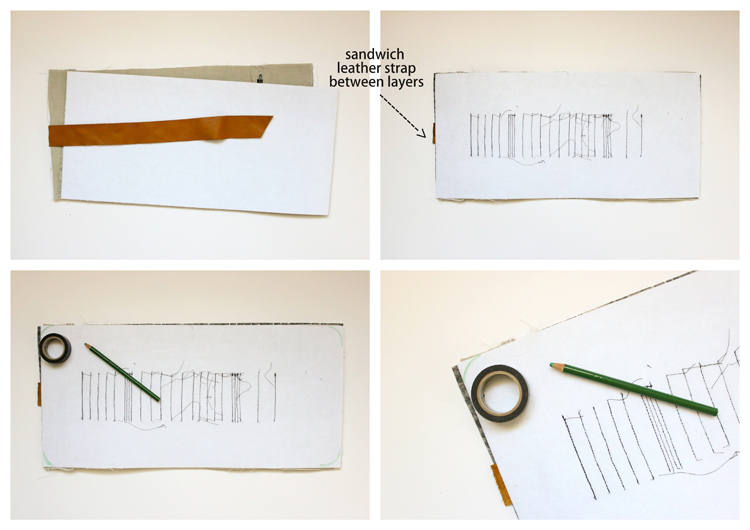 16. Layer your main and lining pieces together. Center and sandwich the leather strap in between the layers on the short end that doesn’t have the zipper pocket. Make sure the right side of the leather strap is facing the right side of the main piece.
17. Round all four corners with a cup, or anything round (I used a roll of washi tape). You don’t need to trim this down yet. It will serve as a guide for you will you sew.
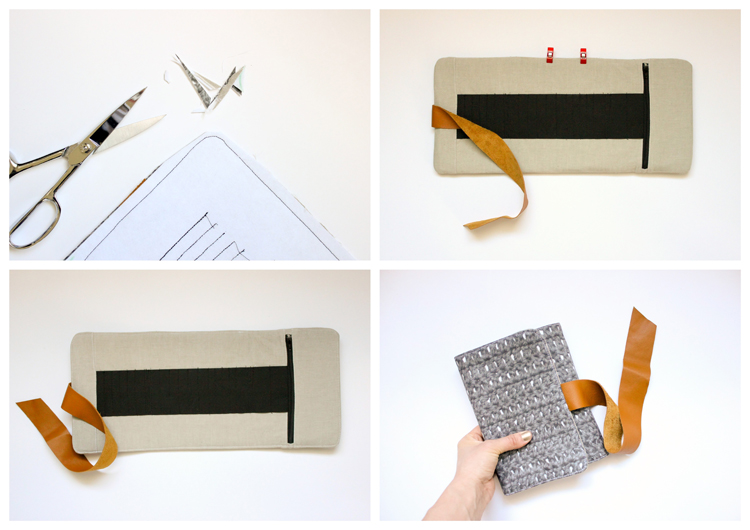 18. Sew all the way around the rectangle, leaving a 3 inch wide opening in the middle of one of the long sides.
19. Trim down the seam allowance at the corners to reduce bulk.
20. Turn it right side out.
Warning: this is BULKY and it will take good effort to turn it right side out. You will have to use a chop stick or a point turner to really work out the corners. Press your point turner along all the seams as well, to smooth everything out. The interfacing will fight you, so be firm….and don’t get discouraged. Once it all gets turned right side out, the final sturdiness of the case will be worth it.
21. The lining and main fabrics will be wrinkly when you’re done. Press with an iron (remember to say away from the zipper teeth!). Press the raw edges of the opening under and even with the rest of the seam as well. Clip in place.
22. Top stitch close to the edge around the whole case. Go slow and take your time. There are a lot of layers, so going slow will produce a cleaner top stitch and prevent skipped stitches and/or broken needles. It may be helpful to use a heavy duty jeans needle or leather needle as well.
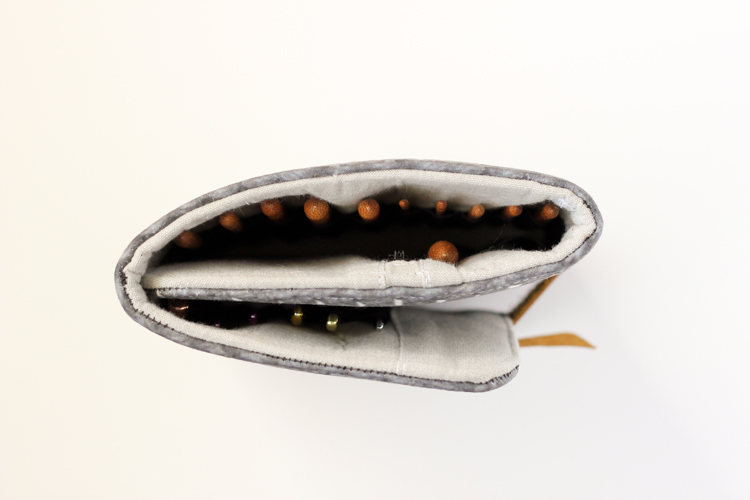
 23. Fold the case up to see how the leather strap needs to wrap around the case.
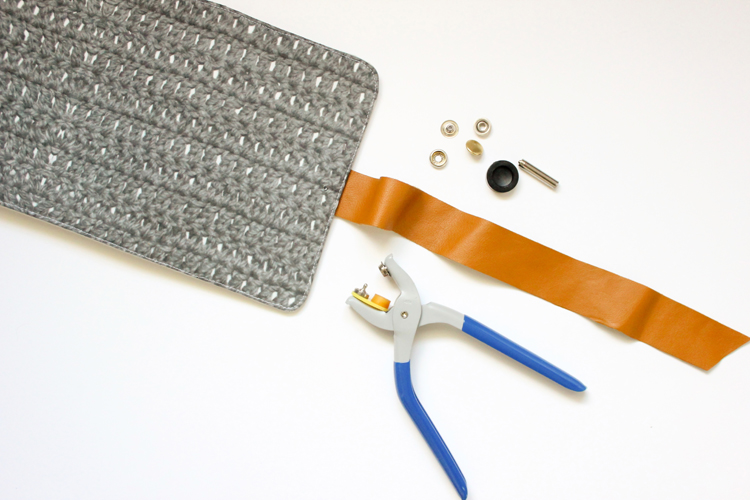
24. Add the bottom of the snap to the case. Center it behind the leather strap and space it about 1/2 inch away from the edge. Follow the snap package instructions for the full how to.
Another warning: The layers are THICK, but it will work if you are diligent in keeping everything tight and compressed while you pound the snap in place. If you are having a tough time getting the shank through all the layers, try thinning the layers around the opening a little bit with a pair of small sharp scissors.
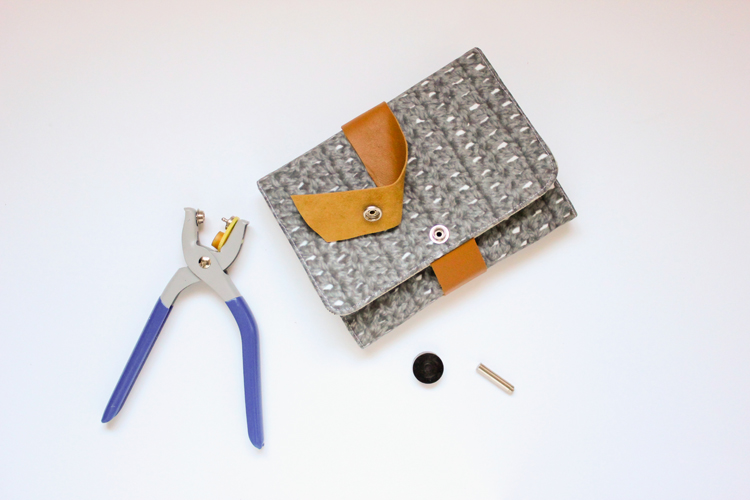 25. Wrap the leather strap around the case to get the fit you desire. Trim down the leather strap if needed, and then attach the top of the snap to the end of the strap.
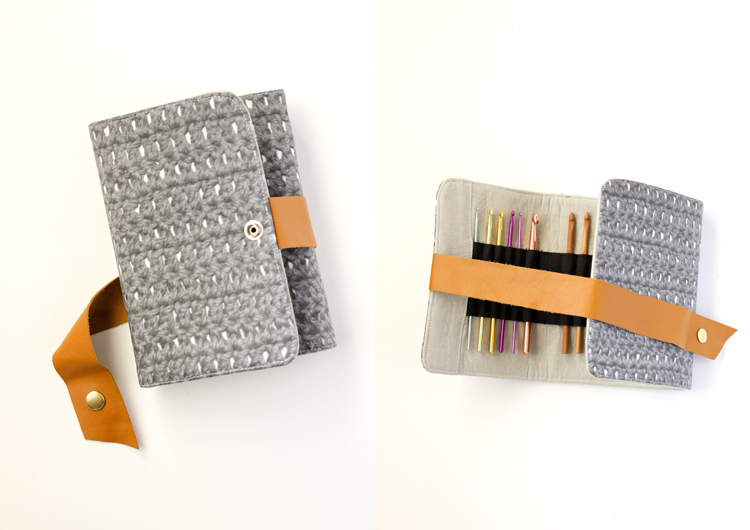
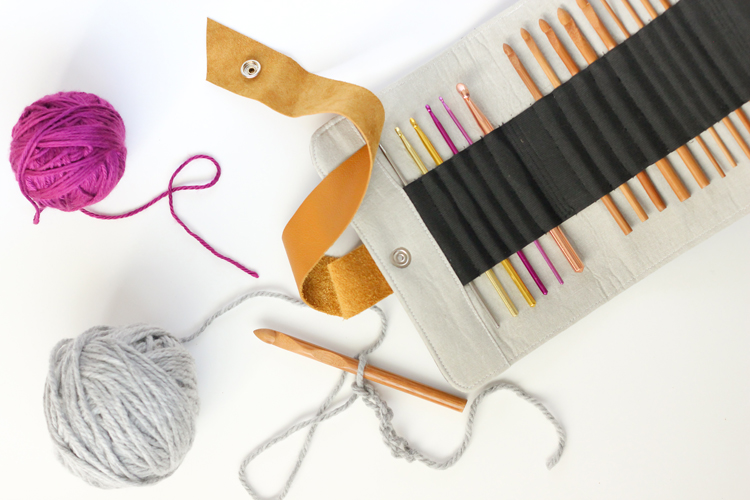
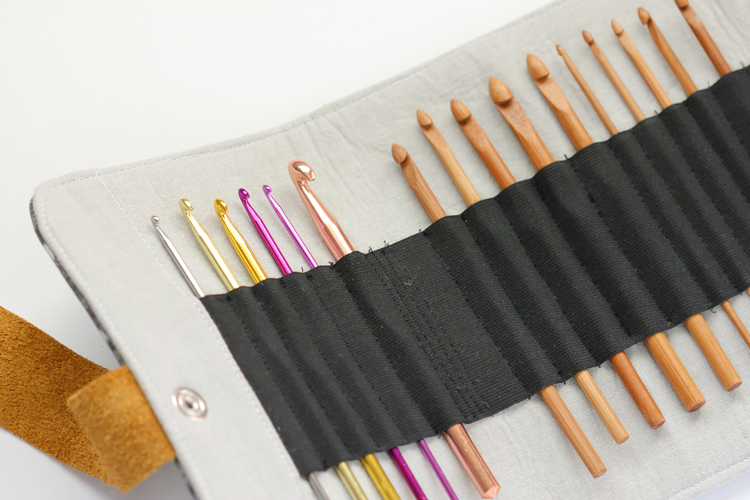 Slide your hooks in and you’re ready to go.
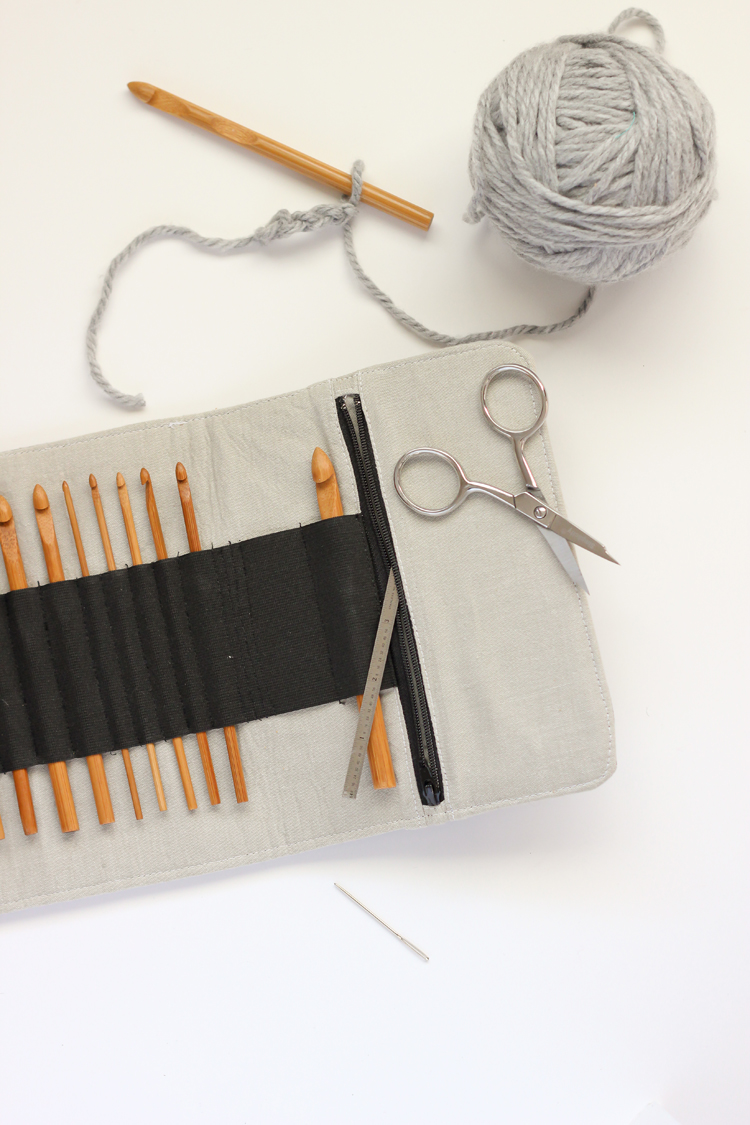 The zippered pocket is for yarn needles, scissors, stitch markers, etc.
 And the needle fit snuggly in the elastic.
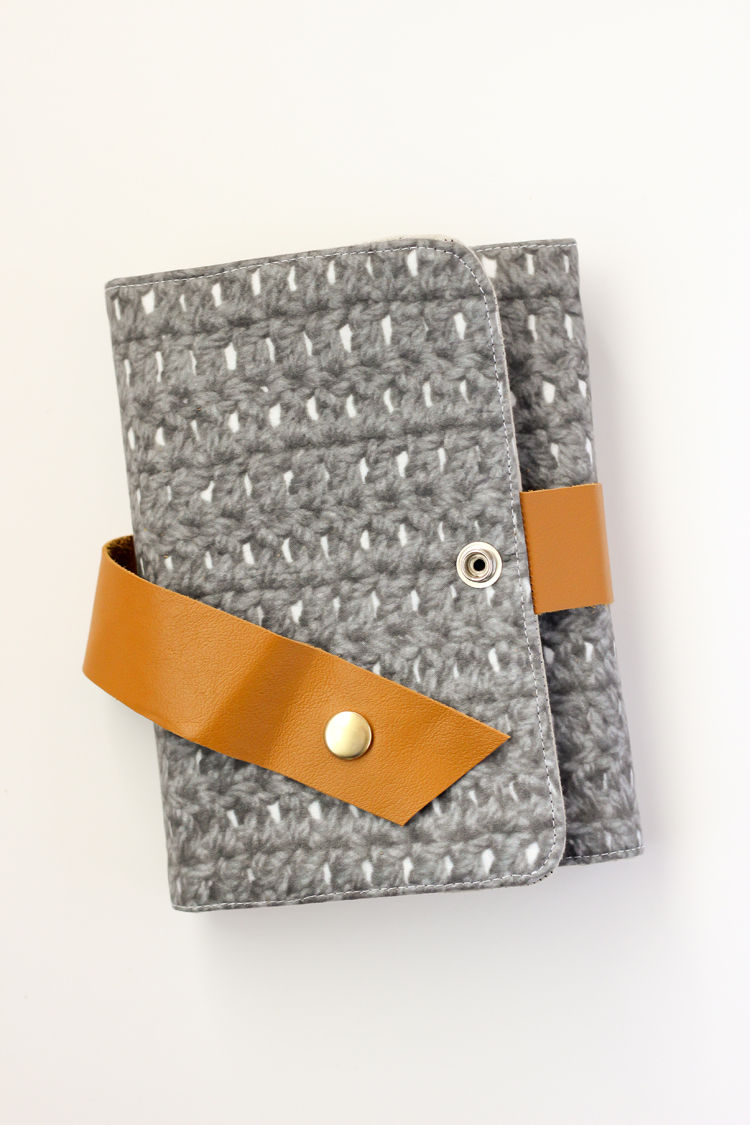
 Wrap it and snap it, and you’re ready to go!
 Disclaimer: This post is sponsored by HP. All opinions are genuine. I heart my Sprout and think it’s an amazing tool for creatives! See my other post using the HP Sprout HERE. And learn more about the specs of the Sprout HERE.


Adorable! It really DOES look like you made a case out of yarn and I was like “what the heck? How in the world is that sturdy enough to hold hooks and elastic?!?” Brilliant! Great idea. Delia does it again. You’re amazing.
You are the nicest Lindsay! Thank you!
I love the idea to scan a crocheted swatch! That turned out pretty cute. =) I don’t have enough crochet hooks to need a case yet… but if I ever do I’ll keep this in mind. I really like the leather strap too.
Thanks Charity! The leather strap is my favorite detail too. 🙂
this is so awesome Delia! I was sharing the awesomeness with my husband but I’m pretty sure he didn’t understand my enthusiasm! I told him to please contain himself. 😉
Thanks Courtney! …haha. He sounds like my husband.
Hi Delia. I love this, great idea. I’ve only crocheted 2 things so far but I think having something as cute as this to store everything in might inspire me to crochet even more 🙂
Thank you Emma!
Oh my gosh, I just LOVE this! I’ve also been wanting to make a crochet hook case, but now that I’ve seen this one, I just want yours! I love all the details, like the zip pouch, and what absolute genius to scan your crochet work for fabric! Incredible! Thanks for the tutorial! 🙂 Lisa
Aw thanks Lisa!