With Mother’s Day only weeks away, today’s Michaels Makers post is all about mothers.
I am lucky to come from a strong line of creative women. My mother is an avid quilter and sew-er and my grandmother could crochet lace like nobody’s business. During long summer vacation visits in my childhood, my grandmother planted the seeds of crocheting in my life, which has blossomed into a love and passion. In honor of those sweet moments with her, I’ve created this back to basics crochet pattern.
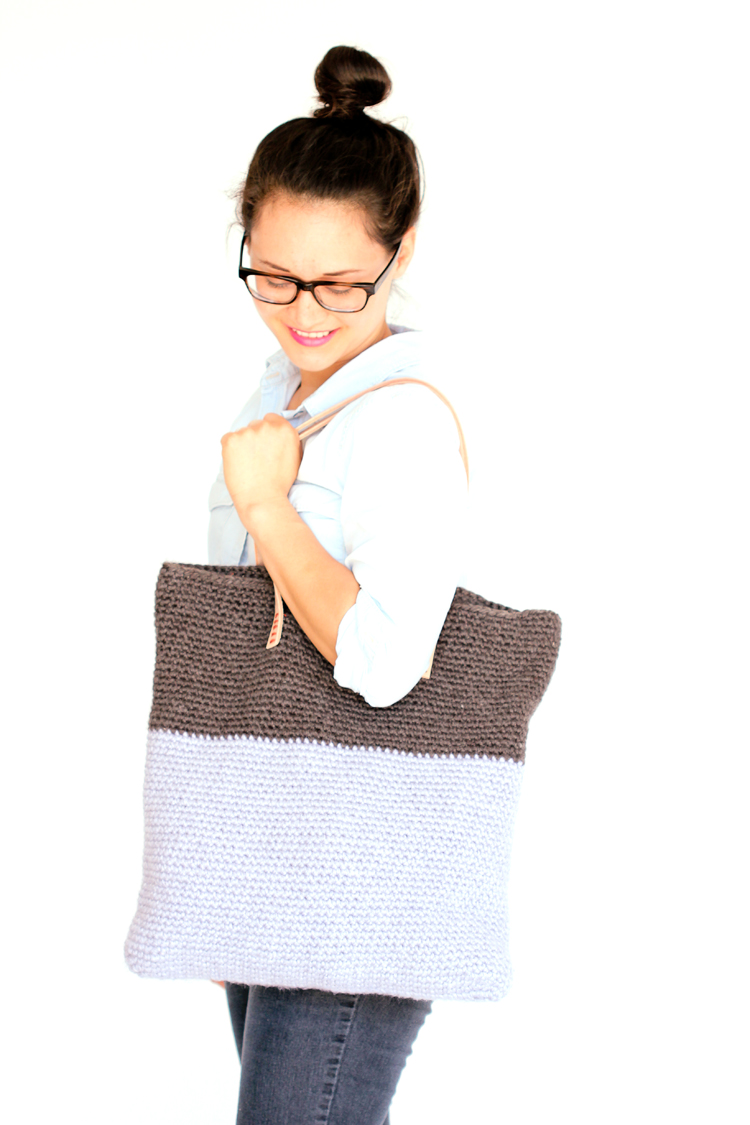
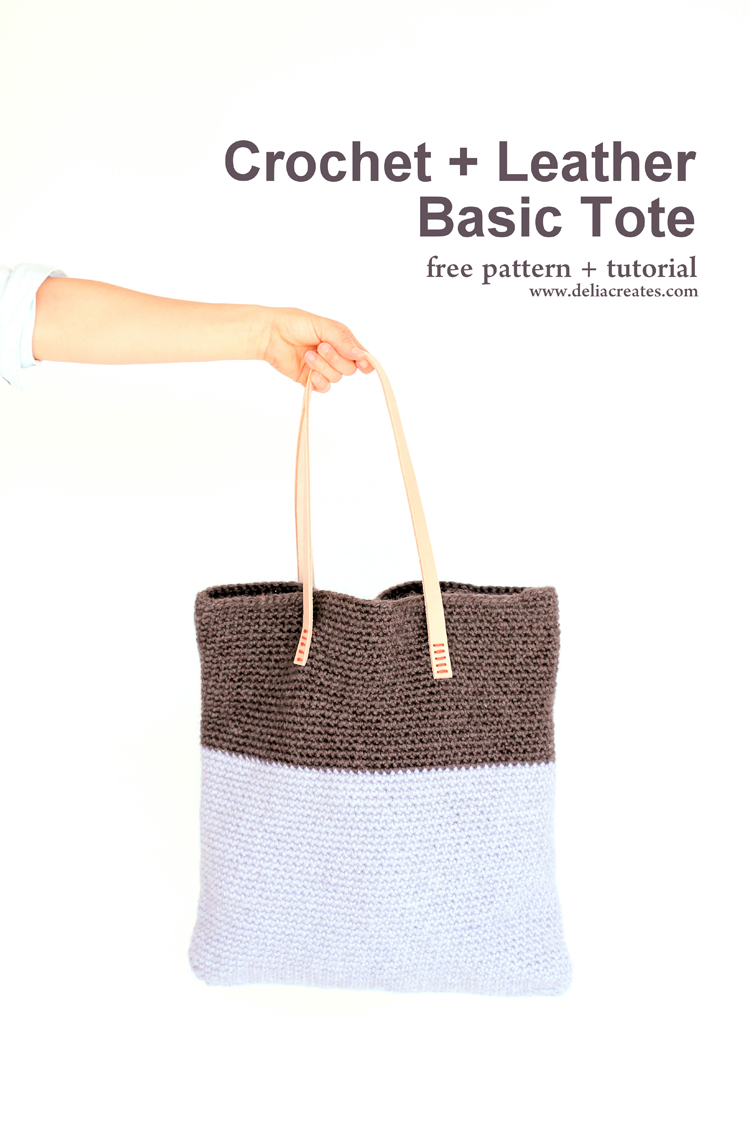
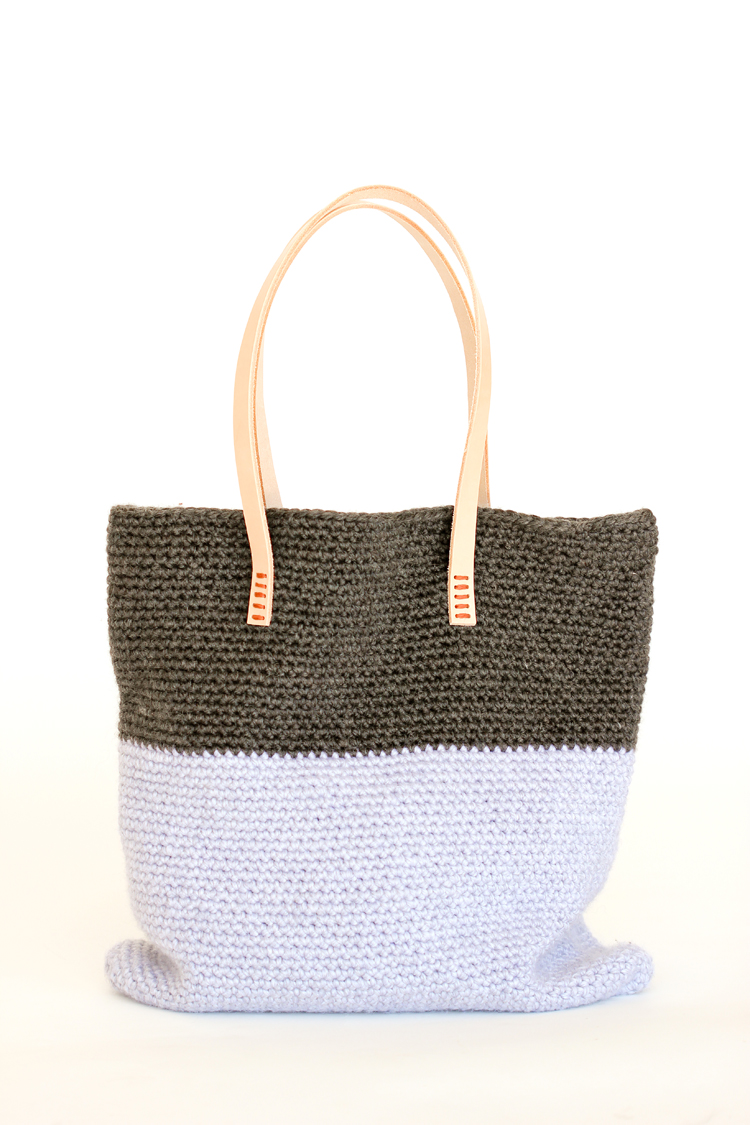
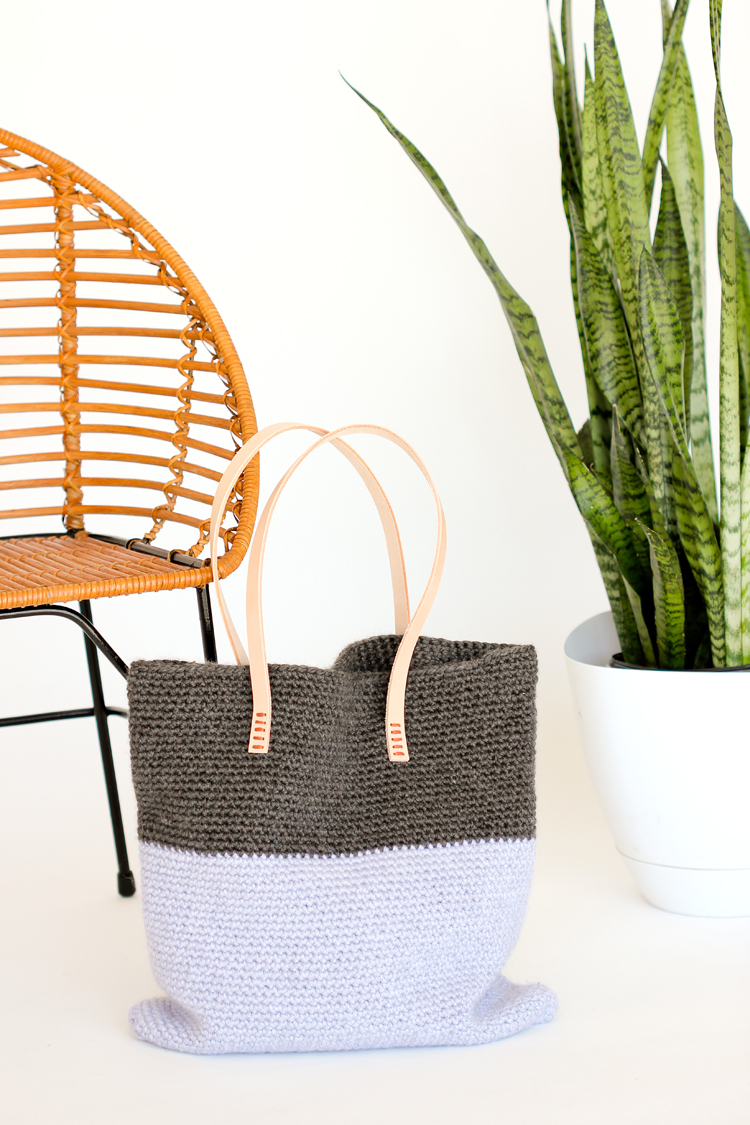
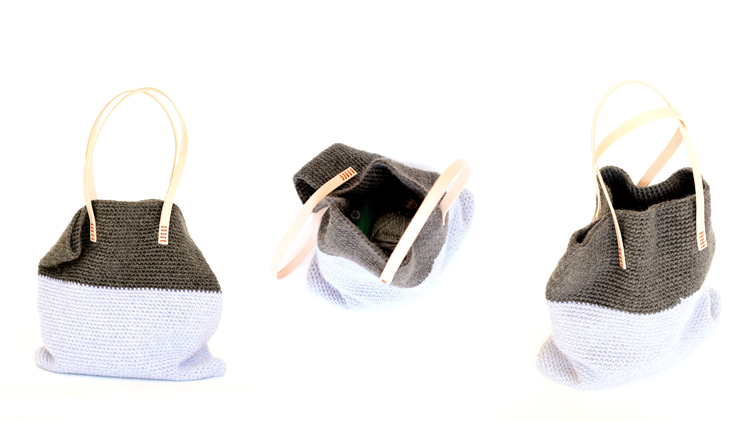
A beautiful, textured, basic tote for your mom or grand-mom!
It’s reminiscent of my first crochet project, which was a fairly unwearable scarf because it was too stiff from crocheting too tightly. Ha! In the case of this bag though, that’s actually what we’re shooting for; weaving a nice firm fabric perfect for a sturdy tote.
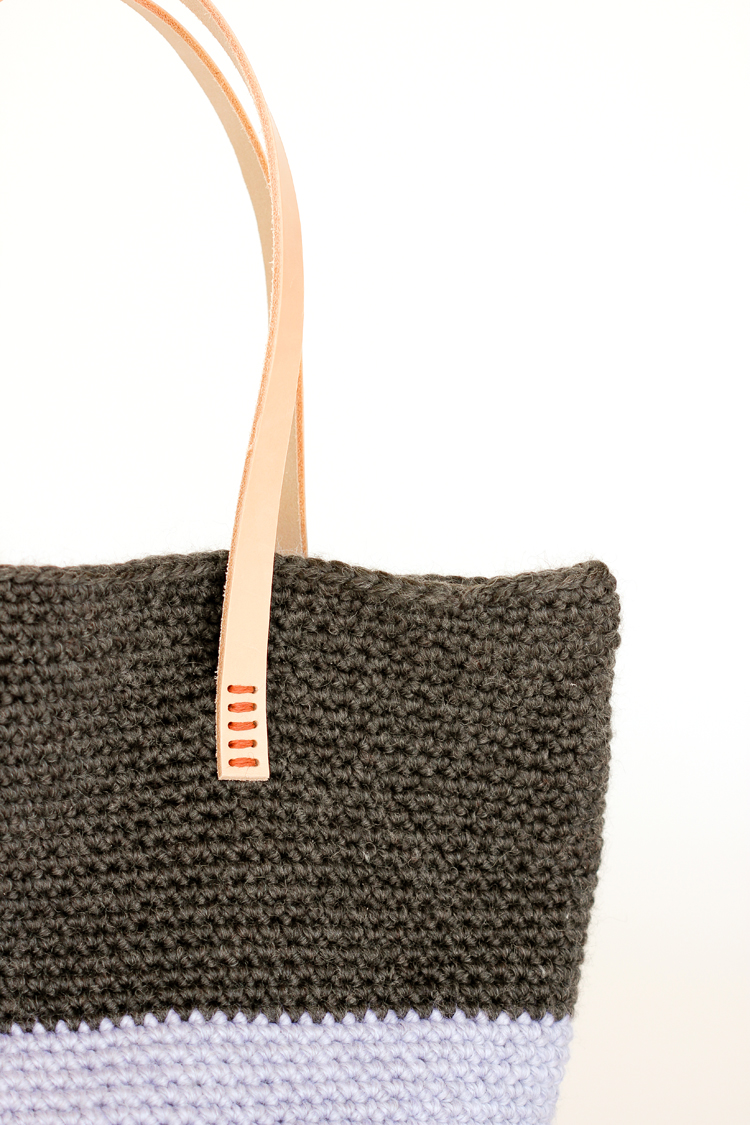
I’ve also added an element of leather as a way to infuse my own modern, personal creative touch.
From a glance, the bag construction looks pretty simple, but in actuality, I’ve designed the bag to be worked in the round. This does two things. One, it allows it to be worked up almost seamlessly. After the first few rows, you start to drop the chain at the beginning of the round and you just crochet continuously in a similar fashion to amigurumi. When you’re done, you’re done! …no seaming whatsoever.
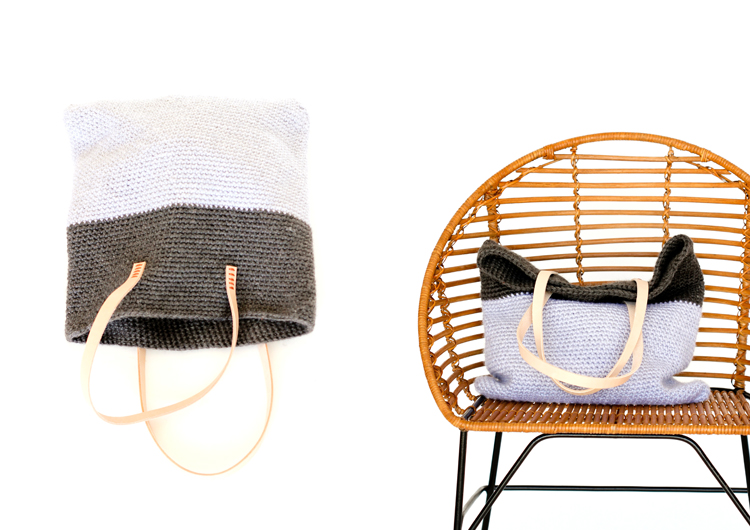
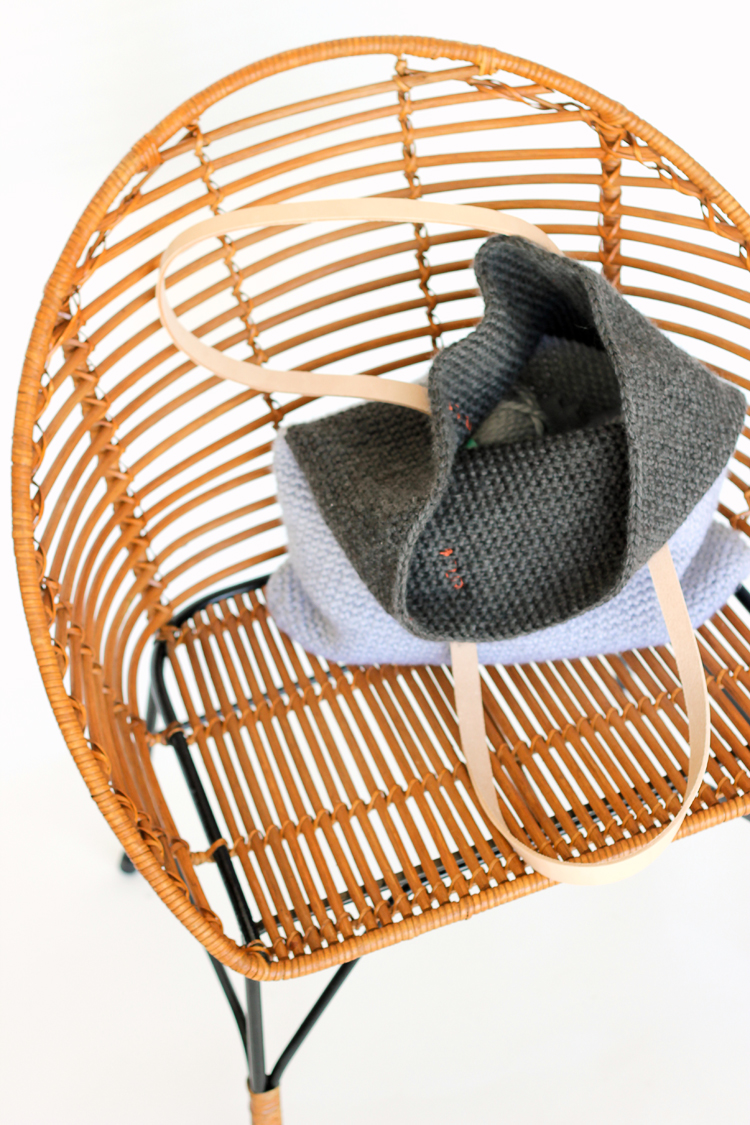
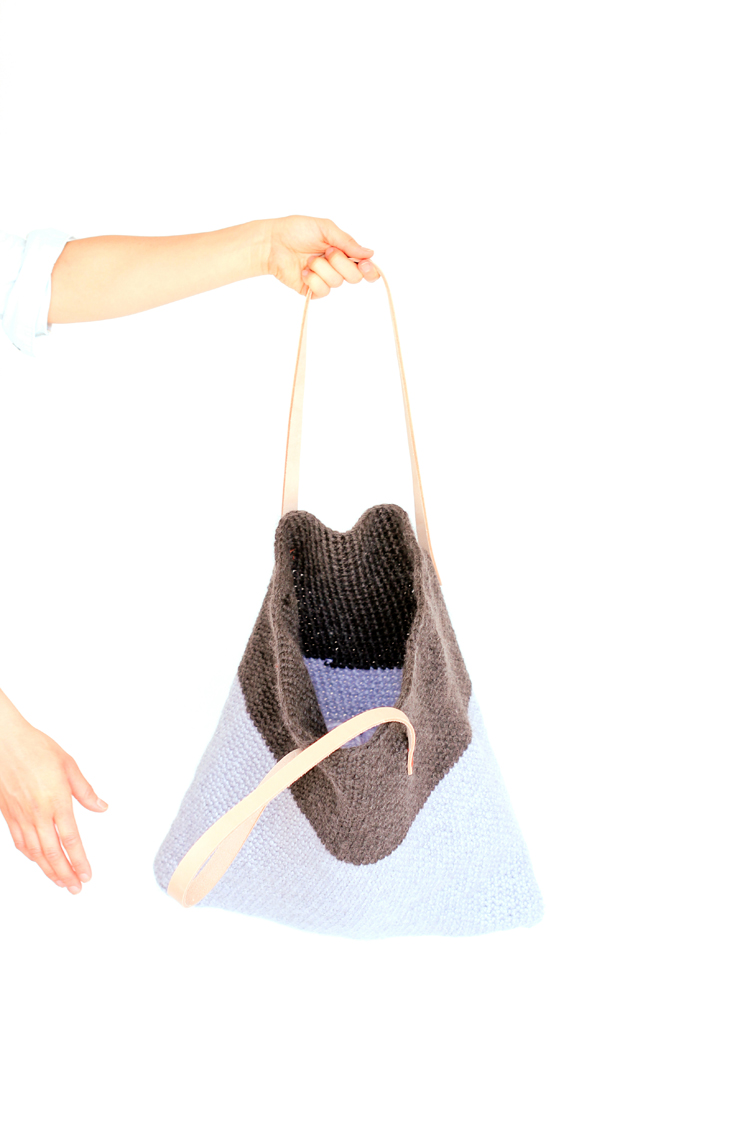
The second reason I designed it to be worked in the round, is that it will actually stand up better when you set the tote down. If you give it a nice drop to help the bottom flatten out, and if it has stuff inside of it, it will hold up on it’s own pretty well.
If you’re a beginner crocheter, don’t fret! Crocheting in the round is quite easy. I actually find it easier than rows sometimes. Plus, this pattern only consists of three stitches: chain, single crochet, and slip stitch. Just the very, bare bones basics.
Let’s begin!
Materials:
450 Yards (411 meters) of super bulky yarn, I used 5 skeins of Cozy Wool Loops & Threads in Pewter and Granite
6.5 mm or K hook
Yarn needle
Leather belting kit (from leather aisle in Michaels)
Leather punch tool
Wax thread or similar
Sharp heavy-duty scissors
Optional: rotary cutter, quilter’s ruler, and self healing mat
Abbreviations:
ch = chain
sc = single crochet
sl st = slip stitch
st (sts) = stitch (stitches)
Gauge:
4 inch x 4 inch square = 14 rounds x 12 sc
NOTES:
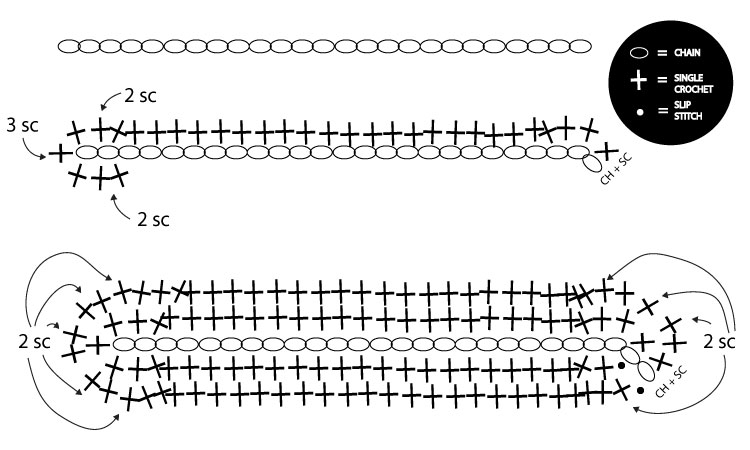
* I actually took pictures of the beginning steps of this pattern and then accidentally deleted them! Sad day! Instead of re-taking the pictures, I thought I would try to work up a diagram, to see if that helps you visualize the pattern a bit easier. I tried to create the diagram to be fairly consistent with diagram crochet patterns, but please note that it is not a true diagram pattern. Other than the fact that it’s messier than a proper diagram pattern (ha! ;)), the chain count is much smaller than it should be. I did that so that you could more easily see and visualize the pattern. You will be crocheting two, sometimes three single crochets into some of the stitches. This helps the pattern round out like it should.
* The tension for this project is very tight. It should actually be tighter than your needle can manage. To achieve this, give the yarn a nice firm tug after each stitch and keep tightening things as you go.
* You may change colors as you add another skein of yarn, but that is optional.
*There are several ways to add another skein of yarn. For this project, I tied the tails into a square knot and then kept on crocheting. I made sure to lay the tails of the knot on top of my work, so I could crochet them into the piece and conceal them.
Crochet Pattern:
Foundation Chain: Ch 42.
Round 1: Sc in second ch from hook, 2 more sc in same ch, 2 sc in next ch, 37 sc across, 2 sc in next ch. 3 sc in next (end) ch, now round the corner and turn your work and 2 sc in next ch, 37 sc across the bottom of the foundation ch, 2 sc in last ch, sl st to top of first ch.
Round 2: Ch 1, sc in same st. 2 sc in next 4 sts, 39 sc across, 2 sc in next 5 sts, 39 sc across, sl st to ch 1.
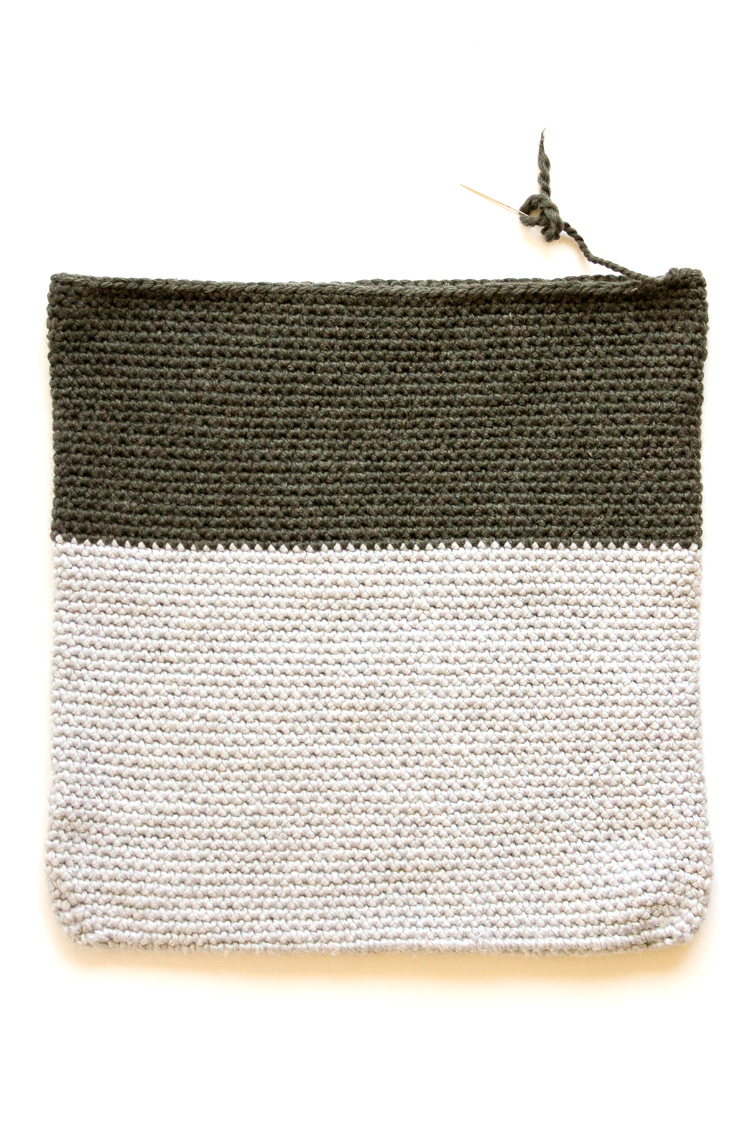
Round 3-59: Ch 1, sc around in each st. (97)
*After a couple of rounds you may drop the initial ch 1.
To finish: Sl st into next st, tie off and leave 8-10 inch tail. Weave in tail with yarn needle.
Leather Handles Tutorial:
You can use ready made 3/4 inch leather strips, or you can make your own.
To make your own, purchase the vegetable tan leather belt kits from the leather aisle in Michaels. Be sure to use a coupon, because they can be a bit pricey.
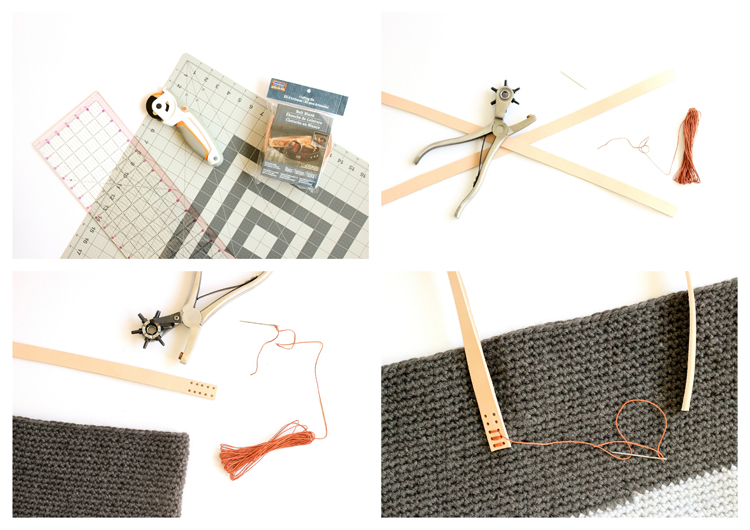
- Open the kit and remove the belt. Trim away the belt hardware that comes pre-installed in the belt and cut a strip of leather about 21 inches long.
- Cut the strip in half, width wise. The belt is 1 1/2 inches, so half of that is 3/4 inch, which is the perfect size for tote bag handles. You may use heavy duty scissors, but I highly recommend using a rotary cutter if you have one. You will get a much cleaner and even cut. Whichever cutting implement you use, be very careful and go SLOWLY. Vegan leather is quite thick and stubborn. If you are using a rotary cutter, remember that you will need to make several passes over the leather to get all the way through. If you’re using scissors, consider pre-marking the cut line to help you stay on track.
- Punch ten holes a the ends of each of the leather straps as pictured. You can use whichever leather punch tool you prefer, but be sure to use the smallest size hole punch that you can.
- Line up the straps how you want them. I decided to space mine about 5 1/2 inches apart. Now, hand sew them in place with your yarn needle and some wax thread or something similar. I found some jewelry floss/cording that I really like the color of, so I used that. Just be sure that whatever you use is nice and strong and can hold up to a lot of wear and tear.
That’s it! You’re tote bag is really to roll…
er stand up, as the case may be.
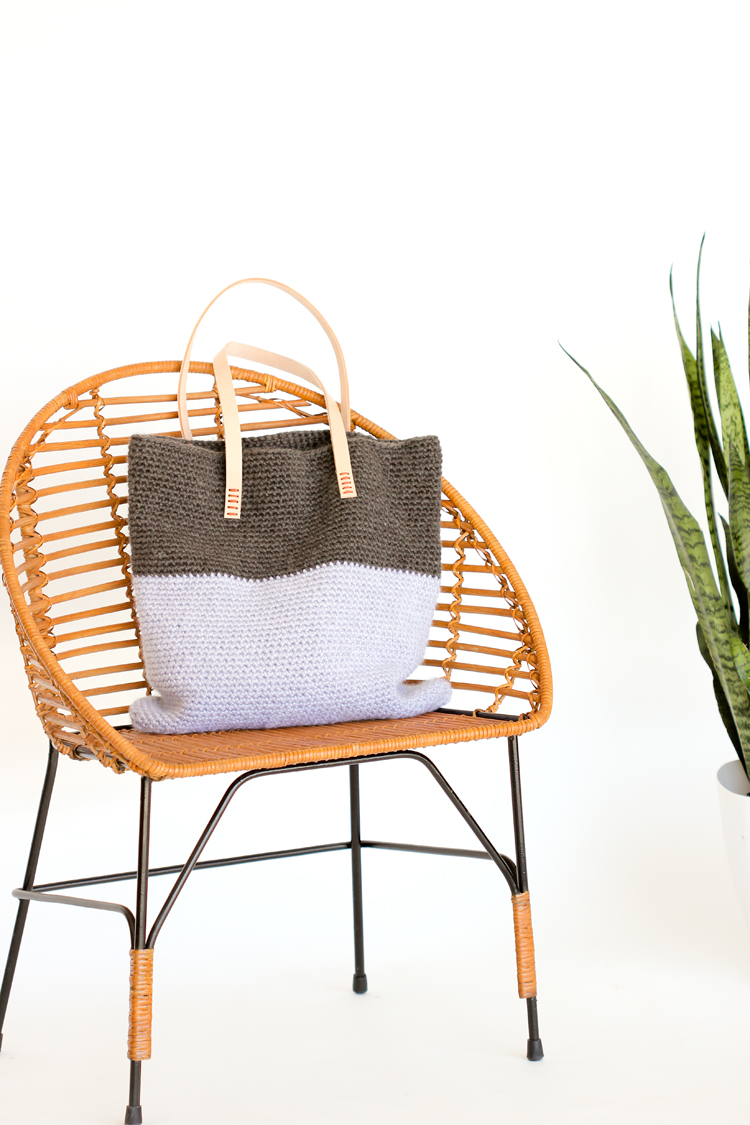
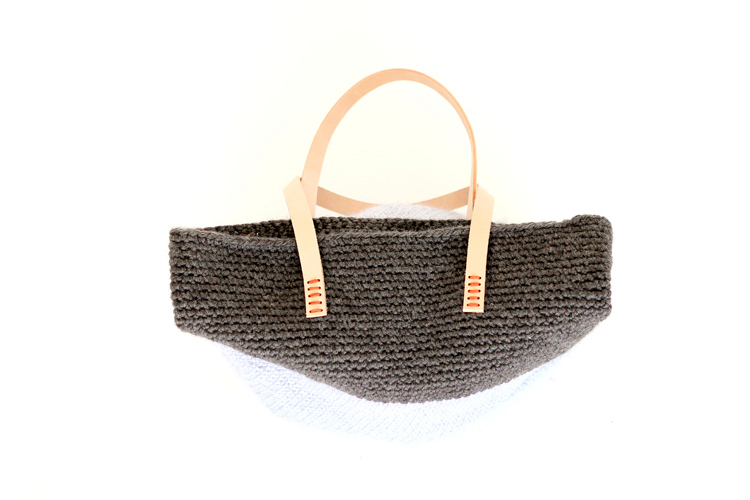 The tote will only stand up though, if you manipulate it to. Otherwise, it’s like any other floppy, fabric tote bag.
 Disclaimer: This post is sponsored by Michaels. Michaels has everything you need to craft the perfect handmade gift that will make Mom’s day. If you don’t know where to begin, you can always take a look at some of the fun projects on Michaels.com or the other 49 Makers’ ideas on The Glue String for to see how they personalized their crafts!




D…get out of my head ! haha…I was going to ( well my sister was going to) crochet a little bin for this month’s project and last minute I changed my mind cause I personally don’t know how to crochet, so I thought it was cheating…lol. Iove, love this. xo
Ha! Thanks Lucy. I love it. I don’t think it’s cheating! Although…your sister and I are going to have to teach you how to crochet!
I like how solid and sturdy this looks! I like the leather straps too.
Love this bag! The leather handles are the perfect touch. And it’s the perfect Mother’s Day gift too.
This is gorgeous! I love the handles. For such a simple design, it has all the perfect elements. Not too much and not too little. Pinned
Delia–I loved this bad so much the first time I saw it that I had to include it on my list of “10 Legitimately Cool Gifts for Mom.” Thanks for the free pattern! The leather handles are my fav!
Thank you so much Jess!
I love your pattern. I think I might try to make a leather bottom and crochet the sides as yours is. Can you please measure the width of the final bag? I’ll have to punch holes like crazy – unless someone has a better suggestion?
What a fun idea! The final bag is 16.5 inches wide. I hope that helps! I think punching lots of holes into the leather is the way to go. It’s what I would do! I would love to see it when you’re done… if you don’t mind sharing it on social media, or emailing me a picture? (delia.randall@gmail.com)
I am making this tote right now and am wondering if it is supposed to be curling as you are making it?
I forgot to say that I love this tote!
Thanks Debbi! Sorry to hear that it’s curling. It may do that for the first few rows or so. Just as long as when you press it flat it looks like the right shape, then you should be good to go. As you build up more rows, it should flatten out nicely. I hope that helps!
What a cute bag! I am a beginner and just crocheted a phone case using the same continuous method. In that pattern they used a 3.5mm hook on worsted weight yarn for a tight, sturdy case. Would it work to use a smaller hook for this bag and would that make the bag a lot smaller? Thanks
Linda,
Certainly! It would make the bag smaller and sometimes using a smaller hook can make it easier for the yarn to slip off. So, sizing down depends on your comfort/skill level. I hope that helps! Let me know if you have any more questions.
Delia
How many meters of yarn is needed?
About 410-420 meters.