One thing I love about having a girl, is sharing all the things with her that make being a woman fun.
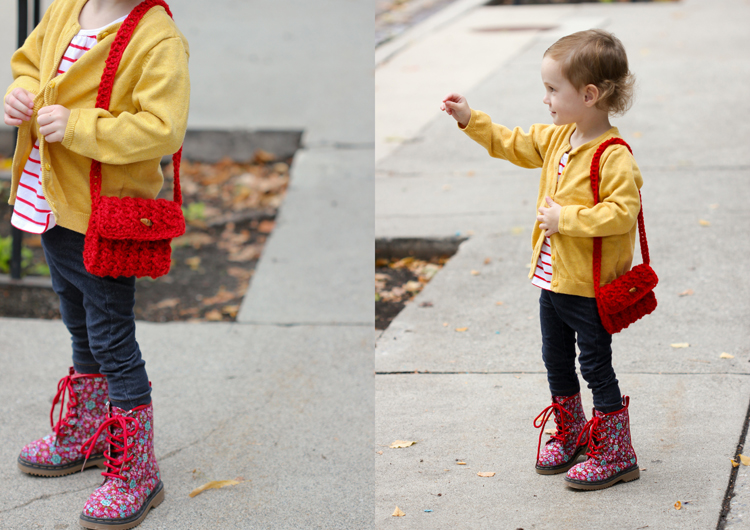 …Hair accessories (when she’ll agree to wear them), pretty smelling lotions, cute shoes, jewelry, little smudges of lip stick from time to time, and accessories, like cute purses….
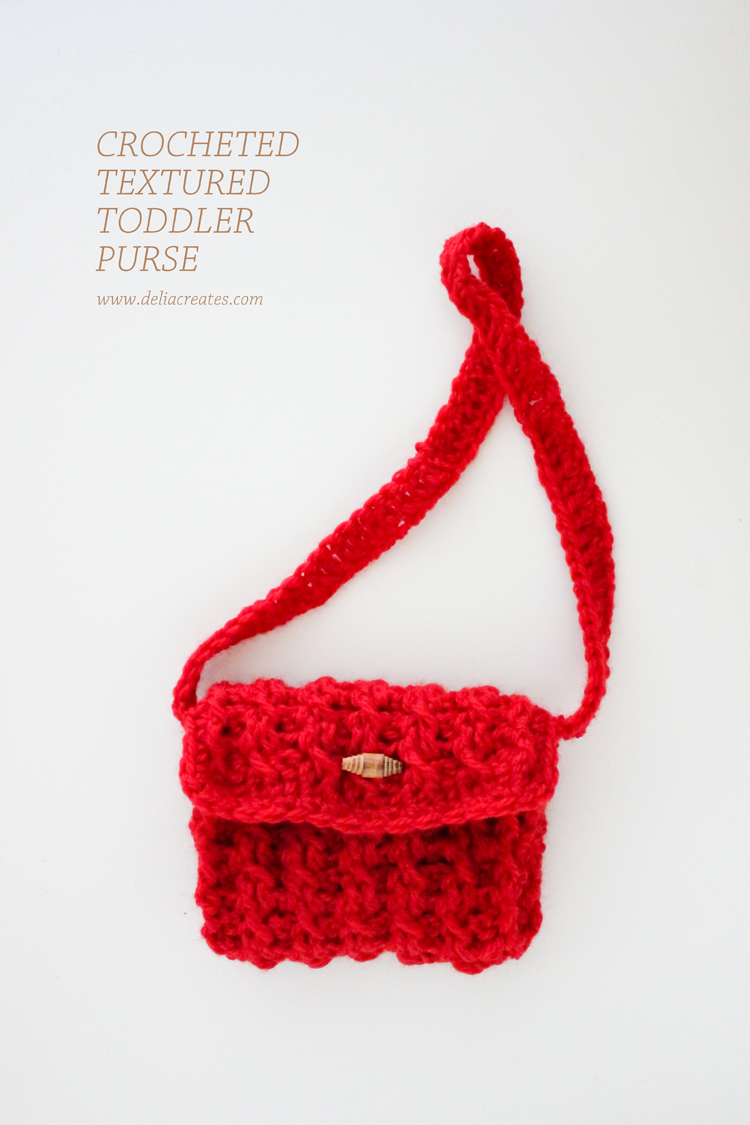 I recently took Craftsy’s Amazing Crochet Textures class and decided to make a purse for Natalie using the new stitches I learned.
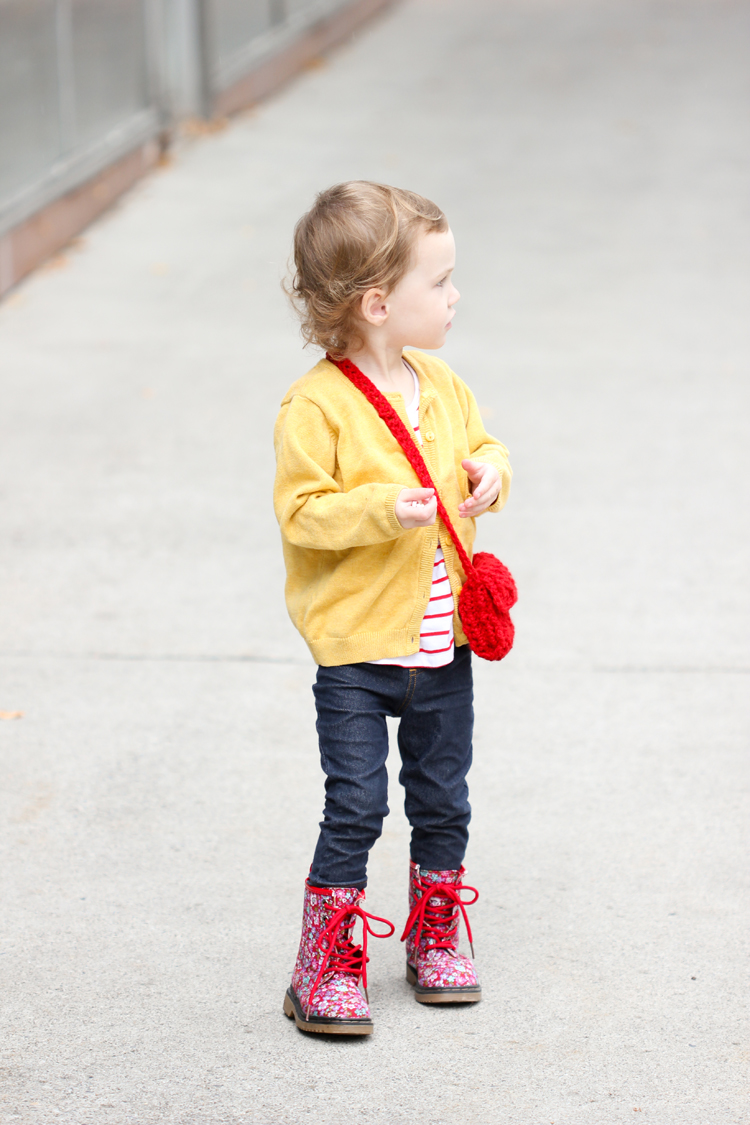
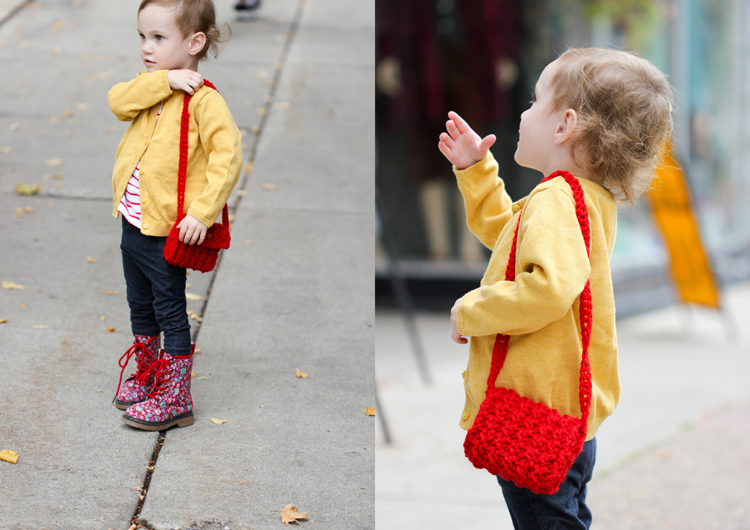
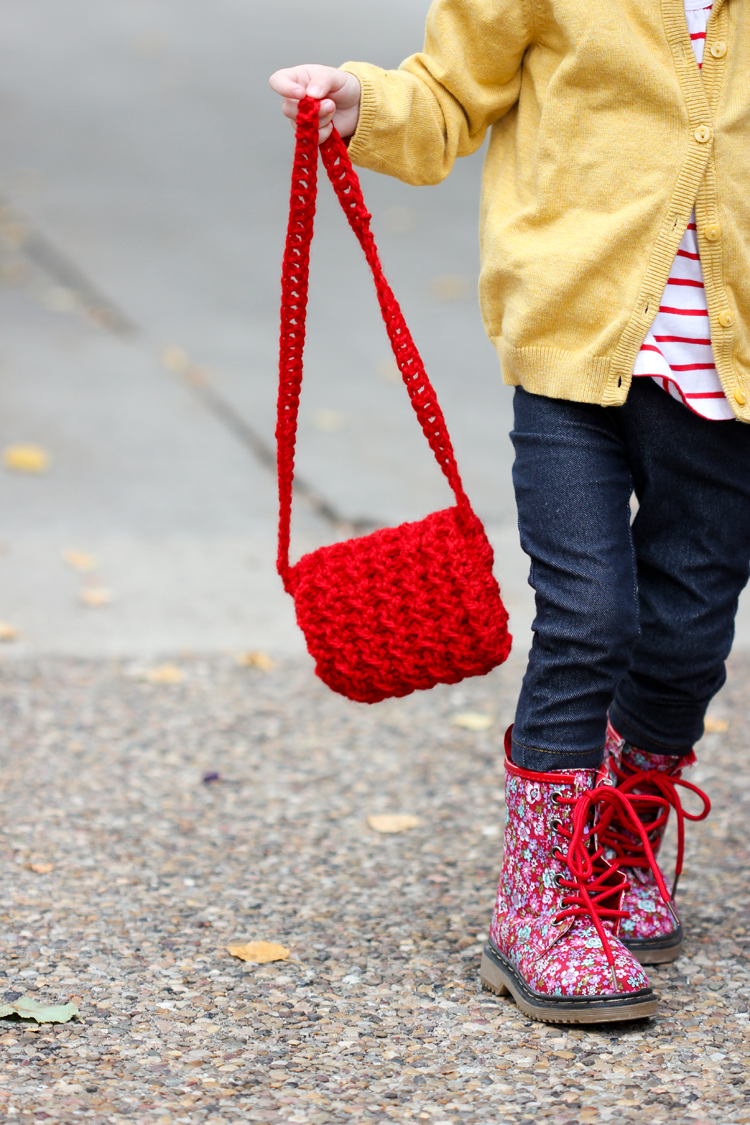
Once I was done, and handed the purse over to her, she slid it over her shoulder and toted it around like a natural.
Back to the class….Craftsy has some great online crochet classes, including this free one, called Amazing Crochet Textures. If you aren’t familiar with Craftsy classes, they are online courses which teach almost any creative skill you can think of. They are ready to take whenever, and wherever you like, AND you can watch them again and again indefinitely so you can completely master the skills and techniques they teach.
For the Amazing Crochet Textures class, the instructor Drew Emborski, also known as “The Crochet Dude,” shares how to create a ribbed texture, cables, and how to add beads. He also teaches how to make a foundation row. Meaning, there is NO chained foundation. He said that this method totally changed his “whole crochet life” and I have to agree. I can’t wait to use foundation stitches in lieu of chain stitches in more of my projects and patterns.
His class is geared toward making squares for an afghan, but I thought they would also make for a great purse.
The purse dimensions need to be longer and thinner, so I created a new pattern for this project. Be warned though, that the pattern is best understood after watching the videos, especially the section on making basic cables. The stitches are fairly complicated, so it helps to watch the video and practice a few times.
Okay, ready for the pattern?
MATERIALS
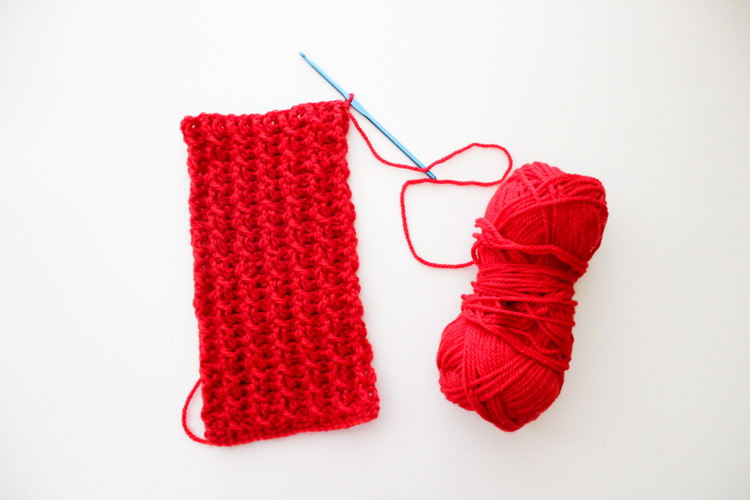
100 yards of worsted weight yarn
G/6 or 4.25 mm hook
yarn needle
1″ button/toggle
ABBREVIATIONS
ch = chain
sl st = slip stitch
sc = single crochet
dc = double crochet
hdc = half double crochet
fdc = foundation double crochet
fpdc = front post double crochet
bpdc = back post double crochet
GAUGE
4″ x 4″ square = 18 stitches x 10 rows
NOTES
This pattern is written in American terms. If British terms are needed, refer to Craftsy’s handy conversion guide HERE.
PATTERN
Row 1: Fdc 25, turn
Row 2: Ch 2, fpdc in next stitch, bpdc in next stitch [cable A, bpdc] repeat 4x, fpdc, hdc, turn. (23)
Row 3: Ch 2, fpdc in all posts facing you and bpdc in all stitches facing away, hdc in last, turn. (23)
Row 4: Repeat row 2
Row 5: Repeat row 3
Rows 6, 8, 10, 12, 14, 16, 18, 20, 22, 24: Repeat row 2.
Rows 7, 9, 11, 13, 15, 17, 19, 21, 23, 25: Repeat row 3.
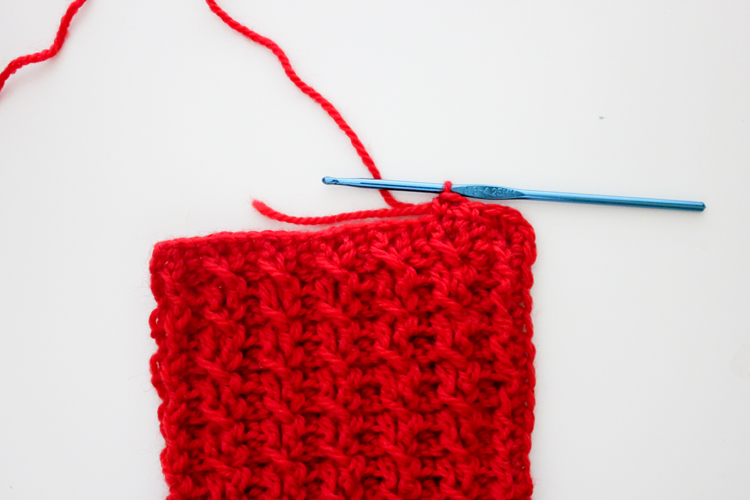
You should now have a rectangle that is approximately 5.5″ x 10″.
EDGE STITCH
Edge stitch around all four sides, in the same way that is taught in the class.
Ch 1, 2 sc in next st, [1 sc, skip st] 11 times.
When you get to a corner, 3 sc in same corner space/stitch.
sc down side rows/loops about 24 times.
3 sc in one corner space/stitch, [1 sc, skip st] 11 times.
3 sc in one corner space, sc down side row loops, 1 sc in first corner you started with and tie off.
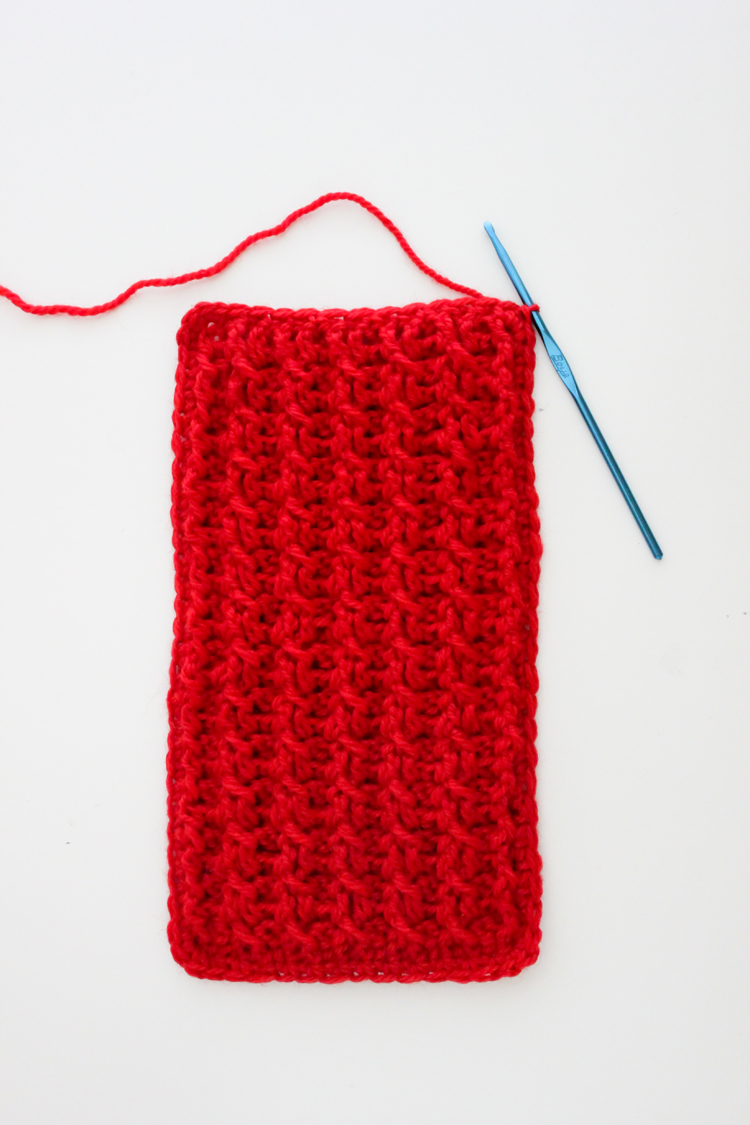
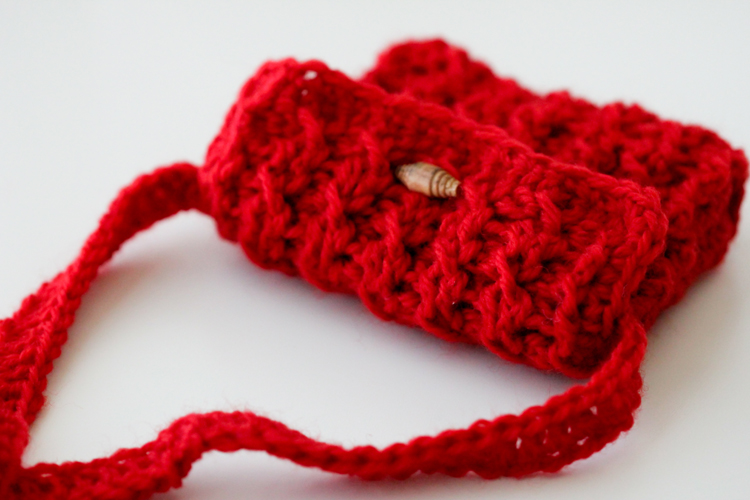
You should now have something like this:
SEW PURSE TOGETHER
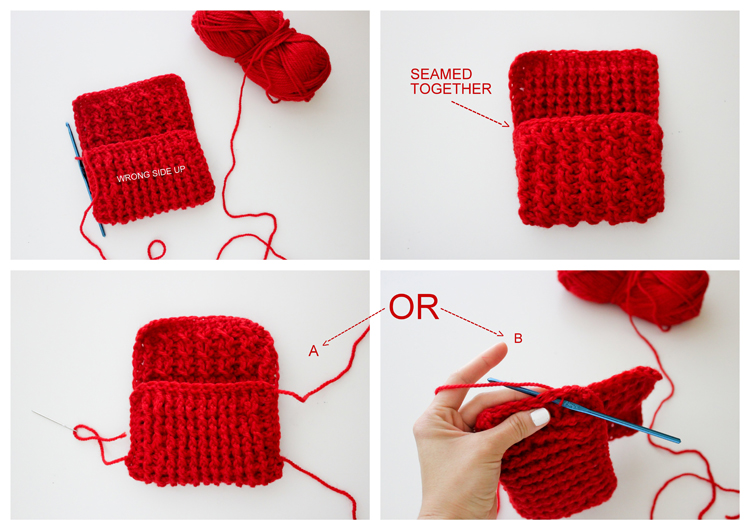 With the wrong side of the piece facing up (cable side facing down), Fold the rectangle into purse shape…almost in thirds, but with the flap smaller than the rest of the purse.
Next, you need to seam the purse sides together. You can do this with sl st up the sides (A), or with a yarn needle and whip stitching (B). Weave in ends.
ADD STRAP
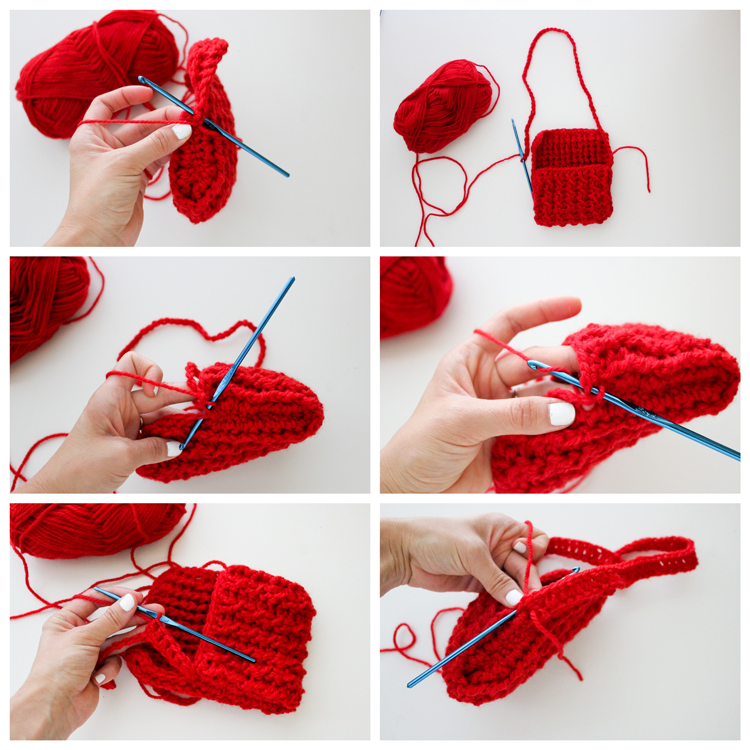 Turn the purse right side out.
Insert your hook into one side of the purse. Chain to desired strap length.
Insert hook into other side of purse and sl st. Sc into a loop right next to it, in the purse.
Now, dc along the chain all the way back to the beginning chain.
Sl st into the other side of the purse, right next to where you started. Tie off and weave in ends.
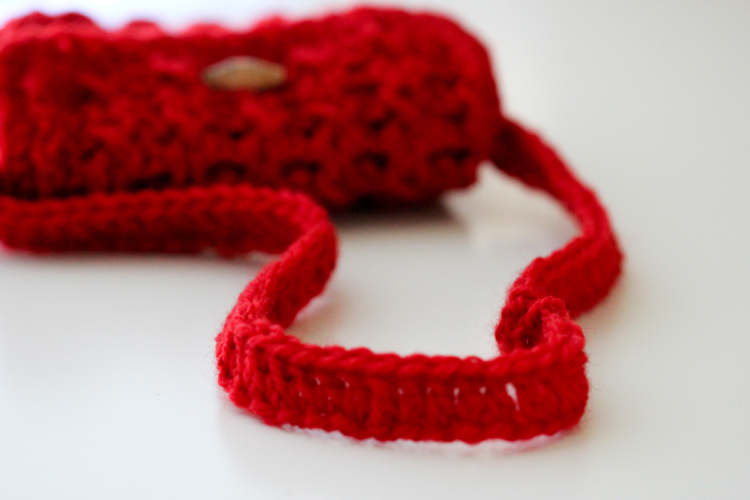 All that’s left to do, is sew on a button. You can do this with yarn or thread. Both methods work, so it’s up to you.
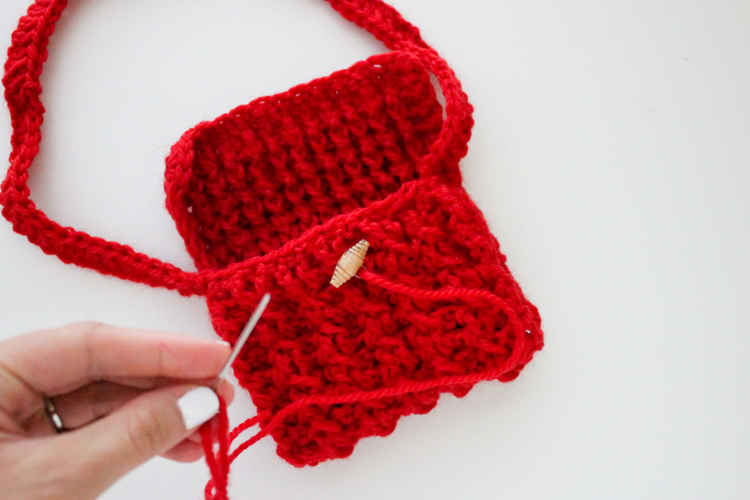 To close the purse, simply work the button into an open loop in the flap.
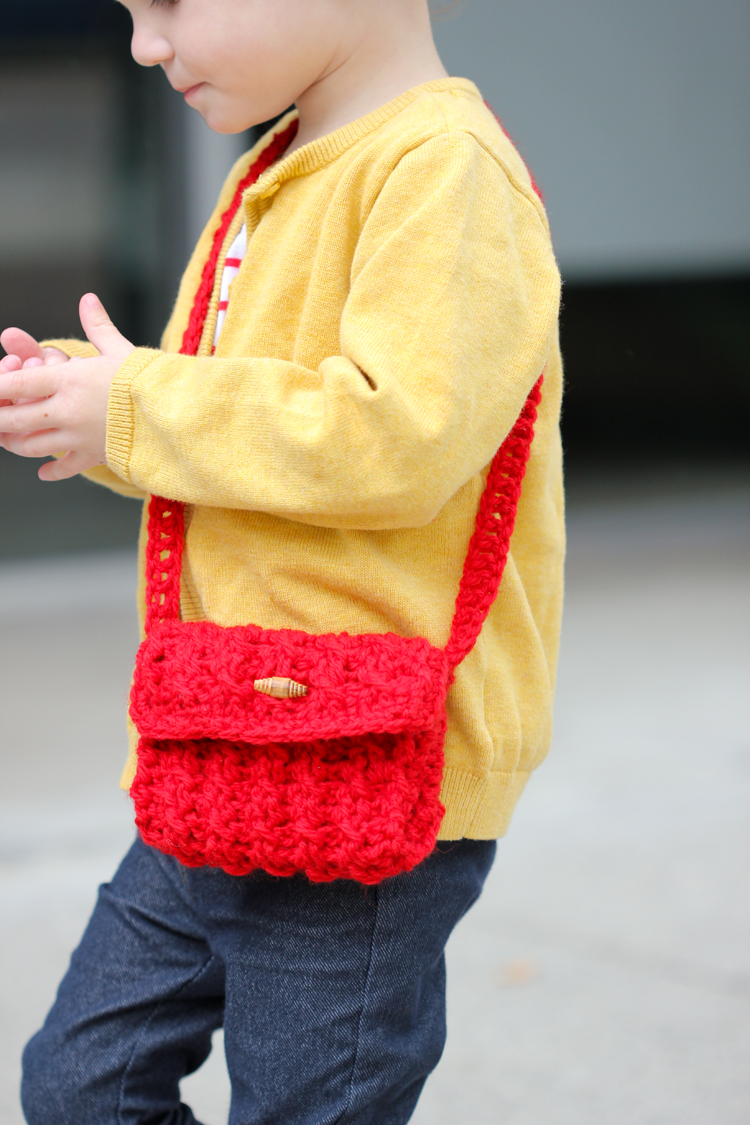 The button has admittedly been a bit of a challenge for Natalie to manage. She seems to be figuring it out though. If your child is younger than 3 years old, consider installing a snap instead.
 Once you get a purse under your belt. Go for the free afghan pattern offered with The Amazing Crochet Textures class! There is a beautiful criss cross cable pattern in there that I want to try as well.
The post was sponsored by Craftsy. All opinions are my enthusiastically and genuinely own. 🙂 I honestly think Craftsy is fanastic!
For more posts sponsored by Crafty, see HERE, HERE, and this crochet pattern one HERE.
SOURCES: Yarn – “Bright Red” Patons Classic Wool, worsted, 100 g/3.5 oz. || Hook – Boyd || Toggle – from stash || Yellow cardigan – H&M || Striped shirt – Old Navy || Jeggings – Walmart || Floral boots – Zulily



Oh my gosh, I love this so much Delia!! So simple and perfect. And those boots?? LOVE! I want a pair fo rme 🙂
Thanks Dana! 🙂 I know…those boots are fun huh? They are good for our rainy climate now too.
Oh my goodness, she is just too adorable with that little purse and those fabulous boots. What a cute little project.
Melissa
Thanks Melissa!
That purse is so cute! Aren’t little girls wonderful? =)
So so cute Delia!
This pattern is really confusing:
Row 2: Ch 2, fpdc in next stitch, bpdc in next stitch [cable A, bpdc] repeat 4x, fpdc, hdc, turn. (25)
So chain 2 (is one stitch), fpdc, bpdc (2 more stitches), then cable A (Im not even sure what you mean by this. You want me to cable something? huh?) If I repeat 4 stitches 4 times I only get 16 stitches. If you add the chain 2 from the start, the ending fpdc and hdc and you only get 19 stitches. Even if you repeated the pattern one more time you still only come out with 23 stitches.
Please help!?
Crystal,
Sorry about the confusion. The pattern really won’t make a lot of sense if you don’t want the video and learn the cabling stitches on the Craftsy website. It’s a complicated set of stitches that is much more easily grasped by watching the video, so I didn’t even attempt to show it in pictures.
I hope that helps!
Delia
But I am glad you made me go back and check my math. I forgot to take off two stitches from the stitch count after turning the chain. So I fixed that. 23 stitches is right. You were right to catch that. As for the cabling though, you do need to watch the video.
Thank you for commenting!
This pattern ONLY makes sense if you watch the videos. If you want a complete pattern that doesn’t require “purchasing” free videos and then hunting through them for the info you need to make a little purse for your kid, skip this. Very frustrating.
Hi Megan,
I understand why you might be frustrated. I created this pattern in partnership with Craftsy and the goal was to help spread the word about the cool crochet videos they offered. You do have to use the Craftsy service which offers both paid and free videos. So you have to put the free video in your cart and check out, but you don’t pay anything.
The video teaches you how to work some new stitches, which are pretty complicated to learn without a video I think. The purse is my way of showing how you can turn essentially a lengthened practice swatch into a cute, useable project.
I’m so sorry if it’s caused you frustration. If you want, I’m sure you could work a camel stitch (hdc in the third loop) or a ribbed hdc (back loops only) to get the purse dimensions you need and create your own version. The ribbed texture is less pronounced but still very cute. I hope that helps. Let me know if you have any other concerns.
Delia
Very cute, and those boots though!
I will be trying this pattern in the near future. Thanks for sharing.
Aren’t those boots a hoot? I hope you enjoy the pattern!