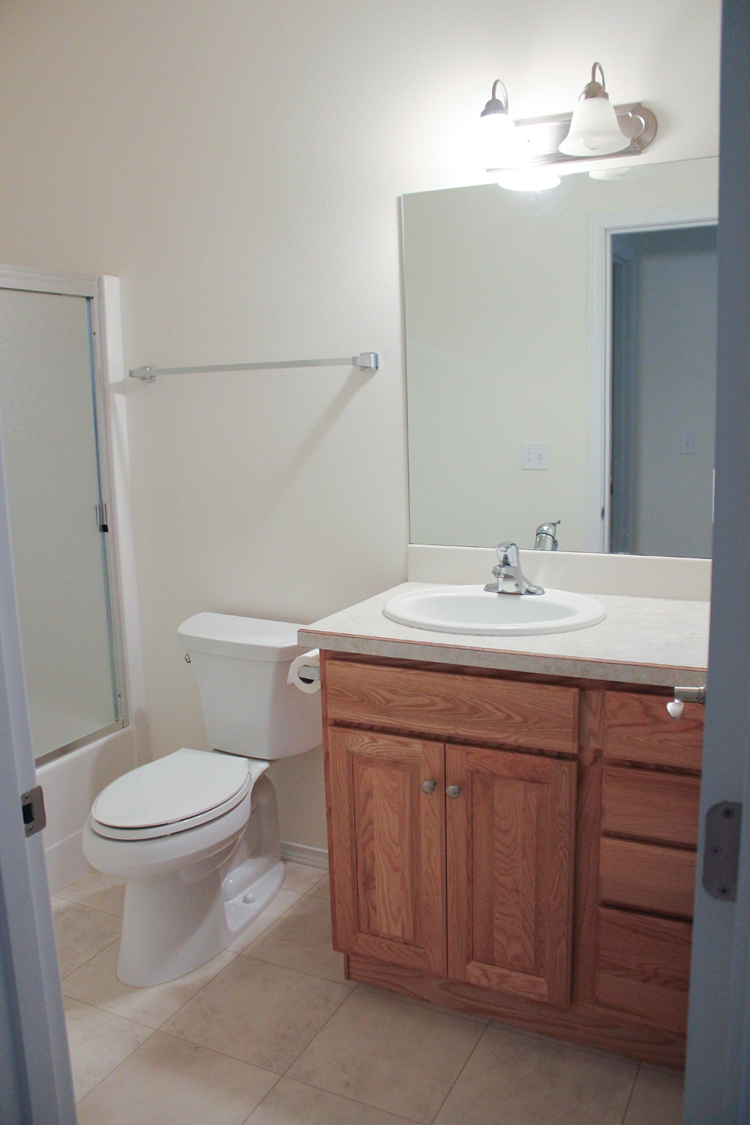
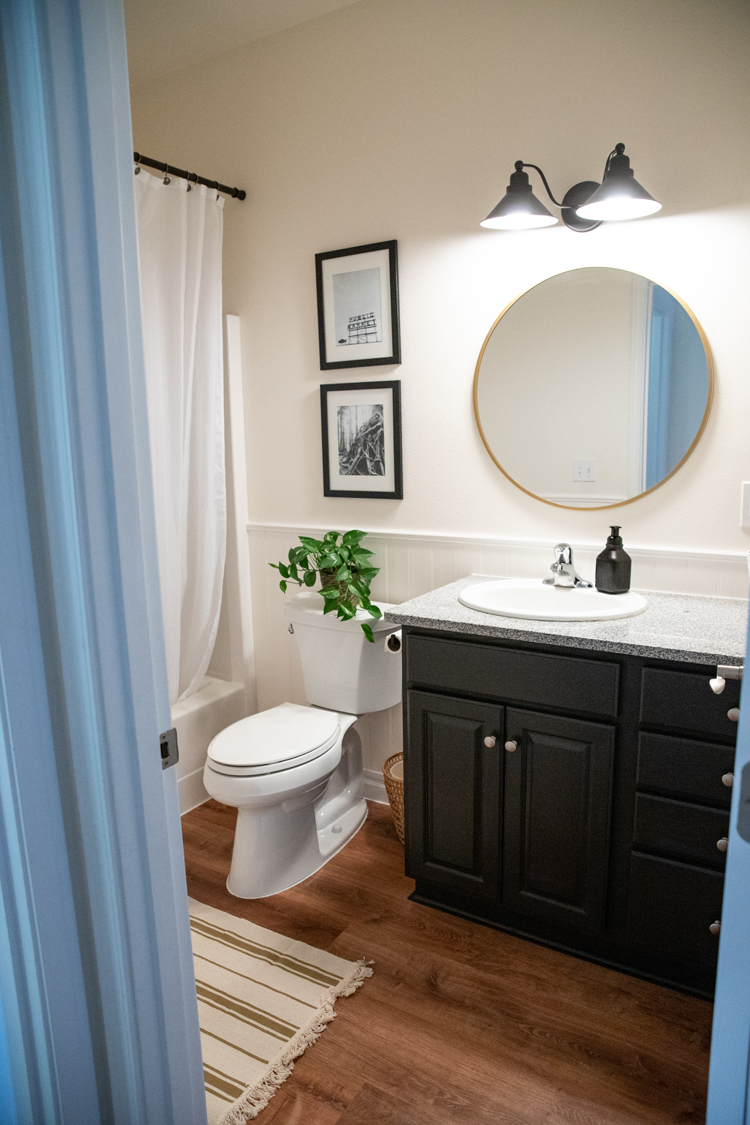
This is part two of our bathroom makeover project. There was SO much information that I had to break it up into two posts. Click HERE to see Part One, which has all the before and after pictures, and covers painting the cabinets with chalk paint, fixture sources, and flooring.
Molding and Bead Board
Our old baseboards were mdf and they were not holding up so well. We had to replace them when we replaced the flooring anyway, so we decided to install a waterproof, vinyl baseboard.
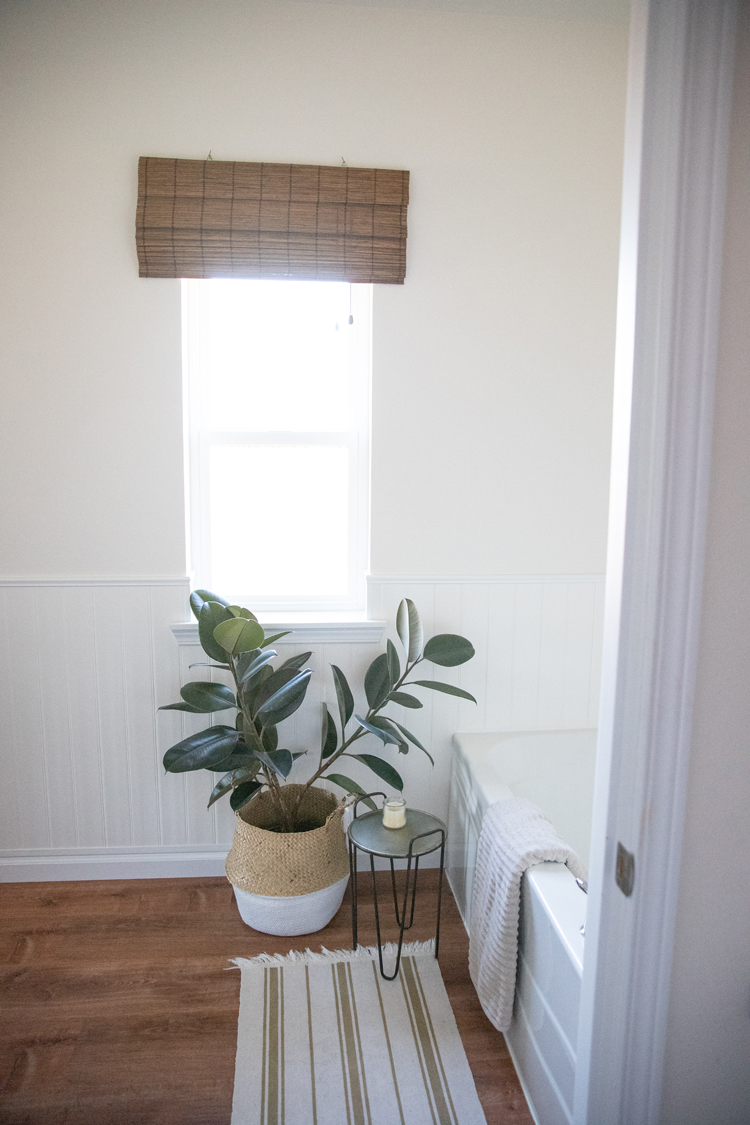
We had plans to put up a tile backsplash behind the sinks and bathtub, but I wanted a seamless look around the whole room. The idea of tiling the whole room was not appealing and my husband was not on board. Tiling by myself was definitely…out. So, I looked into vinyl shiplap and hit a dead end. It was too expensive and hard to source in my area in the quantity I needed. Then I found these Veranda beadboard panels.
Bead board may not be very trendy but I feel like it’s classic and timeless. They were just the right height for what I wanted too and they were affordable at only $19 per pack of six panels!
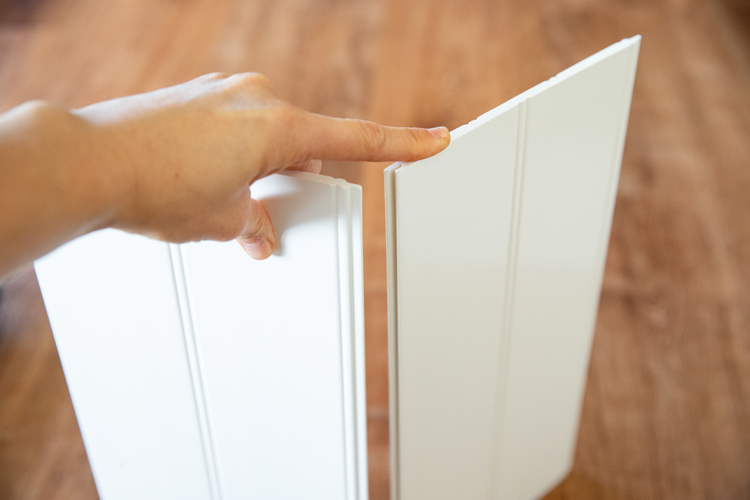
There are some other similar kinds of vinyl bead boards but after reading reviews and handling them in person, the Veranda ones are truly the best ones. (I get no perks for saying that). The other kinds dented VERY easily. These Veranda ones are much tougher, and even after cutting them with saws and hammering one in to a tight spot, they have held up beautifully. The only thing they don’t hold up well too is scratching with a blade (but what does really?). I used the short panels, but they come in really long panels as well if you want to try to install them vertically sort of similar to shiplap.
And they’re waterproof of course which was the most exciting thing for me. Waterproof and easy to install…I’m in.
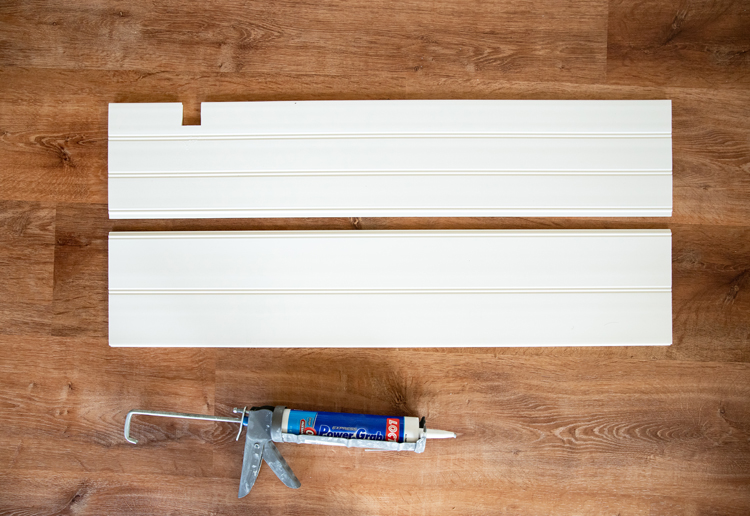
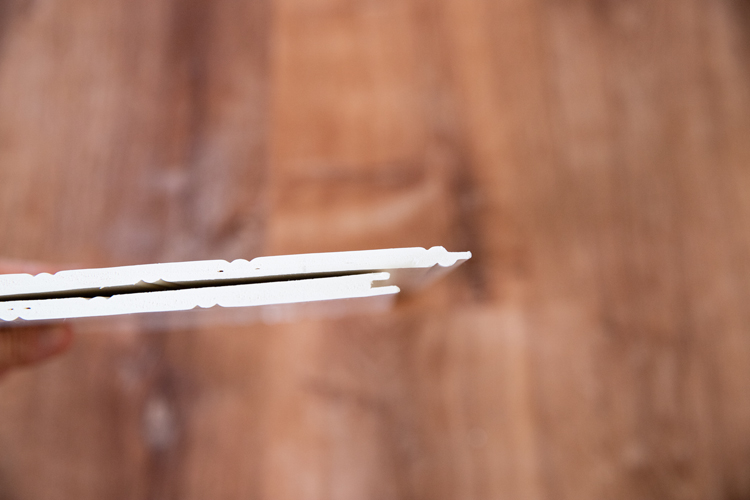
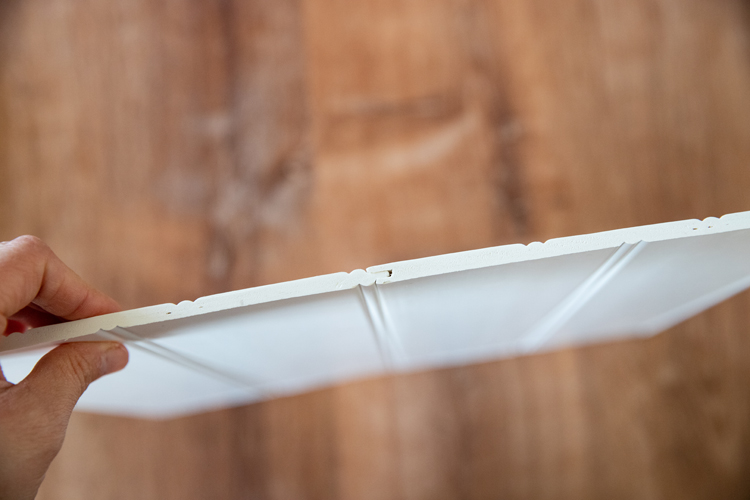
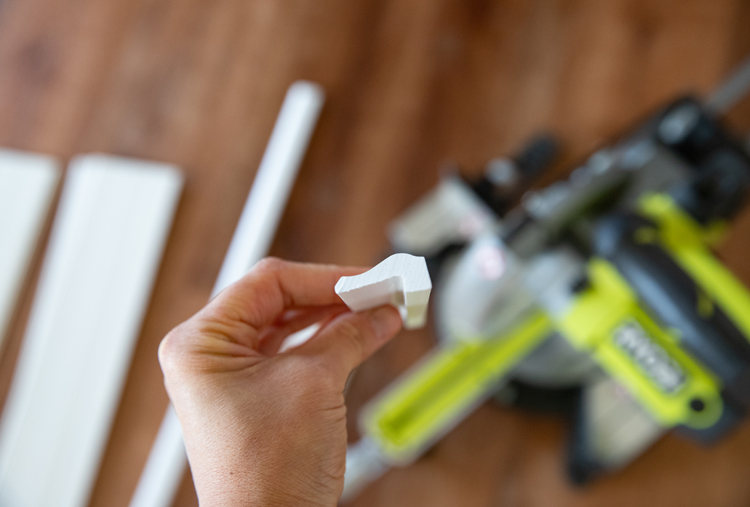
The Veranda panels are doubled sided, so that you have the choice of thinner and wider bead board. I chose the wider bead board. This picture above, shows the two sides. One of them has a bite taken out of it because it was a board that I cut incorrectly.
Our smaller bathroom only needed about 3 packs. Our larger bathroom took about 6 packs, even with some waste. The installation was very easy. I’d say it was even easier than installing the flooring and actually quite similar.
Materials
Tools
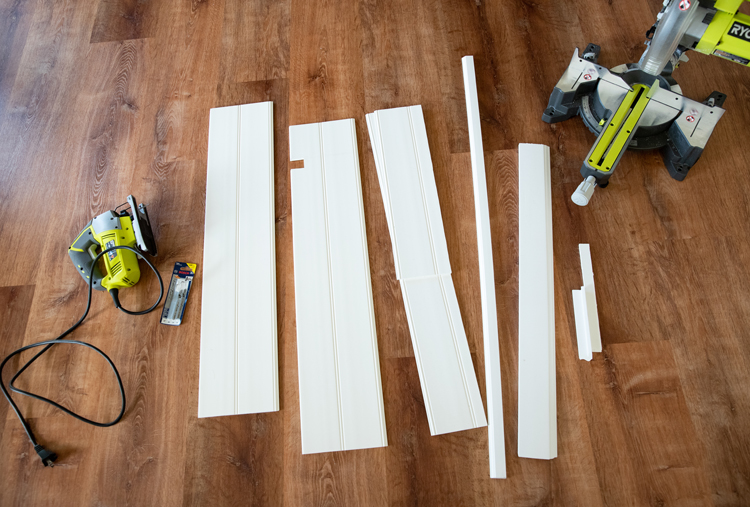
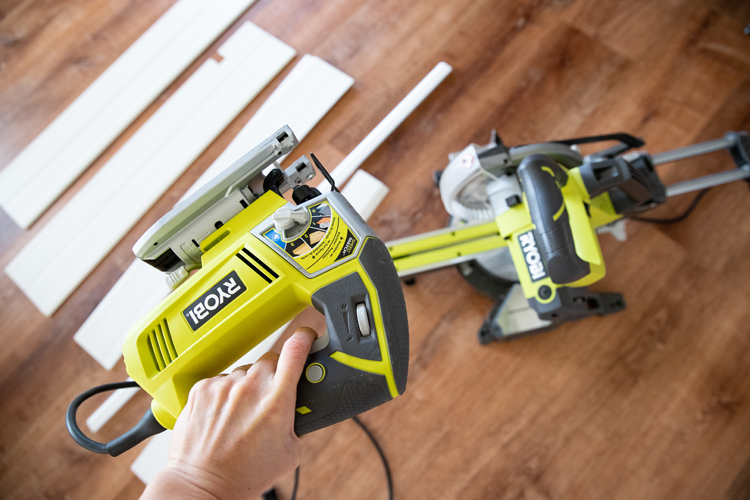
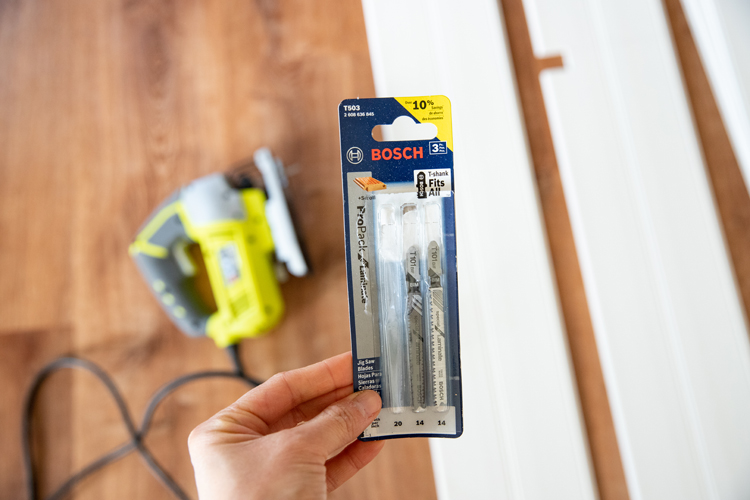
The tool you absolutely need is a jig saw with a laminate blade. This allowed me to cut the boards to fit around corners and up around the tub. You also need a miter saw with a laminate blade for the moulding, but it’s also nice for straight cuts on the bead board panels. We don’t have a proper work bench. We just used the miter saw on the ground (works great!) and the jig saw between two sturdy metal stools. As for brand, we have all Ryobi tools and we love them.
Adhesives
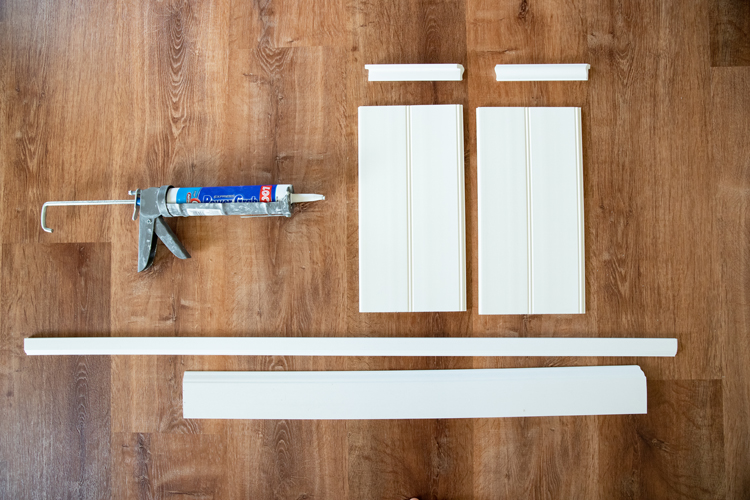
I used Loctite Tub and Tile construction adhesive for most of the panels. For the cap molding I used Loctite Power Grab construction adhesive for bathrooms and kitchens. I used mildew resistant white caulking made for kitchens and bathrooms to fill in gaps.
Moulding
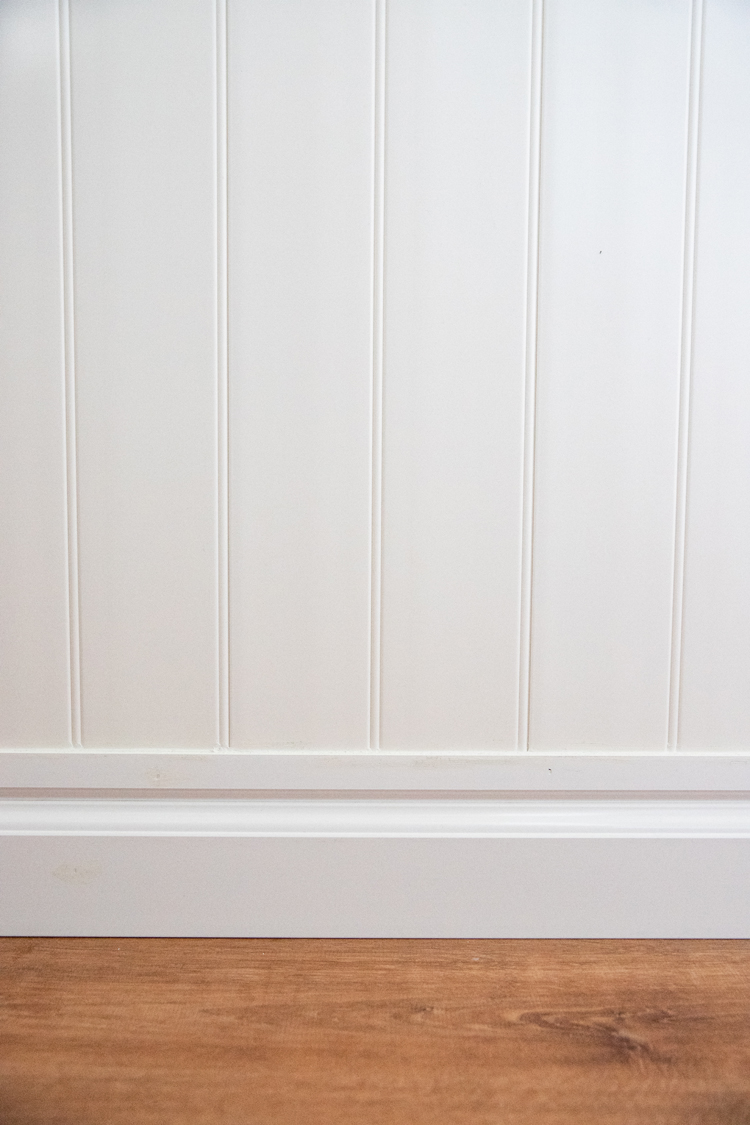
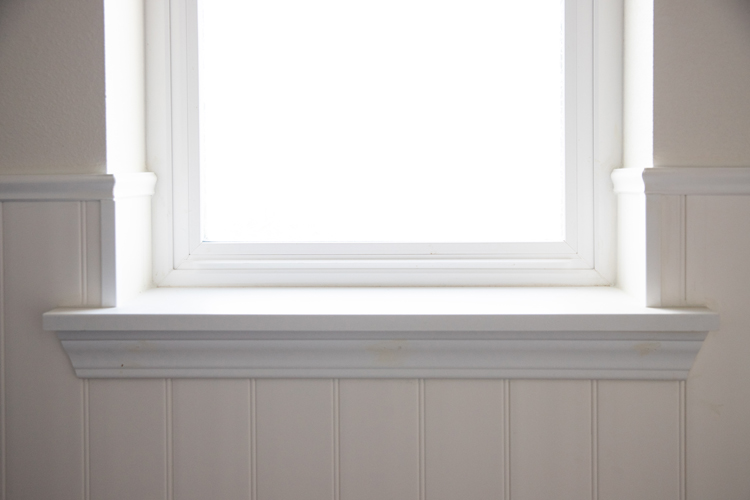
I used a 3 1/4 inch wide Colonial Base PVC Composite Moulding for the baseboards and then inverted a 1 1/4 inch wide moulding on top of it so that the bead board panels could sit on top of the bottom of the molding.
I placed the bead board panels on top and then added a composite ply cap moulding to the top of the panels.
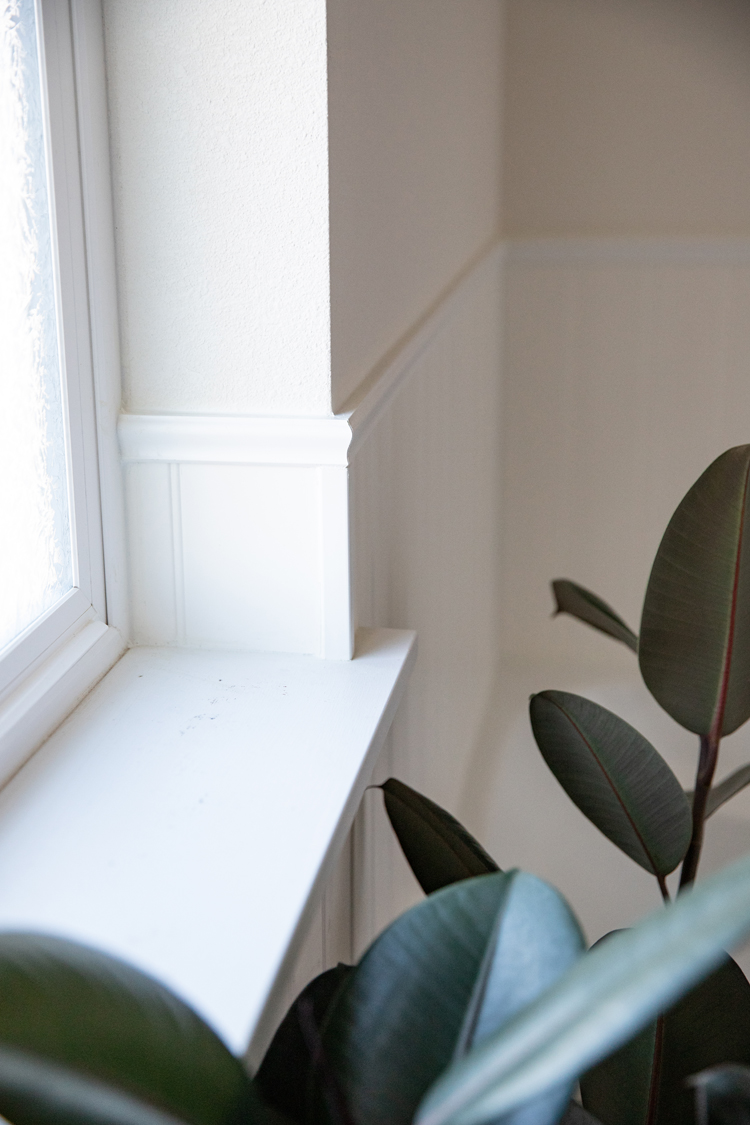
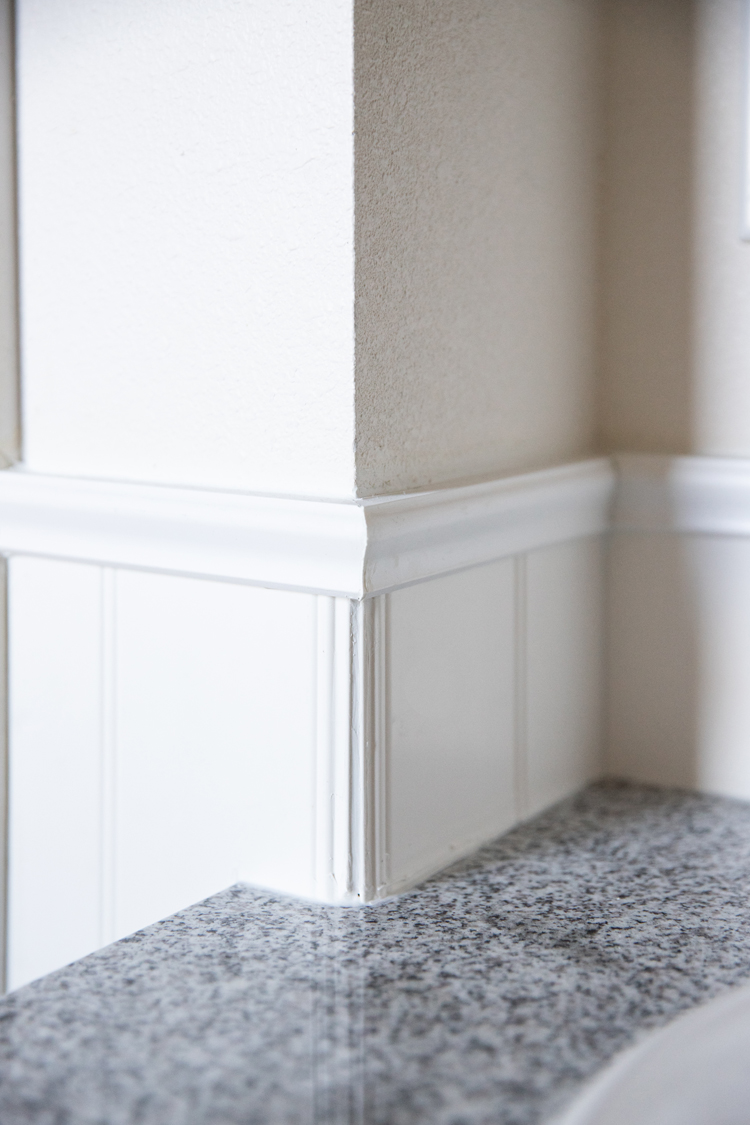
All of the inside corners and one of the outside corners needed only a line of caulking to complete it, but there were some corners around a window that didn’t end up quite as clean. I added THIS 1 1/8 inch outside corner moulding to those spots.
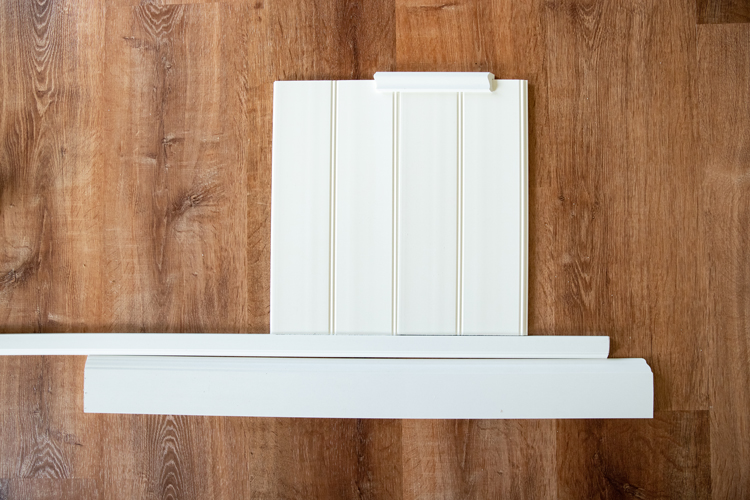
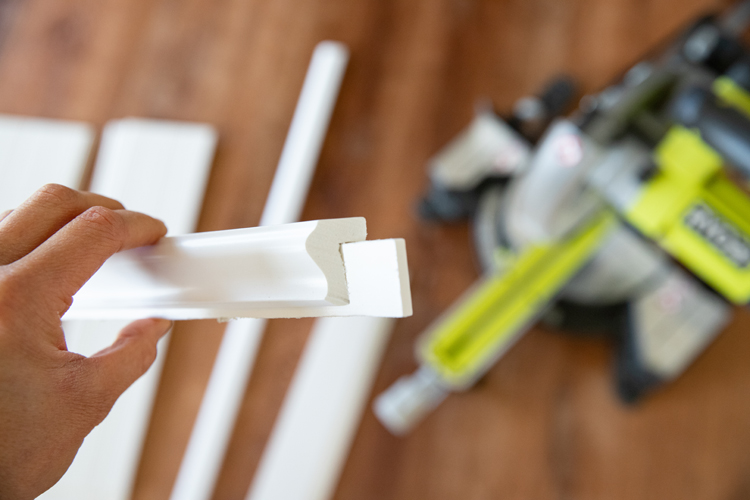
This picture shows the moulding and bead board dry fitted. The bead boards are scrap pieces that have been cut down. They are normally about 3 1/2 feet tall.
Installation
I nailed the baseboard and moulding in with a nail gun. I probably should have used construction adhesive to install it, but I just covered up nail holes with some caulking instead of paint.
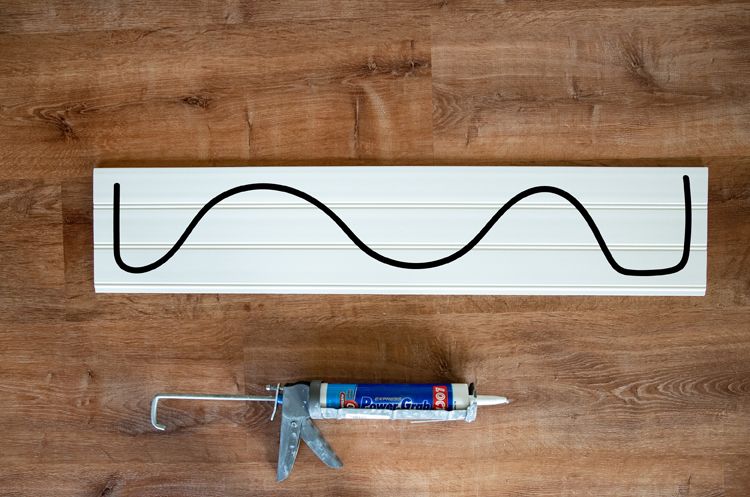
I then installed the panels using the tongue and groove sides. I applied the construction adhesive to the back as pictured.
I accidentally deleted all my process shots (I know…there was a day of gut aching over that), so these pictures I took after the fact will have to suffice. I drew a line to show how I applied the construction adhesive to most of the panels.
I pressed them to the wall as firmly as I could and made sure to not squeeze the panels together too tightly side by side so that they would have room to expand and contract. But that’s it! It was pretty quick work.
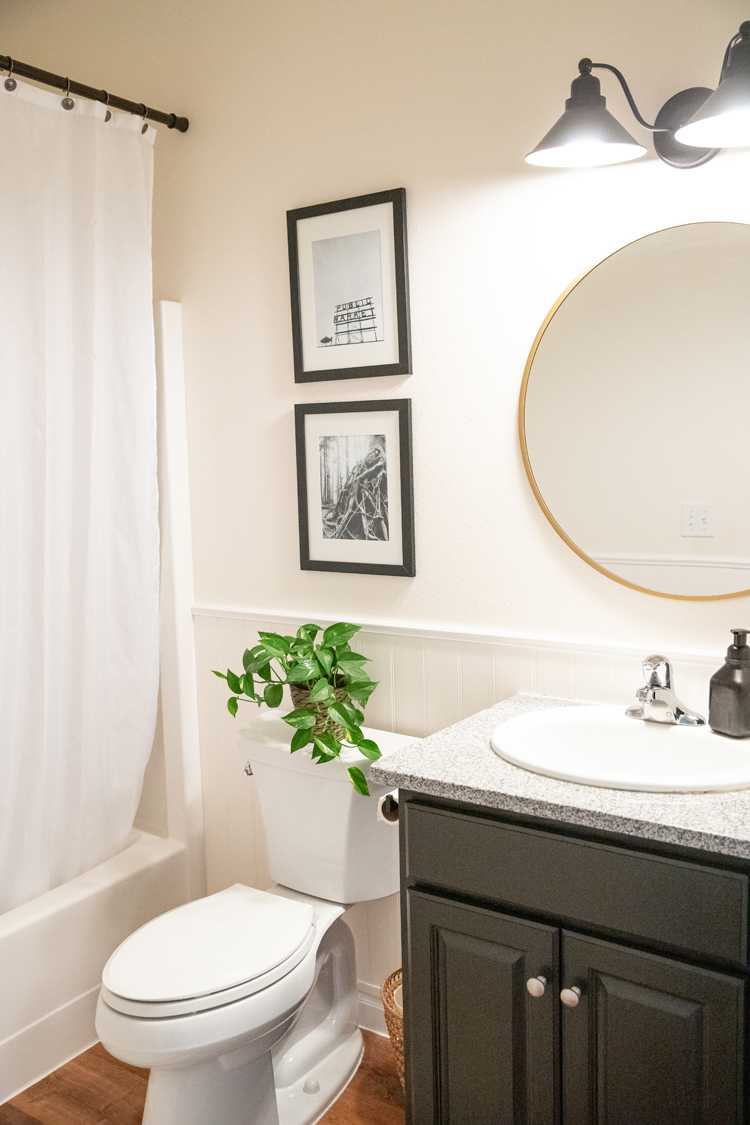
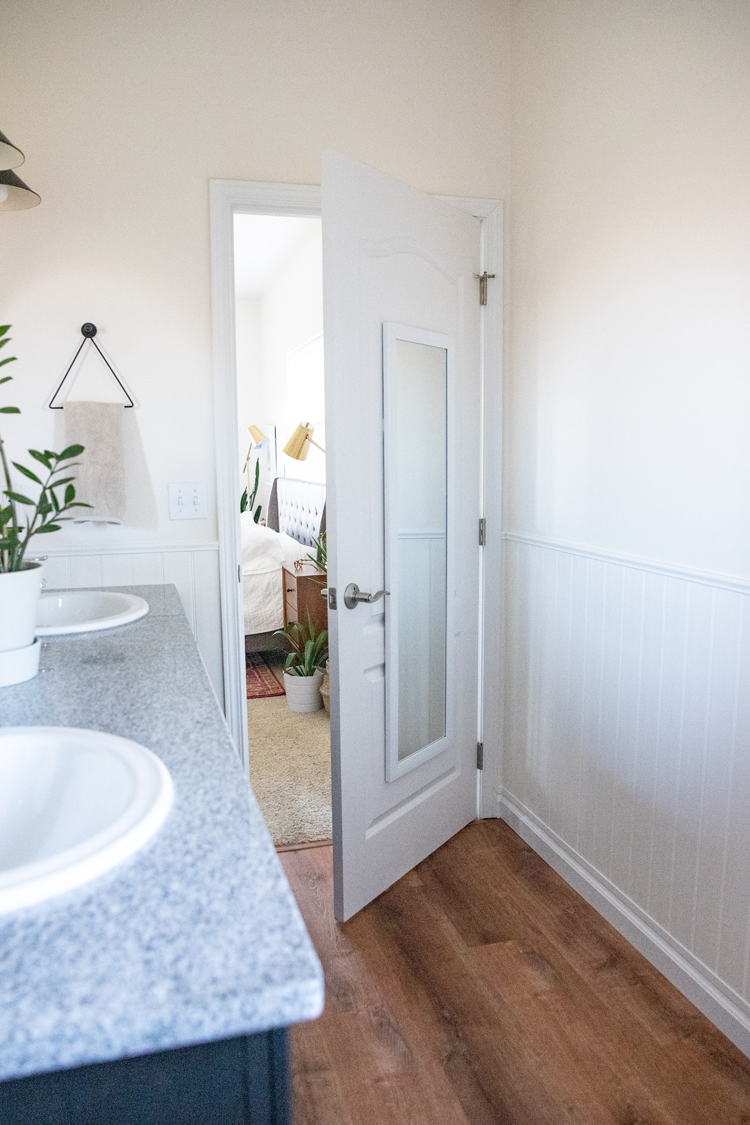
I cut panels down for the backsplash behind the sinks and bath tub so that the bead board would run the same height all around the room. 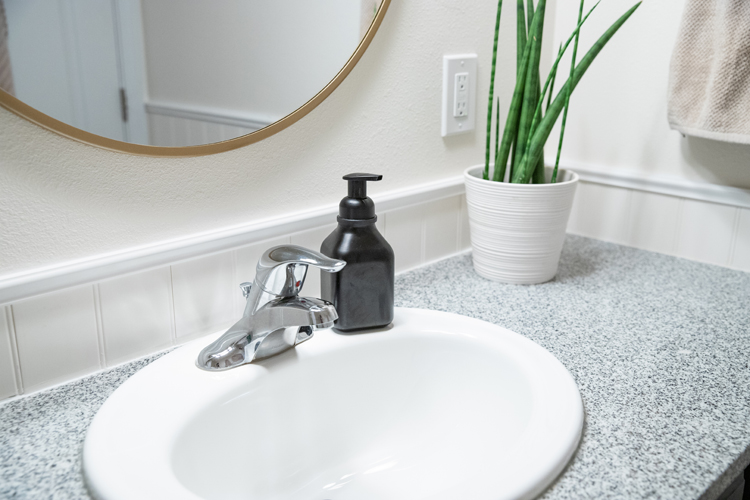
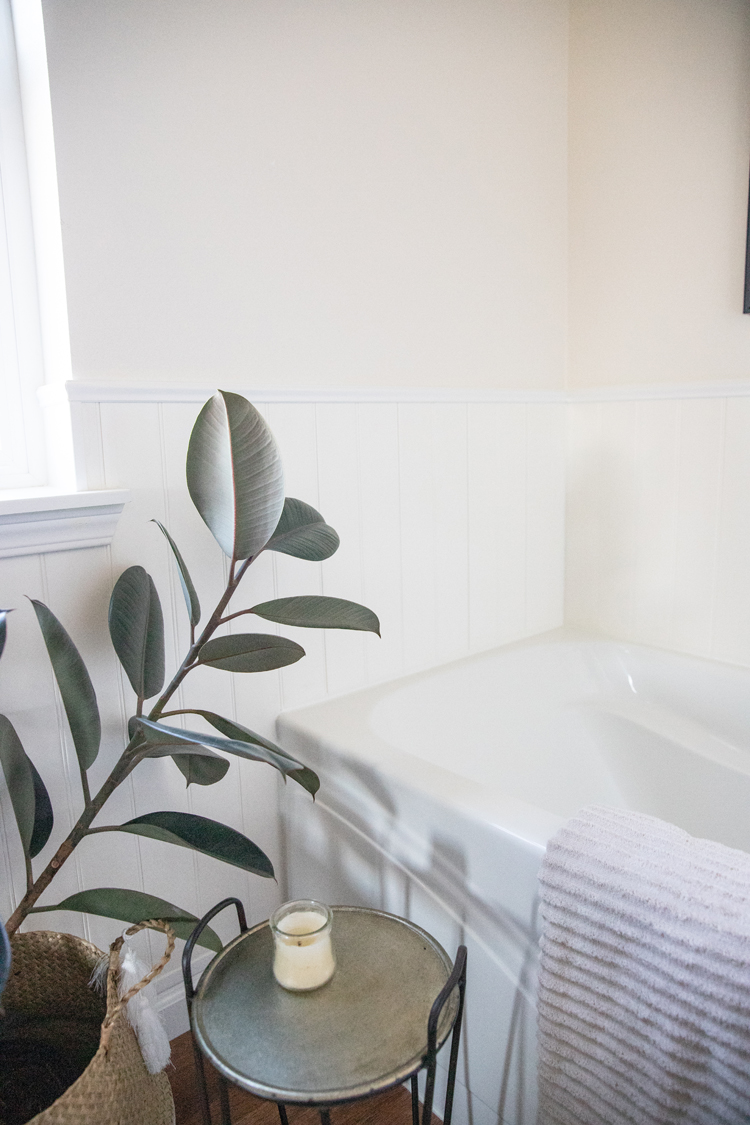
Then I added cap moulding. To cut the moulding and miter the corners, I inserted a little piece of bead board underneath it to get it to cut properly. Otherwise the corners never meet just right.
I finished up by caulking everything with white caulking.
I also added a bead of clear caulking at the bottom of the baseboards nearest to the bath tub and showers.
Phew! It’s been pretty amazing to see it come together and there is still a ways to go. For now though, we’re happy with it!
For more befores and afters and for links to where I got fixtures and accessories, check out Part One.


Leave a Reply