This bathroom makeover post has been over three years in the making. THREE. Years. Phew! And yet, I still would prefer to call it a makeover rather than a renovation, because the changes made were mostly quite simple.
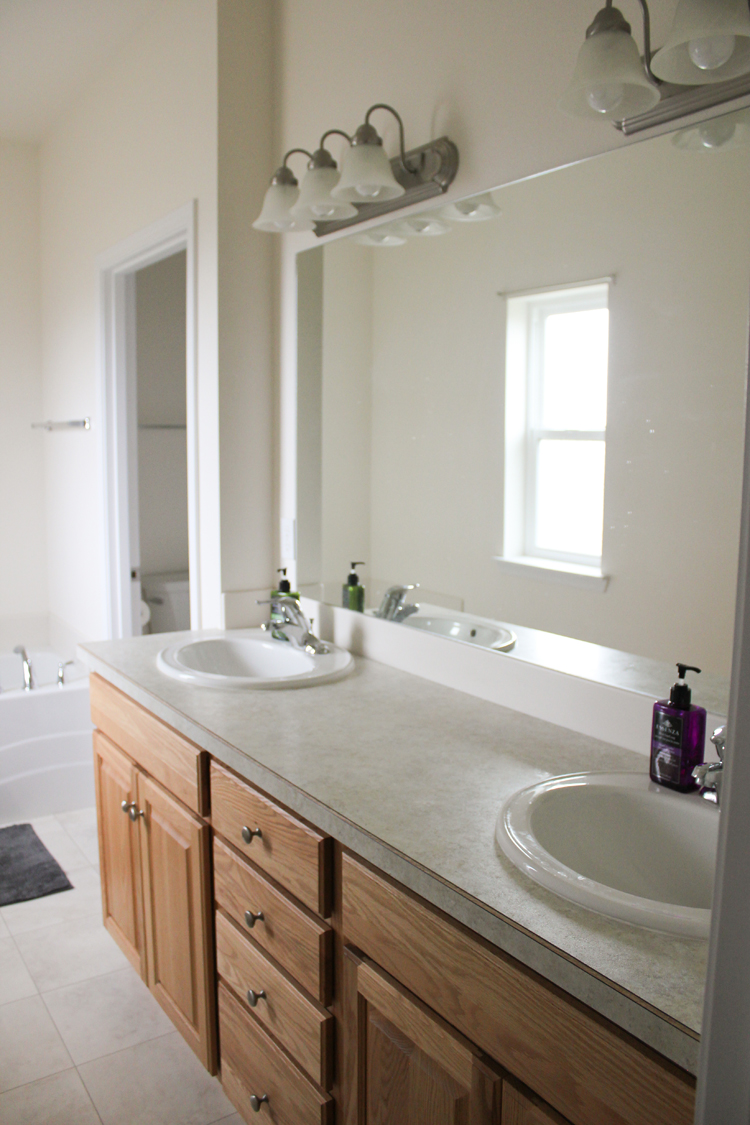
About three and half years ago, we bought what we considered our first little starter home. We now love living “small” and may stay here for years to come but that’s another topic probably for another post. Our house was a new-ish builder’s grade type home, with oak cabinets and laminate everywhere. I immediately wanted to change it all! 😉
So, I jumped right in and made over our kitchen….and then promptly lost steam and didn’t finish any of our other plans for about three years. Ha! Doing the kitchen by ourselves, when we had never done ANY home renovation projects ever totally burned us out, but I am still happy that we started there. Having a beautiful kitchen cannot be underestimated.
We knew we wanted to re-do the bathrooms as well, but we didn’t want to spend a lot of money. Aside from just being penny pinchers, we didn’t want to over improve the space and not see a return on our investment if and when we finally sell. Because the project took so long, I didn’t keep a precise tally for how much we spent, but I would estimate that we spent under $1500 for both bathrooms. Not too bad, considering we changed the flooring and the countertops.
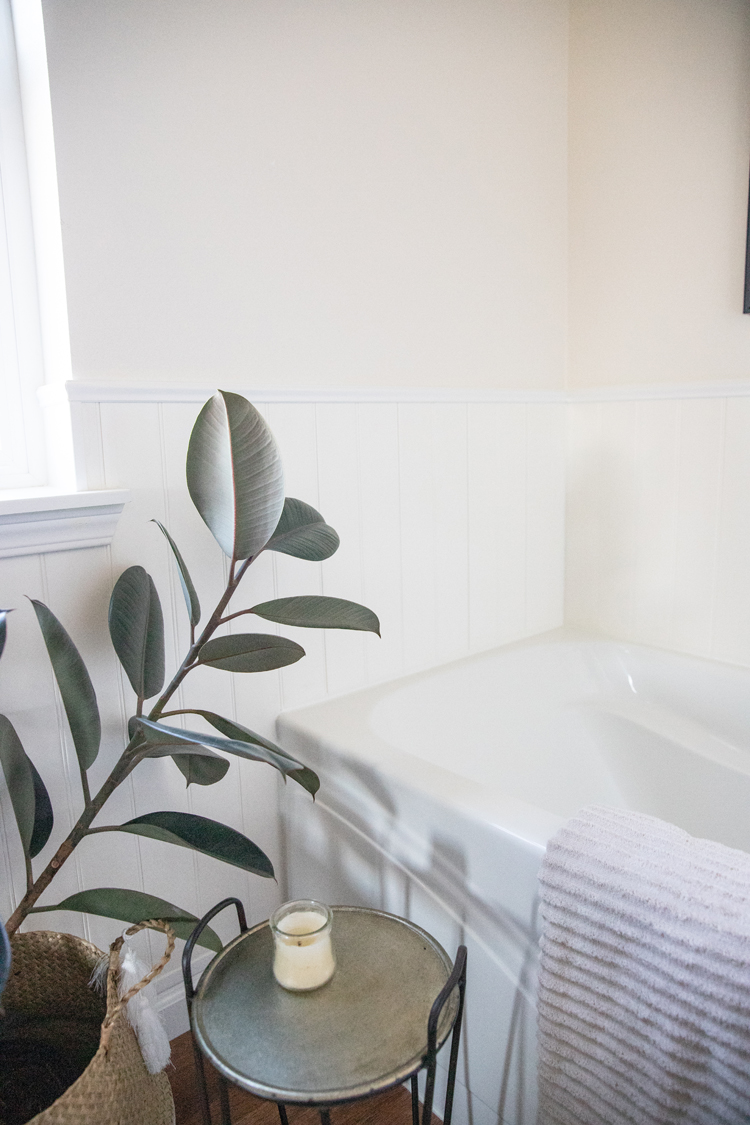
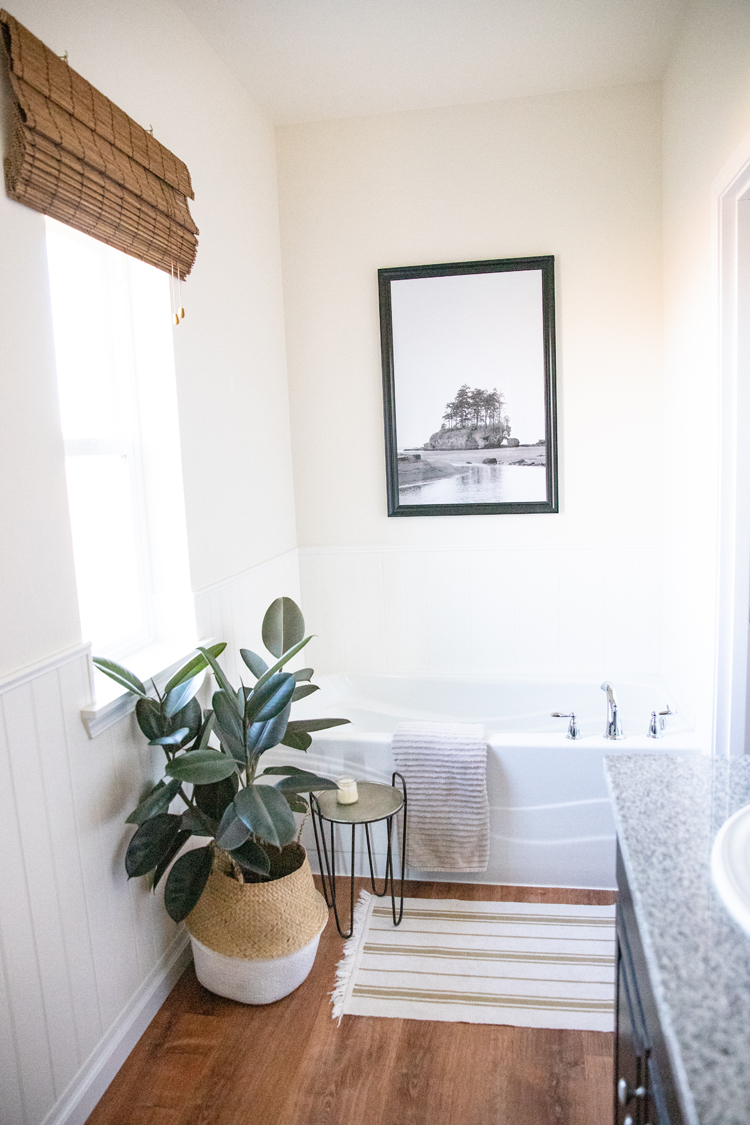
It is actually still not completely done. We are still on the hunt for just the right bathroom rugs, towels, shower curtains, etc. but I knew if I didn’t post this now, I would probably put it off for another year (If you know me, you know I’m not exaggerating). So, here it is in it’s mostly done state. (Though, I did have to borrow some plants, a stool, and a rug from other places to make it look at least a little homey.)
Let’s do some befores and afters, shall we?
Note: This post contains affiliate links.
Before and After
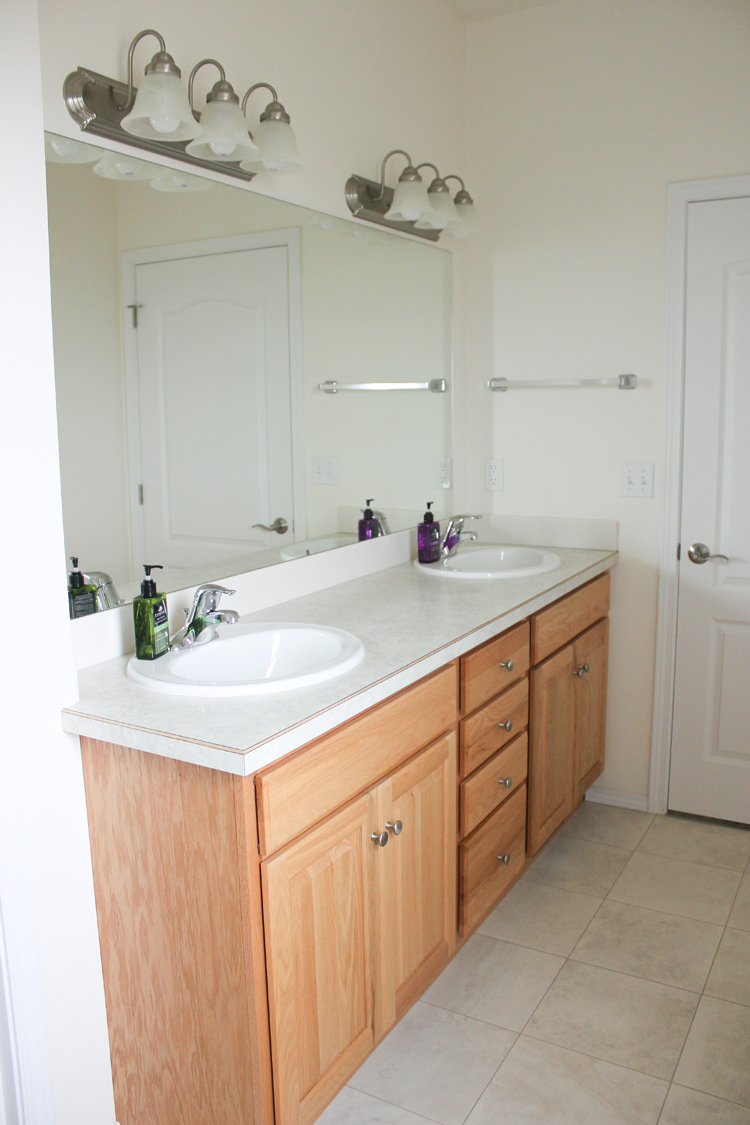
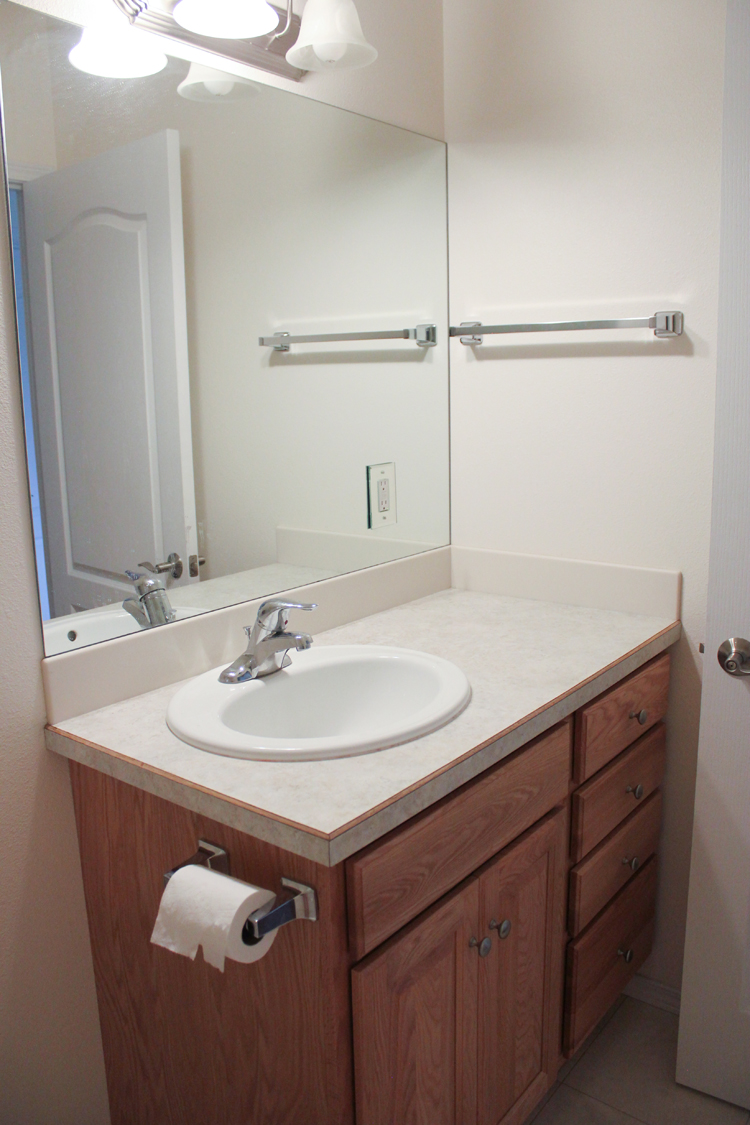
This is the before, before…as in, before we replaced the countertops. After we replaced the countertops though, it still sat looking pretty much like this, but with cool gray counters that clashed with the warm, yellow oak for about three years.
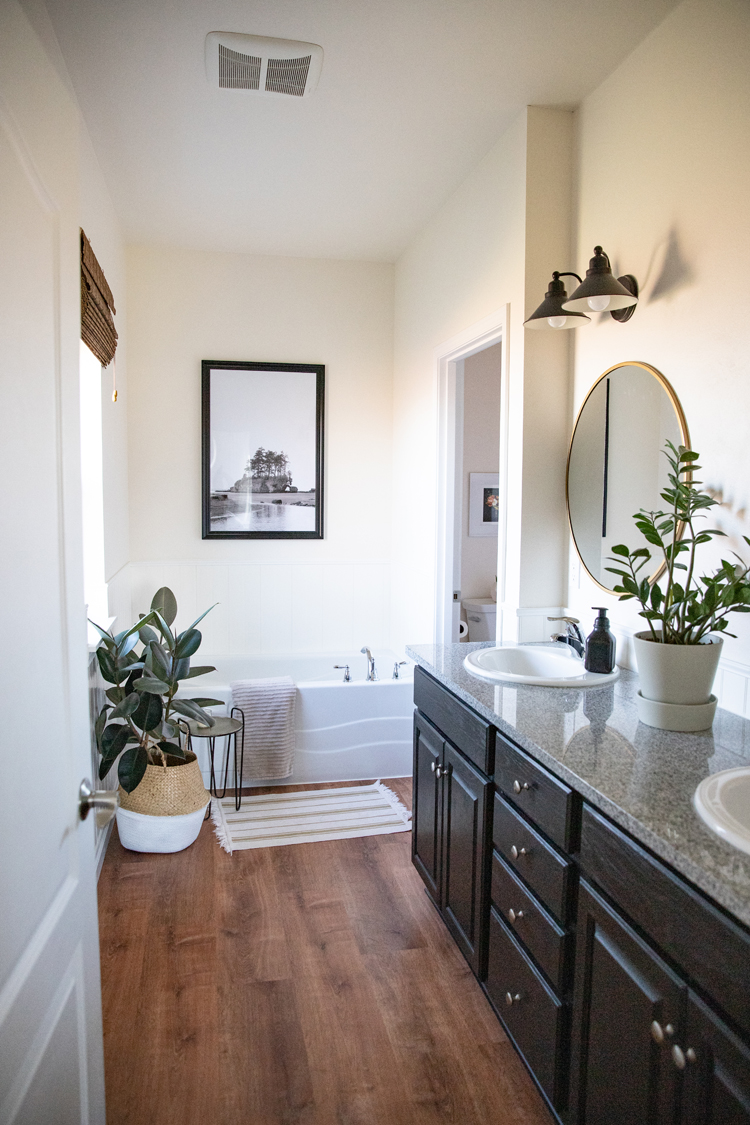
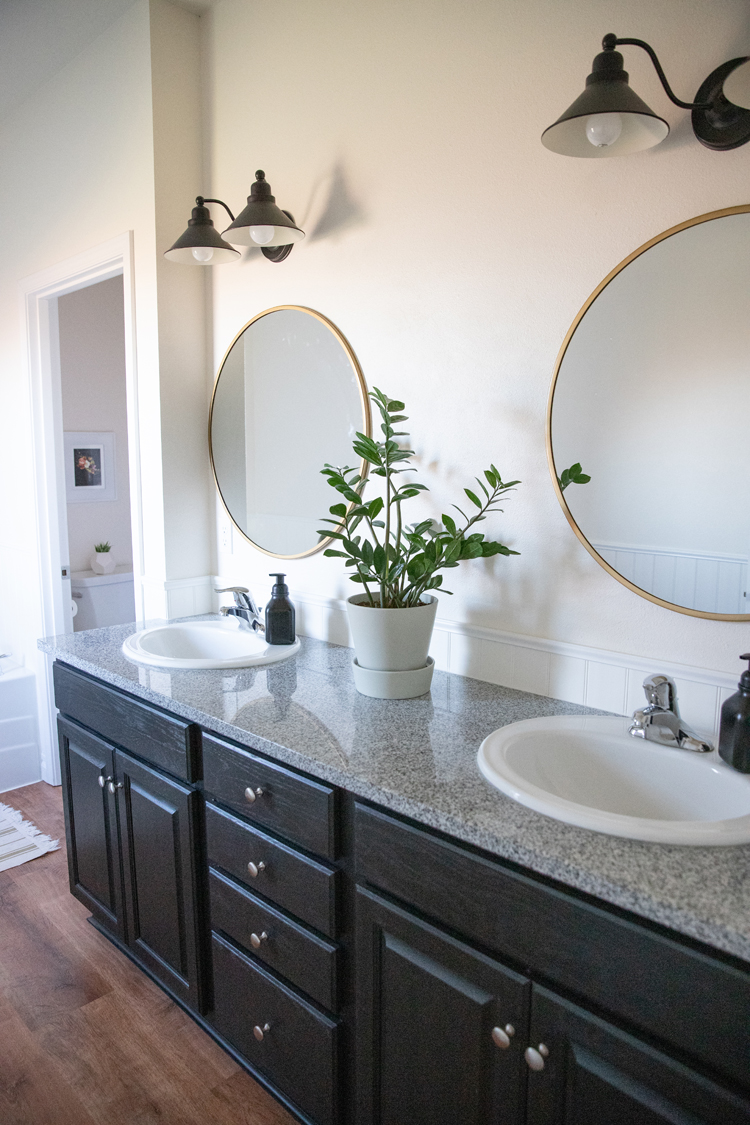
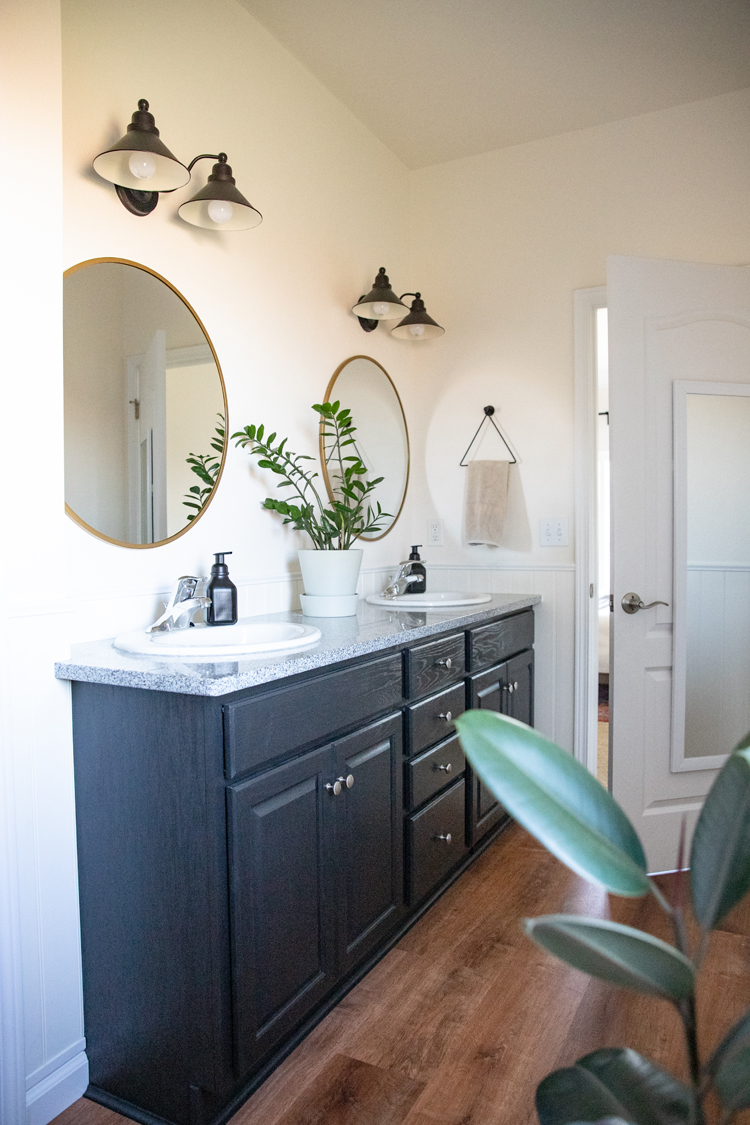
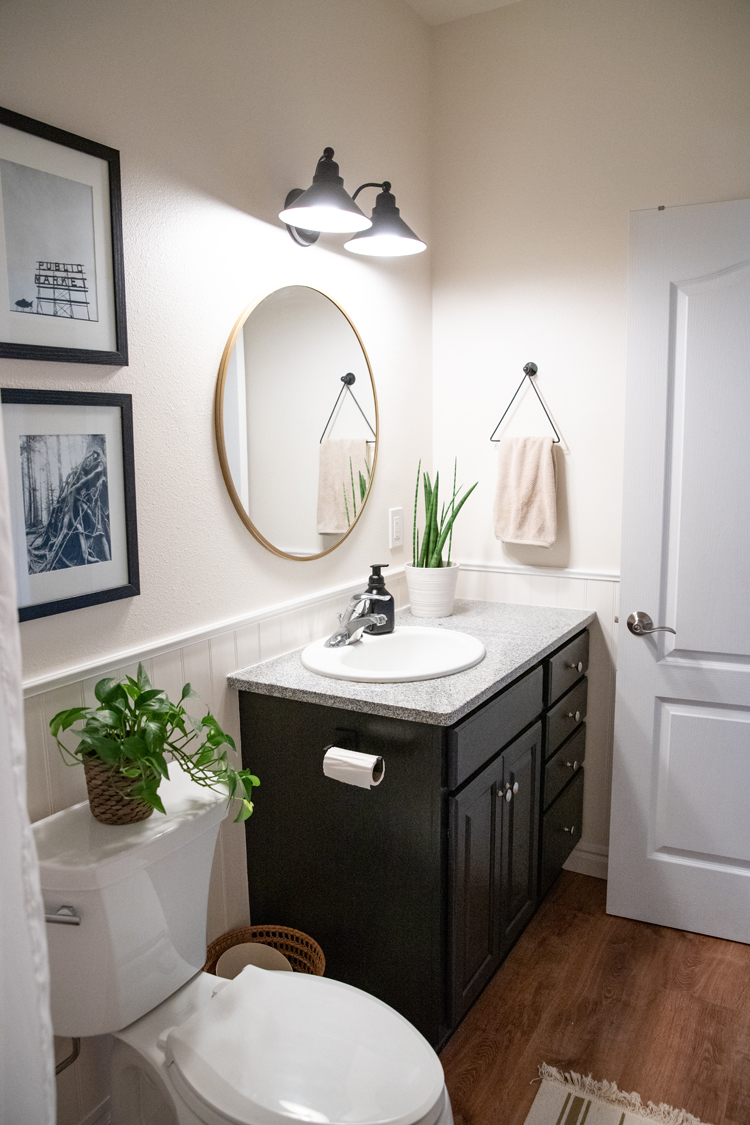
A little paint, new mirrors, and new flooring and ta da!
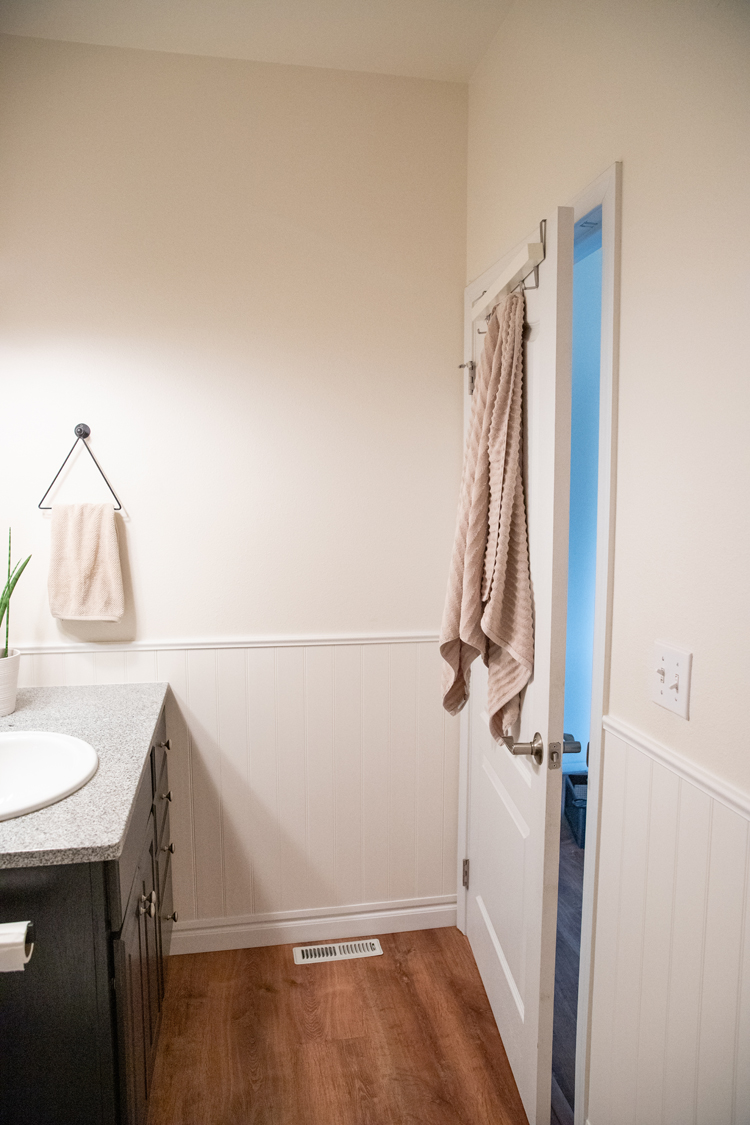
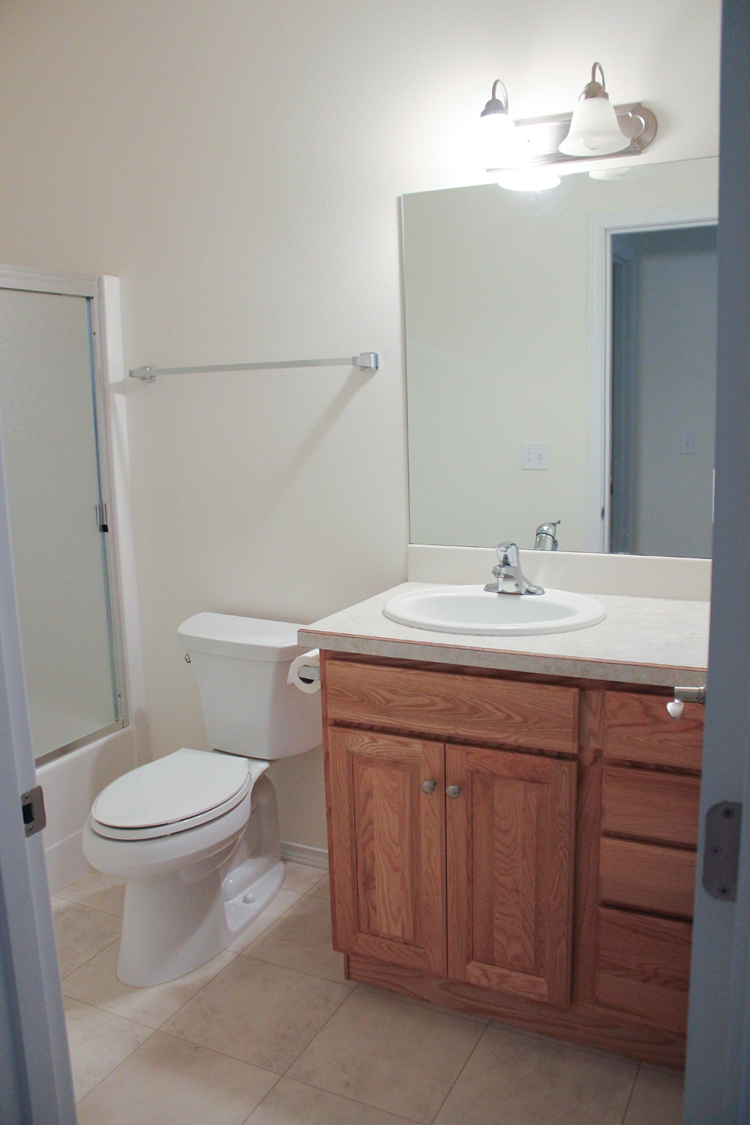
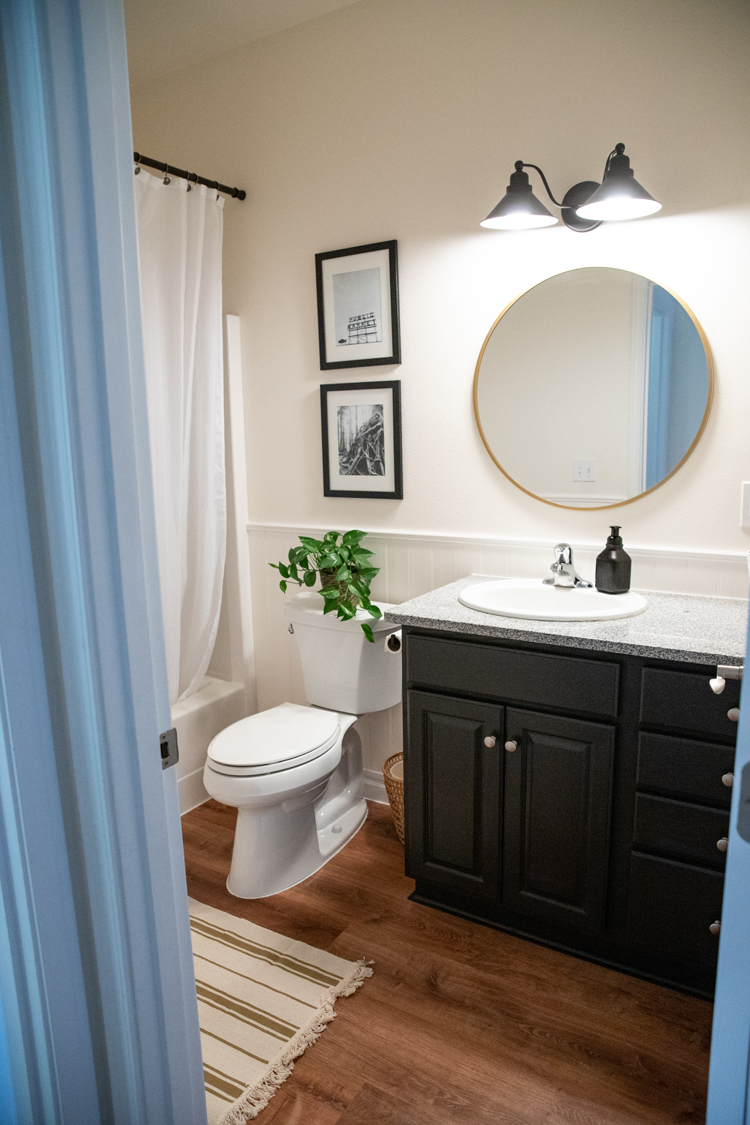
And here are the befores and afters of the kids’/guest bathroom:
Countertops
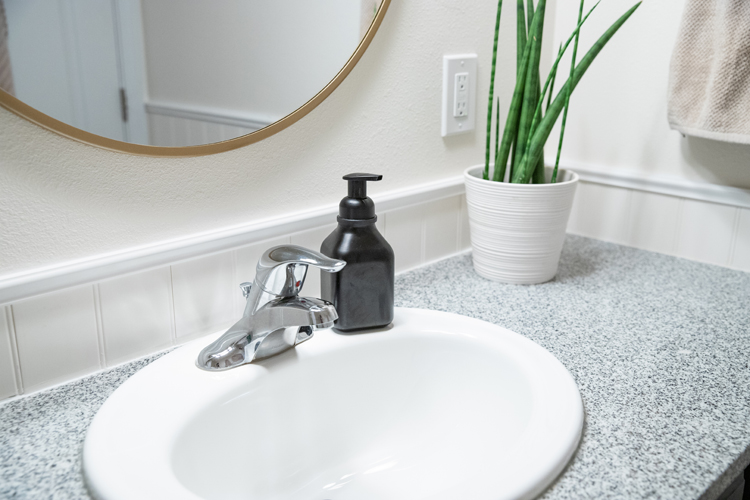
Thankfully, I had the foresight to get our bathroom countertops replaced when I replaced our kitchen countertops. This is the only thing that we didn’t DIY. We got some basic granite from Home Depot. I think it was one step above their least expensive kind. It came with a 15 year warranty and was maybe a few hundred dollars per bathroom. It is definitely the most expensive thing we did, but worth it. The only thing I might change if I did it over, is to get quartz instead of granite because it’s more human proof.
Cabinets
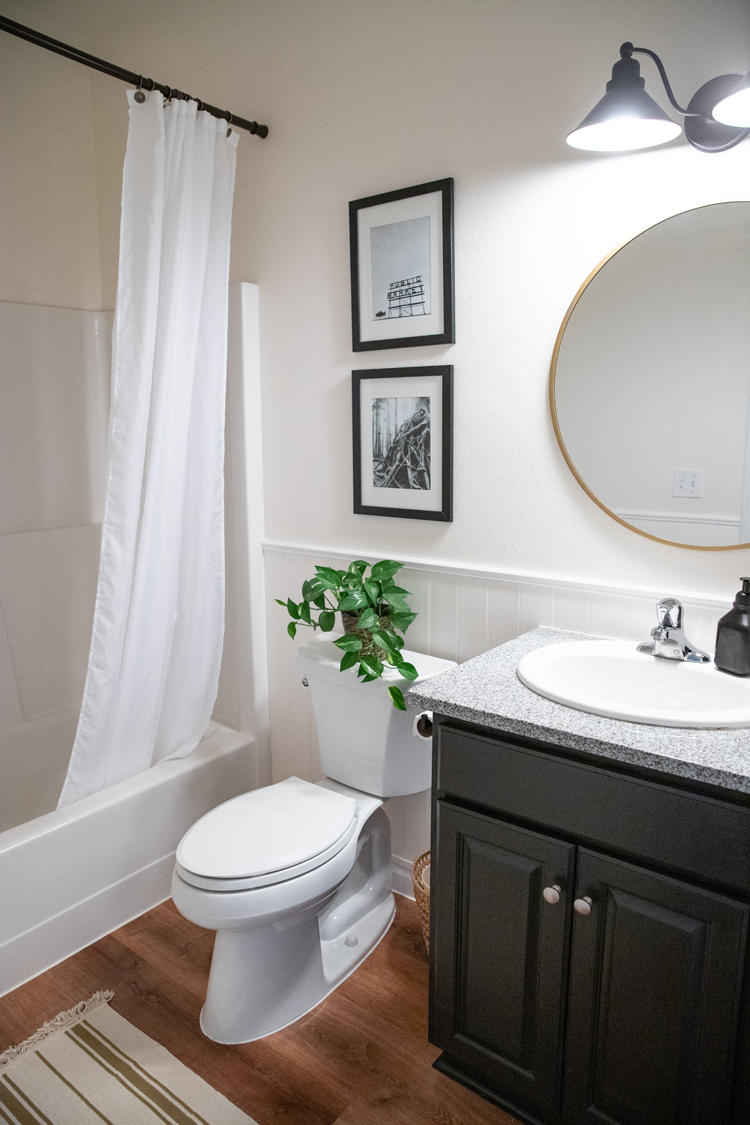
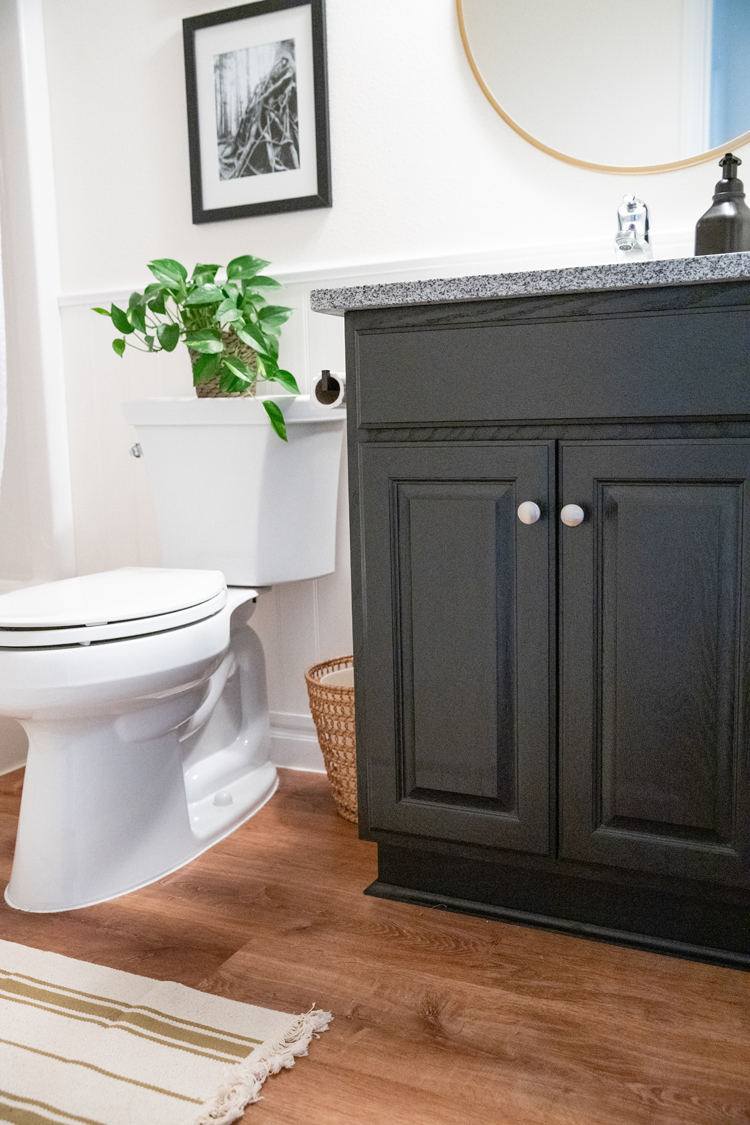
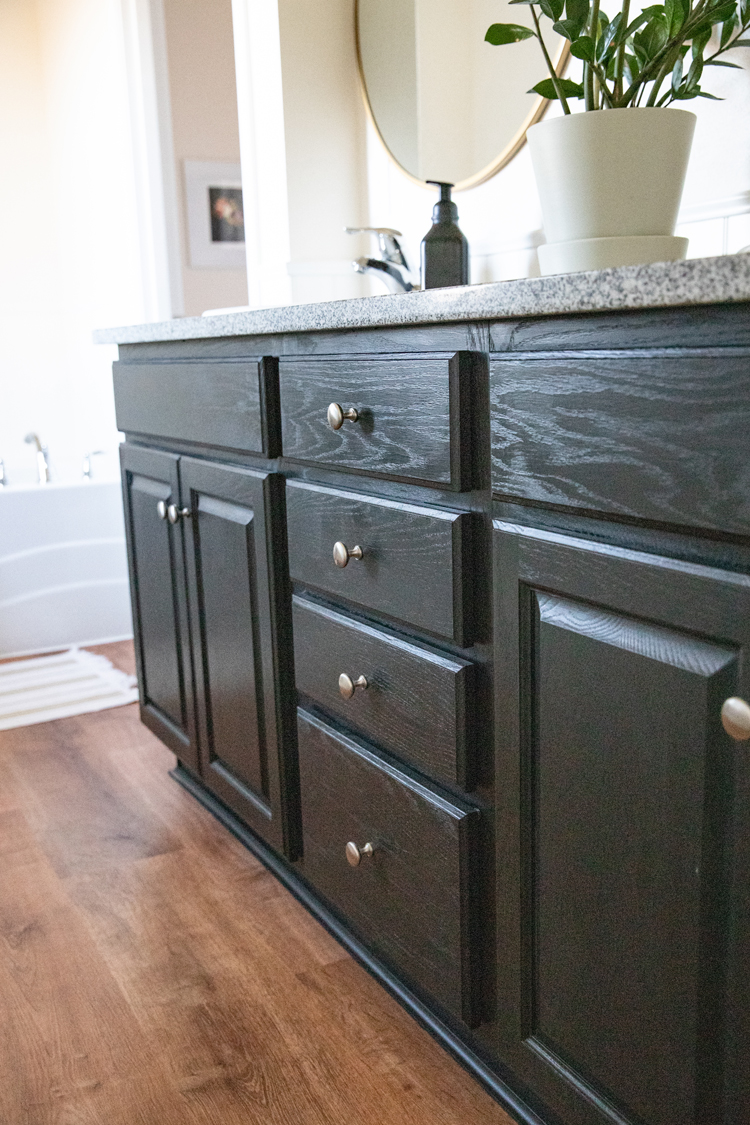
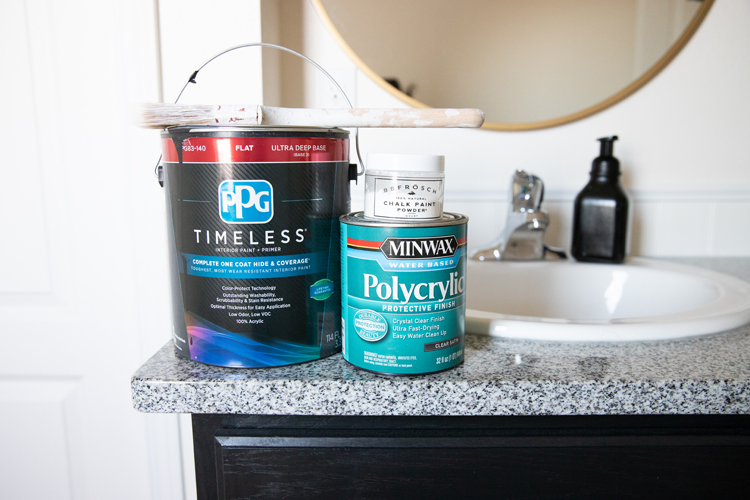
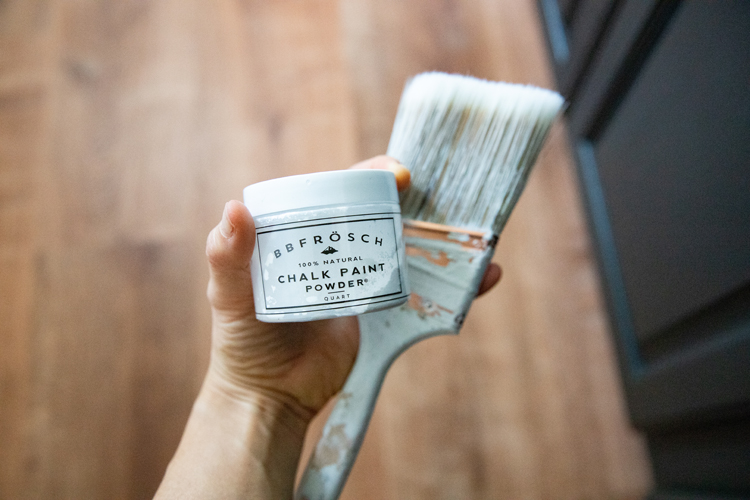
While we didn’t like the color of the oak cabinets, they were in really great shape, so we kept them and painted them in Deep Onyx from PPG. We used BB Frosch Chalk Paint which requires no stripping, hardly any sanding, and it dries very quickly. It is basically a dream paint treatment when it comes to painting furniture and cabinets. We actually painted our kitchen cabinets using the same method and they have held up beautifully. I only recently did some touch ups this year on spots from heavy pan dings and where one particular child decided to saw into our drawer with a butter knife (kids!).
There are a lot of brands of chalk paint available, but I always stick with BB Frosch Chalk Paint because you can use it with ANY paint color and brand you want. You can also control the consistency to how you prefer it.
As you can see, I left the wood grain a) because I like it, and b) because I’m also lazy. I tried to add wood filler to our kitchen cabinets to get that wood grain out and it was a nightmare. So, I’ve happily embraced the wood grain this time. 🙂
How to paint cabinets with Chalk Paint
Having painted our kitchen cabinets and now our bathroom cabinets, I feel like I have honed the process a little bit more.
Here are my tips for successfully painting your cabinets with chalk paint:
- Buy Premium paint. I have used basic level paint and premium paint and you really do get what you pay for. Nice paint is relatively inexpensive and not only will it give you a better finish, but it will be easier to use. Worth. Every. Penny. It’s not a splurge, it’s an investment in your sanity. Oh! And remember to get flat paint to use with the BB Frosch chalk paint powder. For our kitchen, we used just under one gallon of paint. For our bathrooms, we had to buy a gallon because our color didn’t come in the quart size, but I would say that 1 quart would have probably been enough.
- Get a nice, 3 inch Wooster brush. I cringe hard when I have to fork over $15 for a paint brush, but it really is worth it. The BB Frosch round brush is nice too, but I’m all about the Wooster baby. You save so much time and headache with a nice brush. Everything just goes more smoothly and the whole process is less frustrating. I also like to have a 1 inch brush, and a small (1/4 inch?) paint brush on hand for tight spots and edges. I didn’t tape off anything. I just used different sized brushes for different jobs.
- Or use a paint sprayer. If you go to BB Frosch’s instagram page, they have story highlights on how to use a Home Right sprayer and how to water the paint down. I have the same sprayer and it gives an immaculate finish. But….the prep involved is too much work for me. Ha! I’d rather just bust out a brush and get it done. So…it’s personal preference. I feel the same about rollers as well. Because my cabinets have a lot of groves and bumpy details, I prefer the brush over the roller. Don’t stress too much about brush strokes either. The chalk paint powder makes the paint self-leveling so that it smooths out as it dries.
- Sanding. You don’t need to sand, but I like to rough up the cabinets a bit by sanding it very lightly before I wipe the cabinets clean.
- Skip the wax and use a clear coat. I use a Polycrylic clear coat. It has held up beautifully in our kitchen, so I used it again in our bathroom. That one quart of Polycrylic has covered every cabinet in our house and there is still some left! I decided on a satin finish, but I think I would go with a matte finish if I did it again. The satin finish wipes up nicely, but I have a table on which I used a matte finish and it wipes up just fine too.
- Expect there to be a touch up period. For about a month afterward, you may need to do some small touch ups. The paint says that is fully cures after 7 days, but I have found that the curing period is much longer. It is just a little more fragile and prone to chipping when you scratch or ding it. I leave some of the mixed paint and chalk powder in a sealed jar at the ready. After it fully cures, it becomes much more durable. It is obviously not completely ding proof, but you’ll notice that it gets stronger. For example, I’ll get a handful of small dings over a year or two, as opposed to that many in a week during the touch up period.
- Get cabinet bumpers…if you don’t already have some. We love these ones from Amazon. They are much softer and quieter than the ones I have found in big box stores. They do struggle to stay stuck to the Polycrylic sometimes. You can sand the spots where you want to stick them to help with that.
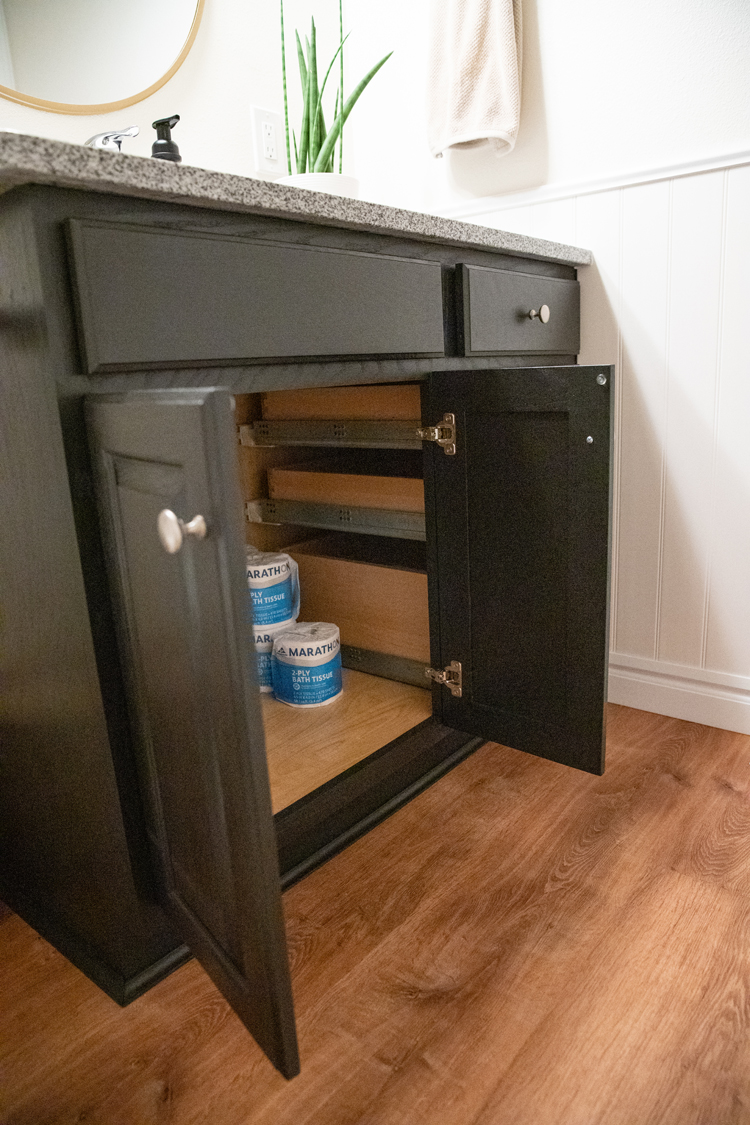
- We didn’t paint the insides of our cabinets because they are a laminated wood on the inside. Chalk paint does adhere to laminate surfaces but you have to paint on a primer type coat. The first 1-2 coats will bead up. Just keep adding more coats of paint (letting it dry in between coats) until it starts to stick. You will likely have to add 5-6 coats +. We did this to the underside of our kitchen cabinets and it was pretty tedious.
Hardware
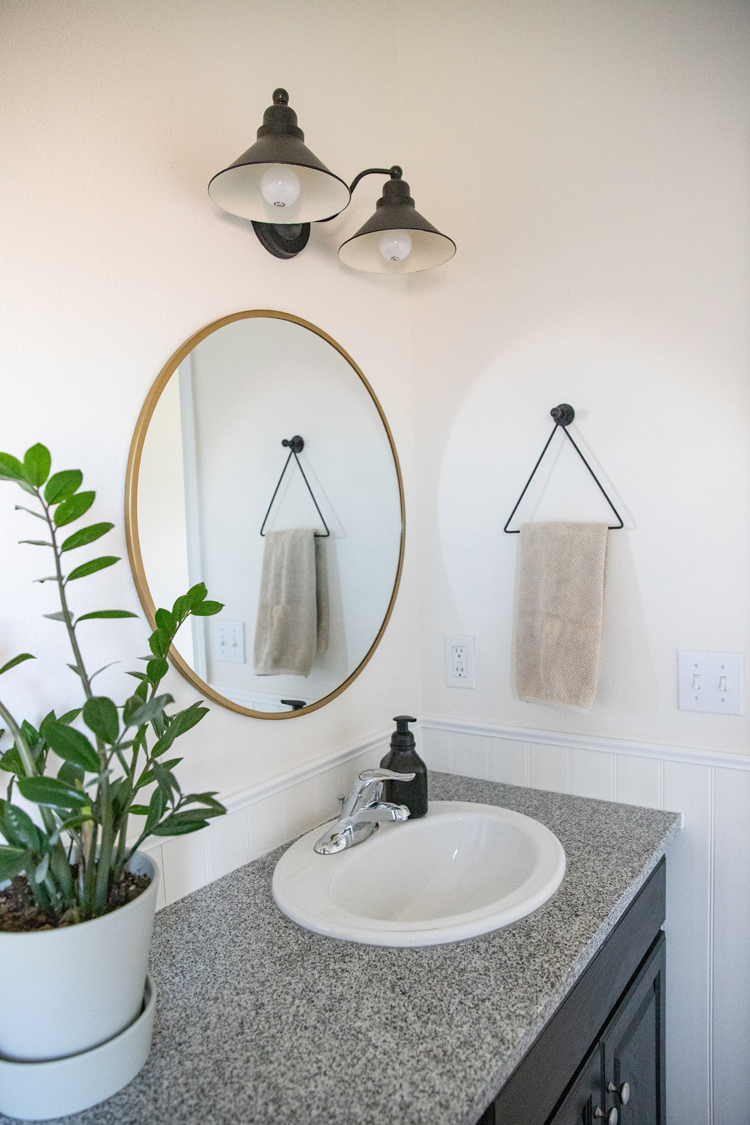
We kept the same cabinet hardware to save money, and also because it already matches all the door knobs in the house, and the sink and bath faucets. Believe me, I totally looked into replacing it all, but decided to save the money for other yard projects we have in the works. I know that I am mixing finishes, with the gold frame mirror (I tried to get black but they were out of stock for months), and the black light fixtures, but I think it’s all come out quite nicely in spite of that.
Flooring
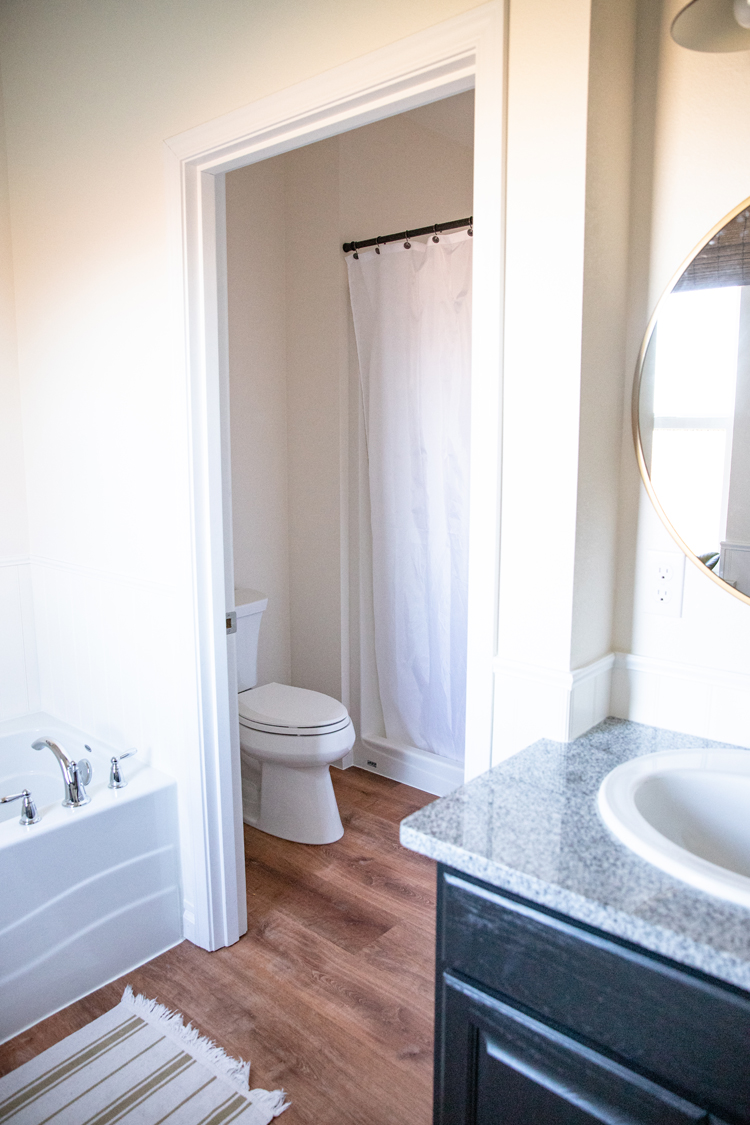
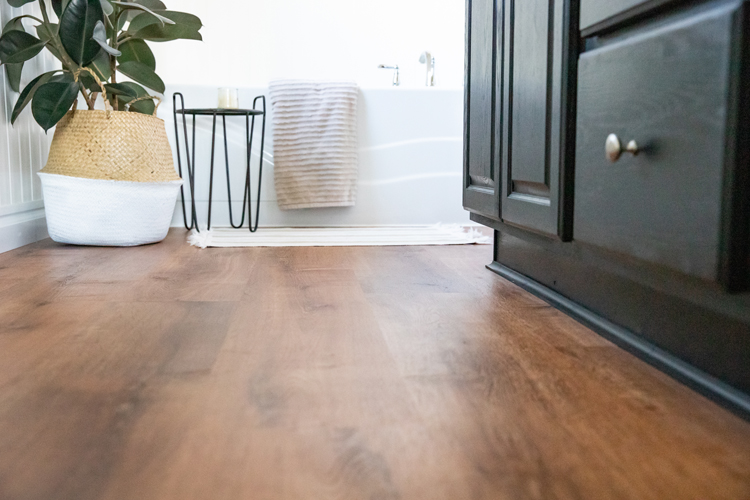
This section deserves it’s own post. We actually replaced 65% of the flooring in our house, so I will definitely be sharing a separate post in the near future. For now, it suffices to say that we installed a waterproof, luxury vinyl floating floor on top of the existing vinyl sheet flooring. It is the Lifeproof brand from Home Depot in Trail Oak. It is much redder than I thought it would be. One quick tip if you are using this type of flooring, is to open a whole box and see if you like every type of board (there are usually six repeating types) right in the store. If I could do it again, I would go with a lighter color. Otherwise, we are happy with the flooring. It was doable to install it ourselves, and it has held up great.
Bathtub and Shower
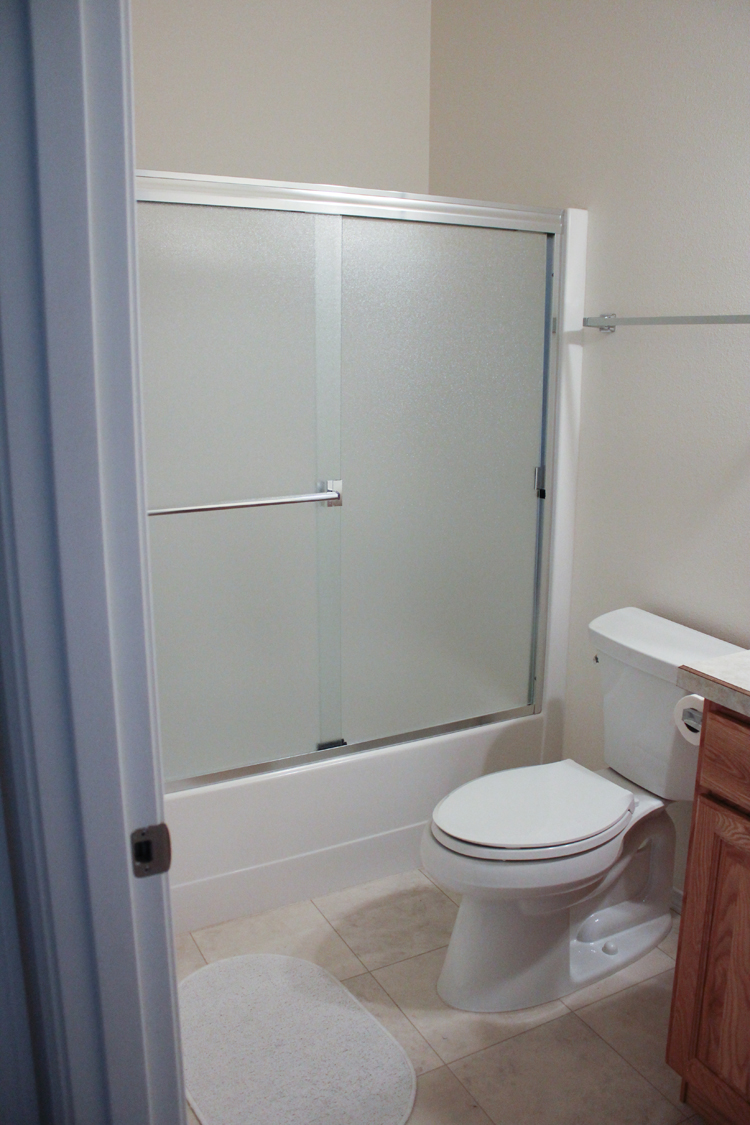
We didn’t want to fuss with replacing sheet rock, so we kept the bath tub as is and only changed one thing for the showers. We removed the shower doors, caulked in the screw holes and hung shower curtains. I want them to hang really high above the shower, so finding 84″ long shower curtains has been interesting. I ordered white cotton ones that came with a pink tinge (I kept wanting to reference the Cat in The Hat Comes Back – ha!), and another that did not look as good as the picture. Sometimes ordering on Amazon is awesome and sometimes it’s a gamble!
So, we just have a liner up for now. Even still…it looks so much better than the doors and it’s way cleaner. 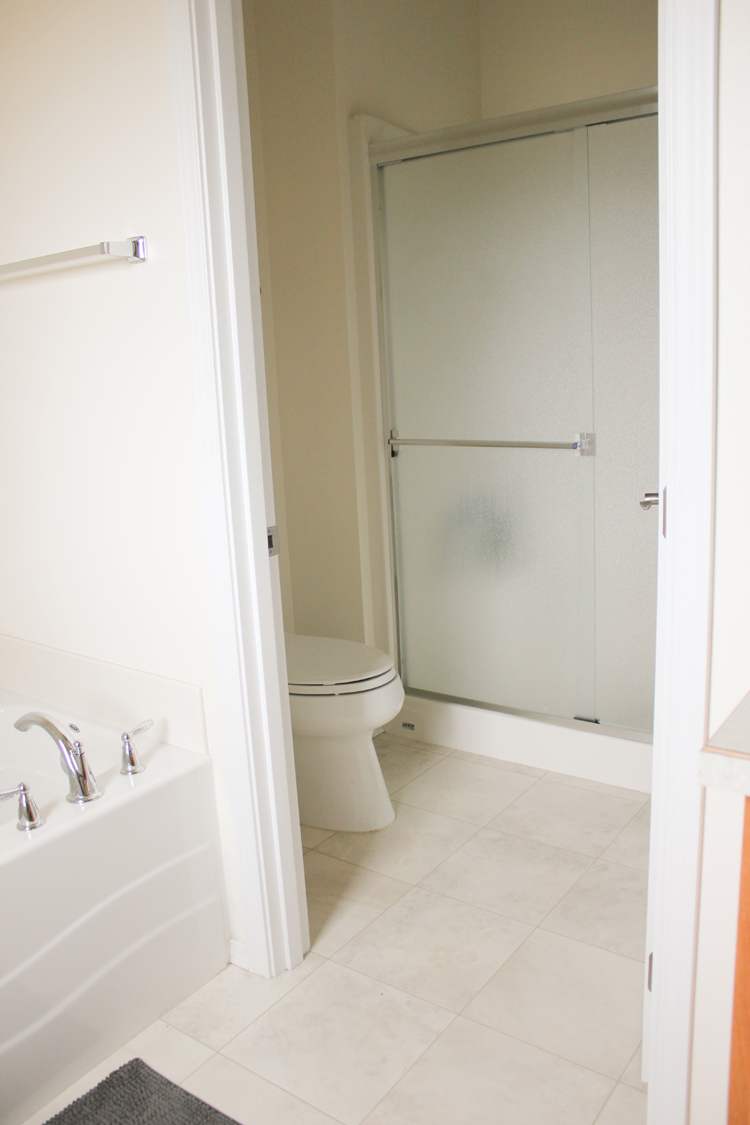
I would like to eventually reface the bath tub as well, but I’m putting that on hold so we can have a bit of a break.
Fixtures & Accessories
-The lighting fixtures are very similar to THIS one I found on Hayneedle. It comes with a faux rust colored patina that is painted on. I simply painted over it with black.
-The mirrors are from Target and are only $50. Ignore the negative reviews. They are great mirrors and I haven’t noticed any distortion. I did wonder if they would be large enough, or if we would miss the larger plate glass mirrors, and I’m happy to say that they are plenty big enough. Even in the smaller bathroom where there is just one mirror, it works great.
Note on old plate glass mirror removal: We used wood shims all around the perimeter of the mirror and very slowly pushed them in until the mirror popped off the wall. We patched the spots where the mirror adhesive damaged the wall with dry wall patch compound and spackle.
-The art is my own, framed in a 2 x 3 ft. poster frame from Michael’s above the bath tub. The art in the smaller bathroom will likely get replaced. I just stuck in some travel photos printed on computer paper.
-The foaming soap dispensers from The MerryThought’s Amazon page. They are beautiful and are mostly made of glass!
-The triangular hand towel racks are from Amazon (affiliate link).
-The black toilet paper holder is also from Amazon. It is really sturdy and much better than the tension rod holder we had before.
-For all of our larger towels, we used an over the door hanging rack from IKEA. I like a minimal look on our walls, so I prefer to hide the towels behind the door.
That said, I still want to add some more character to these rooms. I may paint, add wall paper, or add more art. I look forward to taking our time to grow into them.
This is Part One of this bathroom makeover. Click HERE to see Part Two which covers the molding and bead board paneling.


Beautiful! I think the flooring is a great color. It adds warmth and great with the dark cabinet.
Thank you Kathleen! <3 The dark/red tone definitely works well in the bathrooms. In our living room I wish it were a little less red. But we really like the floors over all.