Last year, I totally ended up copping out of Christmas cards. I’m not sure why I feel guilty about that, maybe it’s some small twisted part of maternal guilt, but it drove me to get it done this year. 🙂
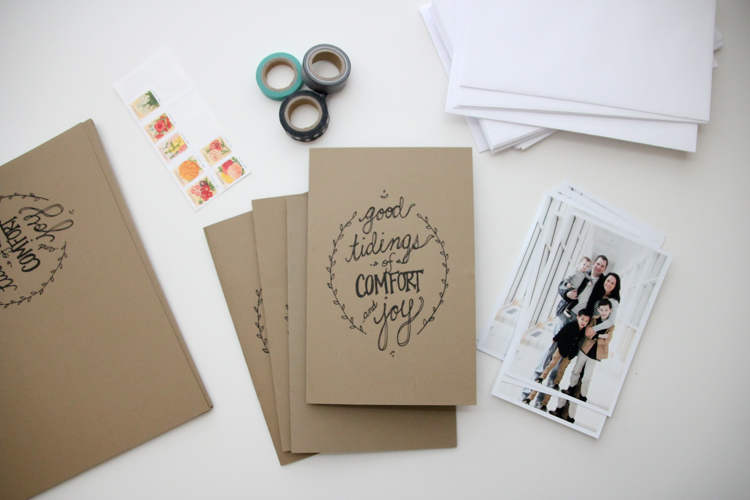 I wanted our cards to be a little unique, not just the standard ones from the store, but I didn’t want to pay a pretty penny for them. So…of course, what else is there to do but DIY them!
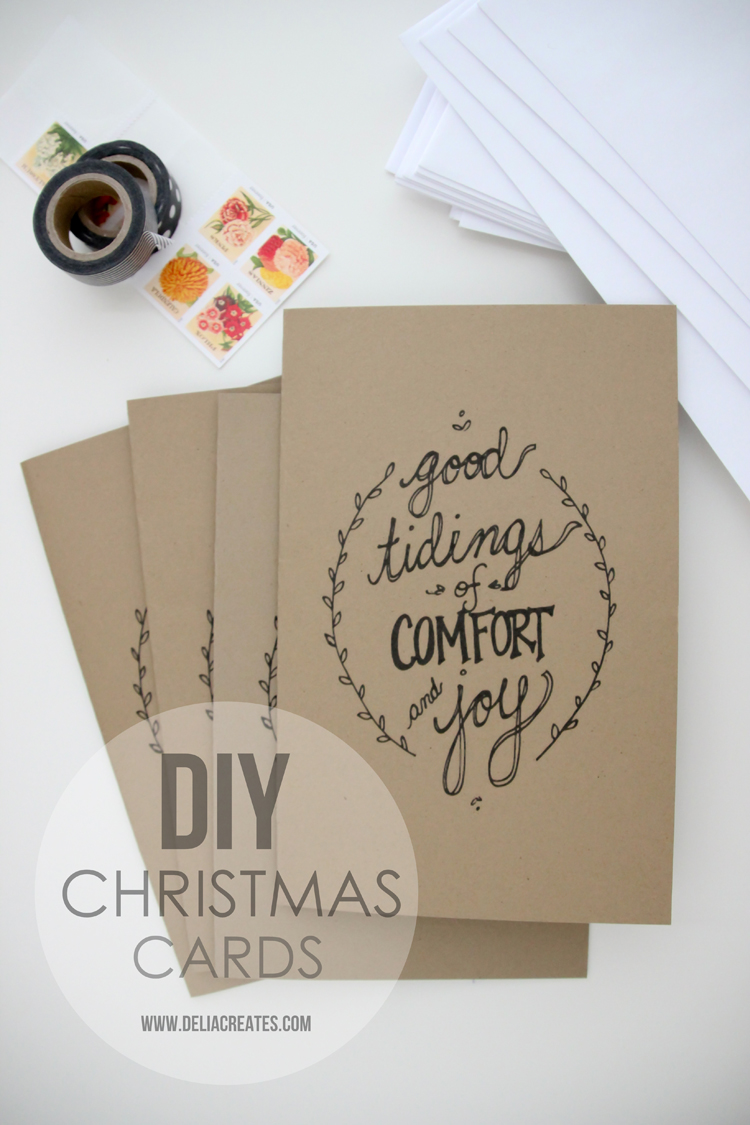 With a lot of the super cute cards online coming to $1.25- $2.50 per card and beyond, these ones average out to about 30 cents a piece, including card, picture and envelope, but not including the cost of printer ink and washi tape (it hardly makes a dent in one roll). Not bad right? Especially when you have to add postage on top of either the professional or DIY card. It saves a lot!
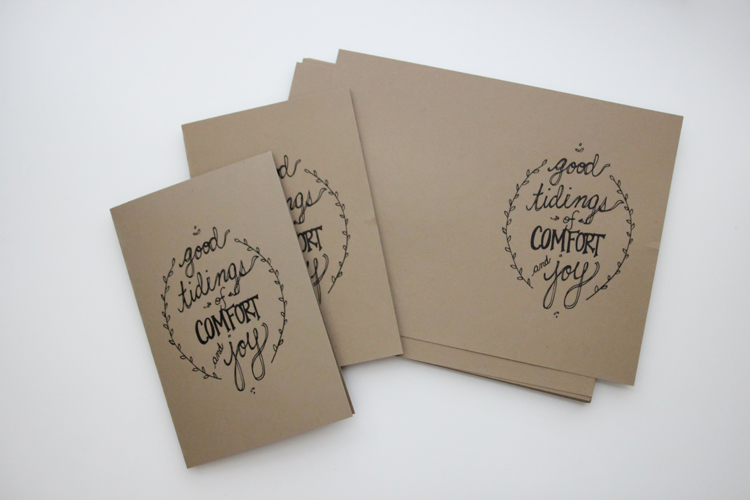
I had a picture in my head of how I wanted the front of the card to look. I wanted it to look hand drawn, cozy, charming and super simple. I spent too much time trying to find the right fonts and vector images online, before I just scrapped it all and well..actually drew it by hand. Duh.
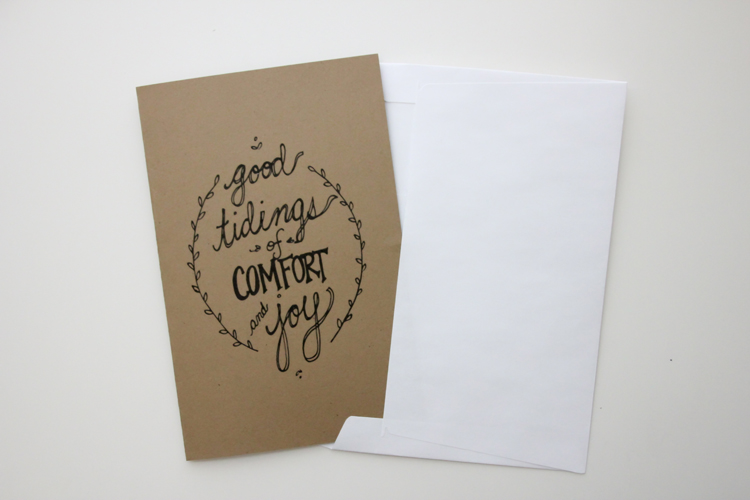 Before I get comments about how I misquoted the song…I am totally aware that the words to “God Rest Ye Merry Gentlemen” say, “Oh, tidings of comfort and joy.” 😉 I decided to add “good” in there instead, to make it more of a greeting and well, unique.
If you like it, I’m offering it as a free printable!
To save it:
1. Click on the image so that it opens up in a window or tab by itself.
2. Right click and save to your computer.
*IMPORTANT: You only have the right to use this image, and this image only. You may only use it for personal use. Commercial use is strictly prohibited.
You can also print this one from Google Drive that is already in card format, sized to 8.5 x 11 inch paper. Image use permissions are the same as previously mentioned.
For the rest of the materials, you need:
cardstock
4×6 inch family pictures
5 3/4″ x 8 3/4″ sized envelopes
washi tape (polka dot is from Ribbon Retreat, striped is from Michael’s – I think)
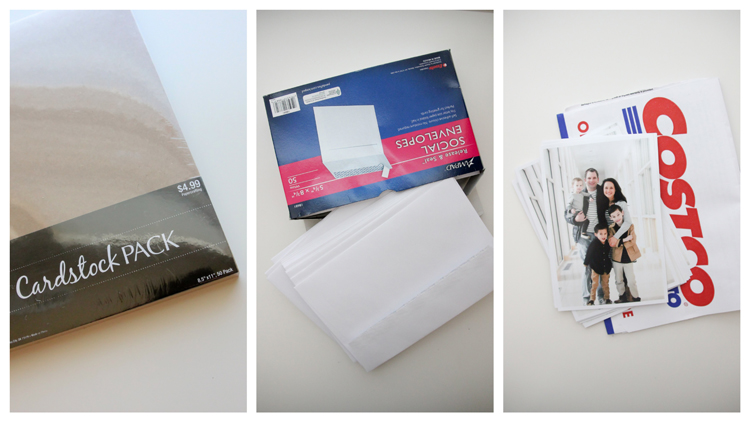 – I used kraft cardstock. You can get a pack of 50 at Hobby Lobby for around $3 if you use a coupon. Jo-Ann and Michael’s also carry it for a similar price.
– The envelopes are $5.50 at Walmart in the office section. I like the 5 3/4″ x 8 3/4″ size because it holds a piece of cardstock folded in half perfectly, and it comes with a sticker seal. Yay for no envelope licking! 🙂 And…this size envelope still uses one standard stamp. I double checked for ya. 😉
1. Print your pictures up at your favorite photo processing place. I printed mine up at Costco for 13 cents a piece (which I factored into the total cost, so your cards may cost more or less depending on your photo place). I also printed mine with a white border and lustre/matte finish.
2. Print the card image onto one side of the cardstock. If desired, print some kind of greeting or family newsletter on the other side, so that when you fold the card in half, the message is on the inside.
3. Fold all the cards in half.
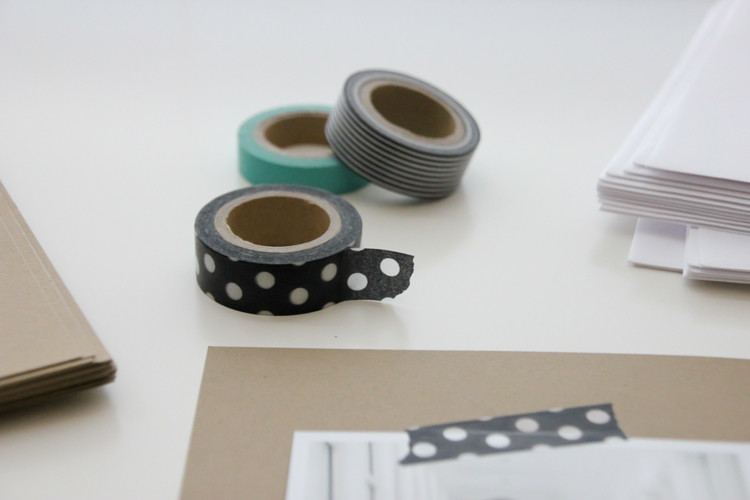 4. Tape your pictures on the inside, to the left of the message.
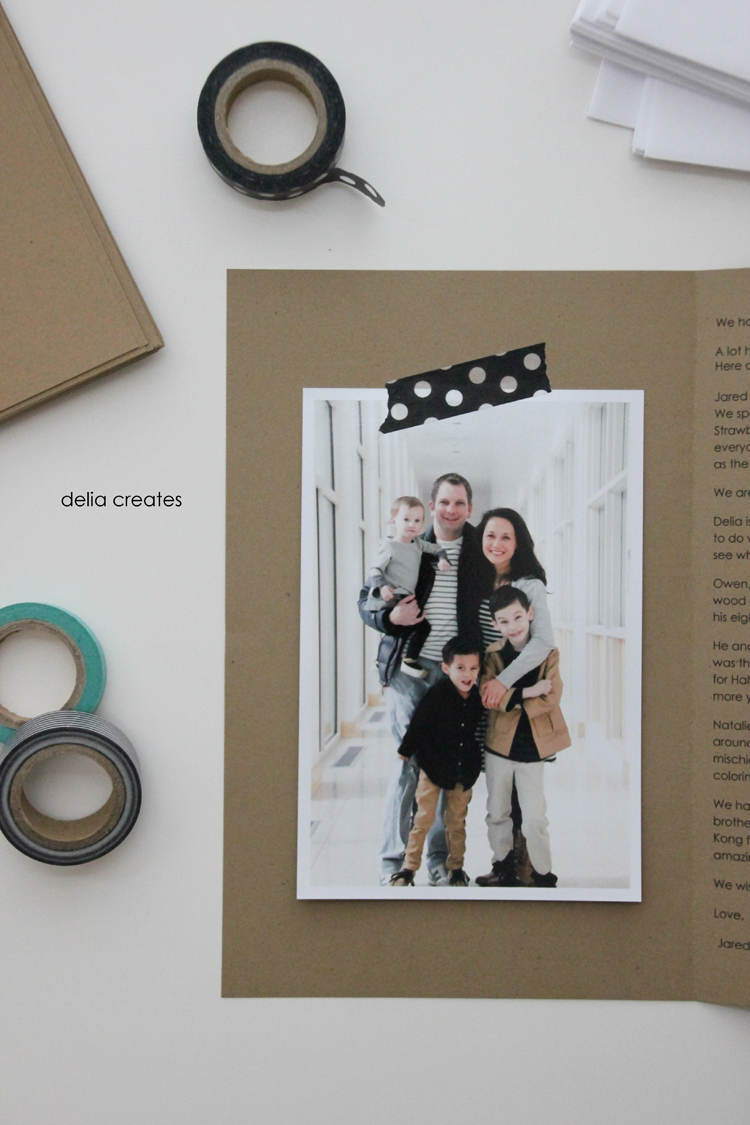 That’s it! It’s all ready to be stuffed and addressed.
Gotta love simple and quick.
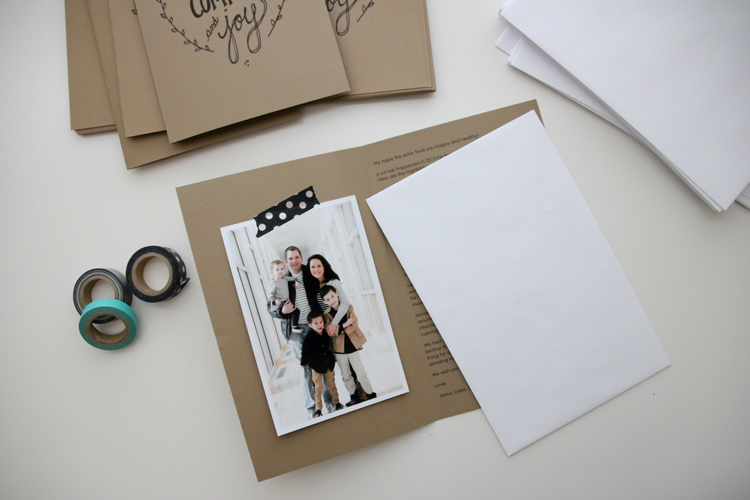 But… it still has a personal feel.
It also gives your loved ones a clean family picture to keep that has no writing on it, in case they want to keep it on the fridge for longer than the month of December…or not. 😉 But at least they have options.
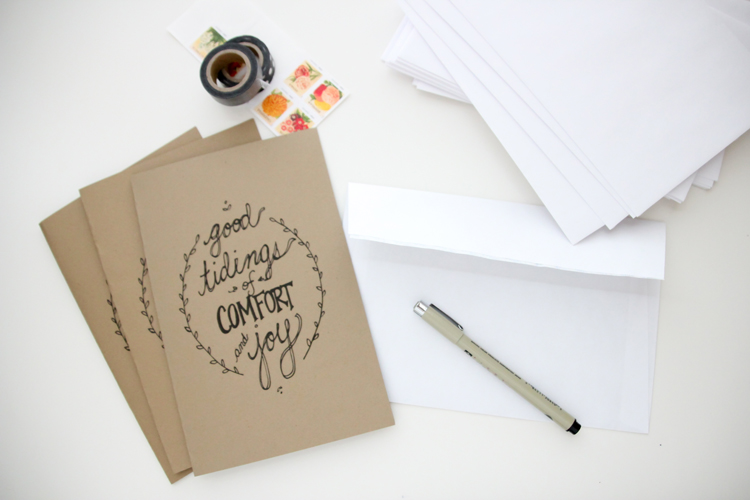 I know I probably should have used holiday stamps but the flower seed packet stamps are so dang pretty. Call me scrooge, but I used those instead. 🙂
I hope you are all enjoying the season and getting ready for the big day.
Happy Holidays!



Oh my… these are super cute. What a great idea, I am actually kind of (super) late on Christmas cards, but I am sooo glad I procrastinated on this one. Definitely going for this design. Thank you so much, I extremely love everything you do. Greetings to your family.
Thanks so much Brenda! Happy holidays to you too. 🙂
Your DIYs are always so great! I love the simplicity of your design. Just perfect! I will definitely be saving away this idea for future use ;). And you are so right about cards being expensive. Love that these are so affordable!
aww.. thanks Leigh Anne. 🙂
Love love love this! What a beautiful example of less bring more. I’m feeling very inspired now, thank you!
Thank you Emily for your sweet compliment!
You DREW that!?! That is just super awesome girl! I love it. Love the taped picture on the inside of the card too. 🙂 Thanks for the cute idea and printable.
haha..thanks Lynette! You are so kind. 🙂
I saw this and thought it would make a great embroidery as well. How sweet! Thank you for sharing your hard work!
ooh…you’re right!
These are great! Nice drawing skills, and I love that you used washi tape to attach the photo. =)
Thanks Charity!
love these!
Thanks Sarah!
LOVE the simplicity of the card and the washi tape you used to tape the pics inside- I love a good excuse to use washi tape!
Me too! Washi tape = one of the best craft supplies ever invented. 🙂 Thanks Madelyn!
These are SO cute. I have absolutely no ability to write or draw in cute script like that… I’ve tried many times without success. 🙂 Thanks for making it a printable!
Thank you Nicki!
Thank you for sharing this – it is SO cute !
My pleasure. Thanks Jeanne!
I was not planning to do Christmas cards this year – no time, no money. But when I saw this, I just had to. My design didn’t turn out quite as stylish as yours (the simplicity and color scheme is SO sophisticated!), also I lack the pretty children, but still it turned out nice. Especially love your quote from the song.
Thanks Linnea! I hear you on the no time and money to do these. Christmas really adds up! I’m glad my printable helped. 🙂
do you have other printable cards there? thanks! Btw, it’s pretty. 🙂
Thank you! The only other card printables I have are these thank you ones:
http://www.deliacreates.com/2012/11/thanks-november.html
Totally love this! In fact using it right now! But am I the only one having issues printing the presized one? it comes out smaller than the ones in the photos and there is a line printed below it…i tried printing landscape, nothing is working. Am I missing something!? HELP!???
Of course after posting this I figure it out….I was opening mine in google docs and it was changing the size and composition. SORRY! SO excited to use this for our xmas cards this year! LOVE LOVE LOVE!
I am so glad you figured it out! Yes. When I open files in google docs they sometimes end up with a weird coloring to them and spacing issues too!
love these! they’re just perfect. I especially love the kraft paper choice. It feels personal and modern
Hi,
I am totally using these this year. Only problem is that my favorite photo of my kiddos is a landscape 4×6, so I was thinking I would just make this a landscape card instead of portrait. Do you by chance have a landscape version so that I can print it that way? I have tried reformatting myself but can’t seem to do it! Any help would be very much appreciated! I have all the other supplies, so I’m hoping I can make it work!
Hi Nell!
I searched around my files for the original to see if I could make it smaller for you and, darn it, I cannot find the original file. I have become more organized about my printable files since then (I made these a year ago), but that doesn’t help you. So so, sorry about that! I just kept the finished card pdf file. I tried to mess around with it in illustrator but it gets too pixelated. Sorry!
Oh bummer! Thank you so much for checking and getting back to me so quickly! I wonder if I can somehow print it and scan it and rotate it somehow…? Hoping it doesn’t look too rough?!
Hello! I love these cards and want to give them a try. I asked my husband about them, and he wanted to know how you lined up the image on one side of the paper with the writing properly positioned and spaced on the back. Did you cut the paper to size and then print, or did you print on a full 8.5×11 and then cut? Or other? Any tips greatly appreciated!
Hi Wendy! I created a text box in Word and moved the text where I wanted it to go. Make sure your margins are set to narrow. You will have to do a few test prints to make sure it will fold right. I hope that helps!
Thank you so much for this awesome printable. I used it this year and all my friends and family love it. I am also mentioning it on my blog and included a link to your page. I hope you don’t mind!
Of course! Thank you so much! I am so glad you like it. Merry Christmas!
Delia, these are so beautiful!! I just came across your blog via Pinterest. trying to get a head start on our Christmas cards this year and this is absolutely perfect. thanks for sharing!!
Thank you Karen! <3
genial idea, gracias, probablemente lo voy a hacer
Thank you for this! It is perfect for gift tags to go along with our hot cocoa teachers gift this year! Wishing you and your family very Merry Christmas!
Thank you! Merry Christmas to you too Debbie!
What size card stock did you use ? I love this idea and hope to use it this holiday
Oh yay! I used 8.5 x 11 inch card stock.
Hi. Please don’t steal other peoples images from the internet. Thank you!
I didn’t. I created this. Please ask first, or read the post which explains this, next time before making such a serious accusation.