I used to think that fresh flowers were a waste of money because they just die. Gasp! I know. I have totally mended my ways.
Little did I realize the amazing power a little vase of fresh flowers could have on my mood. They are now, one of my favorite mood boosting splurges.
I have to start off by saying that I am a total flower arranging newbie.
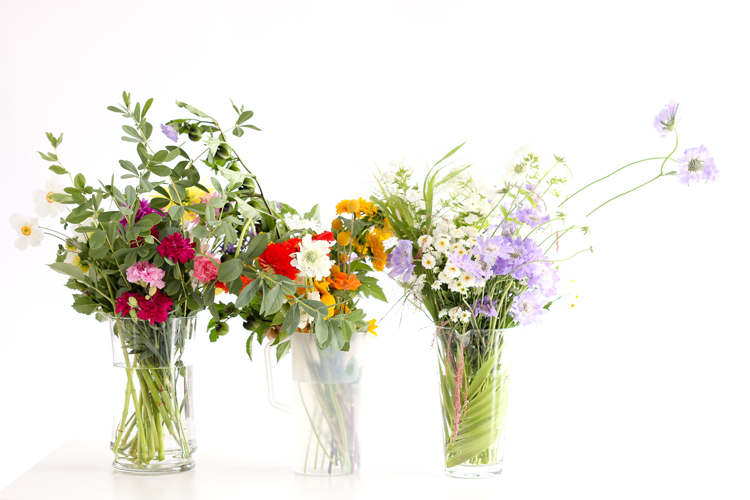
We took a trip to a local u-cut flower farm a few weeks ago and I came home with kind of a sad bunch of flowers. On their own, they were gorgeous, but I didn’t really know how to pick them and arrange them, so they looked kind of confusing all together, just jammed into a mason jar. (you can actually see it in my instagram feed @deliacreates)
So… I did my research, and I talked to a florist/flower farmer on a recent trip out to the coast and learned a lot of really great stuff to share with you!
First off, I found these sites pretty helpful: here, here, here, here and here.
I took their information, the advice I gleaned from the florist, as well as what I learned on my own and have condensed everything into four, easy to remember steps:
1. Start clean.
The best bit of advice I learned was to make sure everything is sterilized. Wash vases and clippers or knives with warm, soapy water and bleach. If you don’t like to use bleach, you can use white vinegar. Bacteria will shorten the life of your flowers, so ensuring everything is clean will help your flowers last longer.
Consider sanitizing your water as well. Adding 1/4 tsp. of bleach per one quart of water, will help keep bacteria at bay.
2. Prepare flowers.
Don’t just plop them in a vase of water.
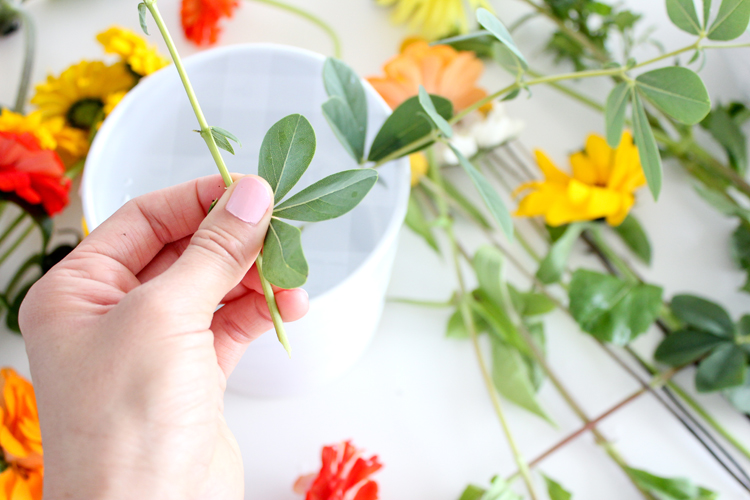
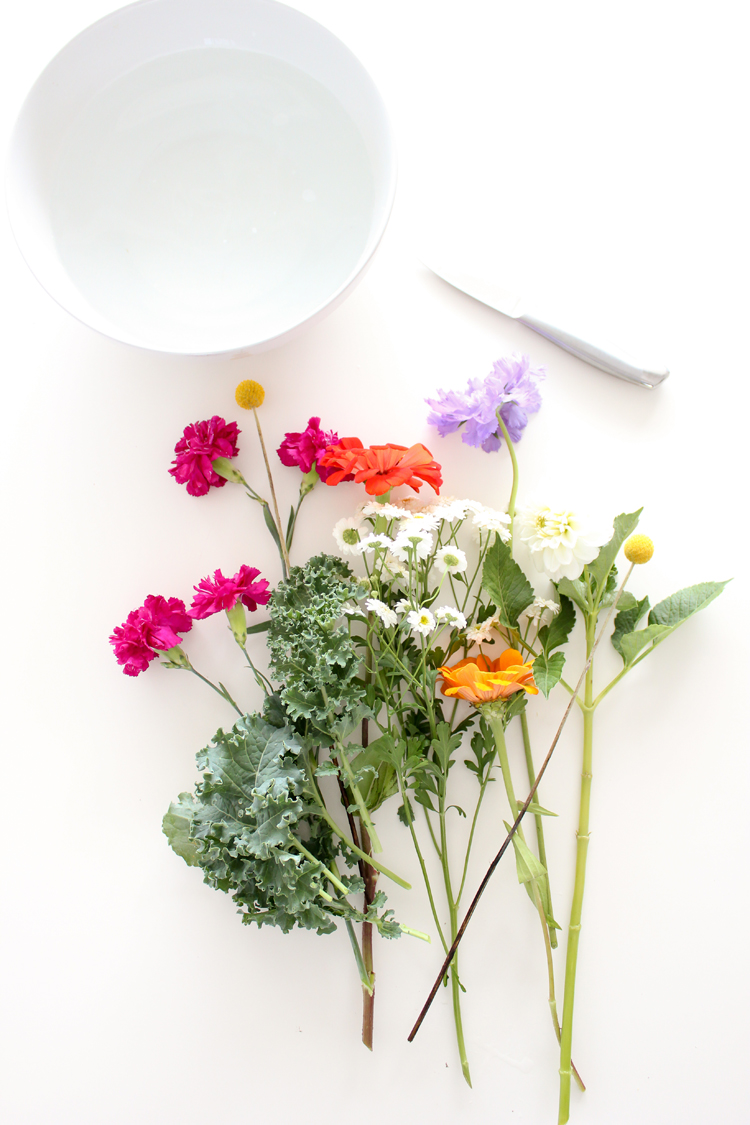
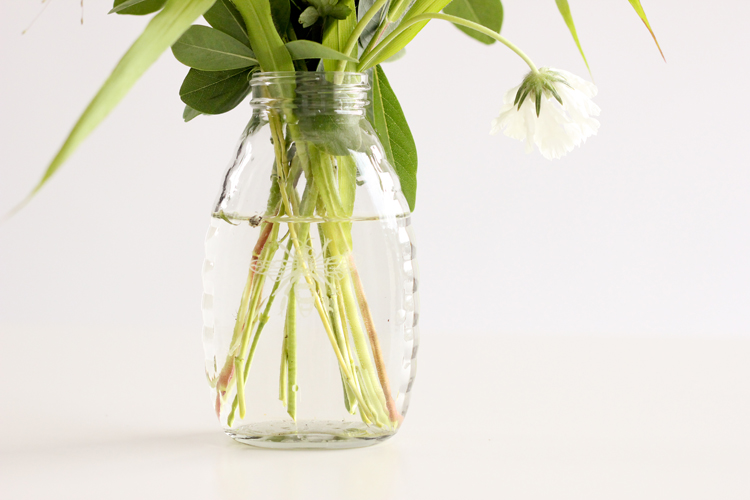
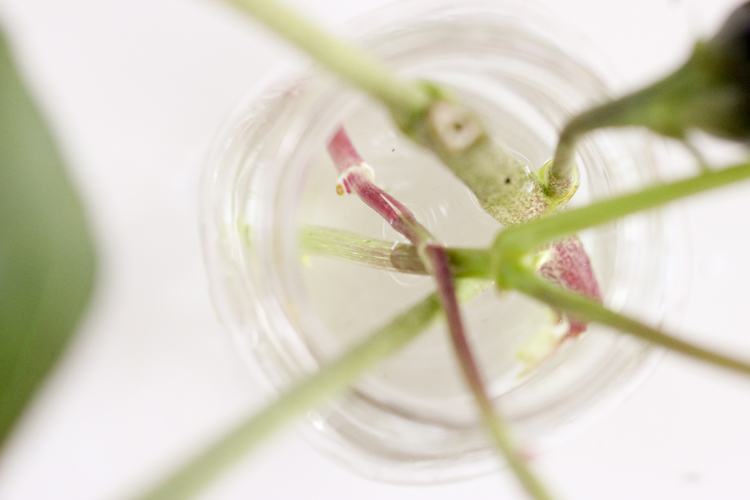
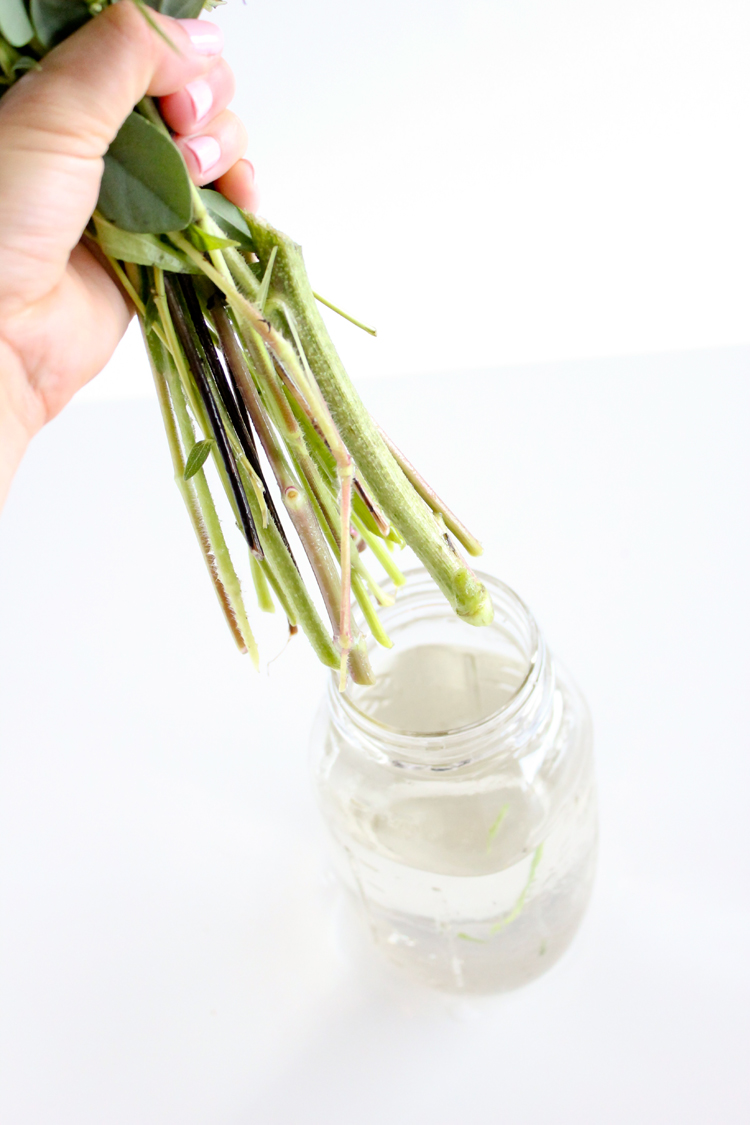
Remove all the leaves that will be below the water line. Leaves left in the vase water introduce bacteria into the water and shorten the life of your arrangement.
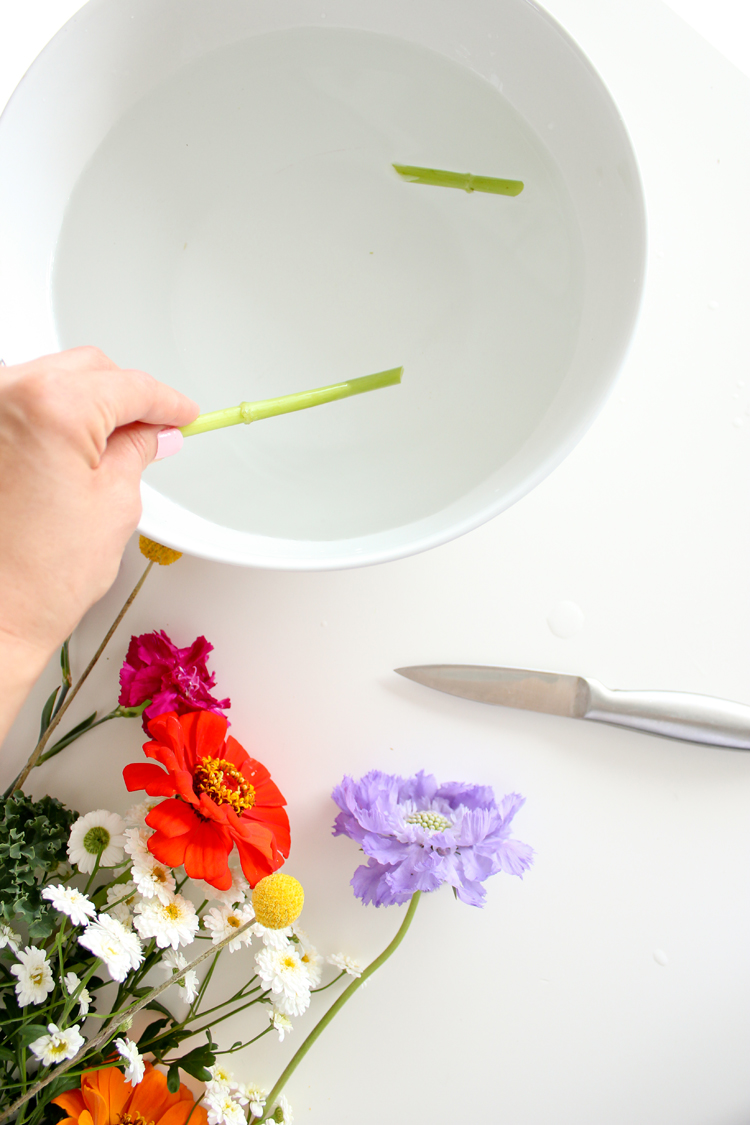
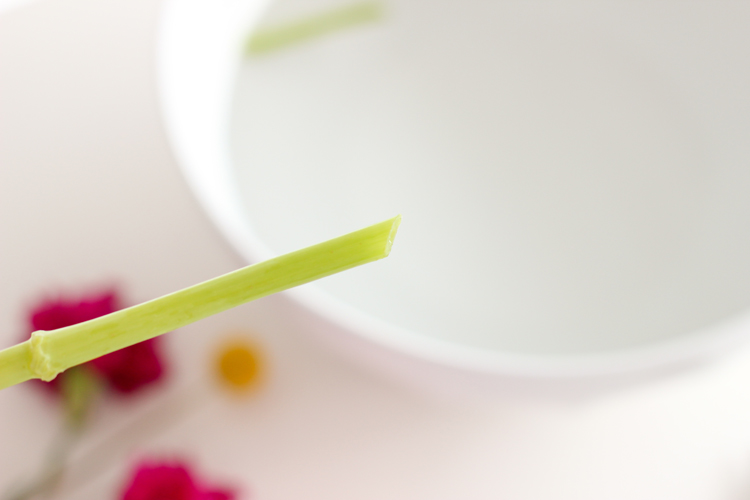
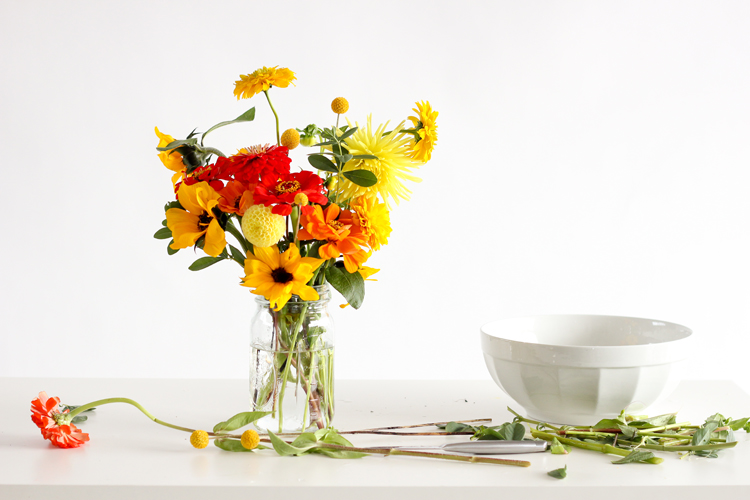
When cutting the stems, cut them at a 45 degree angle. This increases the stem’s cut surface area and maximizes water uptake. For optimum shelf life, be sure to cut them submerged in a bowl of water and then transfer to the vase immediately.
TOOL TIP: Some florists recommend using a sharp knife over scissors, because scissors can compress the stems. I personally think it doesn’t really matter, as long as your scissors or clippers are nice and sharp. I started off with a knife, but found it cumbersome and eventually moved to scissors- which I bleached before using! 🙂
3. Large, medium, small.
This is generally the order you want to go in when you arrange your flowers.
Large: Lay the foundation.
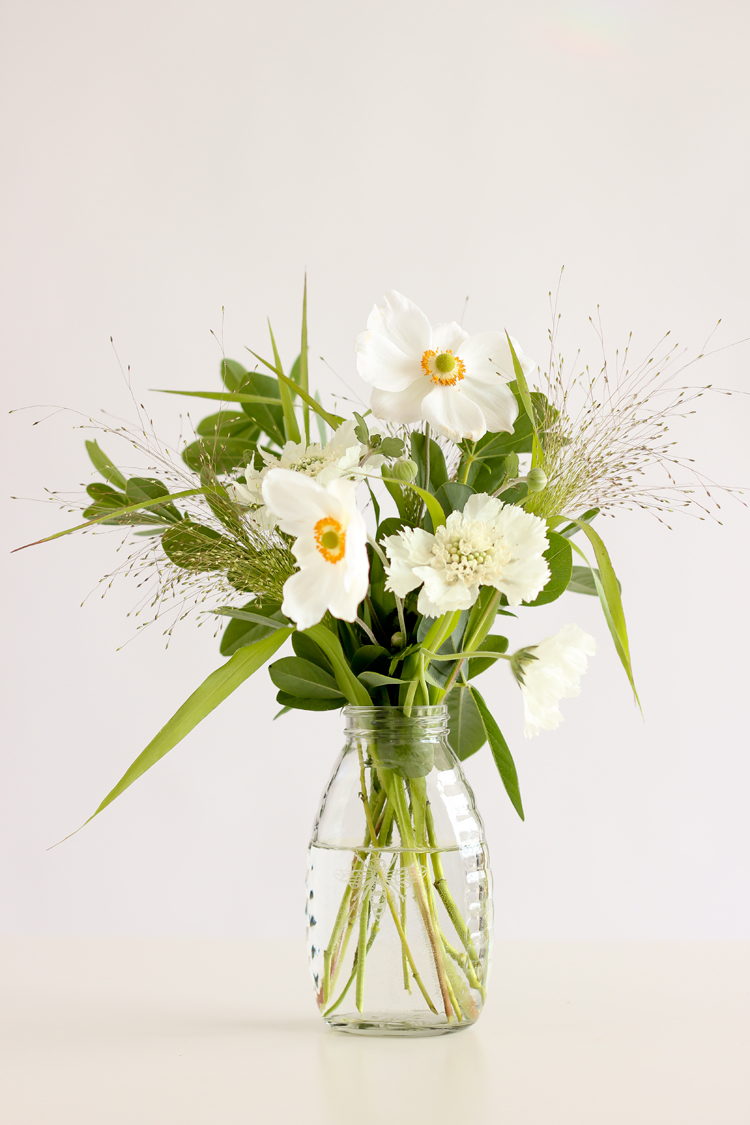
Start with 3-5 of your strongest stems. This may be your greenery, or this may be your biggest flowers. The goal is to establish a skeleton for your arrangement. These initial stems should hint at the shape of your finished arrangement. They also provide a grid of stems to support your other smaller stems.
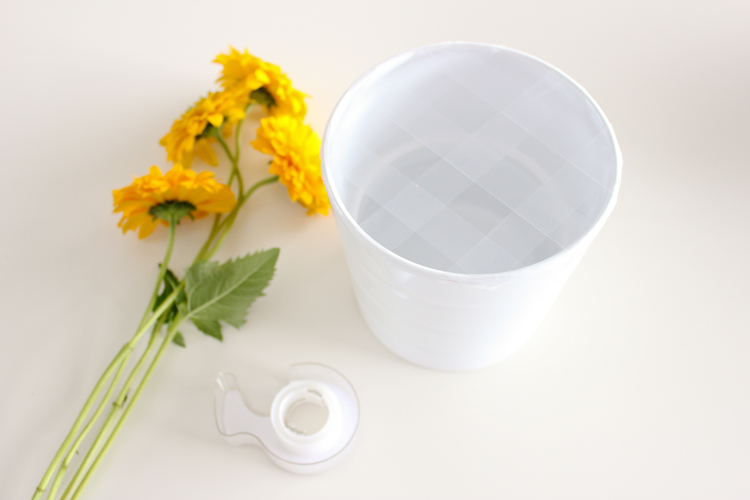
If you desire more stability or shape control, you can use floral foam (not environmentally friendly but effective), a flower frog or a grid of cellophane tape across the top of your vase (a great hack for the home florist).
Medium: Fill in the blanks.
If your initial stems were greenery, then add your biggest blooms now. Once your biggest blooms are in place, add your fluffy flowers and/or your mid sized flowers.
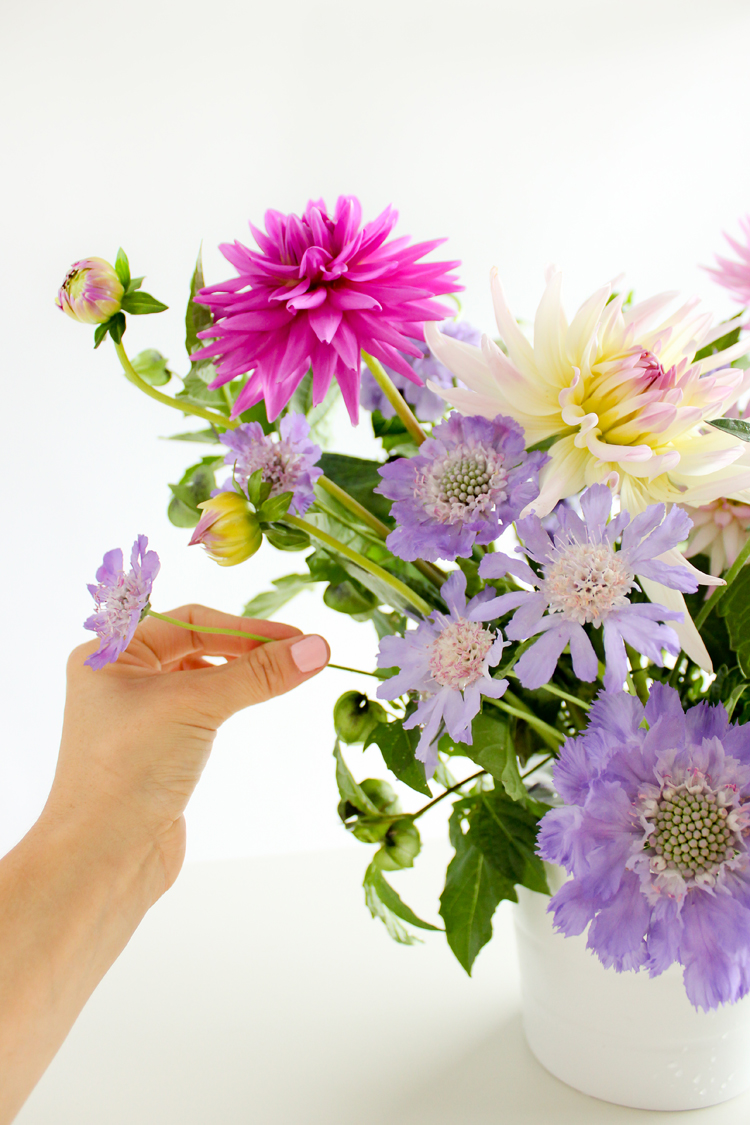
Small: Add filler and accents.
Add your filler flowers and smaller greenery. Treat this like the jewelry to your floral ensemble. Don’t over do it.
TIP:Traditionally 3-5 blooms of each kind of flower is the standard for most arrangements. This is more of a guideline than a hard and fast rule. Just be sure to use restraint and not put too many show stopper flowers in one arrangement.
4. Keep them fresh.
There is all sorts of advice out there for keeping flowers fresher longer. From using pre-1982 pennies, to boiling stems, to smashing them with a hammer. It’s hard to remember which tip works for which flower because not all tips are one size fits all.
The safest, tried and true method is to simply keep them clean and well fed. Like little flower children. 🙂
– Change the water daily, or every other day at minimum. Add a 1/4 tsp. bleach per quart of water if desired.
– Clean the vase out before re-filling it and rinse the stems of the bouquet under running water.
– If you want to take it one step further, trim back the stems 1/4″ when you change the water.
– Feed your flowers with professional plant food. There are lots of home remedies online, but legit florists use flower food because it works best. That’s good enough for me. Ask for a few extra packets from your florist, so you can add it to the water when you change it.
– Some flowers last longer than others. Remove dying blooms and rearrange them, downsizing to a smaller vase if needed.
Note: Unlike children, they also last longer if kept cold. Avoid setting them in warm, sunny spots, or at least move them to your fridge or cooler locations, like your garage, for the evening.
Other helpful tips:
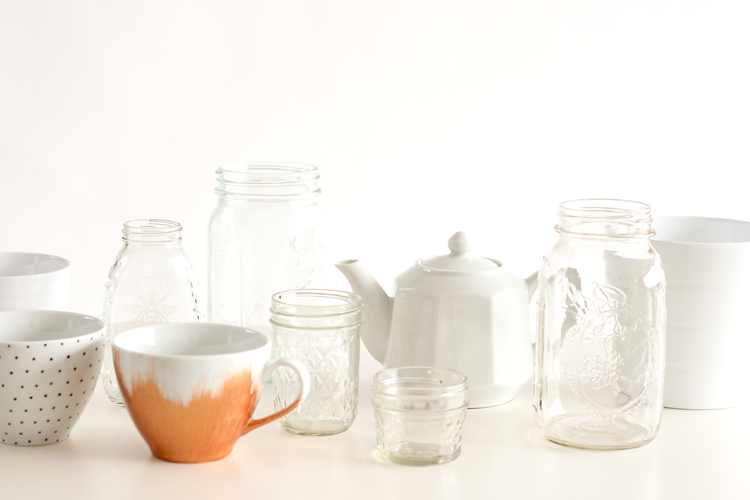
Raid your cabinets and closets to add variety to your vases.
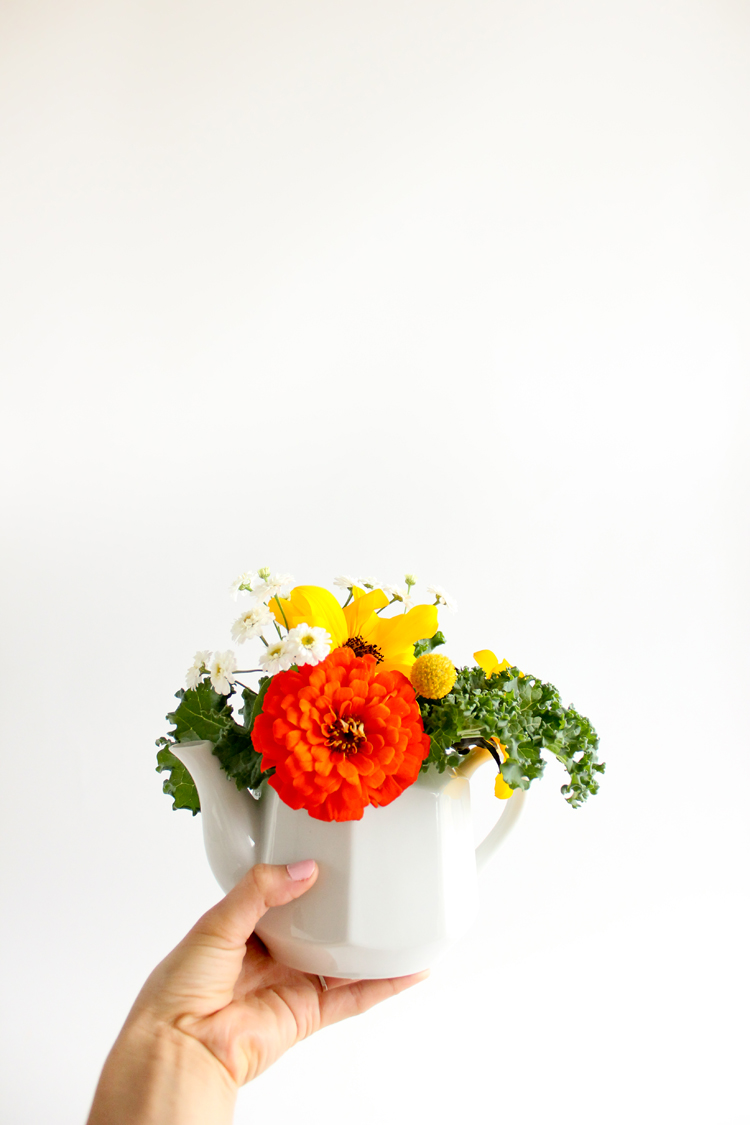
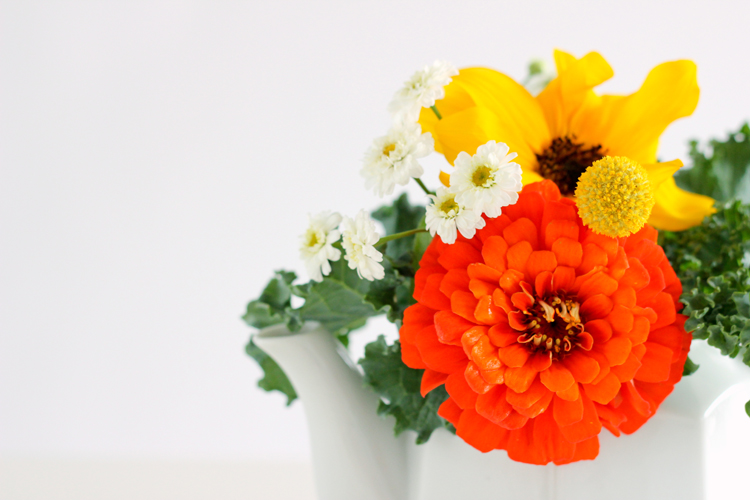
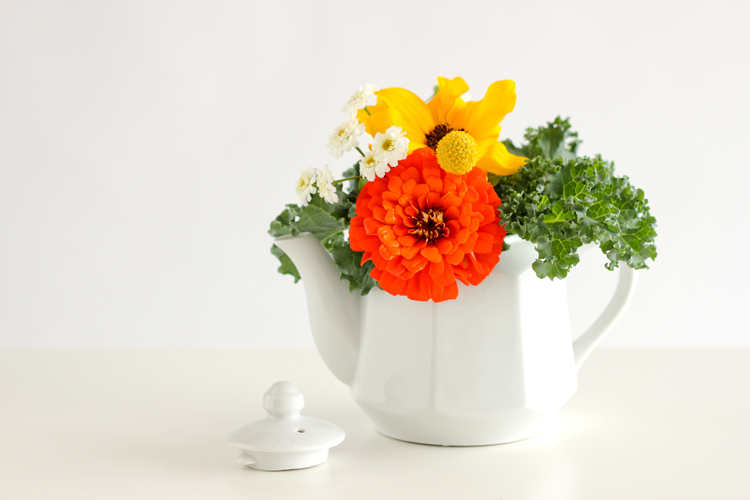
If you don’t have a large vase collection, try using a pitcher, tea cup, or jars instead. The only drawback to my insistence that everything be white or clear in my house, is that I don’t have a lot of color variety! (doh!) I plan to remedy that when I hit up thrift stores from now on.
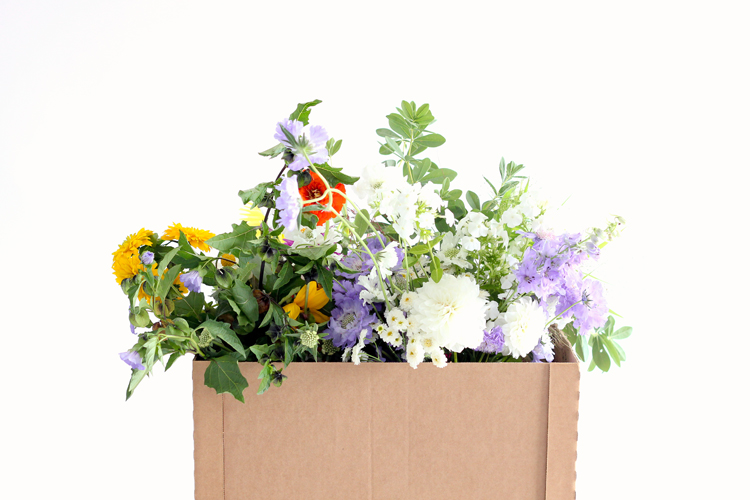
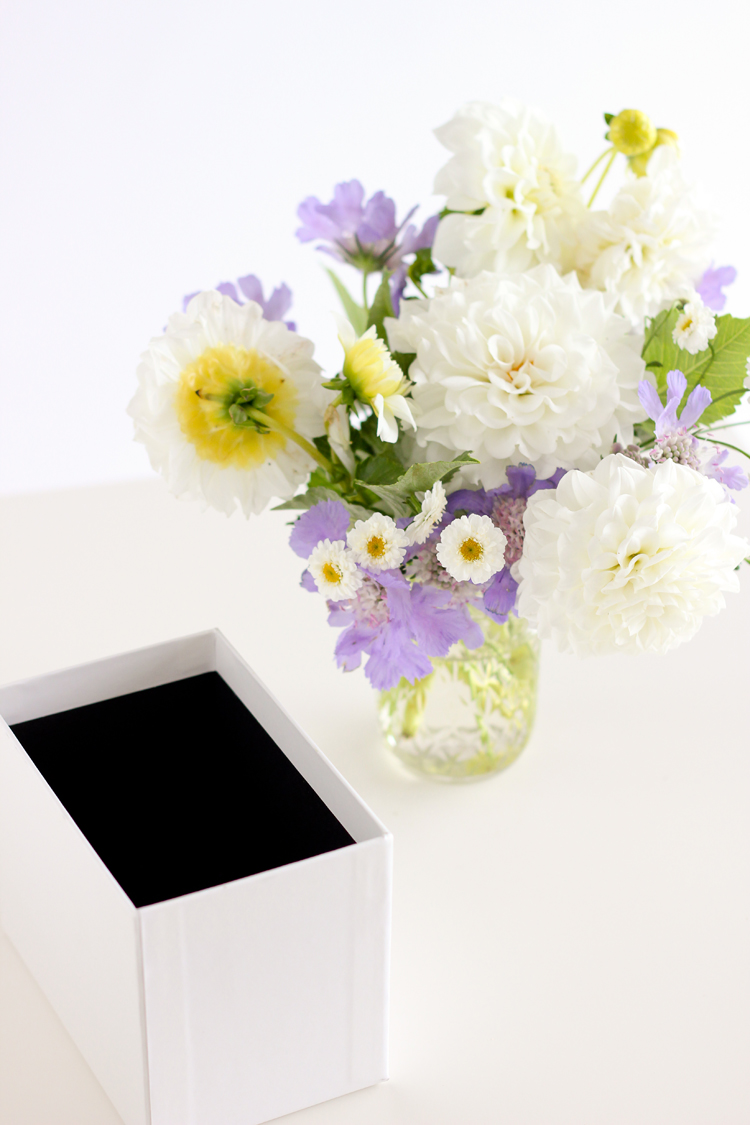
You can even build an arrangement in a glass jar and then put the jar into a basket or box for even more variety.
Be sure you are choosing “cut” flowers if you need them to last.
If you are gathering wildflowers or if you are clipping blooms from your yard, keep in mind that they may only last one or two days if they are not hearty flowers, or if they are not “cut” flowers, which are varieties specifically bred to survive longer in a vase.
Embrace asymmetry.
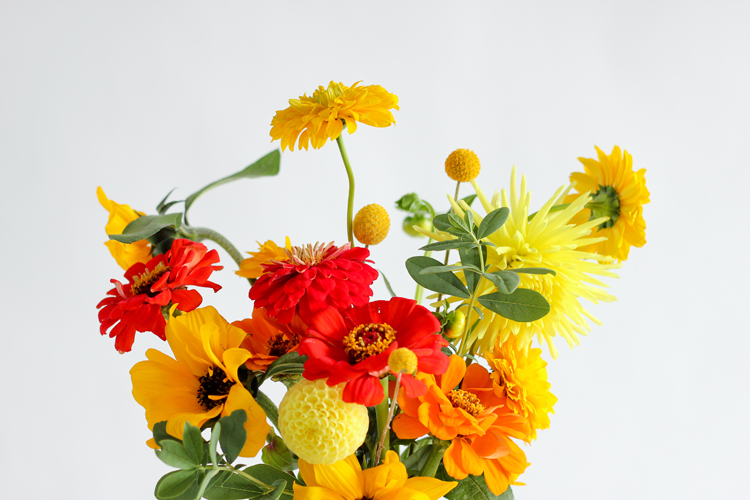
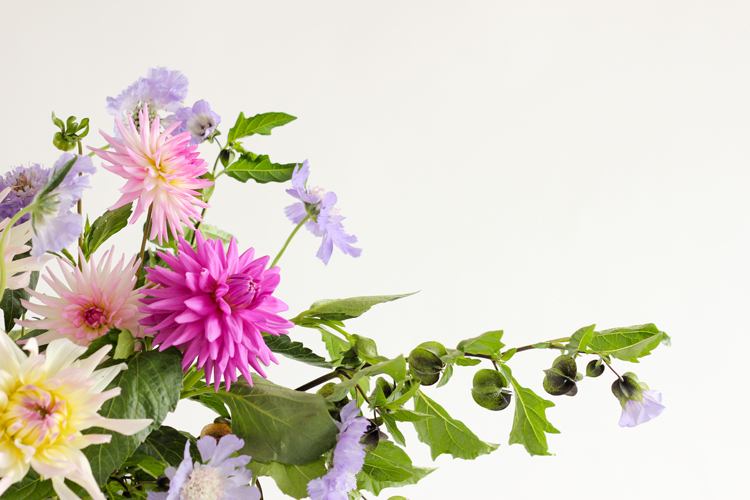
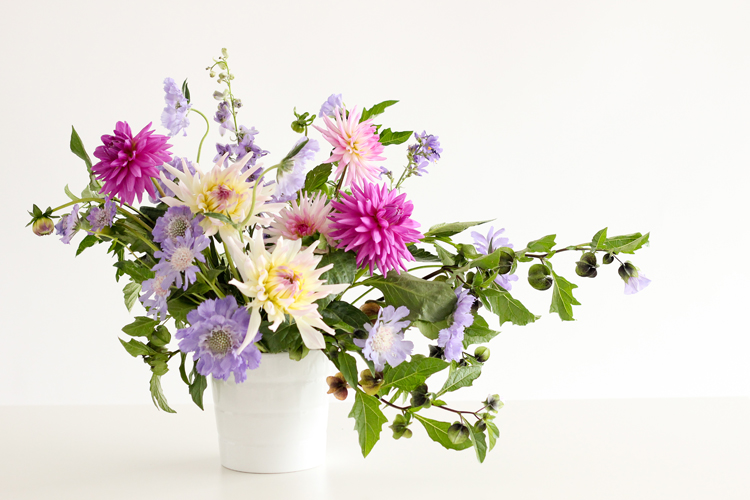
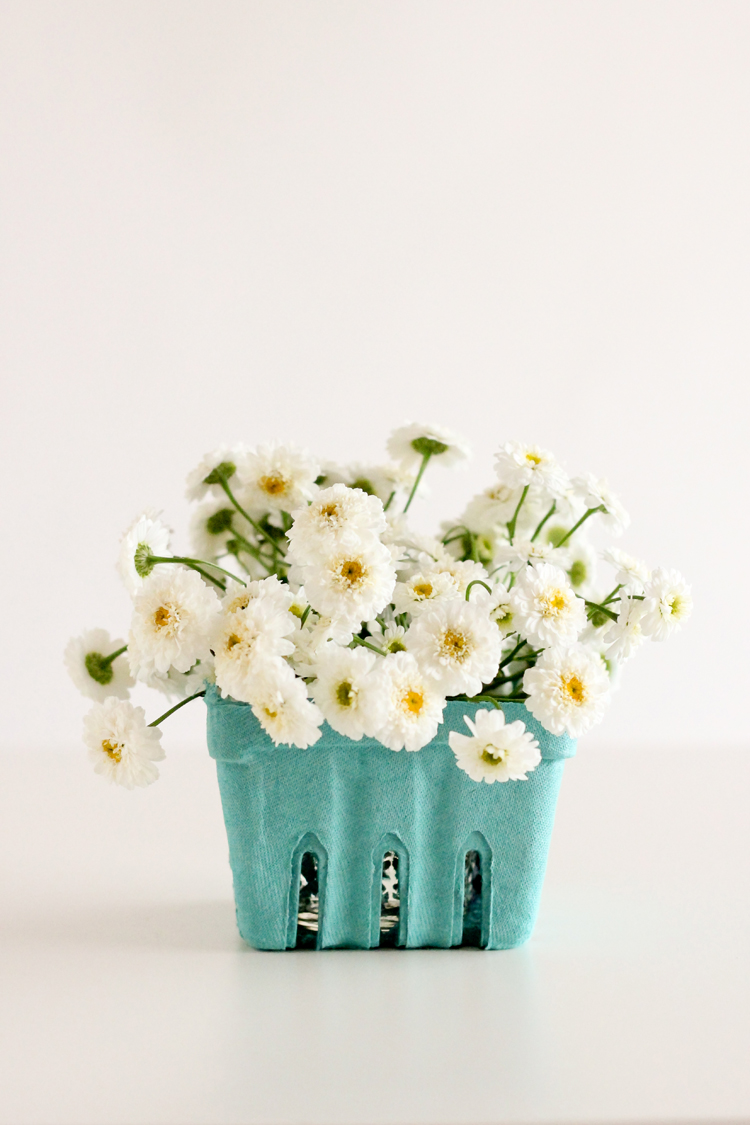
I love the new trends in floral arrangements with blooms spilling over the side in an almost messy way, because it’s beginner friendly! You don’t have to create perfect little domes of roses. You can let the flowers kind of splatter and swoosh around the vase like paint on a canvas.
Find your own style.
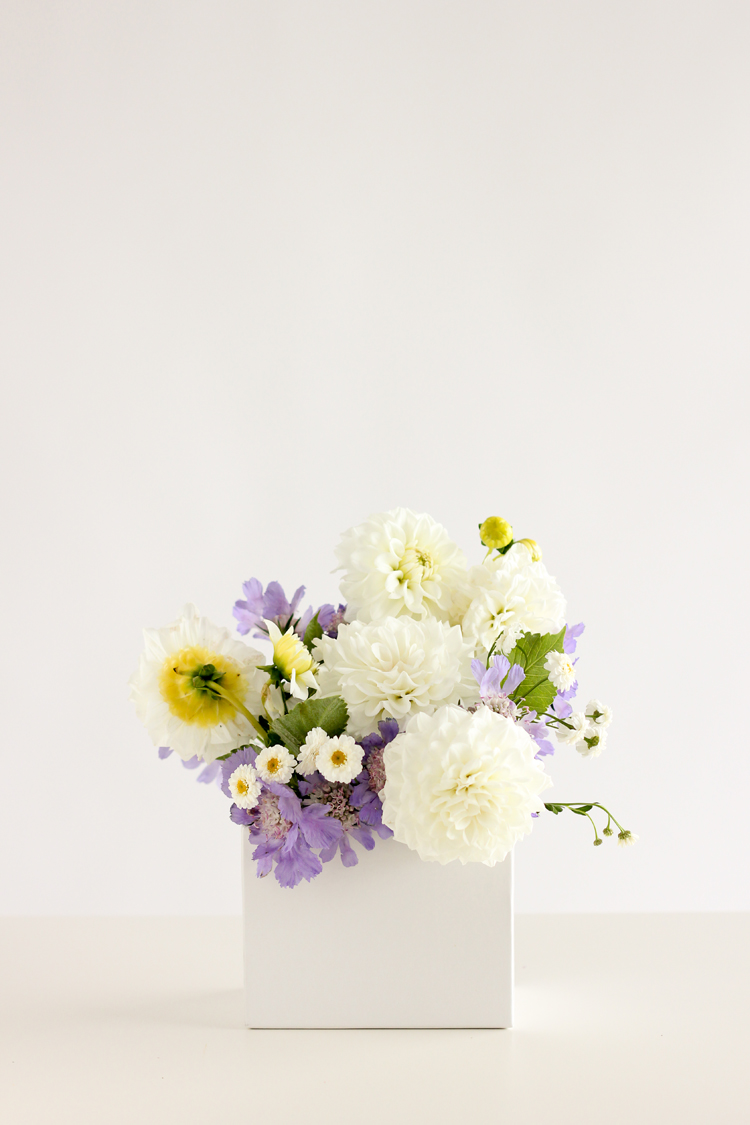
Allow yourself to make an arrangement that is not exactly like what you see in pictures. I found that the more I played around with different arrangements the more I discovered my own style. I ended up preferring the smaller, minimalist, quirky arrangements over the ones that looked like they could have been store bought.
Start small.
As a beginner, I found smaller arrangements a lot easier and more satisfying to create. Once I made a few smaller ones, I felt a little less intimidated to try a larger one.
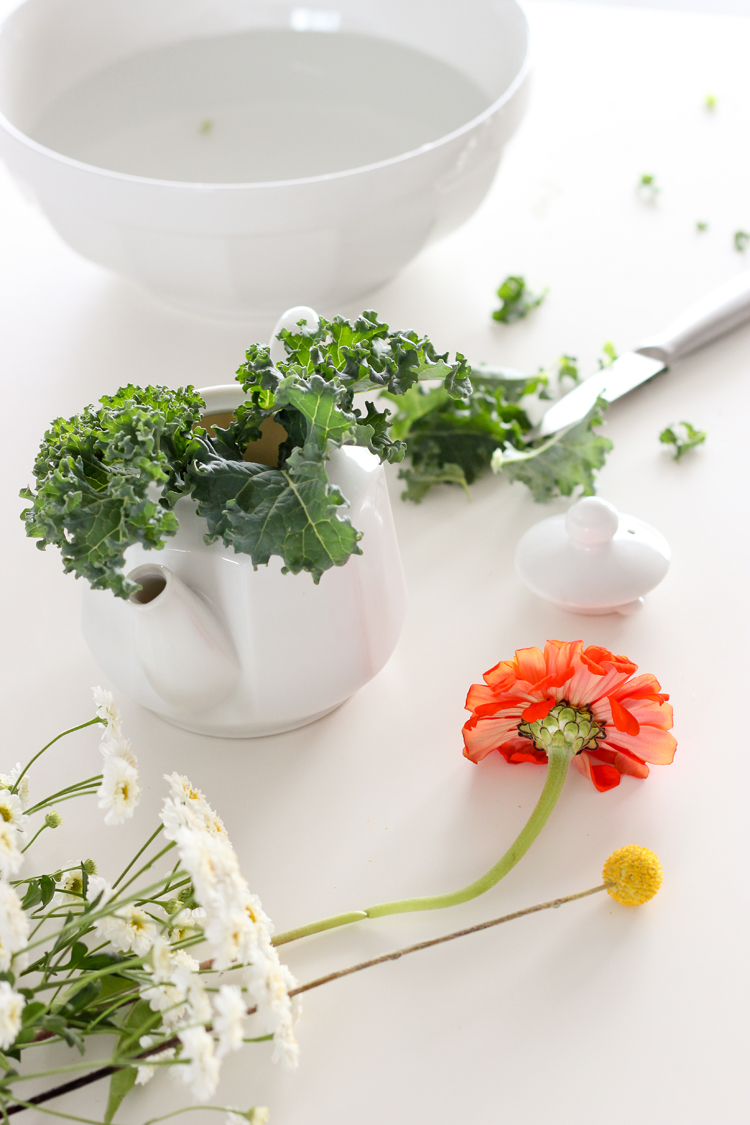
Smaller arrangements are also great for spreading the flower love around your house, so it’s not all clumped on your dining table. You can divide a store bought assortment into to similar colors or blooms, and create really cute mini arrangements.
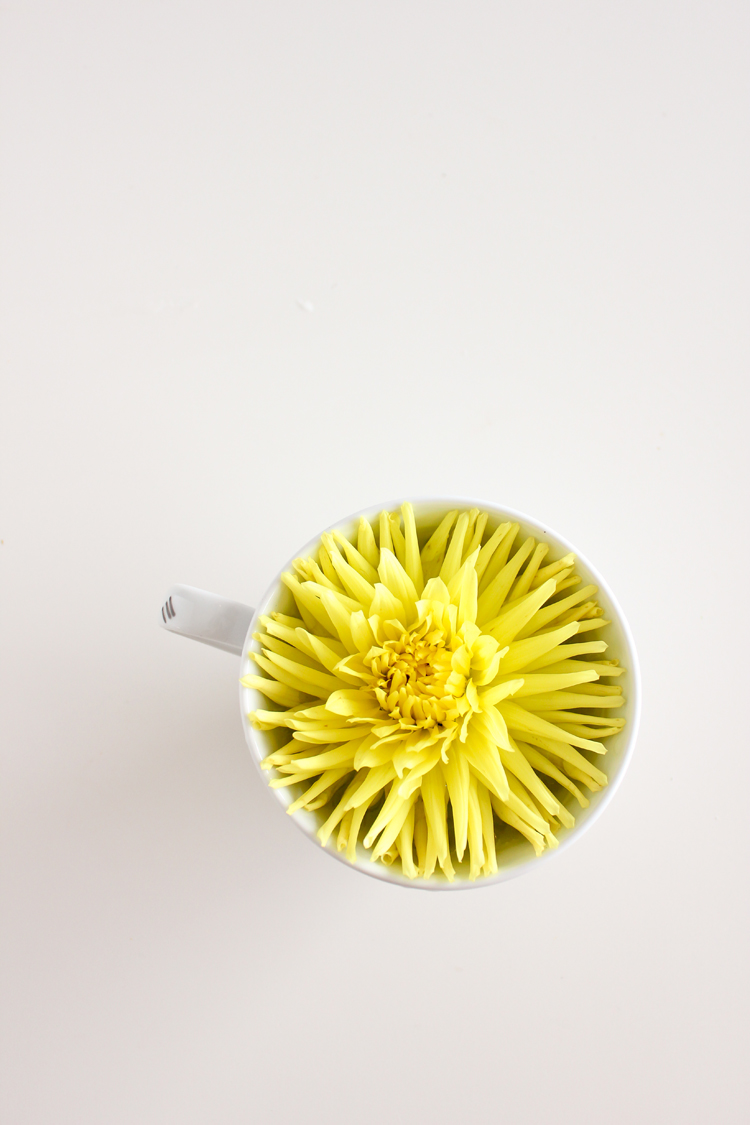
Or…if the blooms break off, float them in a small bowl or tea cup!
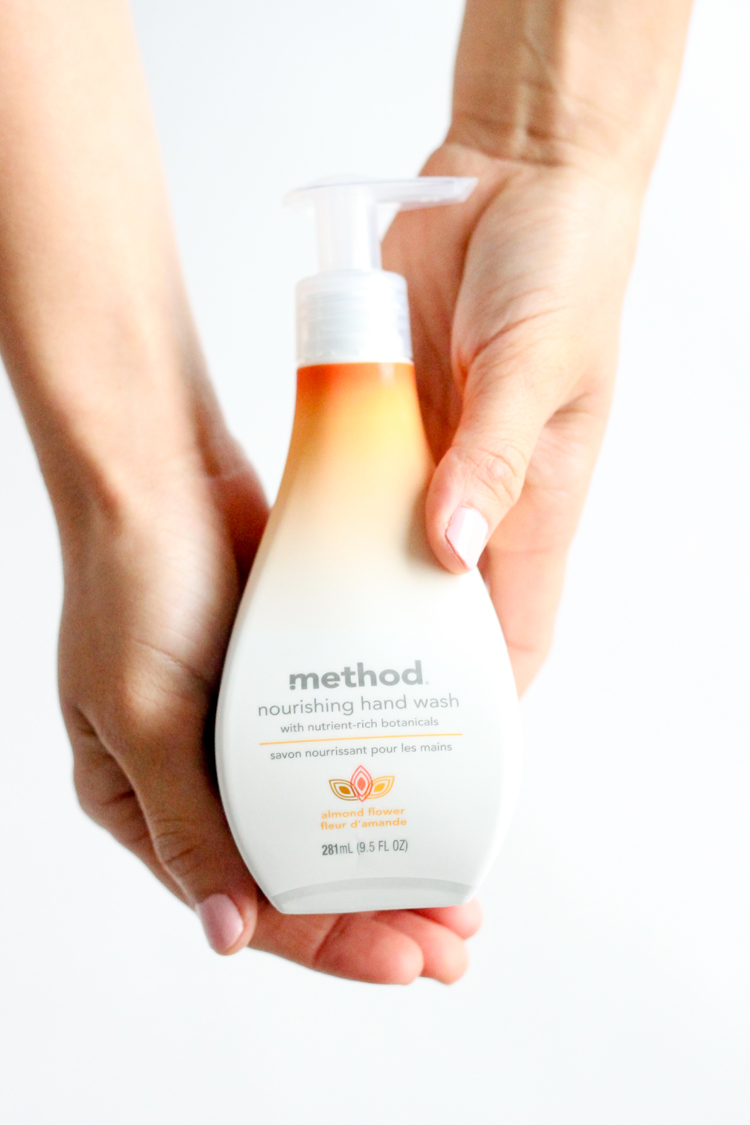
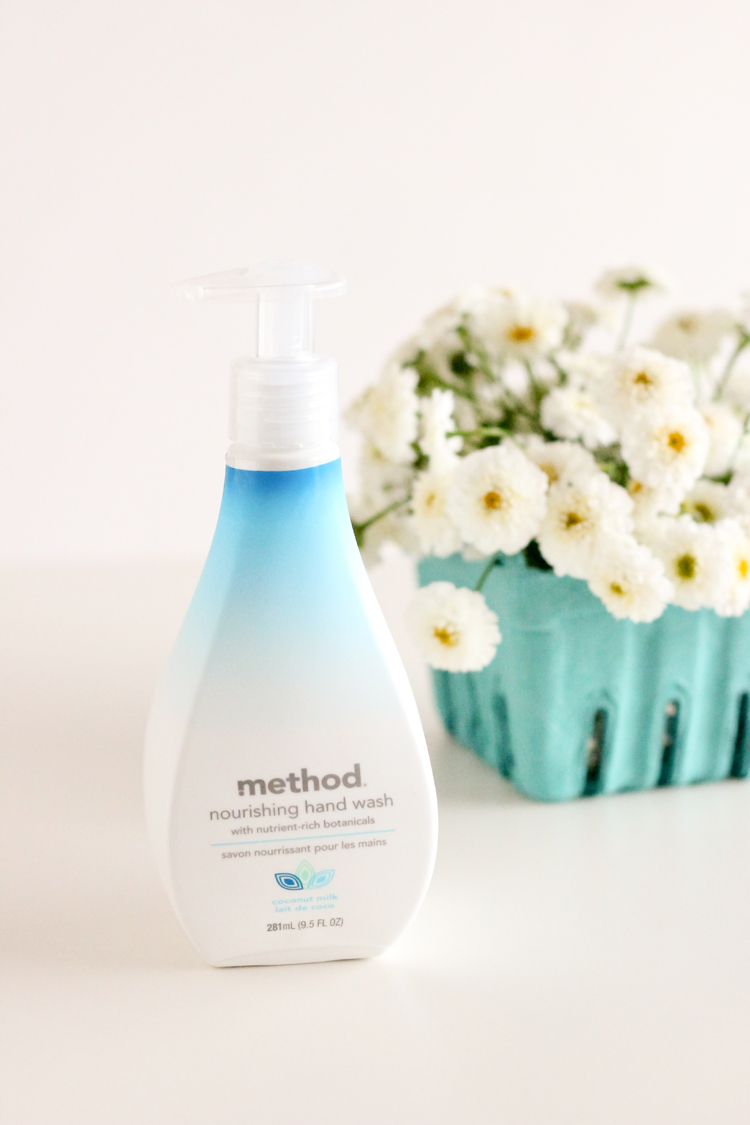
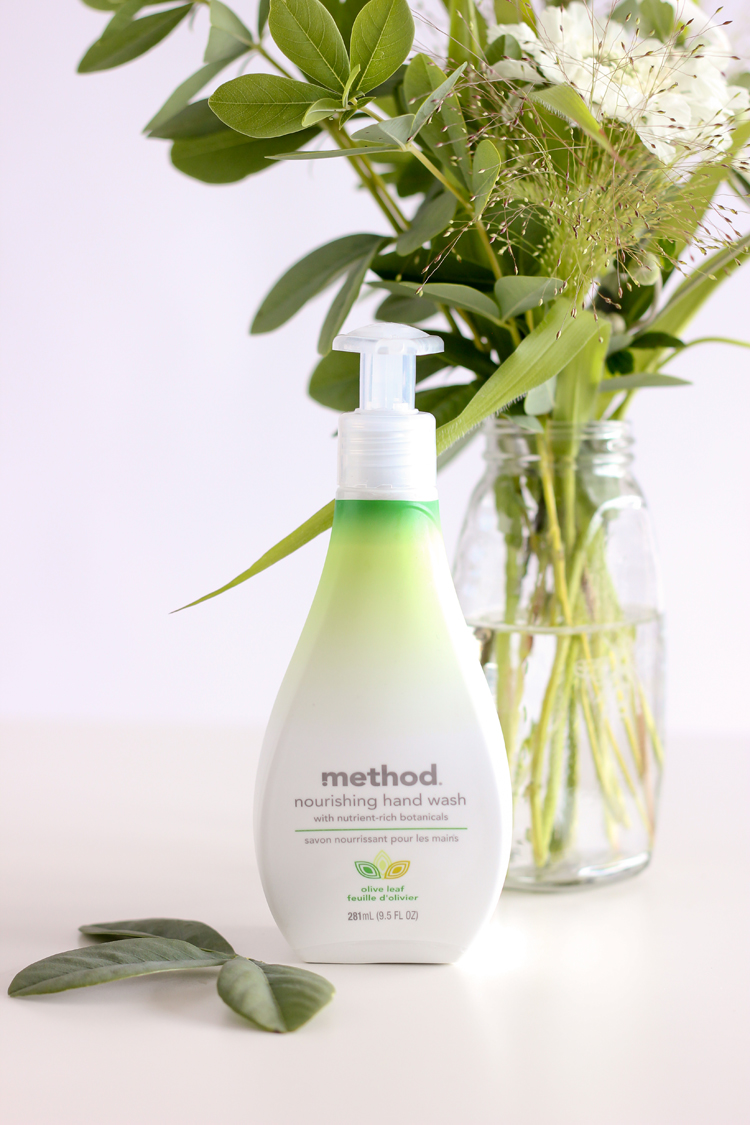
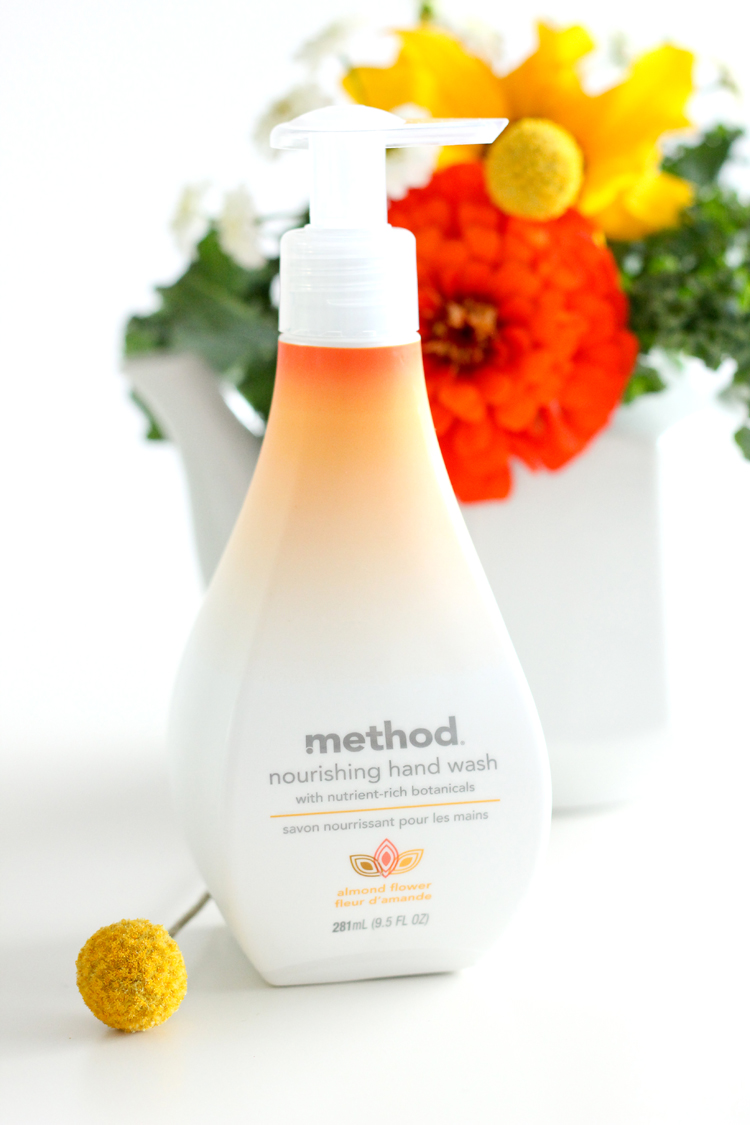
As flowers are one of my favorite mood boosting splurges, good chocolate and fancy hand soaps also top the list.
Just think of how many times you wash your hands a day, especially if you’re a mom. Dirty diapers, dirty laundry, dirty…everything! And you’re cleaning up after it.


Those flowers are beautiful! I don’t buy cut flowers often, but these are good tips for the next time I do. Especially sanitizing everything- I wouldn’t have thought of that one!
Thank you Charity! I know! When our local flower farmer told me that, it blew my mind. I’ve never really washed my flower vases that well before because I didn’t think it mattered. I think it’s a mistake most of us make.
Nicely done! I am actually a Floral Designer (by trade). I have been arranging flowers for over 20 years. You did a lovely job with this tutorial. Beautiful job with arranging too!
Wow! Thank you so much Michelle. That means so much!
You did a fantastic job with your arrangements! Beautiful photos of the flowers and a great tutorial as well!
Thank you so much!
Thanks! This was very helpful, especially the stem cutting and removing remaining leaves information.
Thanks Lily! So glad it was helpful.
Delia……where have you been all my “loose-track-of-time-reading-blogs” life! Found you via Michaels Maker Space…Lucky me! Love your blog and the clean ease at which the reader’s eyes run across the page. I am not a blogger, just a creative artist. In my journey to reinvent myself at 50 and do something with my gift I recognize the importance of taking good photos of my products. Would you be so kind to share some of your tricks, tips, products? Your flower photography is beautiful…is that a white screen? Thank you in advance.
Megan
Thank you Megan. What a kind compliment. Sure thing! I use Savage brand paper backgrounds and I increase my exposure more than I’m “supposed” to. I often shoot in my garage on a sunny day, so I get good light. I use poster board as reflectors to help fill in shadows when needed. I hope that helps? Let me know if you have any more questions.
I like that you said that wildflowers tend to last longer in a vessel. My sister told me that she wants to learn how to make floral arrangements. I’m going to share this information with her so that she can gather some ideas.