I know, I know. You’re probably wondering how economical it is to make your own gift bag.
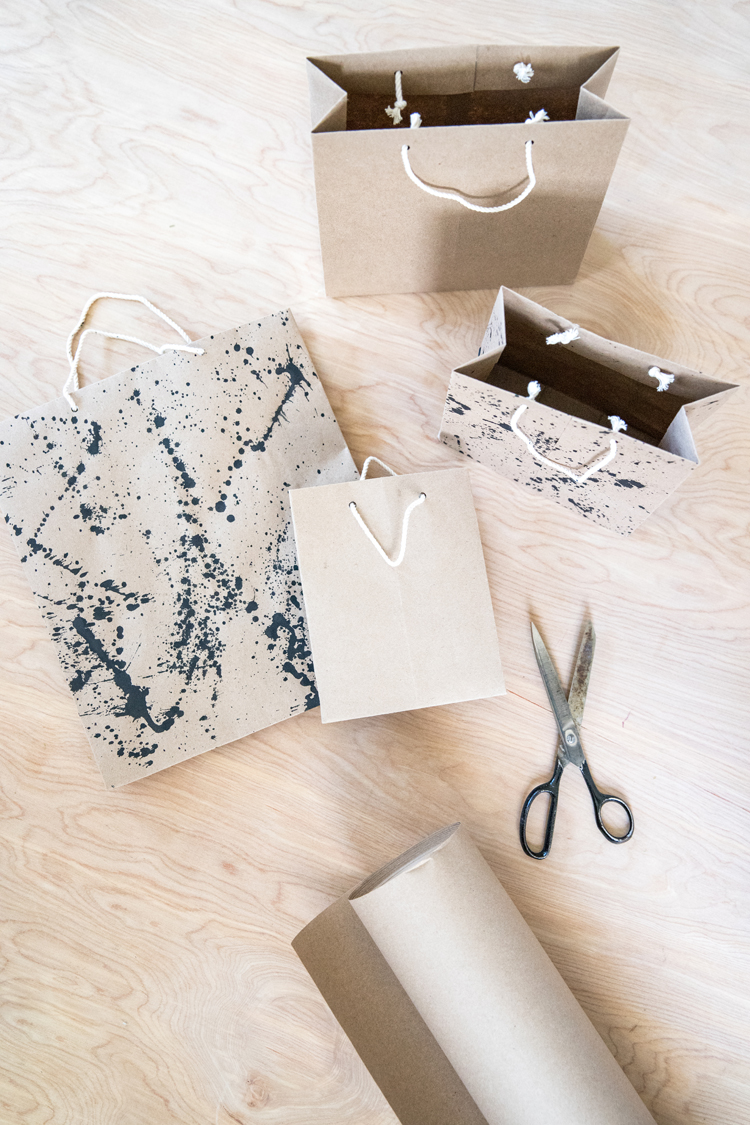
Well, I did the math, and my largest bag cost just under 20 cents! It takes just about the same time to make a reusable bag as it takes to wrap a present too.
And in these pandemic times, it’s nice to not to have to make another trip to the store!
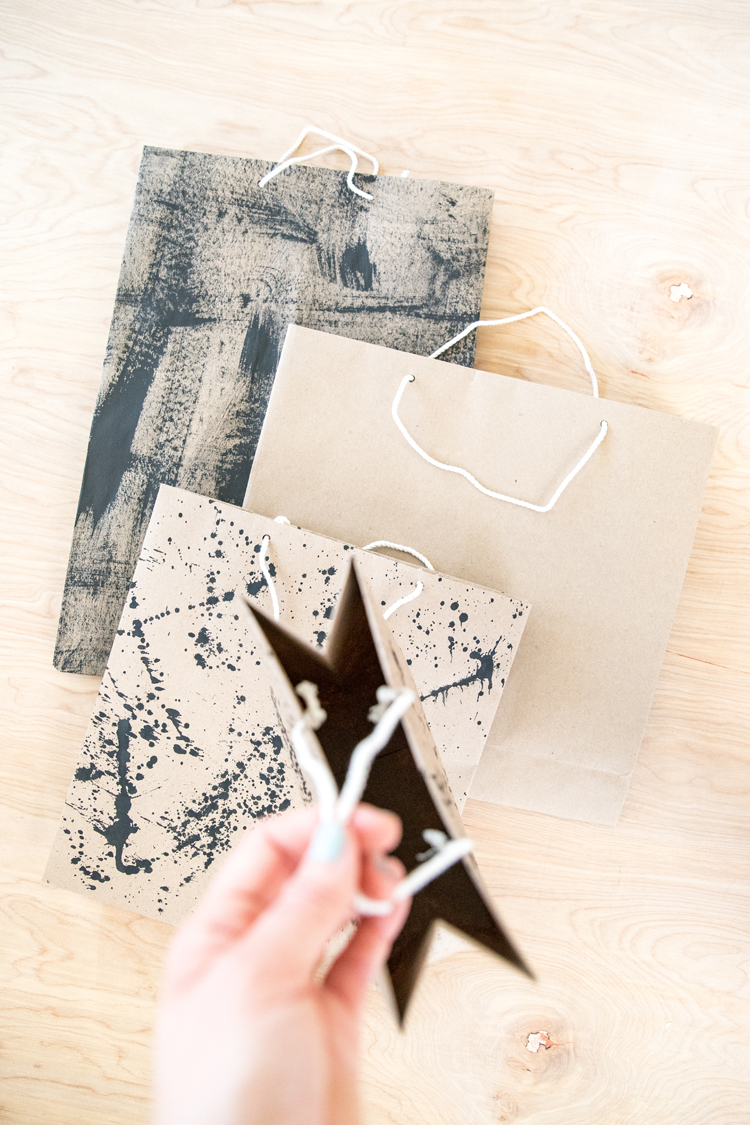
It does help to use a sturdier paper. I got a roll of 140 feet of painter’s kraft paper from Home Depot in the paint aisle for about $12. It’s a sturdier kraft wrapping paper and as I mentioned…is very affordable!
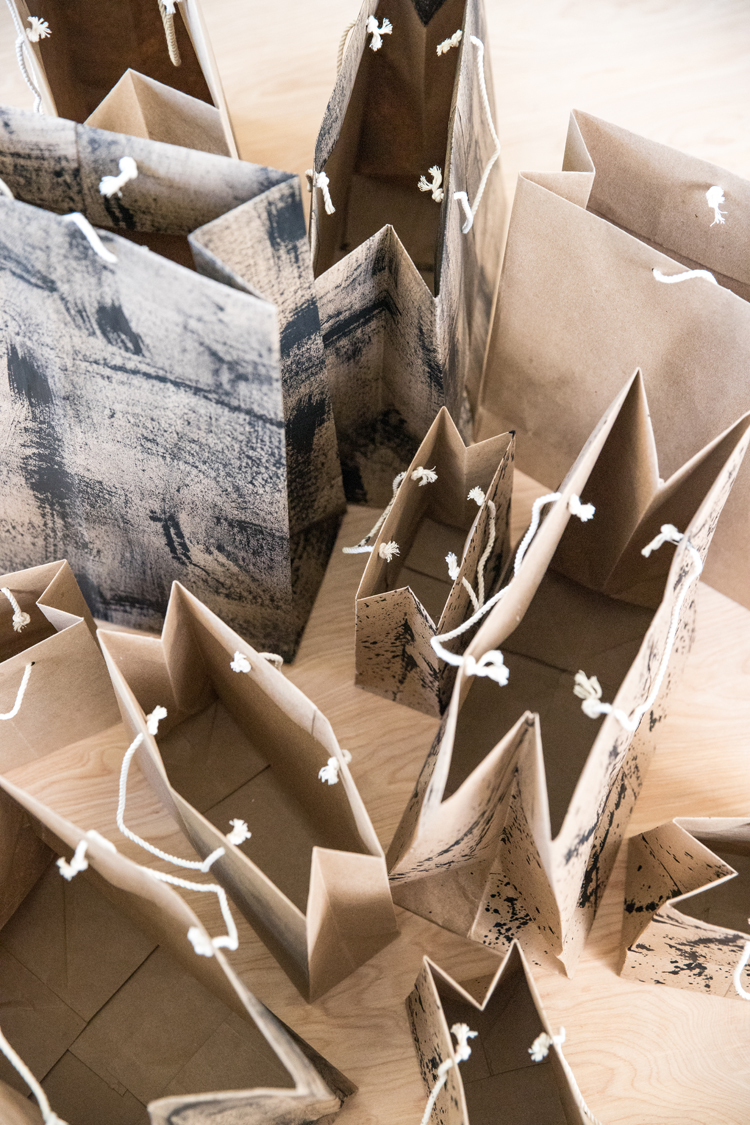
And you can make them in ANY size to fit what you’re wrapping.
I created a Reel for instagram and decided to share the video here too.
MATERIALS
- Wrapping paper (thicker is better)
- hot glue
- string
- hole punch
- ruler
VIDEO TUTORIAL
This video screen will pop to the side so you can view it while you scroll through the instructions while you watch.
Music is by Pleasant Pictures Music Club.
INSTRUCTIONS
- Cut a rectangle of paper. It really doesn’t matter what size, just be sure to account for a couple inches of fold at the top of the bag, and determine how wide, deep, and tall you want it to be.
- Fold in half width-wise and only press fold enough to mark the center point.
- Fold ends in toward center and have them overlap about 1/2 inch.
- Open paper back up and fold one long end over a couple of inches (this will be the top of your bag).
- Fold the sides back to center and nest the folds at the ends into each other.
- Glue the overlapped ends together.
- Fold the sides in a couple of inches. You decide how much, just make sure they’re the same. I use a ruler to be sure, because precision matters. A lopsided bag is no fun to fold up. Fold it back the other way so it has a memory of folding both ways.
- Invert the side folds.
- Fold the bottom (raw, non-folded end) upward a few inches. You decide how wide you want your bag. Fold the other way so it has a memory both ways. Unfold.
- Fold the bottom corners up to the fold line at the bottom. Flip and fold the other way so it has a memory of folding both ways. Unfold.
- Open up the bottom folds and invert the folds inward like you are wrapping the end of a box.
- Glue the ends in place from the bottom and then from the inside.
- Fold the bag flat with the bag folding up toward the seam side of the bag.
- Punch holes, evenly spaced, for the handles. A standard hole punch should be able to go through both bag layers at the same time, so you can ensure they are lined up.
- Tie in handles by knotting them on the inside of the bag.
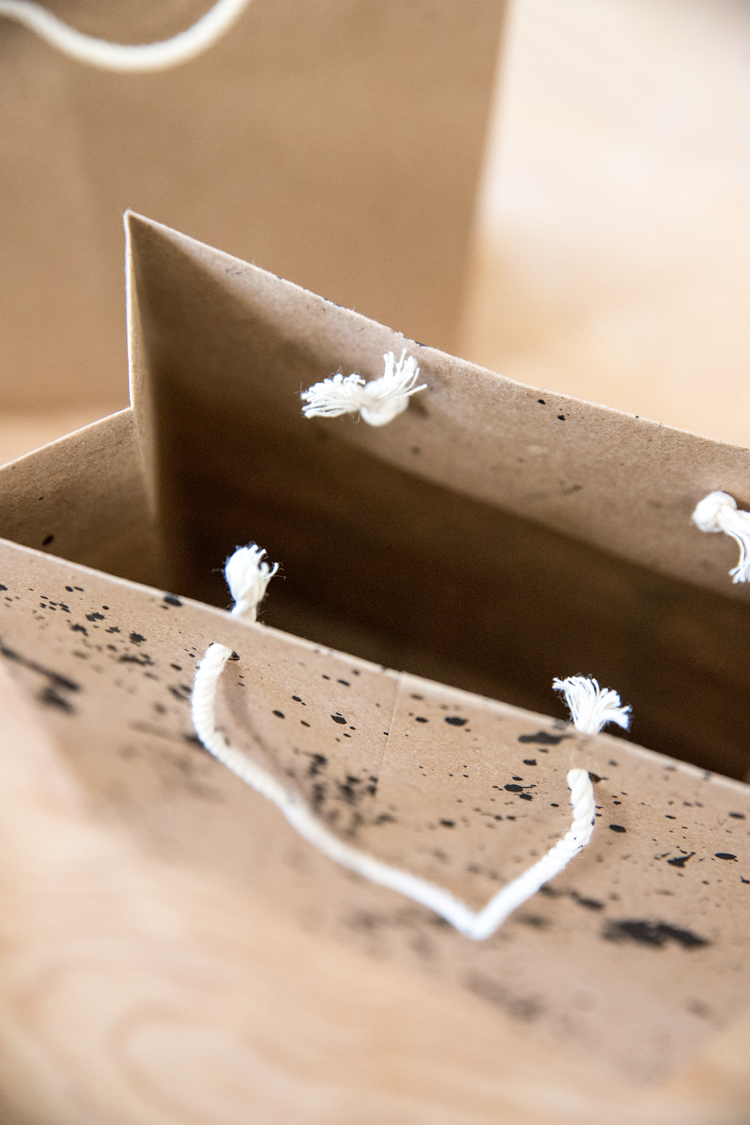
You’re done!
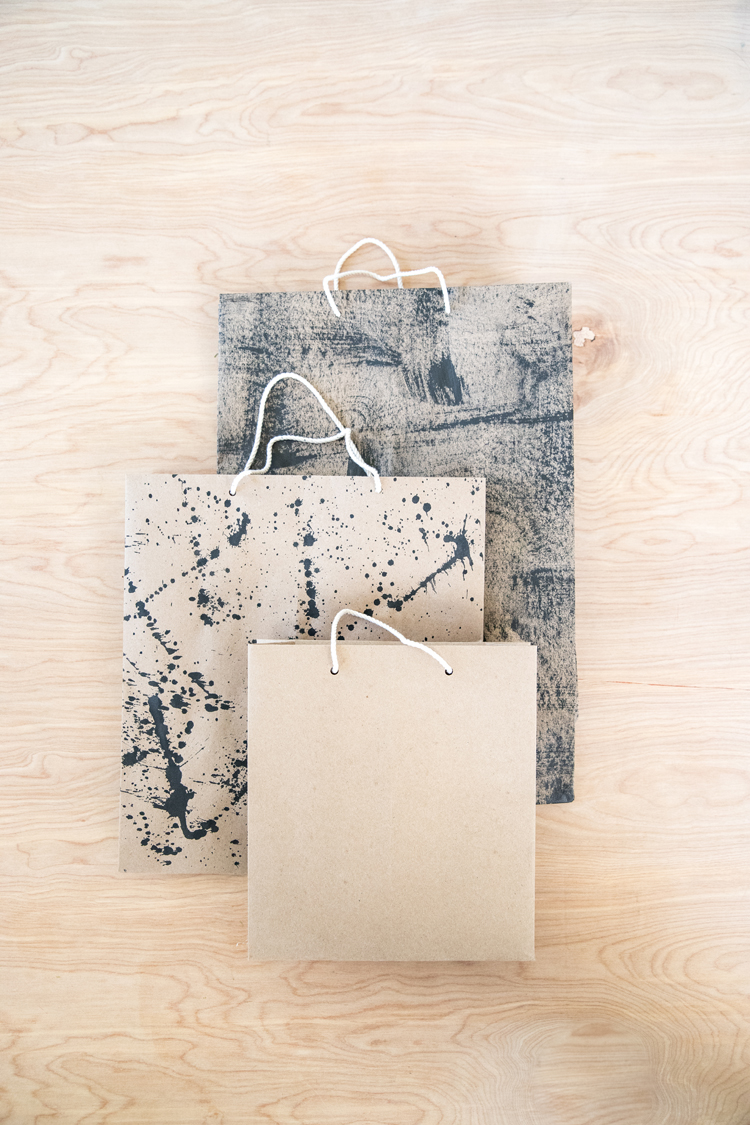
Easy right? The first few will take a while, but once you get the folding pattern down, they come together really quickly.
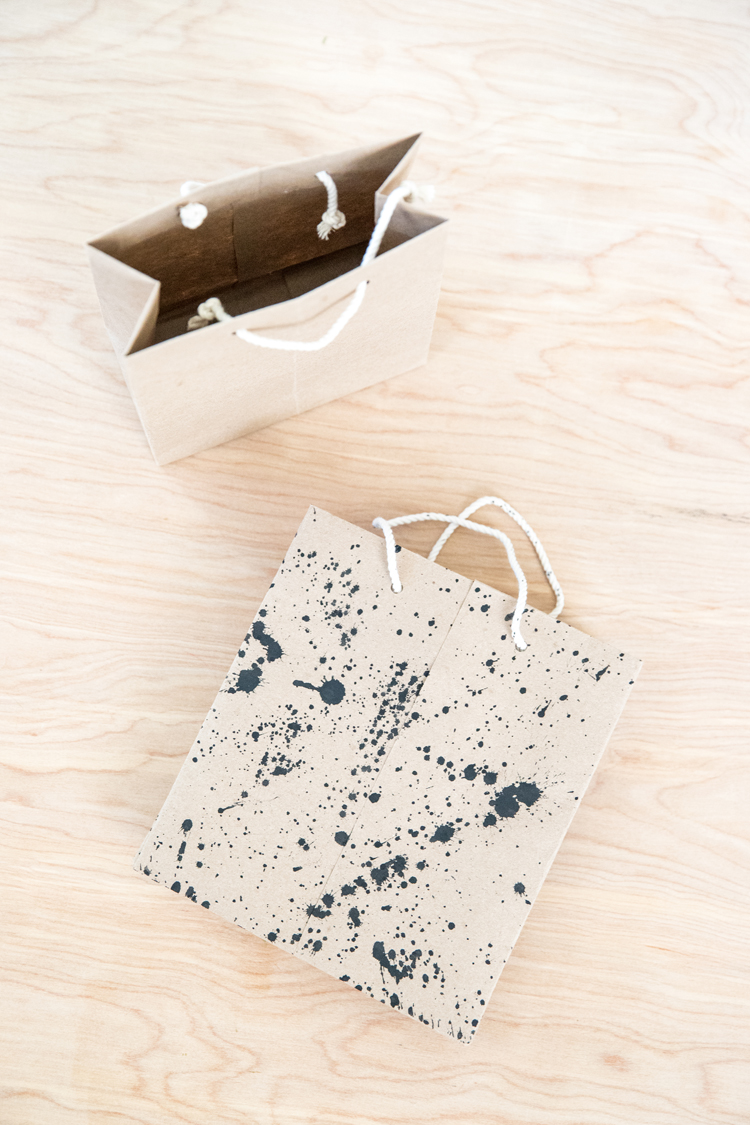
Save this post for whenever you need a bag in a pinch! 😉


Leave a Reply