What’s more festive than a straw topper?
 Not much, I say…. Well….maybe glitter and confetti, but straw toppers are much less messy. 🙂
Piggy backing off the paper plate idea from yesterday, I decided to dress up our Halloween drinks with simple paper touches.
 Grab some paper straws, and scrapbook paper….
Snippity, snappity, poof!
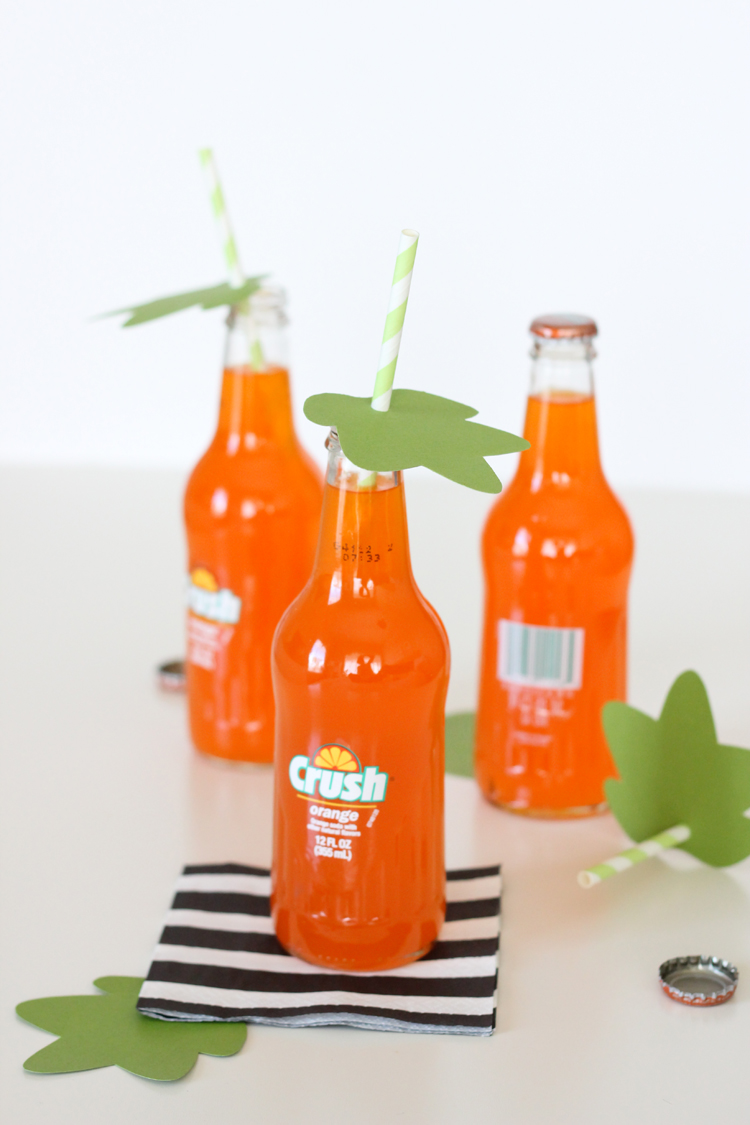
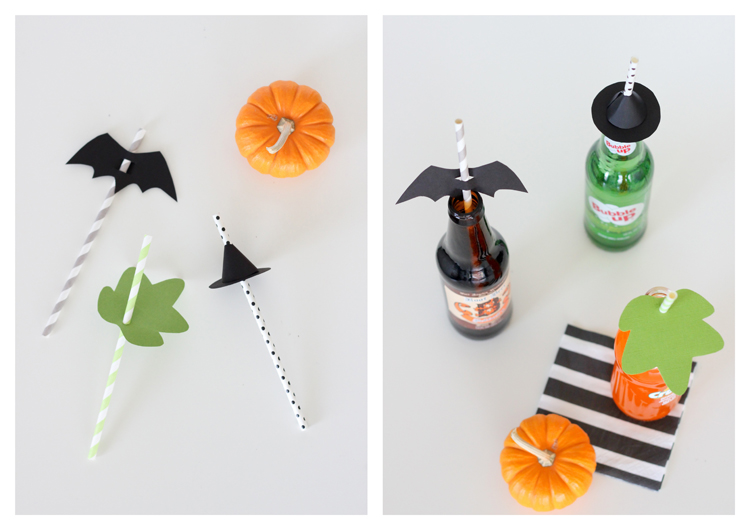
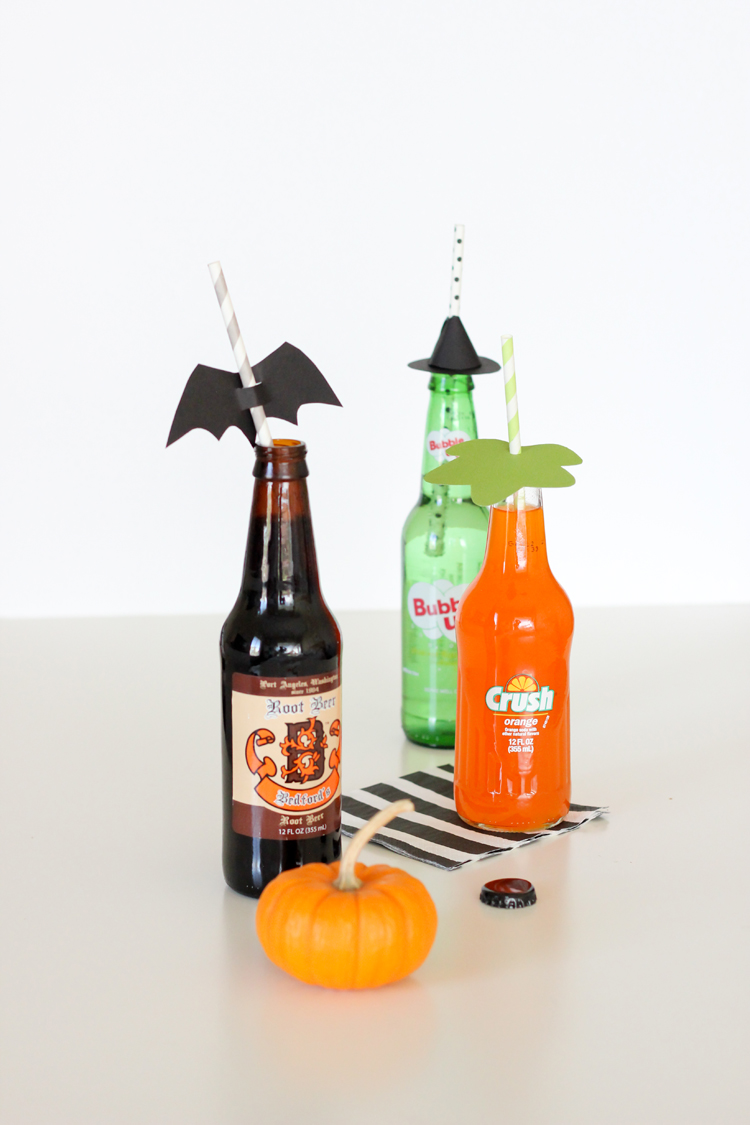
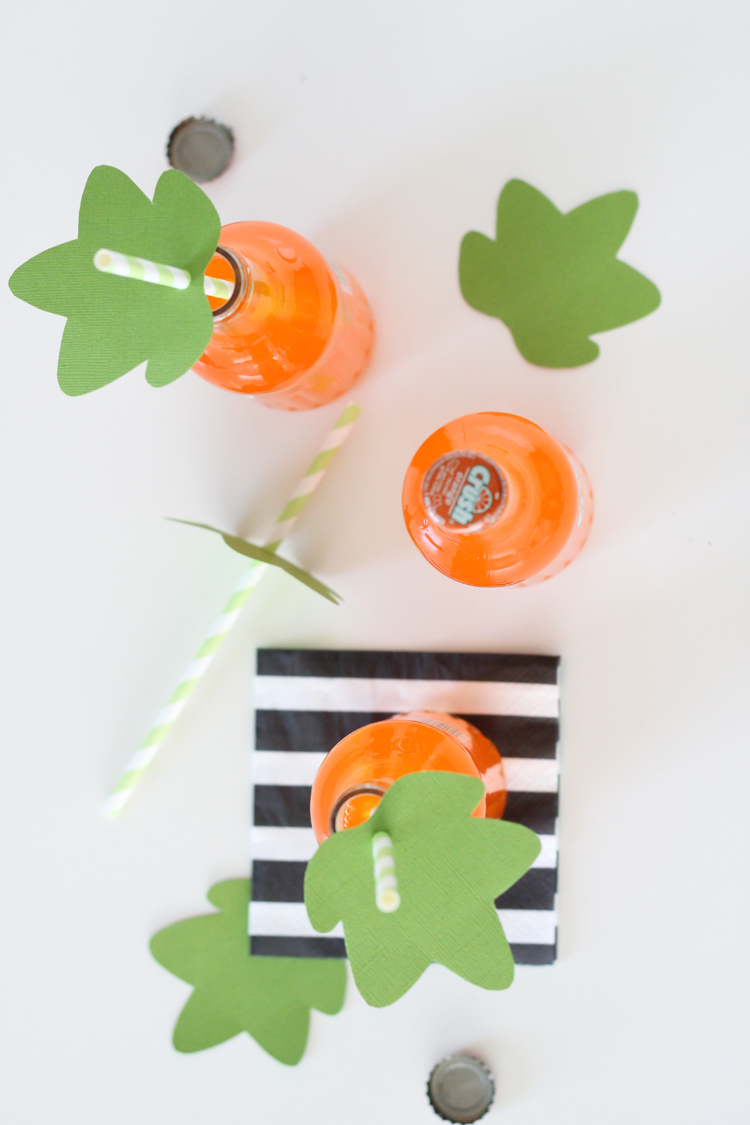
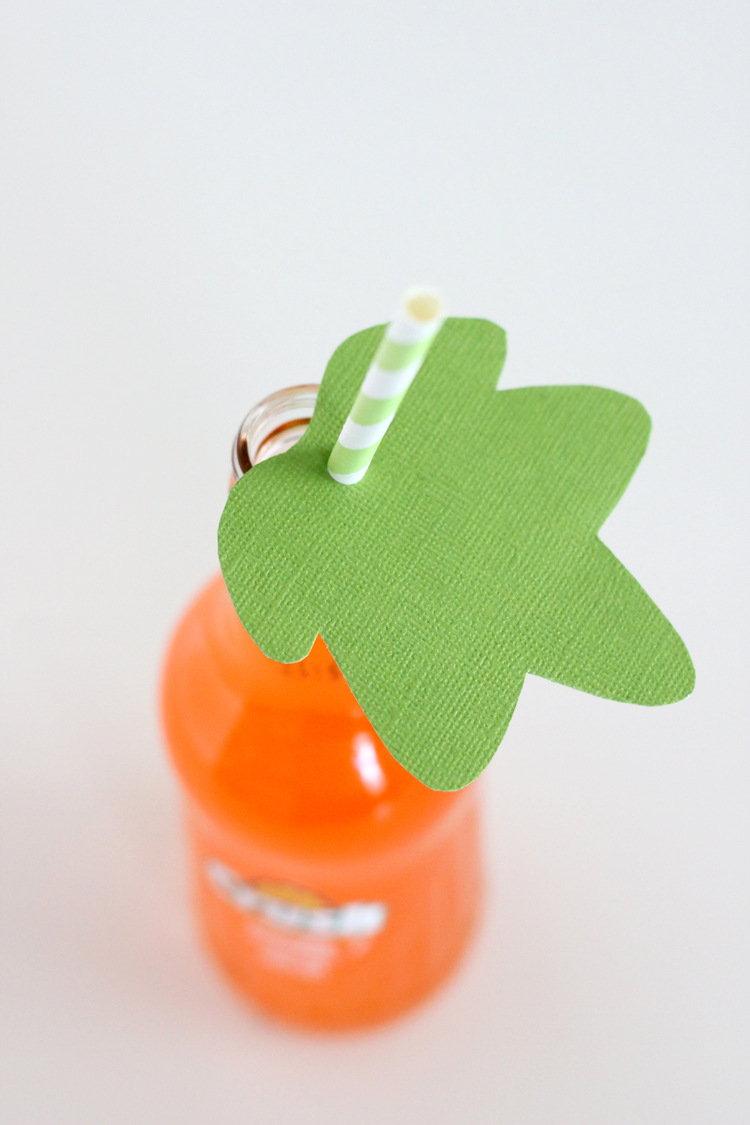
The leaf makes the orange soda a pumpkin.
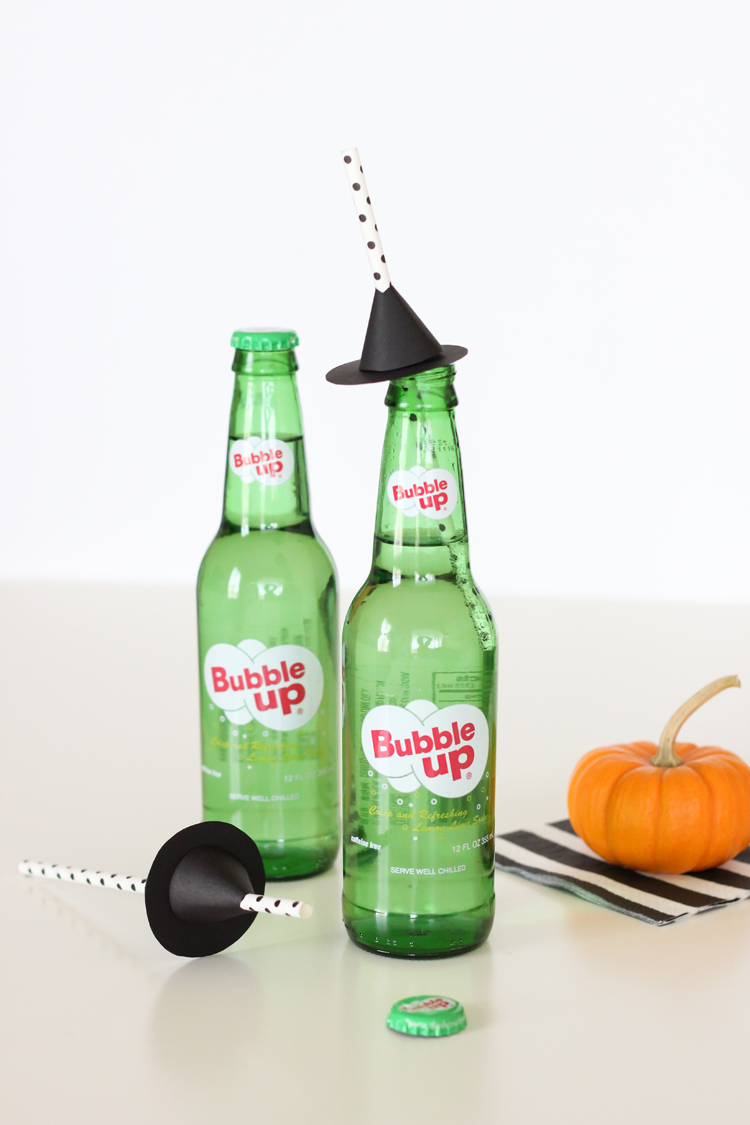
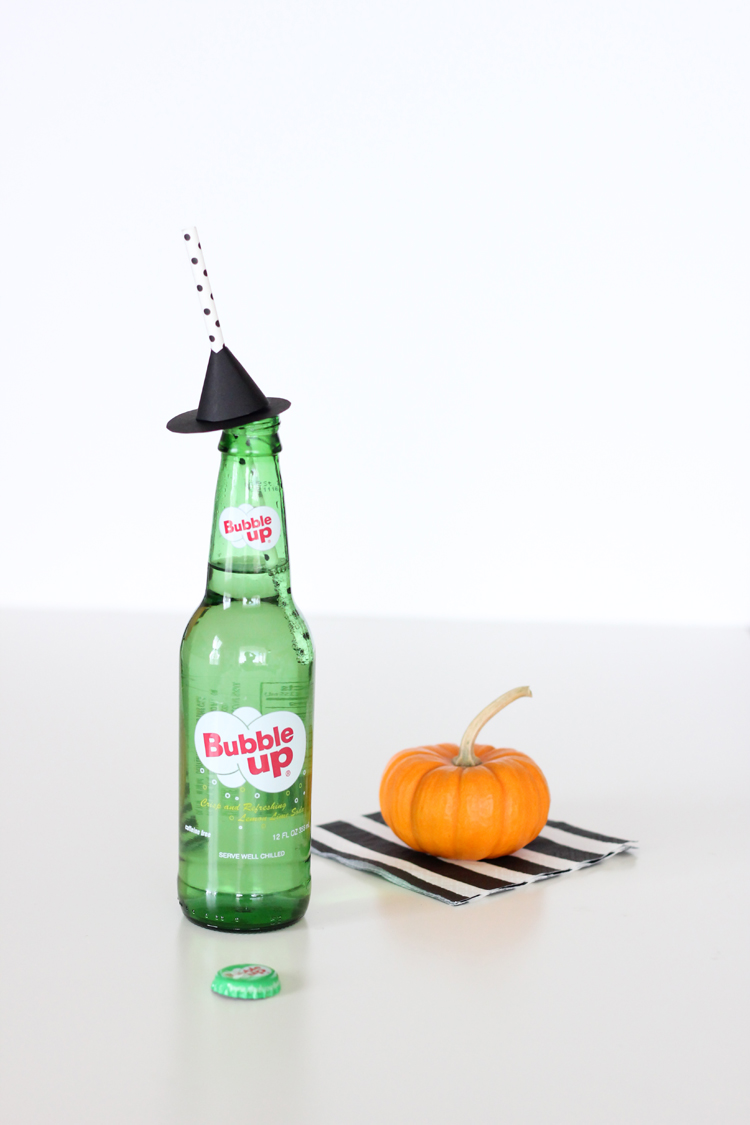
 The witch hat makes this lemon lime soda a bubbling witch’s brew.
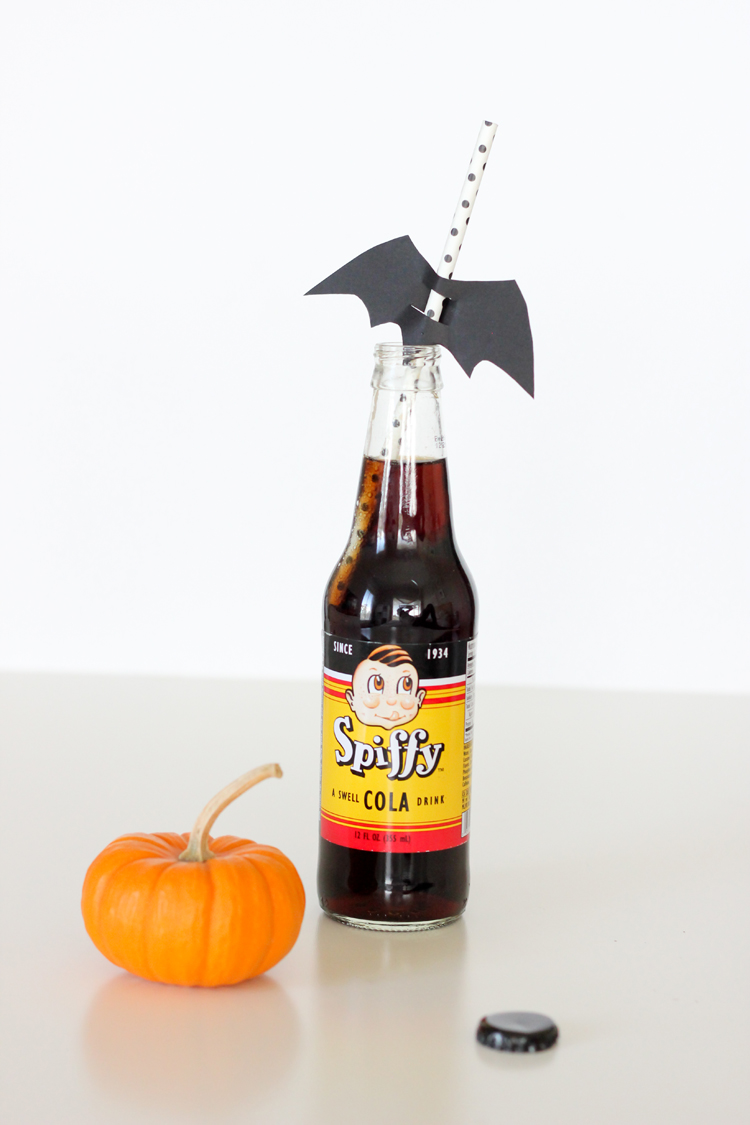
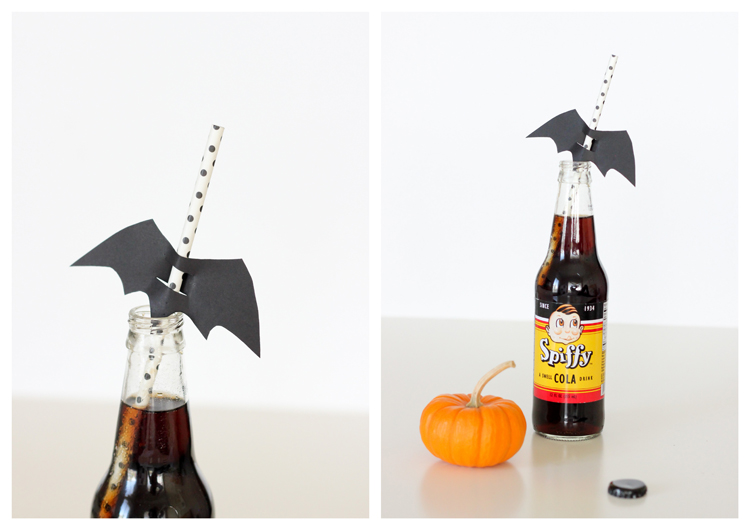
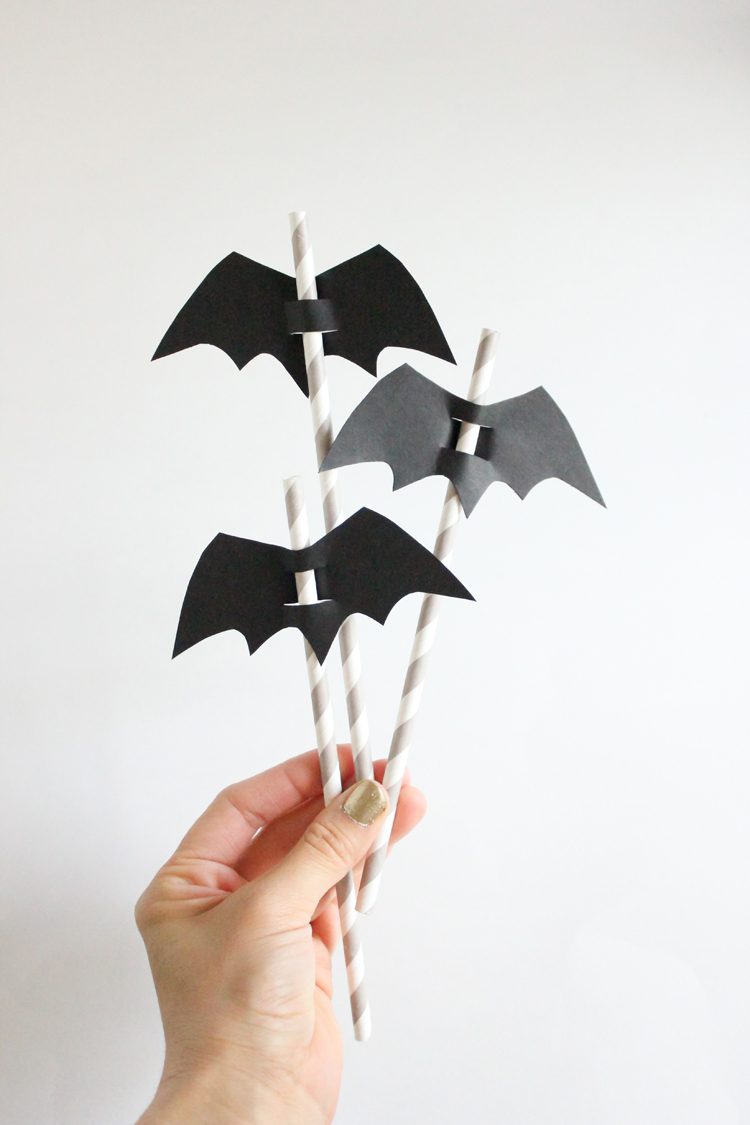
 And the bat topper makes this root beer, a festive “bat beer.”
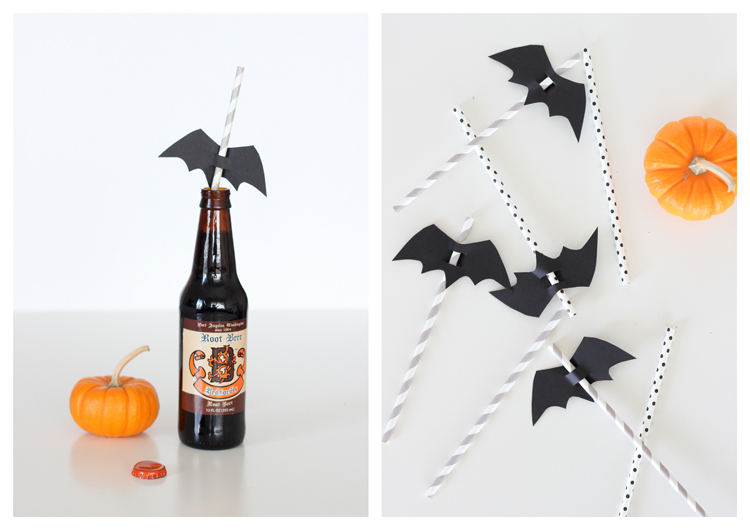 The best part is that there are free printables!
To print off a template you can use to trace, click below:
Halloween Straw Topper Templates
If you would rather print the template onto the paper you are cutting…
Click here for the pumpkin leaves: Pumpkin Leaf Straw Topper Template
Click here for the bats: Bat Straw Topper Template
Of course this is only helpful if you are going to print your bats on paper that is not black ;).
PUMPKIN LEAVES
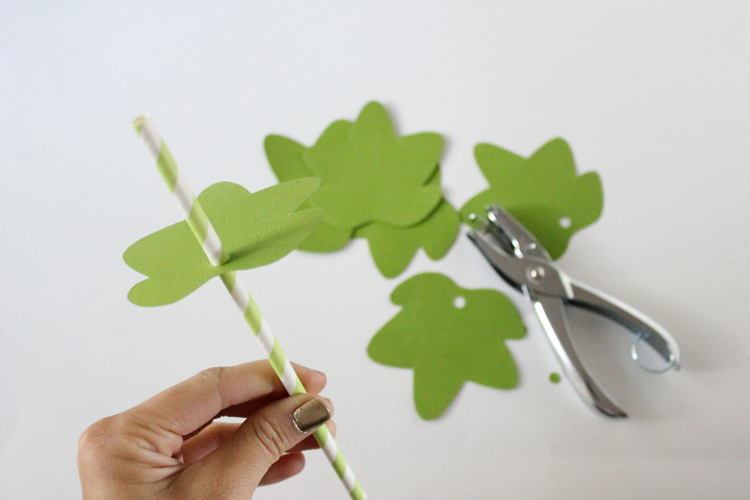
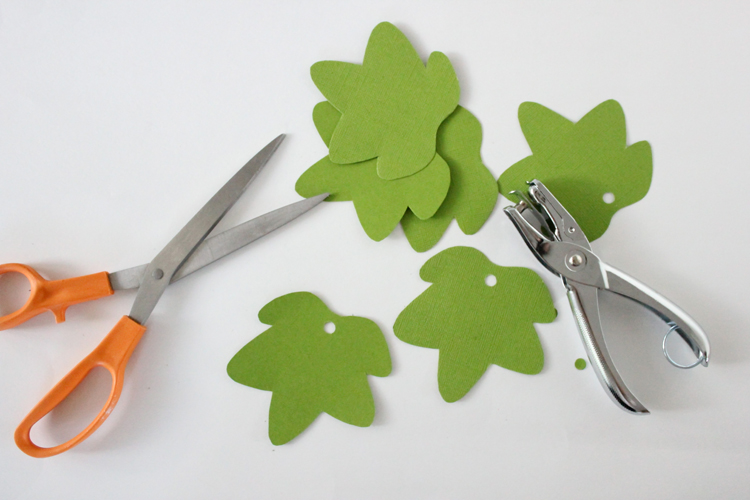 Once you cut out the pumpkin leaves, all that’s left is to punch a hole with a standard size hole punch. Slide it on the straw, and ta da…you have a stem and a leaf!
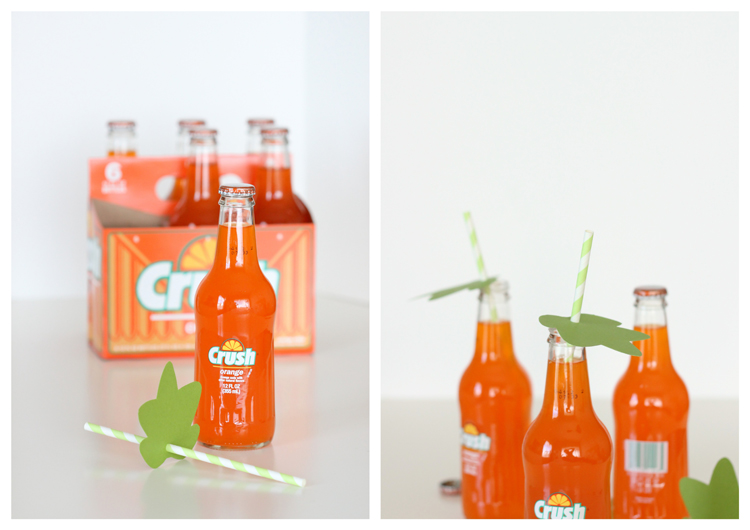 Note: The hole punch is slightly smaller than the straw, but this is good. Because the hole is a tight fit, the straw topper stays where you want it to.
BAT TOPPER
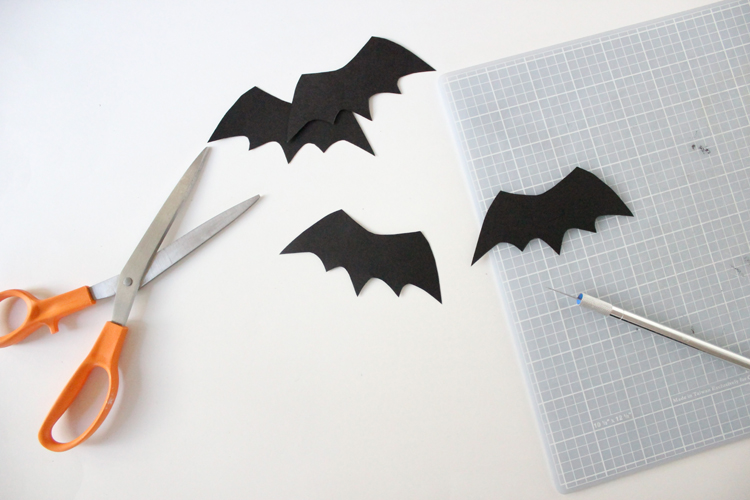
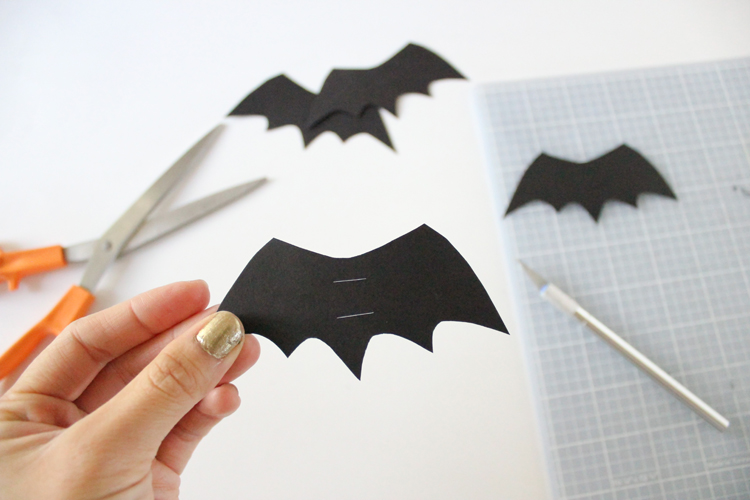 For the bats, instead of punching a hole, cut two 3/4″ – 1″ slits in the middle. Slide onto the straw and you’re in business. (I widened these slits slightly, post picture).
WITCH’S HAT
Now, you may be wondering…”What? No printable for the witch’s hat?”
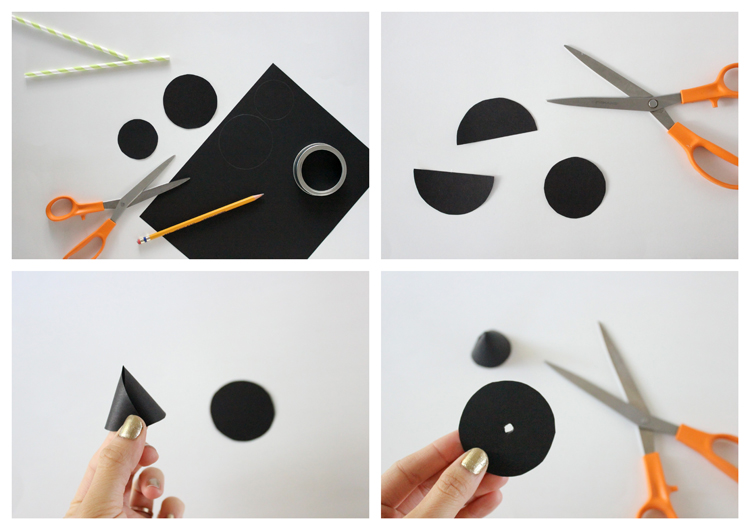 Yep! That’s because you don’t need one. If you have a circle punch or cutter…great! Cut one circle to about 2″ in diameter and the other about 3″…give or take.
Don’t have a circle cutter? Trace a mason jar lid ring instead. Trace for the smaller circle, inside the ring. Then trace for the larger circle, outside of the ring.
Next, cut the larger circle in half.
Take one of those semi-circles and roll it into a cone shape. Hot glue or tape in place.
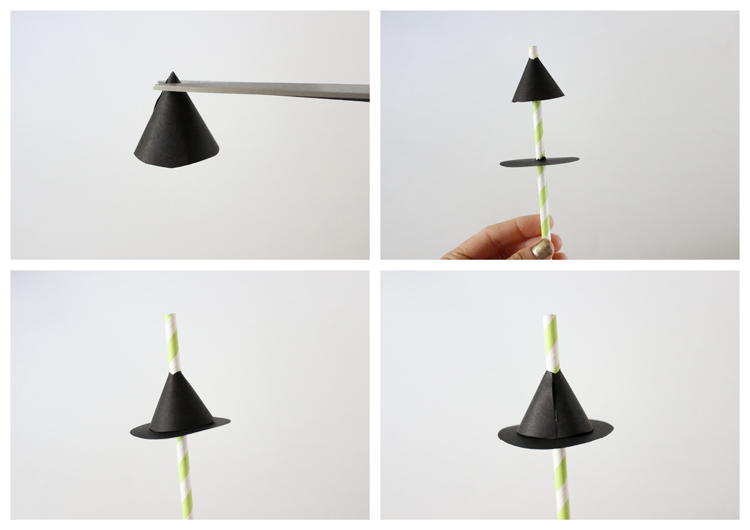 Snip the top of the cone. Using some craft scissors, “punch” a hole in the center of the smaller circle. You can try to use a hole punch, but most standard hole punches cannot reach to the center of a 2 – 2.5″ circle.
Now, take your paper straw and string on both the cone and the smaller circle. Bring the two pieces together and you have a witch’s hat!
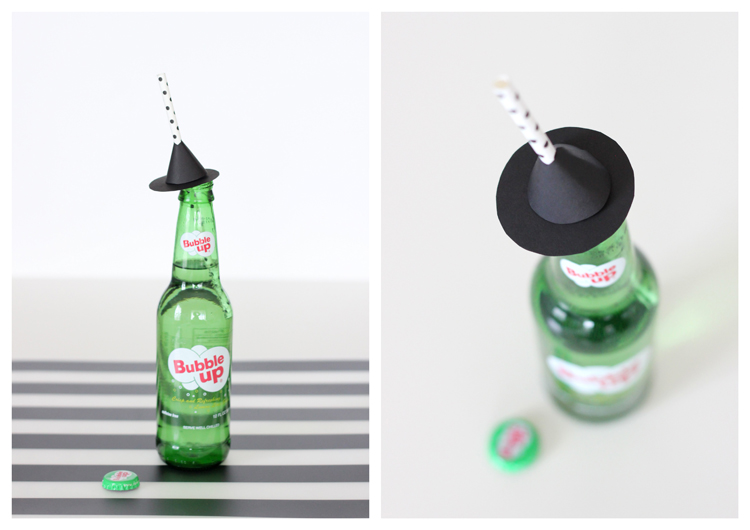
Note: Be sure you don’t cut the holes too big. You want a snug fit so that the hat pieces will stay together.
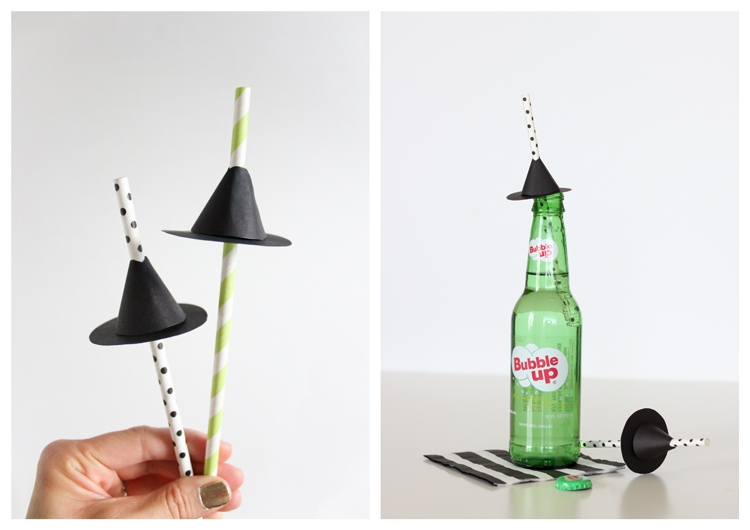 That’s all there is to it, and you’re drinks are all dressed up and ready to party!
 This project was created for and sponsored by Jo-Ann’s #DIY4Halloween. If you DIY anything for Halloween, be sure to link up using the hashtag #DIY4Halloween.
If you do, you could be featured on Jo-Ann’s share site HERE!
Happy craft-o-ween! 😉
SOURCES: Paper straws in green, taupe, and black and white polka dot – Jo-Ann || Scrapbook paper – Jo-Ann || sodas – Albertson’s and Walmart
P.S. If the previous template links didn’t work, here are some download buttons that should work:


Love this!