I’ve been on a leather sewing kick this past week. You know what they say, if you give a Delia a hide of leather she will make all the leather projects. Oh, they don’t say that. Well they should. 😉
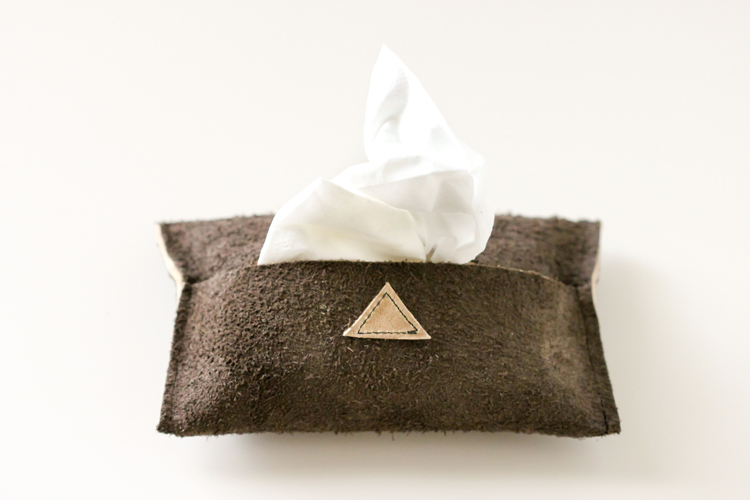 Today’s leather sewing project is the simplest yet! If you are new to sewing with leather, nay if you are relatively new to sewing in general, then you can sew this!
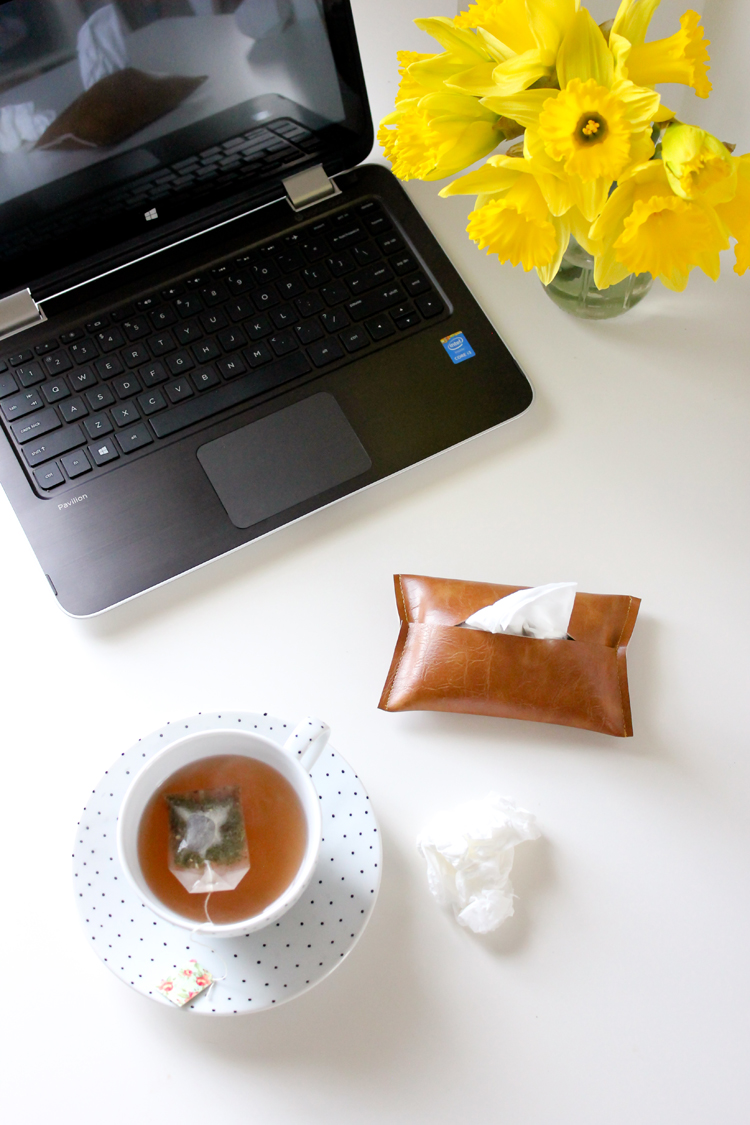
 With cold and flu season still making the rounds, and allergy season almost upon us, it’s mandatory that my purse carry tissues.
Why not make them fancy purse tissues?
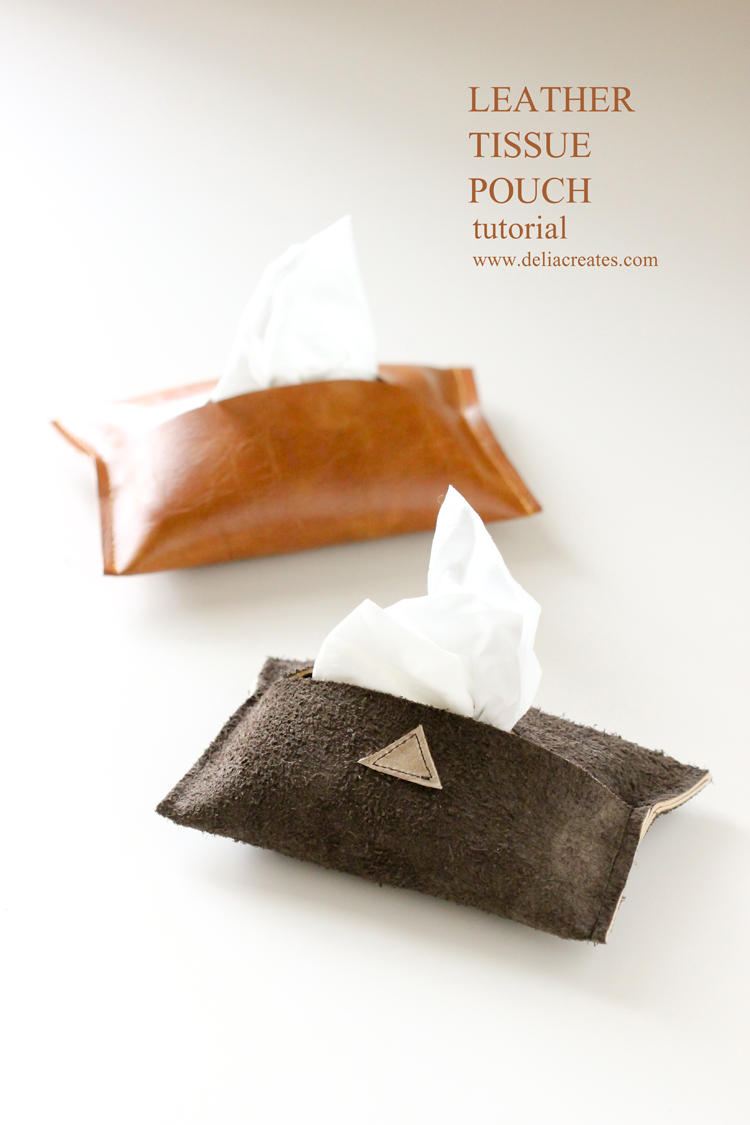
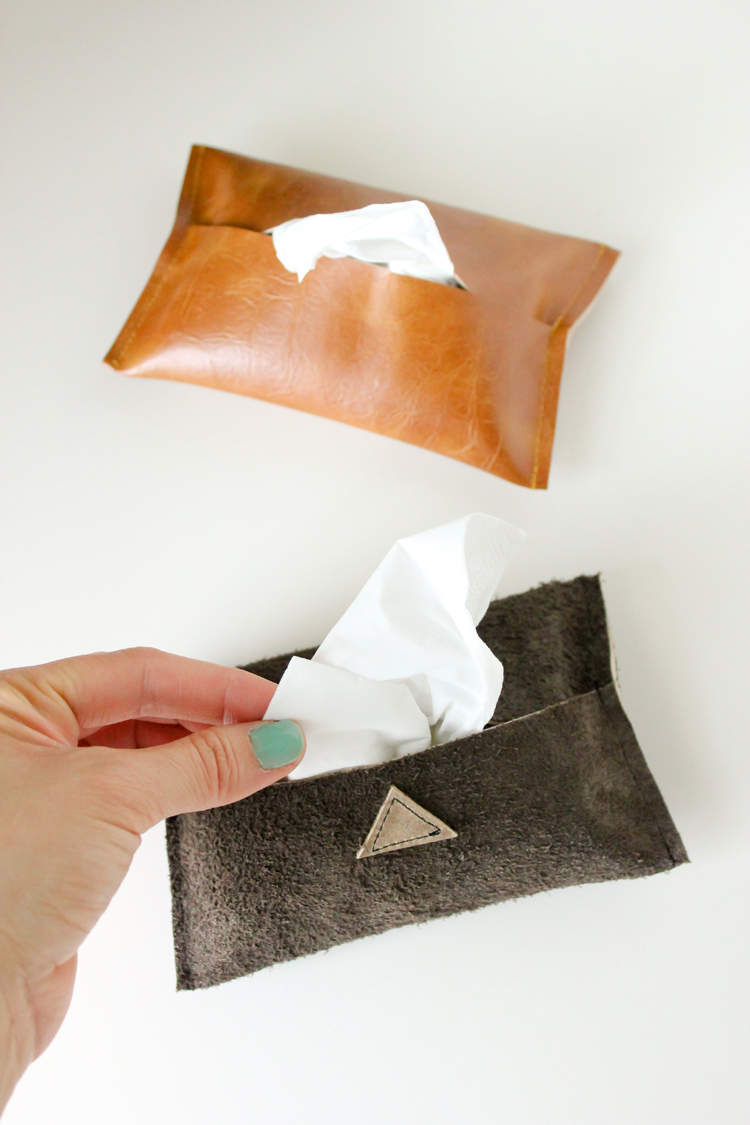
 You can make this with leather or vegan leather…which is the trendy way of saying vinyl. 😉 ha. The charcoal gray tissue pouch is made from genuine leather from The Leather Hide Store and the brown pouch is made from vinyl from Jo-Ann in these pictures. Either looks great and pretty much sews up the same. The vinyl is a little bit easier to sew and it’s less expensive. If you’re new to sewing, I suggest starting with vegan leather.
MATERIALS
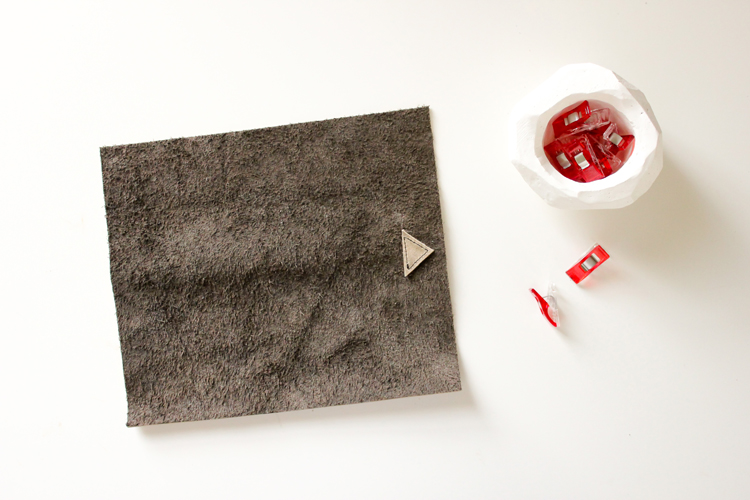
1 rectangle of leather or vegan leather – 8 inches x 6 3/4 inches clover clips or small binder clips matching thread leather sewing needle* sewing machine and basic sewing supplies Note: A leather sewing needle makes this project much, much easier. You can probably get away with a universal needle since it requires such little sewing, but you will run into less snags and broken needles if you use a proper leather needle. The stitching will also come out looking nicer with a leather needle.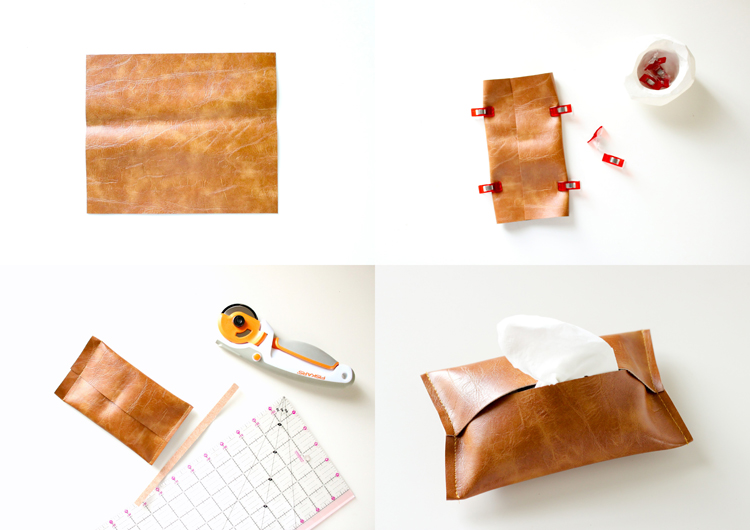 TUTORIAL
1. Fold the shorter ends inward and overlap them about 1/2 inch.
2. Clip the folds in place.
3. Sew at each raw end with a 1/2 inch seam allowance. Sew SLOWLY and with a 4 mm stitch length. Be sure to back stitch at the beginning, at the point where the sides overlap, and at the end. If you find your leather shifting or pulling out of place, stop, put the needle in the down position, lift your presser foot, make sure the leather is in line, put the presser foot back down and finish sewing. Repeat that as much as you need to. If your stitch length is long enough and you are sewing slowly, this shouldn’t be more than once or twice. Clip threads.
4. Trim off the seam allowances to 1/4 inch. This evens up the ends if there was any shifting during sewing and helps create a more finished look. I used a rotary cutter, quilter’s ruler and a self healing mat (not pictured), but sharp sewing scissors work just fine as well.
Put in your travel tissues, and you’re done!
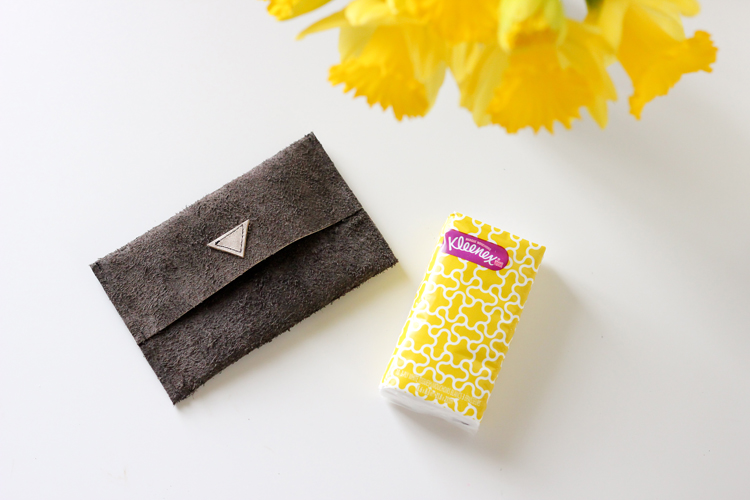
 If you want to add tags or embellishments, add them near the short edges before beginning with step one.
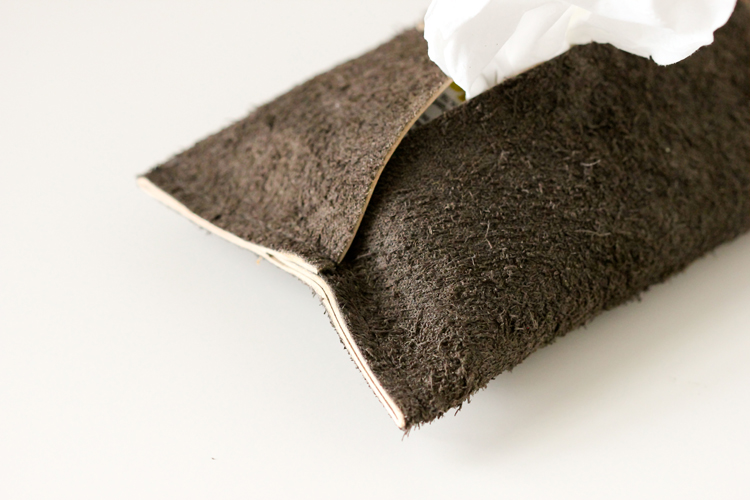 When not in use, the tissues tuck away nicely, but are still accessible enough to grab easily to catch those sneezes!
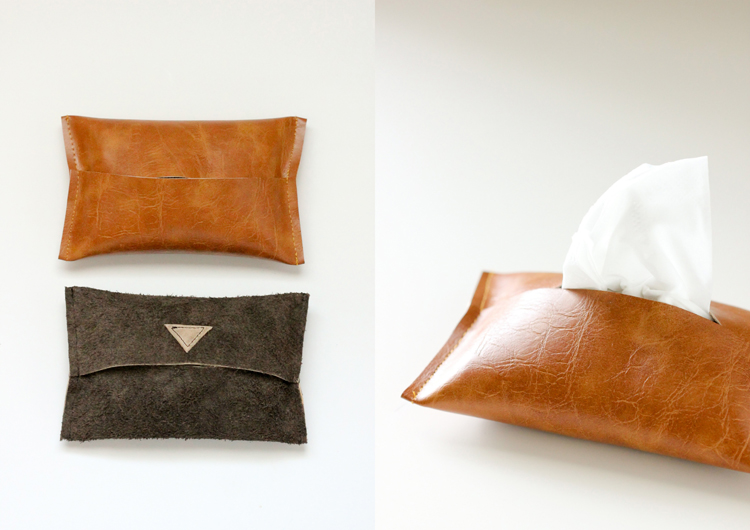
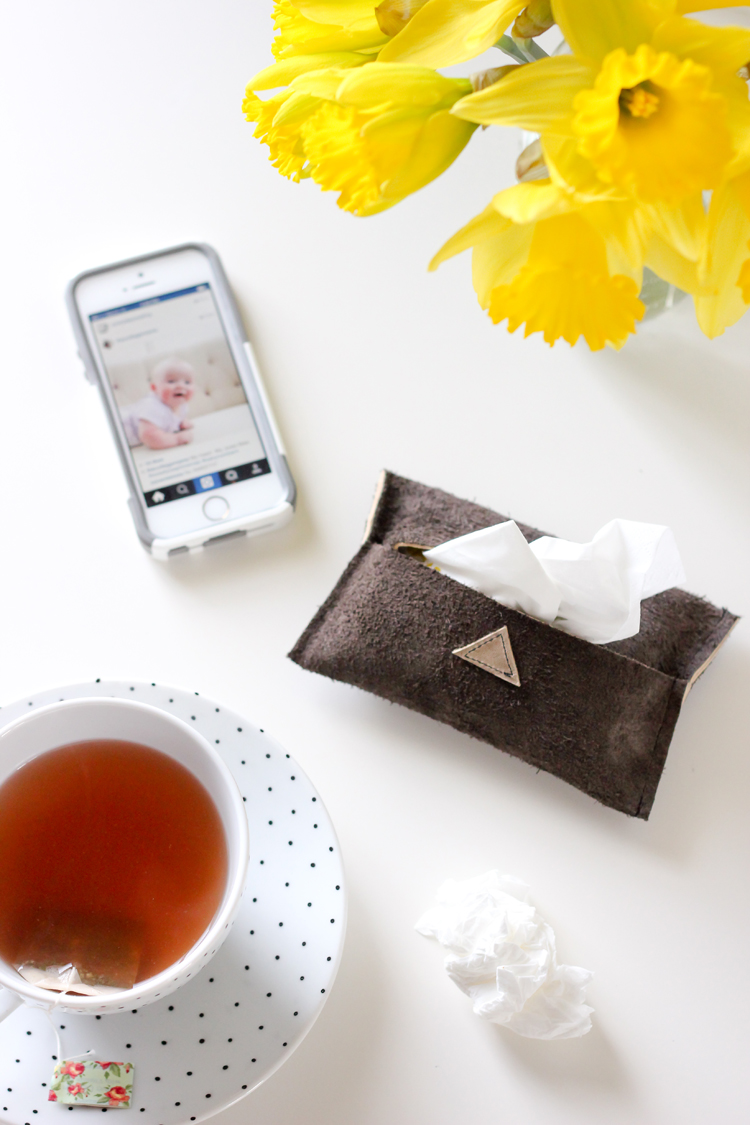 P.S. That cute baby on my phone is from The Cottage Mama’s instagram feed. Her little Josie is the cute cutest!
This post is dedicated to the lovely Anne Weaver, the beauty and brains behind Craft Gossip. I want to thank her for shedding light on others and making it her mission to share and promote all the great DIY’s in our craft and sewing blogging community. A bunch of us bloggers have rallied together to show her our love and thanks. Check out all the posts written to celebrate this awesome woman today!

So cool and fancy! Love love the leather!
Thank you Olga!
Delia could you please recommend an online shop to buy leather? I really loved your leather tote and don’t know where to supply some upholstery leather for it!
Thank you! xo
Sure! If you are willing to invest in a whole hide, The Leather Hide Store is fantastic. It’s a lot of money upfront but the hide will last you forever. I am still making stuff from a hide I got over a year ago. It’s a great investment….Or you can get a remnant hide which is a smaller piece but also less expensive. Tandy Leather is also great. It’s a little pricier sometimes, but you can get discounts if you sign up for their newsletter. I hope that helps! Let me know if you need more ideas or have more questions.
Hmm.. I believe that some remnants would be fine for me! Thank you very much for your suggestions!
Thank you for making a girl feel loved!! These tissues pouches are awesome. I’ve got a post that links to your tutorial here:
http://sewing.craftgossip.com/tutorial-leather-tissue-pouch/2015/02/26/
–Anne
Aw thanks Anne! I didn’t expect a feature, but thank you! A tribute to you is much deserved.
I’ve yet to try sewing with leather so this would be a great starting project 😉 So simple but very stylish! Thank you!
That’s an excellent idea !
Thank you!