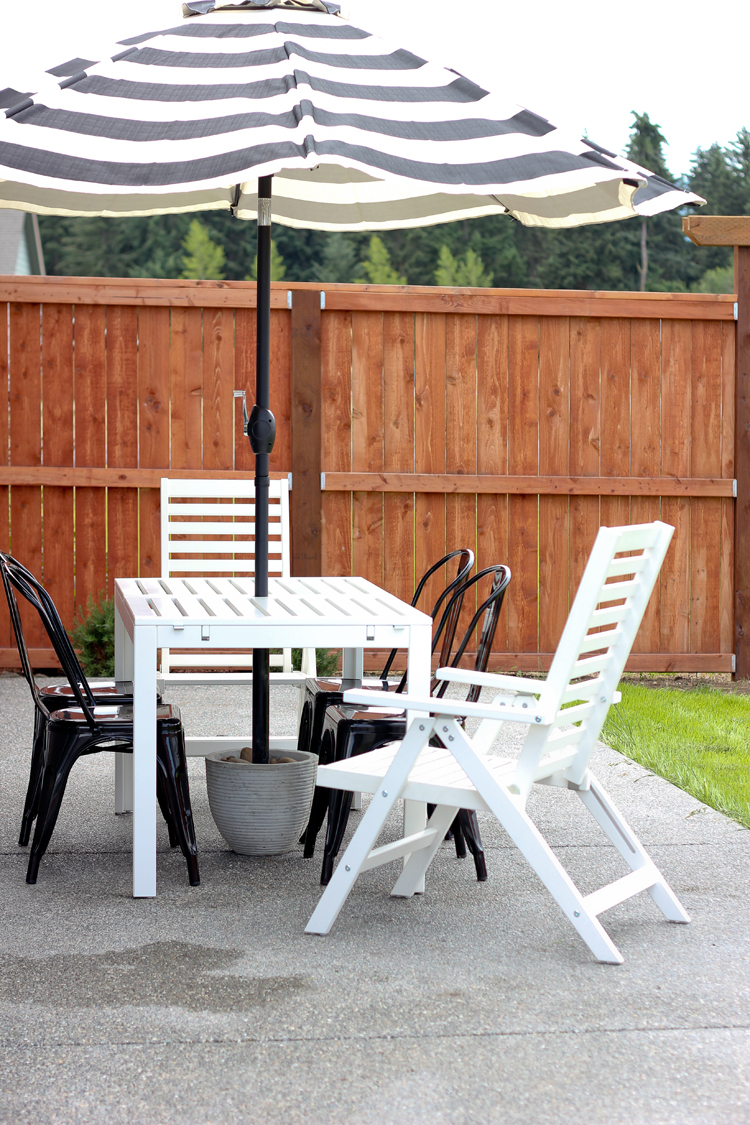
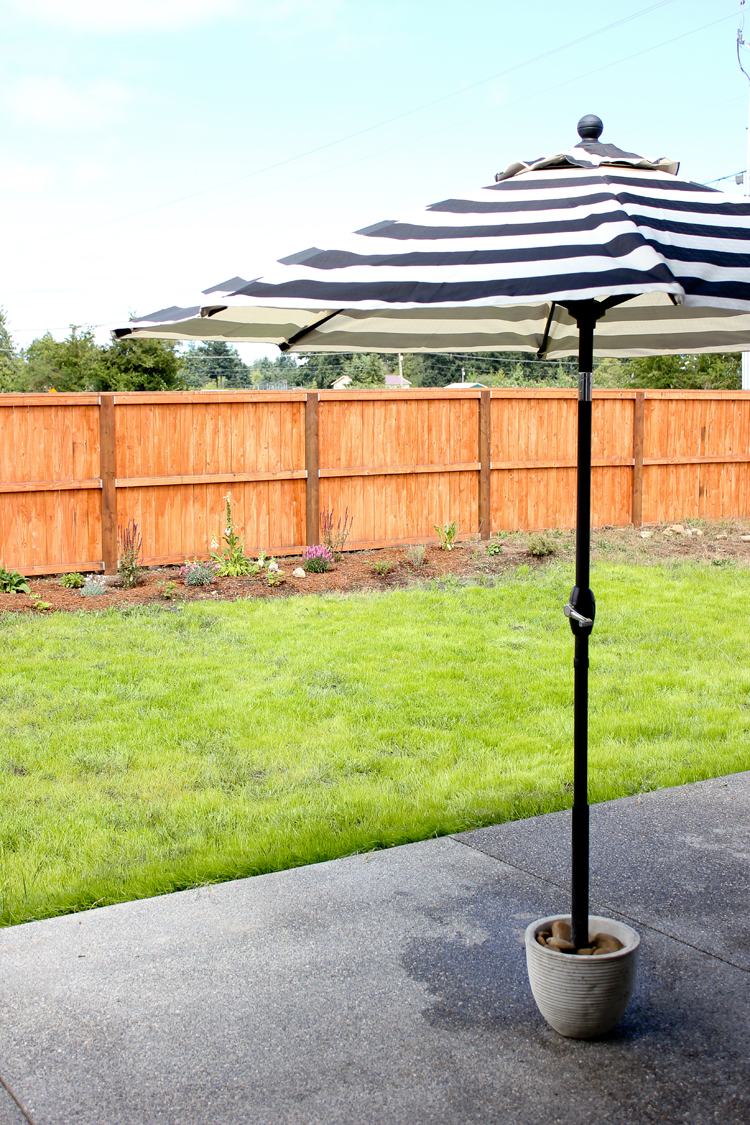
We’ve been working hard on sprucing up our backyard this summer. I got a sweet deal on this cute striped patio umbrella for $35 from Walmart that I knew would jive with our style perrrfectly. I was super excited about it until…well, I had never bought a patio umbrella before, so I had no idea that a. it wouldn’t come with a stand (duh Delia) and that b. sturdy, high quality stands are $$$. I know rookie mistake.
I scoured the internet and local stores and came up with essentially two options: either inexpensive stands you fill with sand that many people didn’t recommend, especially for the windy area we live in; or, really nice, really expensive stands for over $100. There were some in between options, but they came with really bad online reviews. I didn’t feel like dropping $65 on something that could turn into a shipping/returns headache. My budget friendly deal on a new umbrella wasn’t looking so budget friendly anymore.
Then, I totally had a duh moment and remembered option c. DIY it of course!
And I’m happy to say that it turned out so much better than anything I could have bought. I’m really, really happy with it and I know it will last a really long time.
Plus, did I mention that I made this super, duper sturdy stand for under $20? Yesssss.
And when I say sturdy, I MEAN it. It probably weighs over 50 lbs. Seriously. It’s small but mighty. 🙂 Which is what you want. You don’t want it to take up all your legroom under the table, but you want it to be able to hold it’s ground, literally, when necessary.
I know that this is already a fairly popular project on Pinterest, but I tried my best to design something that was easy to make (no mixing concrete! yay!), ultra durable and near unbreakable, and inexpensive. This base checks all those boxes.
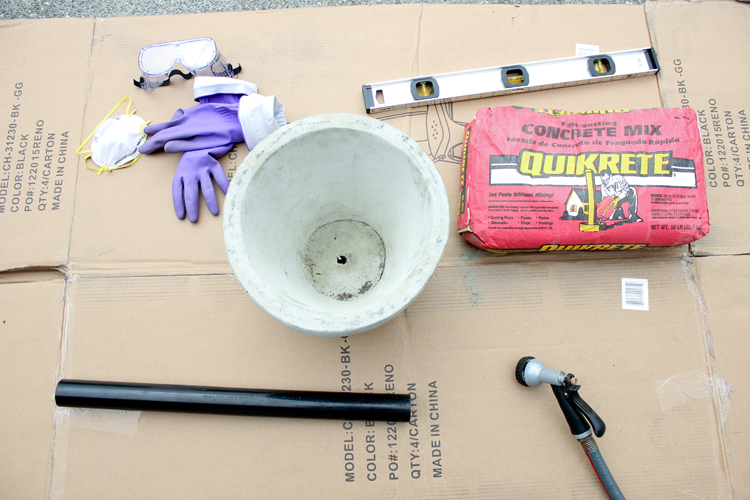
MATERIALS
Concrete planter
Black PVC pipe (2 inches by 2 feet)
Quick set concrete
Safety equipment (gloves, goggles, mask)
Level
Water
Optional: River rocks, soil, or other filler
Notes:
-I bought my concrete planter at Walmart for $9. They are normally $15 but they are on sale right now.
-Home Depot sells smaller 2 foot sections of PVC pipe in white and black, in varying widths for around $3. You can buy the white and spray paint it to the color you need. Luckily I needed black, so I saved myself a step and just bought the black PVC pipe. Try to get a PVC pipe that is as close to the size of your umbrella pole as possible, so that it doesn’t rattle back and forth.
-Make sure to get quick set concrete so that you don’t have to stir it. Trust me, it makes this project SOOOO much easier.
-Don’t skip the safety equipment. You DO NOT want to get any dry concrete in your eyes or lungs as it can cause severe injury and it WILL kick up like dust when you pour it.
PRICE BREAKDOWN:
Concrete planter ($9) + PVC pipe ($3) + Concrete ($3/bag) = $15 plus tax!
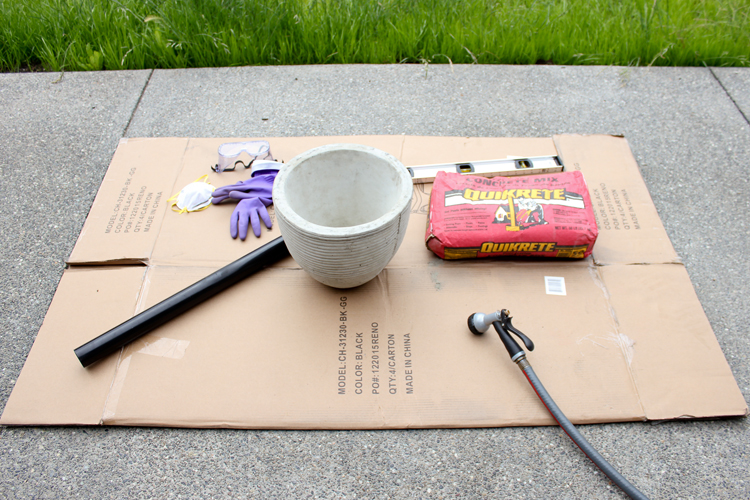
STEP ONE: Prep your materials.
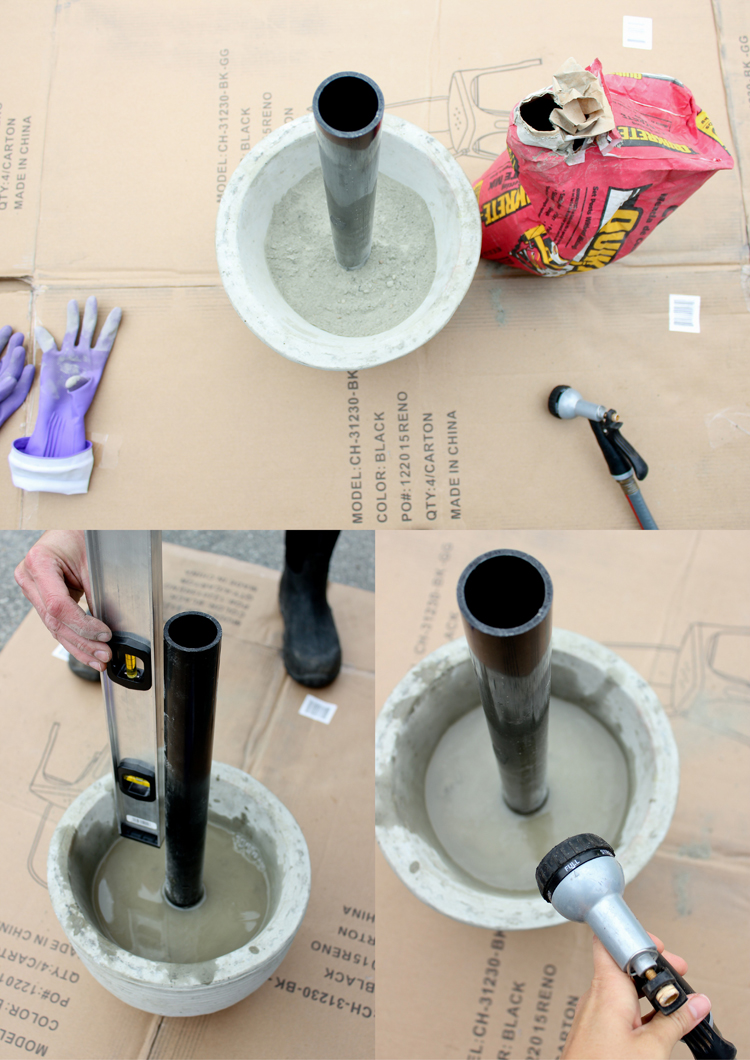
Gather your materials and protect your work area. This thing is SO heavy that I didn’t want to make it in our garage and then have to move it all the way to our patio. So, I set up shop on our patio and protected our patio surface with a nice big, thick cardboard box.
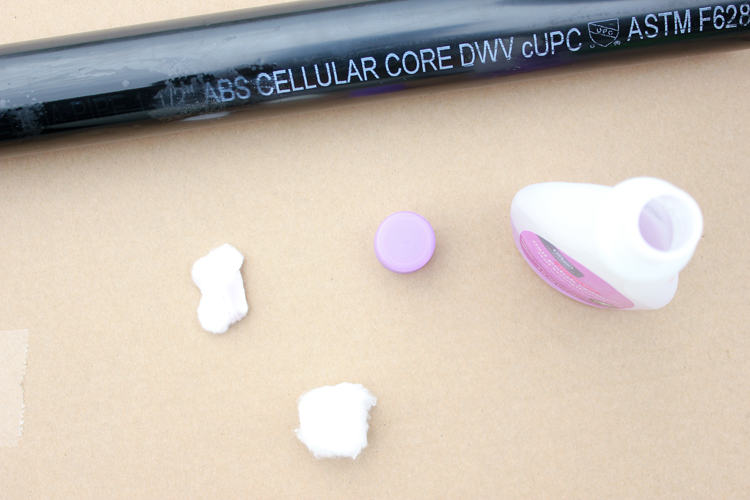
STEP TWO: Prepare PVC pipe.
If desired, use some nail polish remover to remove the printed numbers on the PVC pipe. Place the pipe in the center of the pot and make sure it’s level. Get a second person to hold it in place for you if you can (make sure to give them a mask and goggles too!)
STEP THREE: Pour dry concrete.
Add the dry concrete to the pot and fill it just over halfway.
STEP FOUR: ADD WATER
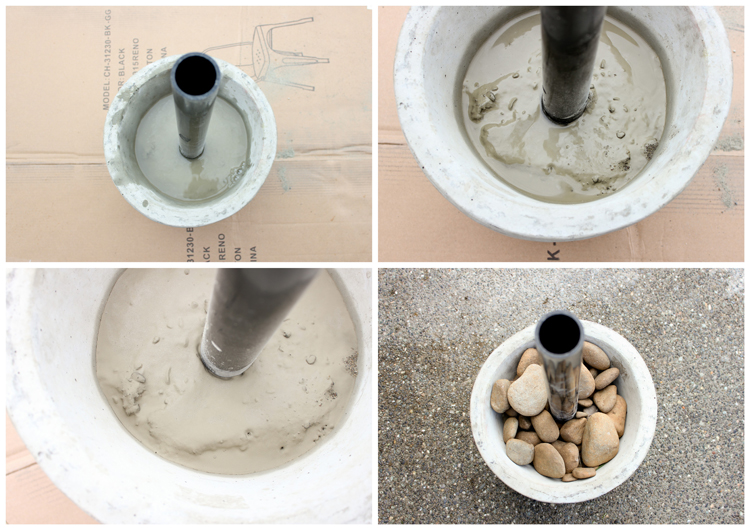
Add the amount of water recommended on the bag of concrete, and check to make sure the pipe is still level. You don’t need to mix it! Just let it seep in. If you see little bubbles pop up, you know it’s doing it’s job. You will want to hold your pipe in place for a little bit, until the water has seeped in enough to keep the pipe stable.
Notes:
- You don’t need to worry about the holes at the bottom of the pot or the pipe because they should line up and keep the pipe from floating out of place.
- Our bag only gave a recipe for the whole bag and we were using about 1/3 of the bag, so we totally winged it and just guesstimated. For a project like this, you don’t have to be exact. Try to get close and you’ll be fine.
STEP FIVE: Let it dry.
The water will continue to seep into the dry concrete until it is saturated. Then you need to let it dry. I think our concrete bag said 4 hours. We live in a humid place, so we let it set overnight. By morning, it was ready to rock and roll.
That’s it! Soooo easy right?
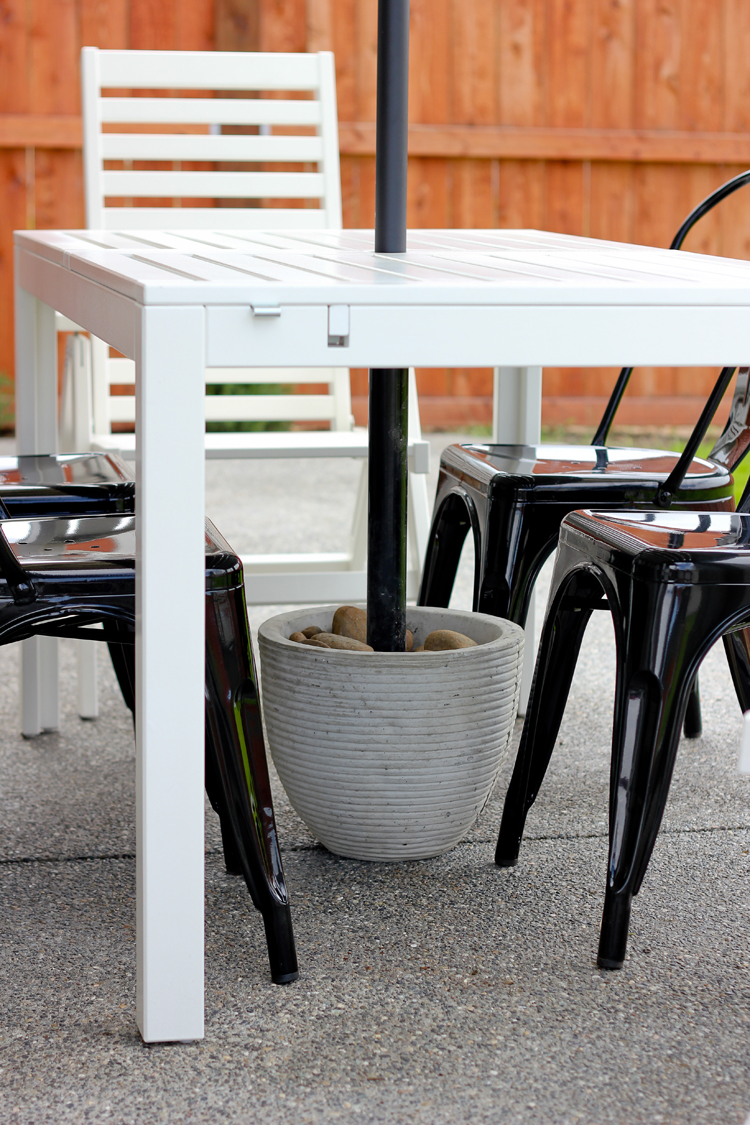
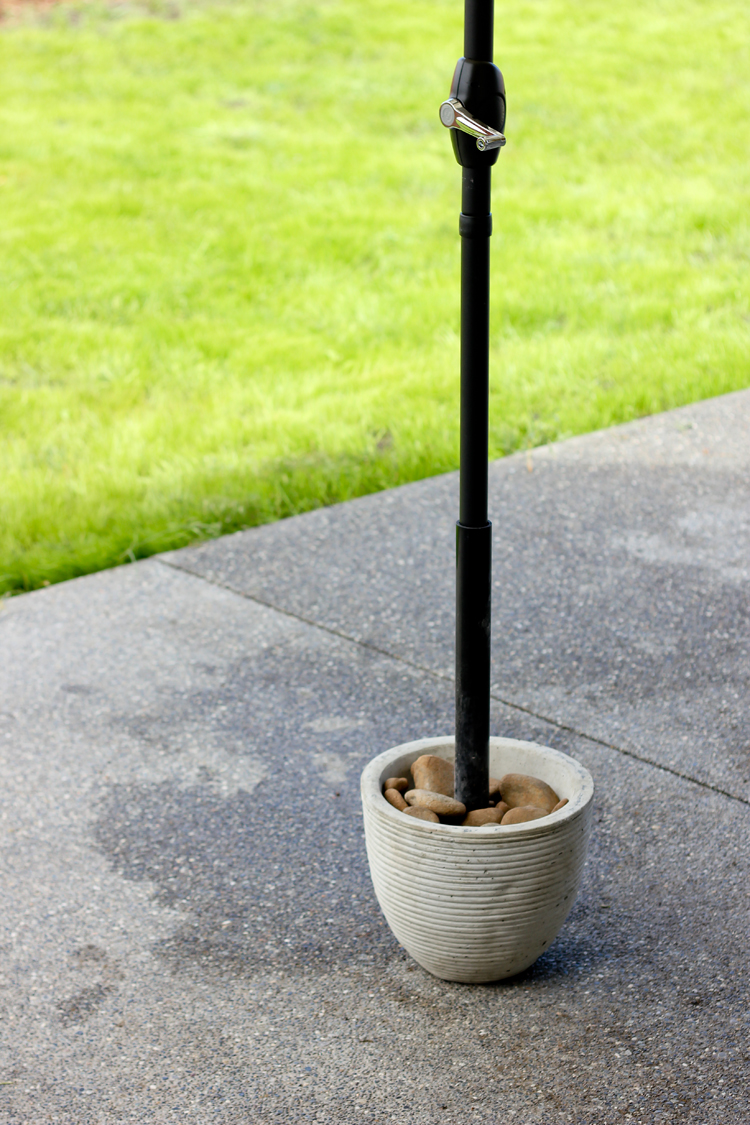
At this point you can leave it or add some pizzazz. Add some soil and flowers if you aren’t going to hide it under a table, or add some pea gravel or rocks. We had some extra river rocks so we tossed those in.
I have to say, this is probably one of my favorite summer projects to date. I love it when a little DIY-ing saves the day. 🙂
We’ve already had a few meals al fresco and I am totally digging it. This is our first time having a yard to truly make our own, so it feels pretty awesome!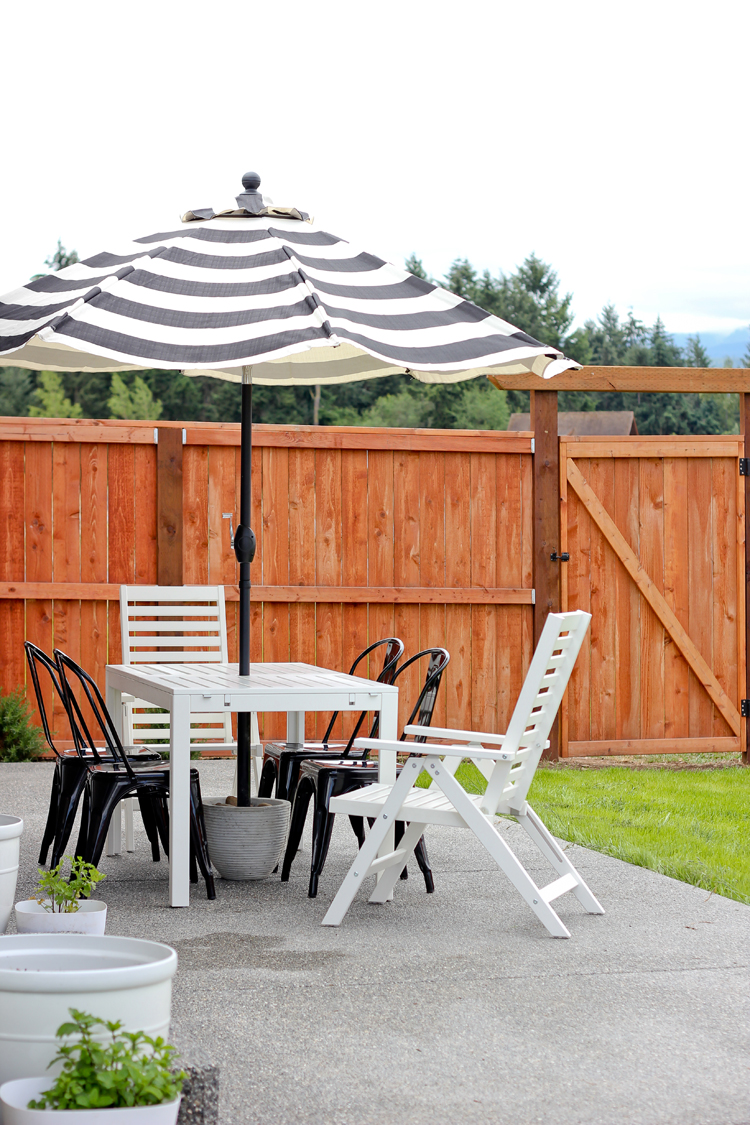
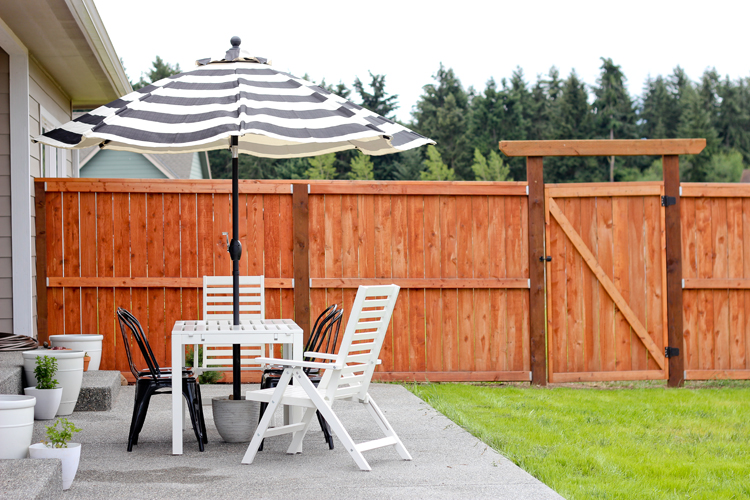
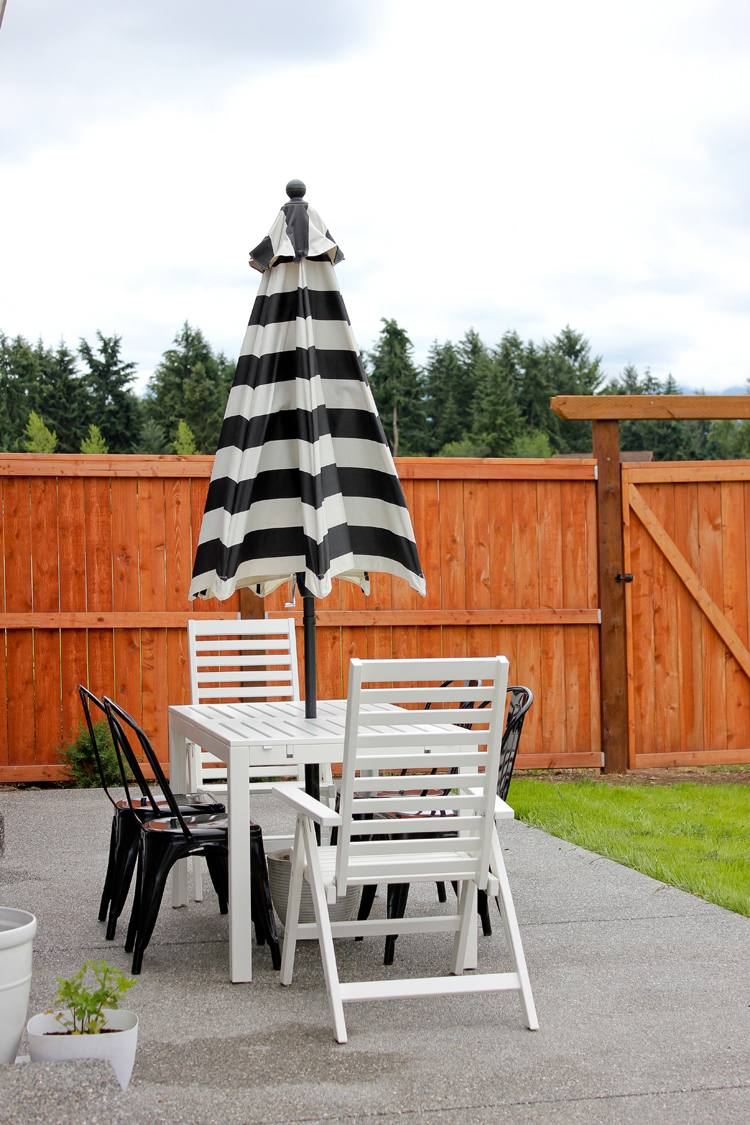 Sources: Table and two white reclining chairs are from IKEA (the table comes with add on leaves so it can seat 10+ , we love it!), black metal indoor/outdoor chairs are from Walmart.com, patio umbrella is from Walmart.com (and I am sad to say it looks like they have sold out of this print).



This is BRILLIANT!! I love this idea so much.
Thanks Michelle!
I love your yard! We have a big yard but lots of neighbors who like to sit and watch us when we go outside… it’s pretty awkward. 😉
I like your umbrella stand solution!
That’s awesome! It looks great, and your yard and patio set up are so lovely!!
Thank you so much Suzannah!
We just ran into this same issue buying our first patio set, also from Wal-Mart. Great idea with the rocks! It looks so much better than just concrete.
We made these stands and they’re great. My only suggestion is that you drill a hole in the occ and use a umbrella screw to stabilize the umbrella in the stand. We had light winds that lifted the umbrella out of the pvc because there was nothing to hold it in. IF you have no problems with wind, these are great.
Great tip! Thank you for sharing!
this is is awesome! perfect timing. Seeing this being published since 2016, how has the stand withstood these past four years?!
Great question! It has held up great. It’s still going strong in the same condition as when I first made it.
How tall of a concrete planter did you use?
So sorry that I just saw this Tony. It is about a foot tall. I hope that helps!
Where did you get the concrete pot for $9 ?
I got it from Walmart. I think they increased the price since I made this to maybe $10-11. I don’t know about your area but because of Covid-19 related delays in production they also did not have them available this year (I wanted more for just plants). Hopefully they resume carrying them next year.
When your umbrella is closed, what do you do with rainwater that collects? Mosquitos are an issue in our area.
I don’t think I can give very good advice on this topic. I’m sorry. We have some mosquitos in hiking areas but otherwise it’s not a big problem here. I would try to reduce standing water any way you can. Maybe give the stand a dump every so often to drain any accumulated water.