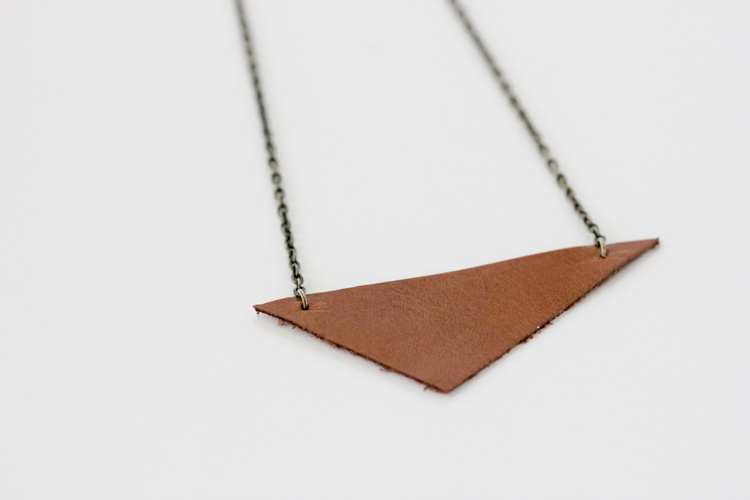
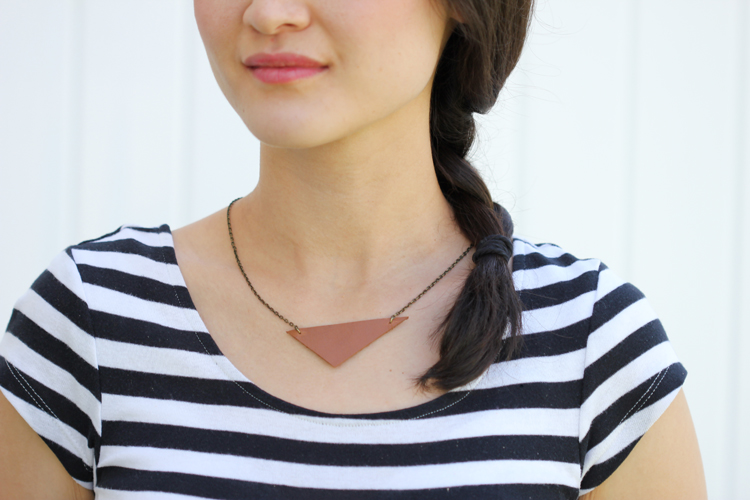
Looking for a way to use up your leather scraps? I have just the thing and it uses even the smallest pieces.
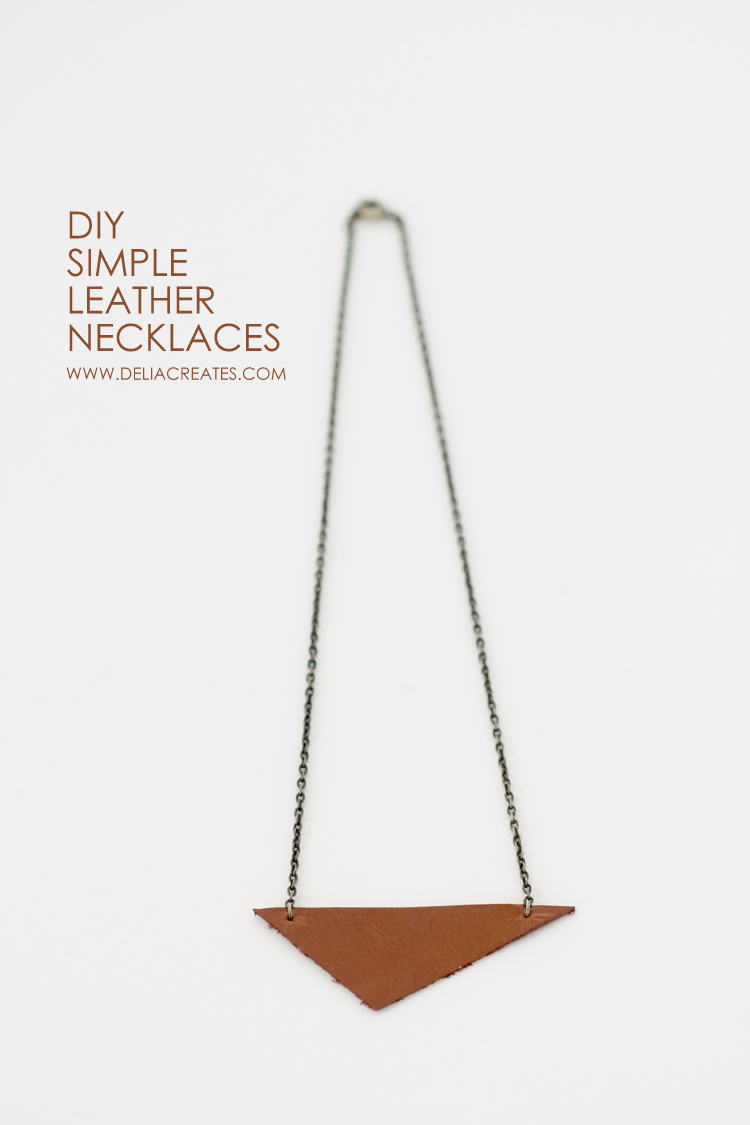 This project is super simple and literally takes 5-10 minutes, depending on how familiar you are with jewelry making.
That said, if you have never made jewelry before, you can certainly make this! It’s really easy.
You need:
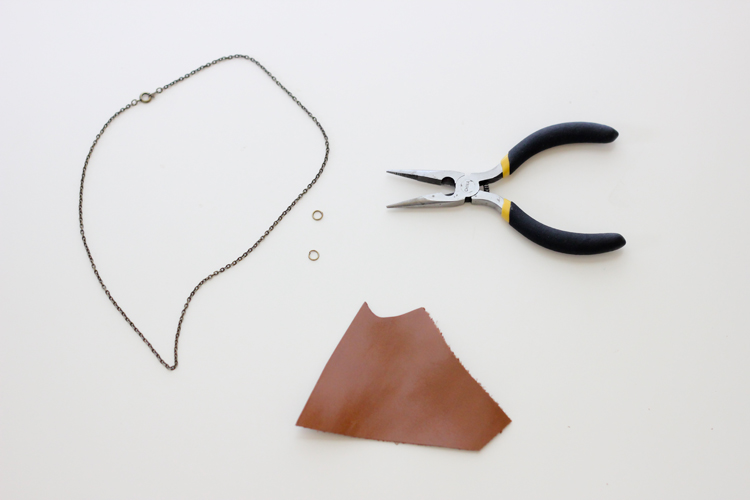 – one chain*
– small, sharp nosed scissors (not pictured)
– two jump rings**
– scrap piece of leather
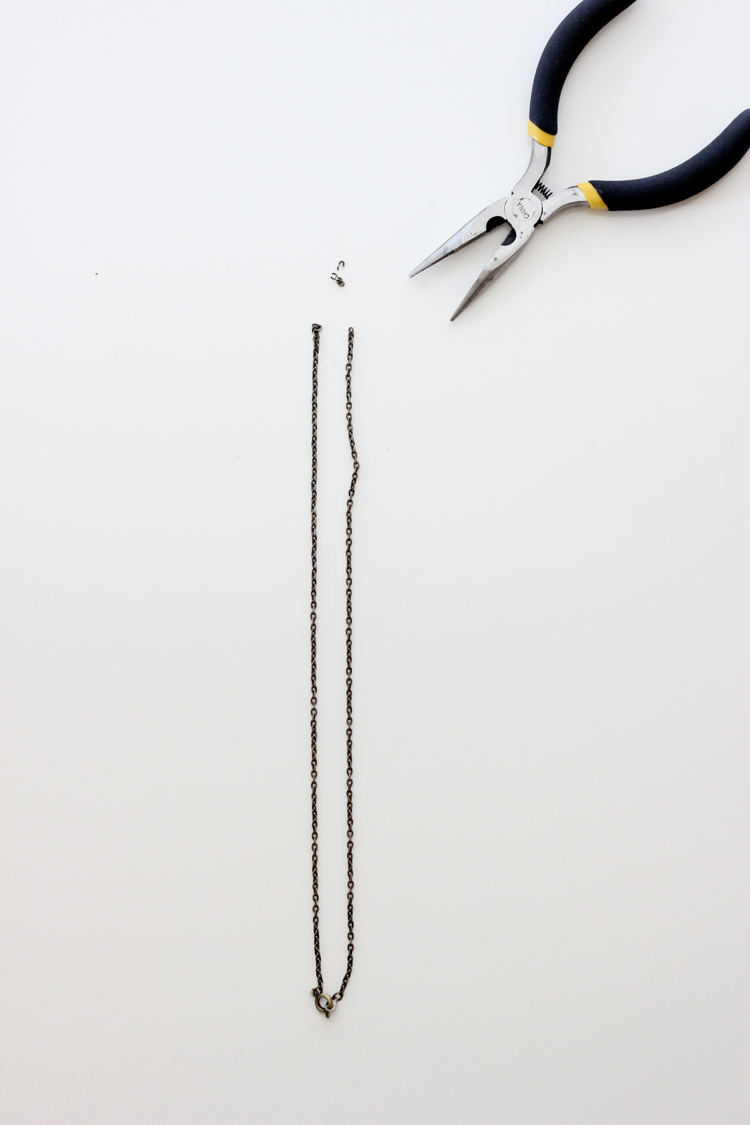
– needle nose pliers/wire cutter***
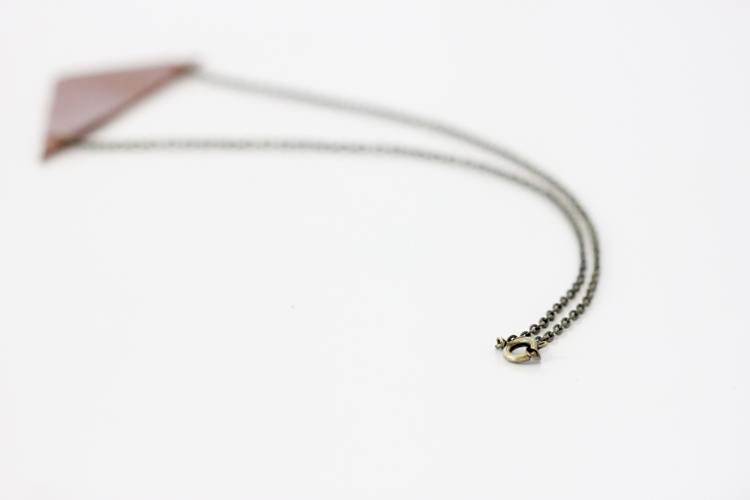
* I used a chain with clasp hardware already installed to save steps. I found mine in a pack of three at Michael’s for about $4. You may also buy a plain chain and clasps separately. Add the clasps at the last step.
**Small jump rings are preferred depending on the size of your chain. I grabbed a variety pack with various sizes at Walmart for $2.
***If you only have needle nose pliers from a basic tool kit you should be able to complete this project just fine; BUT a second set of pliers, preferably round nose pliers designed for jewelry making, help make opening and closing jump rings much easier.
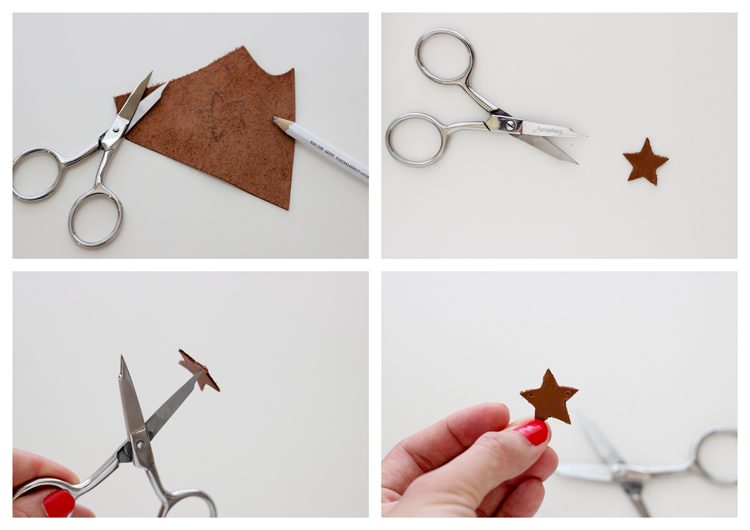 1. Draw out a shape in pencil or disappearing fabric marker onto the wrong side of your scrap of leather.
2. Cut that shape out with sharp scissors. If you are making a simple shape like a triangle, you can use a rotary cutter and quilting ruler to get a cleaner cut.
3. Using the tip of your sharp nosed scissors, bore holes into the sides of your leather shape.
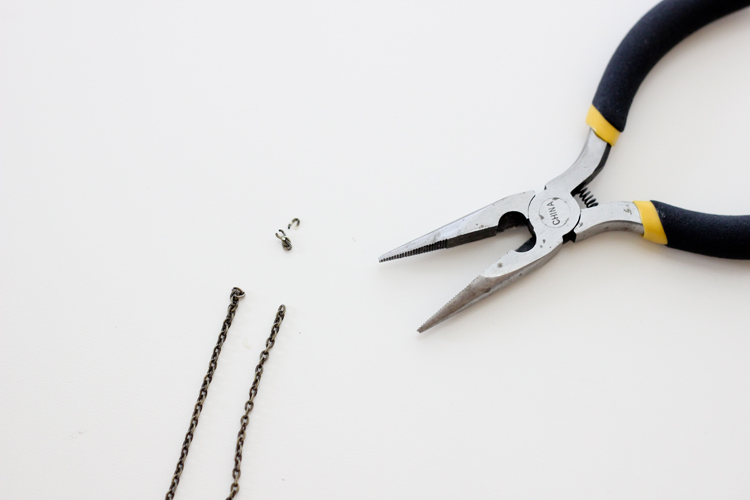
4. Measure out the center of your chain and cut it open. Cut away more chain links if needed to adjust to your desired length.
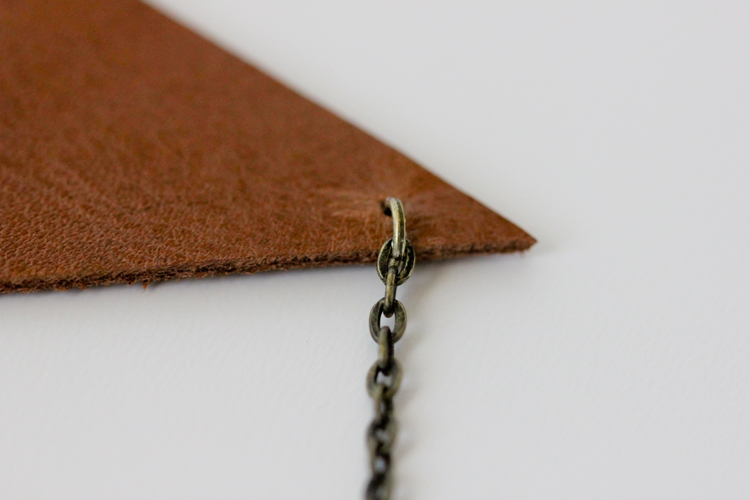
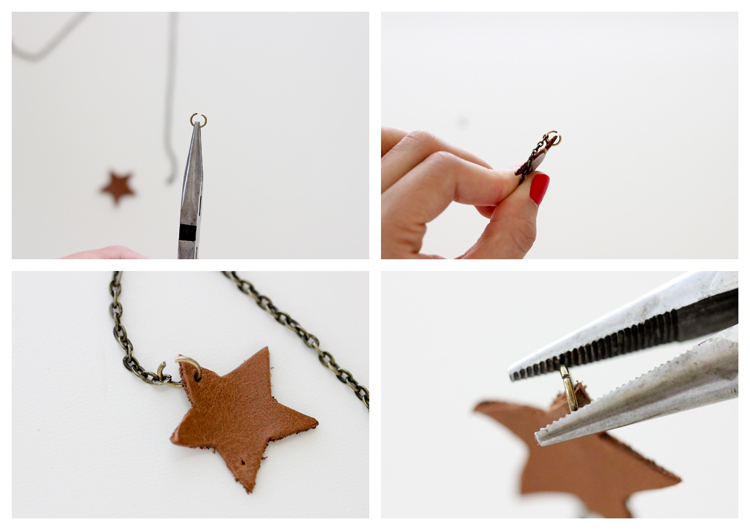 5. Open up a jump ring, slide it through the chain and one of the holes you bored into your leather shape. If it doesn’t go through the first time, bore the hole again with your scissors. Sometimes the leather will “heal” a little bit if your hole is too small. Piercing it from both sides may also help.
6. Close the jump ring with your pliers. If your jump ring isn’t closing very well, it may have become a bit oblong. Apply pressure from the opposite angle to help the jump ring form a good circle. This will aid in closing the jump ring gap.
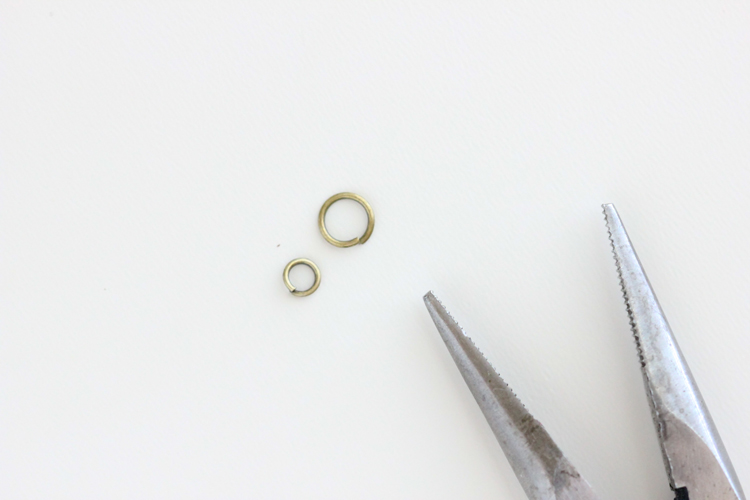 Please note: In this tutorial, I show you how to attach the jump rings with the larger jump ring so it is easier to visualize. For the final product, I replaced it with smaller jump rings. Make sure your jump rings are not too large, as they will overpower your leather shape.
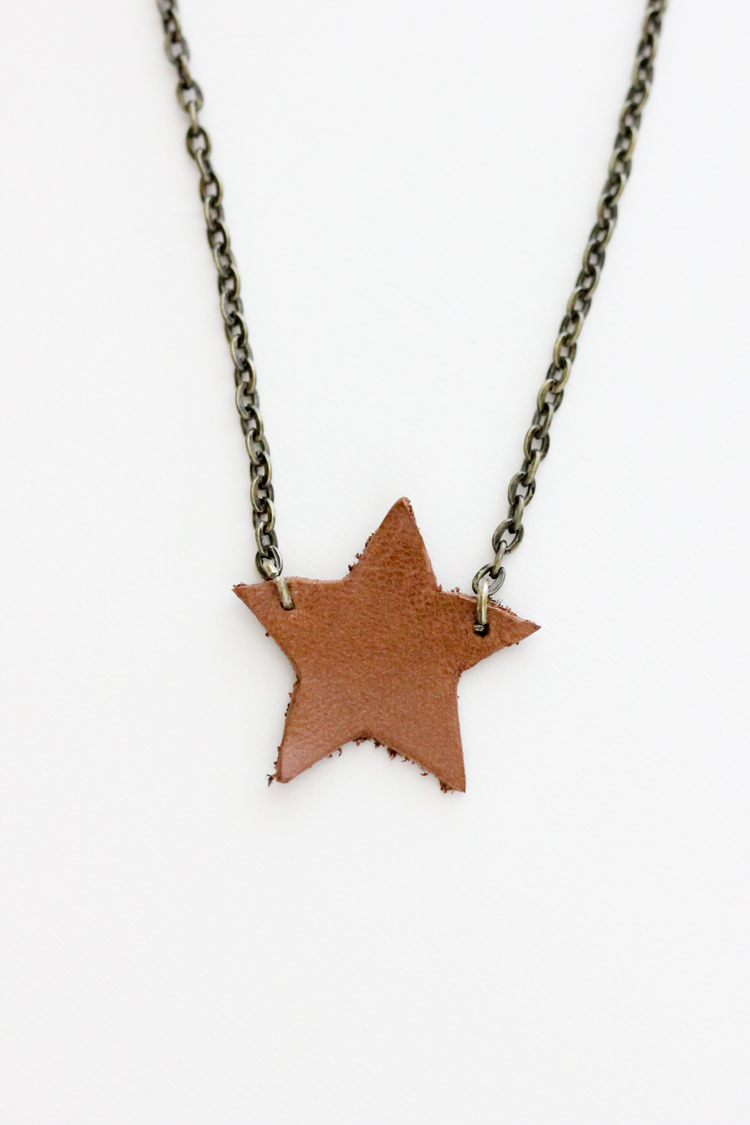 Repeat, for the other hole and you’re done! See how easy that was?
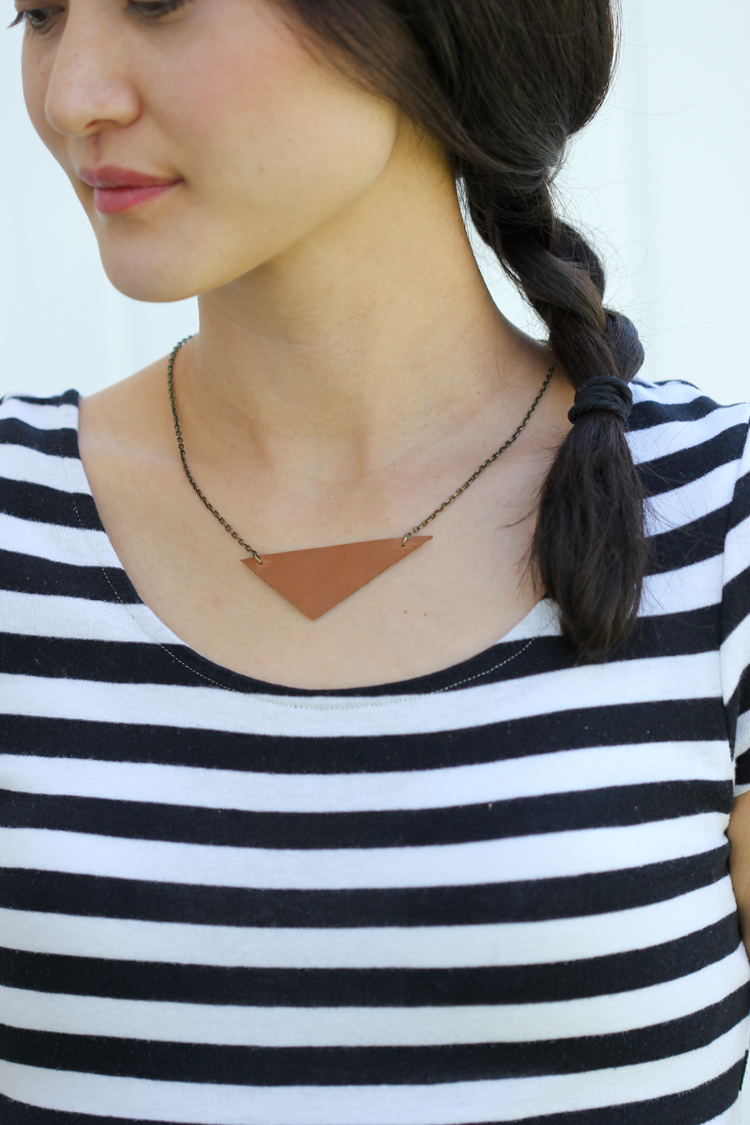
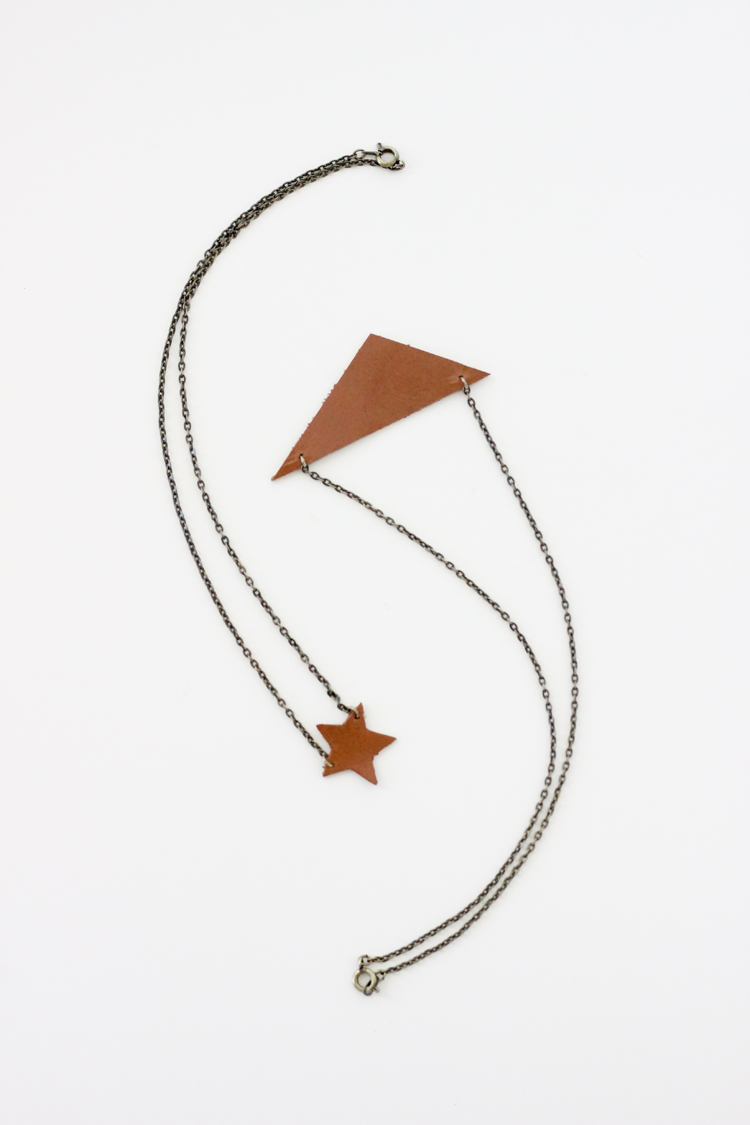 Make the chain as long or as short as you like. I bought shorter chains this time, but I plan on making more with some longer chains as well.
Looking for more leather projects?
Check out these posts:
Modern Leather Baby Boy Boot – Free Pattern
Add leather Straps to a tote in this post…
Happy Crafting!


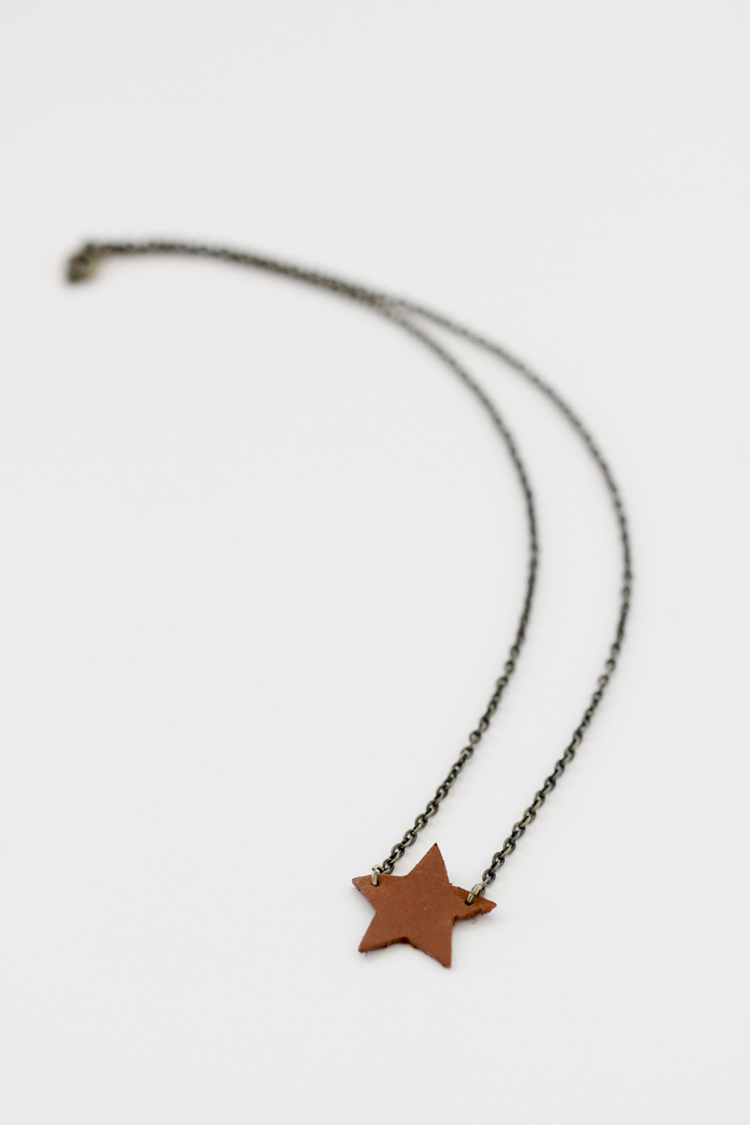

I love the way the star looks. =) I’ve heard that if you open the jump ring more like you would a key ring, one side to the front and one to the back, that won’t is easier to close and won’t bend out of shape as much…. I’m not explaining it very well…. like this: http://www.cousin.com/Jewelry-Techniques/Jump-Rings.aspx
That makes perfect sense. Great tip! Thanks Charity. 🙂