Easter grass is a time old tradition…
…that gets everrrywhere and makes Mom’s eyes twitch a little every Easter morning, because she know’s she’s still going to be cleaning it up come Mother’s Day.
Amirite? It’s for the kids though! So we grin and bear it.
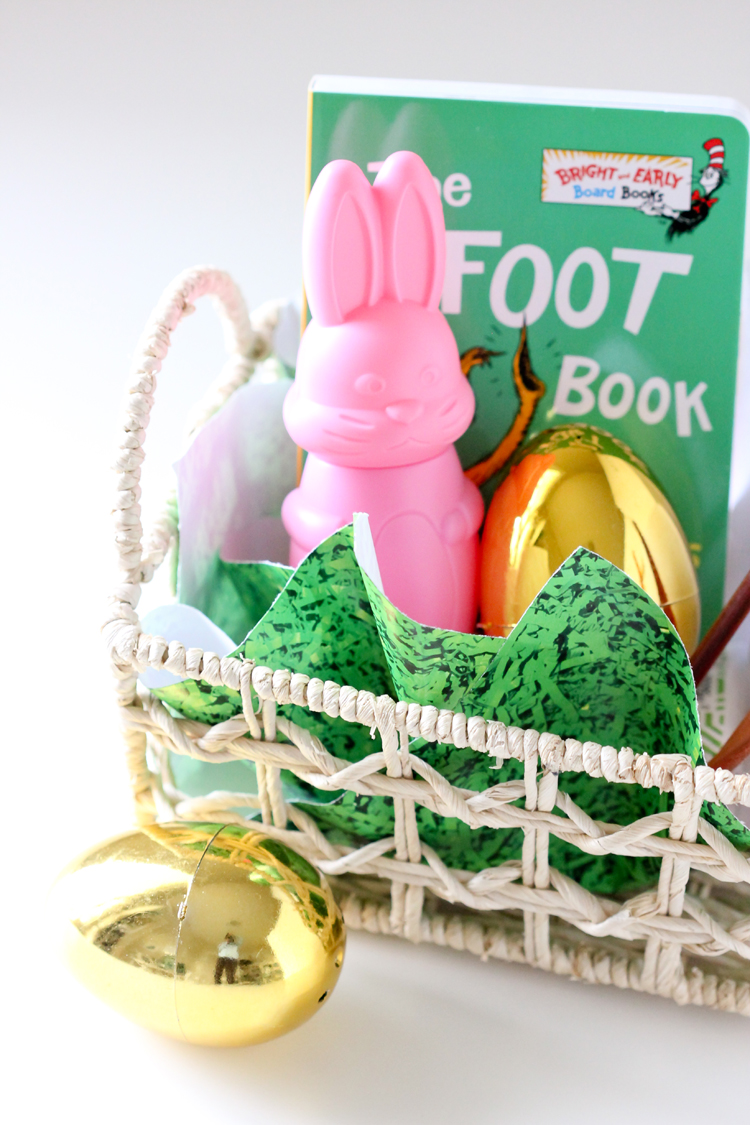
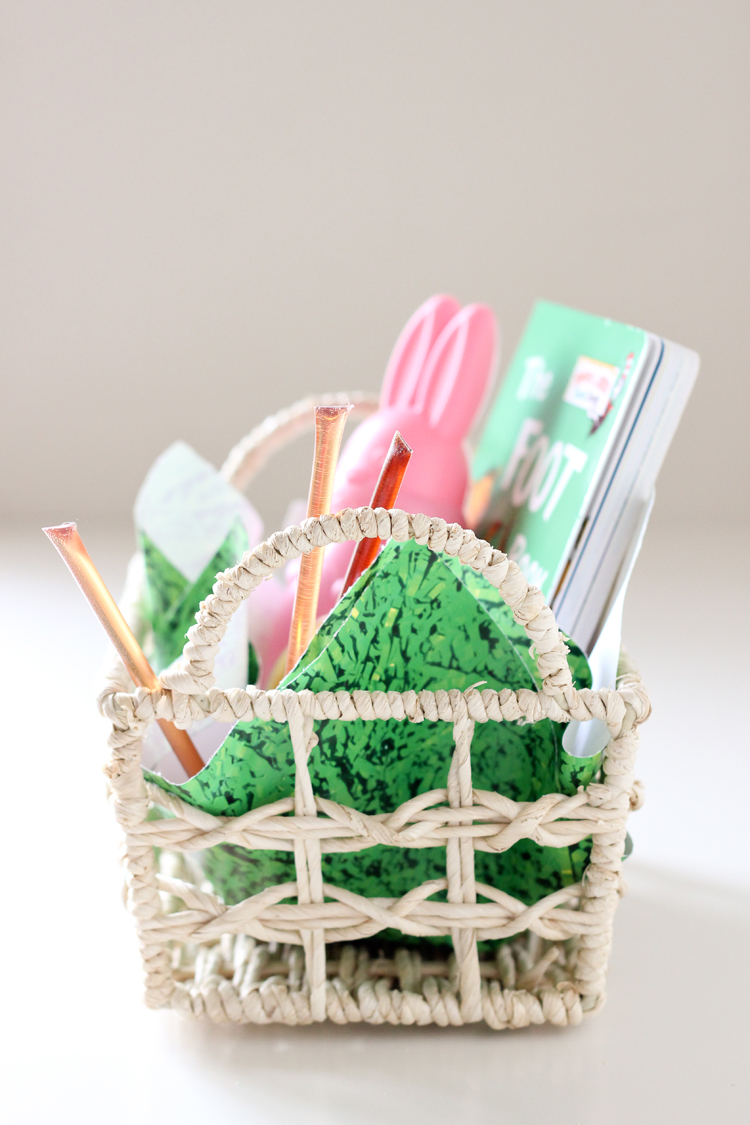
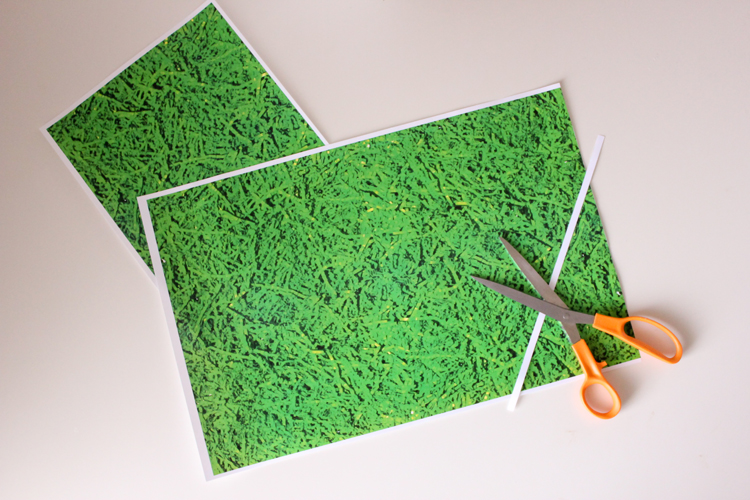
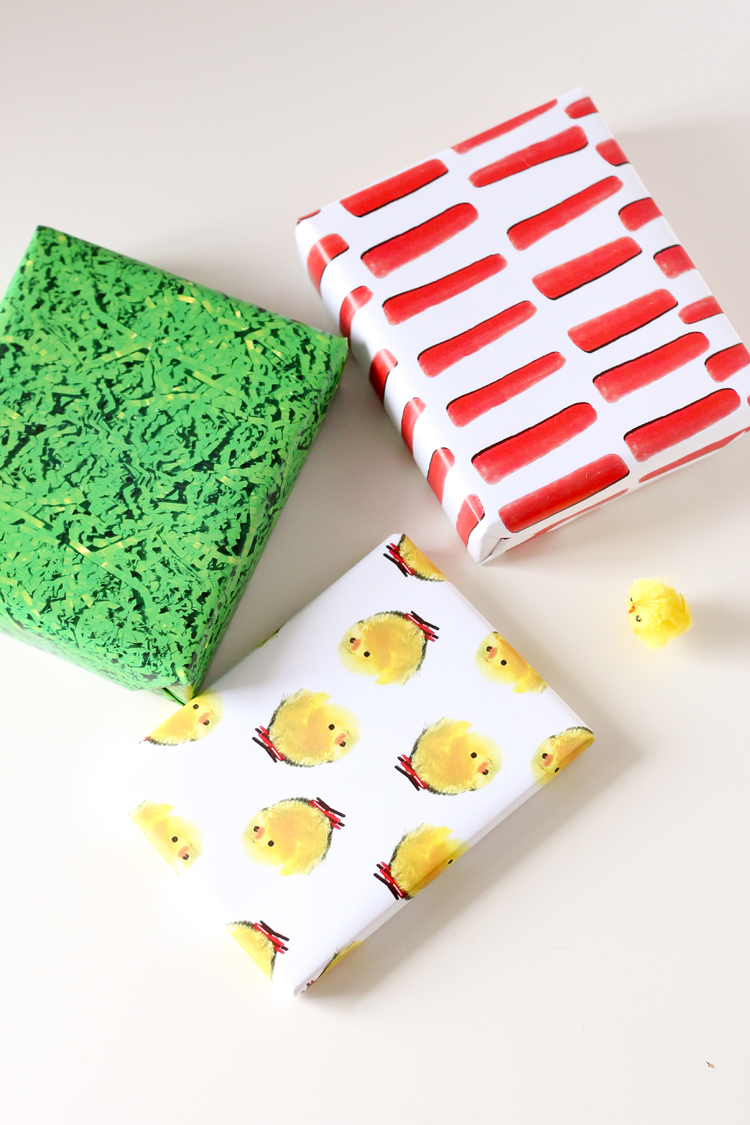
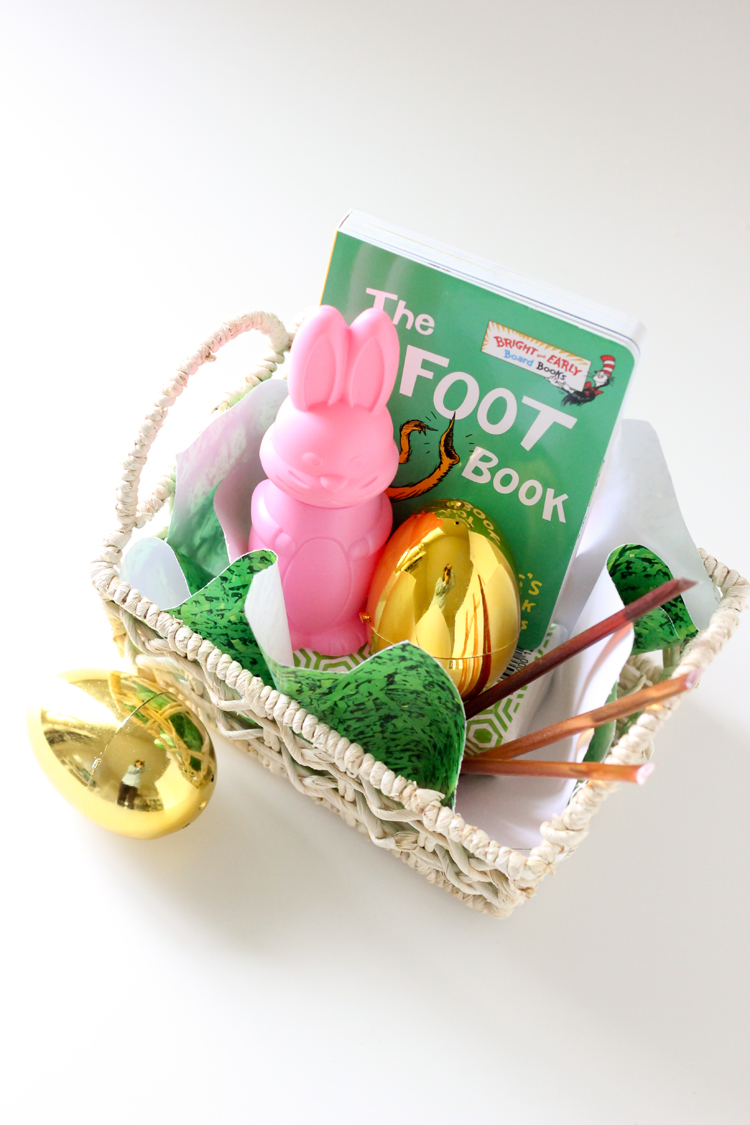
As a mom of three myself, I thought, well why not make Easter grass paper!? Just one piece of paper that looks like a million tiny pieces of shredded, crinkled paper.
Boo-ya!
So I did. 🙂
This is actually two pieces of 8.5 x 11 inch paper. But we can handle two, right? Even three or four, if you want an extra fluffy basket, would be a cinch.
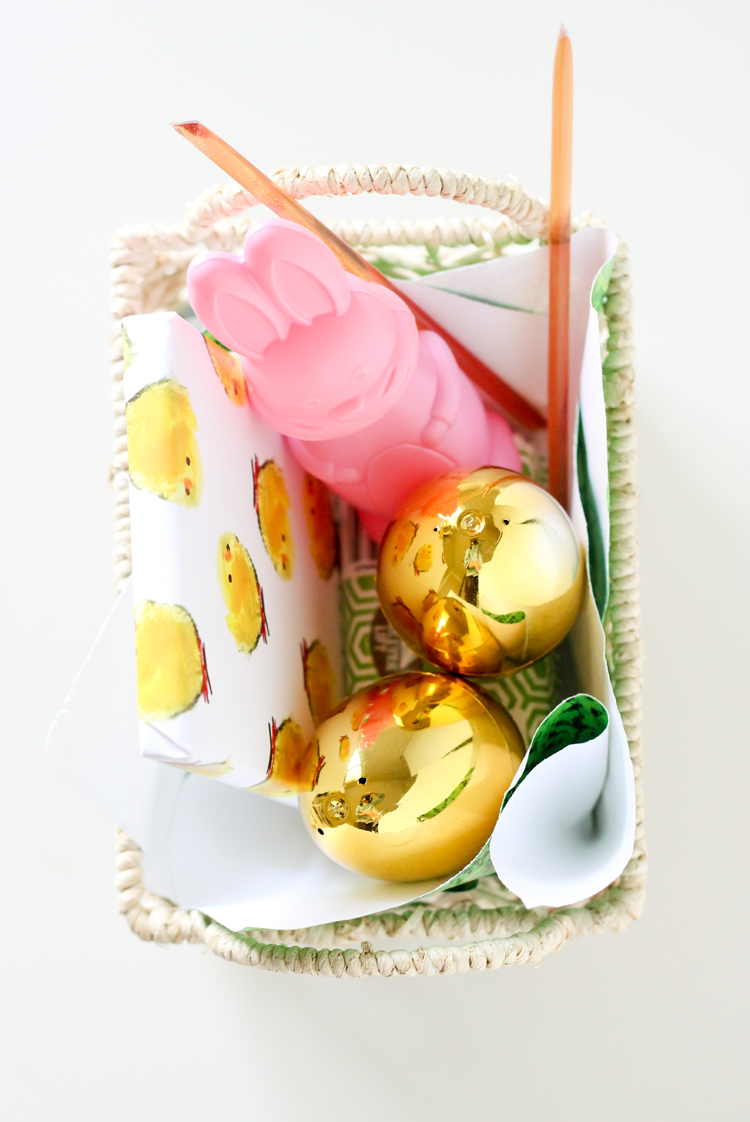
The inside is white, because the paper is one sided.
If that drives you nuts, you could totally print on both sides to solve that. Just ask your print shop or print double sided on your home printer. Free downloadable files are at the end of the post.
(You can also see that I used cute travel tissue to help things stand up in the basket better. Boxes or bars of candy also make good fillers to help things stand upright.)
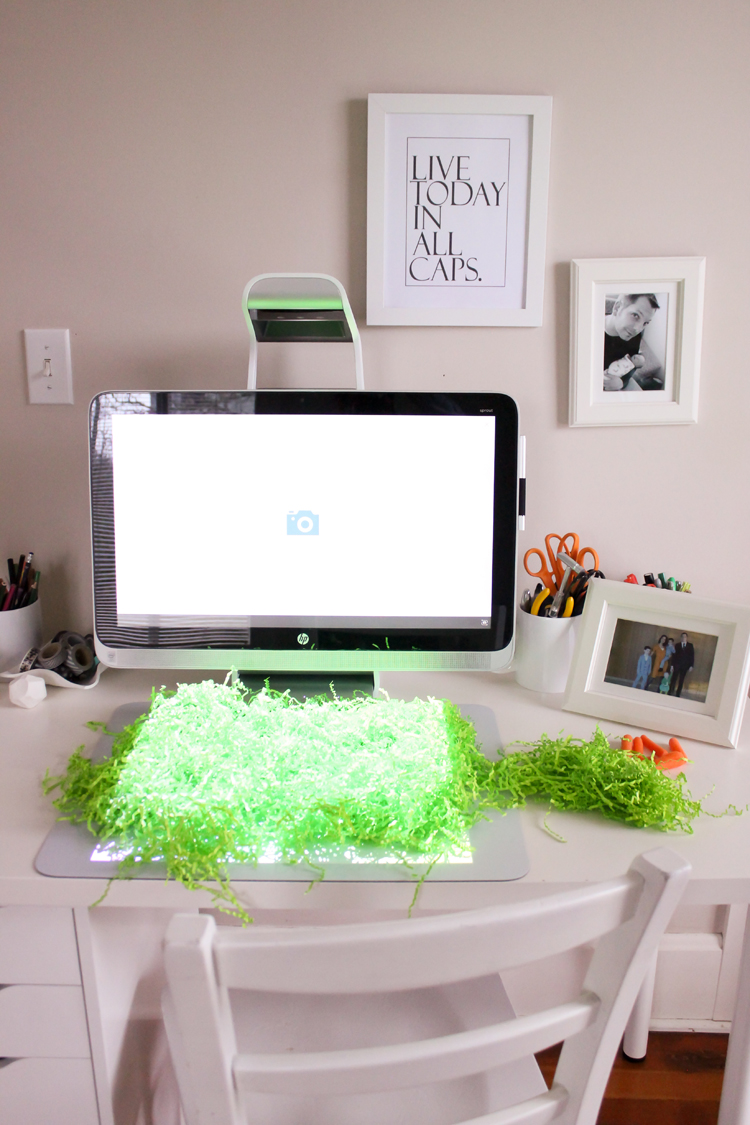
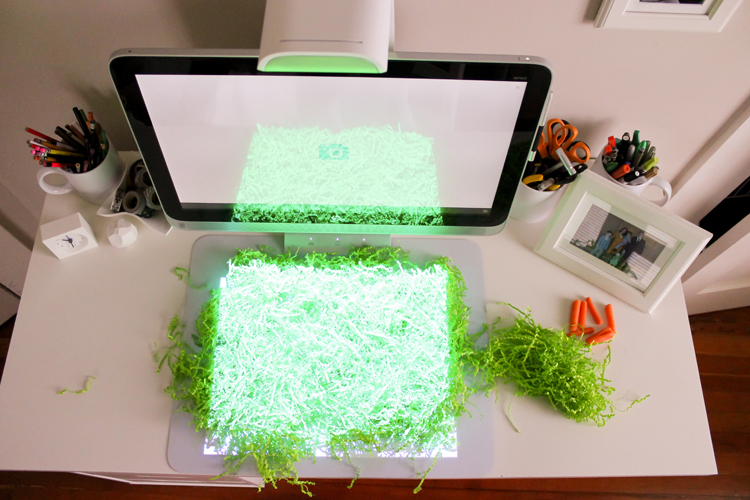
To make the Easter grass paper, I took a pile of real Easter grass and quickly snapped a scan of it on my HP Sprout.
Then I saved it as a pdf and it was ready to print! Easy. Peasy.
I honestly love scanning things on my Sprout. I even use it to scan work documents, because it is so easy.
I only had to add an extra step for the 11 x 17 inch sized paper, since the Sprout saves the file to 8.5 x 11 inch dimensions by default. The image quality is high though, so it can be re-sized a little larger than that if need be. I wanted to maintain the size of the grass, so stacked two 8.5 x 11 sizes into one 11 x 17 file.
Another thing to note, is that no matter how your print it, there will be a small border. This is because most printers can’t print right up to the edge. Just trim it off and you’re good to go.
Just for kicks I thought I would try scanning some more Easter/Spring things…
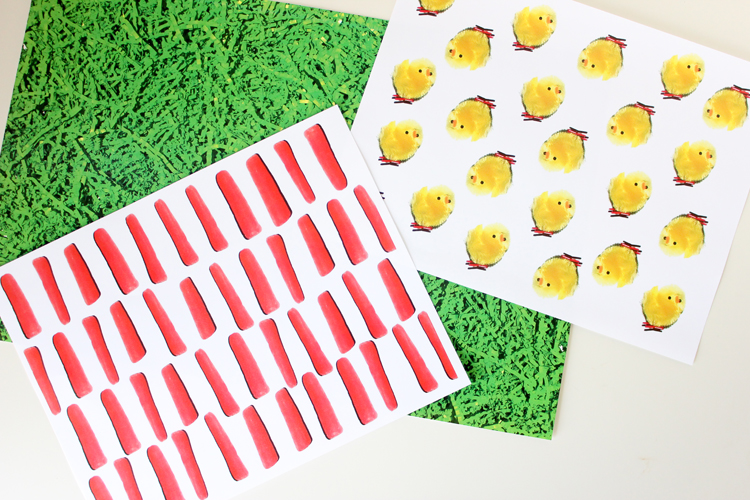
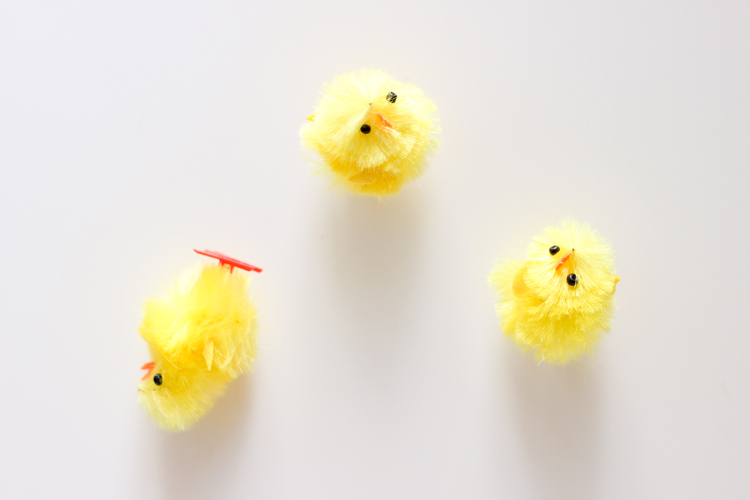
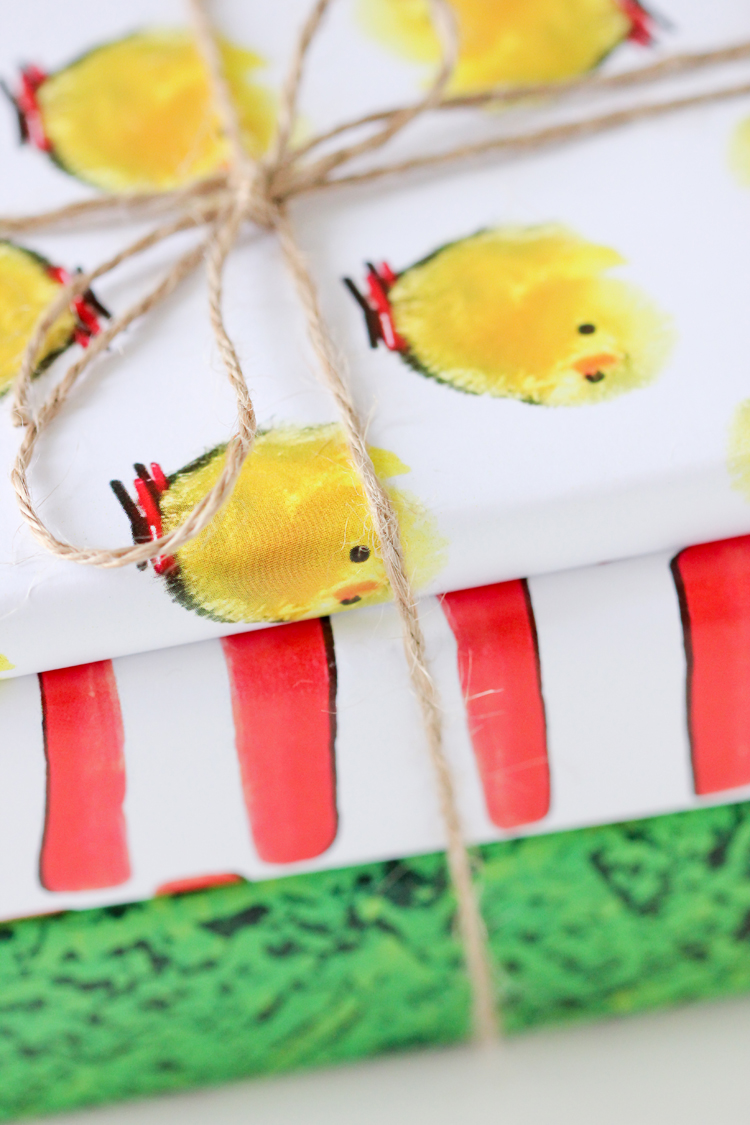
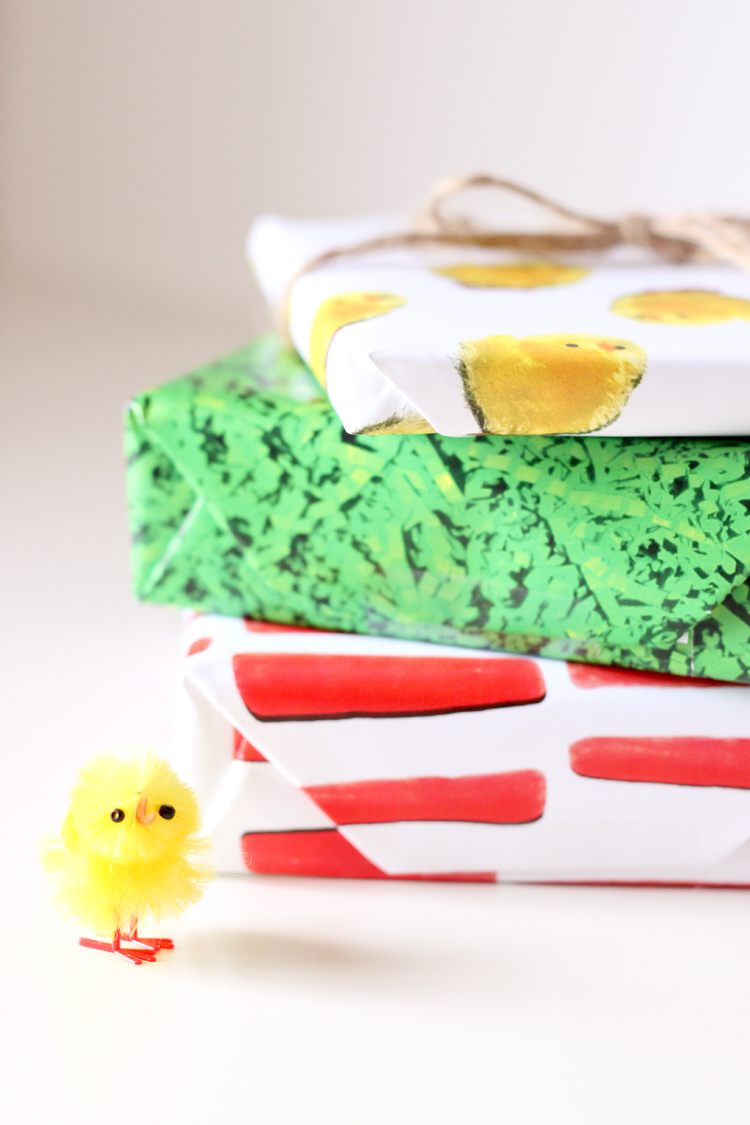
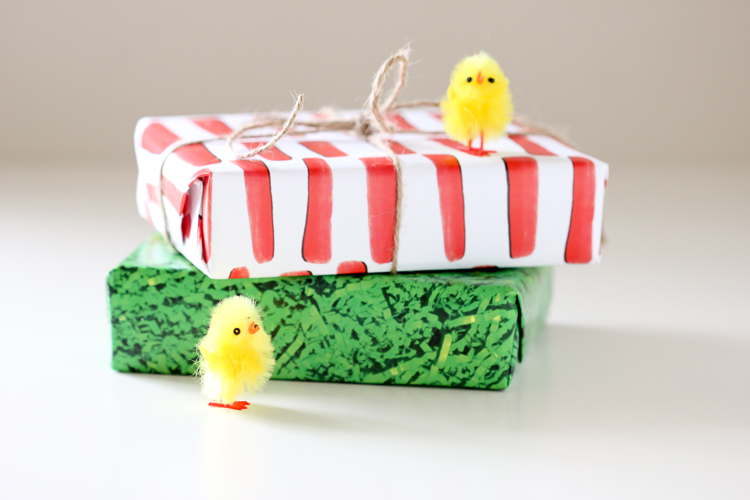
Baby carrots, which ended up looking kind of cool and abstract, and these little pipe cleaner baby chicks I found in the seasonal aisle at Jo-Ann.
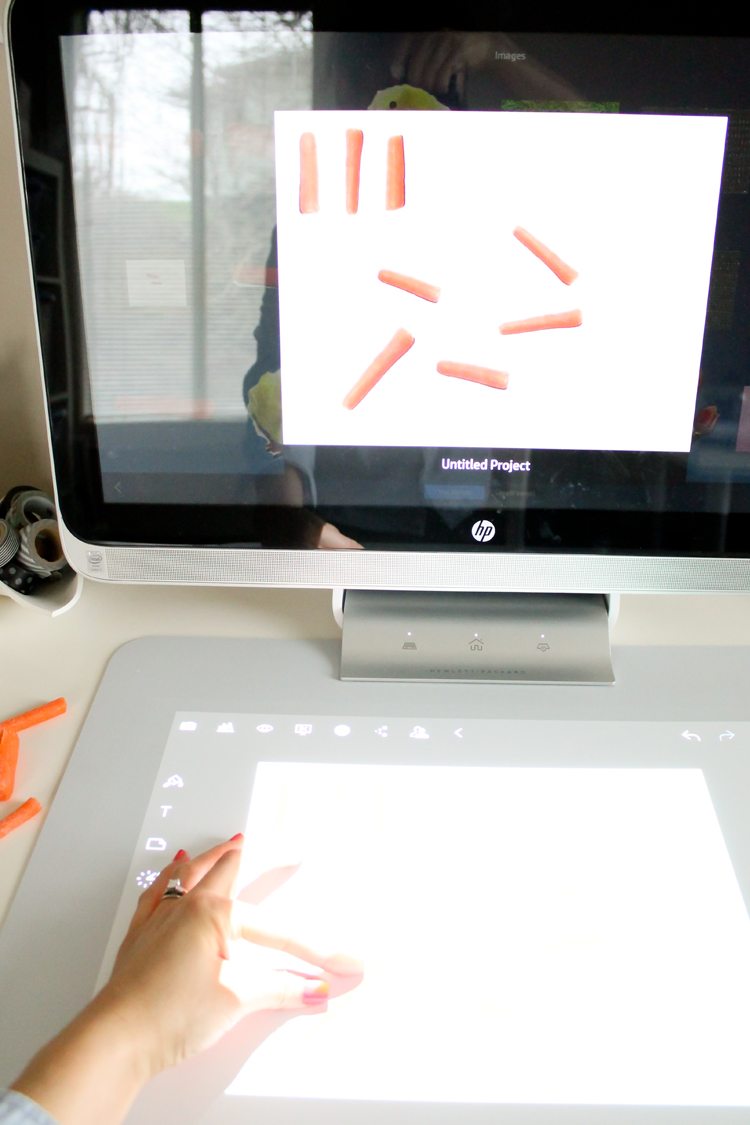
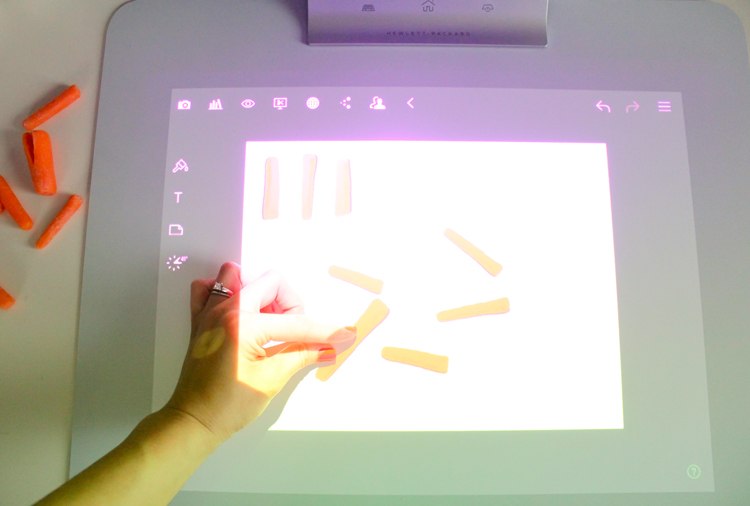
I scanned different baby carrots individually, and then used the HP Sprout work space mat to place the carrots into the pattern I wanted.
Technically you can erase shadows after you scan an item, but I liked how the shadows added dimension to the carrots, so I left them.
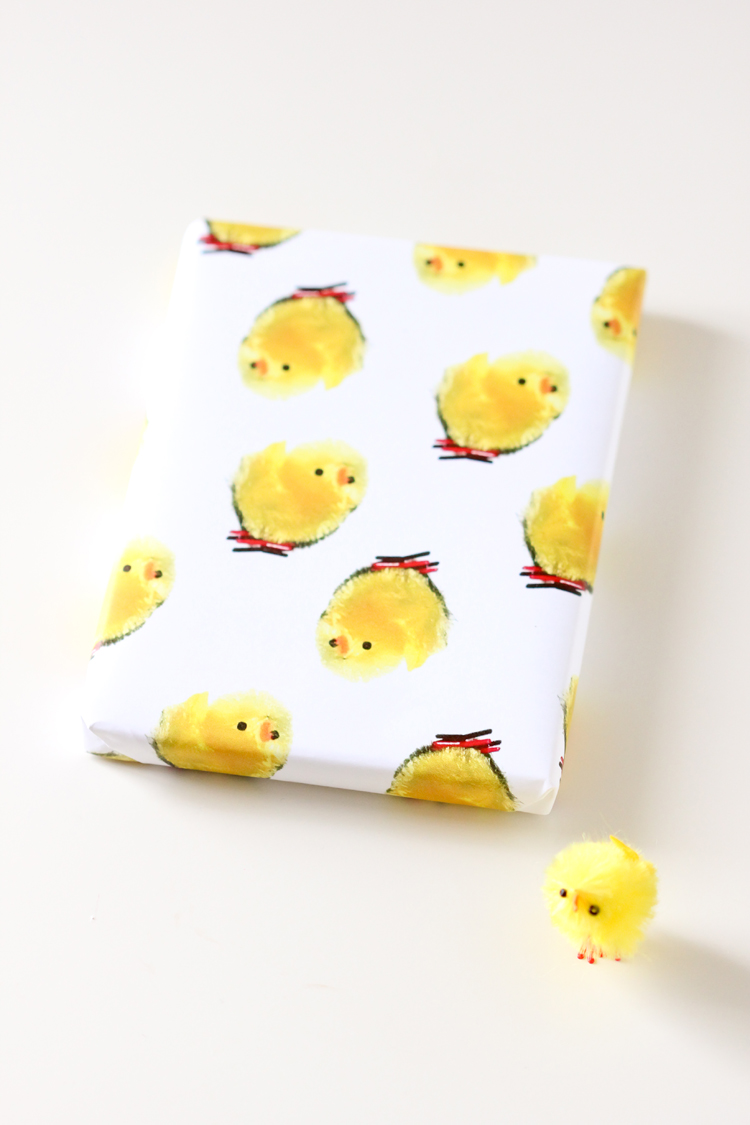
I followed the same process with the baby chicks, but I just scanned one baby chick and then staggered the same chick in varying directions on the page.
Use it as wrapping paper, basket liners, or for whatever!
FREE PRINTABLE FILES:
Printing Notes:
– All files are pdf files hosted through Google Drive for instant access. If you prefer to have them emailed to you, contact me: [email protected]. Please expect email delivery to take up to 10 business days or two weeks.
– You can print them on your home printer. I personally prefer to print them at a print shop like Staples, The UPS Store, or a local print shop because they use laser toner and it comes out looking nicer. I printed my papers at The UPS Store and it only cost me 35 cents a piece for 8.5 x 11 inch of standard printer paper.
Disclaimer: This post is sponsored by HP Sprout. To learn more about this brand new, amazingly innovative machine designed for creatives go here. As always, my opinions are genuine and honest. The HP Sprout is shut the front door amazing!


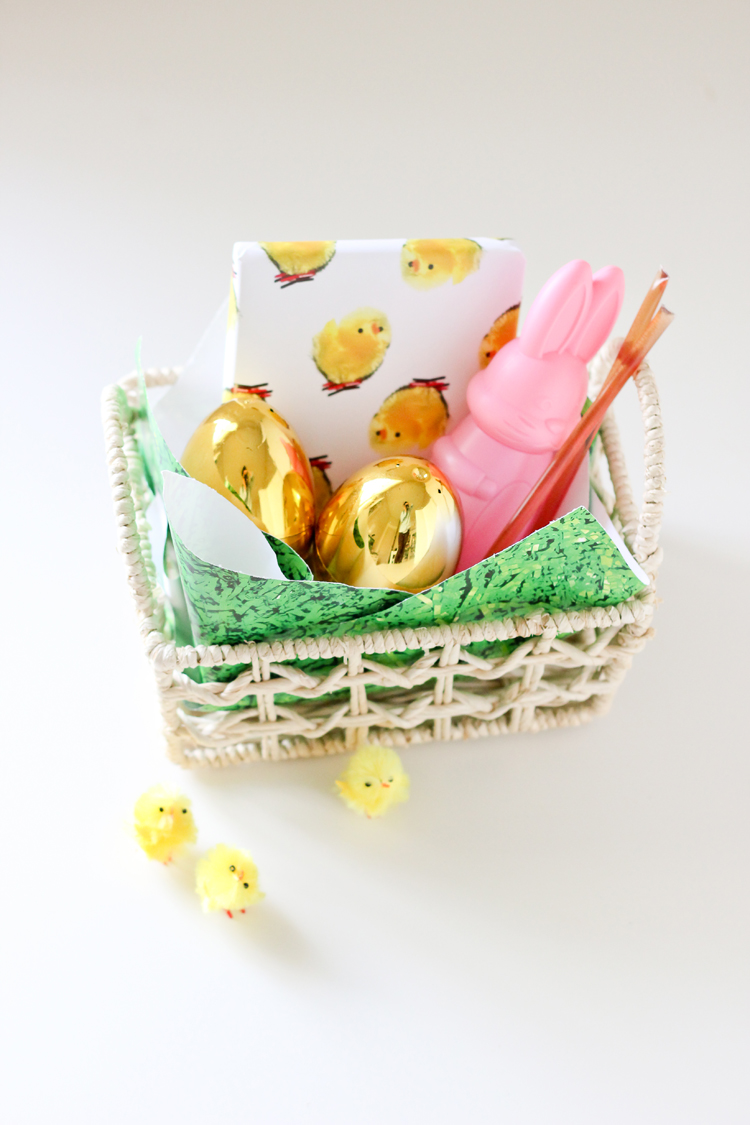
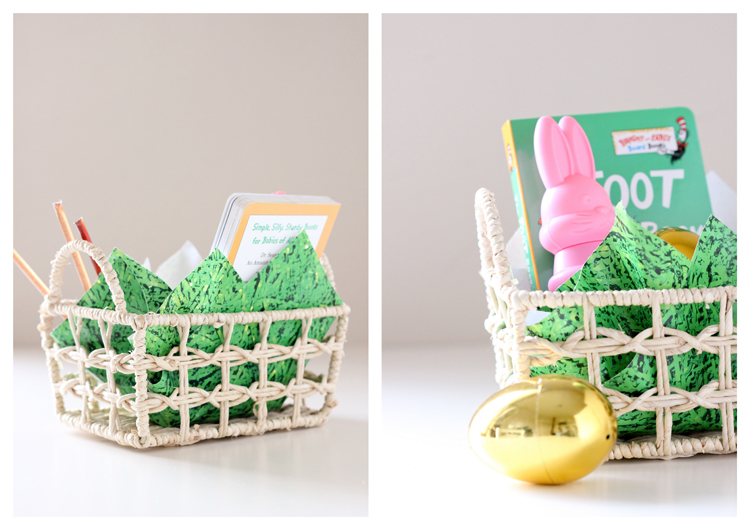
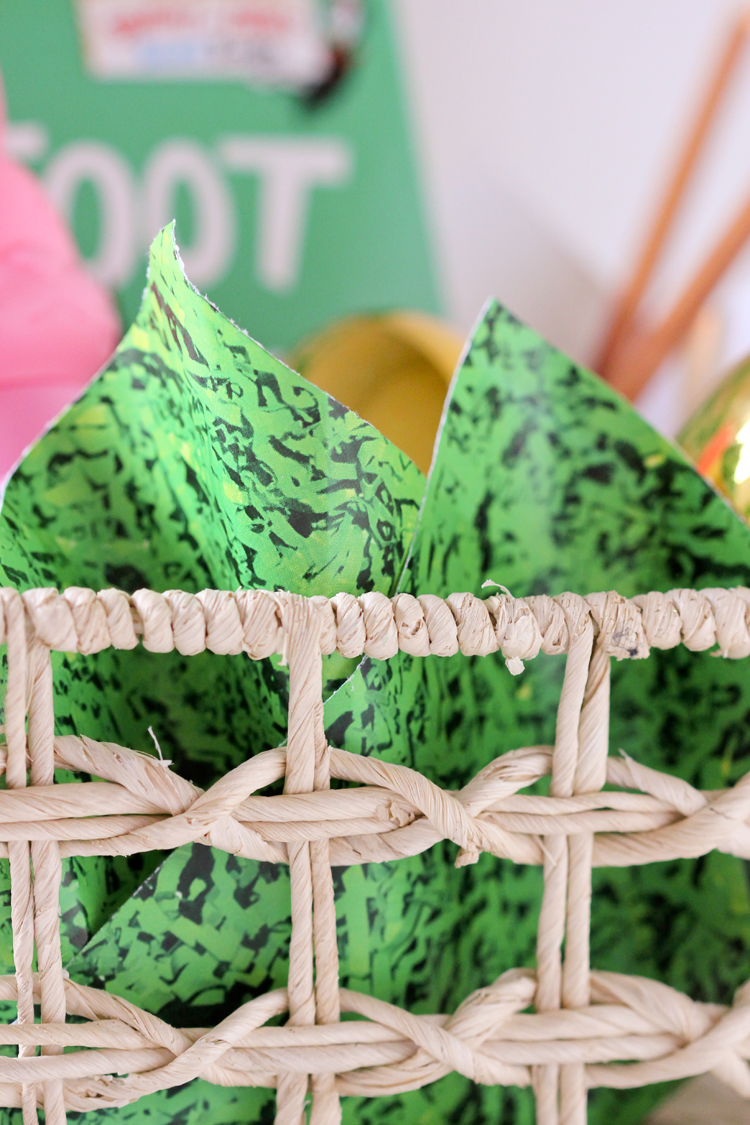
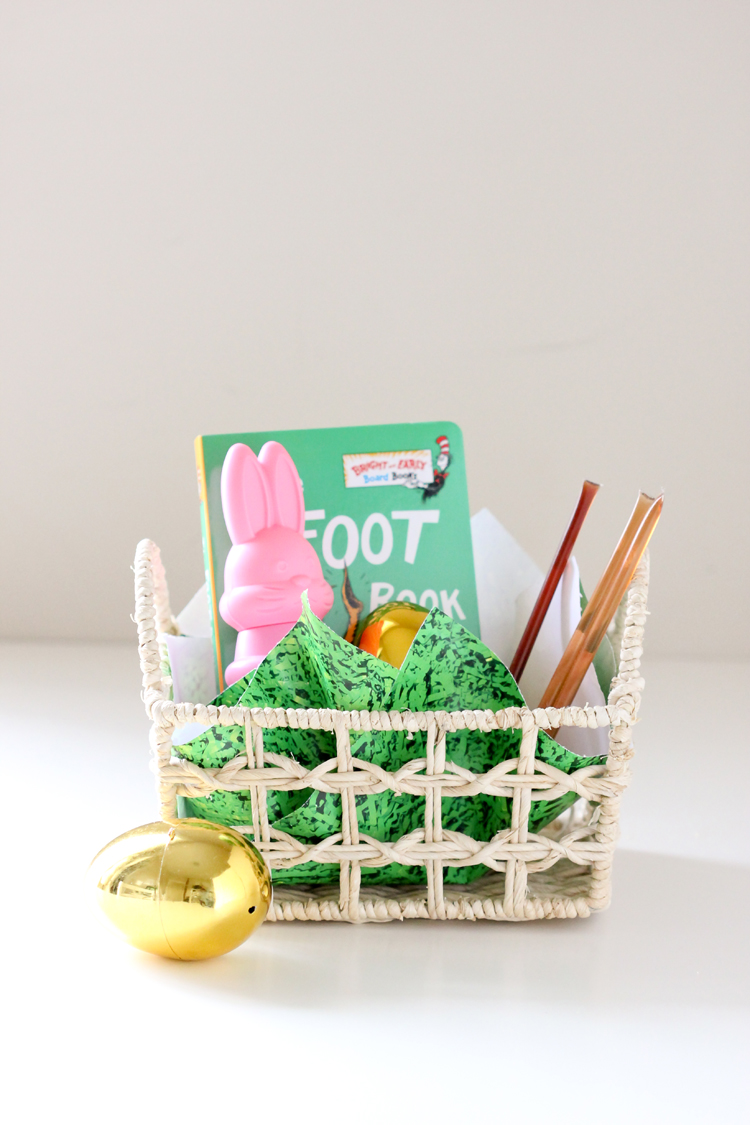
Ah! This is so much better than dealing with real, staticky, plastic-y easter grass! Did you just print it on normal paper, or did you use a glossy wrapping paper paper? All of your paper looks amazing BTW.
(Really digging the smooth moves your Sprout has going on. That looks magical.)
Thank you Kait! Yeah, the Sprout is pretty spiffy. 😉
As for the printables… I just had them print it on regular copy paper. It might be a bright white, nicer version than the cheapest 20# paper but it’s not the fancy glossy stuff. The print shop laser toner is responsible for it coming out looking shinier and crisper. I hope that helps!
Wow ! Such a great idea for DIY gift wrapping paper 🙂
Thank you!