Since Mother’s Day is this week, I thought I would bring home this tutorial I created for Skip To Lou for last year’s holiday season. It’s practical, pretty, and easy enough to make by this weekend!
_____________________________________________________
I love a festive excuse to fire up the oven, put on an apron, and fill the house with yummy smells!
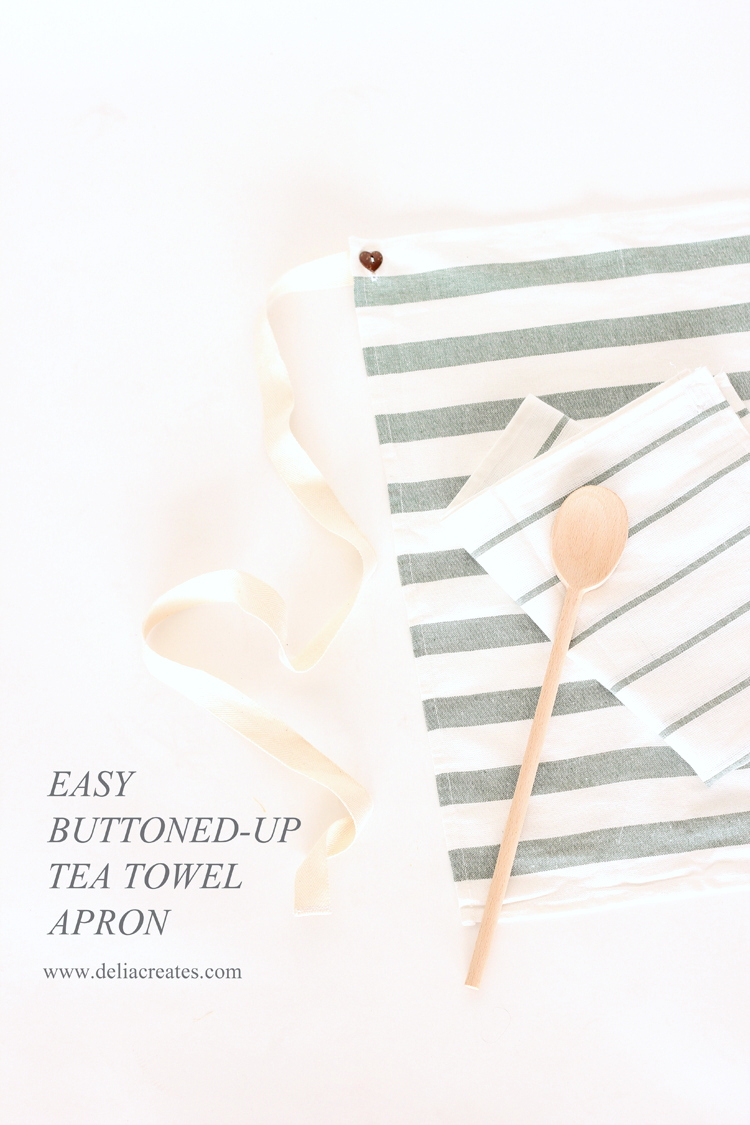
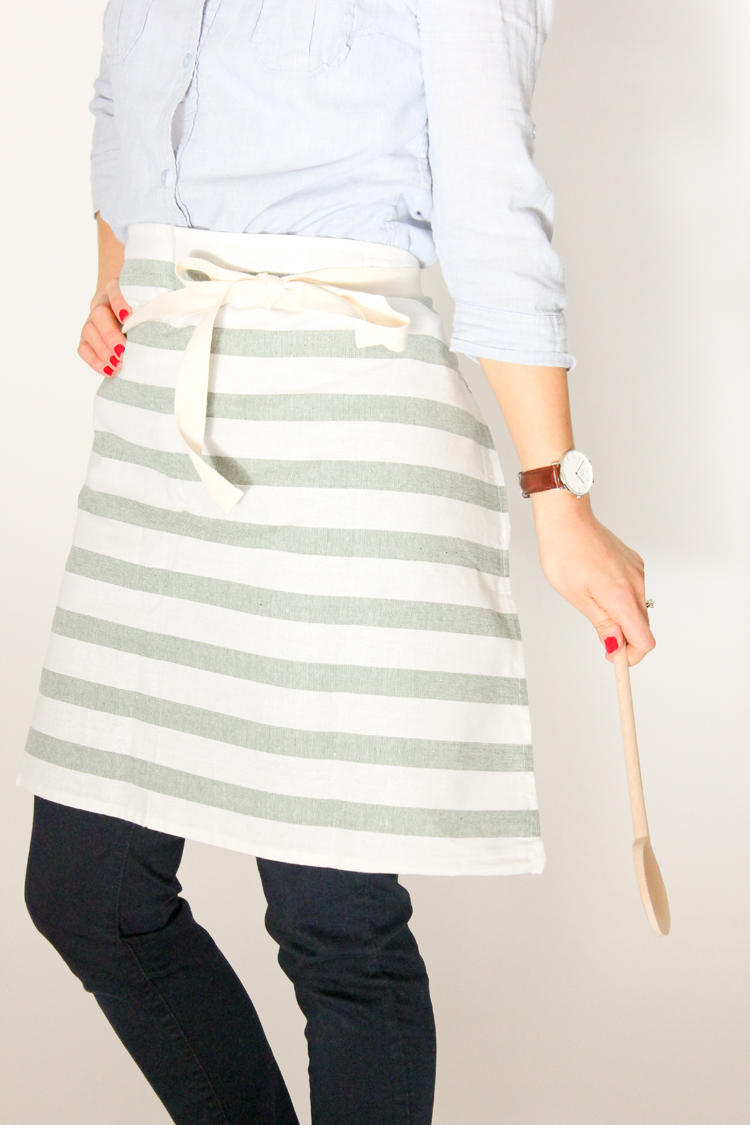
Today, I have a super quick apron DIY to help you get your bake on…
…or your gift on, because these little tea towel aprons make a great gift as well!
I love tea towel aprons because they’re easy to make and practical to use. The absorbent tea towel not only keeps you clean, but I like to use it to clean up my mess when I’m done, so I don’t have to dirty up another towel. The only thing that gets in the way is the ties…
So, I made them removable!
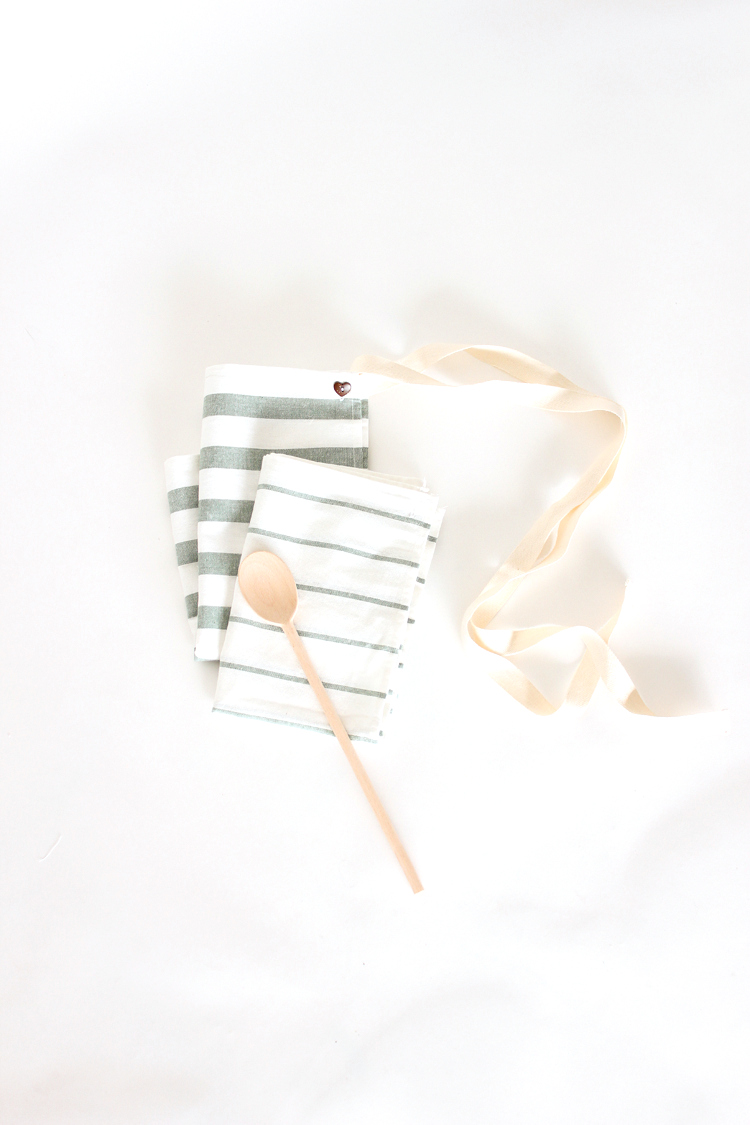
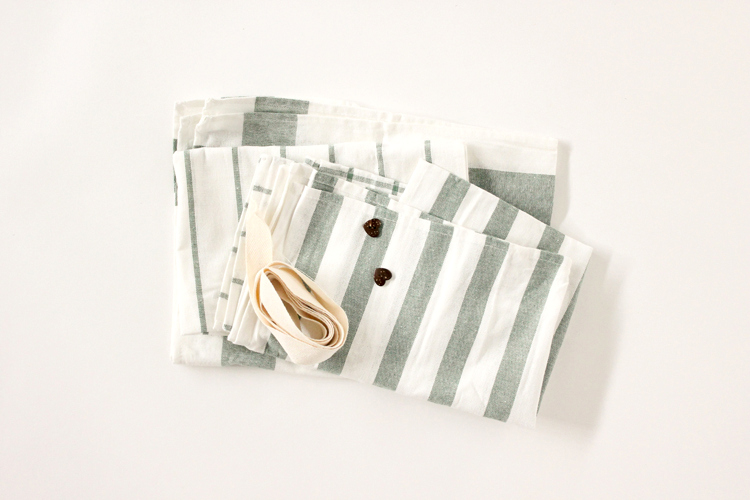
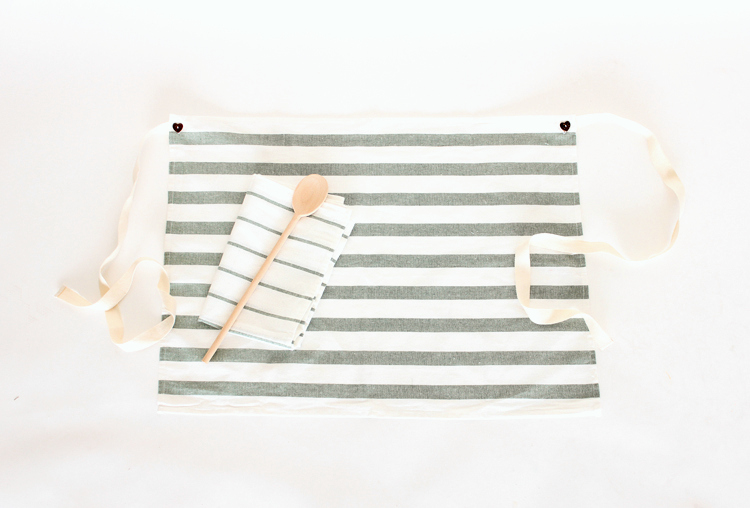
You make one set of ties, add buttons, and then just sew buttonholes into a set of tea towels. Ta da! You have several aprons in one, and they double up as stand alone towels that can be easily washed.
MATERIALS
Pack of tea towels (Mine is a four pack from IKEA, I used two of them)
3 yards of 1.25 inch wide, twill tape belting
Two .75 inch buttons
Matching or coordinating all-purpose thread
Hand sewing needle
Sewing machine and basic sewing supplies
Buttonhole foot (if sewing machine has an automatic buttonholer)
STEP ONE: Sew button holes.
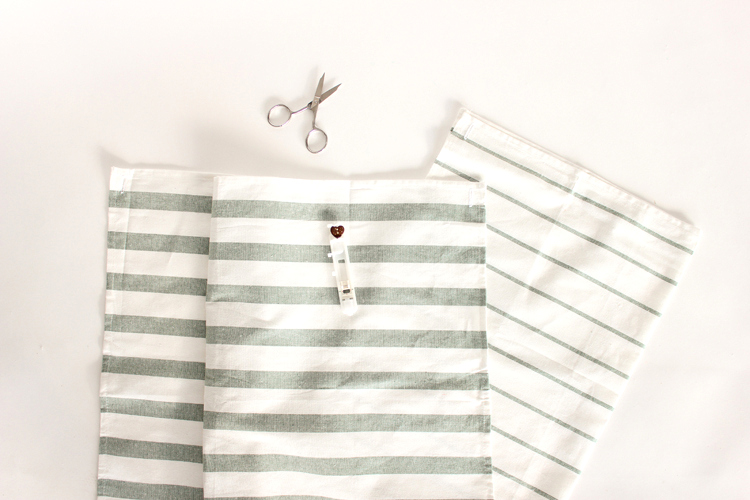
Wash and iron your tea towels.
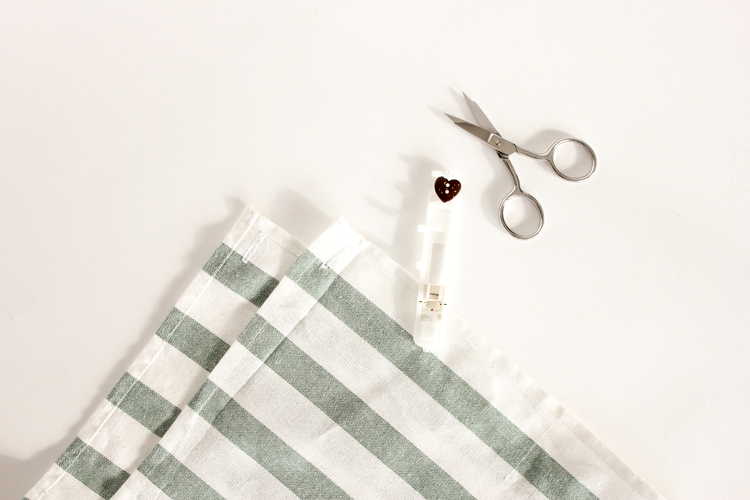
Sew a vertical buttonhole at two parallel corners of each towel, using your button hole foot and the automatic button hole feature on your machine. Make sure to position your button holes about 0.5-0.75″ away from the edges of the towel.
Cut the button hole open, taking care not to cut through any stitching. You can do this with a sharp pair of scissors, or by placing a pin at one end of the button hole and opening it up with a seam ripper. The pin prevents the seam ripper from cutting through the stitching.
STEP TWO: Prepare ties.
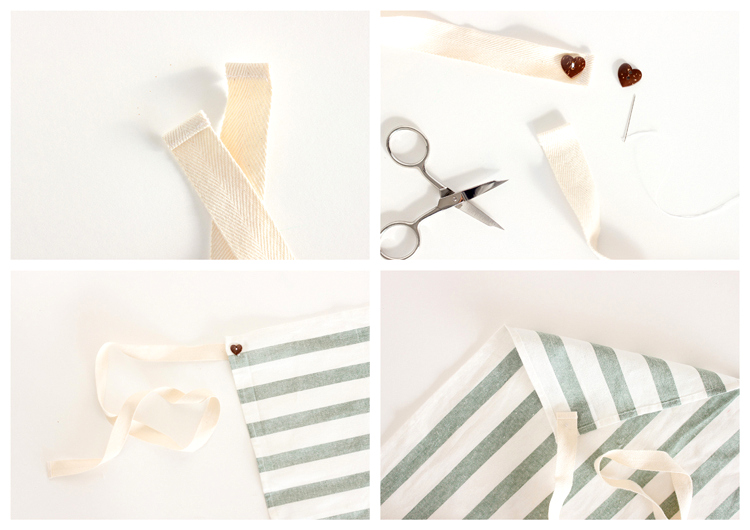
Cut your twill belting in half. Fold each raw end under twice, and top-stitch in place. You will do this for a total of four times.
STEP THREE: Sew on buttons.
Using your hand sewing needle and some thread, hand sew one button to the end of each of the two ties.
That’s it!
Three easy steps and you’re in business!





Oh so cute!!! I have a little “apron fever” going on over here, and this looks like something even I can make! Thanks for sharing!
Thank you! <3
I love that the straps are removable!
That is pretty clever! I love the buttons you used on this!
Thanks Charity! I should have mentioned it. They are coconut wood buttons I’ve been hoarding for years. I think I got them from Lots of Buttons??
this is so beautiful Delia! And BTW – I LOVE your new logo! I can’t believe I haven’t seen that yet – its awesome!!!
Thanks Jess! Yes. I just changed it just a couple weeks ago! So, it’s still really new.
I love this idea; simple brilliance.
Thank you!