Around this time of year, I need projects that are quick, easy, and inexpensive. This crochet scallop garland checks all the boxes and it’s beginner friendly!
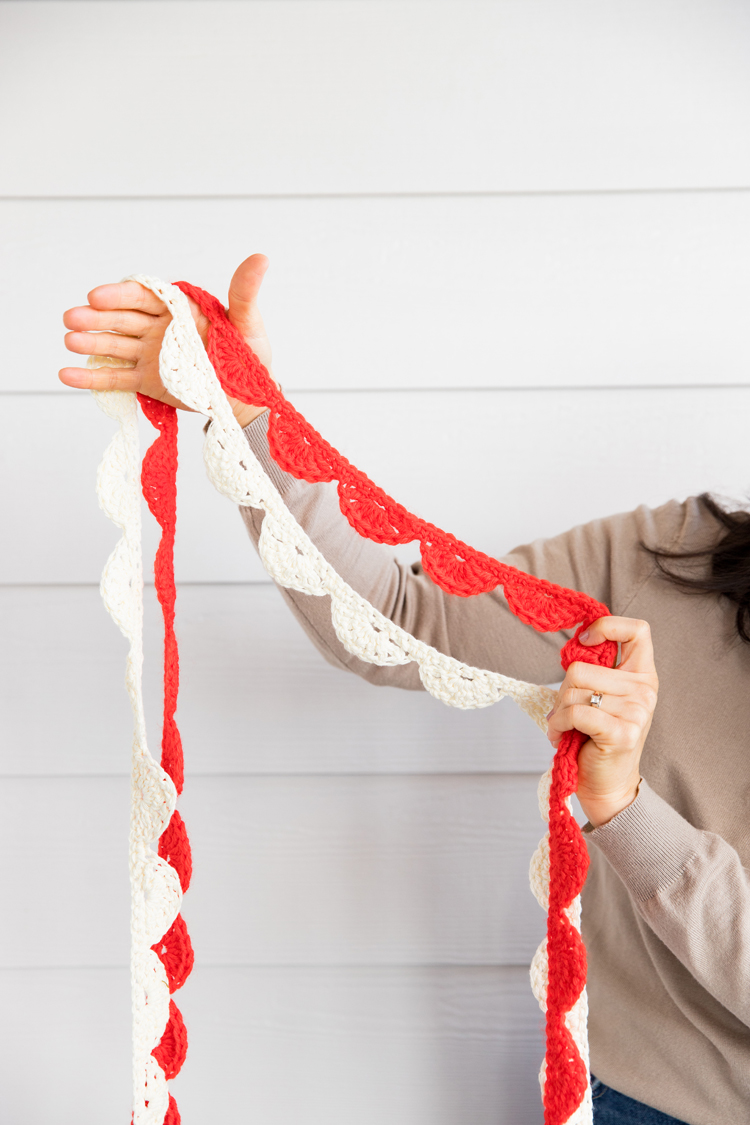
All you need to know is how to triple crochet, slip stitch, and single crochet. If you’re not sure how to work those stitches, I show you step by step in the video tutorial (see below).
P.S. If you’re a total beginner, I also have a Crochet Basics series that covers how to buy the right yarn, how to read a pattern, and then teaches you basic stitches including how to hold your hook.
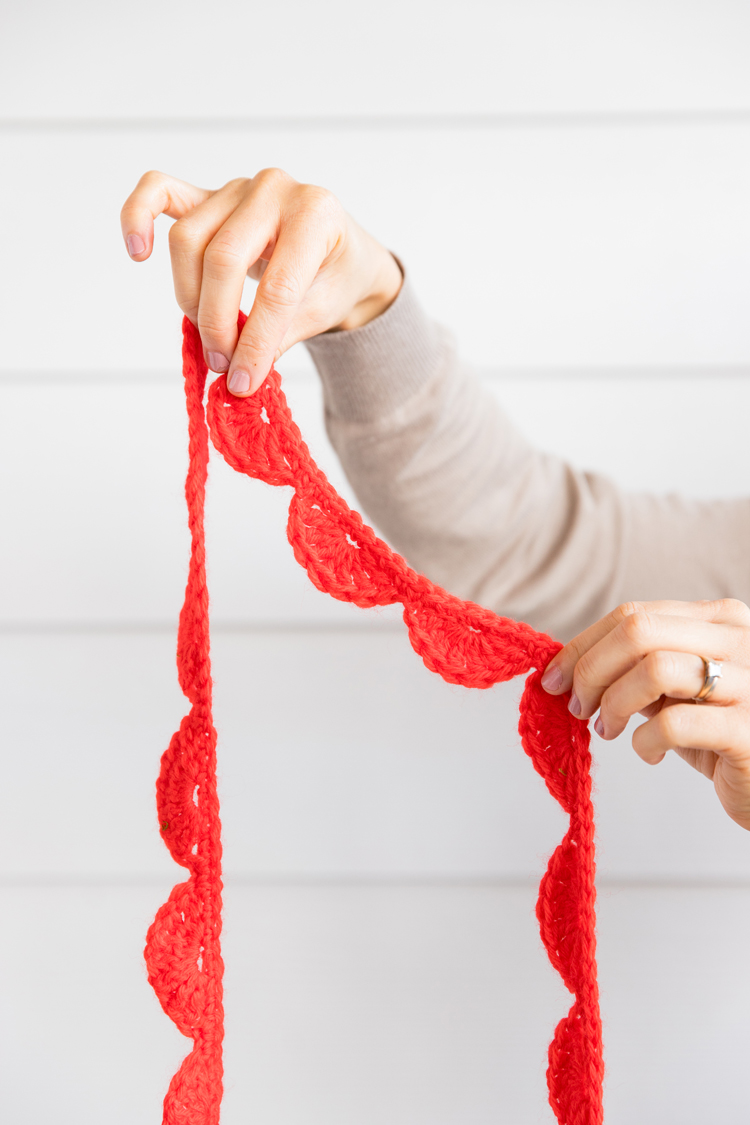
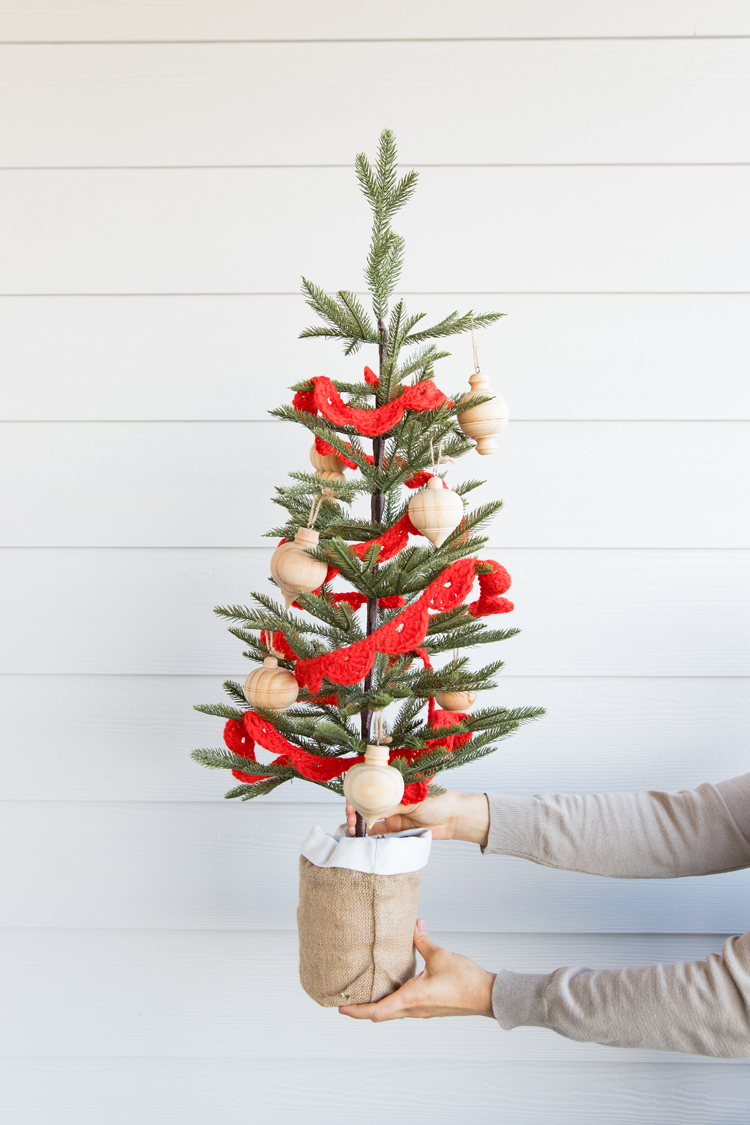
It’s a versatile project that works for the holidays and really any holiday!
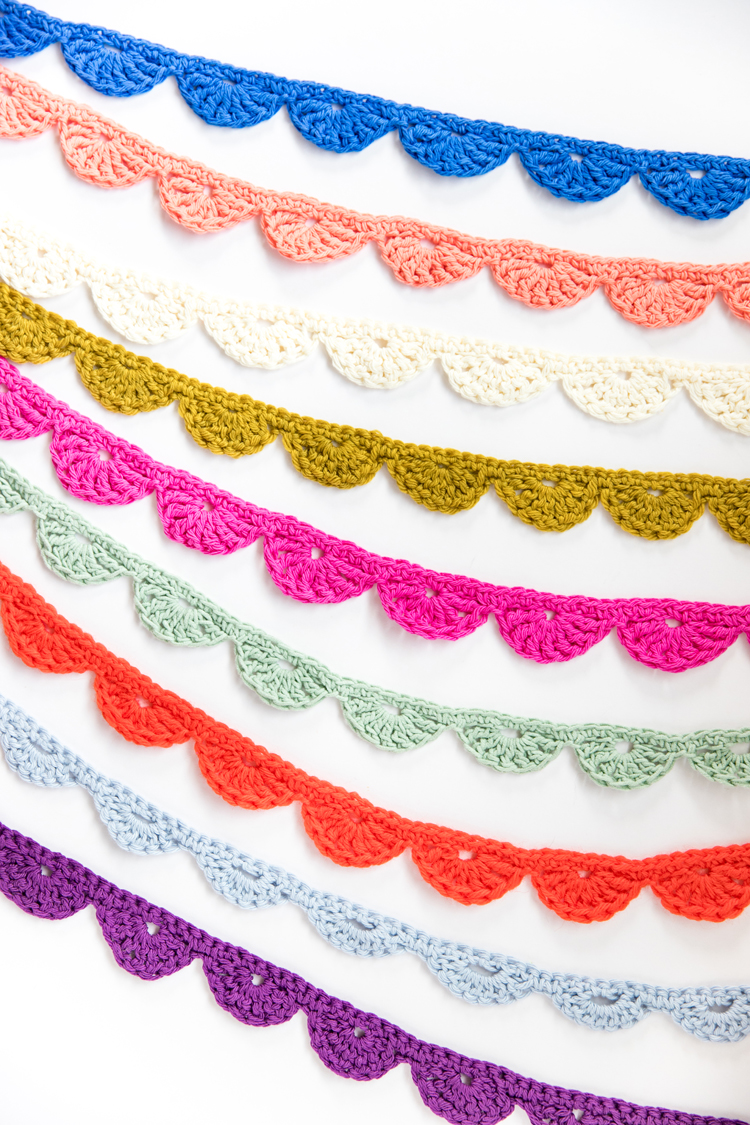
Let’s get started.
MATERIALS
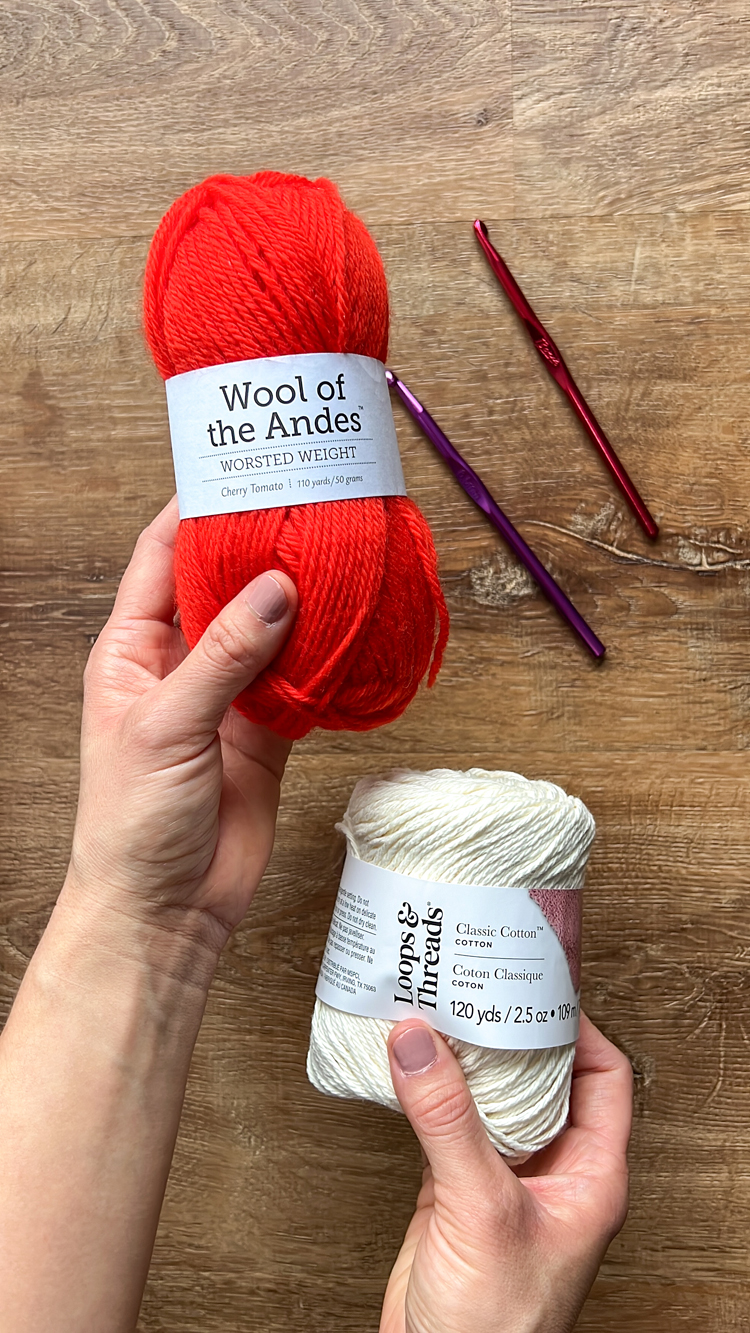
- Worsted weight or category 4 yarn* in wool or cotton
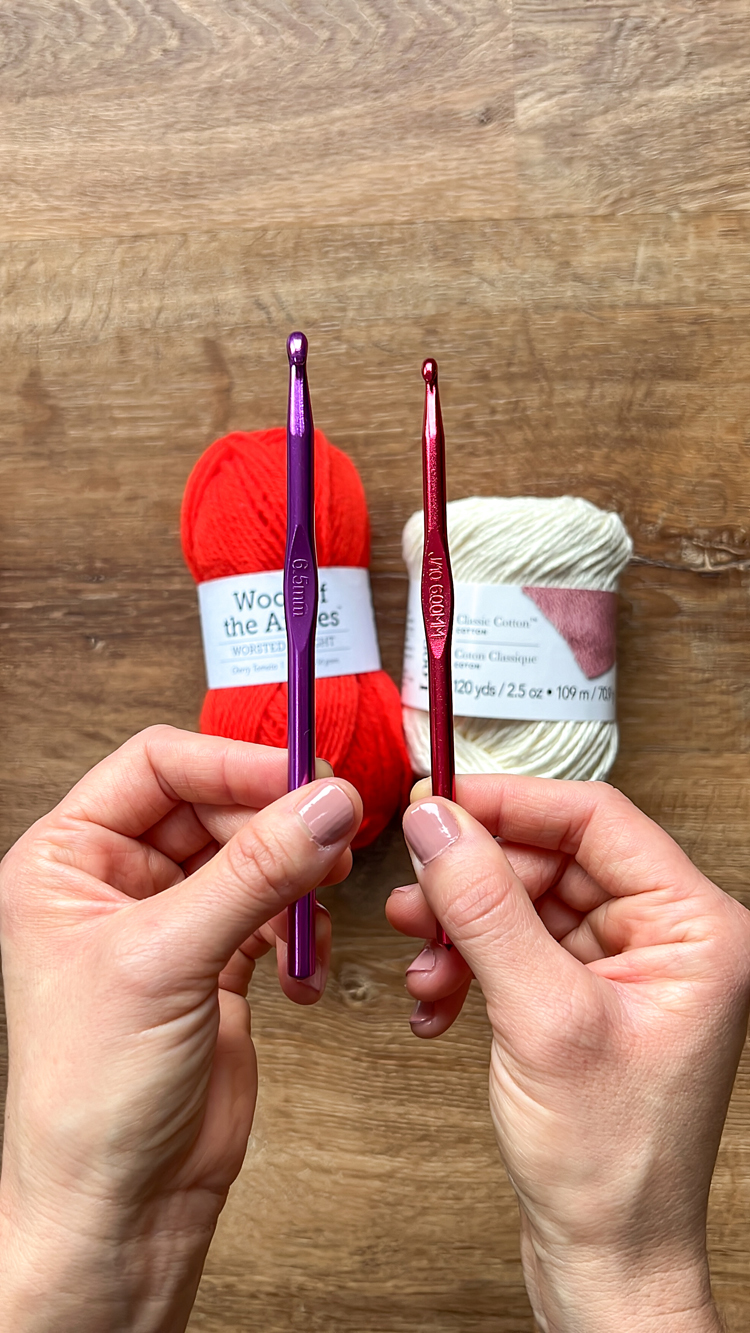
- 6.50 mm or 6.00 mm hook
- Scissors, yarn needle (optional)
- Iron
Material Notes:
YARN
*The very best yarn to use for this project is a 100% cotton that is not smooth or shiny. It’s best if it has a little grit, like Peaches & Creme, Sugar’n’Cream, or Loops and Threads Everyday Cotton. The plus side is that cotton yarn comes in lots of different, vibrant colors! I used Loops and Threads Everyday Cotton for most of my garlands.
*The second best yarn is a pure wool or wool blend yarn, the rougher the better. Soft/smooth wool yarn or mercerized (shiny) cotton yarns don’t hold their shape as well and you may end up with collapsed scallops. Acrylic yarn is my least favored option because it curls up and is difficult to iron. Although I totally get it when you sacrifice function to get that “right” color of yarn you’re looking for. 😉
*I used Wool of the Andes in “Cherry Tomato” from Crochet.com and their Swish wool yarn in “Bracken” for the Grinchy, pea green color. The light blue scallop is in a shiny cotton from Walmart (I think Walmart brand even) and the light green color is from Tom Daley’s Made With Love line in the color “sage.”
*How much yarn you need depends on how long you want to make your garland. To make an 80 inch (just over 6.5 feet) garland, I used about 70 (wool) to 71 (cotton) yards of yarn. See the measurements section for more.
HOOK
**If using wool yarn, use a 6.50 mm hook (also for wool blend or acrylic). For cotton yarn use a 6.00 mm hook.
VIDEO TUTORIAL
The video should have already popped to the top or side of your screen. It will plan after some opening ads. If you “x” out of the video, you need to refresh the page to get it back.
Music is from Pleasant Pictures Music Club.
MEASUREMENTS
A gauge is not really necessary, but when trying to determine how long to make your garland, these measurements may help:
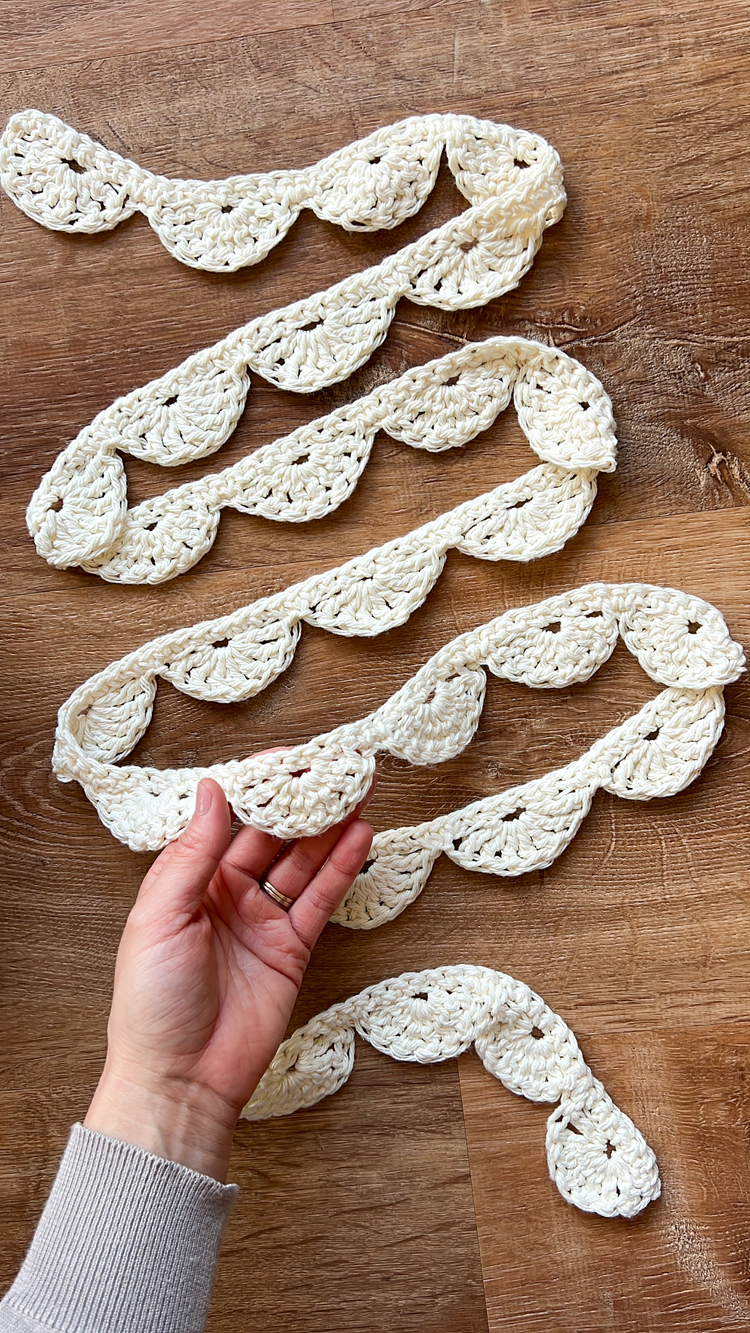
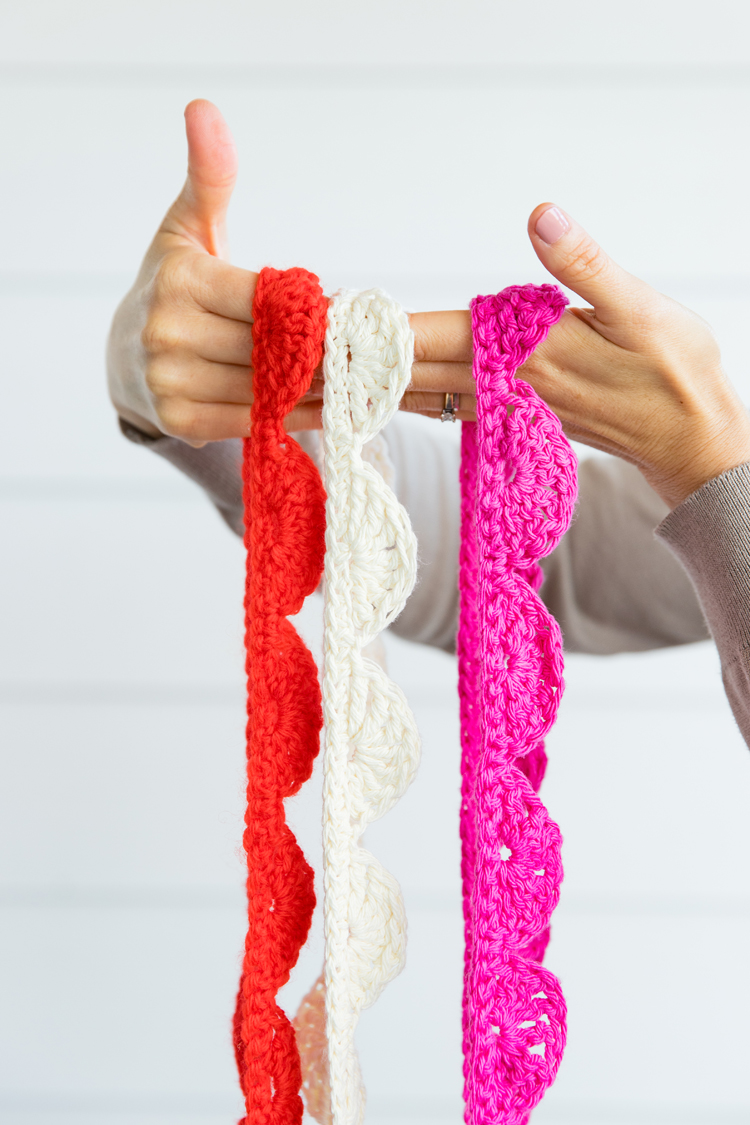
Each scallop is approximately 2 2/3 inches long and 1 1/2 inches tall.
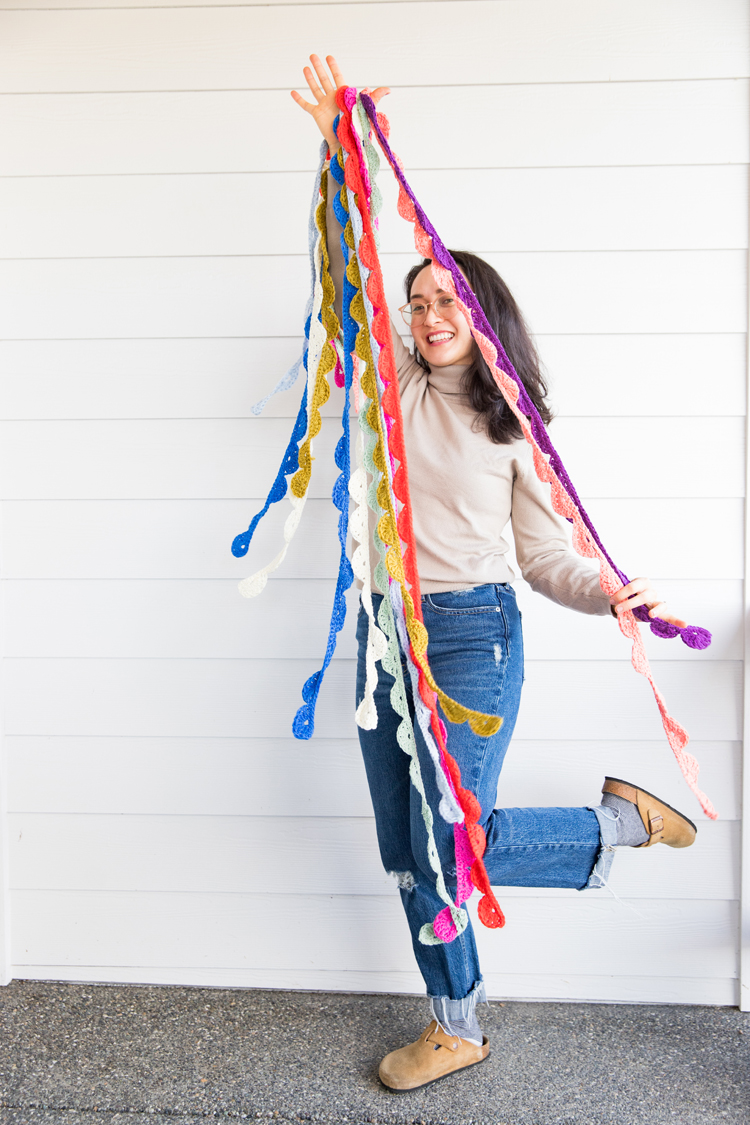
Most of my garlands are 30 scallops which came to 80 inches long (just over 6.5 feet).
ABBREVIATIONS
I am using U.S. crochet terms.
- ch = chain
- tc = triple crochet
- sl st = slip stitch
- sc = single crochet
WRITTEN TUTORIAL
Each scallop uses 7 chains, so chain a multiple of 7.
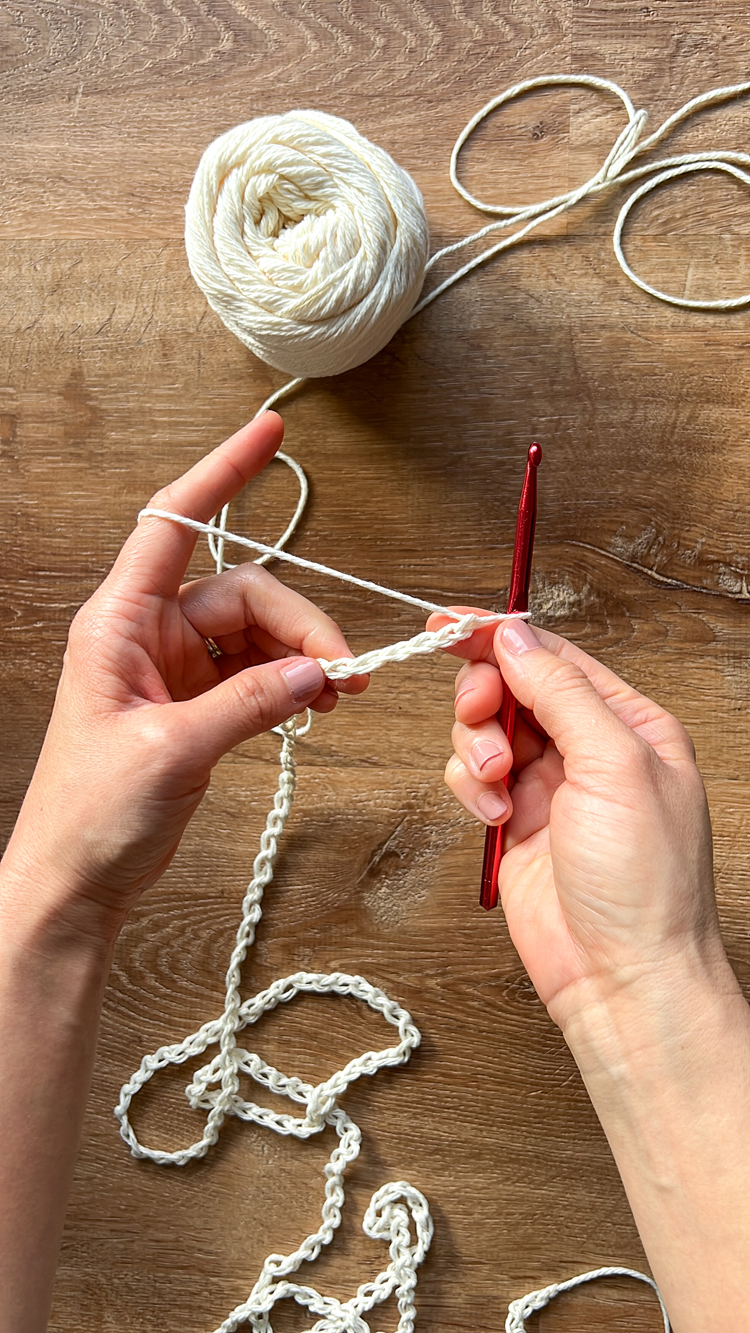
To create an 80 inch long garland, I created 30 scallops. 30 x 7 = 210.
I started my garlands with 210 chains.
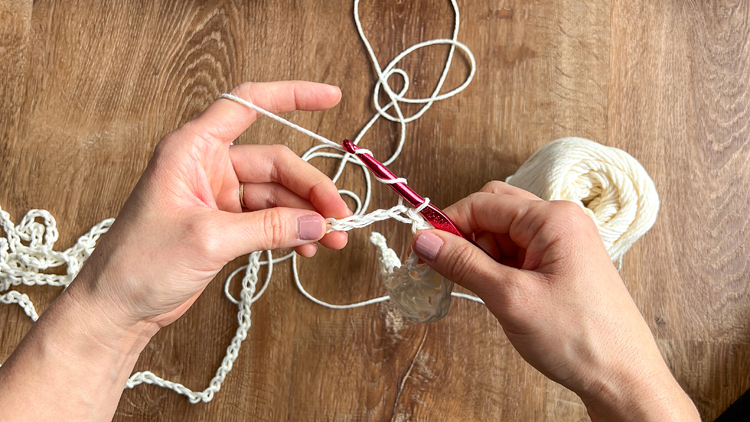
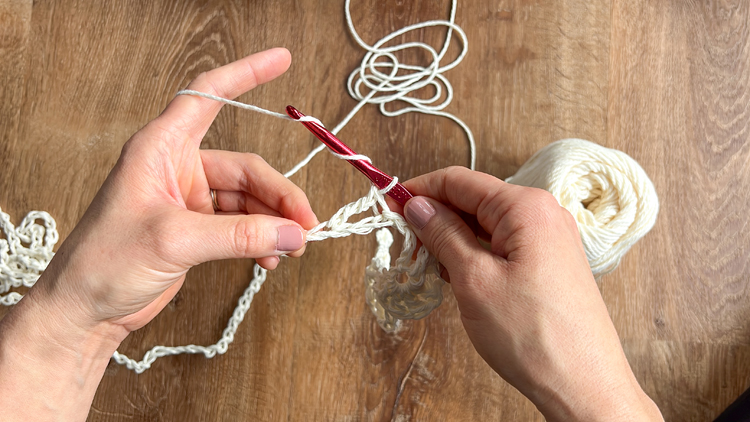
For the first scallop only, count four chains from the hook, and work 7 tc into the same ch.
Count three ch from the base of the scallop, and sl st. Sl st a second time.
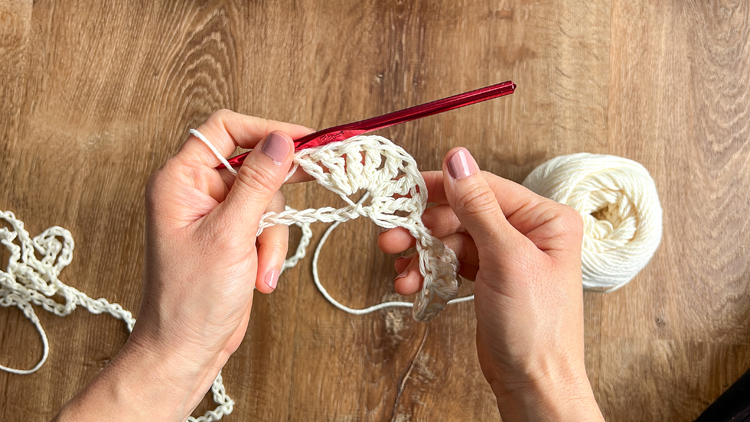
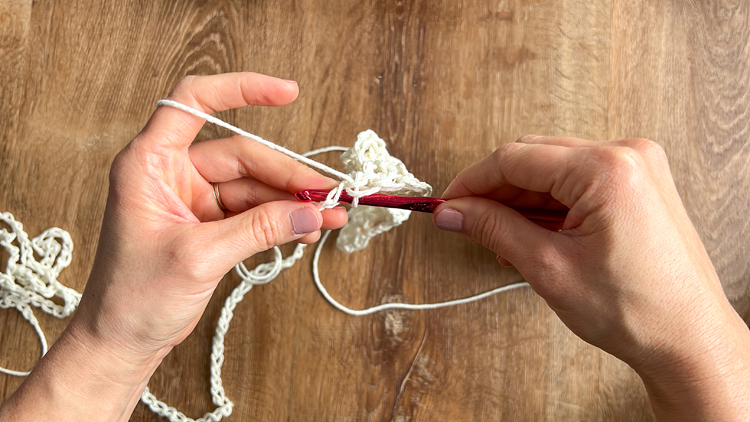
To start the next scallop, and for every scallop going forward, count three ch from the last sl st, then tc into that third ch.
Continue crocheting scallops following this pattern for each scallop: Tc in 3rd ch from hook 7 times, sl st in 3rd ch from base of scallop. Sl st again.
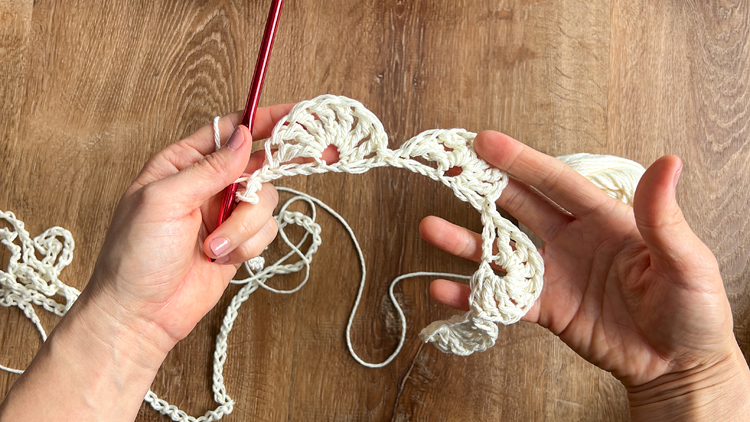
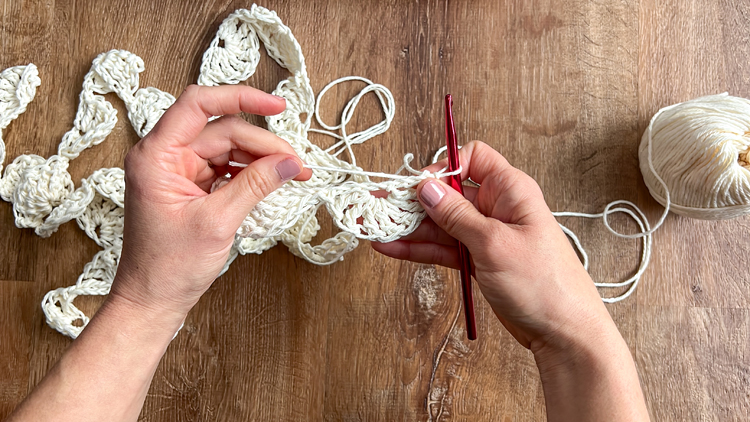
When you reach the end, complete the last scallop with a sl st (no second sl st needed). TURN.
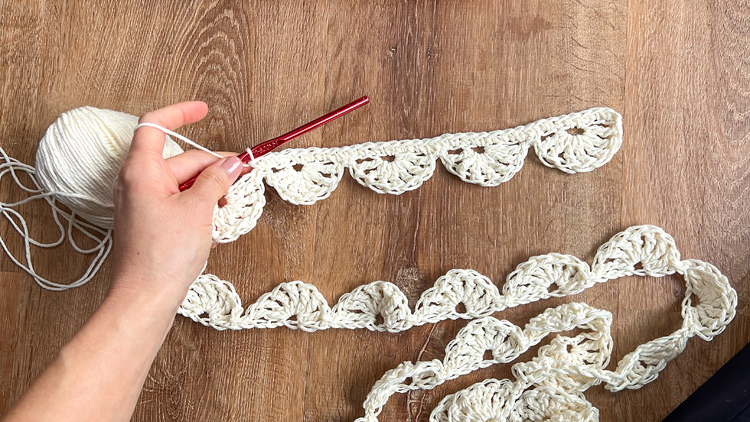
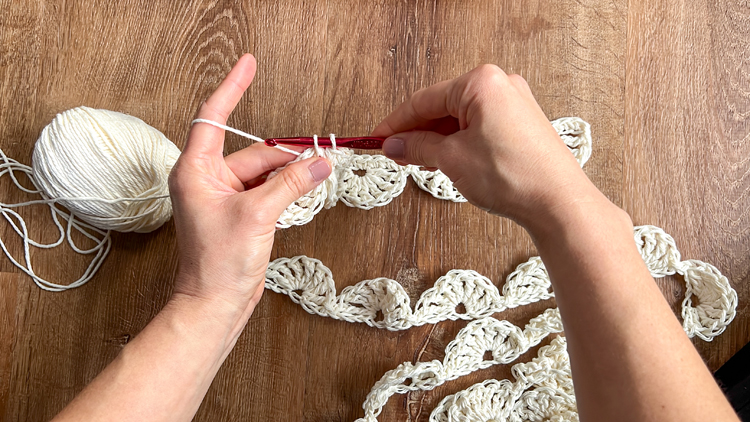
Ch. 1 and then sc into the tops of the scallops. For best results, work 3 sc before the scallop center hole, then 1 sc into the scallop center, then 3 sc after the scallop center hole. Work 1 sc in between each scallop, and repeat for the rest of the garland.
It can be a little confusing where exactly to work your stitches, so I show you which loops to work in, in the video tutorial.
When you get to the last scallop, add one more sc after the regular 3 sc for a total of 4.
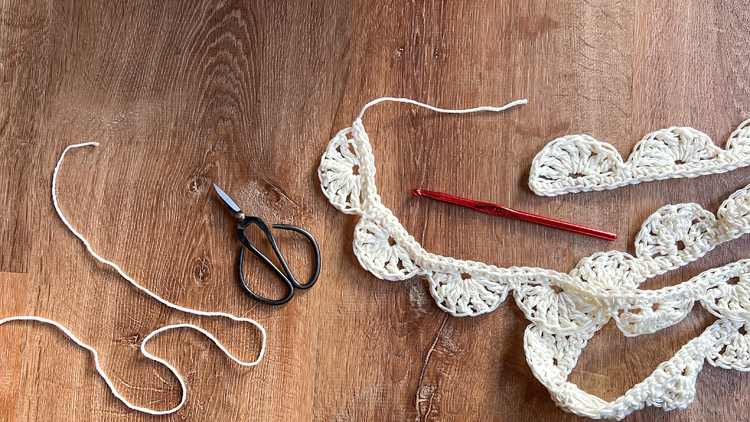
Tie off your end. I like to work a chain at the end for extra security.
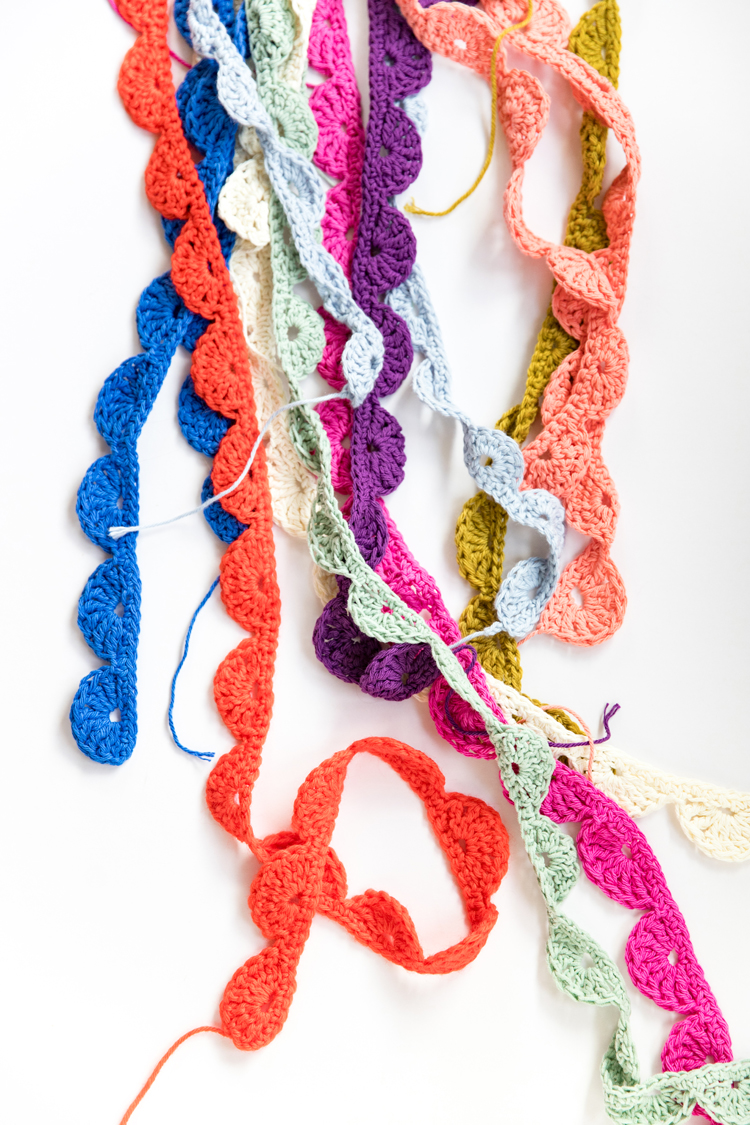
You can weave in your ends for a cleaner look… I almost didn’t because the ends often get tucked away anyway when hung up. It’s really up to you.
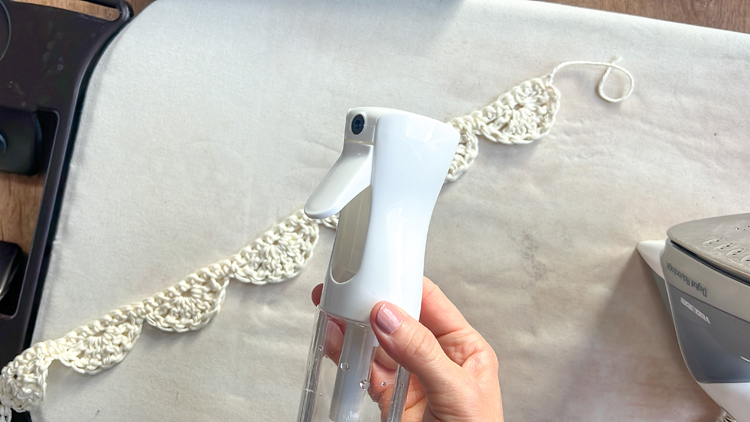
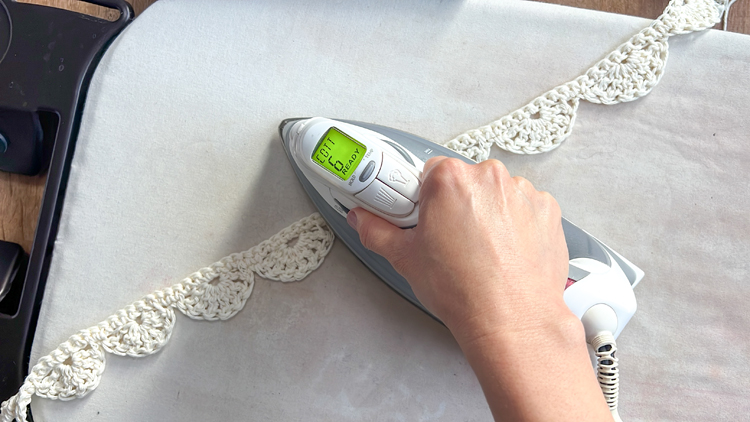
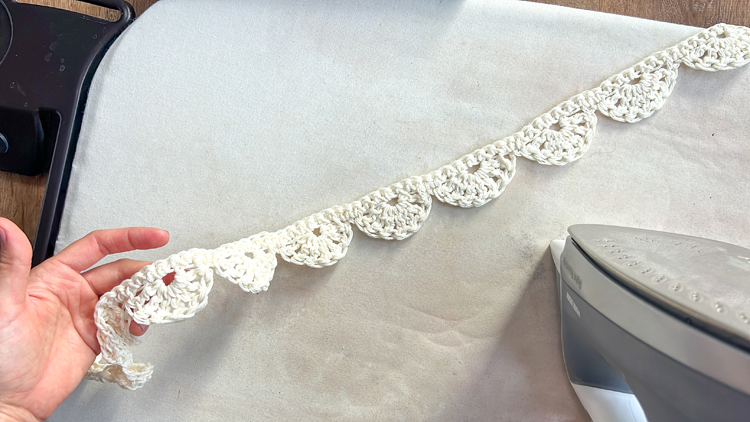
Press with an iron setting that is appropriate for your yarn material. If you are using a yarn blend that includes acrylic or nylon, I recommend using a pressing cloth so that it won’t melt to your iron.
In some of my garlands I use spray starch to add extra stiffness. This is optional. I used just water this time and the garlands look great.
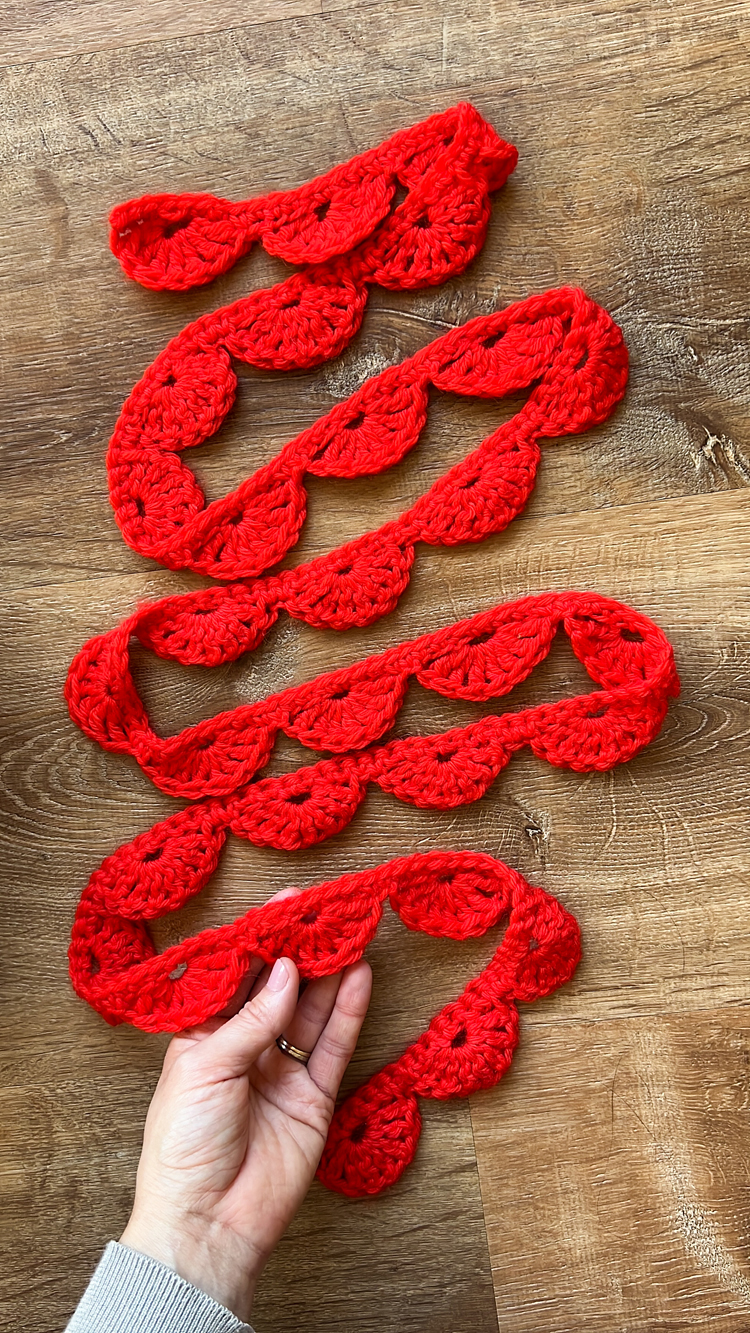
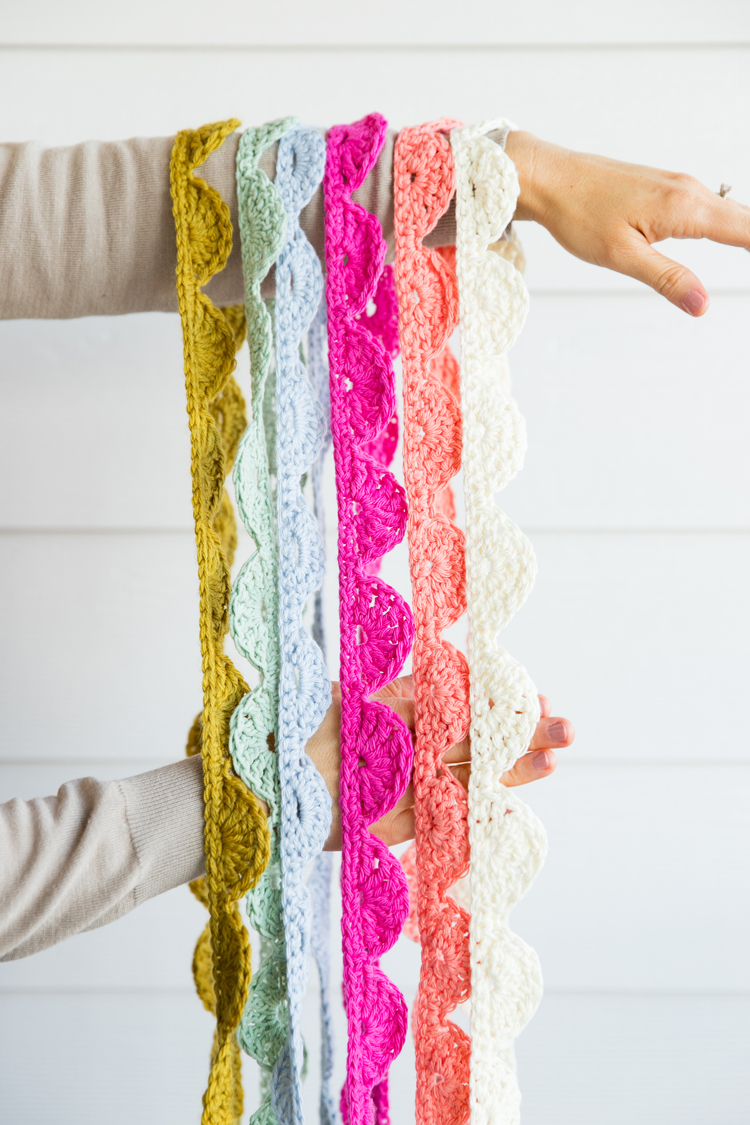
That’s it! Make one, or a bunch of colors…
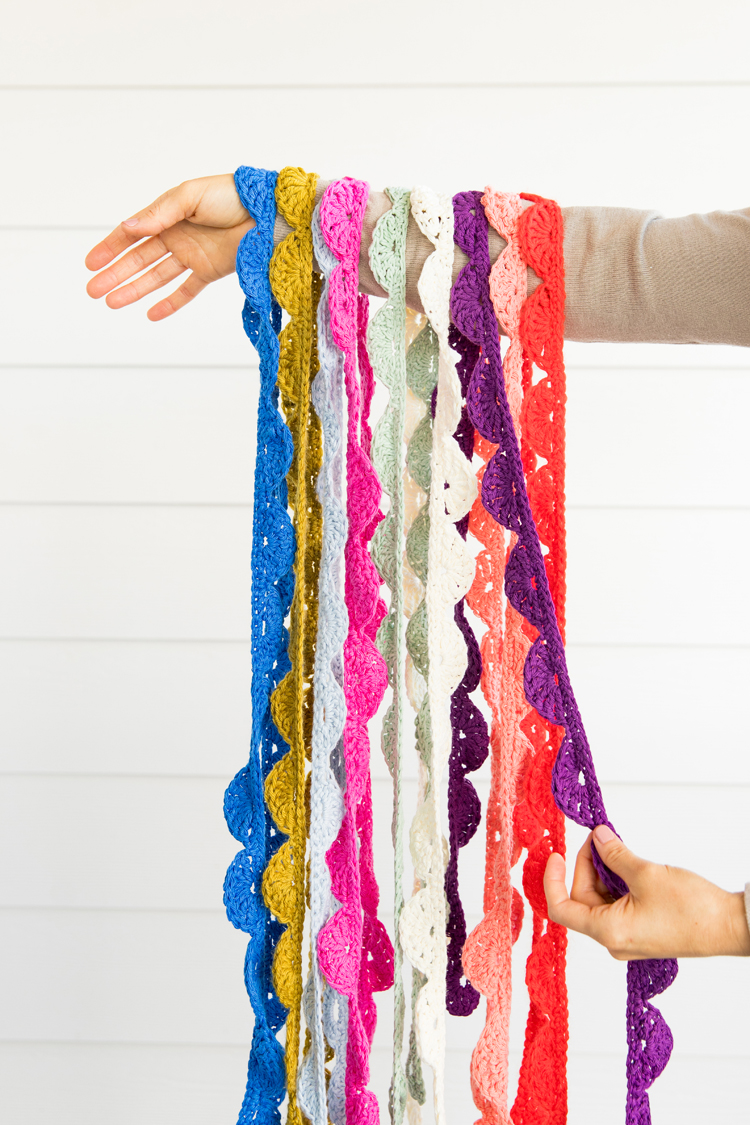
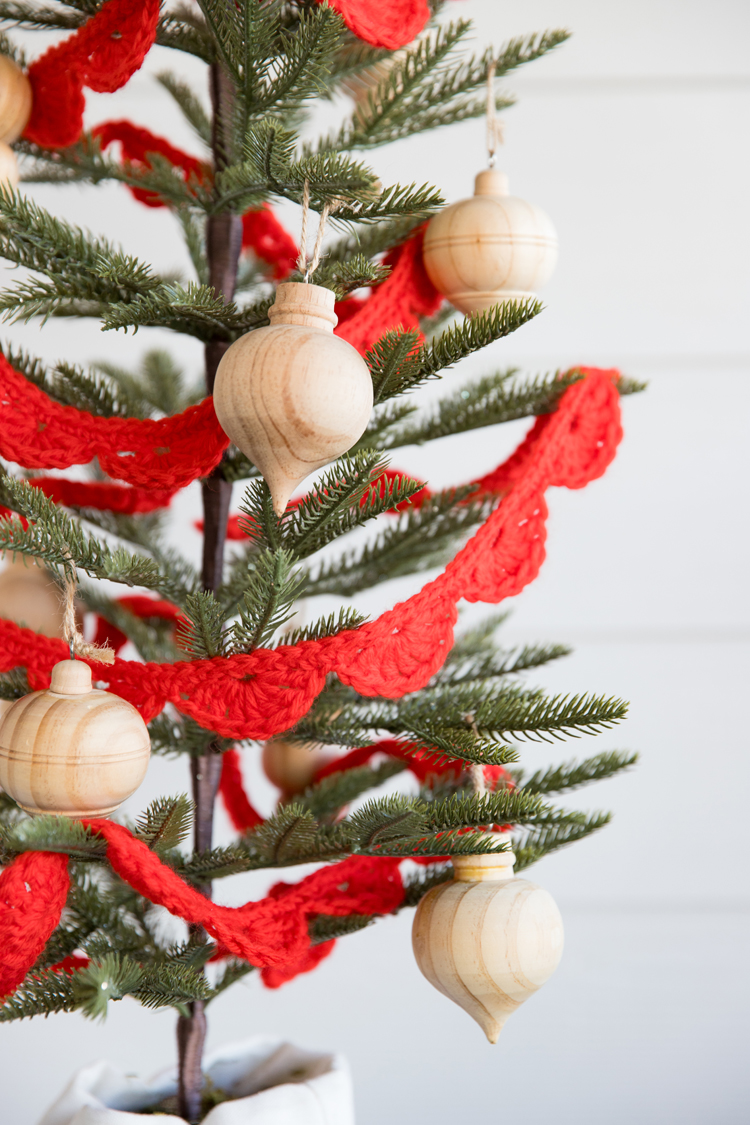
Hang them for the holidays…
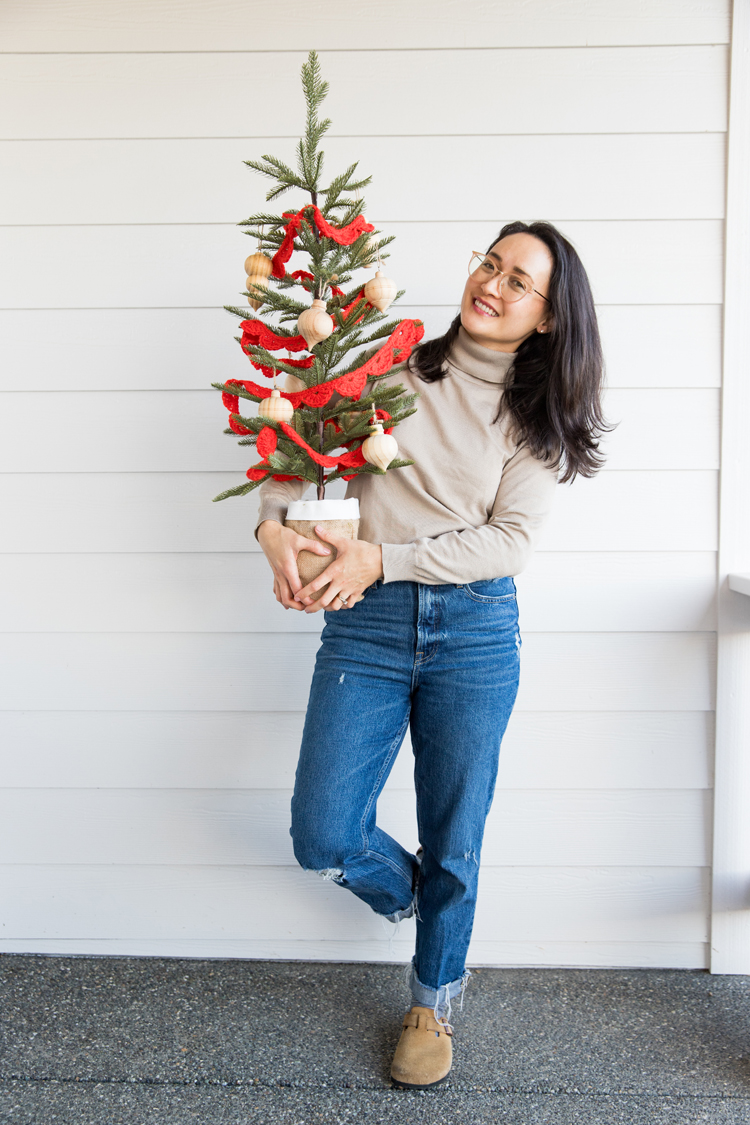
(Can you tell I’m not an early Christmas decorator as evidenced by the decorating of the mini tree rather than getting out my big one? Ha…)
or whatever occasion you want!
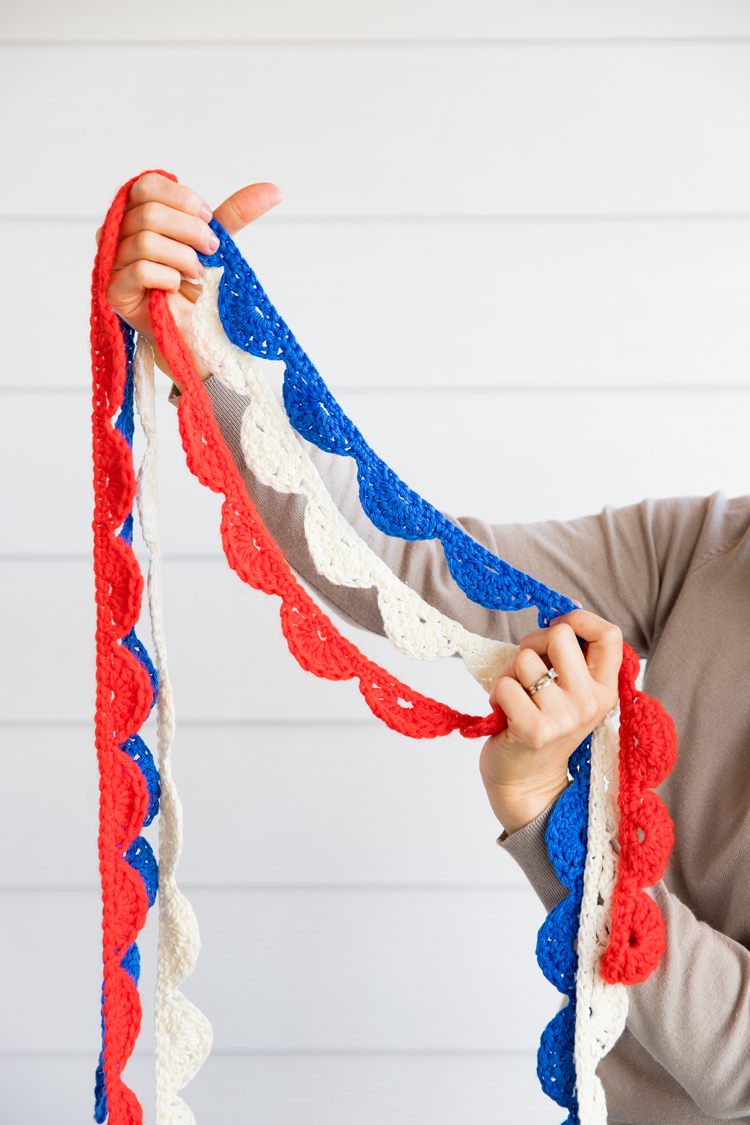
For more crochet garland tutorials, check out my chunky crochet garland, my popcorn and cranberry garland, or this string of hearts.
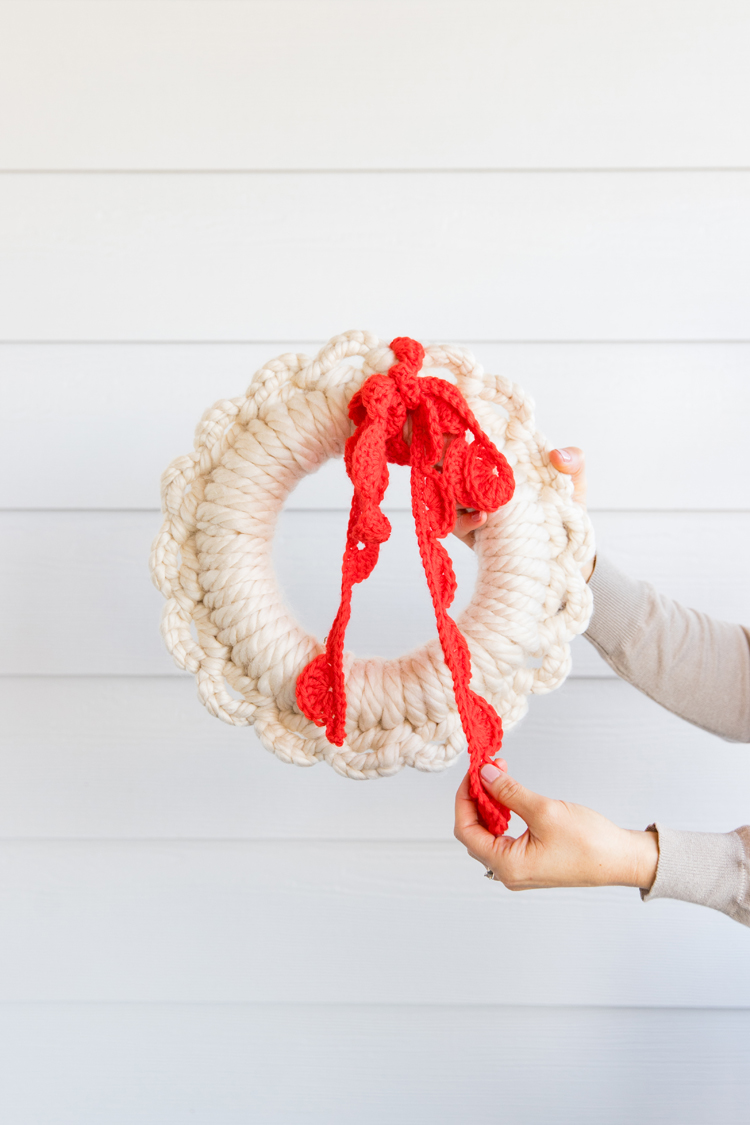
I tried tying one of the garlands onto this crocheted wreath I made a few years ago. I can’t decide if it’s cute or too scrappy.


Thanks for sharing!
Thank you for sharing this – my 11 year old is new to crocheting and I have no idea what to do/how to guide her. She’s decided to have a go at making this garland for her room. xxx
You’re so welcome. That makes me so happy to hear!