When it comes to Halloween decor, I’m definitely in the cutesy and only slightly spooky camp. I also have a twisted fixation with spiders and spiderwebs for decor…but you know, the cute-ish, kind. 😉
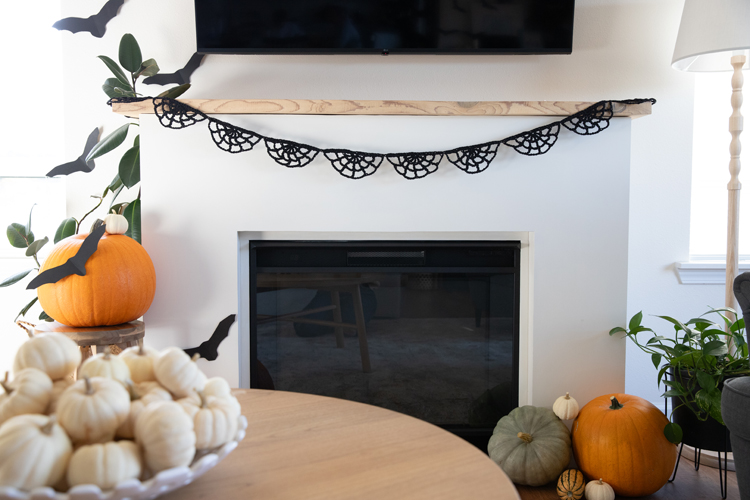
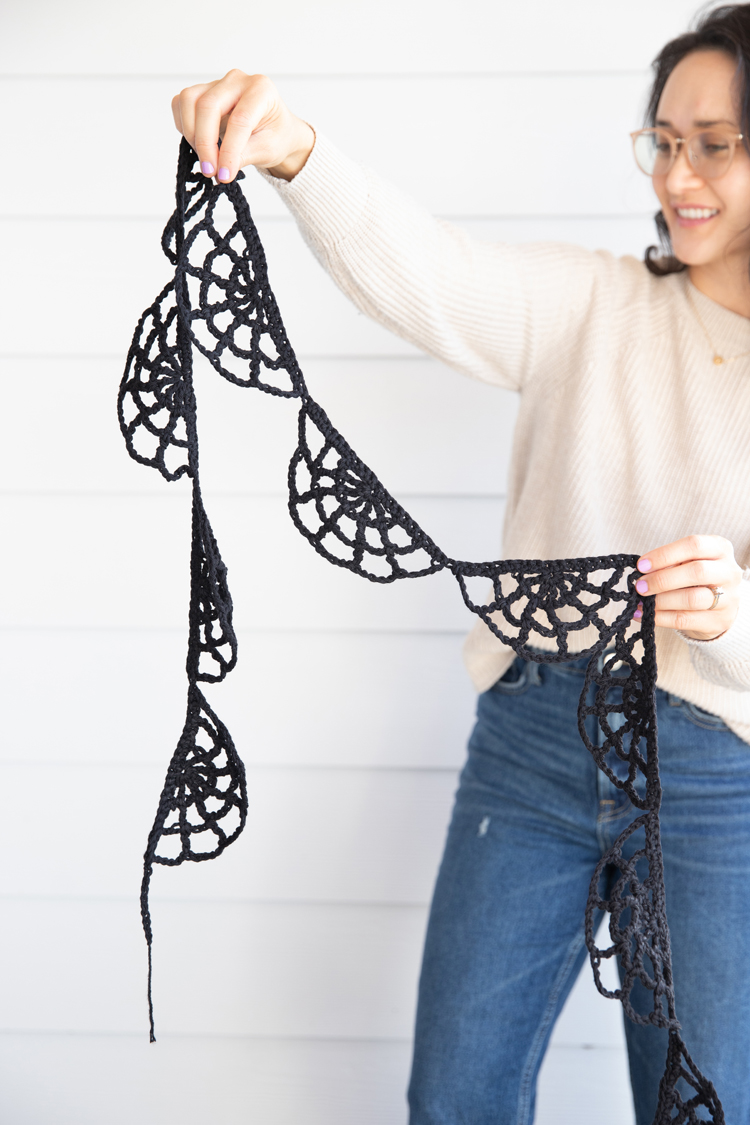
Case in point: this easy crochet spiderweb bunting.
It’s an easy, beginner friendly project that uses just chains, single crochet, and triple crochet!
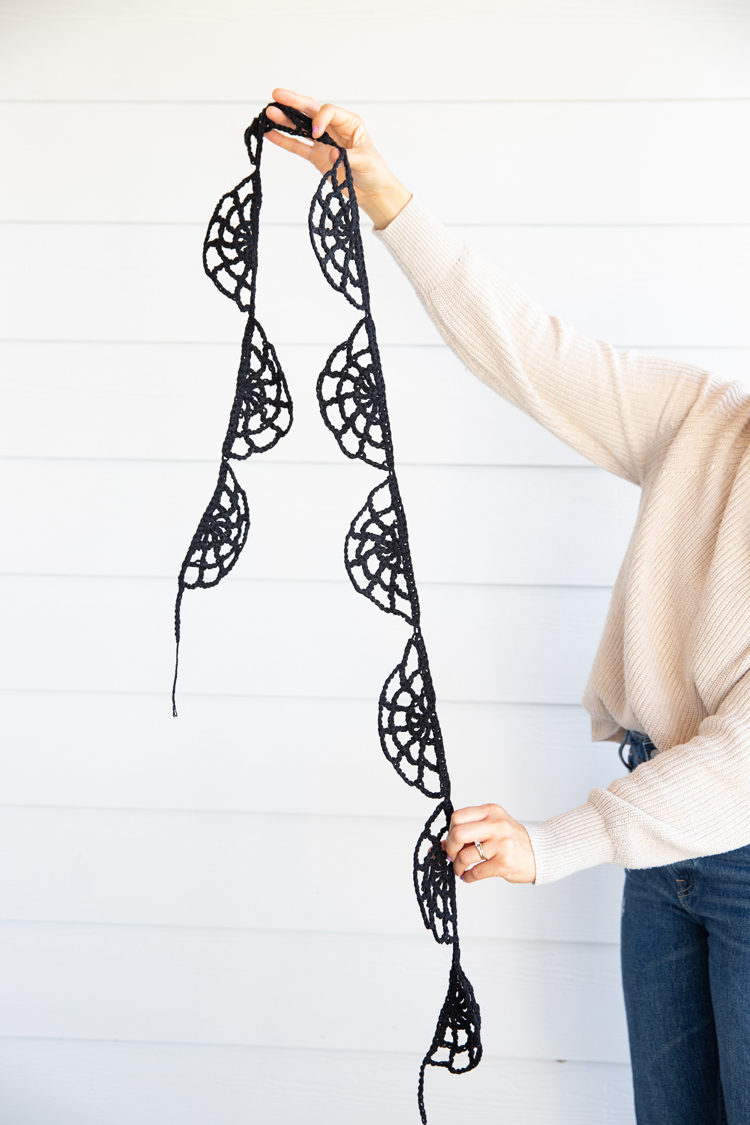
I know…triple crochet? I hardly ever use that stitch because it creates a fabric that is too airy and open. For these webs though, it’s perfect!
If you have never triple crocheted, the video tutorial walks you through it.
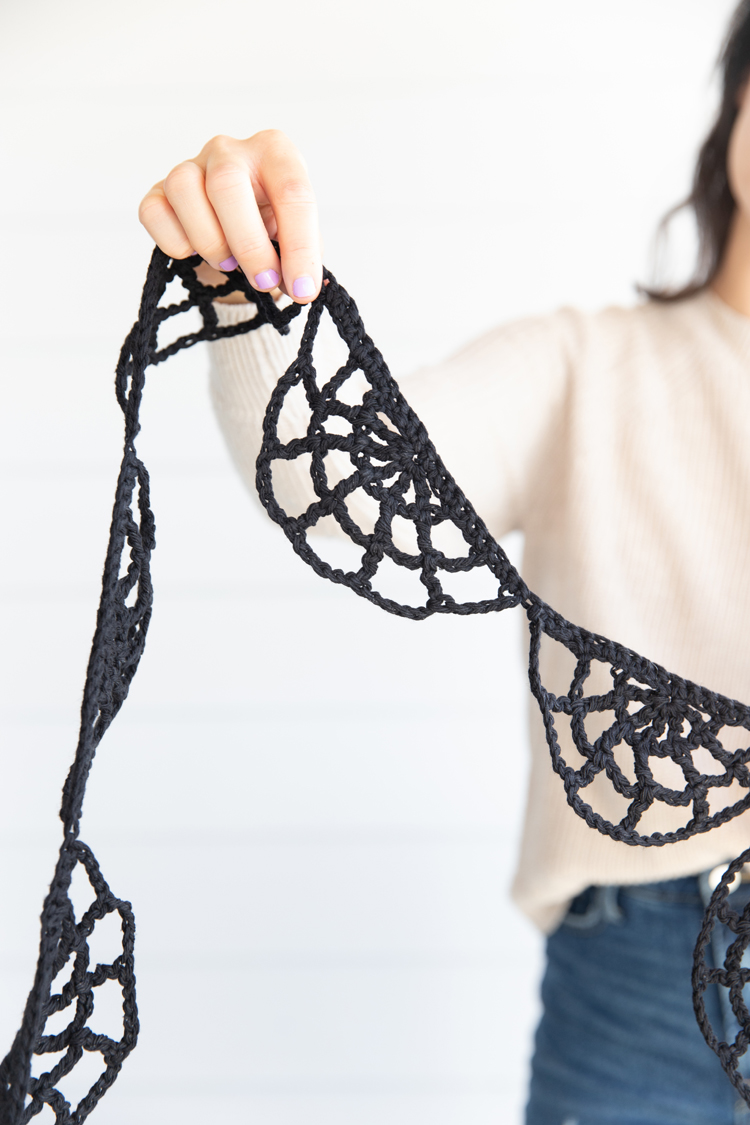
If you need more beginner instruction in general, I also have a Crochet Basics Series.
(BTW… I use U.S. crochet terms. If you use U.K. terms, this is the equivalent to a double treble crochet.)
MATERIALS
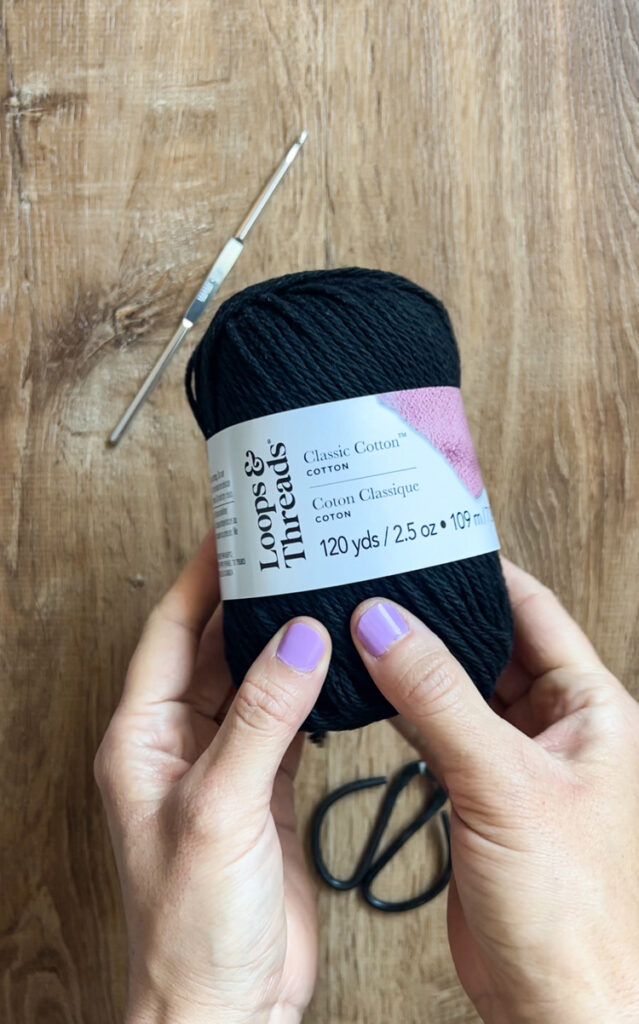
- Worsted weight (category 4) cotton yarn*
- 4.5 mm hook**
- Scissors
- Optional: regular laundry spray starch and iron
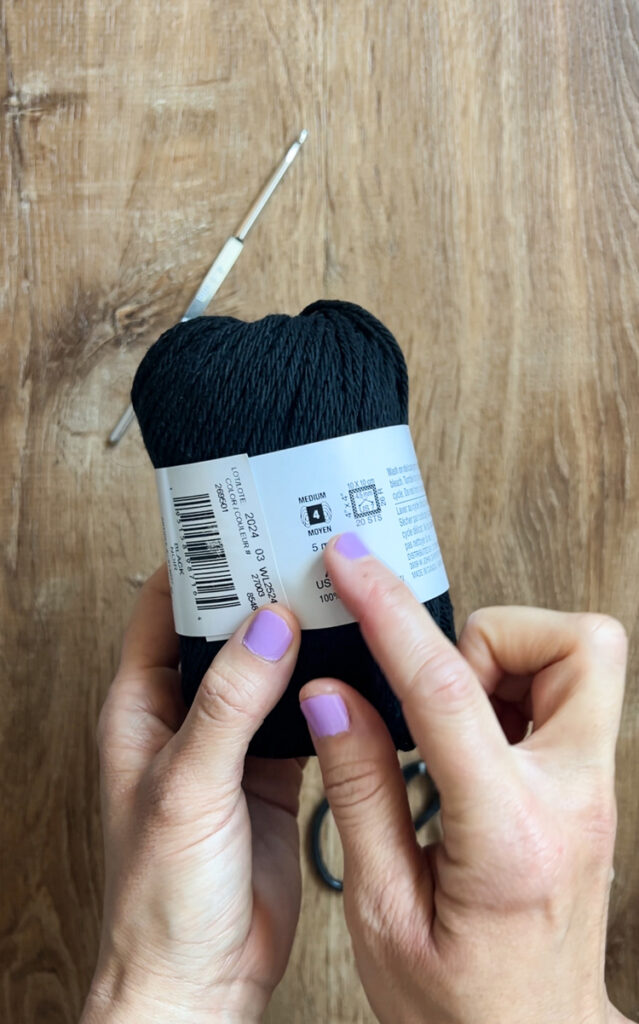
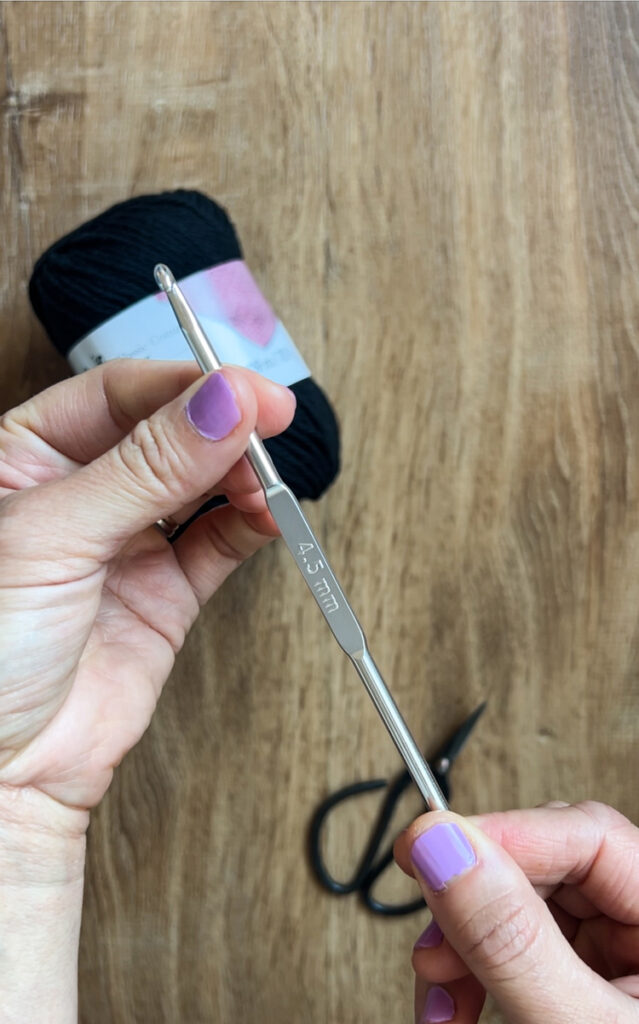
Material Notes
*I used about 45 g or 75 yards of black Loops & Threads Classic Cotton yarn from Michaels to make a 5.5 foot bunting (see the sizing section for more info). Any worsted weight cotton yarn will work. If you choose to use a blended yarn or another type of fiber, the look and size of the webs will change. You may need to change your hook size and it may not lay as nicely as the thick, stiff cotton yarn.
**I used a 4.5 mm hook with only a metric label and no letter sizing, but this should be the same as a G/7 hook. Because the sizing of this project is flexible, feel free to go up or down a hook size if it’s what you have on hand. Just be aware that doing so may change the size of the webs and the length of the bunting.
GAUGE & SIZING
Gauge is really difficult to assess and it’s very flexible since this is decor, so I list the size of the spiderwebs to help you know what to expect and to help you plan for how long you want your bunting.
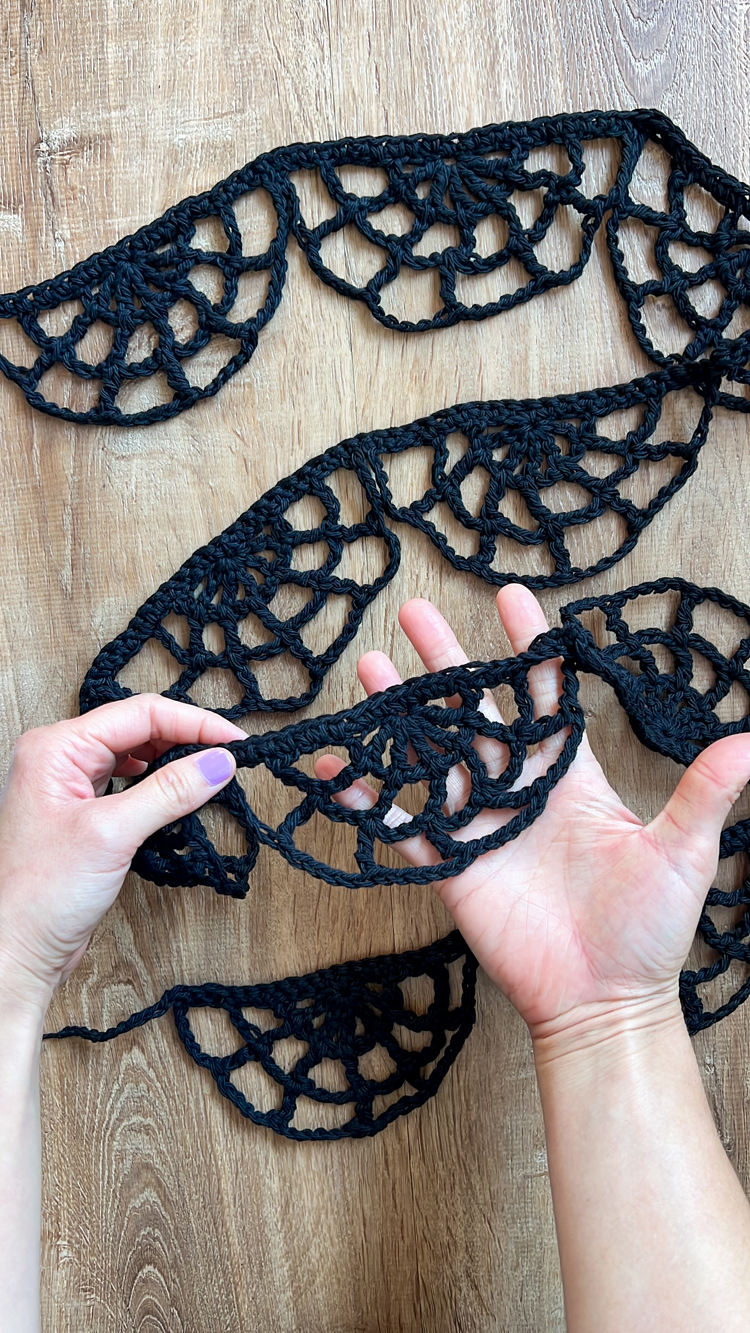
Each spiderweb after being crocheted into a bunting (this helps stretch and stabilize it) is about 3 inches tall and 6.5 inches wide. I used ten spiderwebs which created a bunting about 5.5 feet long.
Each spiderweb weighed about 3.5g before joining, but more yarn/weight is added as it gets crocheted together.
ABBREVIATIONS
- ch = chain
- sc = single crochet
- tc = triple crochet
Note: I use U.S. crochet terms.
VIDEO TUTORIAL
The video should have already started playing in a pop up video on the top or side of your screen. If it hasn’t, it should play under this heading. Please remember that ads will play before the tutorial begins. If you “x” out of video, thinking it’s just a pop up ad, you have to refresh the page in order to get the tutorial video to pop back up.
Music is by Pleasant Pictures Music Club.
WRITTEN PATTERN & TUTORIAL
Spiderwebs
Note: Each web is worked in arched rows.
If you need more instruction on how to triple crochet, see the beginning of the video tutorial.
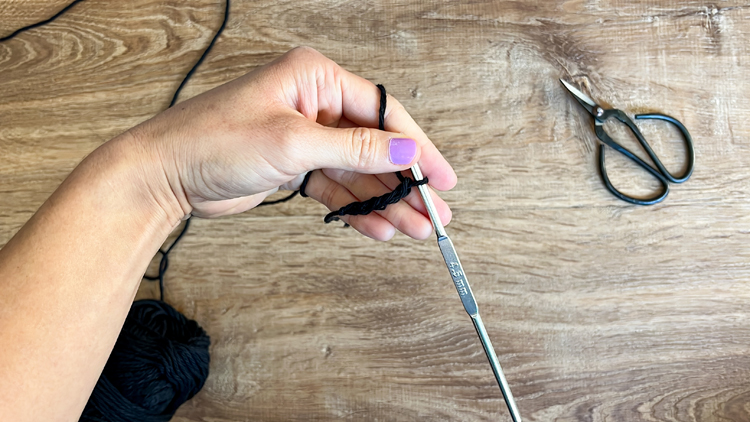
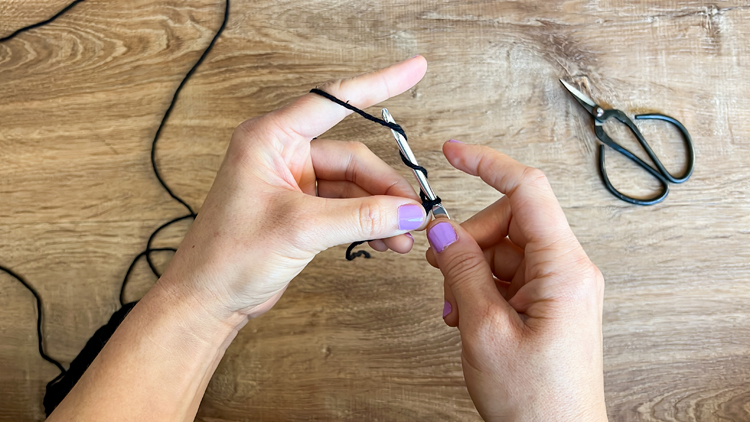
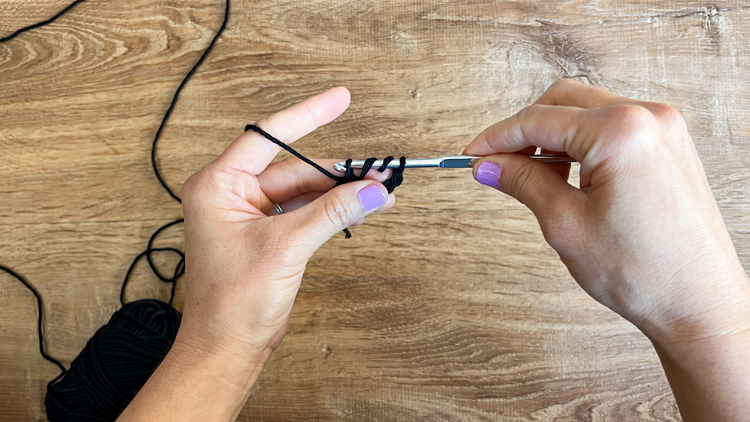
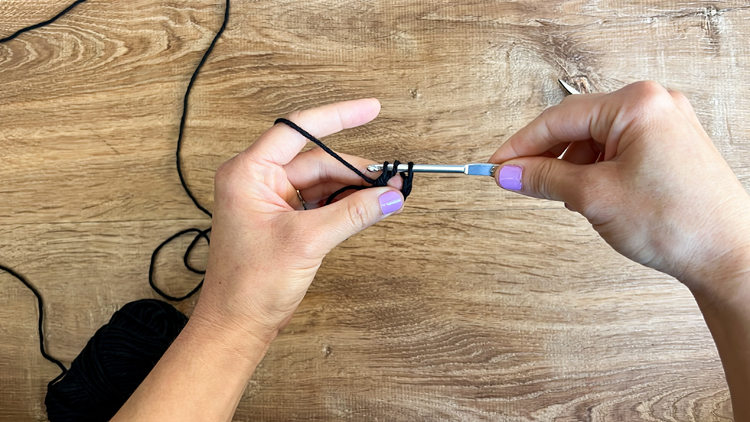
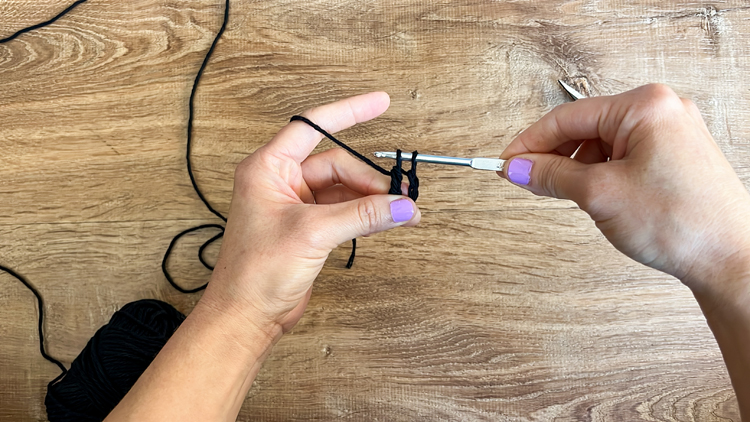
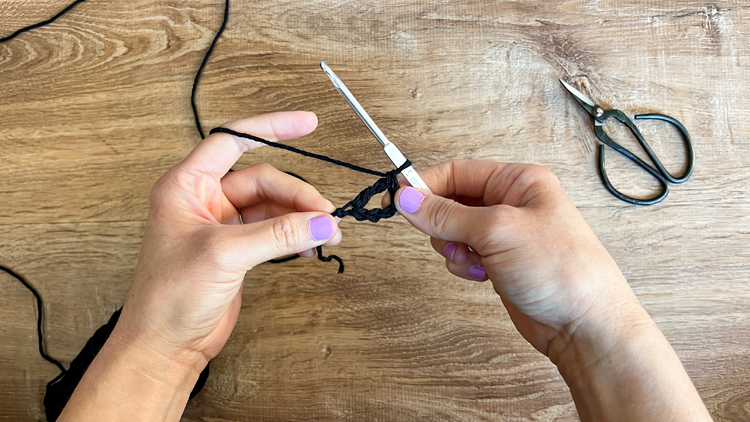
Starting with a short tail, tie a slip knot.
ROW 1: Ch 5, tc into first ch. *Ch 1, tc into first ch.* Repeat from * to * five more times. (You should now have 7 tc with 1 ch in between).
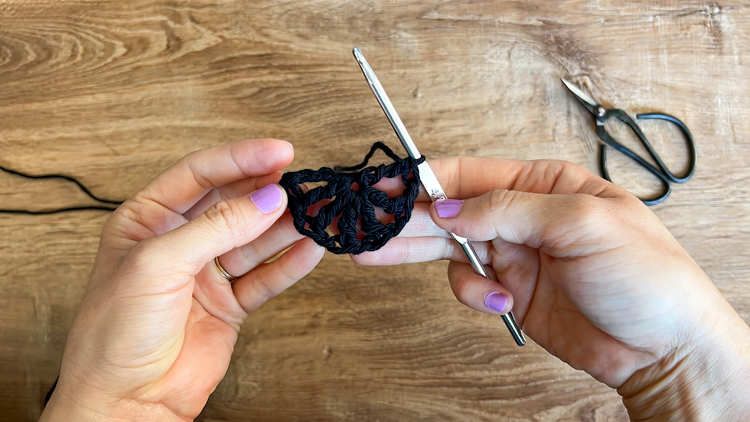
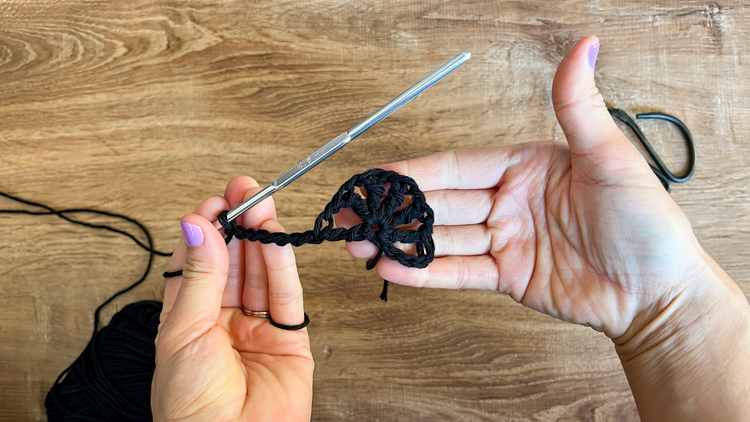
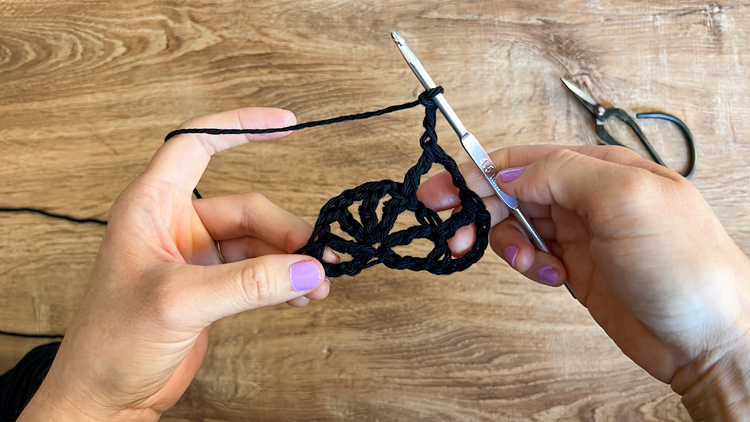
ROW 2: Turn, ch 6. Tc into the top of tc from previous row. *Ch 3, tc into next tc.* Repeat from * to * four more times. Ch 3. Count 3 ch up from the base of the starting chains from the previous row, and tc. (7 tc, with 3 ch in between).
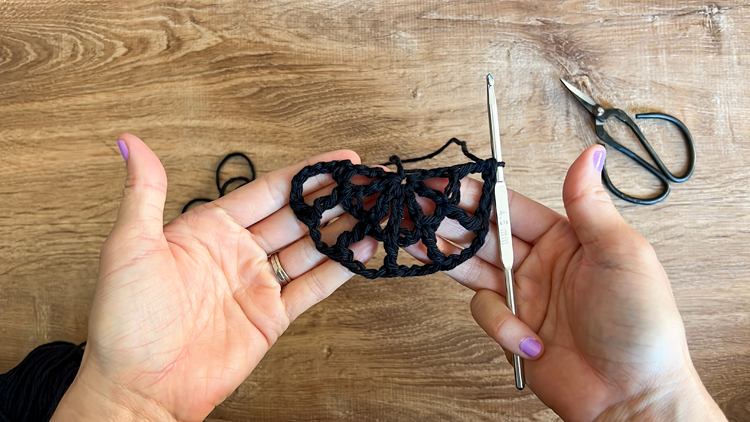
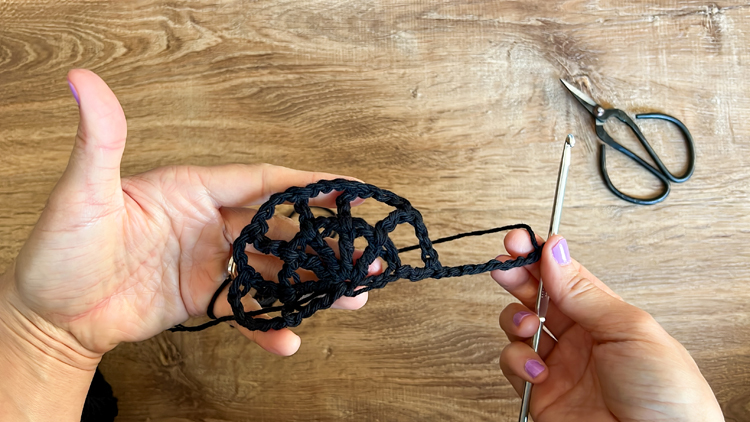
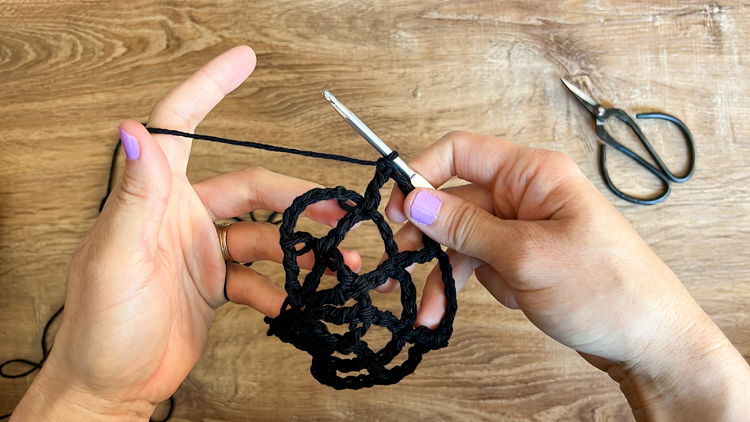
ROW 3: Turn, ch 8. Tc into the top of tc from previous row. *Ch 5, tc into next tc.* Repeat from * to * four more times. Ch 5. Count 3 ch up from the base of the starting chains from the previous row, and tc. (7 tc, with 5 ch in between).
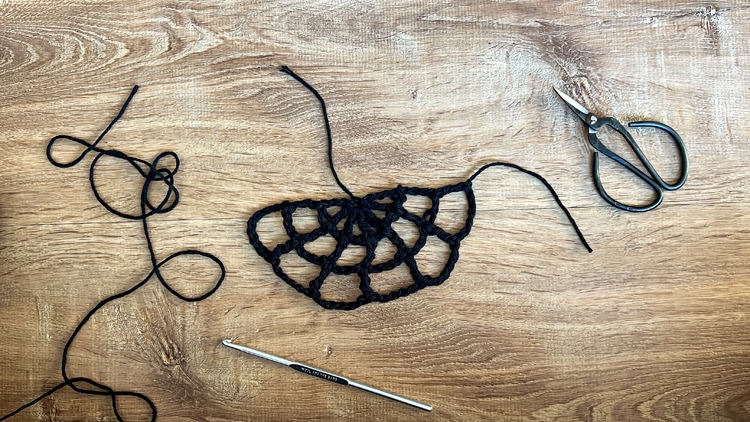
Cut a 2-3 inch tail and tie off end.
Optional: You can make spiderwebs as large as you want. To increase, add 2 chains to the starting chain and 2 ch to each chain space per row. I prefer the size of 3 rows for a bunting.
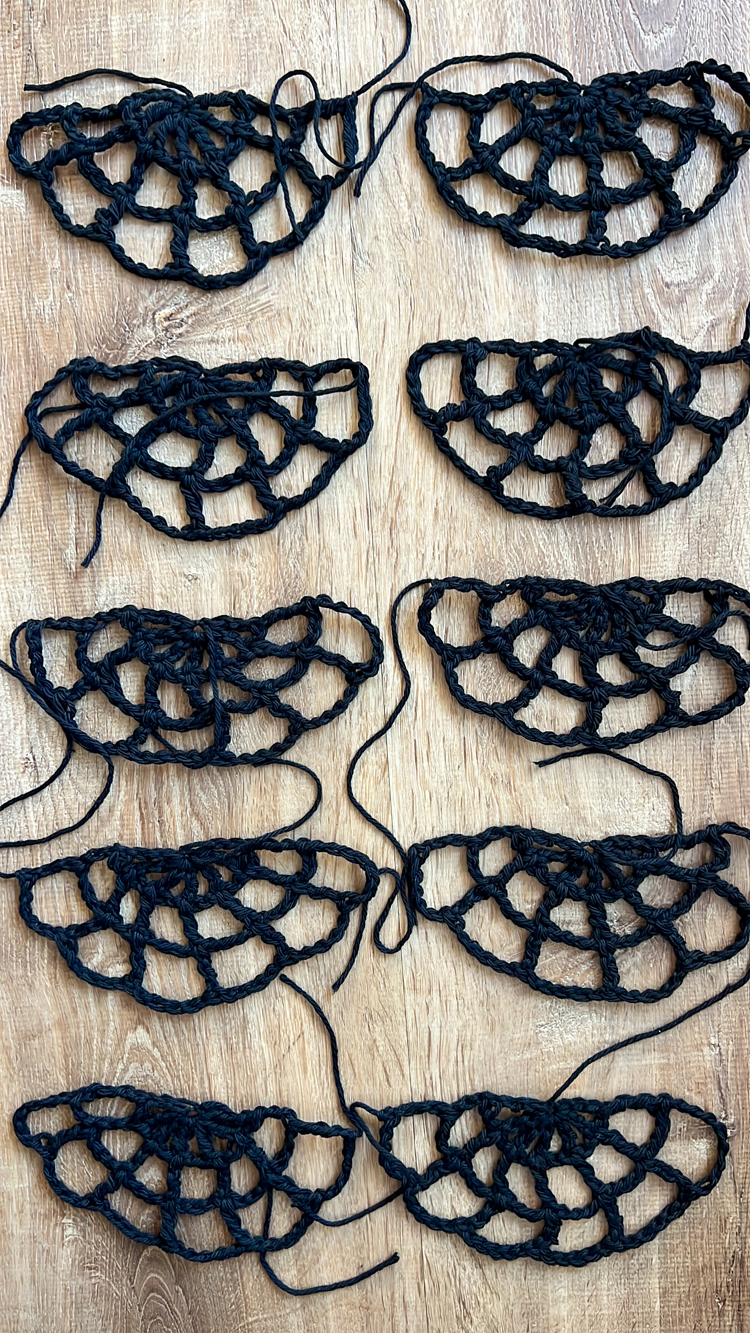
Create as many spiderwebs as needed to get the length of bunting you desire. I made a total of 10 to create a 5.5 foot long bunting.
Joining Spiderwebs
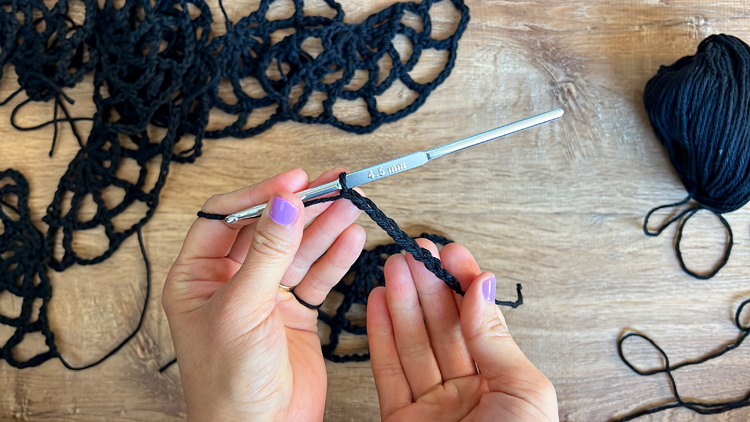
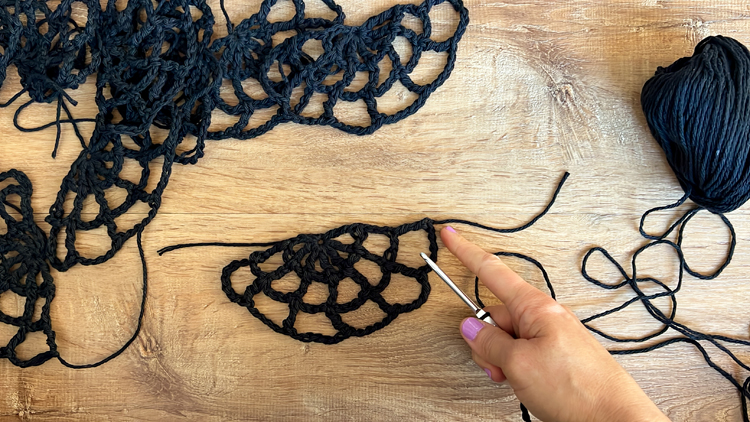
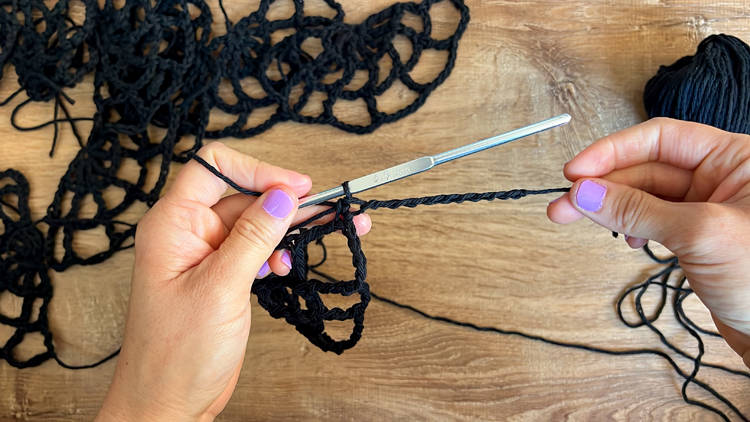
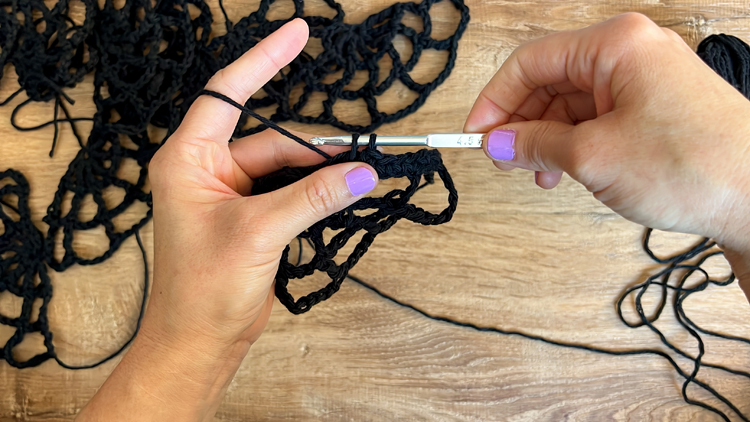
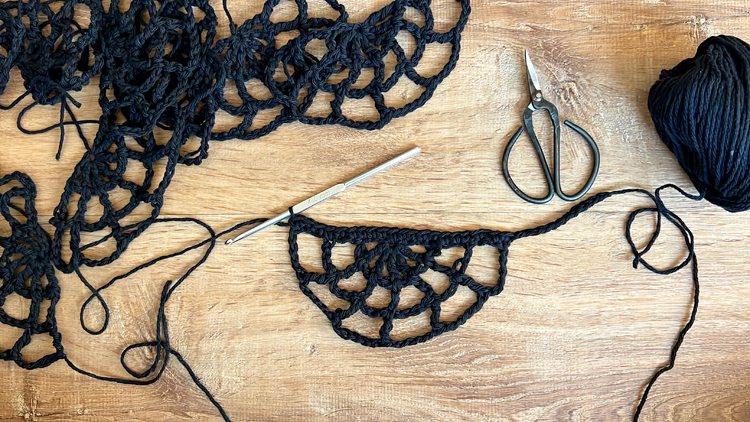
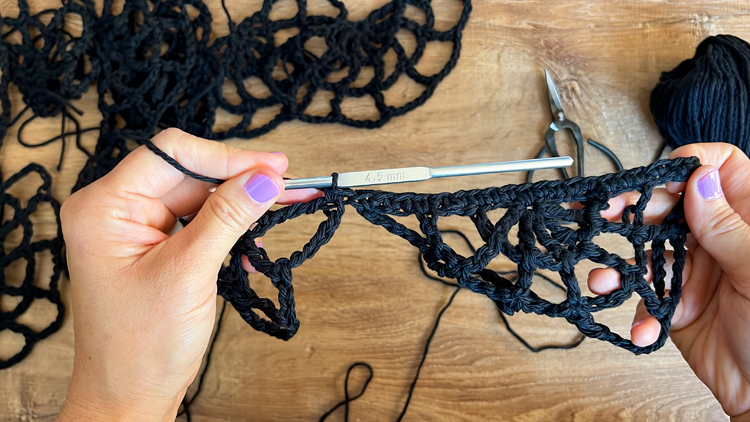
- Ch 10 (or whatever you prefer to start and end your bunting with).
- Insert your hook into the last stitch of the 3rd row of one of the spiderwebs (not the starting chain side). Yarn over and pull up a loop. Then complete a sc.
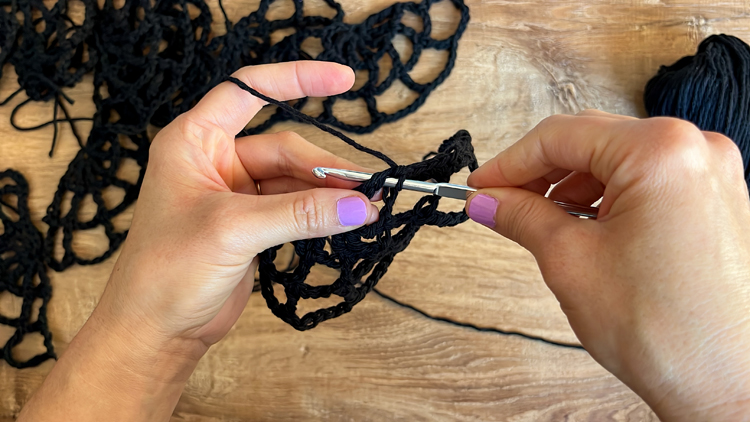
- Sc into each ch and stitch along the top of the spiderweb. As you sc, place the tails over the top of your spiderweb so that they get enclosed in your stitches and you won’t have to worry about weaving them in later.
- Be sure you work 3 sc in the last section of the spiderweb, it’s harder to tell how many to work because it’s the side with the starting chains.
- To add another spiderweb, simply insert your hook into the the end of the 3rd row of another spiderweb. Pull up a loop and continue sc across. (P.S. Notice how working into the top of each spiderweb helps improve its shape and look).
- After your last spiderweb, end with 10 chains or a mirror of what you worked at the start of the bunting.
- Tie off your end, and you’re done…almost!
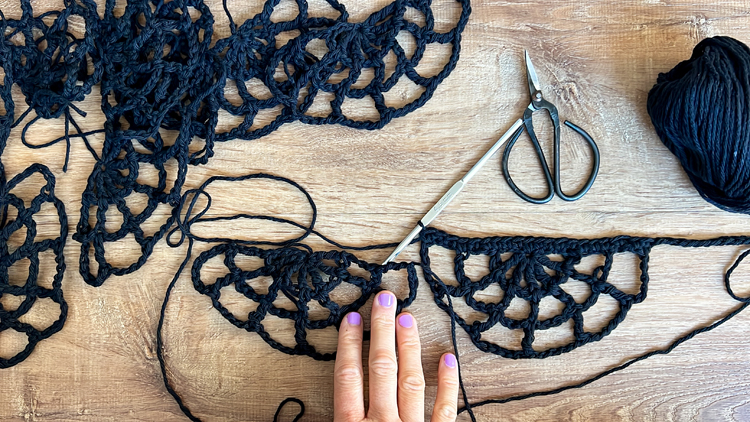
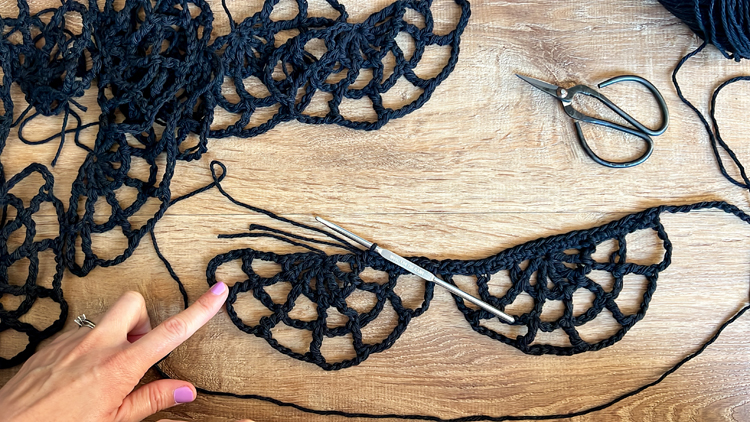
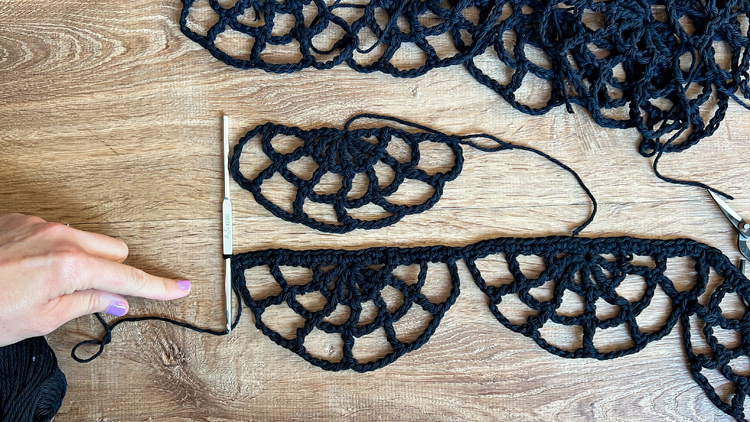
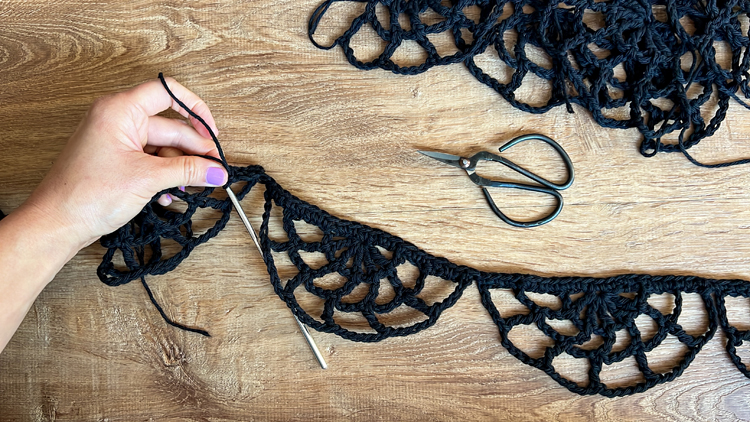
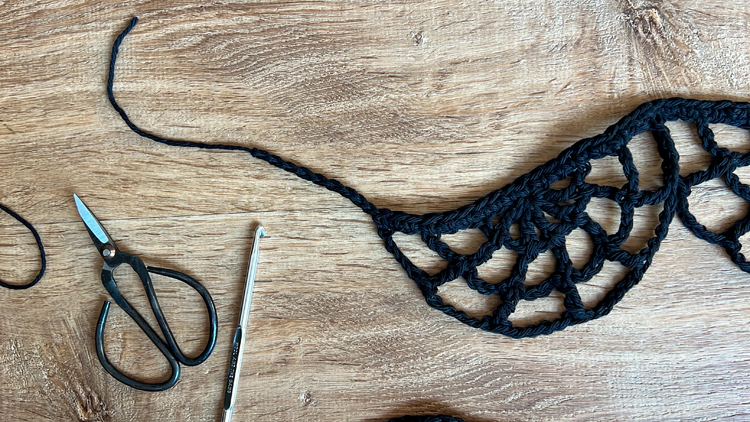
Optional, but recommended: Spray with some starch (the regular starch spray that comes in the laundry aisle) and iron on a high/cotton setting. This helps smooth out and stiffen up your garland.
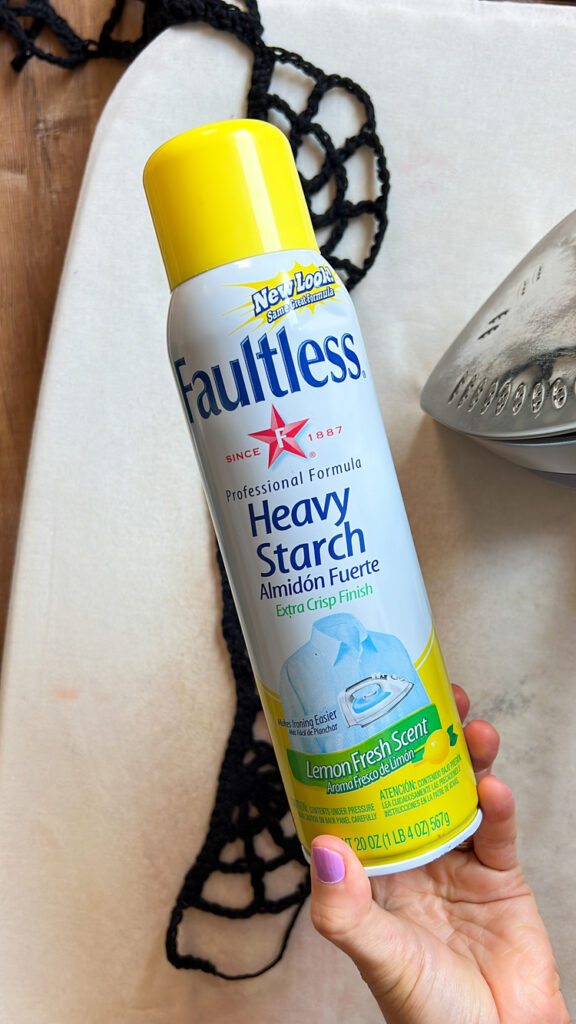
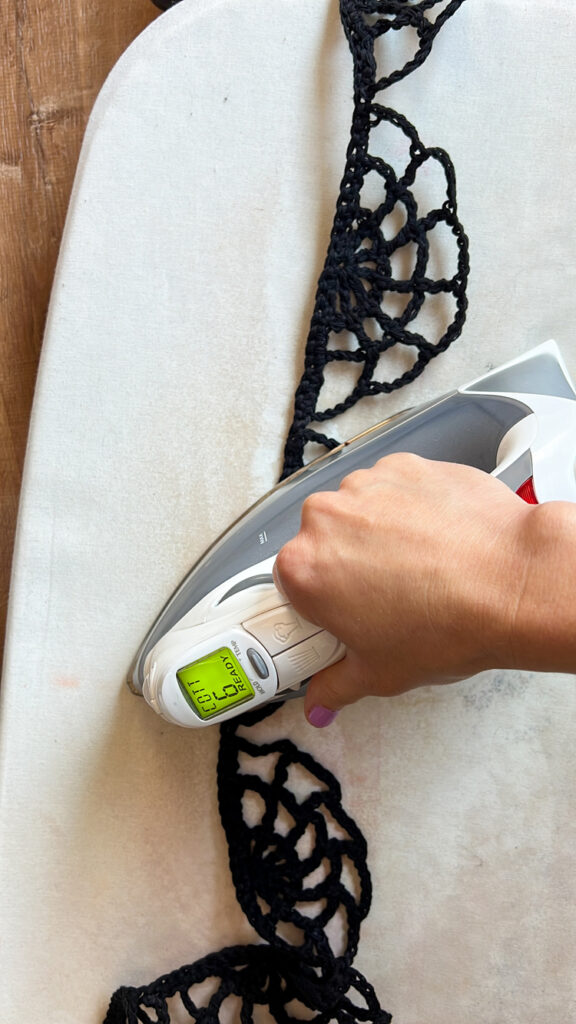
Optional optional ;)…You can skip the starch, which adds minimal support. Simply ironing it helps block it into shape and is better than not ironing it.
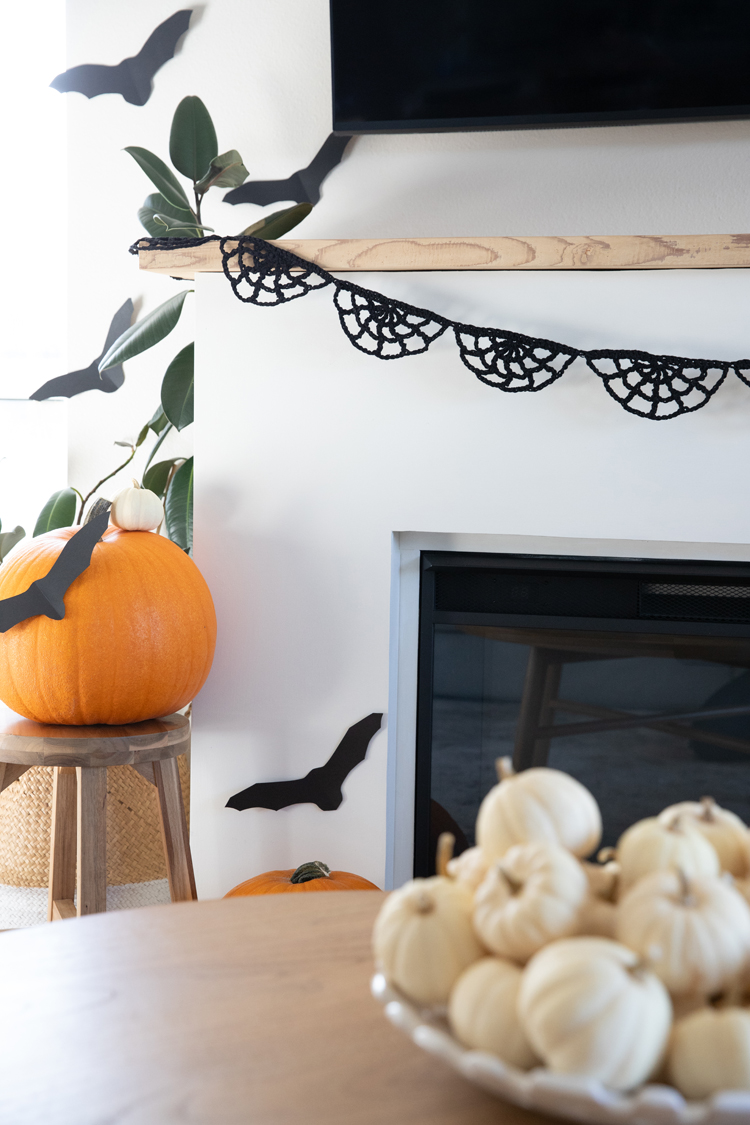
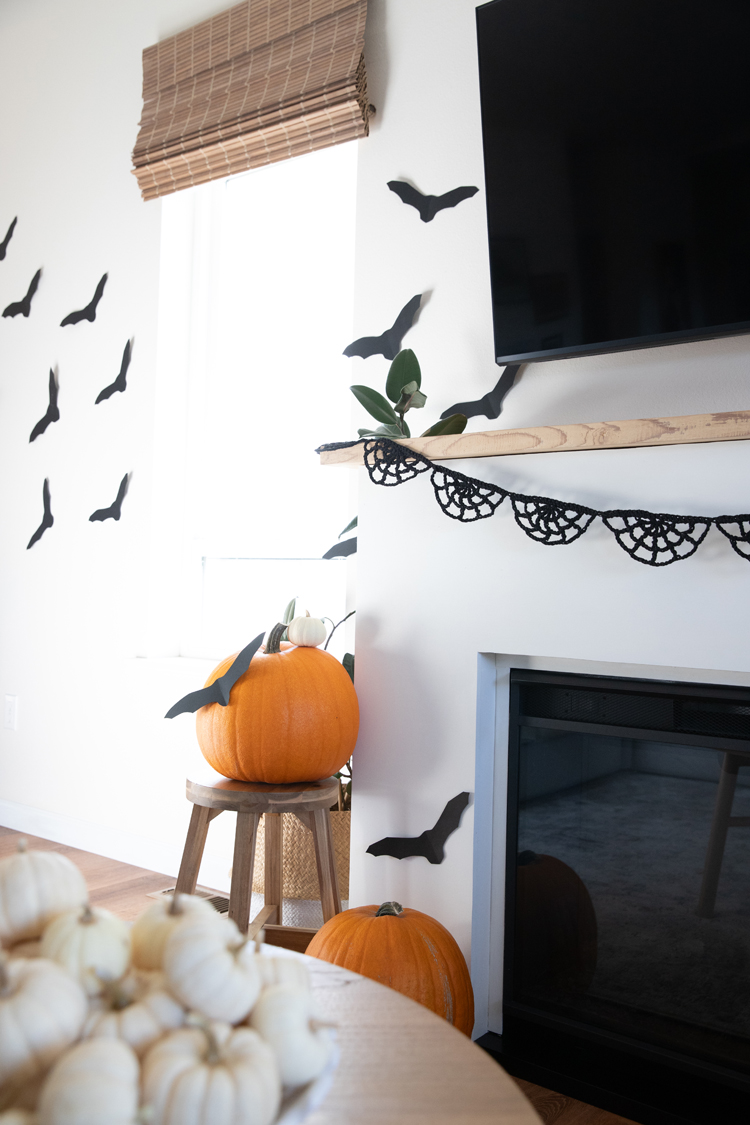
Hang with your Halloween decor and enjoy!


Do you have written instructioins without pictures or video I can use without internet?
I do not at this time. I’m sorry. You are welcome to copy and paste the written portion into a word document for personal use only.
love it!!!
I absolutely loved making these! Thanks so much for the pattern.
I would like to thank you for this post and video ! I’m new to crochet and you explained really well! and I love you explain each step in written and in pictures! it must have taken so long!
I wish you lots of success!
PS: as I was not sure how to “force” going into the triple crochet of the first row while I was doing my second row, I decided to “play it safe” and went into the first space, and on and on, so my second row had 6 spaces; and I did the same with the third row, which had 7 spaces again 😉 Only the last stitch I made in the 3 rd crochet, to “fix it” and works well too.