With summer coming to a close (and the kids back in school!) I’m trying to cross more garden projects off the list. Today I’m partnering with Signature by Levi Strauss & Co. for my latest project: an EASY garden bench tutorial. (There’s video too! Scroll down.)

I have been wearing and collaborating with Signature by Levi Strauss & Co. for years now because they make denim that I genuinely wear and buy, whether I am working with them in a sponsored capacity or not. I like that their denim is not only cute and affordable, but it’s comfortable enough to keep up with me in all the running around I do as a mom and creator. These Shaping High Rise Super Skinny Jeans are almost as comfy as leggings and are my new favorite go to pair!
As a company, they have been so supportive of me and the DIY content I share. They are a brand that supports creators and a diversity of voices. I’m pleased to be working with them to promote their back to school styles (moms need back to school clothes too!) and to share this project I have had on my to do list for awhile.
I wanted benches for my garden fire pit that were simple to build and backless so it wouldn’t obstruct the view of my beloved arched bean trellises. These are versatile, durable, and *simple* to make because I’m a beginner wood-worker myself.
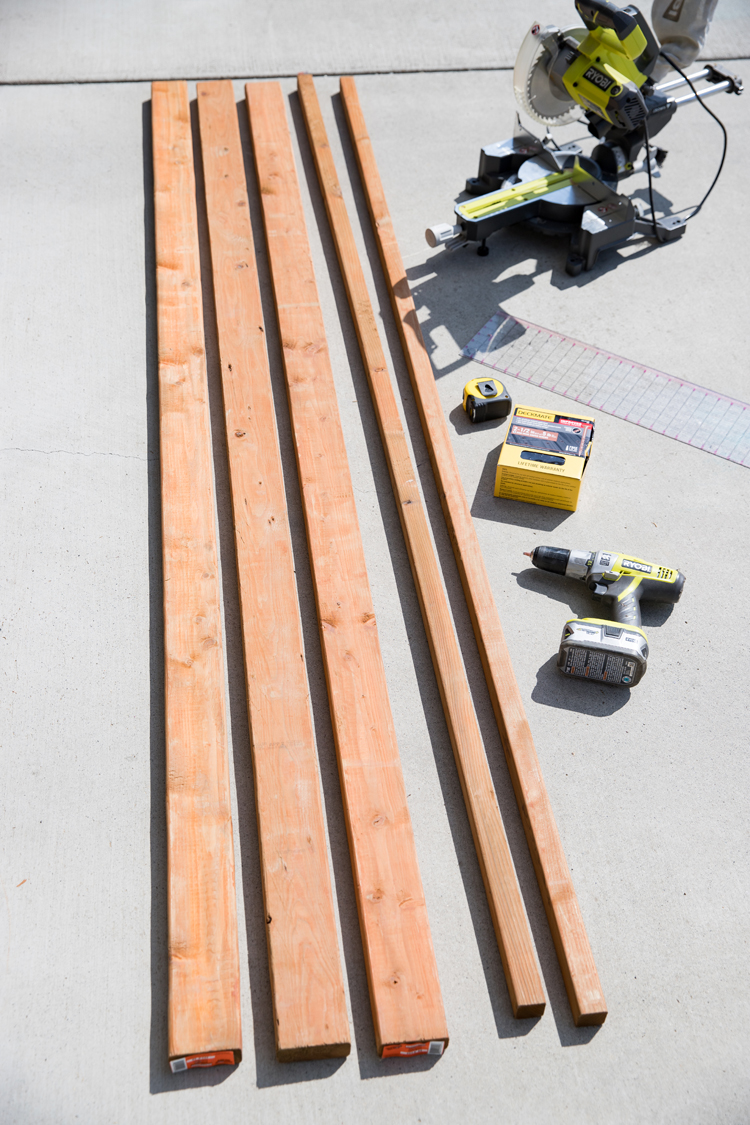
All you need is some pressure treated lumber, screws, and basic power tools (if you don’t have a miter saw, you can use an inexpensive handsaw and a miter box).
And the plans/measurements are FREE! If you need an easy, super sturdy, 4ft. long bench for about $50*…look no further!
*I didn’t price out pressure treated lumber pre-pandemic, so I don’t know how much this price reflects the bloated price of lumber lately. Fingers crossed this could require even less money to make in the future. (This estimate is also pre-tax.)
MATERIALS & TOOLS
- Pressure treated lumber: three 2x4x8, two 2x2x8* per bench
- Outdoor wood deck screws – 2.5 inches long**, 38 screws per bench
- Measuring tape, pencil, and quilter’s ruler (they are the BEST tool imo!)
- Power drill/driver
- Miter saw or hand saw with miter box
- Sand paper – 80 grit
- Level
- Outdoor paint or stain*** and brushes/rollers
Material Notes:
*I tried to economize the amount of lumber used, while simplifying the cuts and tools needed and not compromising the sturdiness of the benches. If you are making at least four benches like I did here, you can save yourself a little bit of money and buy one less 2x2x8 and you’ll end up with a nice sized 2×4 scrap you can use for another project.
*I used “outdoor select” pressure treated lumber (without the indentations) from Home Depot. The 2 in. x 4 in. x 8 foot long boards were $10.68/each and the 2x2x8 boards were $5.98/each. It is vital to use pressure treated lumber so that it will hold up outdoors in the weather.
**Even though the boards are listed as 2 inches thick, they are actually about 1.5 inches thick. To ensure the screws will create durable connections between two boards, a combined 3 inches, I used 2.5 inch long screws. I made sure to use wood deck screws rated for outdoor use and I chose screws that require a star bit. I find that they drive in easier and strip less often. A star bit is usually included in the pack, so you don’t have to worry about buying another tool. I found a 5 lb. bulk box of screws for just over $30, which gave me way more screws than I really needed. If you are making one or two benches you can buy a smaller pack for about $10. Please note that these prices are estimates, because what I found online was more expensive than what I was able to find in stores.
***If you want to keep the color of the pressure treated wood, then you will only need a matching stain to protect the cut ends. I wanted to paint mine black to match my greenhouse, so I opted for an exterior paint. The paint is more expensive than getting a small can of stain to touch up ends, and therefore makes the benches more like $55-60 depending on the type of paint you get.
FINAL DIMENSIONS
The finished bench measures 4 feet long, 17 inches wide, and just under 18 inches tall.
VIDEO TUTORIAL
Scroll past the video to watch the tutorial while you read. The video should pop to the side or top of your screen.
WRITTEN TUTORIAL
STEP ONE: Cut the lumber.
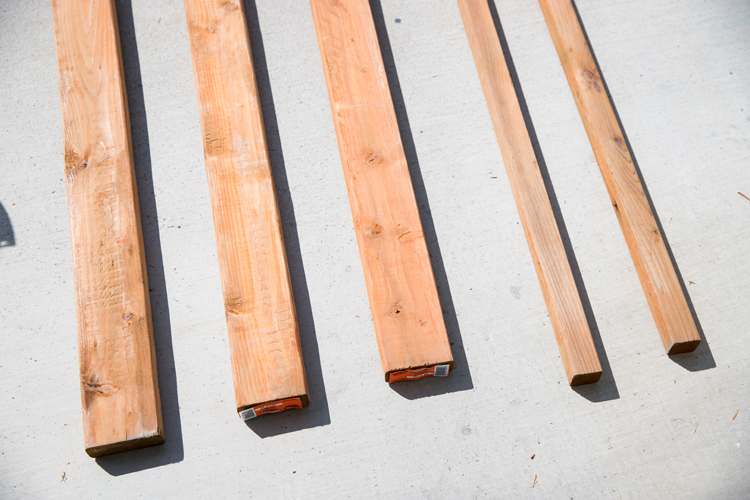
Cut two of the 2x4x8 pieces in half so that you have four 2x4x4 pieces. This will create the seat of your bench.
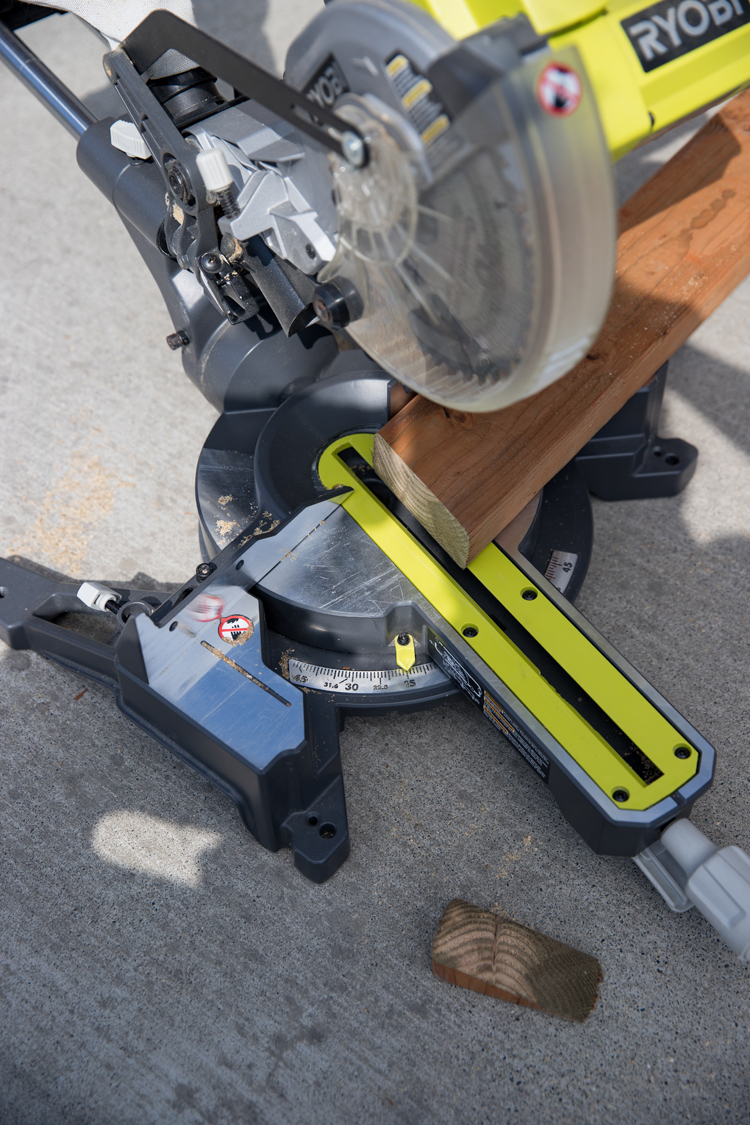
Cut the remaining 2x4x8 into angled legs. Cut one end at a 15 degree angle. Then measure down the board from each end of the slanted edge at 17 inches. Cut again at a 15 degree angle. Repeat this two more times (using the cut legs as a template to speed things up), for a total of four legs. Note: Do not pre-measure a cut line every 17 inches and then cut them in succession because some of the wood is lost to the sawing process. To get precise measurements, I re-measure the next leg after every cut.
Cut the 2x2x8 pieces into: four – 13 inch pieces, four – 15 inch pieces, and one – 33 inch piece.
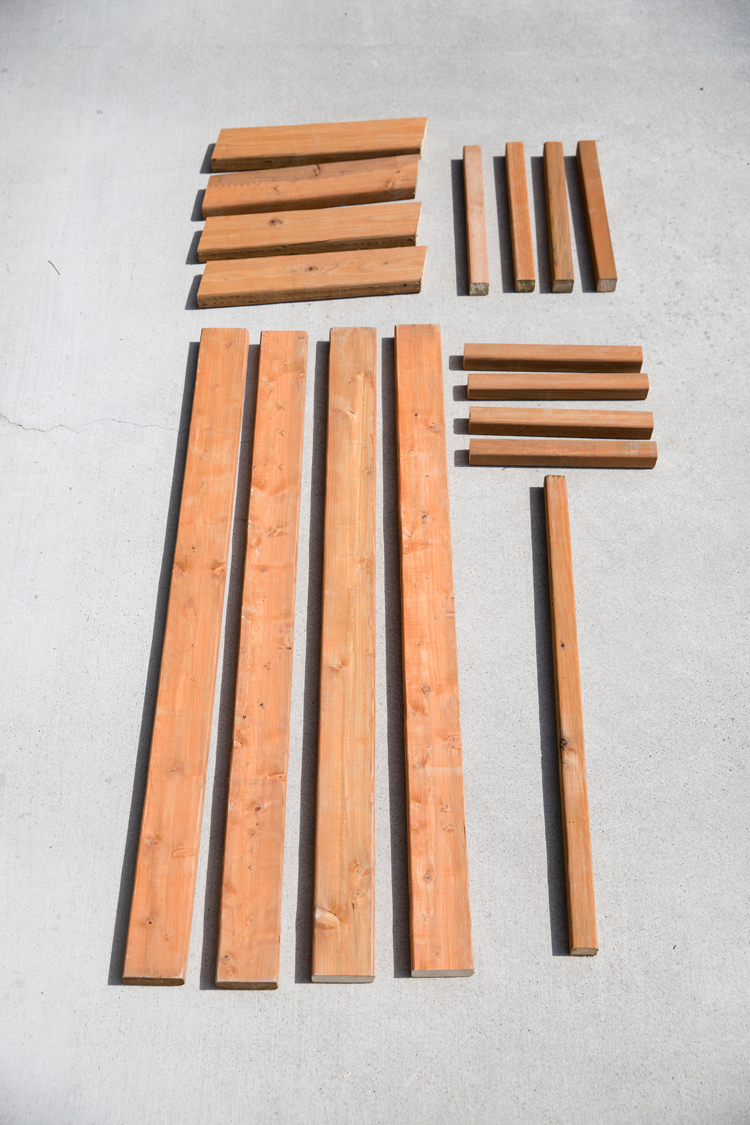
Easy to reference CUT LIST:
- four – 2x4x4 foot
- four – 2x4x17 in. legs cut at 15 degrees
- four – 2x2x13 in.
- four – 2x2x15 in.
- one – 2x2x33 in.
STEP TWO: Paint or stain the cut lumber.
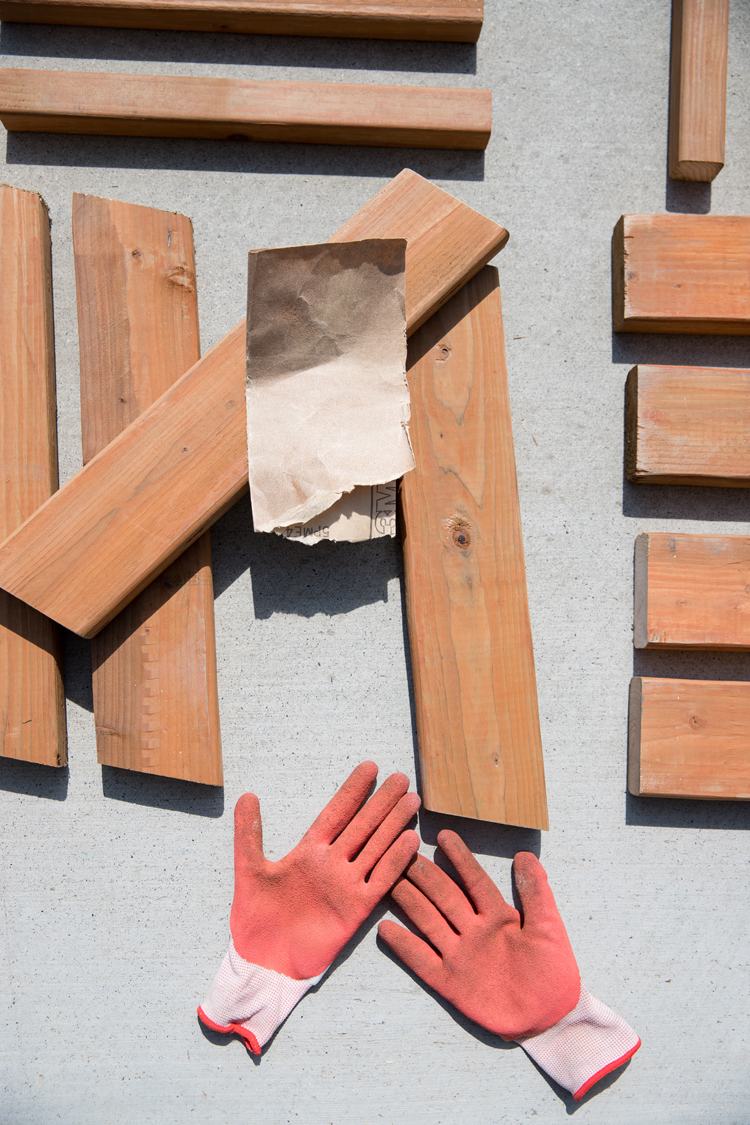
Prep the cut ends by sanding them with 80 grit sand paper. I wasn’t super diligent with this because they are outdoor benches. I just sanded them enough to buff away any rough cuts or sharp edges.
If you are staining the lumber, apply stain to just the cut/exposed ends.
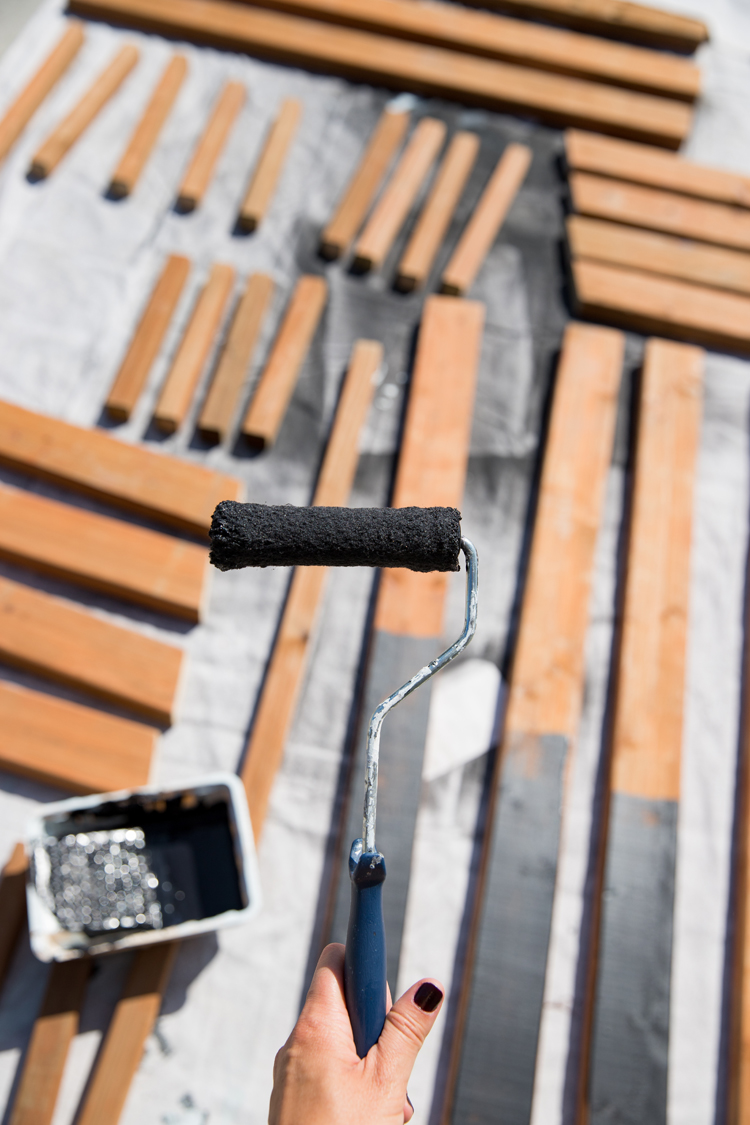
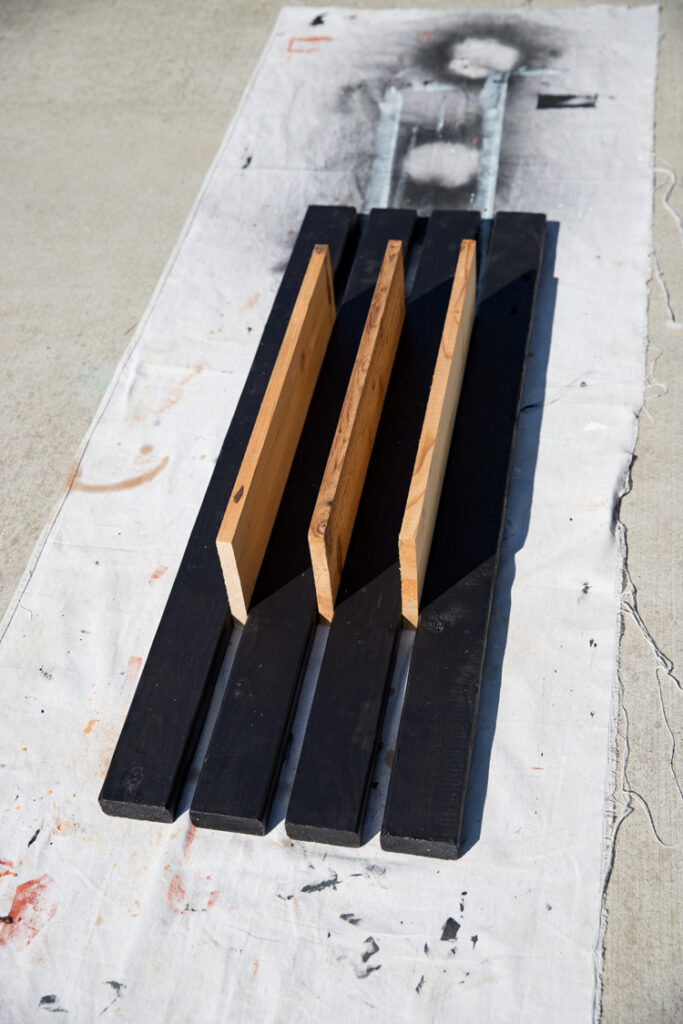
If you are painting it, paint all sides and ends with exterior paint. You could paint the benches after being built but I find that is more time consuming, messier, and doesn’t produce as nice of looking result. The plus side to exterior paint is that it dries fairly quickly. In fact, the directions say it only needs 60 minutes of drying time before it can get rained on. Once I had coated one side of all the boards, I was able to flip them and and coat another side. I simply laid all the pieces down on some drop cloth and didn’t bother with trying to prop them up off the ground.
If you use a premium paint, you will likely only need one coat at this step with a few touch ups here and there. I Behr Exterior Paint in black (literally just black ;)). Some of the paint does get marred during the building process, especially if you build it soon after painting, but that’s why I apply a final coat at the end to clean all that up. The second coat is quick and easy, because you don’t have to paint in the hard to reach crevices.
STEP THREE: Assemble the bench seat.
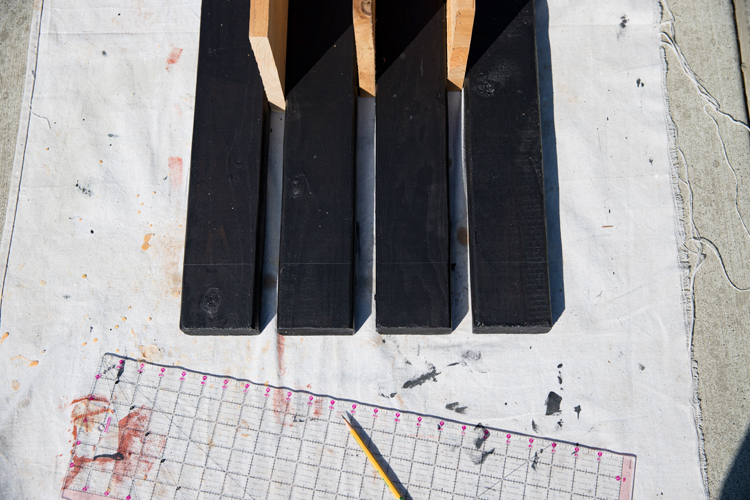
Lay the 4 foot long boards together, squared up with each other but 3/4 to 7/8 inches apart. I used fence boards as spacers because they were just the right width.
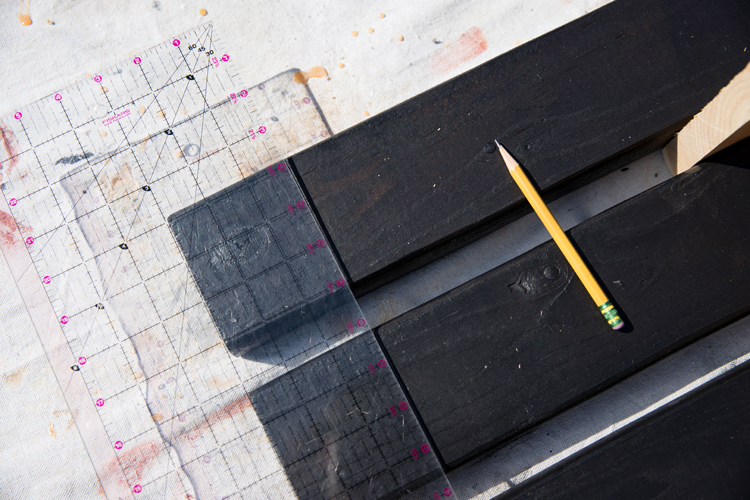
Measure 3 inches from each end of the bench seat and mark a perpendicular pencil line across all four slats. This is where the quilter’s ruler comes in handy. It allows me to see if the slats are lined up and square, as I mark my lines.
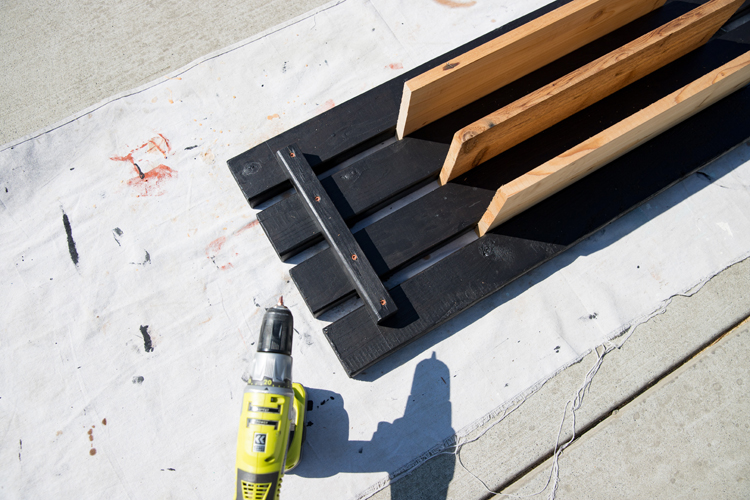
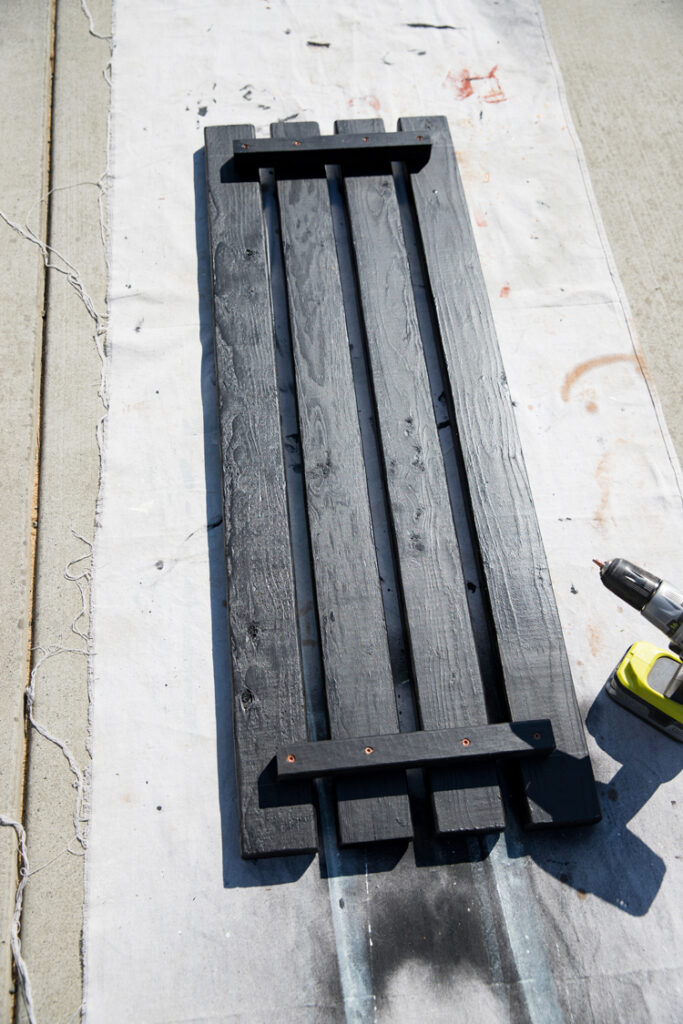
Place a 13 inch long 2×2 piece along the inside of each line, so that there are three inches of overhang at each end of the bench. Ensure that it is evenly centered from each side of the bench as well. There should be roughly 1.75 inches of overhang along the horizontal edge.
Screw the 13 inch piece in with one screw in each slat, ensuring everything stays square and even as you go. Repeat for the other side.
STEP FOUR: Attach legs.
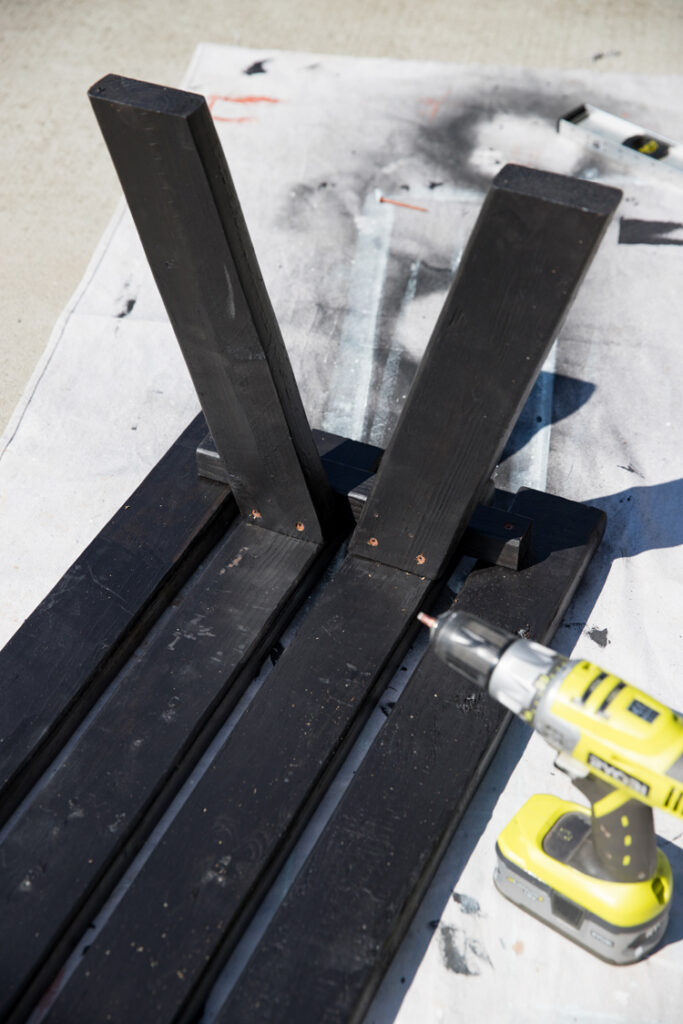
Take one angled leg and center it over a middle slat, against one of the 13 inch pieces already screwed into the bench slat, ensuring that it slants outward from the center.
Screw two screws through the leg into the side of the 13 inch piece, taking care to screw on either side of the screws in the 13 inch piece so they don’t run into each other. Repeat for the other leg, placing it on the next middle slat, angled away from the center. Then repeat for the remaining pair of legs.
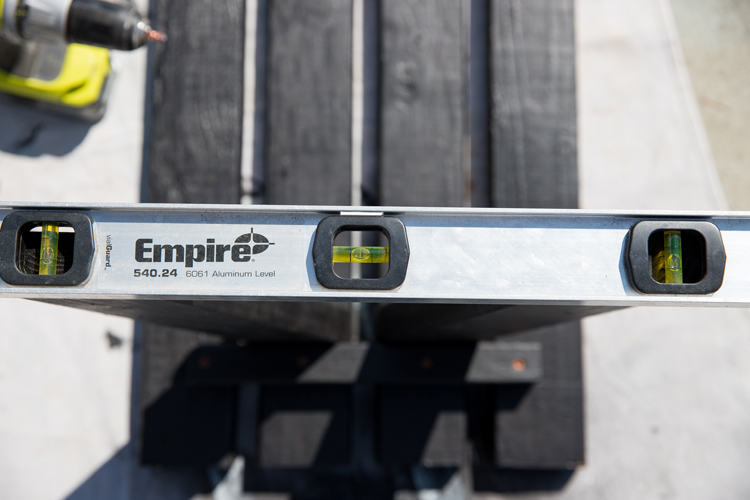
Check to see if the legs are level. You can make some minor adjustments if the legs are not level at this step. It could be that the legs aren’t completely flush and level with the bench seat and need to be corrected.
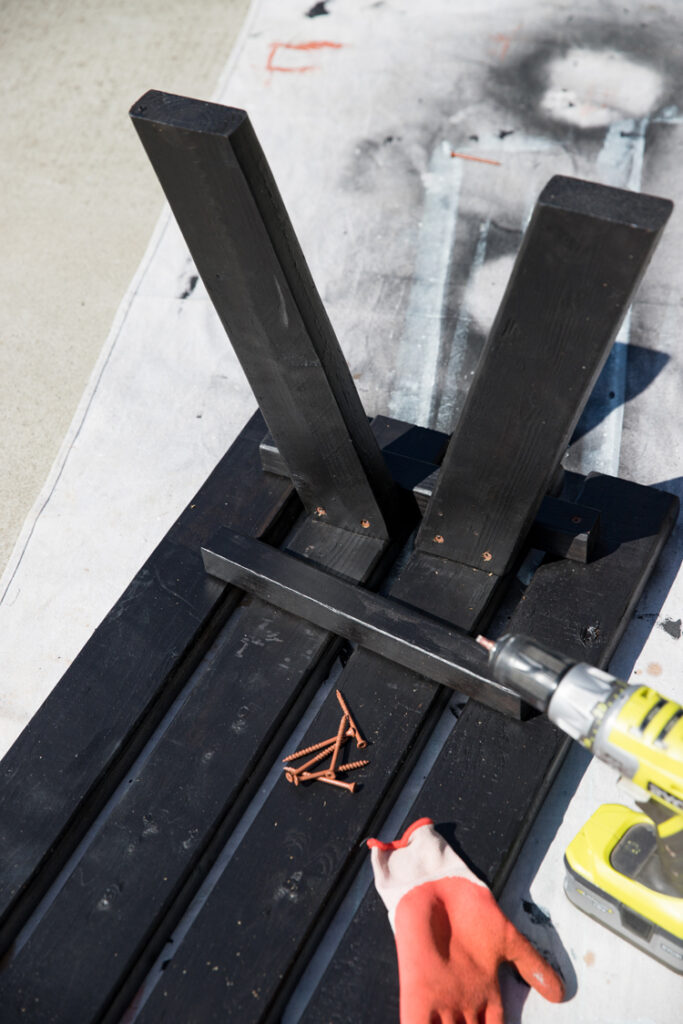
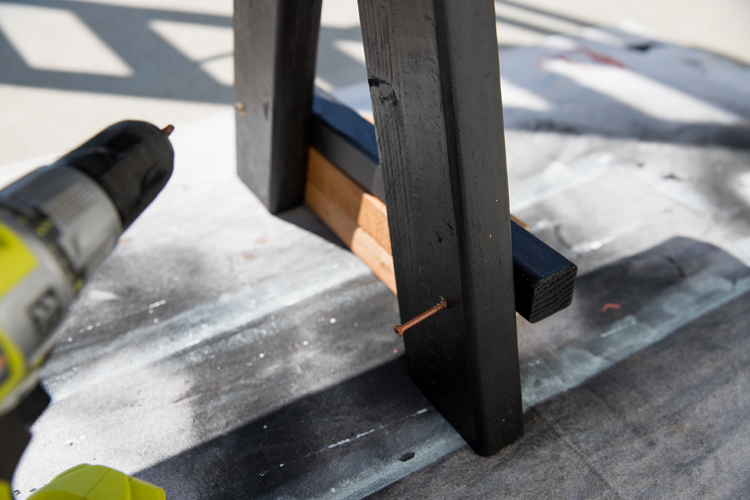
To add more support to the legs and to the seat, add the remaining two – 13 inch 2×2 pieces to the other side of the legs.
This time, offset the two screws in the middle slats to one side, so that you can screw one screw into the legs from the side as well. See the picture for more clarification.
STEP FIVE: Add supports to the bottom of the legs.
Flip the bench over. I like to test if the bench is level from an upright position at this step too.
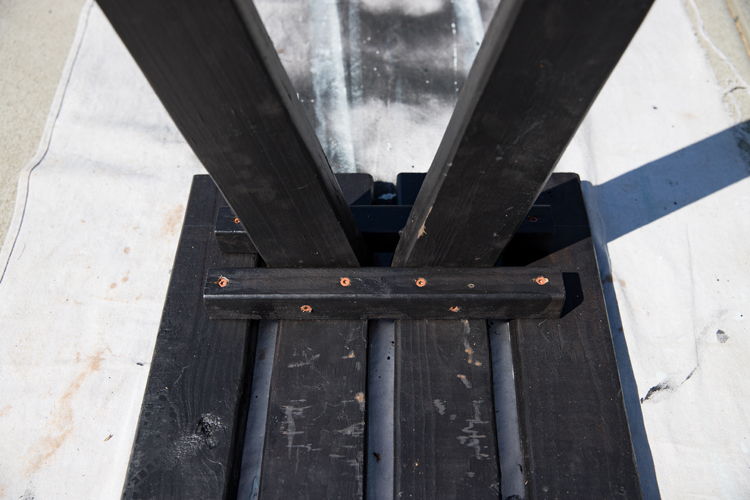
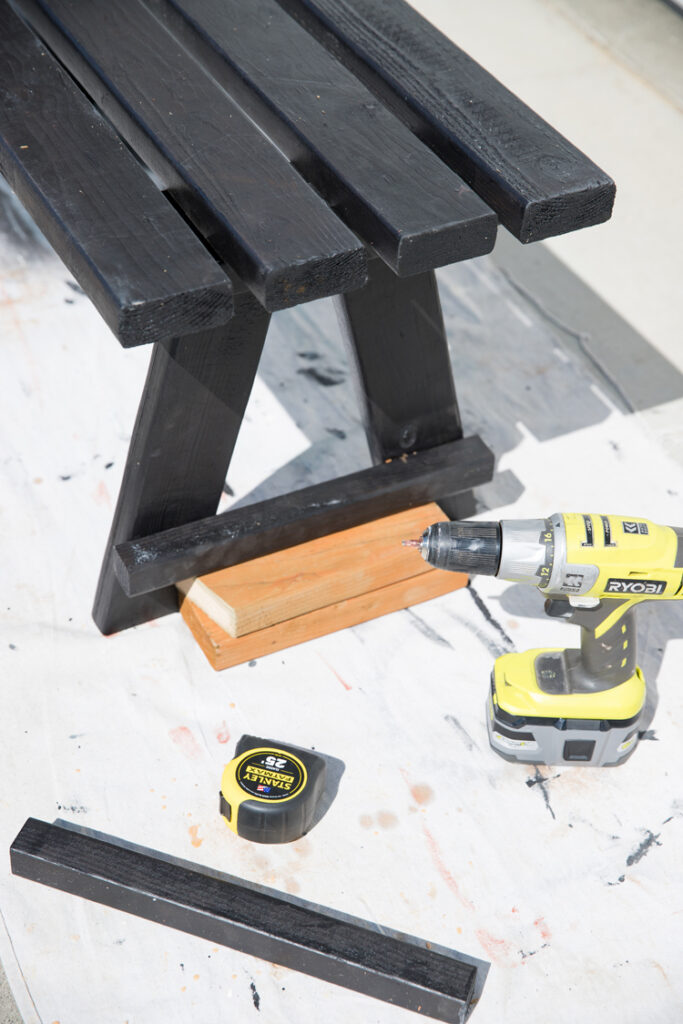
Then, using two pieces of scrap 2×4 wood (which equal 3 inches) place them against the outside of the legs of the bench. Place a 15 inch 2×2 inch piece on top and screw it to the bottom of the legs from behind on the inside. This is so you won’t see the screws on the outside.
Make sure to off set the screws to the inside of the legs so that when you add the second support the screws won’t run into each other.
Repeat for the other side.
STEP SIX: Now create the I-beam piece that will go between the bottom of the legs.
Mark the center length of the remaining two 15 inch 2×2 pieces and mark the center of the width of the 33 inch 2×2 piece. Align the center length of the 15 inch pieces with the center width of the 33 inch piece at each end. Screw them together to create a capital I shape.
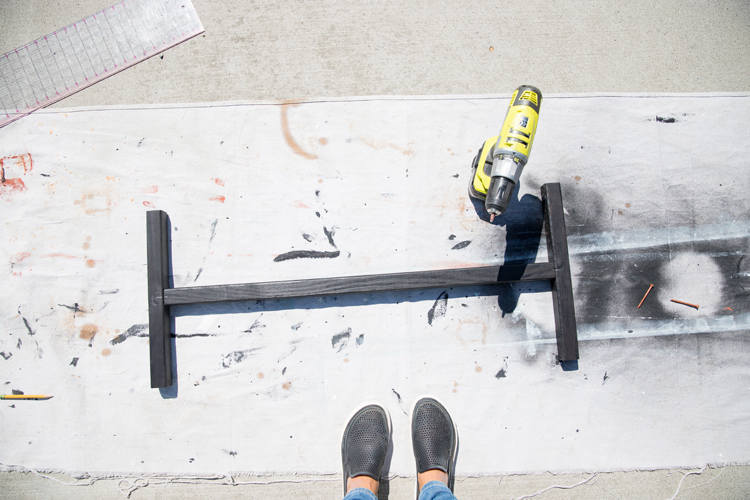
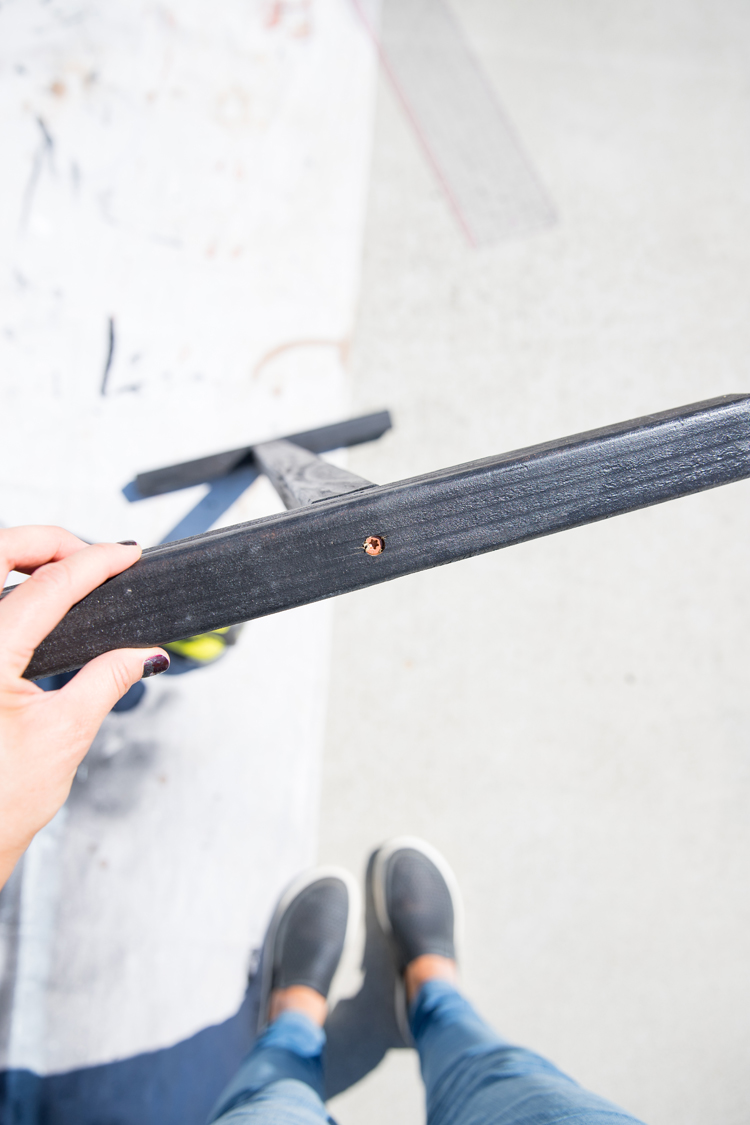
TIP: I find that screwing the screw into the 15 inch piece halfway before screwing it to the 33 inch piece, makes things much easier.
STEP SEVEN: Add the I-shaped piece to the bottom of the bench.
Flip the bench back over so that the top of the seat is facing the ground. Slide the I-shaped piece in between the legs and line it with up with the supports that have been attached from the outside of the legs (see step five). You may need to add supports underneath to keep it from sliding down while you screw it in place. This video tutorial better illustrates this.
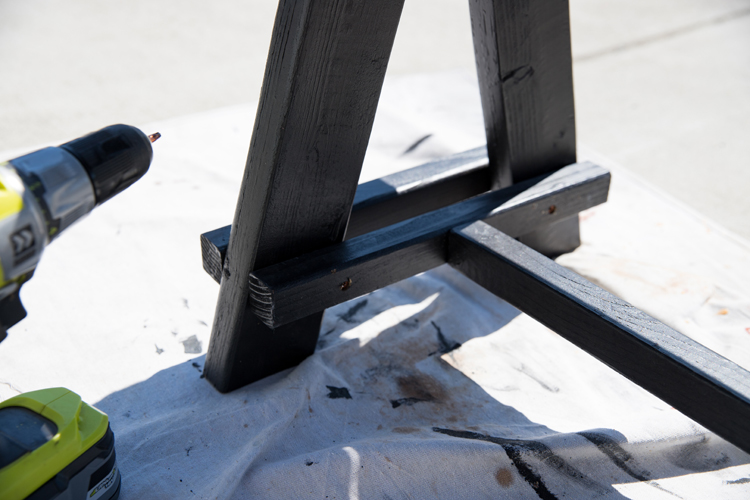
Screw them in place with the screws closer to the sides of the bench rather than the center so as to avoid the screws that you placed for the outside supports.
That’s it! Turn your bench upright and give it a sit.
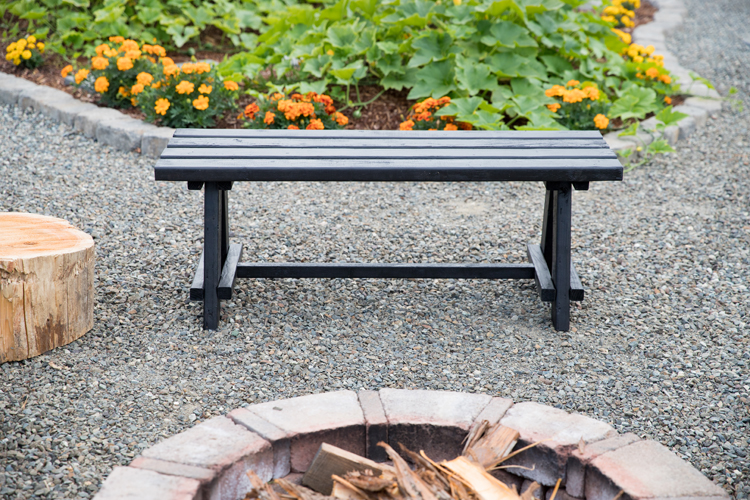
Now is a good time to add a second coat of paint to touch up any imperfections that cropped up during assembly as well.
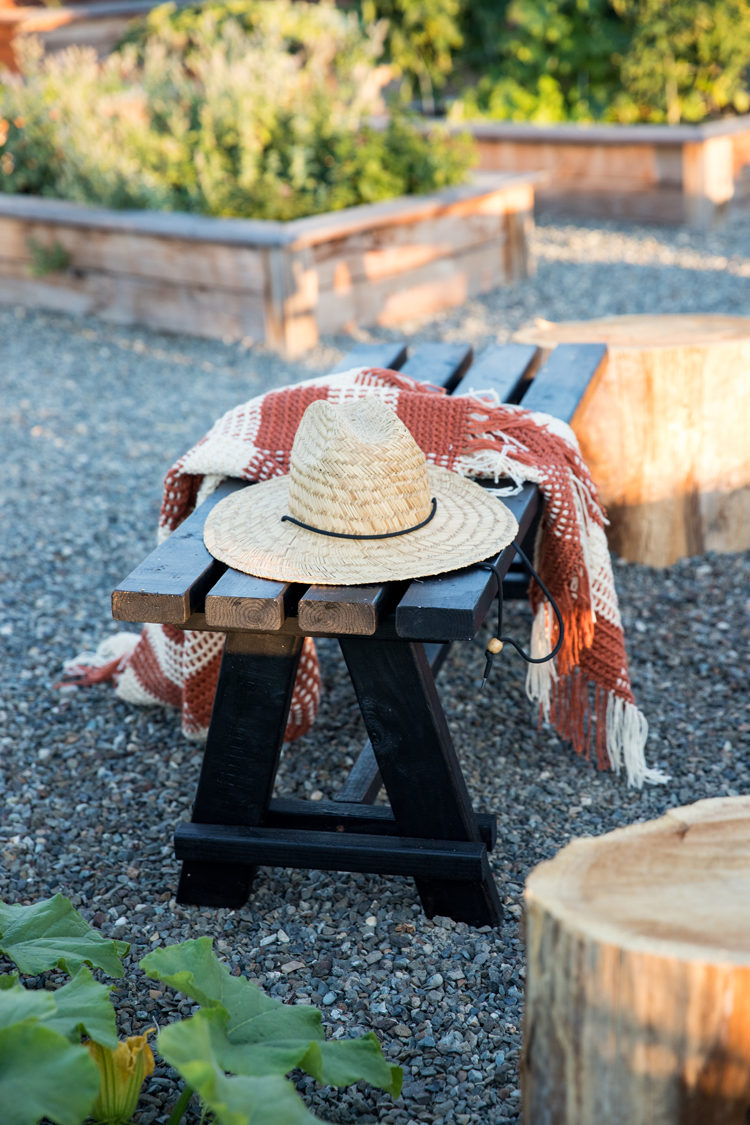
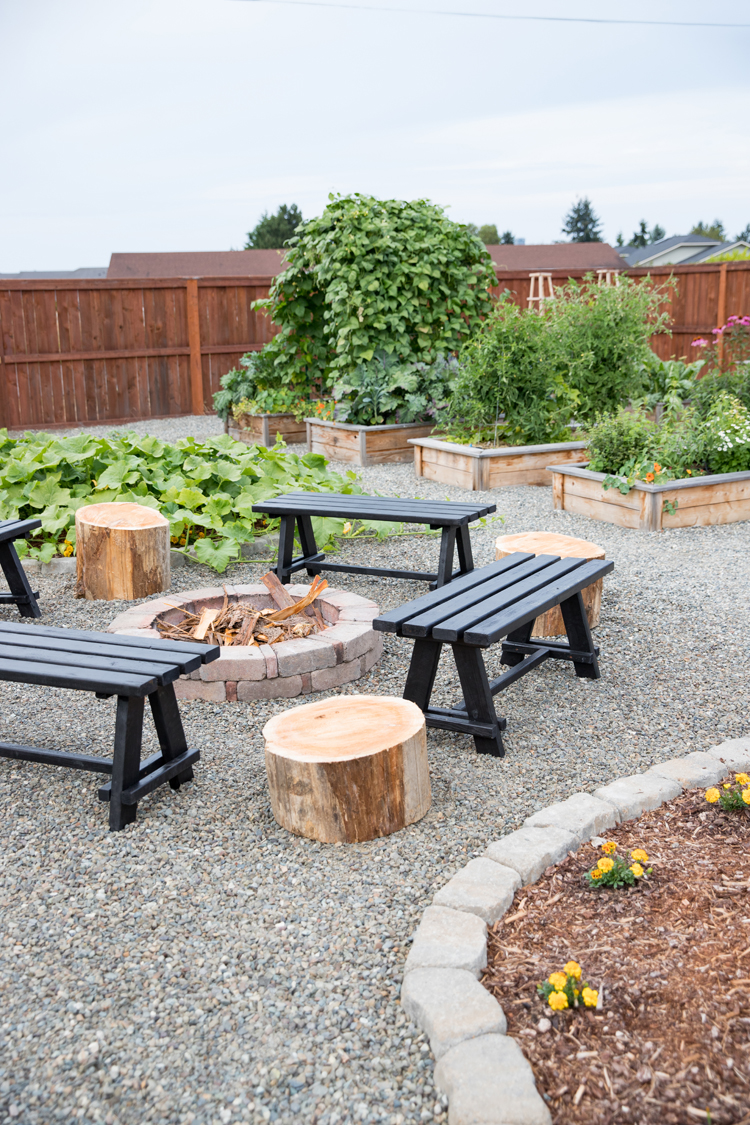
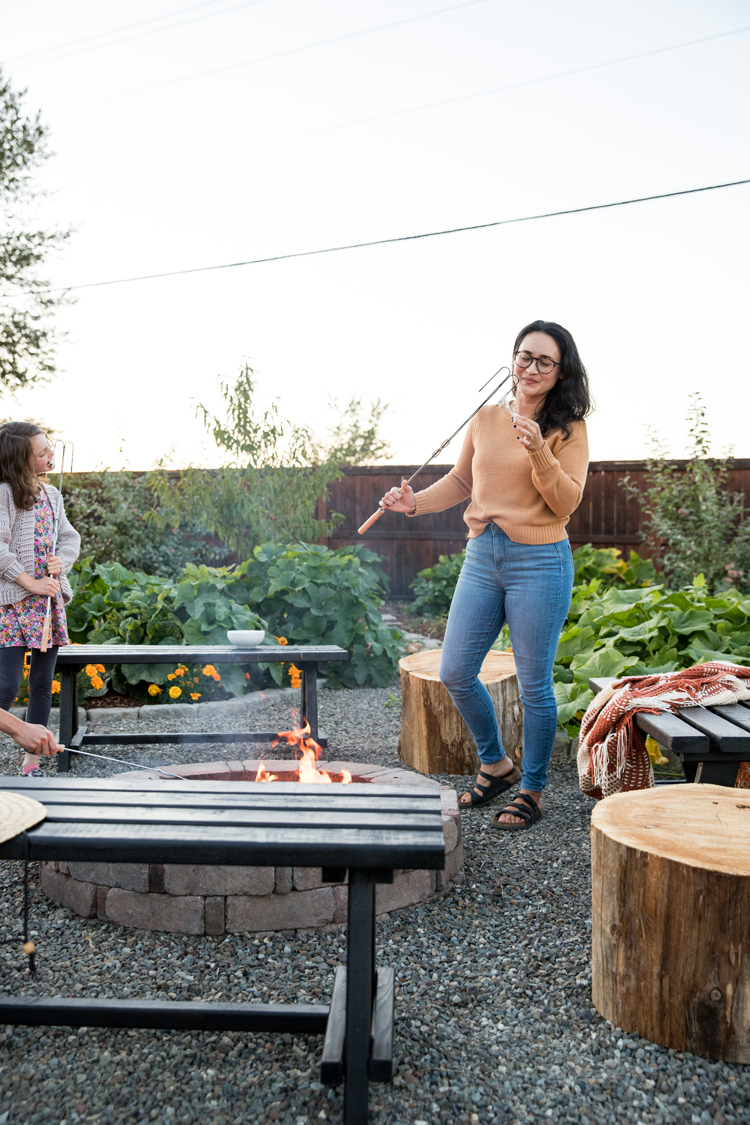
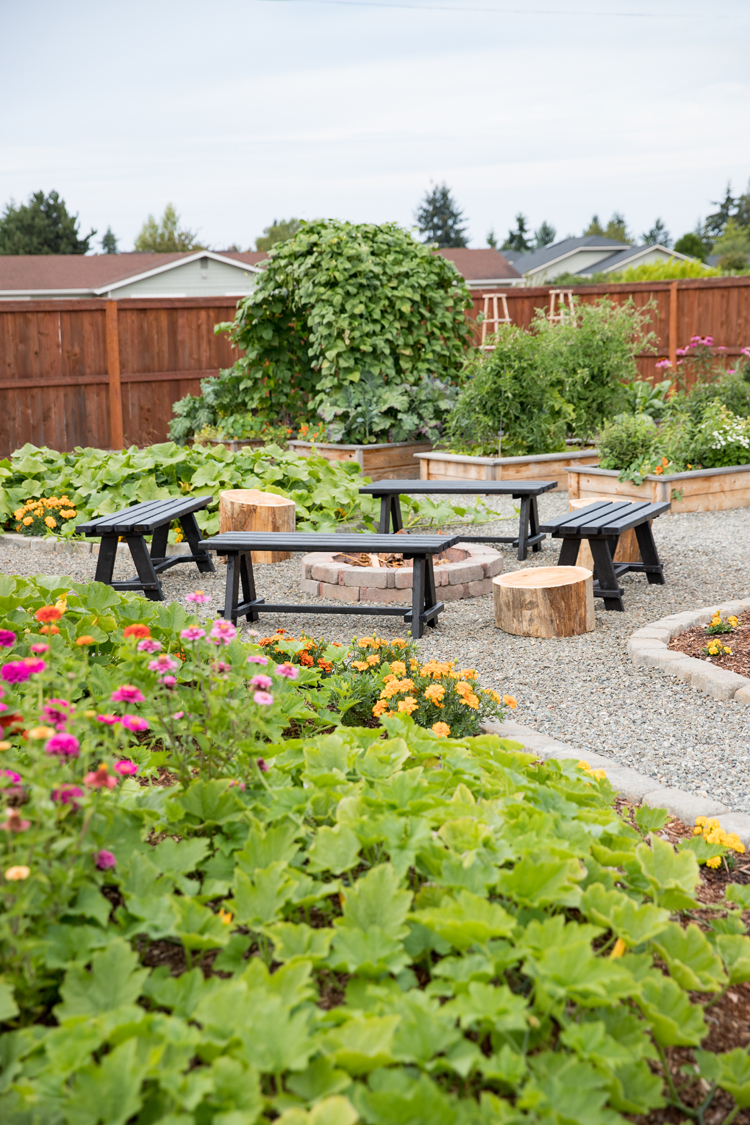
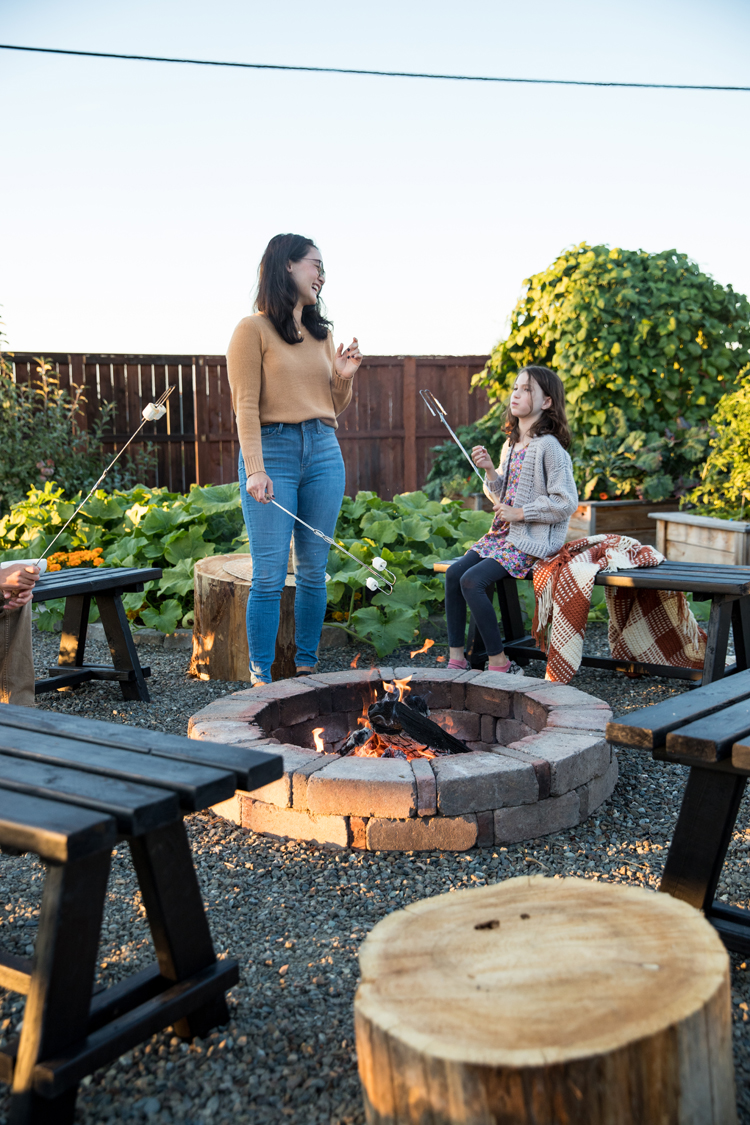
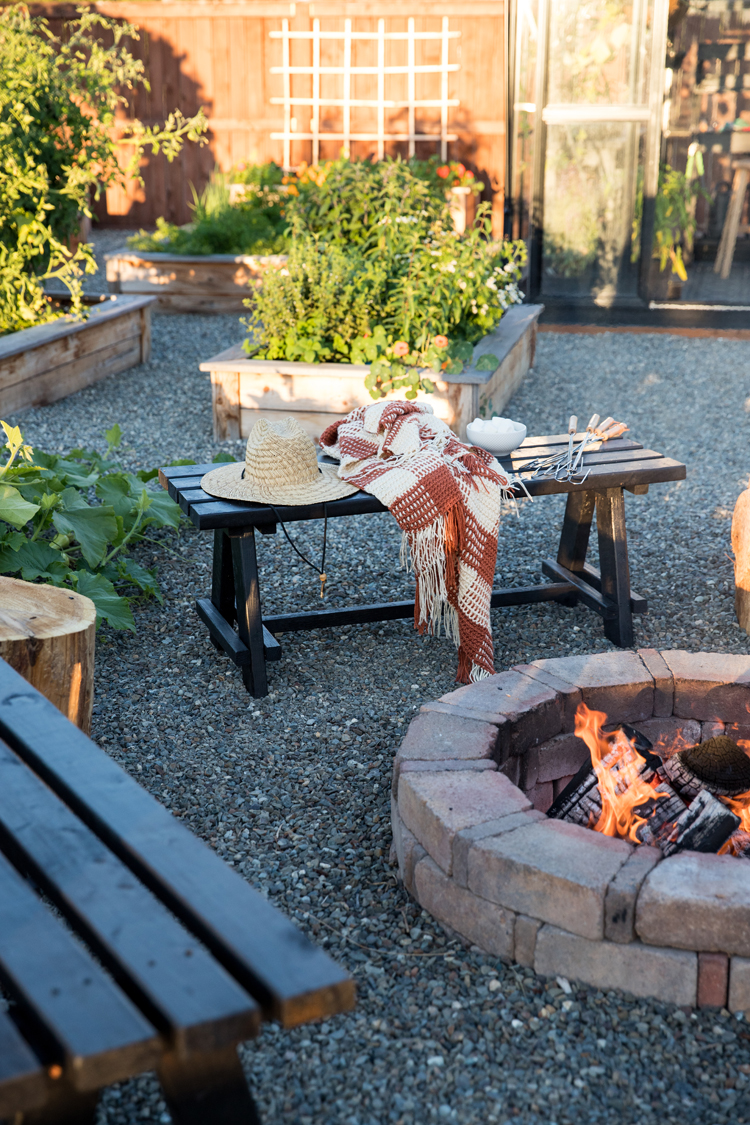
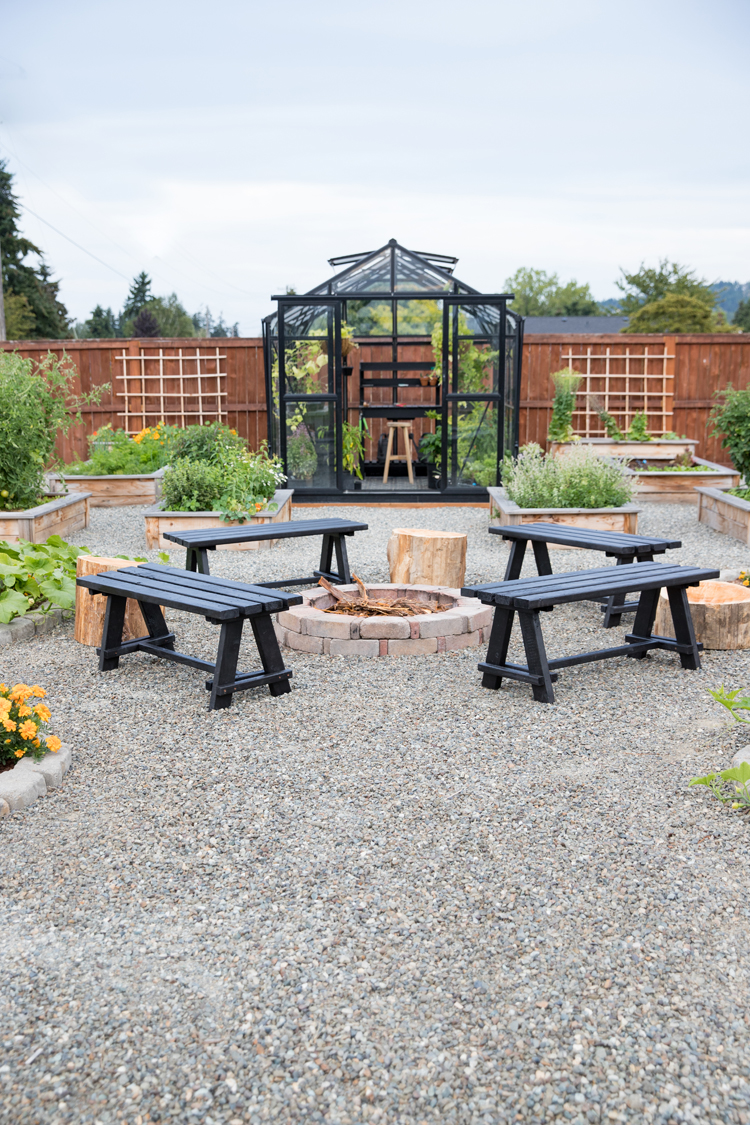
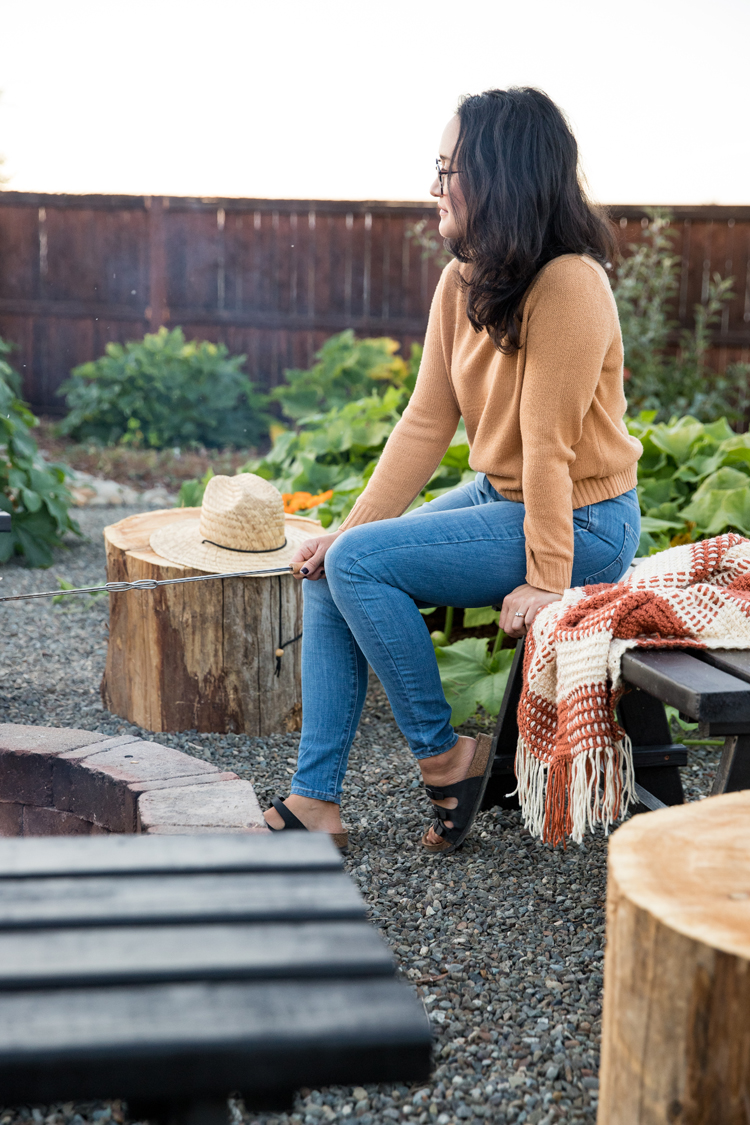
I made four benches and placed them around our fire pit. Then I added in some large cedar rounds in between the benches for added seating and surface area for setting down food. I think the natural wood helps visually balance the black benches as well.
For more of my free tutorials, check them out HERE. <3


Leave a Reply