I think kumquats are the prettiest citrus plant there ever was.
Since we can’t grow them in the PNW because of our temperate climate and cloudy skies, I’ve resorted to a DIY solution…
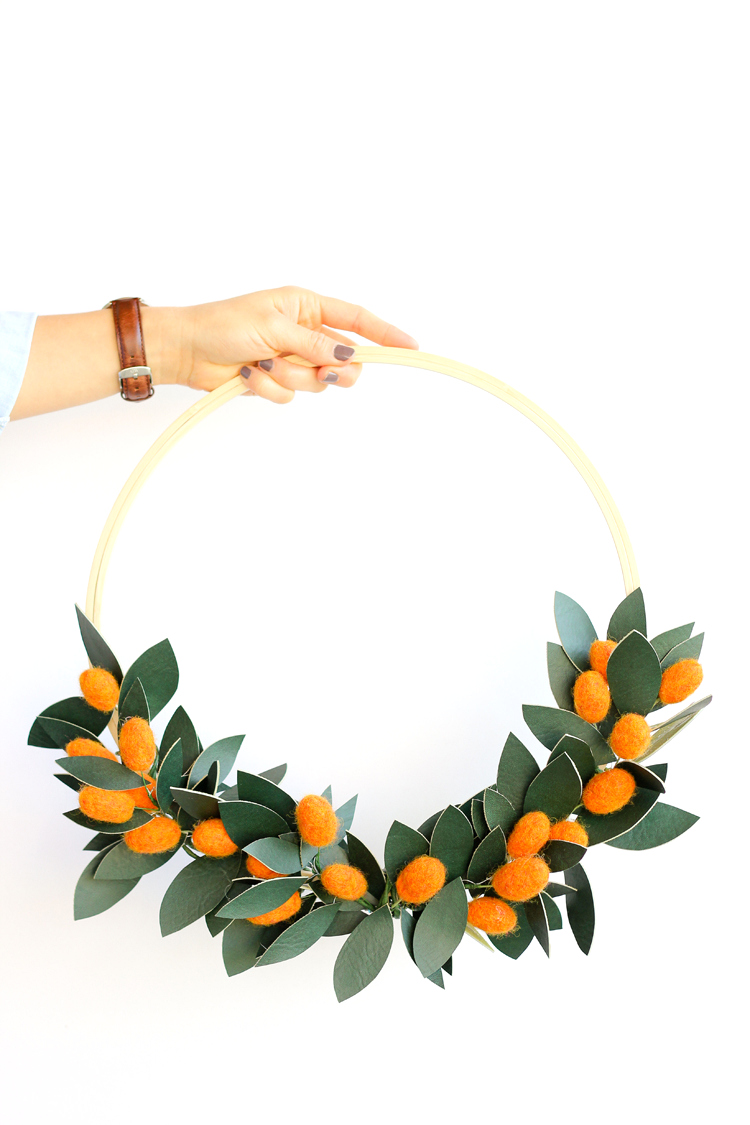
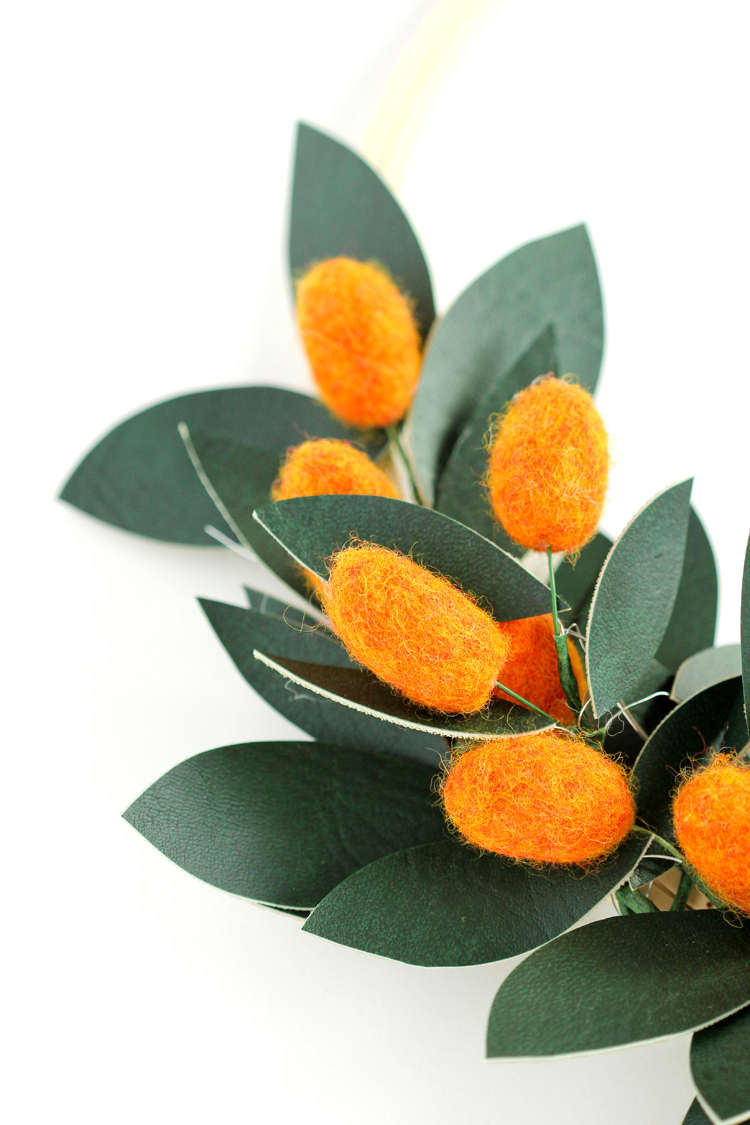
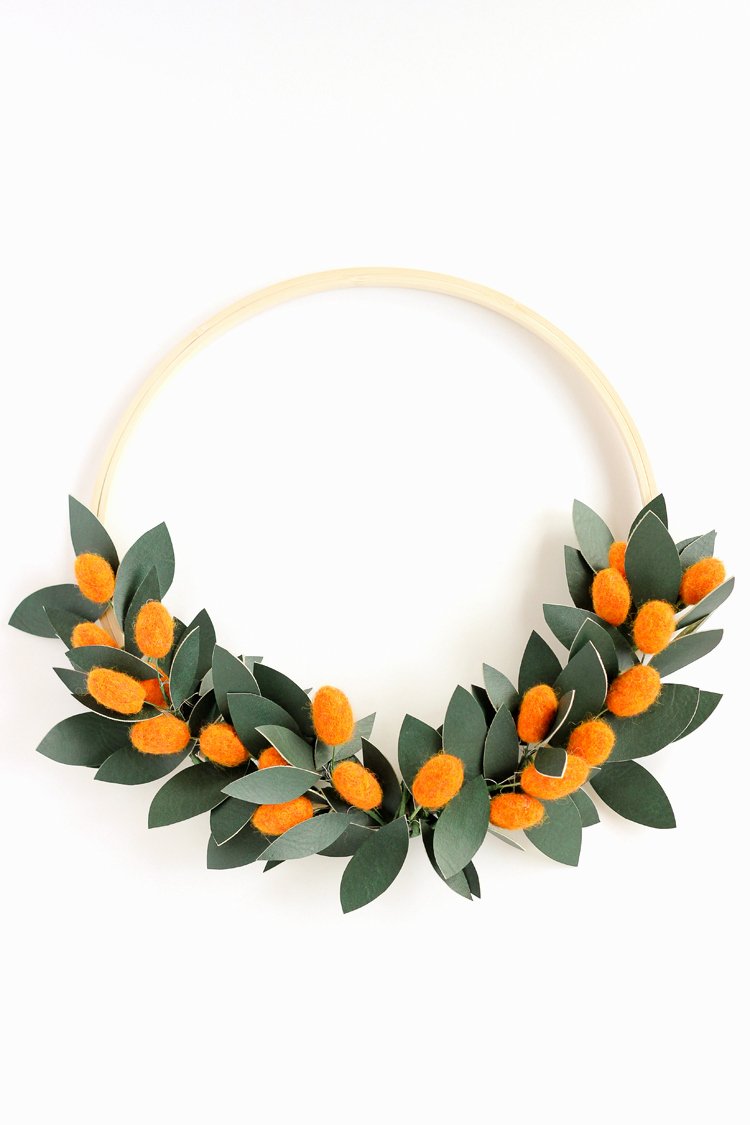
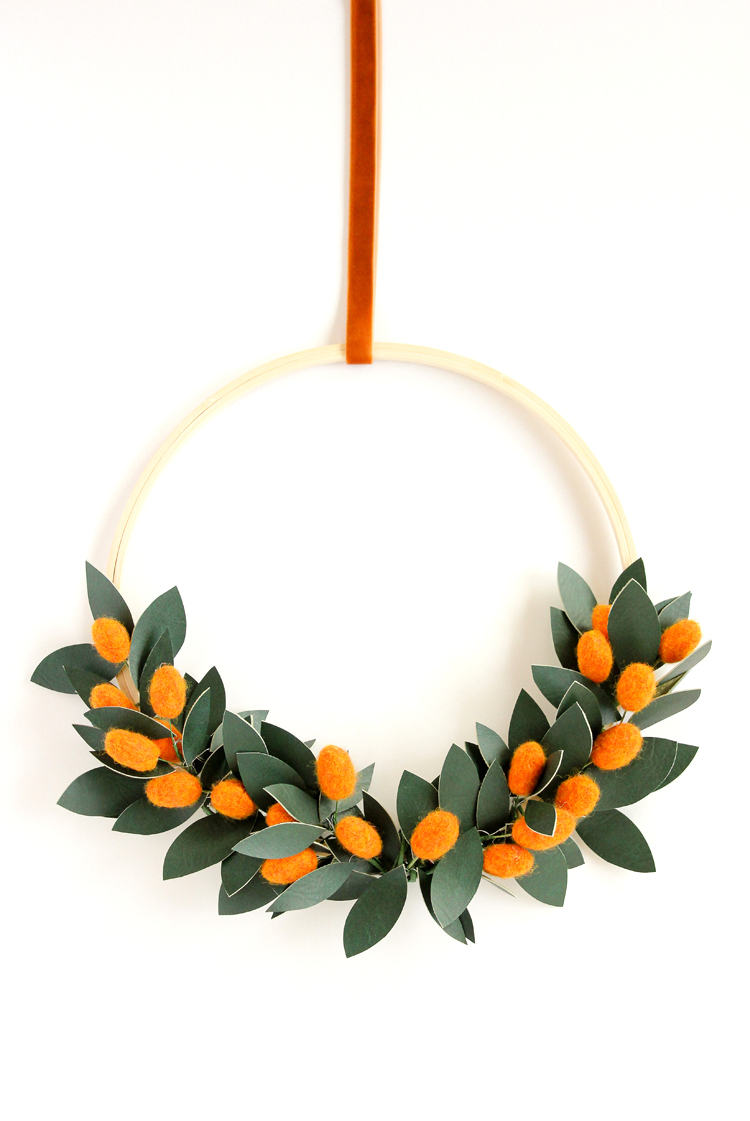
Felted kumquat fruit with vinyl leaves. 🙂
You can certainly use felt leaves as well, but I like the waxy look of the vinyl which seems more true to the real thing.
This tutorial shows you how to form them into floral picks, so that you can use them however you want…felted floral arrangements, garlands, or make a wreath like I did.
I made this wreath for Christmas, but it’s more seasonal than holiday specific. Kumquat season is from November to March, so I can keep it up all winter…or all year really!
One of the blessed virtues of faux floral.
MATERIALS:
- orange wool roving*
- hot soapy water
- towel
- 1/8 yard forest green vinyl
- light green craft paint
- paint brush
- sharp tip scissors
- thin floral wire (22 gauge)
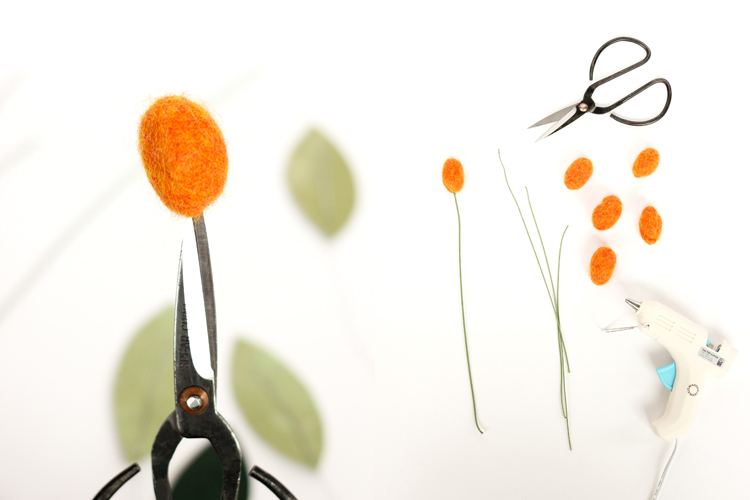
- thick floral wire stems (18 gauge)
- wire snips
- pliers
- hot glue
- tacky glue or E-6000 (see instructions)
- green floral tape
- large embroidery hoop
*I bought about 7 oz. of this lovely Pumpkin Orange Wool Roving from Grey Fox Felting on Etsy, and I used maybe just over half. So 5 oz. should be a enough to make all the kumquats pictured in my wreath, plus extra for mess up kumquats ;). I also went heavy on the kumquat to leaf ratio. You could make it more leafy, get less roving, and it would still look great.
TUTORIAL:
STEP ONE: Make felted kumquats.
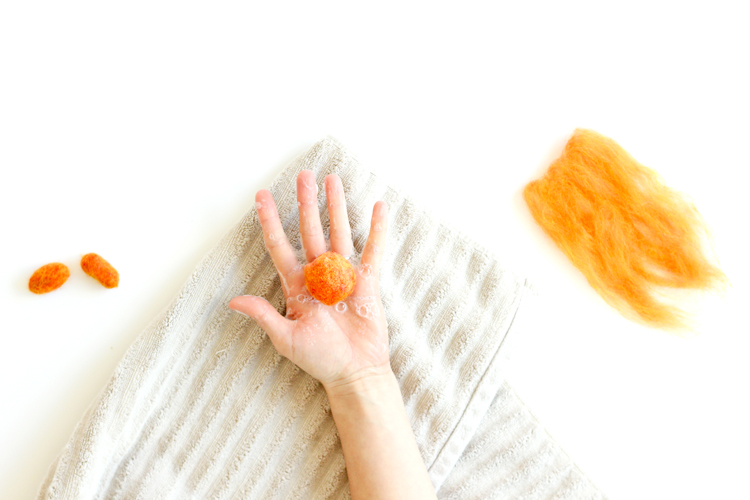
You make these the same way as felt balls, except you roll them into an egg shape at the end.
Take a good handful of roving, pull it apart so it’s loose and fluffy, and then dip it into the warm, soapy water.
Very, very gently roll it into a ball shape. When it’s almost done forming, start to compress the ball into oval, kumquat shape. Continue to shape the kumquat until it’s firm.
Note: If you have never made a felt ball before, you will likely mess up the first kumquat or two. That is totally okay! It takes some practice to get the feel for how little pressure you need to roll the roving in the beginning. You don’t really put any pressure on it at all until it compresses down to about 1/10 the size. This takes some patience and time. In fact, rolling the kumquats is probably the most time consuming part of the project. If you apply even just a little too much pressure in the beginning, it will flatten and/or form creases in your kumquat. Some of my kumquats ended up like this. If the creases weren’t too bad, I just hot glued them closed….shhhh. That’s my dirty little secret, okay? 😉
STEP TWO: Create leaves.
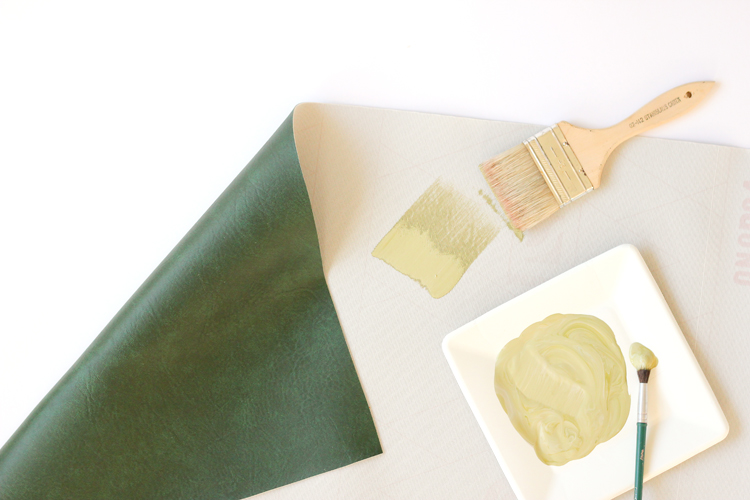
First, paint the back of the vinyl green. I like to use a pale green, like a real leaf would have on the underside of it’s leaves. We’ll be positioning the leaves a bit later so you won’t see much of the back, but I think it’s a nice touch when what you do see looks thought out and complete.
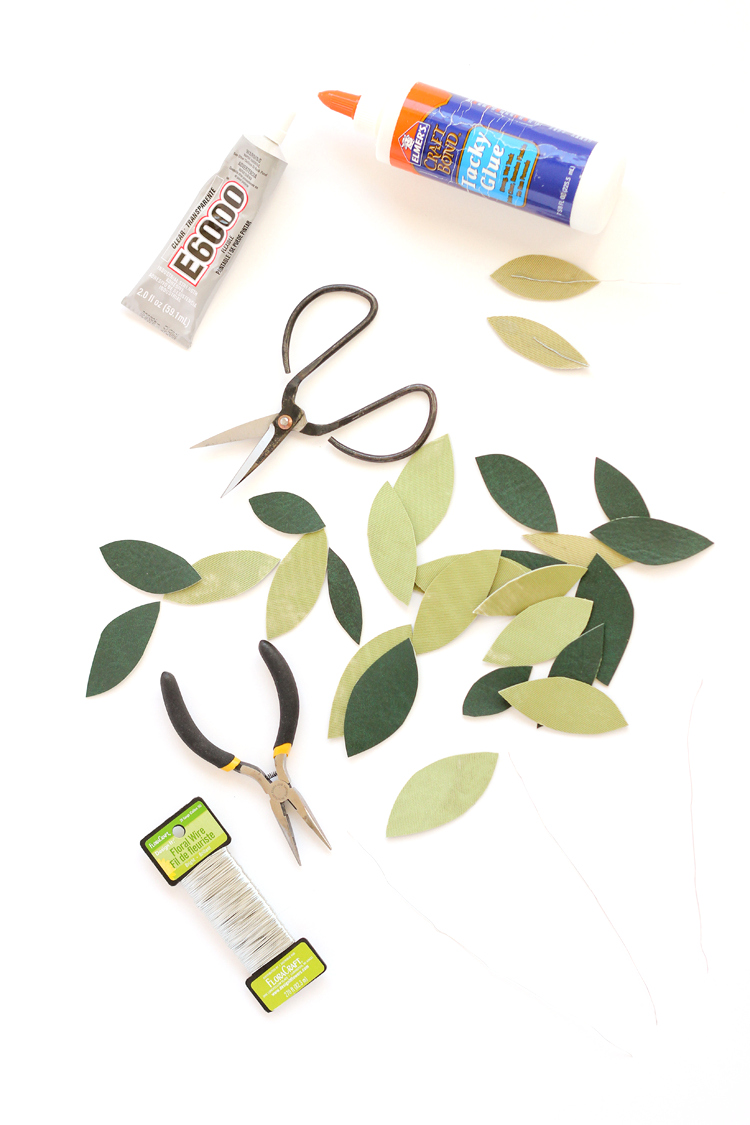
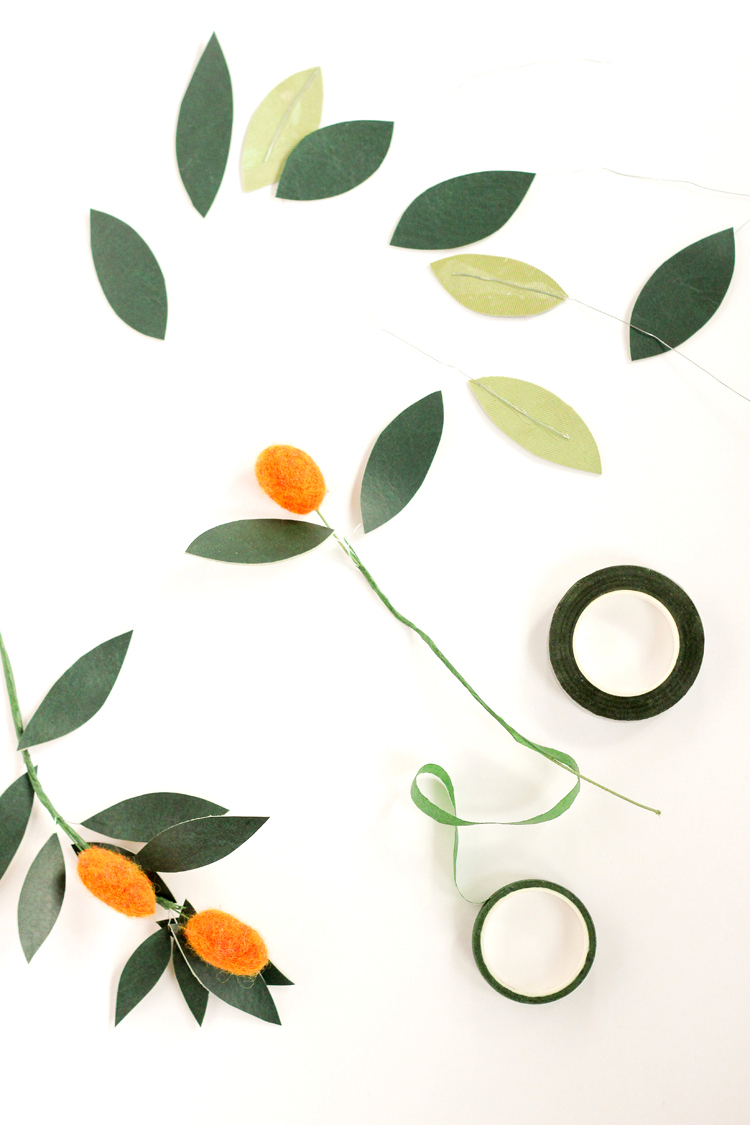
Cut the leaves about 2 or 2.5 inches long and 1 inch wide. I cut them free-hand so they vary in size and shape a little bit, which I think adds an organic look to it.
Cut pieces of thin floral wire about 6 inches long.
Glue them to the back of the leaves with tacky glue or E-6000. Just don’t use hot glue.
I tried all three glues and the hot glued leaves eventually peeled away from the wire. No bueno.
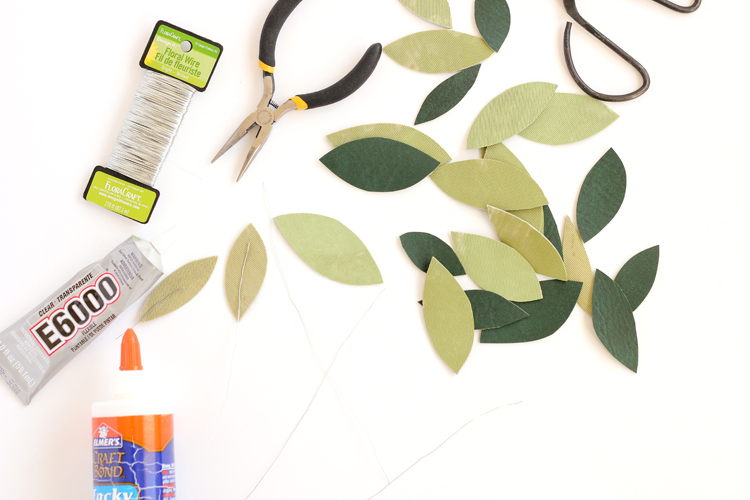 Both the tacky glue and E-6000 glue, however, adhered great, dried clear and flexible, and worked great. If I had to guess, the E-6000 glue will probably hold up for longer (or forever…) but it’s toxic and smelly. The tacky glue worked just as well, it doesn’t smell, and it’s safe enough for kids to use. So…I ended up using tacky glue.
STEP THREE: Assemble kumquat picks.
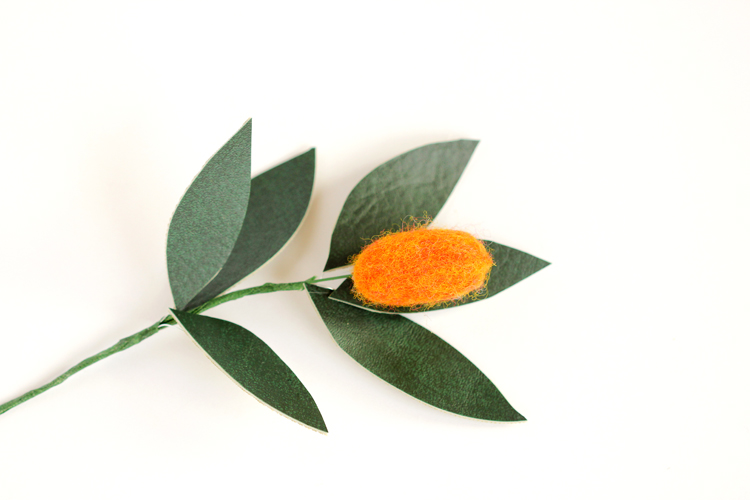
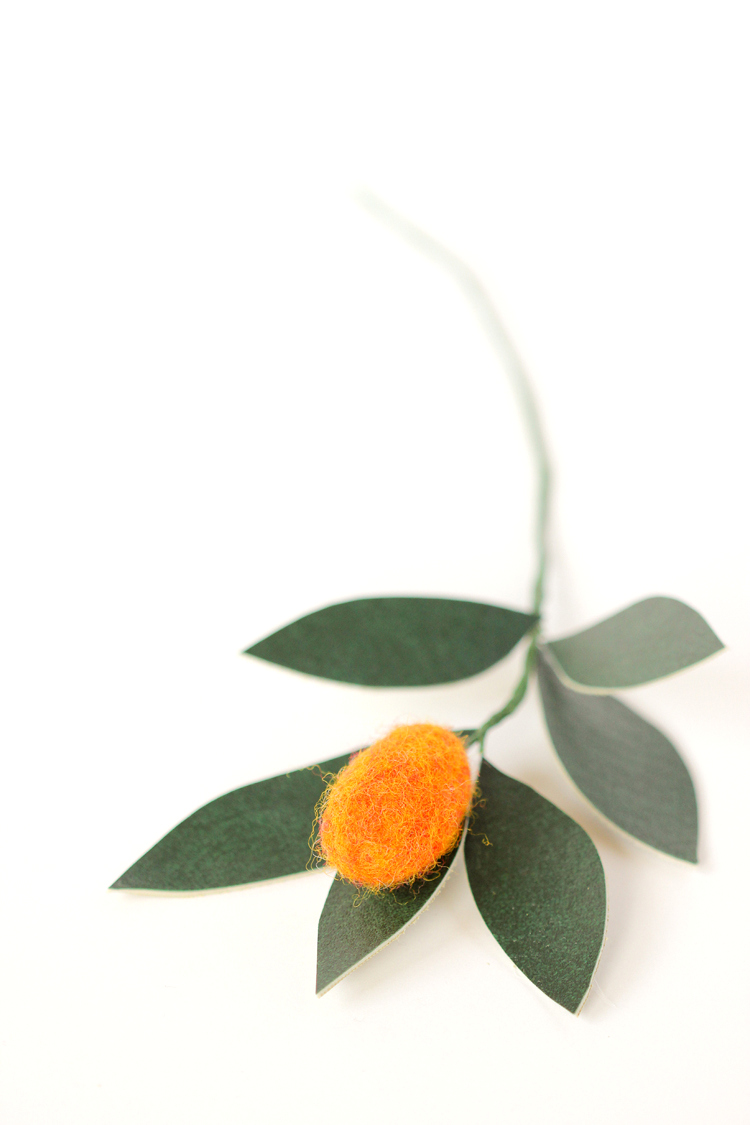
Bore little holes into the bottom of each kumquat, using sharp tipped scissors. Hot glue the thick wire stems into the holes.
Line the leaf stems (wire) up with the kumquat stem and floral tape everything together.
TIP: As you wrap the floral tape around the wire, pull it downward as you go, so it will stretch and activate the tape properly.
STEP FOUR: Assemble wreath.
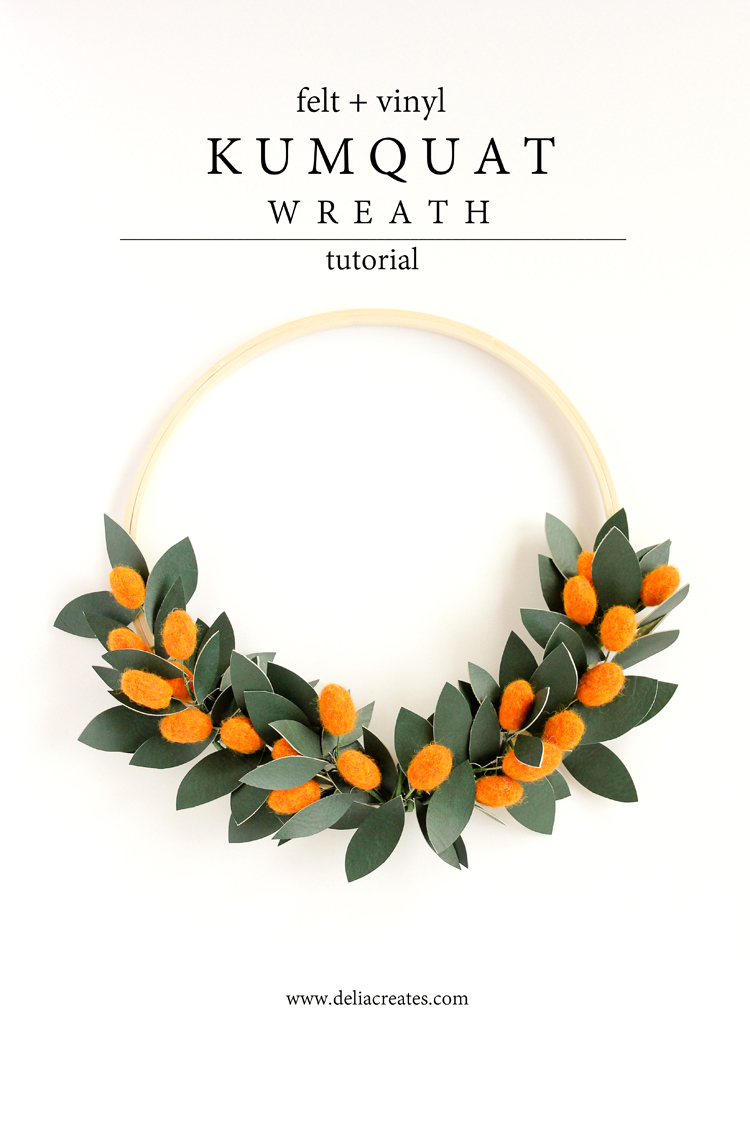
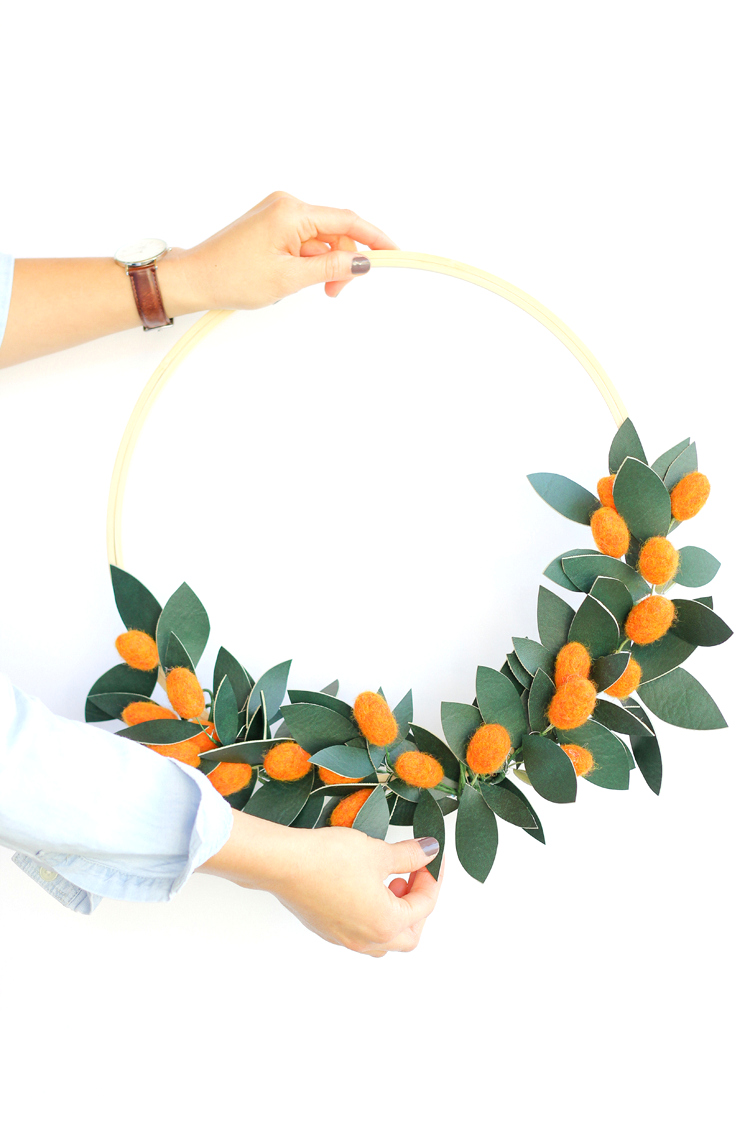
You could use any wreath form, but I think the large embroidery hoop is really pretty and works great for half wreaths.
I simply took my kumquat picks and wrapped them around the embroidery hoop. This makes them convenient, if I want to dissemble the wreath and use the picks elsewhere.
All the picks are glued to wire, so you can re-position the leaves as needed.
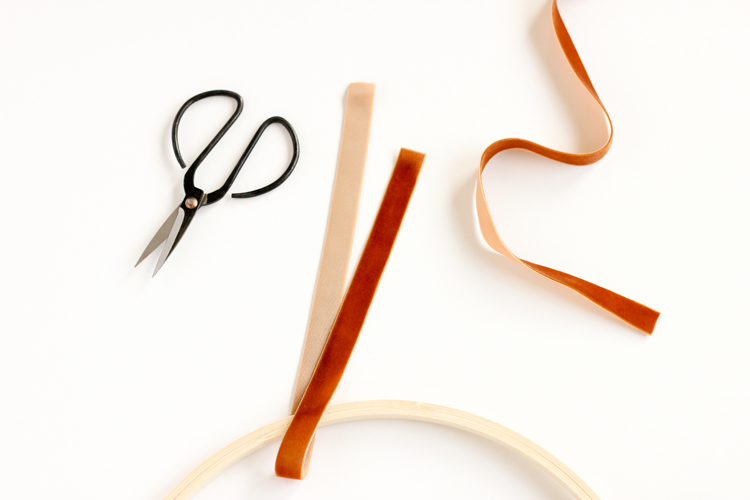
Add ribbon if you want. I got this lovely 3/4″ velvet ribbon in burnt orange from May Arts Ribbon. It’s perfectly season neutral and so pretty! I even sewed it into this dress.
I think I’ll put this wreath in the kitchen, seeing as it’s food related. Yep…the perfect pantry wreath. 😉


Hey!
What sort of vinyl did you use? And this is GORGEOUS!
Thank you Jeanette! Just the vinyl at Jo-Ann. They have them in the back on huge rolls.
So cute! I haven’t had kumquats in ages – I don’t think I’ve even seen them in the store since I moved to Hawaii several years ago! They were always a favorite seasonal treat of mine growing up.
Thanks Natasha! I don’t think they are easy to come by, especially where I live. I love them so much though, I even tried to research how I could try growing them indoors. haha! I think I’d need a sun room for it to work though.
That is adorable! Kumquats haven’t really crossed my radar… I’ll have to see if I can find some to try out! I love that you painted the back of the vinyl light green… such a nice touch. =)
Yes! They are such a fun fruit. I think it can be disconcerting at first to eat the peel, but now that’s what I love most about it. 🙂
This is so lovely! Thank you for sharing my shop 🙂
-Erin from Grey Fox Felting
Thank you! Of course. 🙂
Lovely tutorial!! Love this! I need to find some yarn to make the kumquats! I also am a bigtime citrus gardener here in Massachusetts, land of a million days of grey and snow! Just wanted to tell you you can most def grow citrus in PNW! I know folks doing it! Join the Indoor Citrus group on FB! It’s got a lot of other citrus names in that name, so you will find it when searching. I’ll show you the way!
That makes me so happy! I really want to figure it out. Thanks for the tips on where to get help. I appreciate it!
Thanks for the wonderful tutorial! I’m looking forward to making this for the upcoming season. One question- do you happen to remember about what gauge the two different wires you used were? Thanks!
Thank you Joanna! Great question. I believe I used 18 and 22 gauge floral wire. I should add that to the list. Thanks for asking!