Look ma…no hooks! 😉
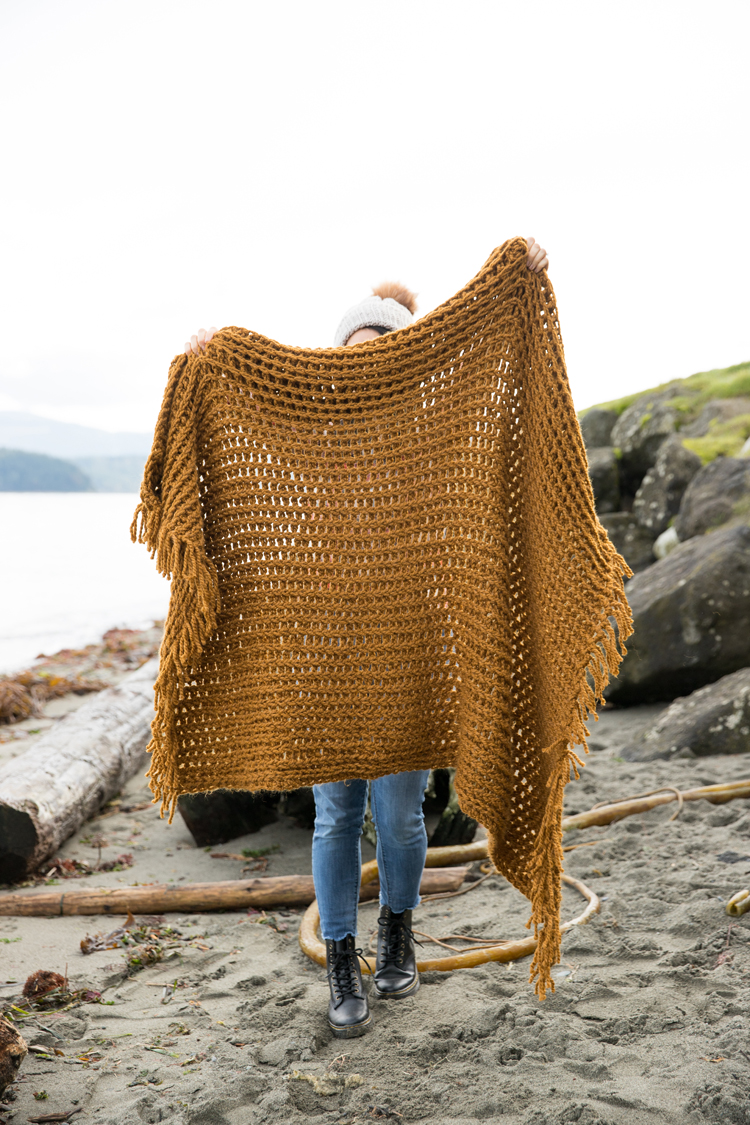

I’ve been wanting to do a finger crochet video for some time. Because while it’s very easy and great for beginners, it looks and feel a little differently to go hookless; and a video helps convey those adjustments better than just pictures.
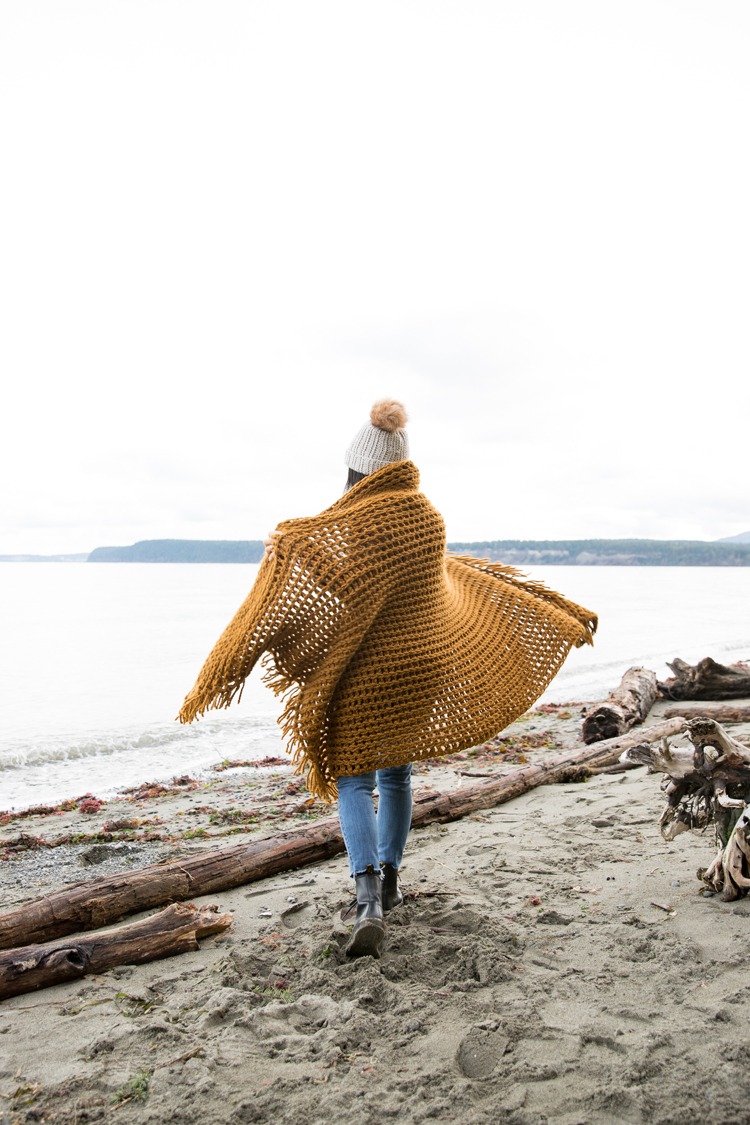
If you know me, you know I am typically NOT a blanket crocheter. I just do not possess the patience for it. I learned that the hard way. 😉 But…I made an exception for this blanket because I knew it would be much faster and easier to work up…and even then, I made it throw size. Ha!
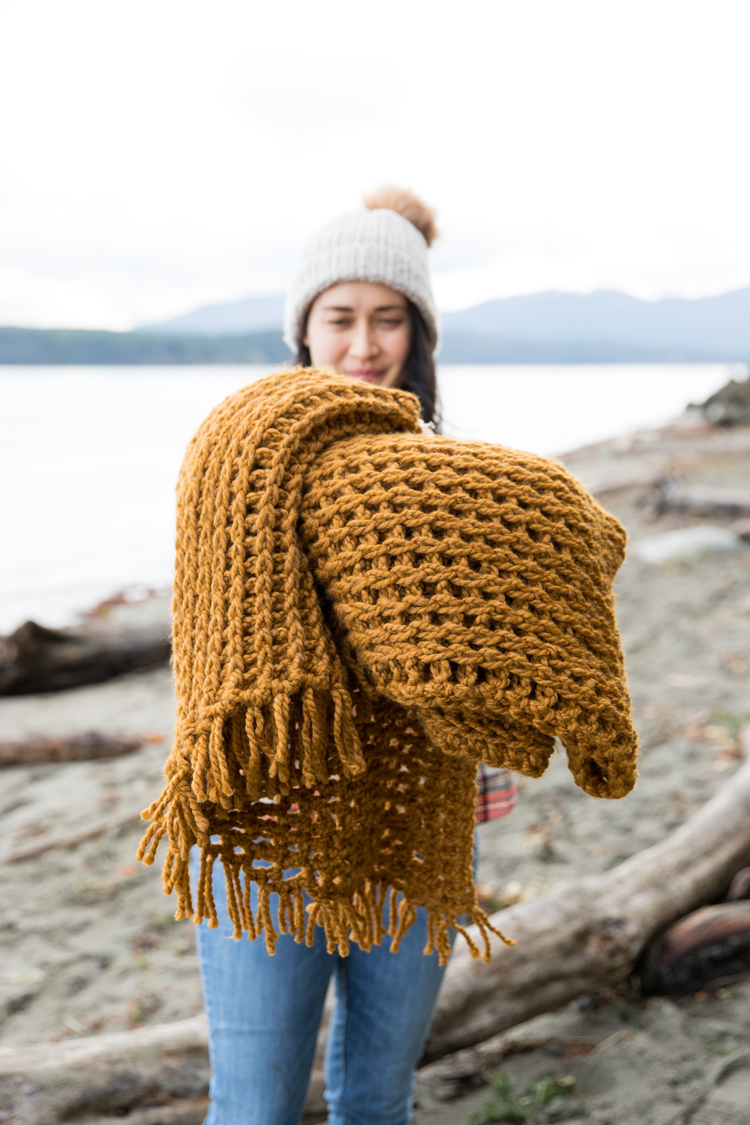
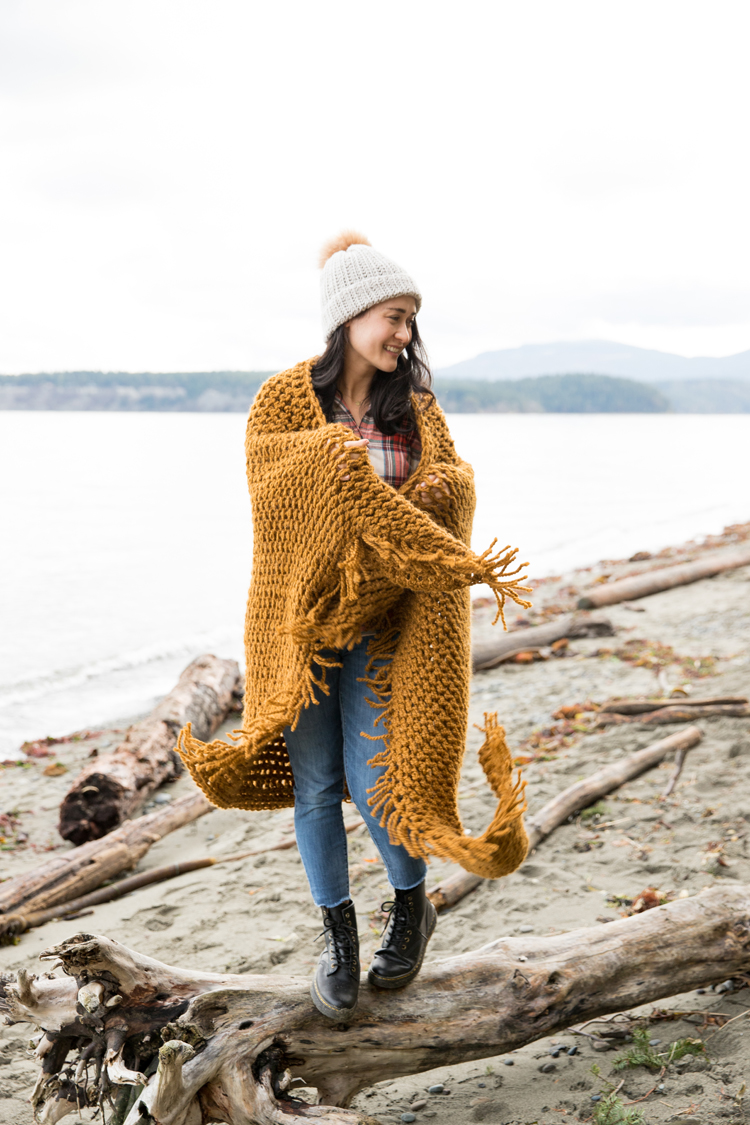
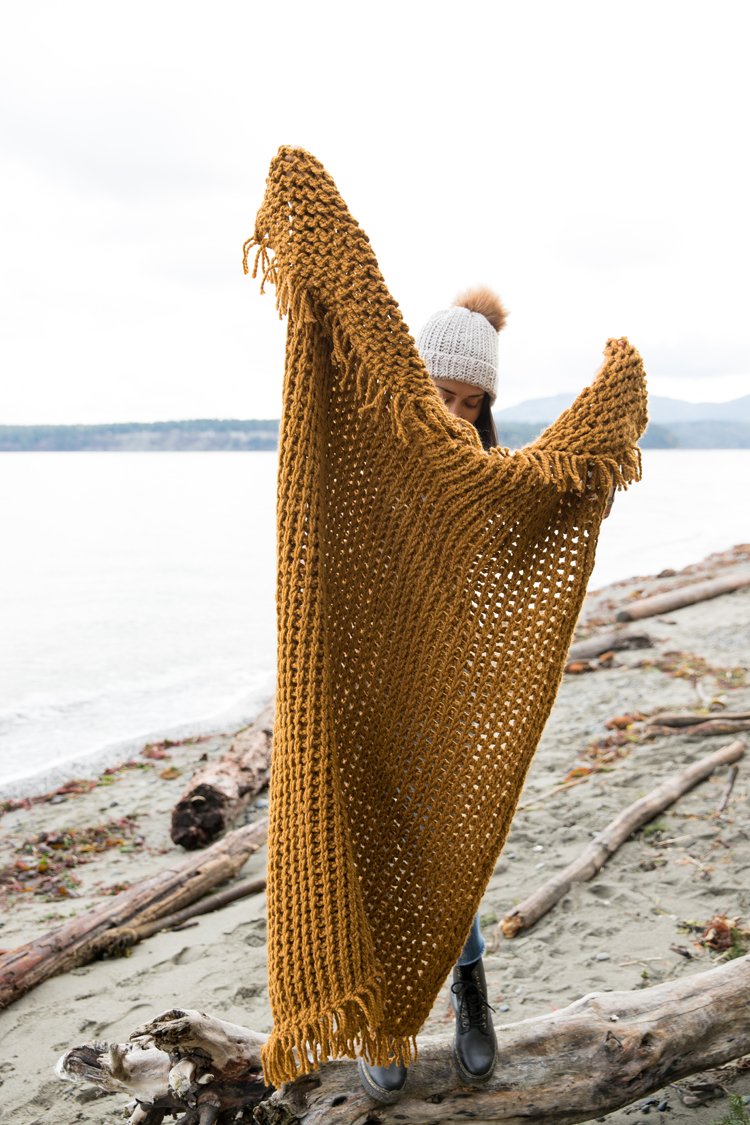
Fingers make for some nice big “hooks” which means the gauge is big and the stitches work up fast. Add in some super bulky yarn, and you have a quick and easy blanket with a delicious chunky texture.
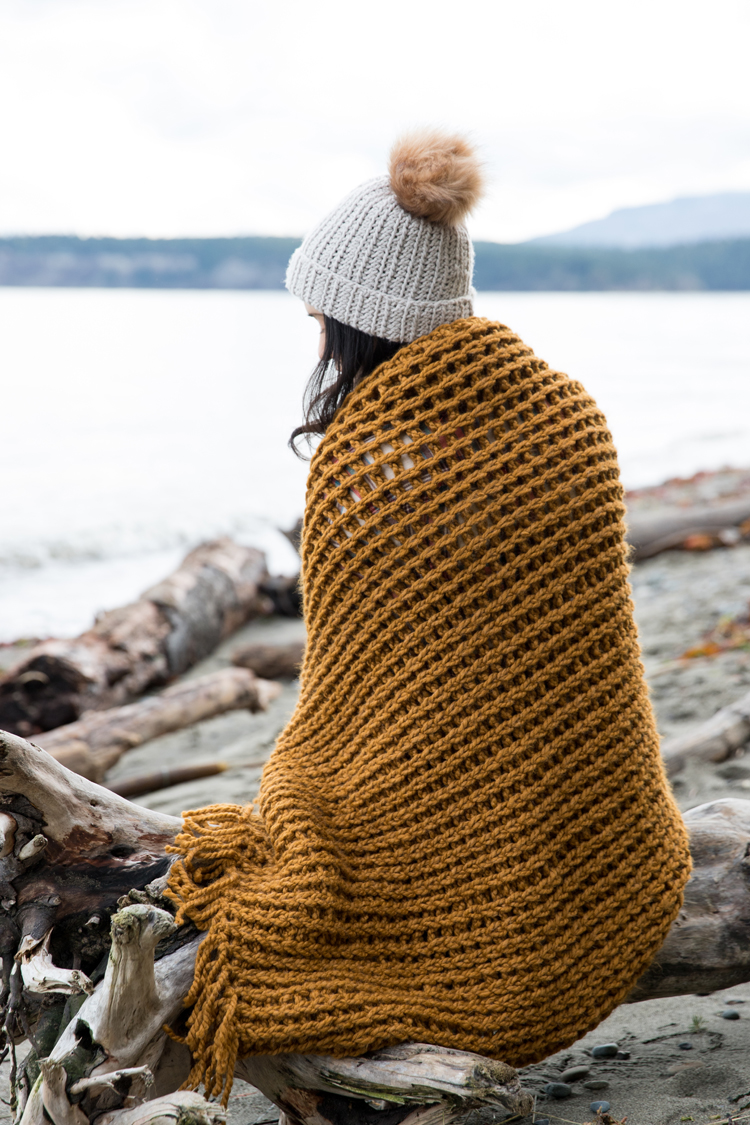
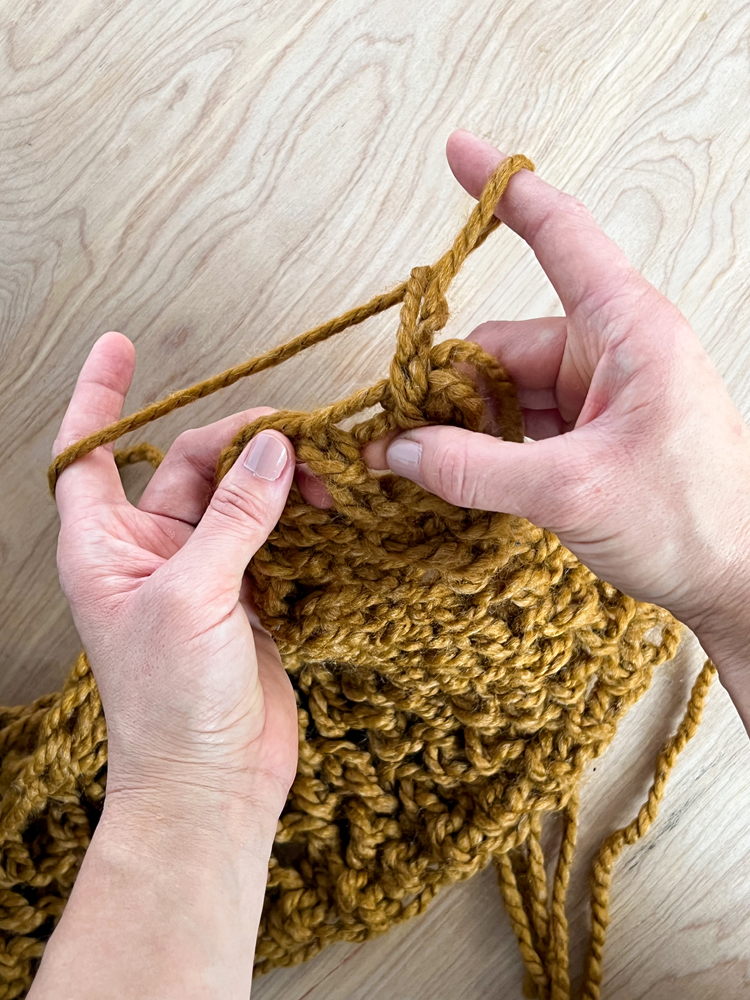
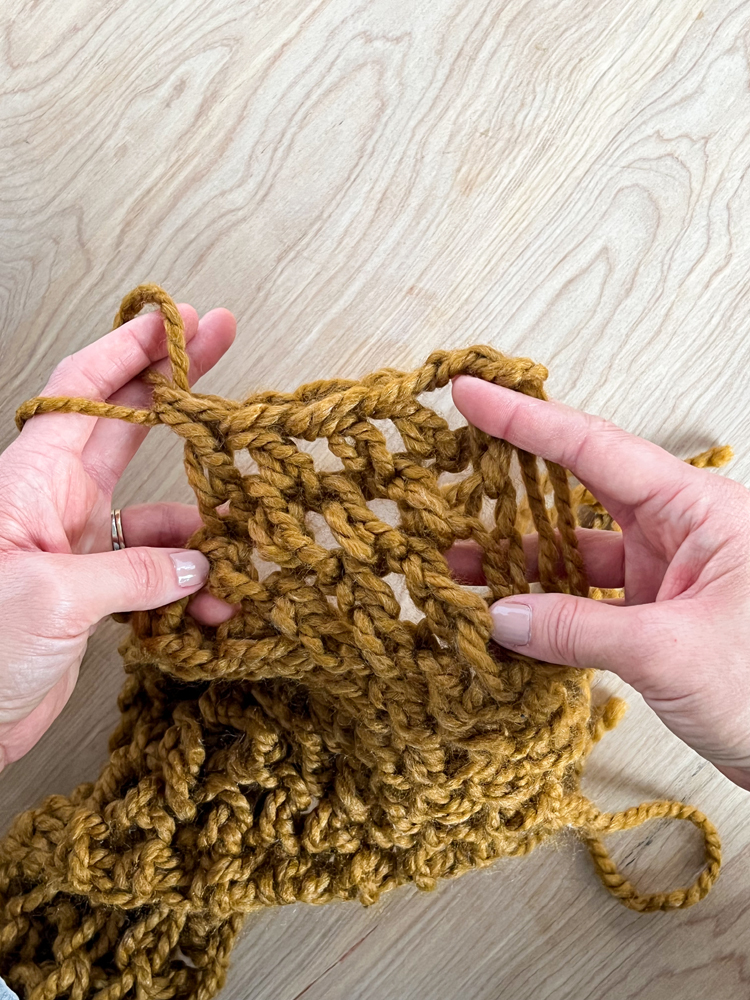
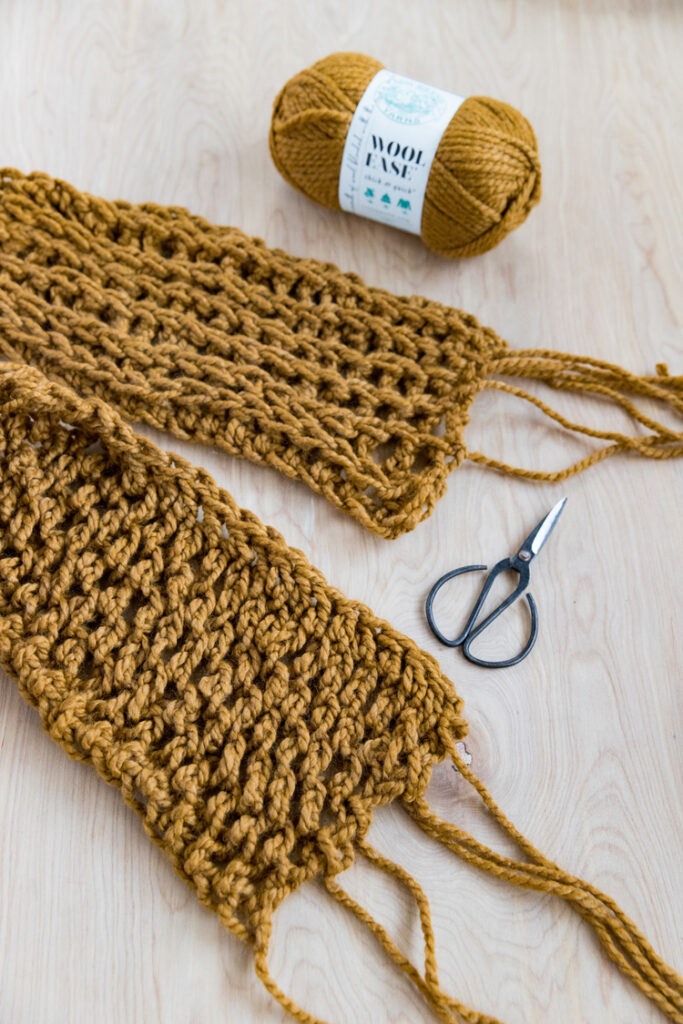
To make this blanket design a step up from completely basic, I decided to work the bulk of the rows with double crochet stitches worked in the third stitch (I explain this more in the tutorial). This creates a beautiful knitted look to one side of the blanket and almost a purl-like look to the back.
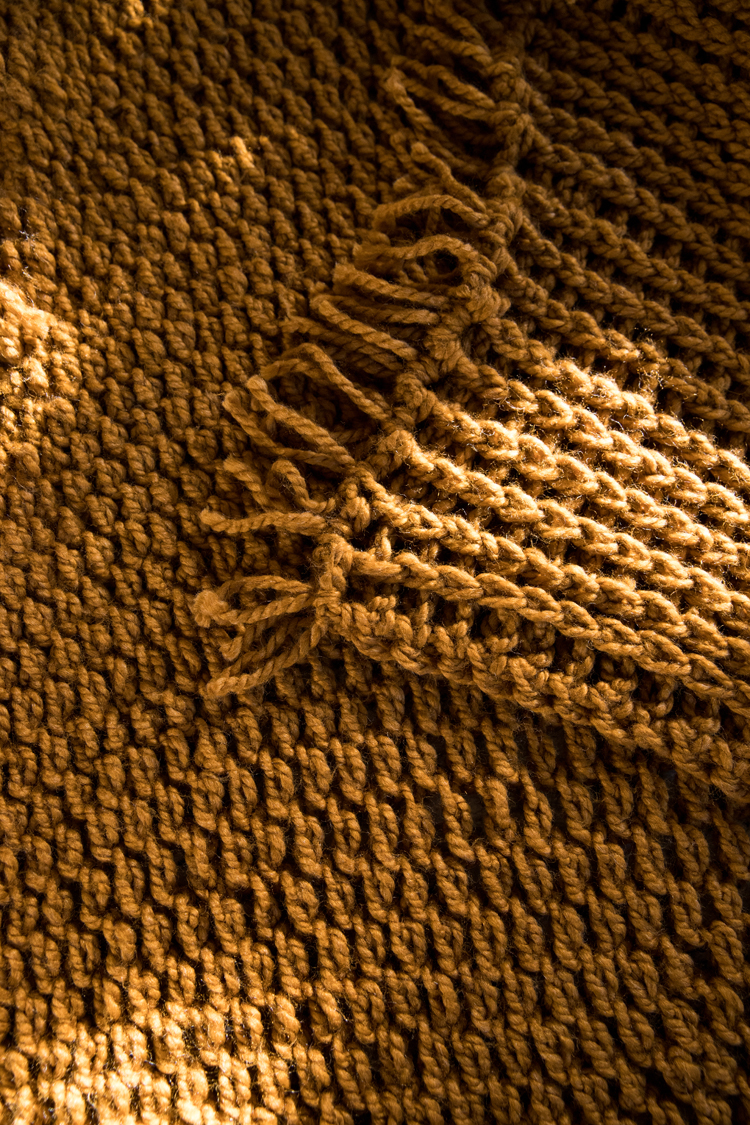
And to have to avoid tying in ANY ends at the end of the rows (my least favorite crochet chore), I made all the ends into a cute fringe detail instead. You’re welcome. 😉
Let’s get started.
MATERIALS
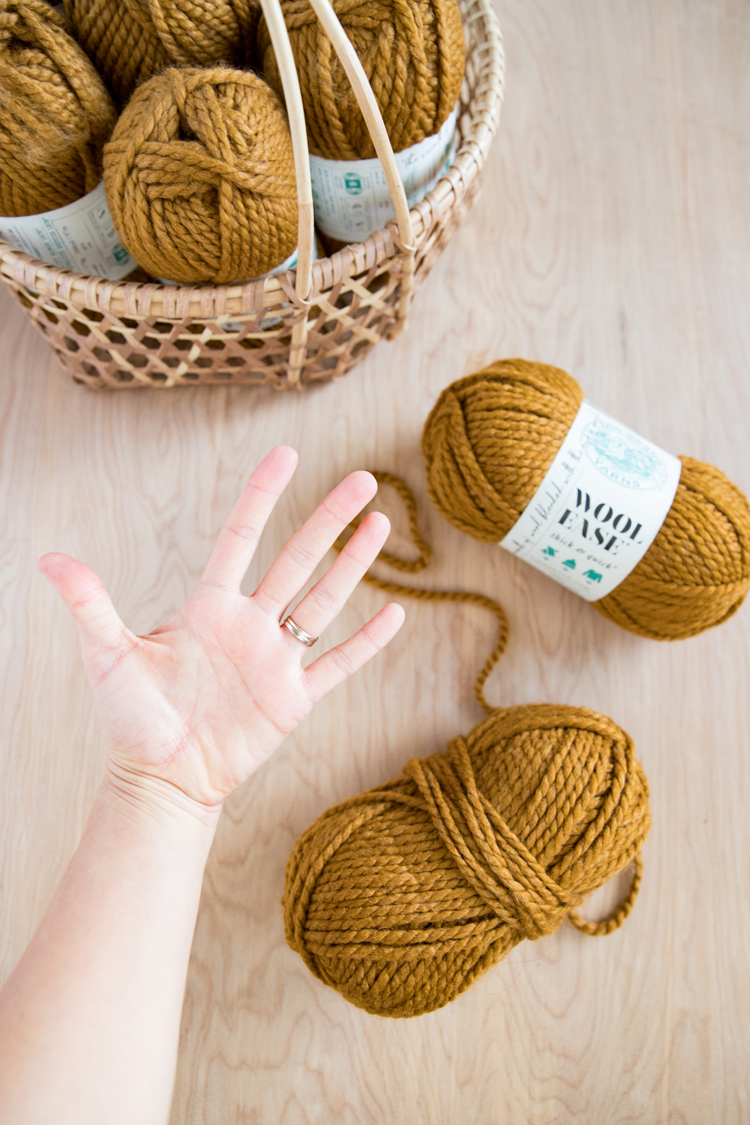
- Super Bulky Yarn (about 1600g + extra for waste, fringe, etc.)*
- Scissors
- Just your fingers! 🙂
Material Notes:
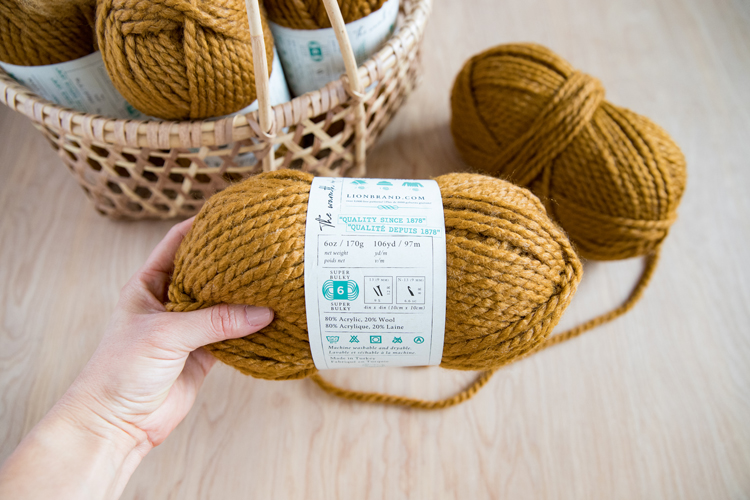
*I used about ten balls of Wool Ease Thick and Quick yarn from Lion Brand in “Flax.” Really, I used just a hair over 9 balls (weight wise) in the final blanket, but there is some waste when adding the fringe, and if you want to avoid having to tie ends together as much as possible, it’s just easier to get 10 balls and have some scraps leftover.
If you want to change the proportions of this blanket, you’ll need to adjust the amount of yarn you’ll need.
BLANKET SIZE
This blanket is super stretchy so I think it will be more helpful to give an approximate size range:
42-48 inches wide by 60-65 inches long (not including the fringe)
You can of course add more stitches or rows to make it bigger. Just be mindful that this blanket is already relatively heavy at this size. It makes for a nice lightweight-weighted blanket…is that a thing? Ha!
My final blanket was just under 1600g so about 3.5 pounds for a small throw.
VIDEO TUTORIAL
If it has not already popped to the top or side of your screen, see below: (and if it has, this section will be blank). The tutorial will show after the initial ads.
Please note: I am right handed, so I show everything with my right hand as the dominant hand/ “hook.” I wish I was ambidextrous and able to show you how to use your left hand as the dominant hand as well, but I can’t. Sorry!
GAUGE
4 x 4 inch square = 5 double crochet x 4 rows (a little stretched out…like if I were blocking it)
I encourage you to take this gauge measurement as an approximate because hands and fingers are all different sizes. You can’t do much to change the gauge because you can’t change your hands. You can loosen your tension or tighten it up to help adjust the gauge, but don’t stress too much if it’s different than mine.
Just be mindful that if it is very different than mine, you may need to adjust the amount of stitches or rows you work to get the size blanket you want.
ABBREVIATIONS
- ch = chain
- dc = double crochet
- sl st = slip stitch
- sc = single crochet
WRITTEN PATTERN
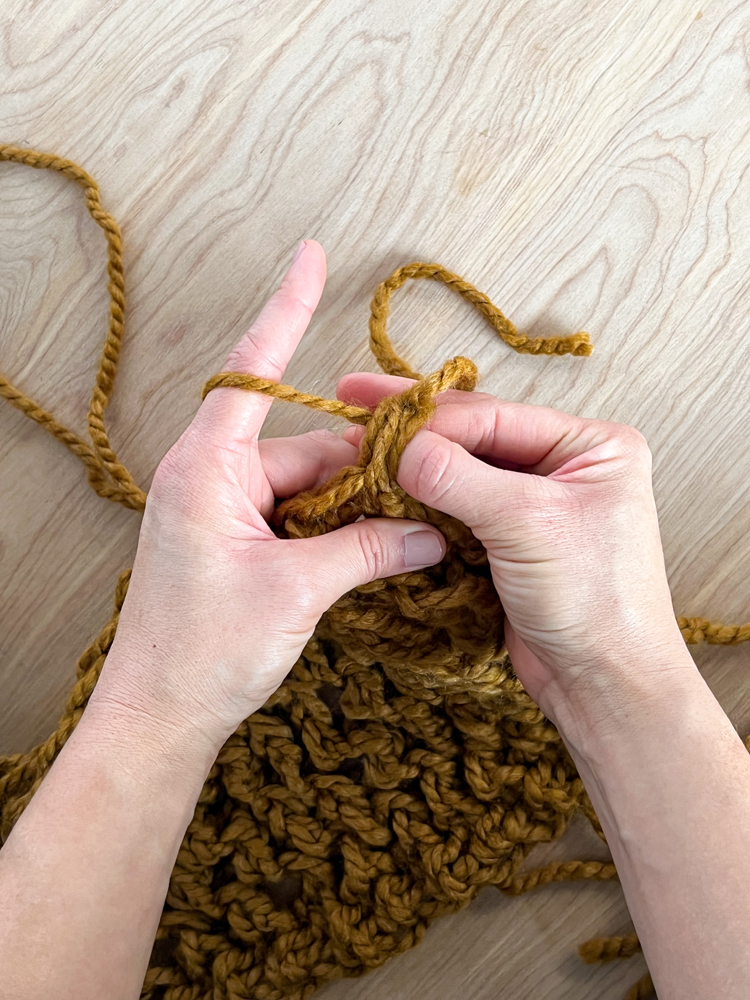
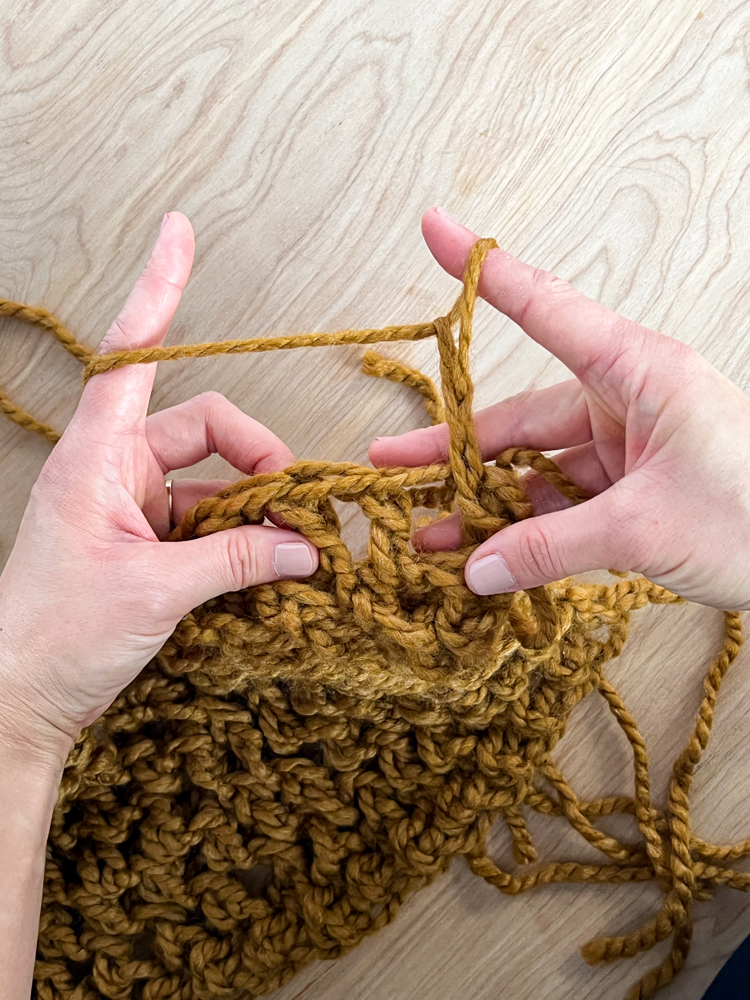
NOTE: For a tutorial on how to finger crochet and work in the third loop, see the video.
Ch 76.
Row 1: Turn, dc in third chain from end (first two chains will count as one dc). Work 73 more dc for the rest of the row. (75, including ch 2)
Row 2: Turn, ch 2. Work dc in the third loop 73 times. Work regular dc in last stitch. (75) Tie off end, leaving a 6-8 inch tail.
Row 3: Create a slip knot, sl st into the top of the ch 2 from the beginning of the previous row. Working with the raised top loop texture to the back, away from you, ch 2. Dc in third loop 73 times. Regular dc in the last stitch. (75) Tie off end, leaving a 6-8 inch tail.
Row 4- 44: Repeat Row 3.
Row 45: Create a slip knot, sl st into the top of the ch 2 from the beginning of the previous row. Working with the raised top loop texture to the back, away from you, ch 1. Sc in each stitch in the row. (75) Tie off end, leaving a 6-8 inch tail.
WEIGHING TRICK
If you want to try to avoid having to tie two ends together when you run out of yarn in the middle of a row, you can weigh the remaining yarn to see if you’ll have enough.
- Weigh a fresh new ball of yarn, a kitchen scale works best. Even though it’s new and the weight is listed on the label, sometimes it can be off of the label weight by a few grams either way.
- Crochet a row.
- Weigh the ball of yarn again, to see how much yarn you used.
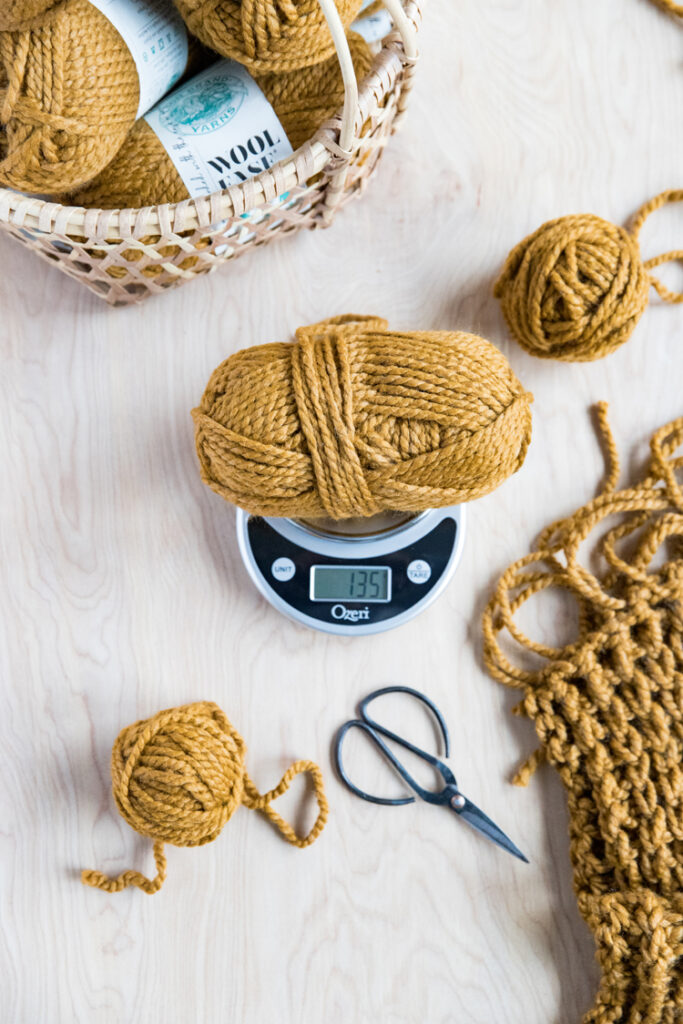
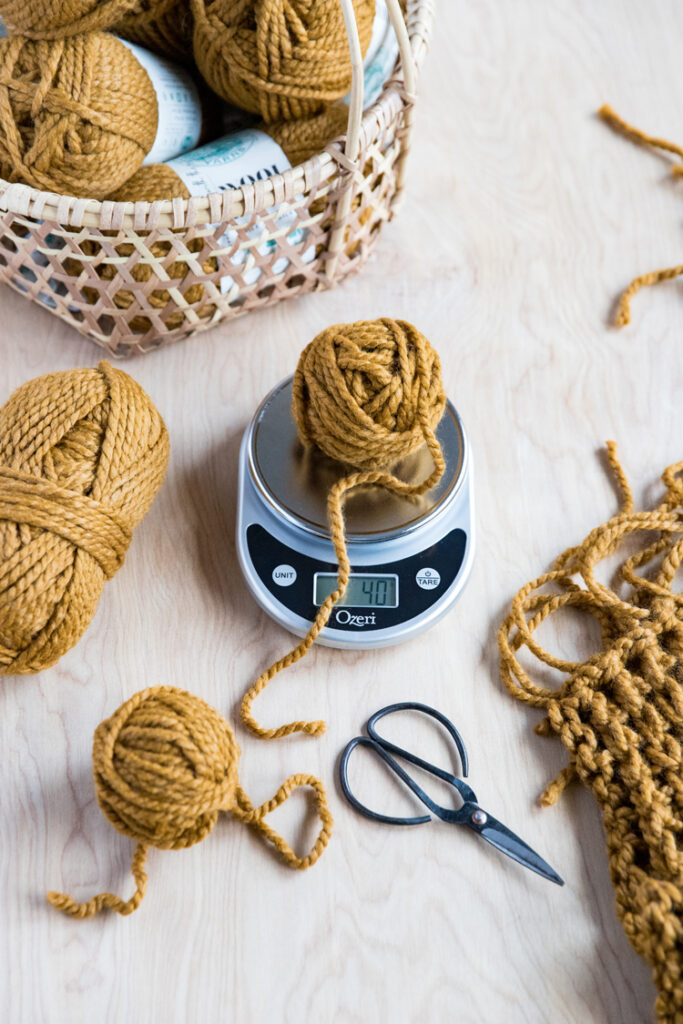
I found that each of my dc in third loop rows used about 40 g of yarn. (I know this seems off from the final blanket weight, but I think a lot weight gets trimmed off in the fringe step?)
NOTE: If you do have to tie ends together (I had to a few times), I highly recommend a tail-less, magic knot join. You can find loads of tutorials for this on Youtube.
ADDING FRINGE
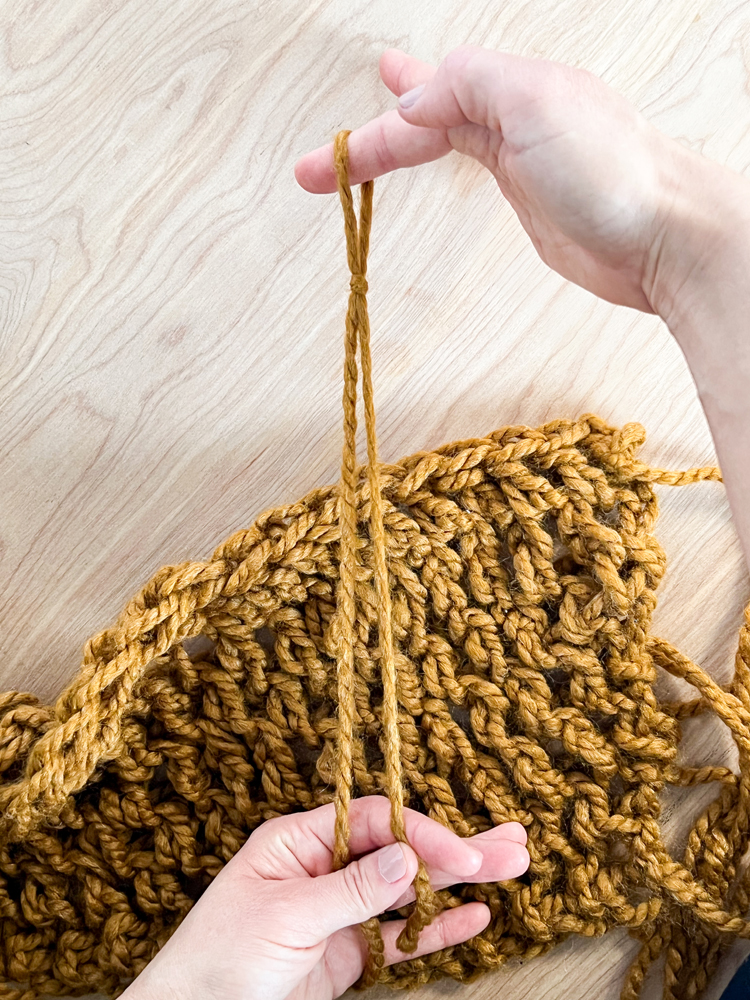
Instead of tying ends in, I decided to make all the tied off ends a cute fringe!
To make it nice and full, we need to add more yarn.
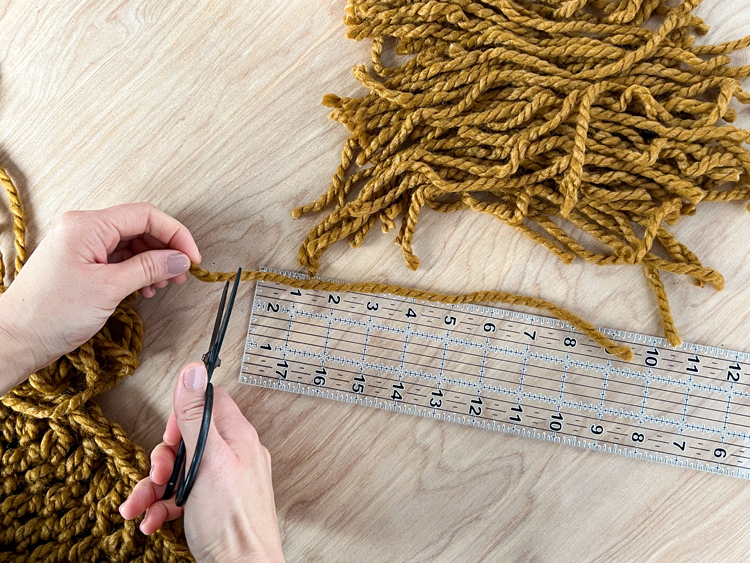
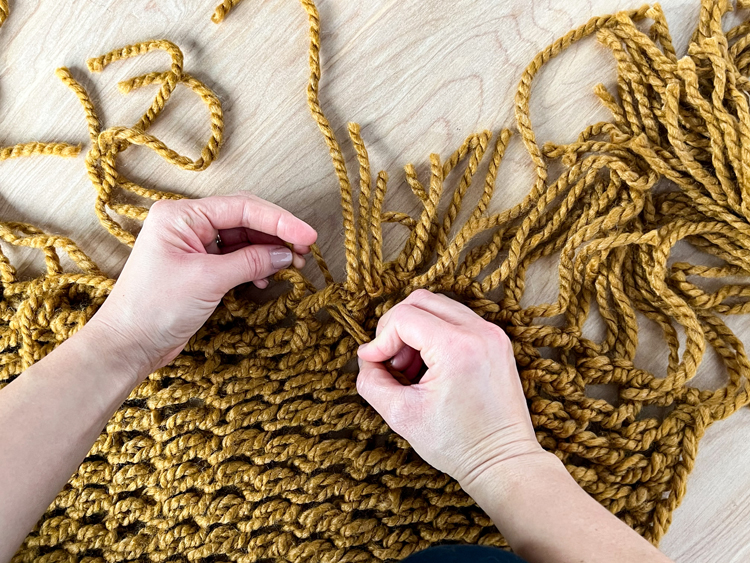
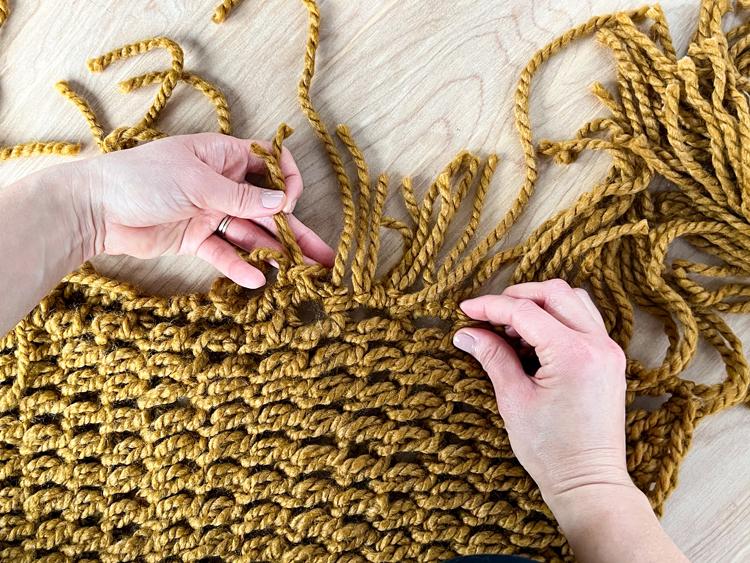
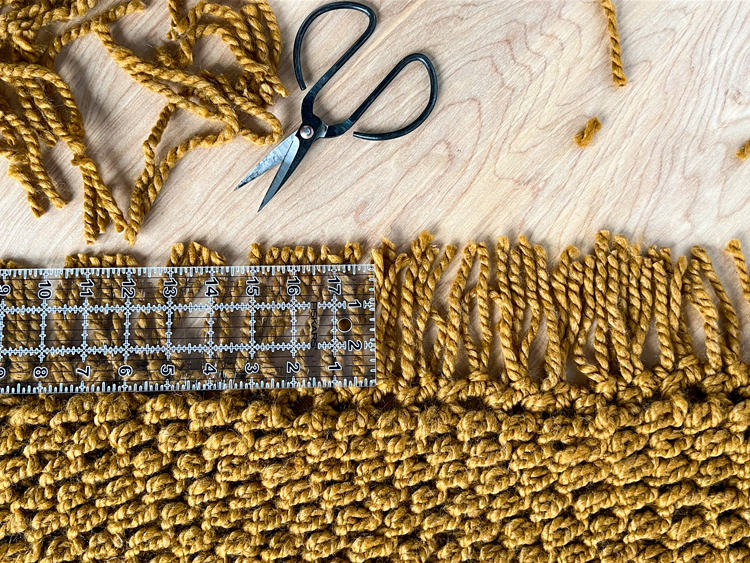
Cut 90 pieces of yarn about 8 inches long. This is a great way to use up all the scrap yarn balls that are too small to complete a row.
Using a strap hitch knot (see video tutorial), tie each piece of yarn to each side/end of the 45 rows (45 + 45 = 90).
Then trim the tied on yarn and tied off tails together into a uniform fringe about 3 inches long.
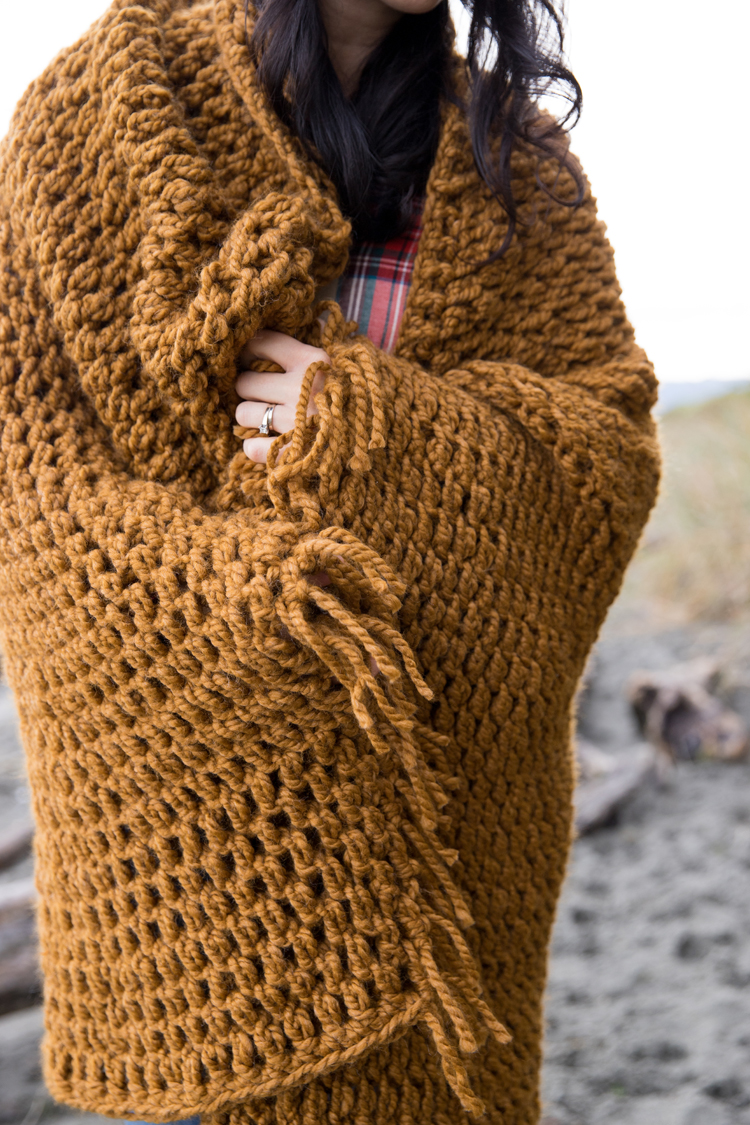
All done!
Special Considerations:
Because this blanket is worked in one direction…kind of like a type writer. The stitches are always worked to the left of the stitches from the previous row, instead of alternating like it would if we turned and work it from both sides.
This will cause the blanket to slant or stretch diagonally, especially when it’s picked up at one corner. As you near the completion of the blanket, this slanting subsides and the blanket will square up. Just BE SURE you are working 75 stitches in each row and that the slanting is not due to some extra or missed stitches.
I designed the blanket to be worked up this way to preserve the knitted texture so that it would be uniform and give max chunky top loop texture.
Alternatively, you can turn your work at each row and still work in the third stitch from the front and the back. It won’t be as uniform looking (and in my opinion, as pretty), but you shouldn’t experience any slanting.
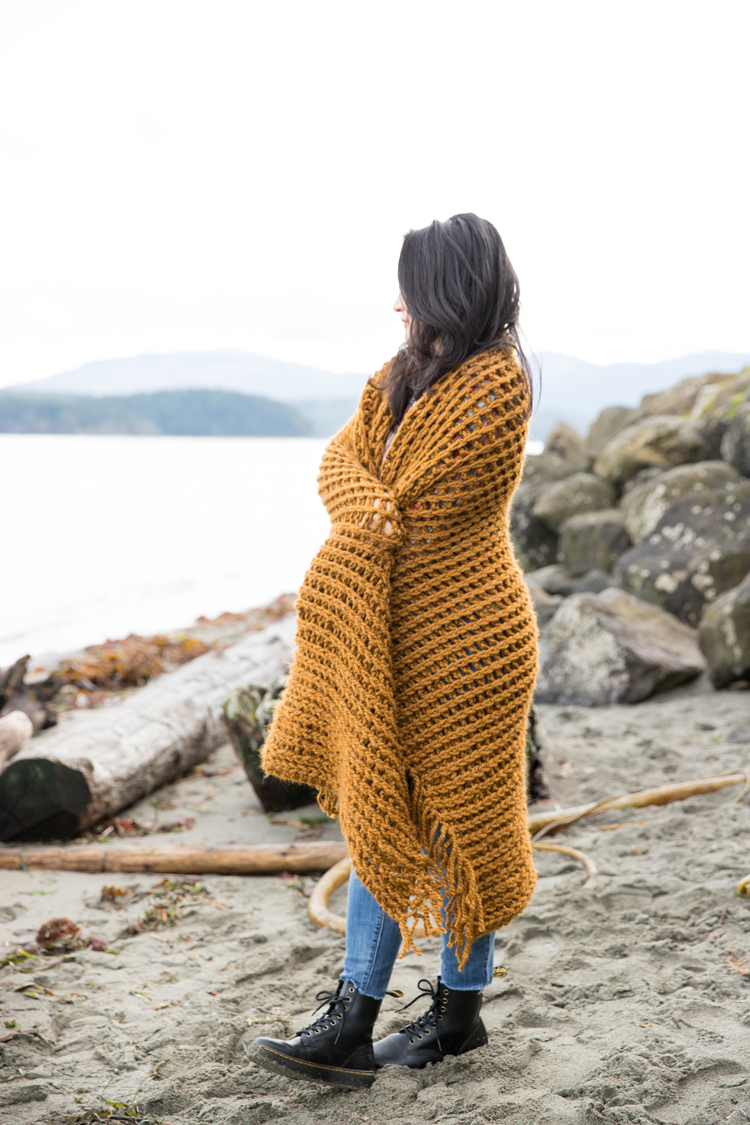
Now that you’re a finger crochet pro, check out THIS finger crocheted scarf that will be a breeze to whip up after this blanket!
Or if you’re ready to learn how to crochet with a hook, I have a Crochet Basics series that breaks it all down from how to hold your hook, to what yarn to use, to chaining, etc.


Love it! Not sure if I can do this because of arthritis, but who knows unless I try. I tried to sign up for your newsletter, I was unsuccessful, so sent you an email, which was returned to me because the email address is no longer correct. Is there another way to sign up for your newsletter? Thanks!
Thanks Nancy! So sorry for the email trouble. I do not currently have a newsletter, but my email address should work: [email protected]
I love this blanket and your directions are so helpful. I’m wondering what hook size I would use if I didn’t do the finger method? Thank you for your help.
That’s a really good question. I’m not sure. I suppose maybe a size P hook…but that’s a guess.
Hi Delia, thanks so much for this tutorial, I can’t wait to try it out! I just wanted to ask, about how long did it take you to make this blanket from start to finish?
Hi Stephanie,
So sorry for my crazy delayed response. Your comment erroneously got lumped in with spam comments which I’m cleaning out right now. It’s been a while, but I think it took me about a week with a lot of interruptions. I wish I had a better answer for you and that I kept better track of the actual crocheting time it took. It’s pretty quick for a blanket though.
Delia