The last minute Halloween costume rush is an all to familiar scene for me. The night before, or sometimes even the night of, my child finally decides on what they want to be for Halloween; giving me close to no time to prepare. This tutorial is for moments like those, or for those times when you’d rather only spend five minutes on something they’ll wear just once! 😉
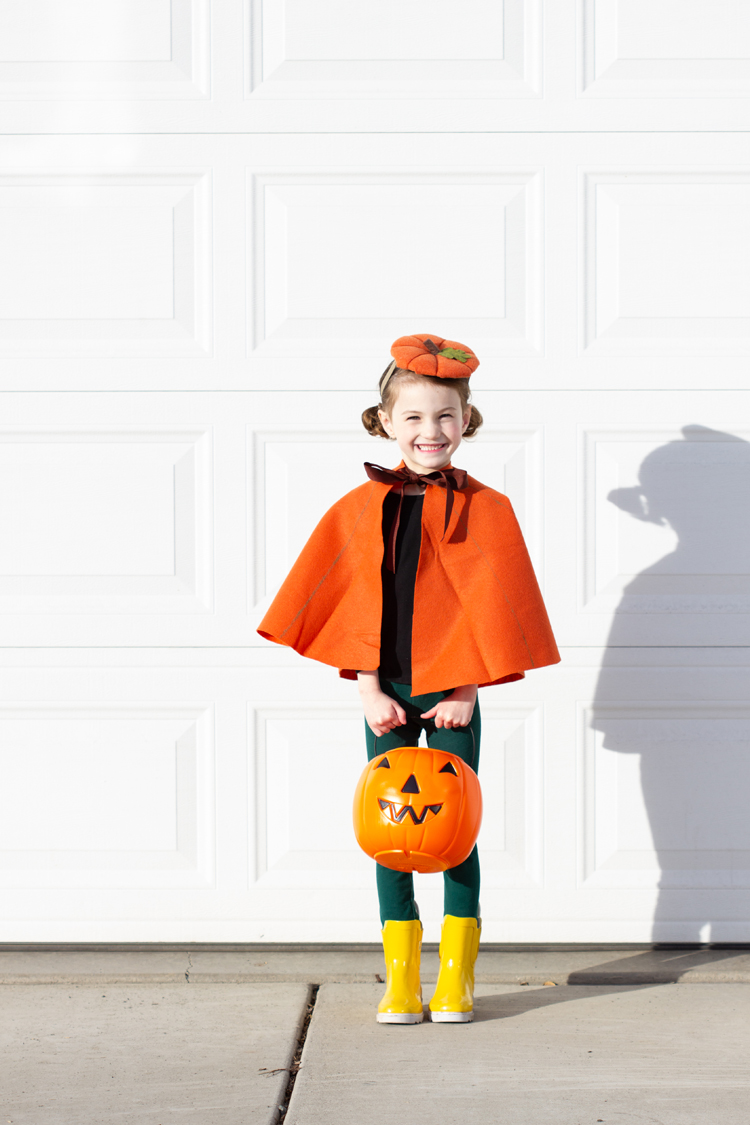
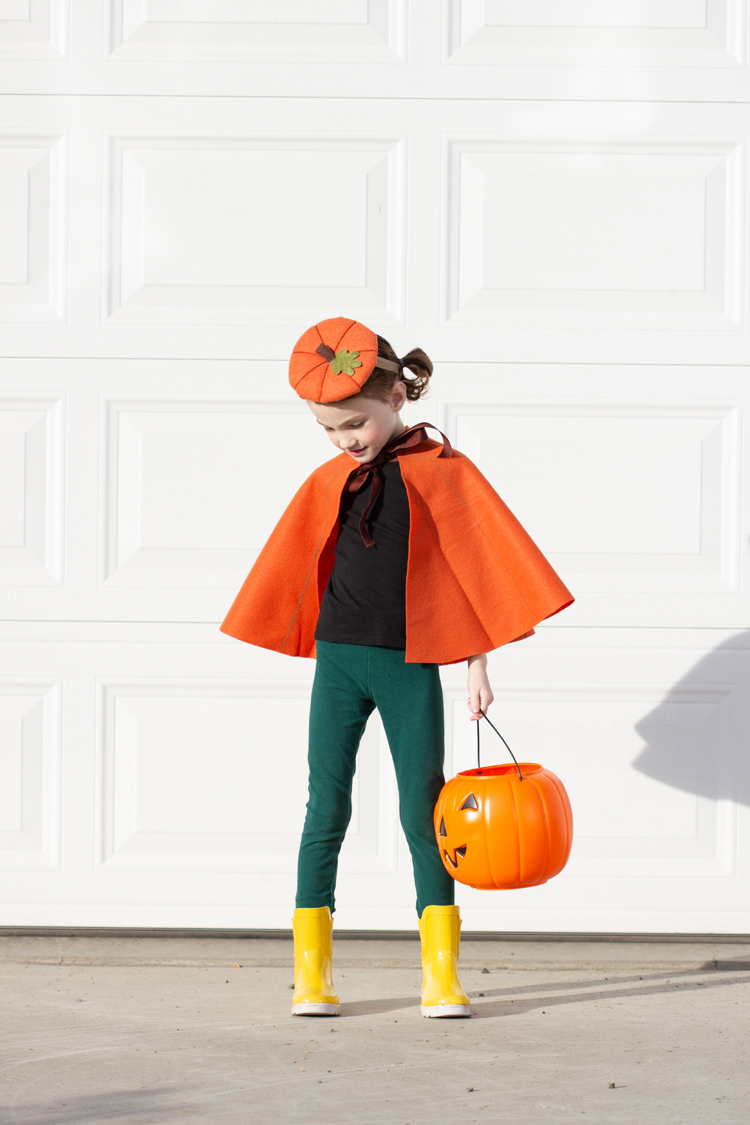
This easy, no sew felt costume cape is inspired by the felt pineapple poncho I made for my daughter when she was two. If you want a quick easy costume that doesn’t tie around the neck, that is a great solution. It’s also very similar to fleece the spider web cape I made for my daughter the year prior, but without the time consuming cutting.
You can make it in almost any color for almost any costume. Just add animal ears or a hat!… A gray cape for a mouse. A pink cape for a pig. A green cape with a flower hat. There are so many possibilities!
I’m going to show you how to make one for a small child (around age 2-6), but I’ll give ideas at the end for ways to make a larger one as well.
If you want to see video of me making one, I’m also sharing this in my stories on Instagram for my new series #MakeItInMinutesMonday. I’m @deliacreates over there. It’s also saved to the MiiMM highlights.
MATERIALS
- 1 yard of felt off the bolt*
- fabric scissors
- chalk/markers
- ruler
- 1 yard of ribbon, cut into two, 18 inch long pieces
- hot glue and glue gun
*Most felt sold on the bolt comes 72 inches wide. You need a 36 inch square of felt, so 1 yard of felt will yield two child-sized capes.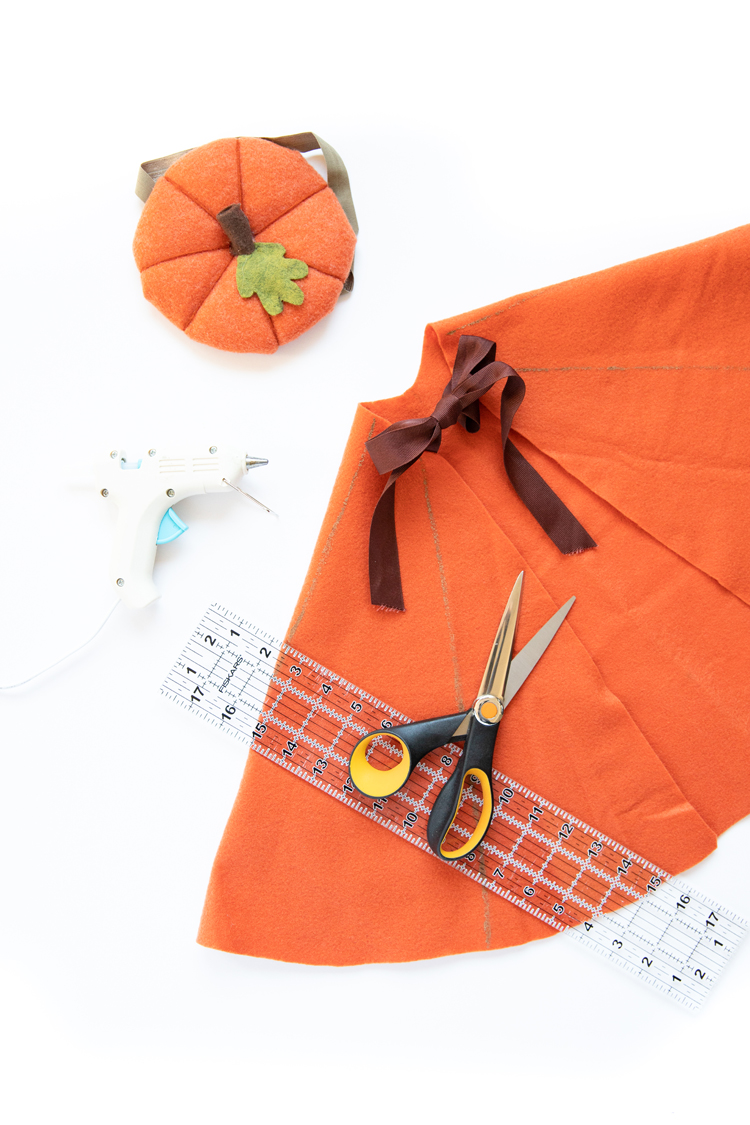 TIP: I like to use sidewalk chalk when marking fabric. It has most likely gotten wet and then dried, which makes it soft and great for writing on fabric without stretching it. It is less precise, because it’s so bulky, but that won’t matter for this project.
TUTORIAL
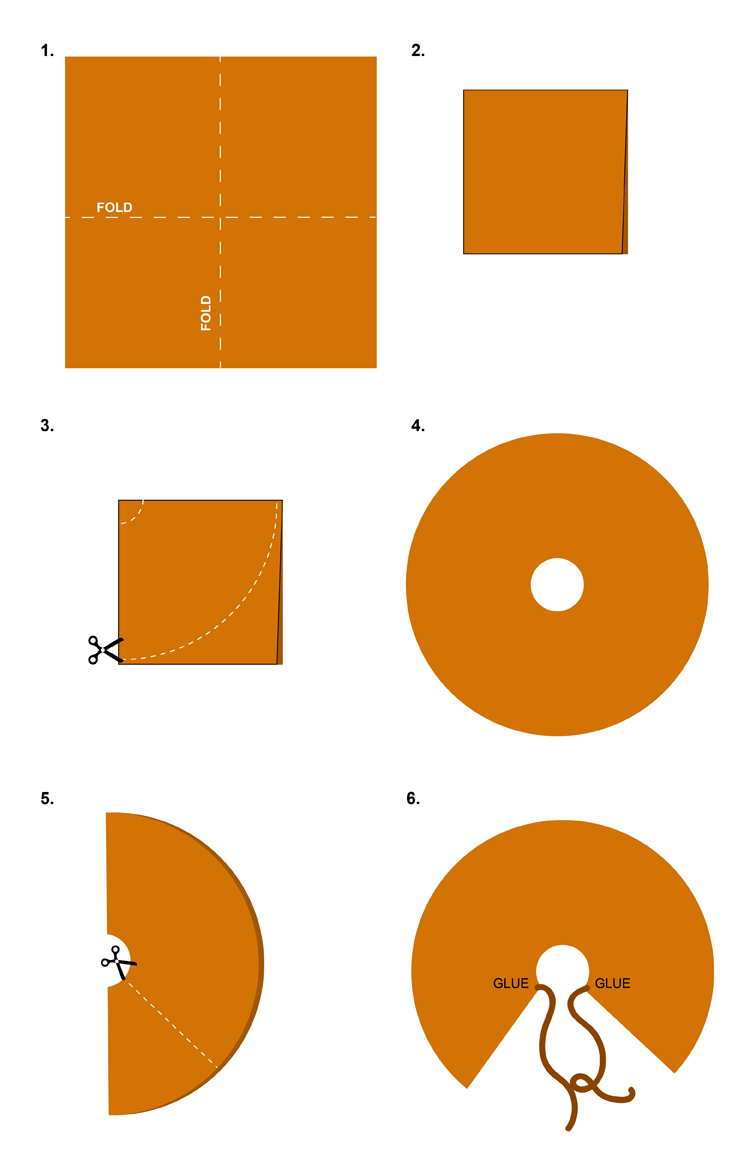
- Cut your yard of felt down to a 36 x 36 inch square.
- Fold the 36 x 36 inch square of felt into quarters.
- Using a ruler, mark out a quarter circle arch 18 inches (radius) from the folded corner for the bottom of the cape and 2 inches from the corner for the neck of the cape. I pivot the ruler around a little bit like a protractor, making dashes with each move, and then connect those dashes into a solid line. Then cut along those lines.
- When you open up your felt, you should have what looks like a giant donut.
- Fold the circle again, in half once. Mark a line from the neck to the bottom, and cut away about 1/3 of the volume of the cape.
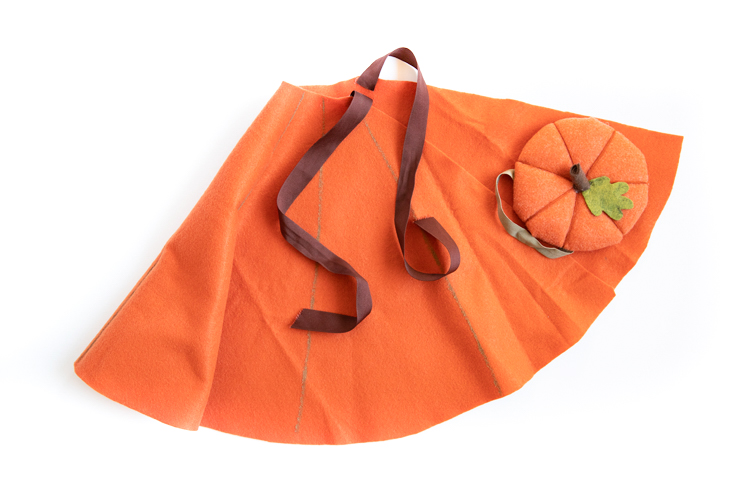
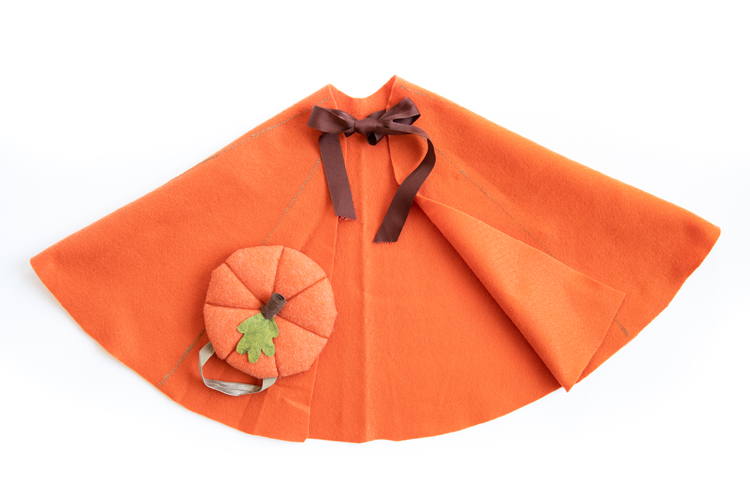
- Open up the cape and hot glue the ribbon to the corners of the neck opening.
Optional: Paint on details with inexpensive acrylic craft paint.
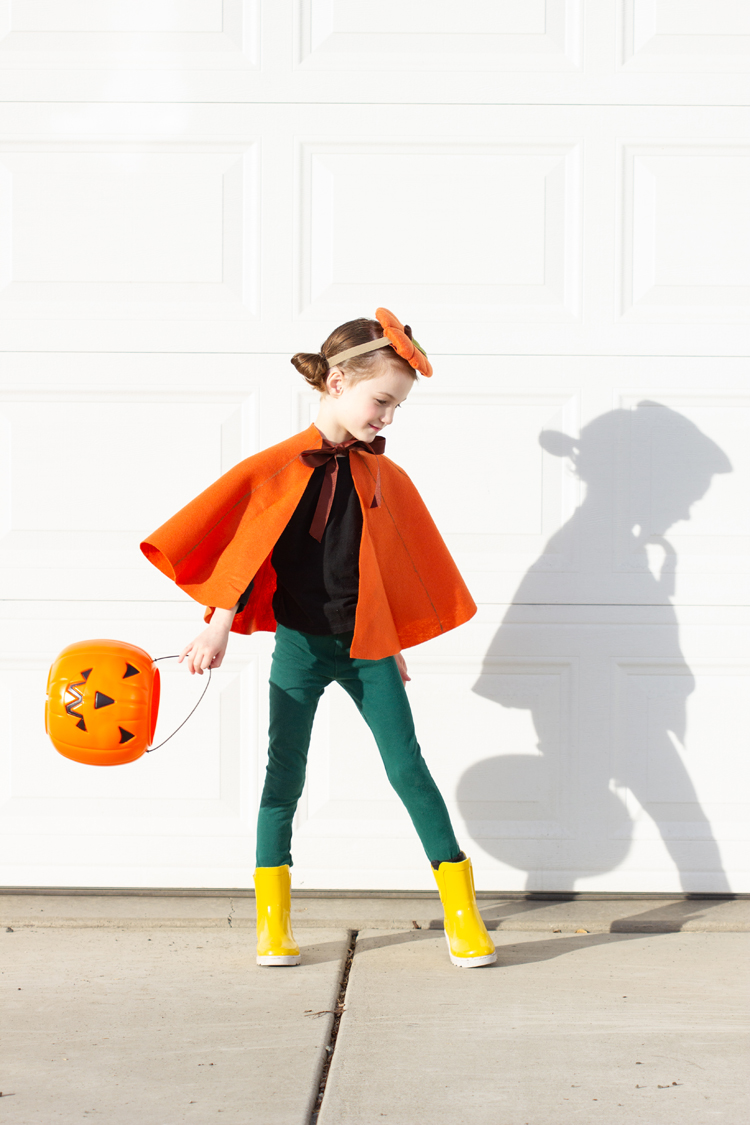
Easy peasy! You have a great costume in just minutes with no special tools required.
I love that they go so effortlessly over jackets, so that they don’t have to cover up their costume just to go trick or treating. It also keeps them a little warmer!
To Size Up
*To make the cape larger, buy two yards of felt, divided into two, 1 yard x 72 inch wide pieces. Sew them together so that you end up with a rectangle approximately 71 inches x 72 inches. Measure from the nape of your neck, down to where you want the cape to to end and use that as your radius measurement. For the neck you, cut a circle with a 3 inch radius.
*You can also use fleece instead. It’s stretchy, and a little harder to cut, but it comes in widths of 55-60 inches.
Hat Tutorial
If you want to add a hat like this pumpkin hat, this tutorial shows you how.
I also have a pineapple version in this post.
Or make a witch hat in any size with THIS easy sewing tutorial!
If you crochet, I have a free crocheted cat mask pattern as well.


Thank you so much for making this look so simple. I’m going to try to make a detective cape/cloak for Halloween for my daughter
I love that idea!