In my last post I showed you a video tutorial on how to turn your pants into cute little overall shorts.
Now, I’m going to share another version… this time with more traditional overall buckles and and not so traditional elastic.
You can certainly use denim for the straps. I used elastic because I didn’t have enough material left over from my pants, and I would want the denim to be an exact match. This can happen if you are up-cycling skinny jeans to make your overalls. The cut off pant legs just don’t yield enough fabric after making the bib (front panel) and the pocket.
Elastic straps are not really a concession in my eyes though. They make sizing the straps easier. Elastic straps are more comfortable and stay on better. You don’t have to hem them, or finish them. Am I winning you over to the elastic side yet? 😉
My daughter actually prefers these overalls over the originals because they’re a little easier for her to manage too.
The only catch is that you will most likely have to order some of the supplies. I’ll share some links and sourcing tips that will hopefully make that easier for you.
Let’s get to it!
MATERIALS
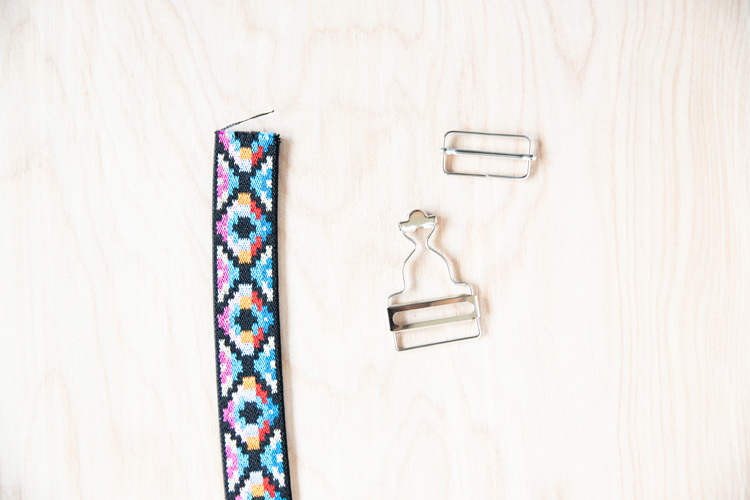
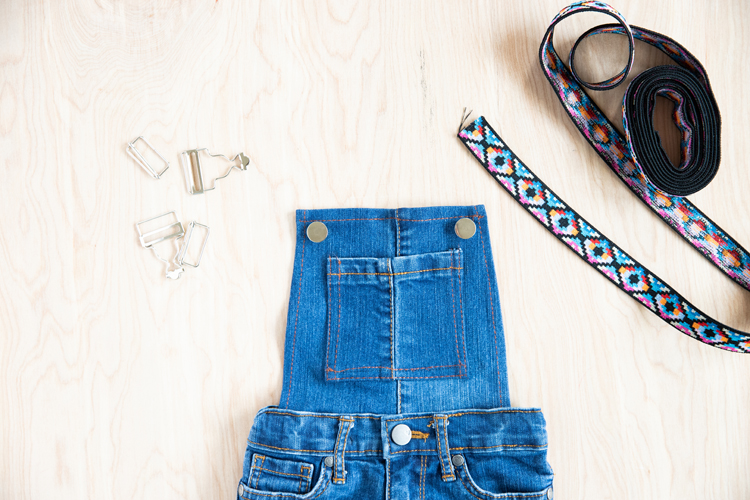
- 2 overall buckles*
- 1 inch wide elastic, at least two yards**
- Matching and contrasting thread***
- Basic sewing supplies and sewing machine
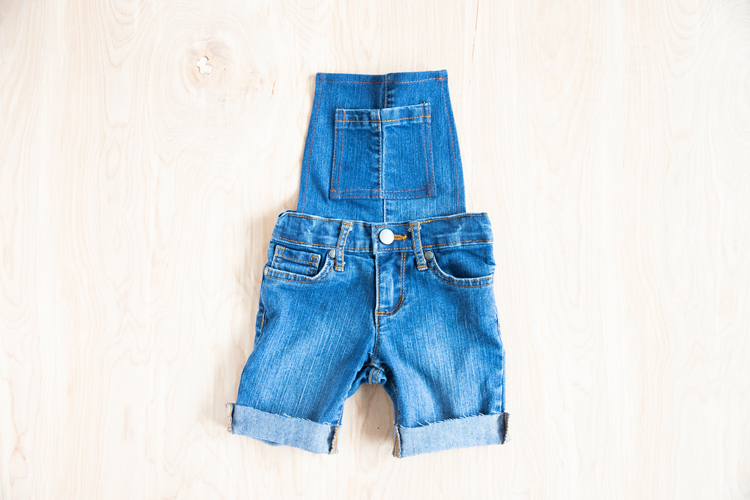
- An almost completed up-cycled pair of overalls
MATERIALS NOTES:
*I checked two Jo-Ann locations before I discovered that many locations do not carry the overall buckle hardware anymore. Boo. Don’t worry though. Here’s an Amazon link to where I purchased mine (affiliate link – doesn’t affect your price). It comes with two sets, so you can make another pair ;).
You can also try to reuse buckles from a thrifted pair of overalls.
**You can use any kind of 1 inch wide elastic, but to make your overalls really stand out, I found a really cool etsy shop that sells unique elastic. It’s called StrapCrafts. Here’s a link to the elastic that I used for this tutorial. (not sponsored) It is nice and smooth, and really nice quality.
The length you need will depend on the size of your overalls. For most children’s sizes, about 2 yards should be enough. Adult sizes may need around 3 yards.
***As I explained in my original overalls tutorial, using matching and contrasting thread makes a big difference in the look of the finished project. Don’t skimp here.
TUTORIAL
Step One: Prepare the overalls.
Follow my pants to overalls tutorial until you get to the straps step.
Remember to use a contrasting thread that matches (as closely as possible) the original contrasting thread on the pants.
Tip: Instead of using thicker denim thread, I simply use a triple stitch on my machine, to get a thicker line of stitching.
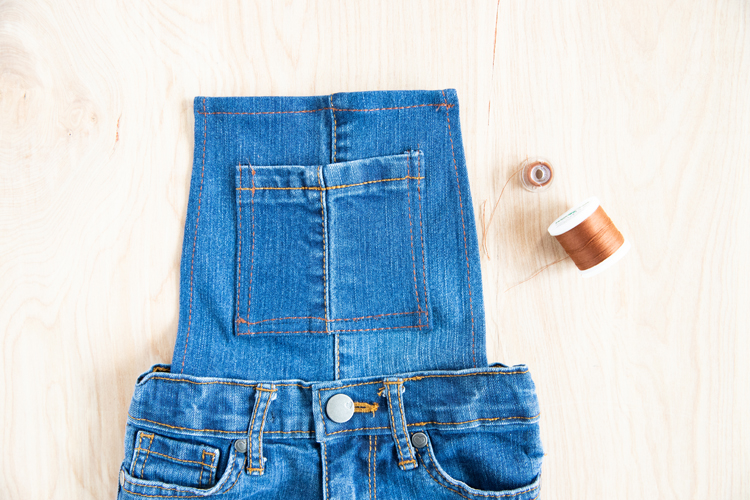
Contrasting thread should be use to hem the sides and top of the bib, and to hem all sides of the pocket.
Matching thread should be use to secure the pocket with an extra line of stitching, to attach the bib to the front of the pants (now shorts), and to attach the straps.
I explain all of this in more detail in the overalls to pants tutorial found HERE.
Step Two: Measure your straps.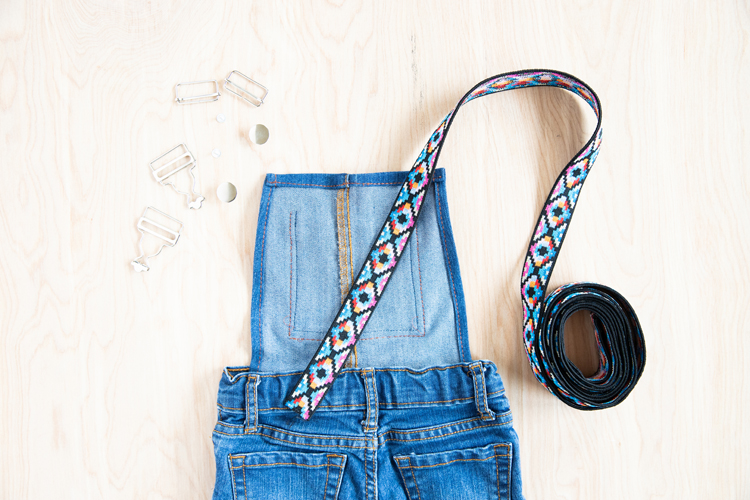
Strap = back waistband to opposite top side of bib + 5 inches
The best way to get a good fit, is to try your overalls on your model. Using your measuring tape, measure from about 1.5-2 inches to the side of the middle belt loop and cross it over to the top of the bib on the opposite side. Then add 5 inches to that measurement.
If you aren’t able to fit the overalls on your model beforehand, it is okay to lay it out and estimate. I would advise being generous with the length. Extra length can either be adjusted into the straps, or trimmed back later.
Step Three: Attach buckles to straps.
For each strap, you should have buckle hardware and slide hardware.
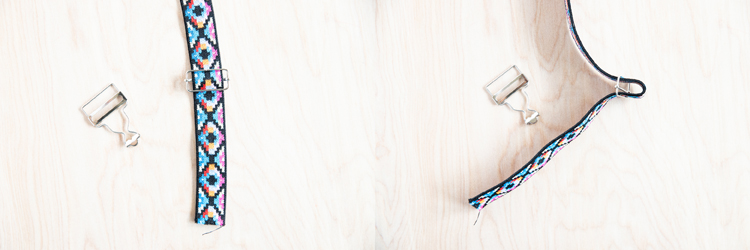
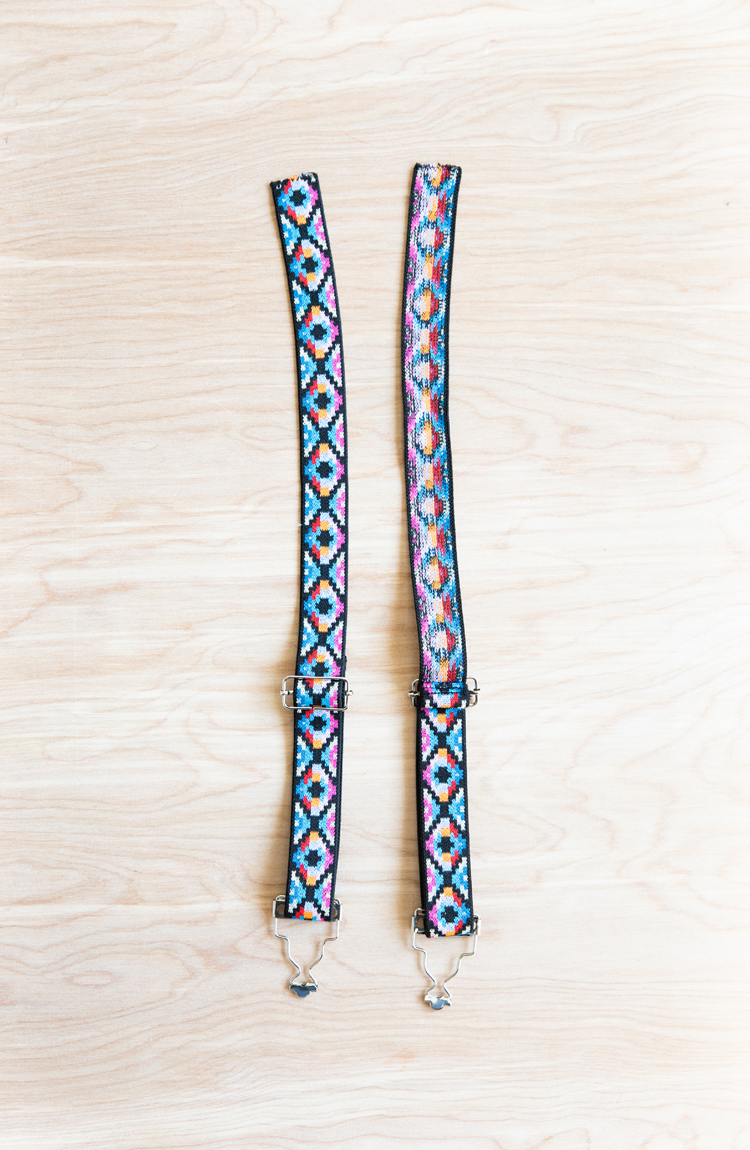
Weave the strap through the slide hardware so that the center bar in the slide is covered by the strap.
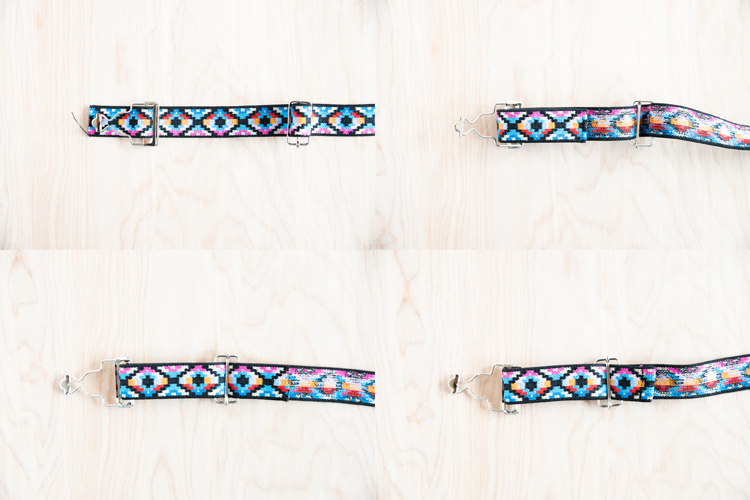
Weave the strap through the buckle hardware in the same way.
Flip the strap and buckle over so the wrong side of the elastic is facing up.
Now, fold the strap over and weave it through the slide hardware, behind the already threaded portion of the strap.
Fold the raw edge of the strap under and hem it. This will keep the edge of the strap from fraying and it will keep it sliding out the of the buckle.
Repeat for the second strap.
Step Four: Add button hardware to overalls.
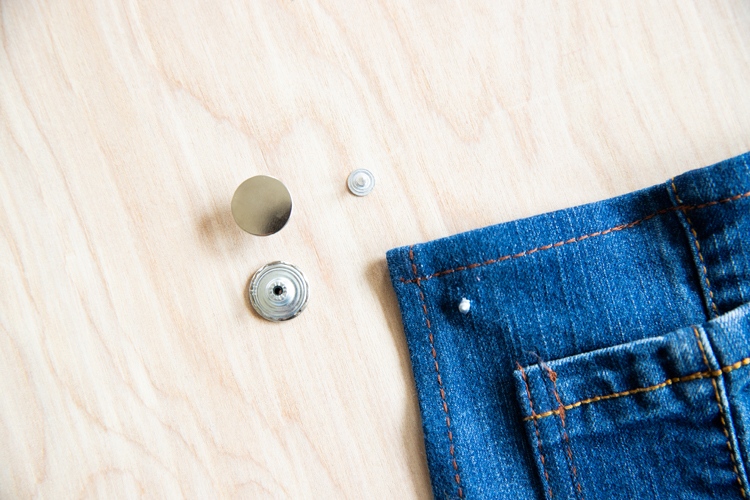
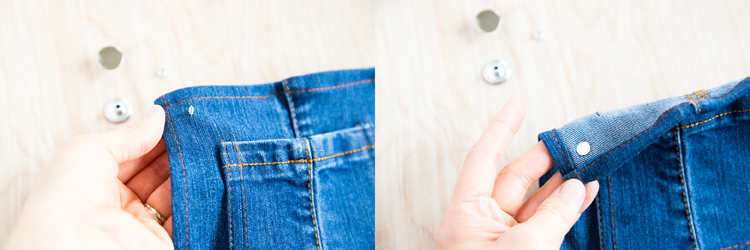
Poke a very small hole at each top corner of the overall bibs. Each hole should be about 1 inch away from the top and nearest side of the bib, and should only be large enough for the screw like piece to poke through.
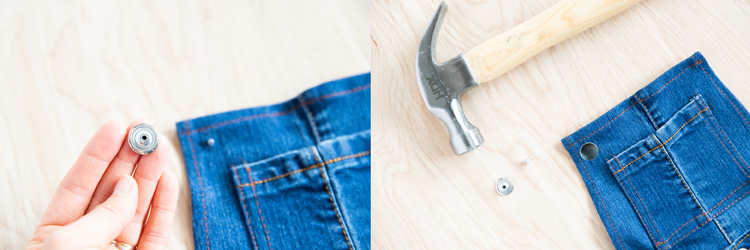
Place the screw like piece into the hole, from the back to the front. Place the button shank on top of the screw and hammer it in place.
The buttons just need a few nice firm pounds to secure them, and you shouldn’t need to hammer them so hard that you damage the button shanks. If you are still worried about possible damage, you can place a thin towel over them to protect the button.
Step Five: Sew on the straps.
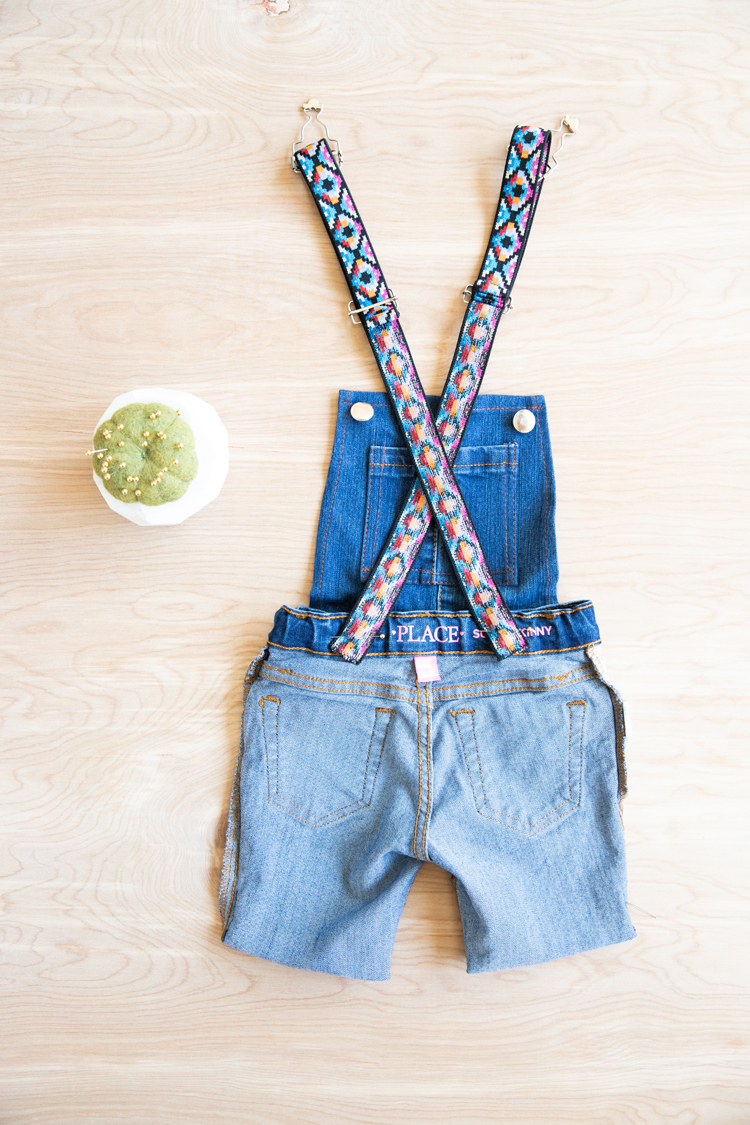
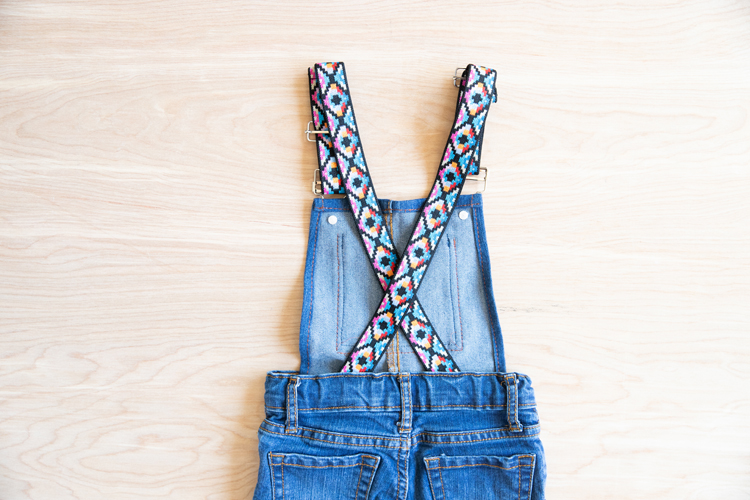
Turn the overalls inside out. Place the straps about 1.5-2 inches to the side of the center back loop of the jeans.
You may have to adjust this measurement if the jeans you are using are smaller or larger. For reference, these are size 5T jeans.
Angle the straps slightly to encourage them to cross over the back.
Secure with two lines of stitching over the elastic strap, at the top and bottom of the waistband.
Turn the overalls right side out, hook them on, and you’re ready to play!


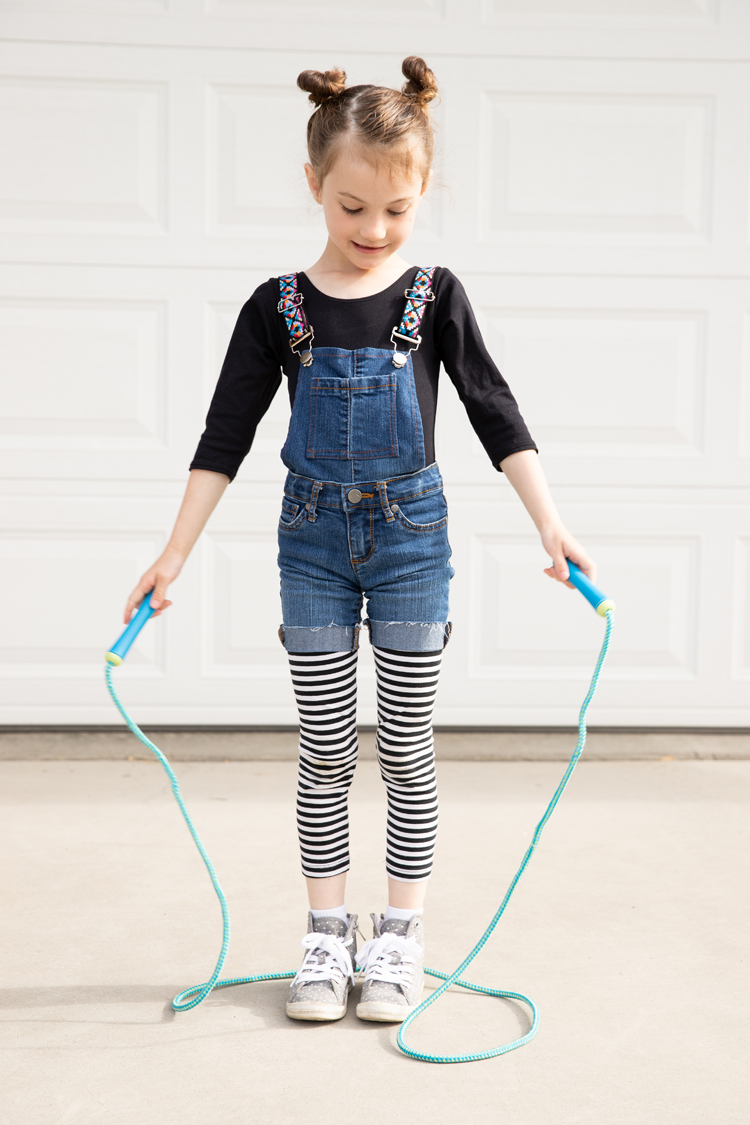
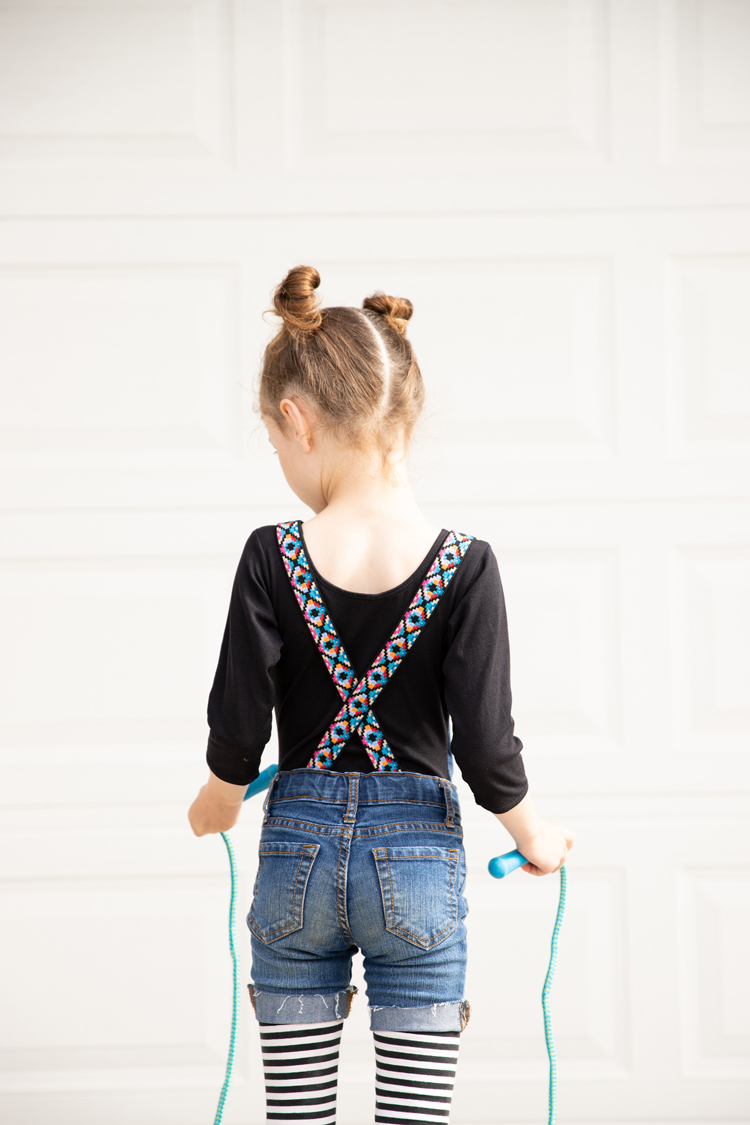
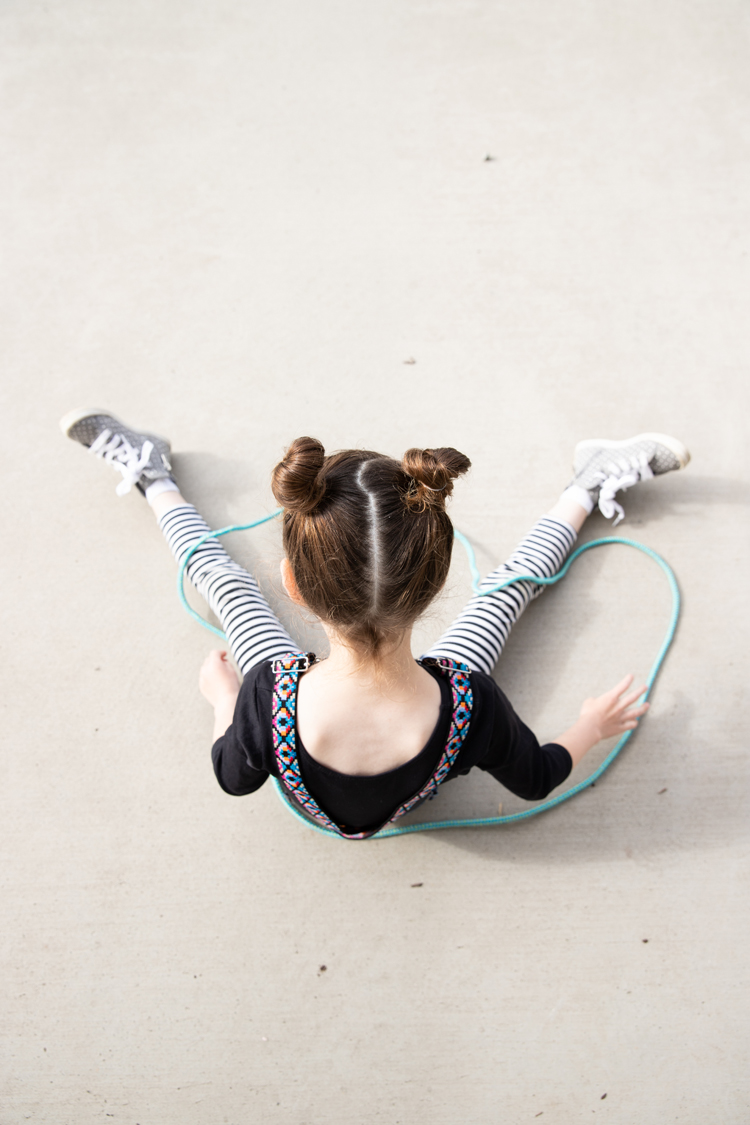
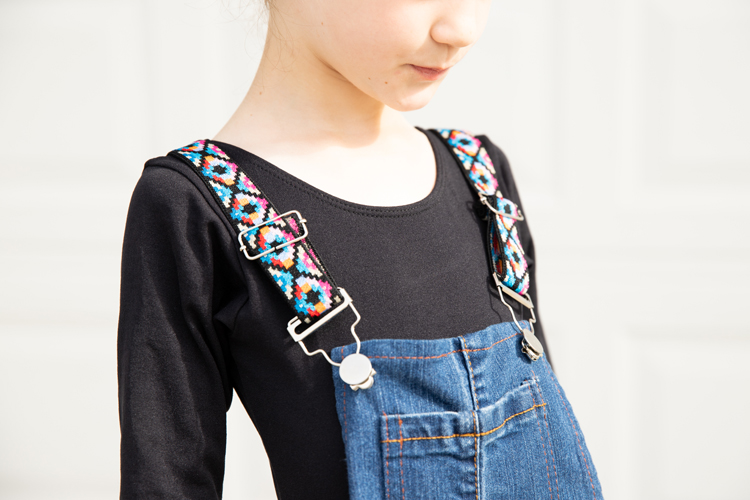
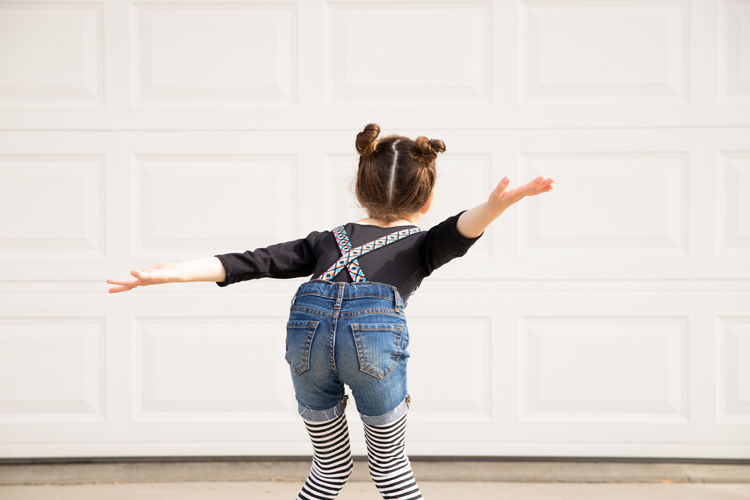
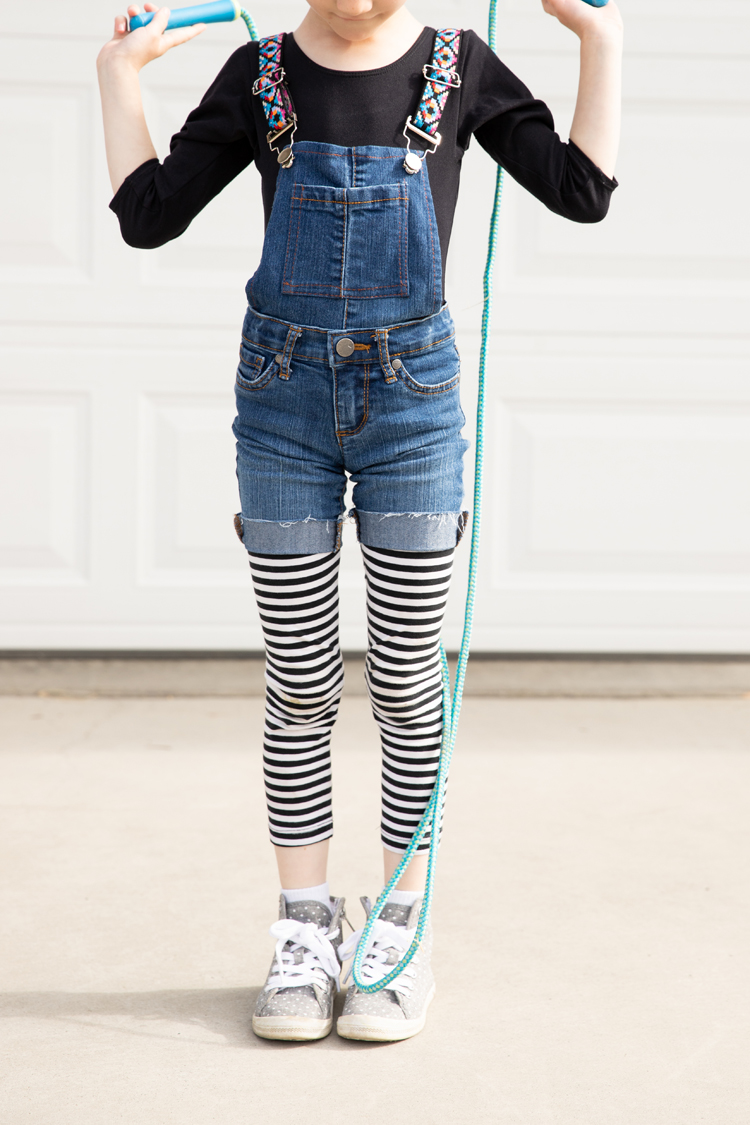
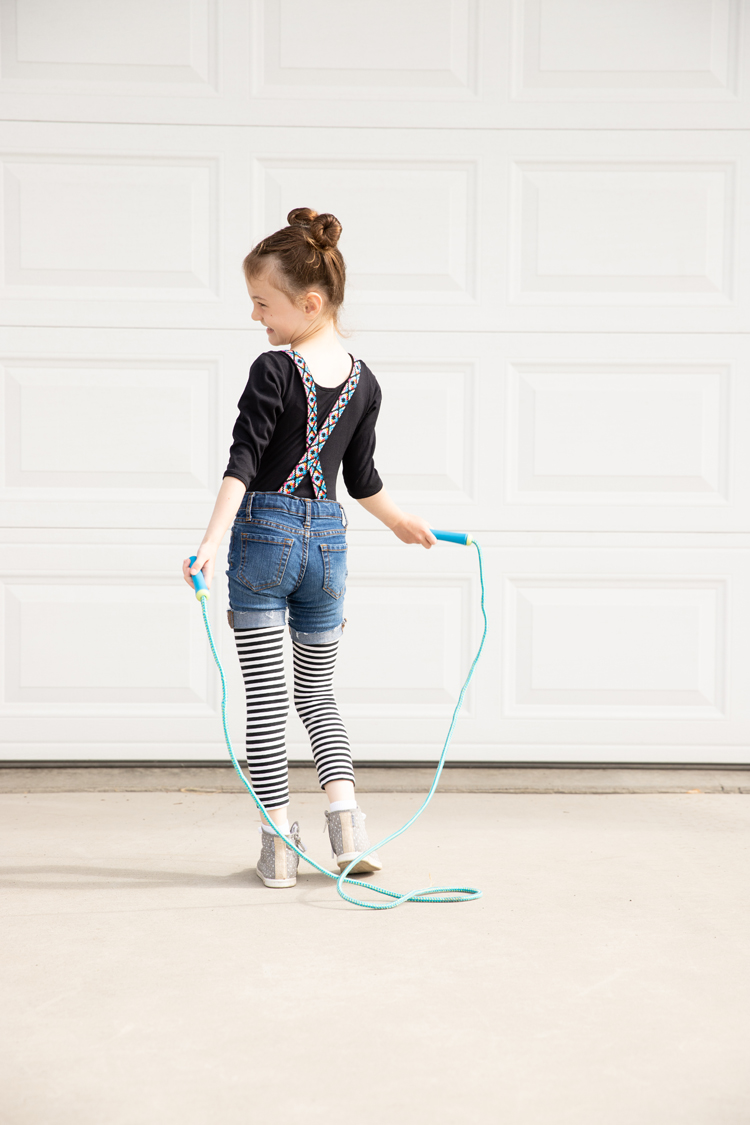
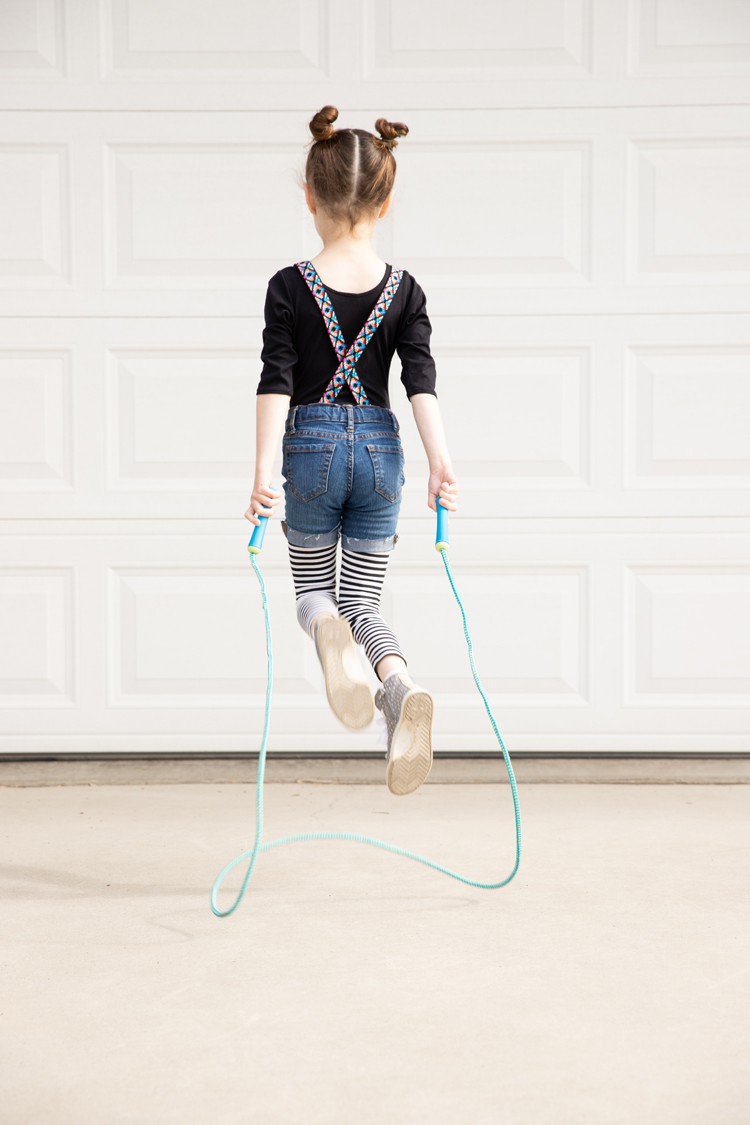
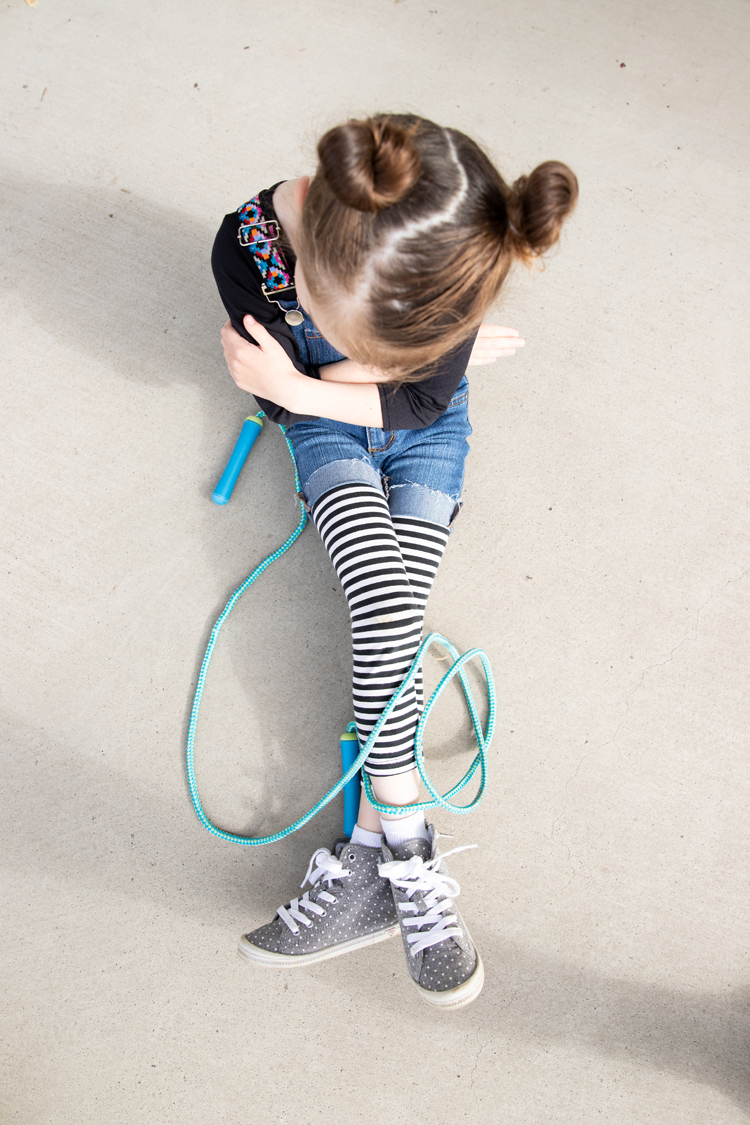
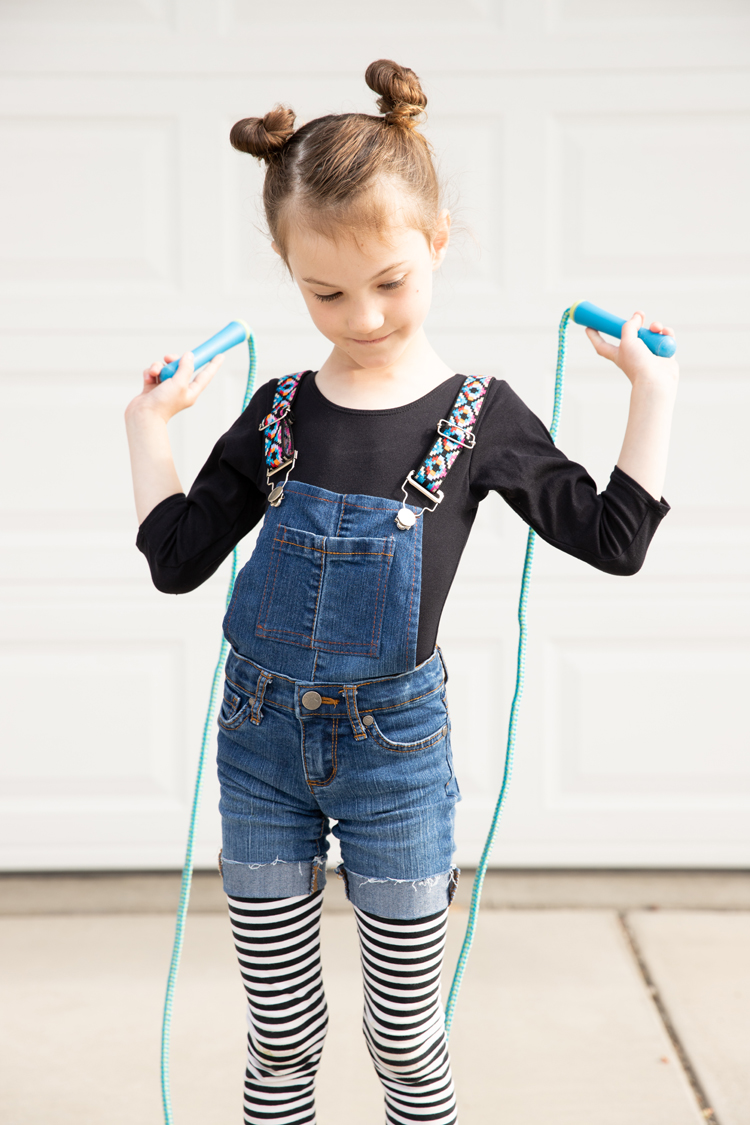
These are the cutest!
Thank you Alexis! <3